Last Updated on 01/18/2014 by Felix Esser
Today we start our new series entitled The Basics of Photography. The series is aimed at the aspiring amateur photographer who desires to learn more about his photographic gear and photographic techniques. It will cover all the basics you need to know about photography and explain all the jargon terms. We will start off with the letter A and go all the way through to the letter Z in the coming months. Today’s issue of The Basics of Photography deals with a part of the lens–the aperture.
What is the Aperture?
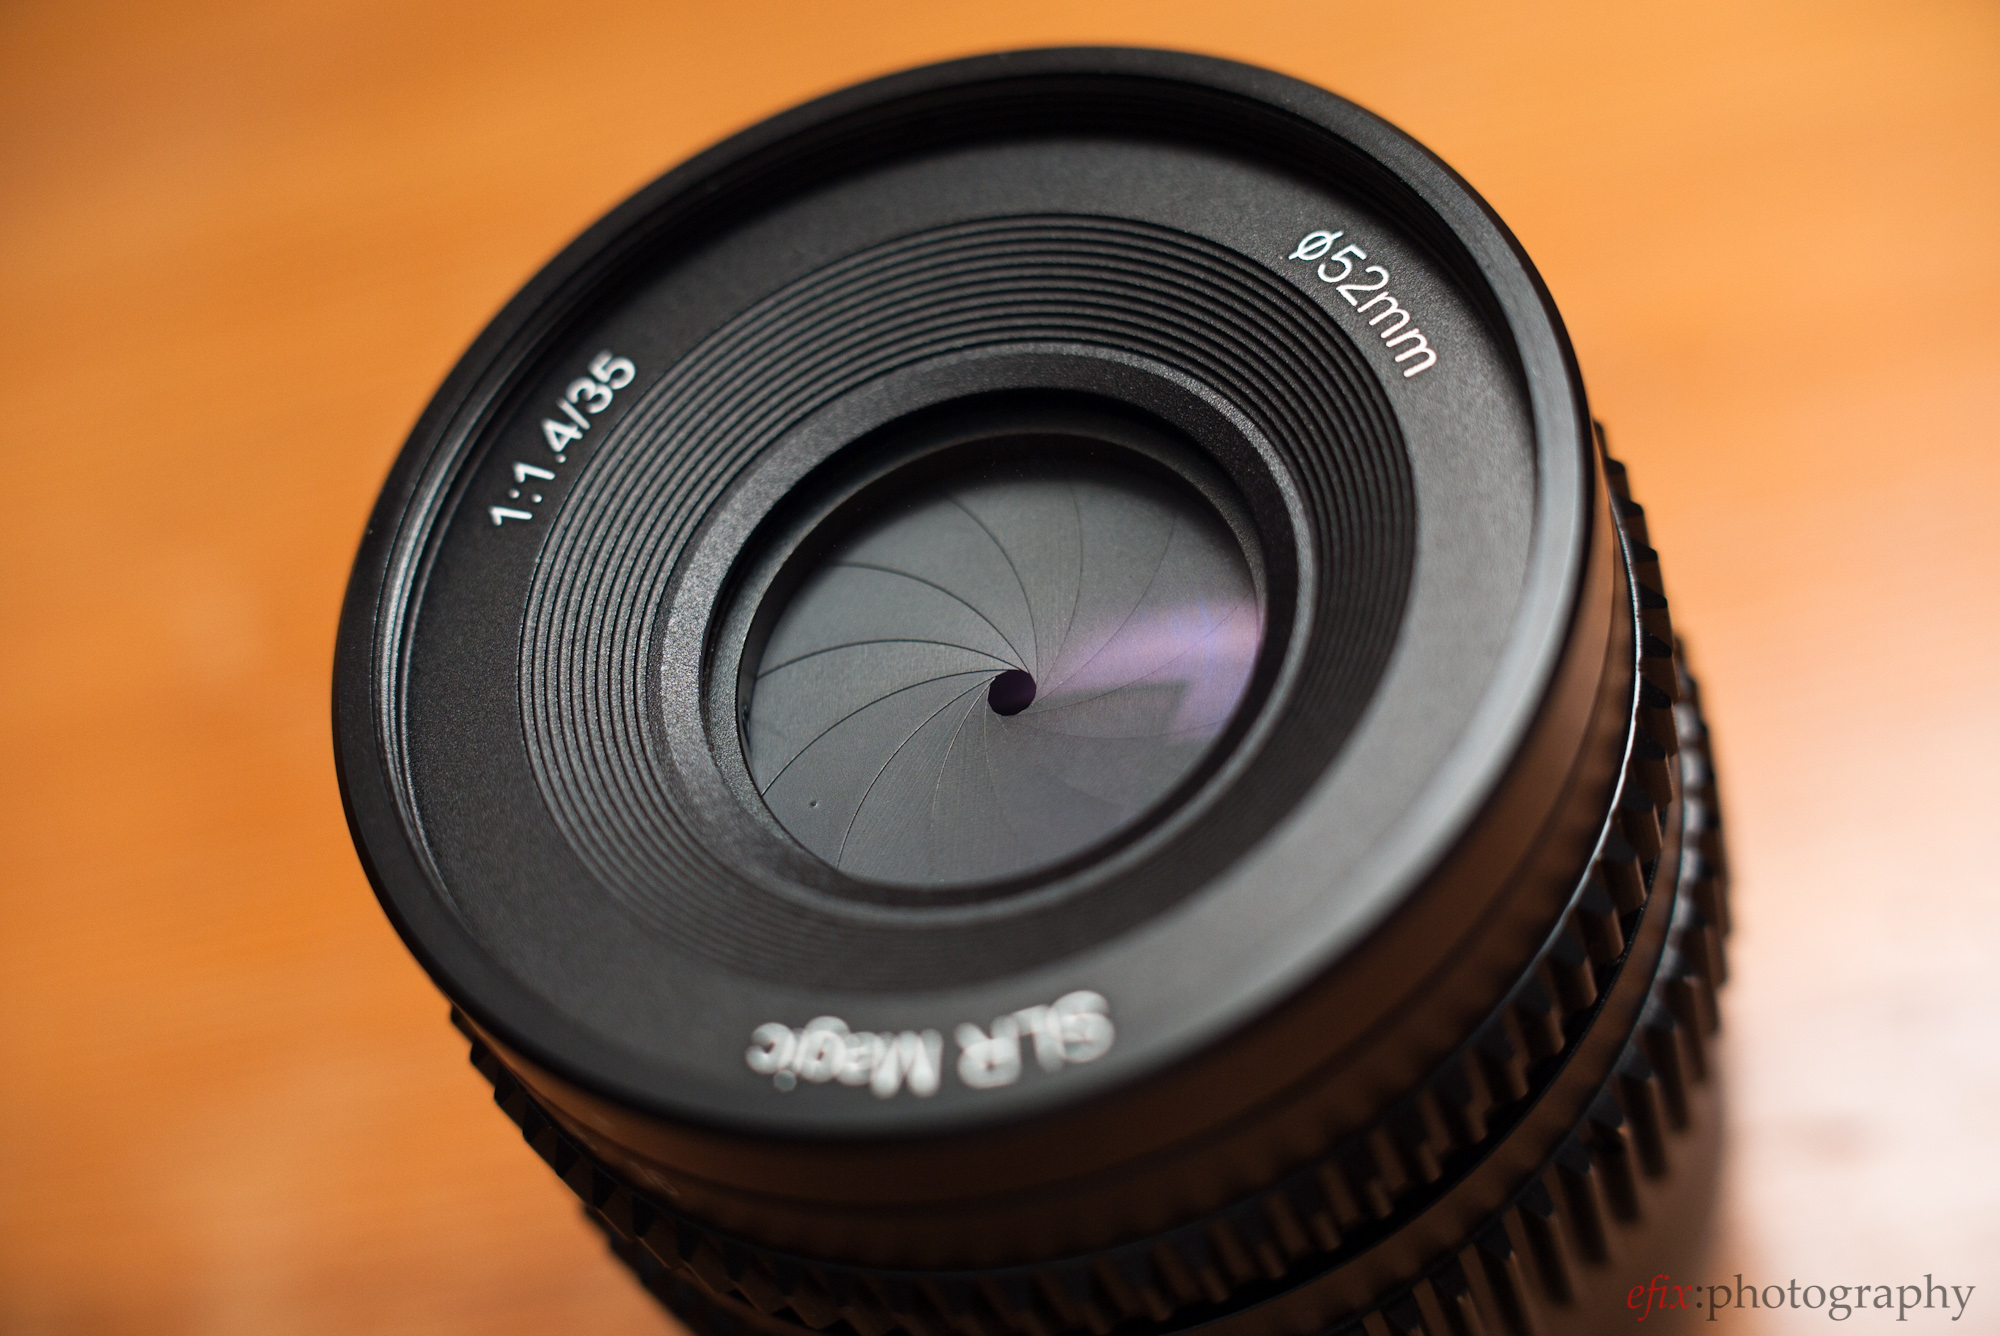
The term aperture (from Latin apertura “opening”) refers to the opening inside a lens through which light passes onto the sensor or film plane. The size of the aperture can be adjusted by a diaphragm usually located in the center of the lens. Wide open, the diameter of the aperture is usually the physical diameter of the lens at the location of the diaphragm. Some lenses, though, use diaphragms smaller than the theoretically possible maximum aperture (widest open). Closed down (otherwise called being stopped down), the size of the aperture is only a fraction of the lens’ diameter. When closed down, the diaphragm blades can be clearly seen inside the lens. Typically, an aperture diaphragm consists of five or more blades. The more blades, the more circular the aperture (and therefore the creamier the out of focus area is.) Lenses with more aperture blades are more highly prized.
What Does the Aperture Do?
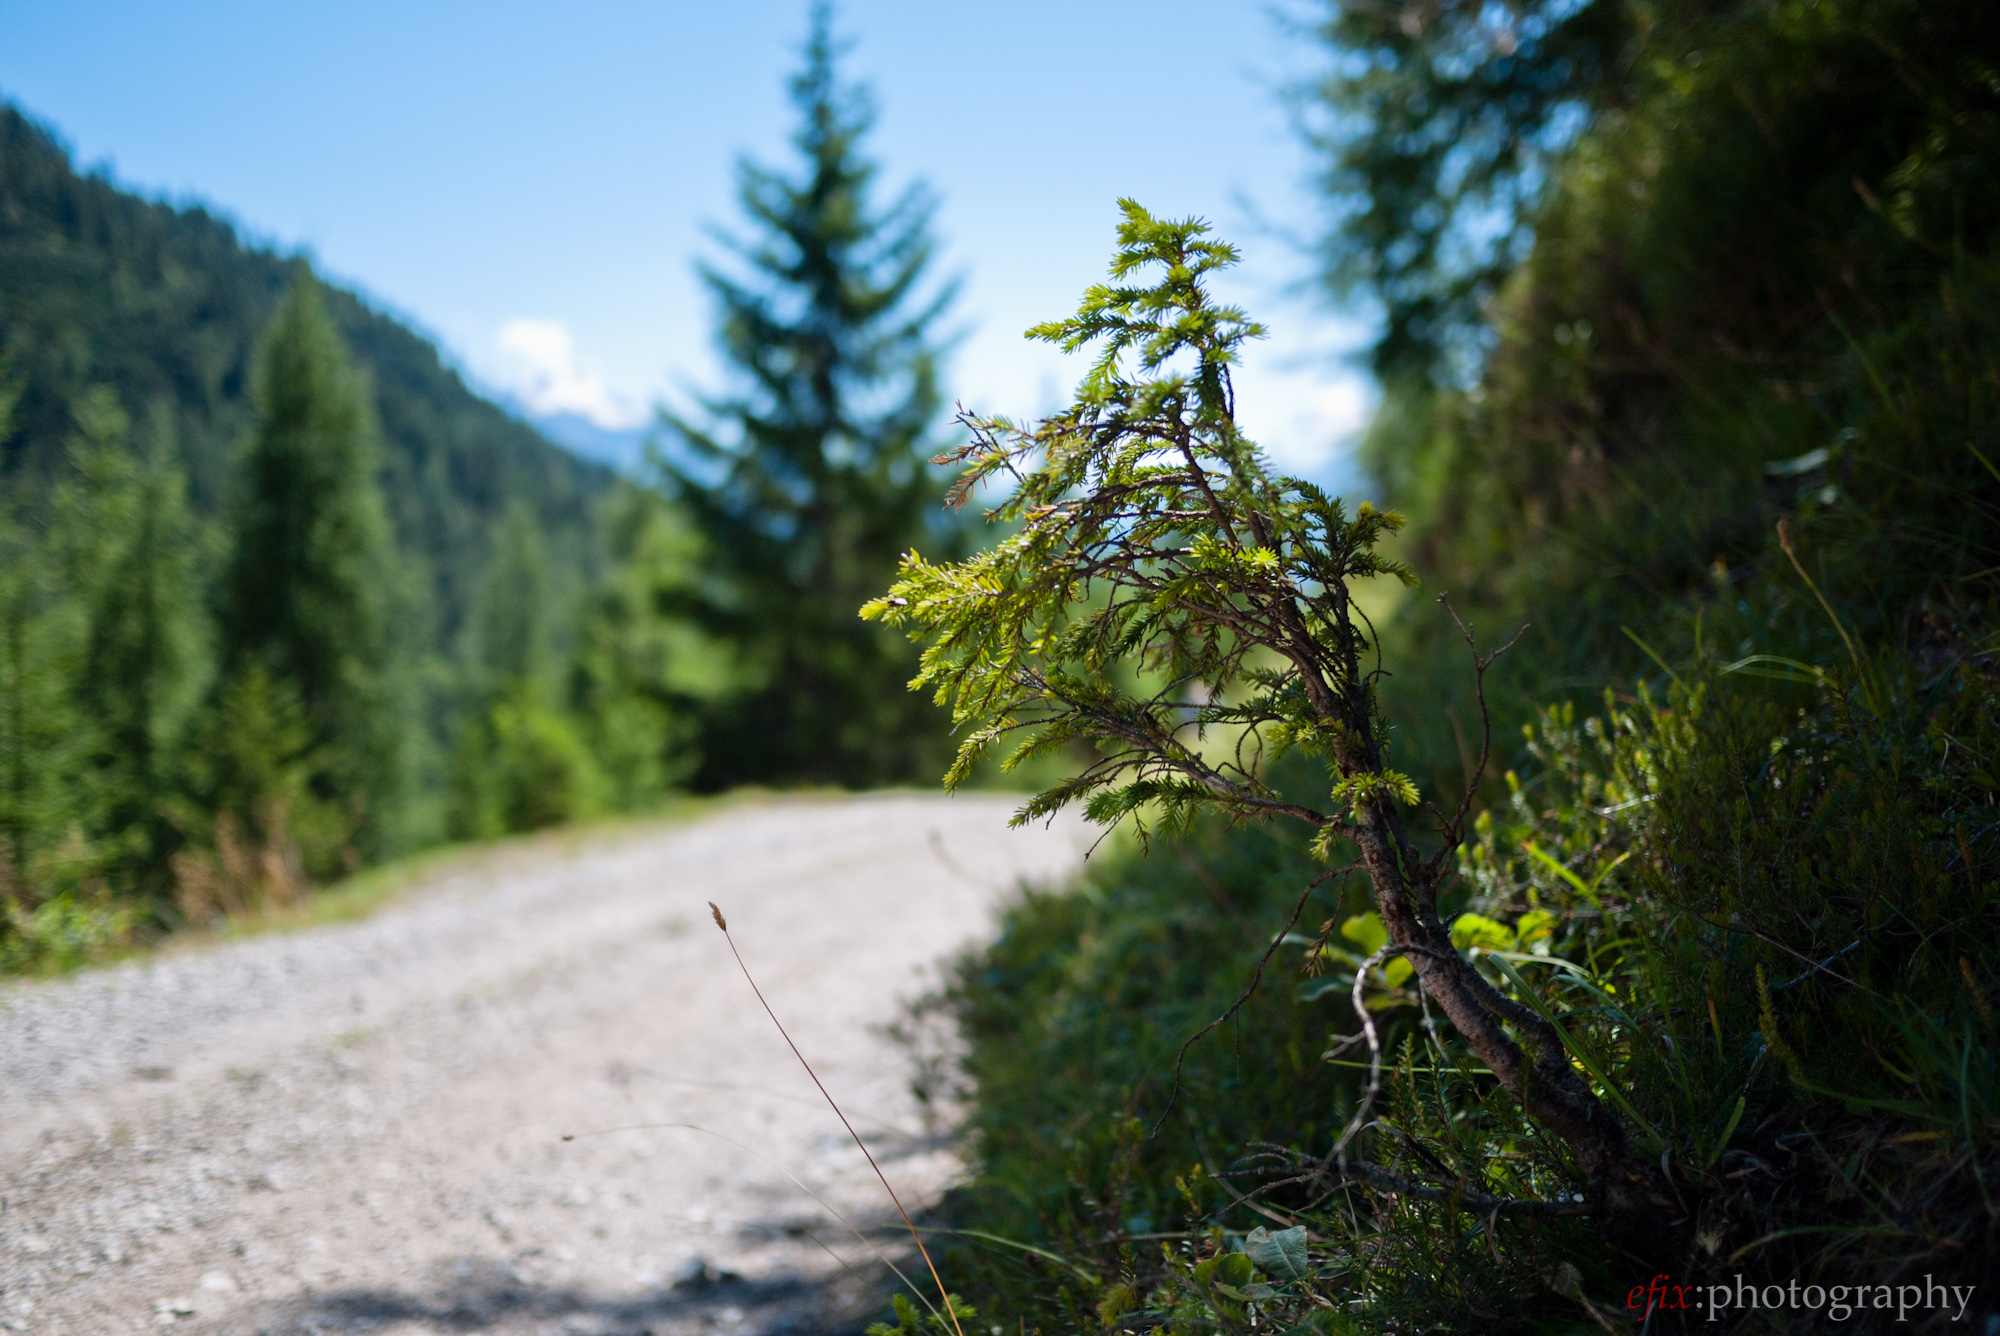
The aperture is used to control two things: the amount of light that passes through the lens, and the depth-of-field. The term depth-of-field describes the extension of the area within which objects will appear sharply in a picture. When the aperture is wide open, it allows more light to pass through the lens, resulting in a brighter exposure. At the same time, the depth-of-field will be smaller, meaning that only objects at a certain distance will appear sharp in the picture. Closed down (or stopped down), less light will pass through the lens, resulting in a darker exposure. However, a smaller aperture will cause the depth-of-field to be larger, resulting in more objects at various distances appearing sharp in the picture. (For a demonstration please see below.)
What Is an f-stop?
The term f-stop also refers to the size of the aperture. However, what it describes is not the physical size of the aperture, but the ratio of the aperture size and the lens’ focal length. Let’s take Canon’s ‘nifty fifty’, the 50mm f/1.8, as an example. When the diaphragm is wide open in this lens, it has a physical size of approx. 27.8mm. 50 (the lens’ focal length) divided by 27.8 (the size of the aperture) equals ~ 1.8 — hence the designation f/1.8, whereas f stands for focal length and the slash is the mathematical operator for division.
Today, most lenses use a standardized f-stop numbering scale that is based on the square root of two and multiples thereof, i.e 1.4 (= √2) — 2 — 2.8 — 4 etc. Each stop translates to half the amount of light passing through the lens as with the preceding stop. Or the other way round: double the amount of light passing through as the succeeding stop. The scale is based on the square root of two and its multiples because reducing or increasing the aperture diameter by a factor of √2 reduces or increases the aperture surface (and correspondingly the amount of light transmitted) by a factor of two.
How Is the Aperture Operated?
On a fully manual lens, the aperture size is controlled by the aperture ring. Just like a manual focusing ring is mechanically linked to a lens’ focusing mechanism, the aperture ring is mechanically linked to its diaphragm. An aperture ring has either indications for the different f-stop settings, or both indications and physical ‘stops’, meaning that it will snap into position at any given f-stop setting. These physical stops are called ‘clicks’, as the aperture ring often makes a distinct ‘click’ sound when reaching the next f-stop. (Accordingly, a lens with a ‘clickless aperture ring’ is one whose aperture ring does not feature physical stops.)
On modern lenses that use autofocus, the aperture is usually controlled electronically. The desired f-stop can be selected on the camera, typically by using a control dial with a corresponding display on the screen.
How Does the Aperture Relate to Exposure?
As mentioned before, stopping down the aperture will result in less light passing through the lens, causing a darker image. In order to achieve an image of the same brightness as with a wider aperture, the shutter speed needs to be adjusted accordingly. Closing the aperture by one stop means that the image has to be exposed twice as long, which means the shutter needs to stay open twice as long. For example, where a shutter speed of 1/1000 second would suffice at f/2 for a properly exposed image, at f/2.8 a shutter speed of 1/500 second would be needed.
Alternatively, the camera’s ISO rating can be adjusted. The term ISO, which we will explain in-depth at a later time in this series, refers to the light sensitivity of the recording medium. The ISO rating is typically a multiple of 100, and double the ISO rating means only half the incoming light is needed for a properly exposed image. For example, where an ISO rating of 100 at an aperture size of f/2 and a shutter speed of 1/1000 second will result in a properly exposed image, at an ISO rating of 200 either the aperture needs to be closed down to f/2.8, or the shutter needs to fire faster at 1/2000 of a second.
Why Should I Care About Aperture?
Most modern cameras feature fully automated shooting modes that do all the work for you: set the aperture, ISO rating and shutter speed according to the scene in front of the lens. However, once you desire to have more control over what your camera does, so you have a direct influence on the resulting image, you will need to learn how to control depth-of-field; how aperture, shutter speed and ISO rating all relate to each other, and how your pictures look different when using different settings. And finally, should you ever plan on using a fully manual camera such as your dad’s or granddad’s (or mom’s or grandmom’s) old film SLR–or one of those fancy Leica rangefinder thingies–there’s really no way around it.
And once you do get the hang of it, be sure to discover a whole new world of possibilites.
For more (and more detailed) information on the subject, I advise you to read the Wikipedia articles on aperture and f-stops respectively.
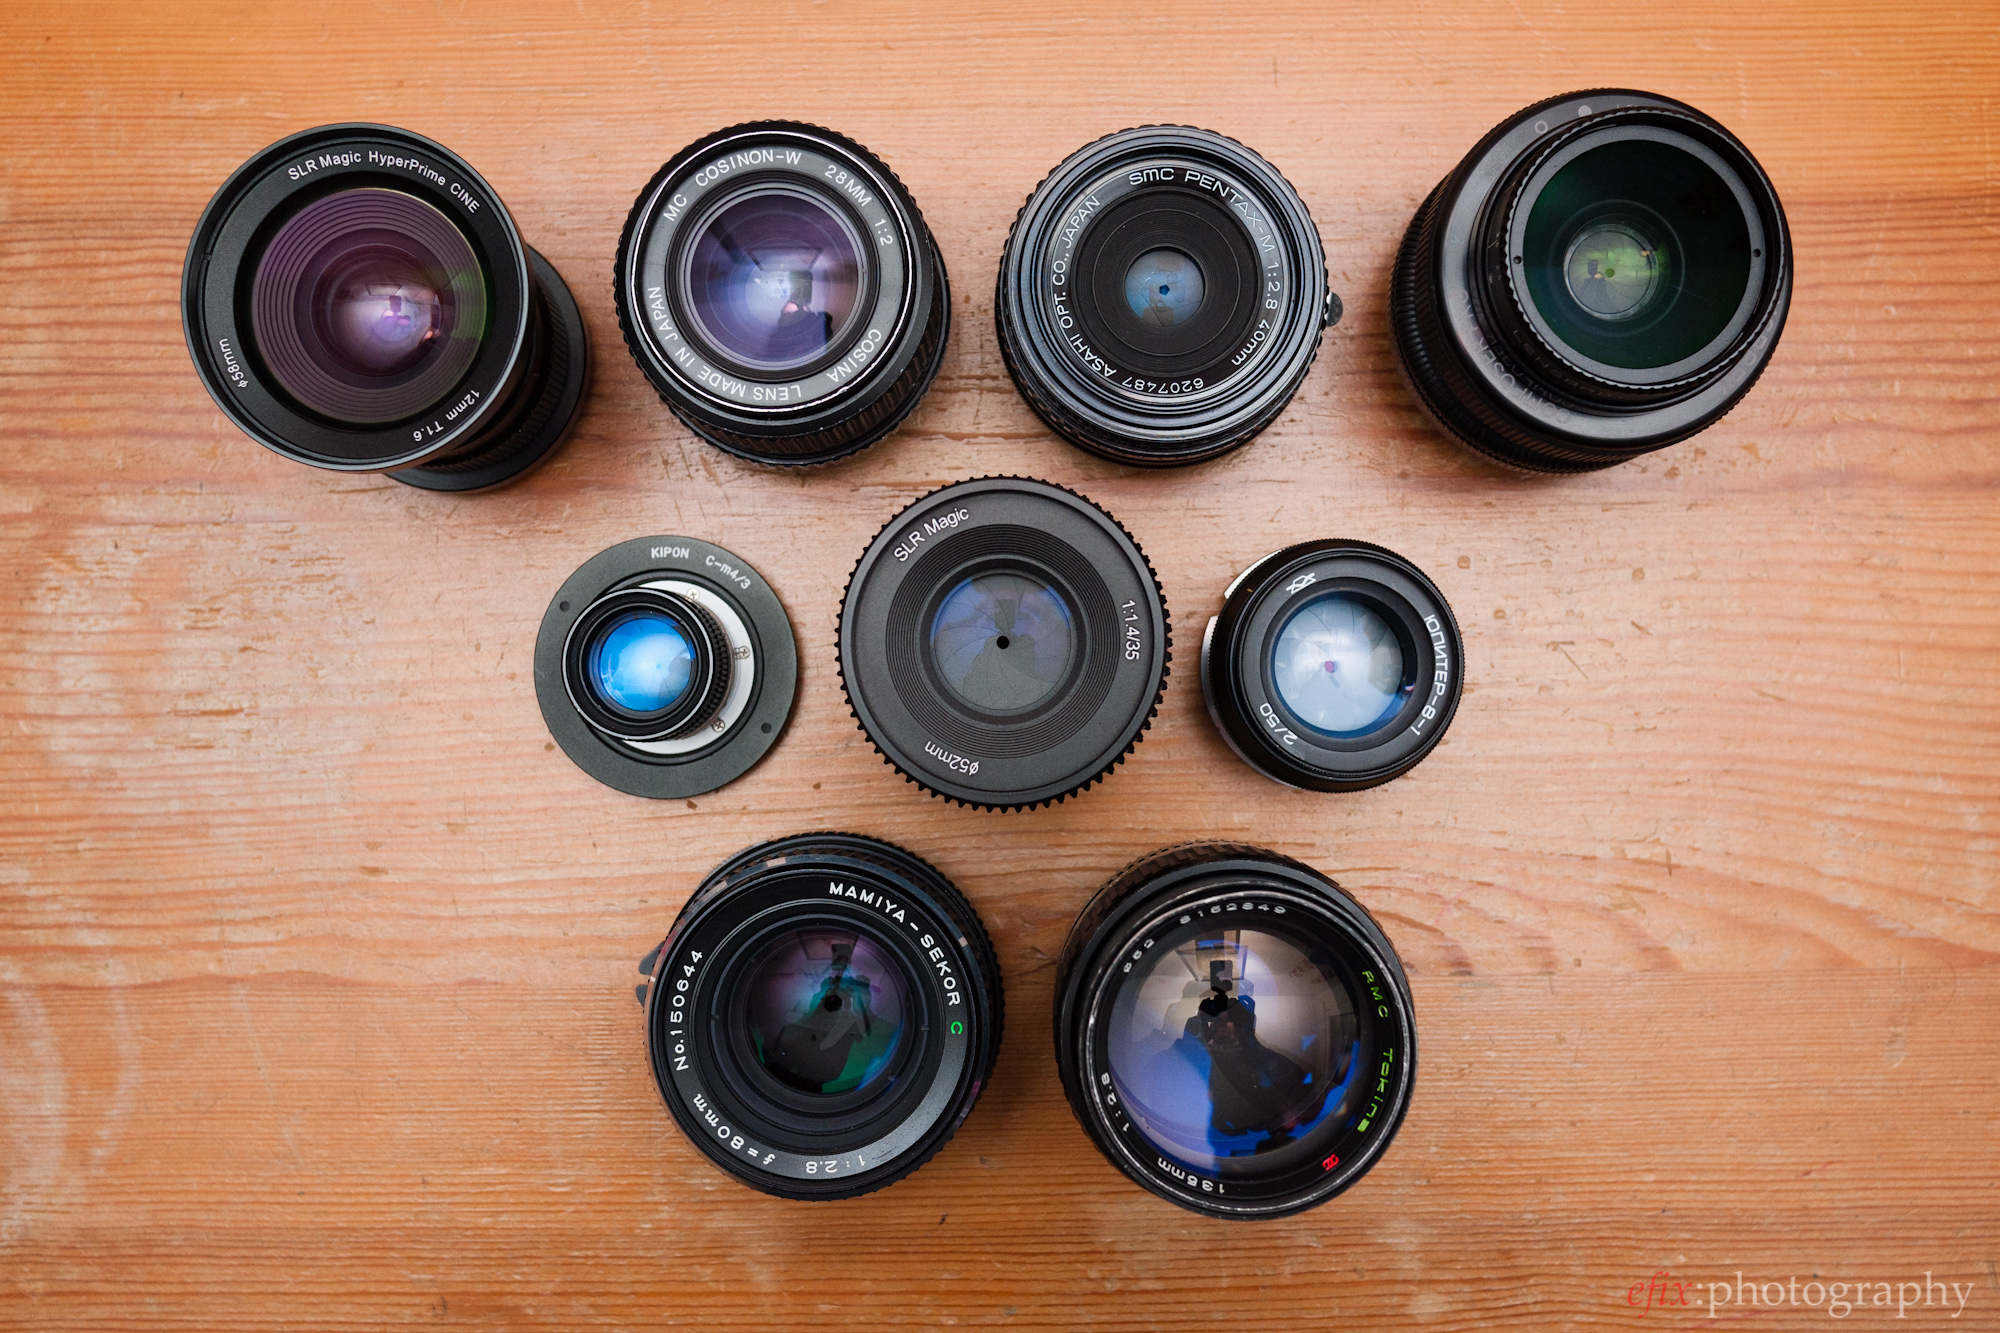
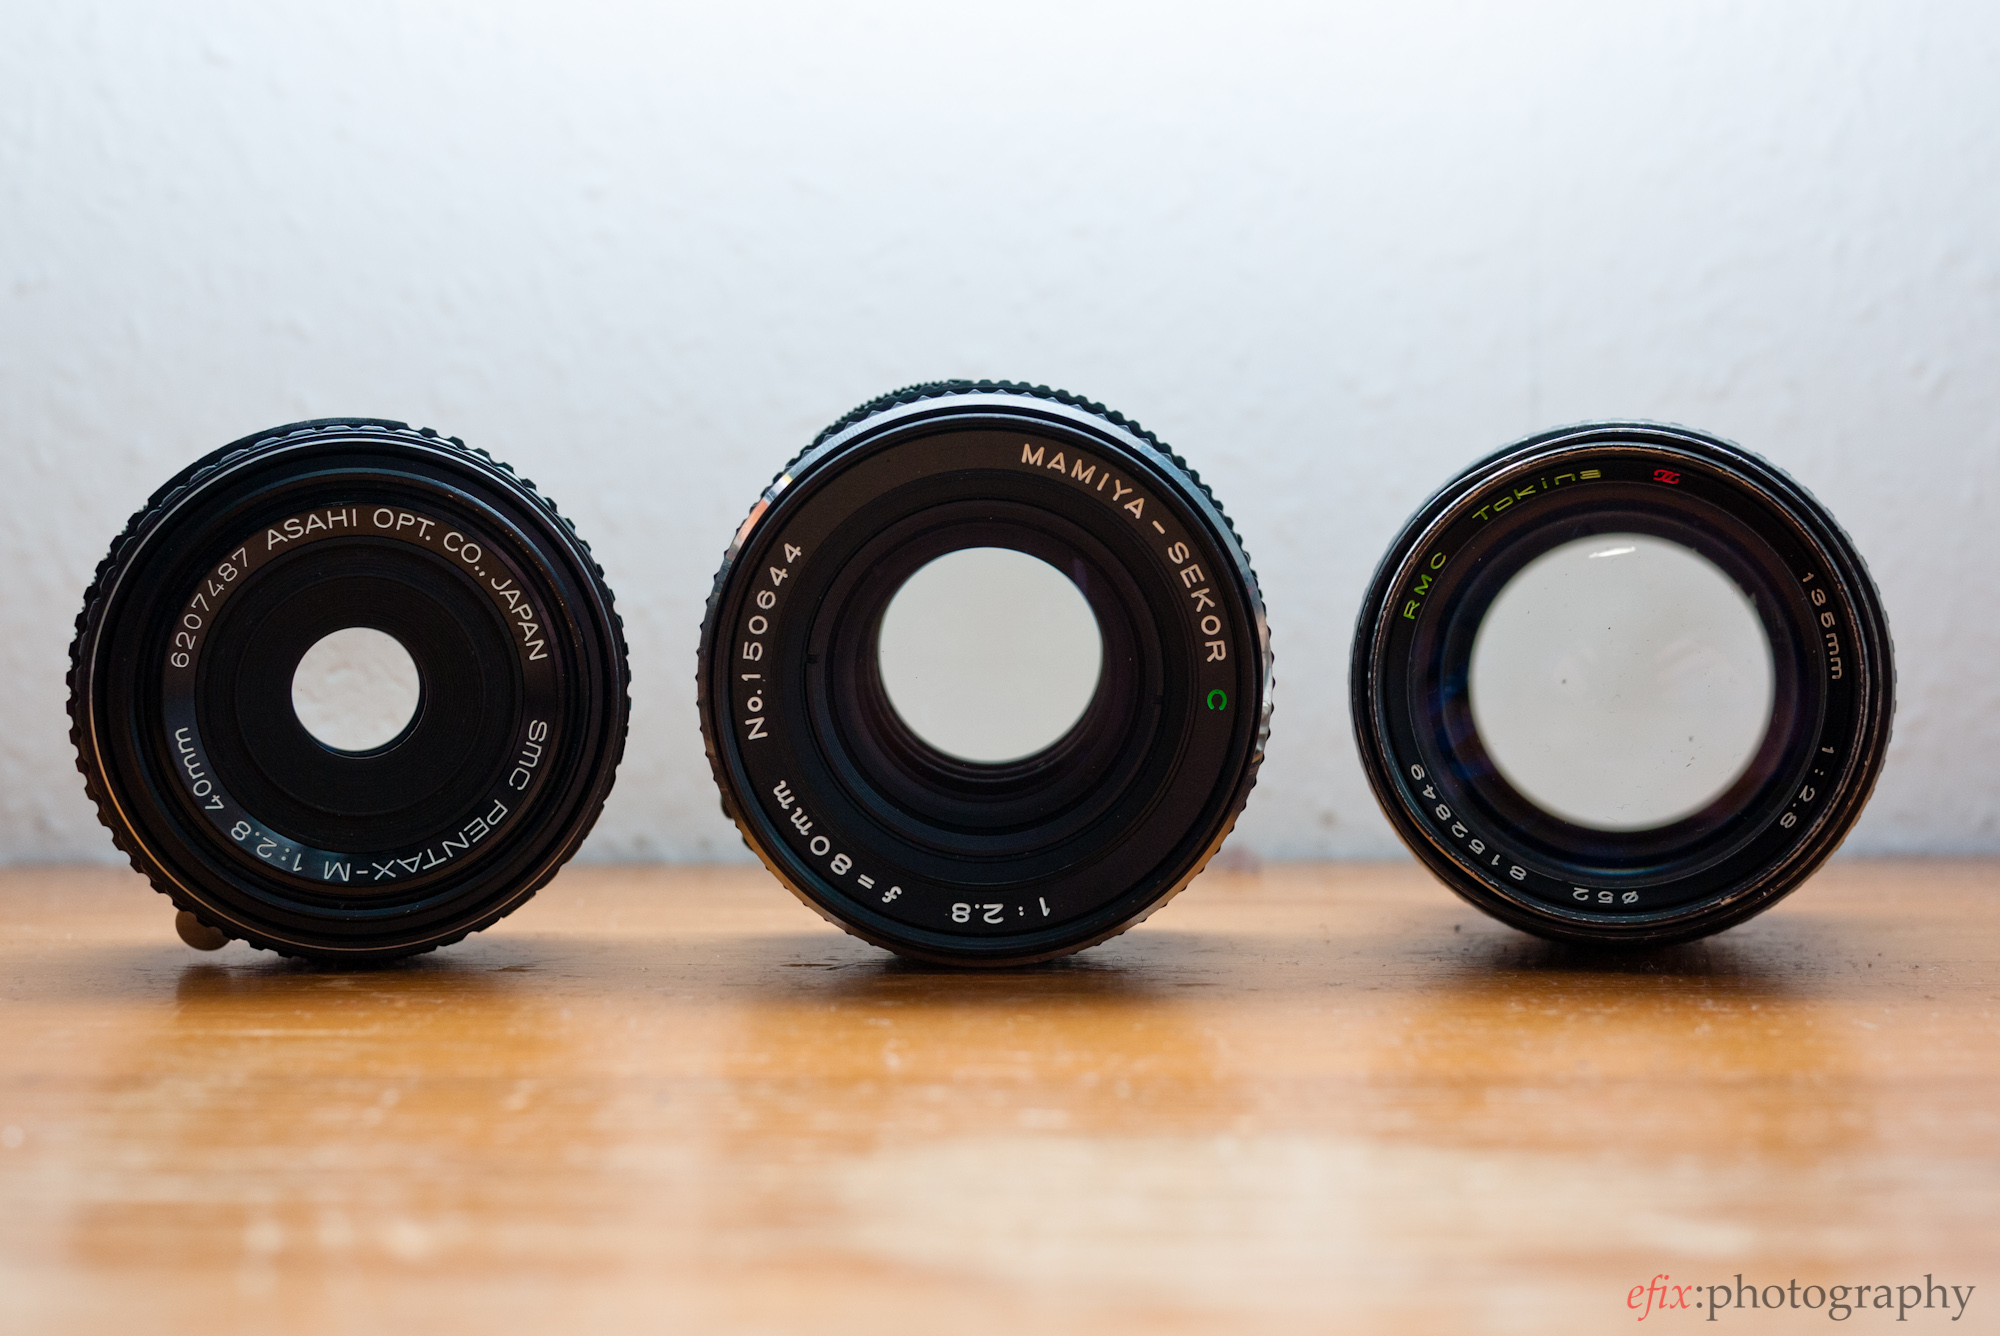
Gear used in this article
- SLR Magic 35mm f/1.4 — buy from Adorama in Micro Four Thids, Sony NEX or Fuji X mount
- Pentax 25mm f/1.4 TV lens (used for some product pictures) — buy from B&H Photo
- Panasonic Lumix 20mm f/1.7 (used for product pictures and samples) — buy from Amazon
Please Support The Phoblographer
We love to bring you guys the latest and greatest news and gear related stuff. However, we can’t keep doing that unless we have your continued support. If you would like to purchase any of the items mentioned, please do so by clicking our links first and then purchasing the items as we then get a small portion of the sale to help run the website.
Also, please follow us on Facebook, Flickr and Twitter.
Get rid of the ads!
Did you enjoy reading this article as much as we enjoyed writing it? There's a way to support us and our reporting, getting ad-free navigation and more as a bonus. Subscribe to us for less than a coffee per month —just $3.99— or take advantage of our yearly subscription with a hefty discount for only $25.- An ad-free experience
- A free mystery box for Lightroom or Capture One
- All the books in our store
- 20% discount on Capture One
- 30% discount on Imalume Photo Theft Protection
- 20% off Herbs and Kettle Tea Company.
- 20% off your order from MPIX printing services.
- 5% off Viltrox Products via their eCommerce store.
- 10% off all film developing, printing and scanning services from Blue Moon Camera and Machine
- 15% off 7Artisans products: The lens and accessory maker is offering a sweet discount for Phoblographer's readers.