Last Updated on 10/10/2012 by Chris Gampat
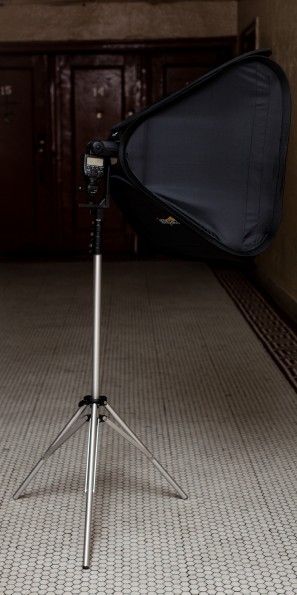
The Impact Quikbox was designed for speedlight (or speedlite) flashes and has an emphasis on being quick and versatile. Simple to set up, the Quikbox also comes with a bracket for your flash and if you wish, a stand. I’ve been testing the 24 x 24 version for a while now, and I believe the softbox has its strengths and weaknesses. When I began the review, the Photogenic 2432 softbox was my favorite when used with the Chimera speedring for speedlights.
Has the Quikbox dethroned it?
Gear Used
Tech Specs
Specs borrowed from the B&H Photo Video listing of the product
| Size | 24 x 24″ (61 x 61 cm) |
| Shape | Square |
| Compatibility | Shoe-mount flash |
| Removable Front Face | Yes |
| Removable Interior Baffle | Yes |
| Accepts Grids | Yes |
| Required Speed Ring | Included |
| Weight | 2.8 lb (1.270 kg) [entire system] |
Ergonomics
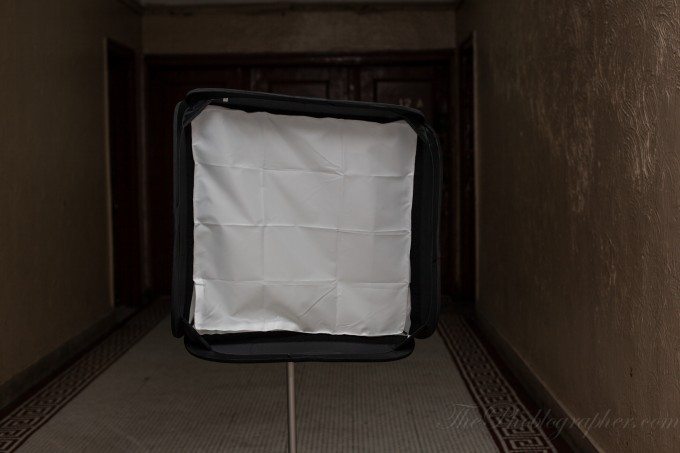
The Impact Quikbox is a perfectly square softbox on the business end and narrows itself back into a nearly pyramid shape towards the back.
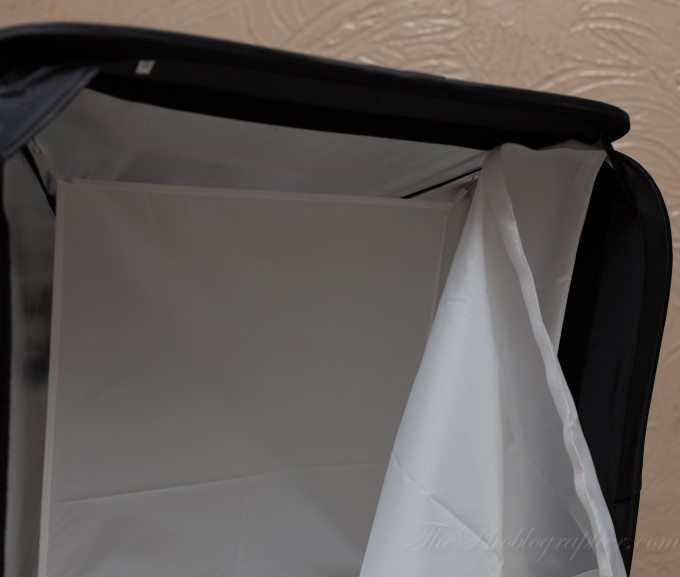
The Quikbox features two major pieces of diffusion: one interior baffle (which connects via clips that you’ll need to specifically learn how to install) and then an exterior baffle to diffuse the light even more. The interior is a smooth silver to give your light more punch. In combination with the interior and exterior baffle, the light output will have no hot spots and you’ll get nothing less than smooth, soft light with specular highlights due to the interior.
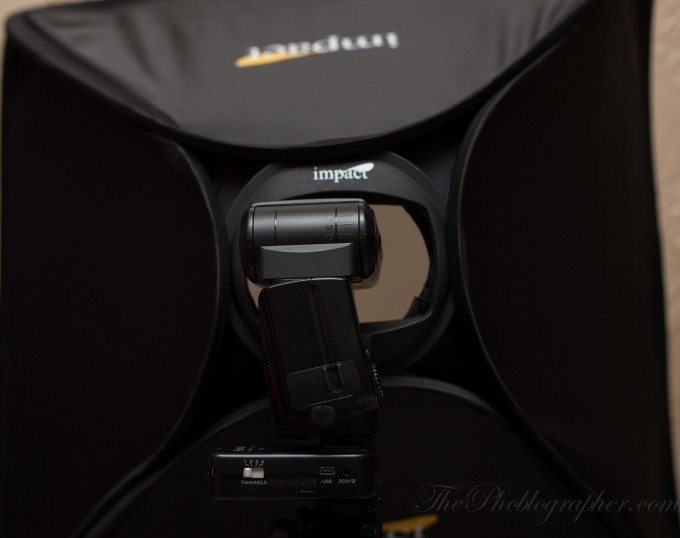
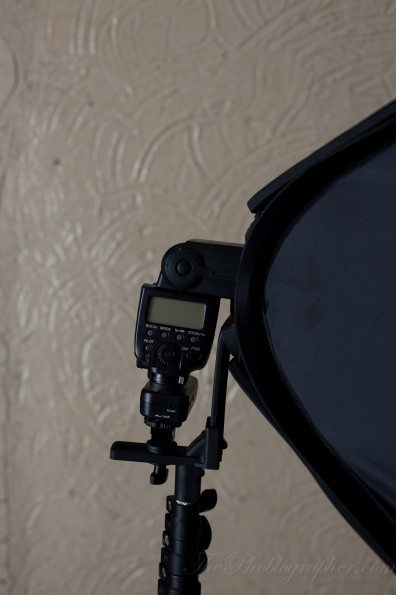
The back is where your light goes. Impact features their own proprietary speedring (if you can even call it that) which connects to a bracket to hold your flash/trigger.
The bracket is fairly adjustable, but sometimes it can be tough to get your flash into the right spot. In future builds, I would actually recommend a taller bracket and even a tilt bracket to really direct your light.
In Use
Product Photography
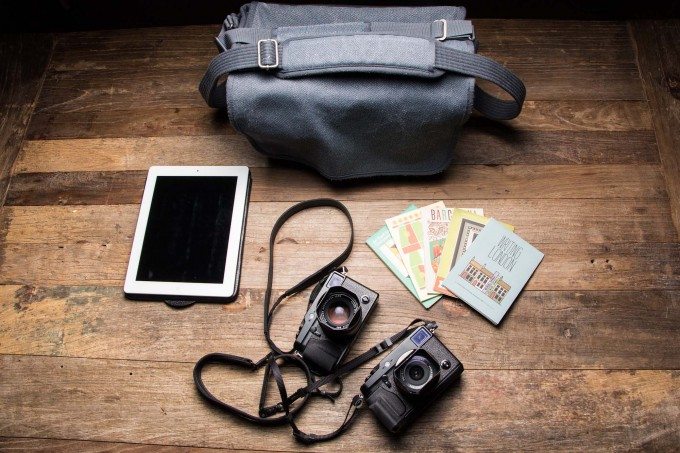
I used the Impact Quikbox on a set shoot for Gear Patrol’s European Vacation Travel Kit. I highly encourage you to go to their site and check out the shoot and the products there. But in general, the softbox was extremely big (but needed to be in order to get this effect) and was a tad cumbersome to use. To get the results you see in the story, I needed to have their intern hold the softbox while I triggered it and shot.
For this, the Quikbox actually seemed quite good. It put an emphasis on specularity (which is the extra little light that really brings out detail) and still diffused the light to be soft enough. To get this look though, I sometimes needed to put the flash in High Speed Sync mode.
Portrait Shooting
Here is where I felt that the Quikbox wasn’t so stellar but still usable. And in situations where you have more control over the light, it can excel.
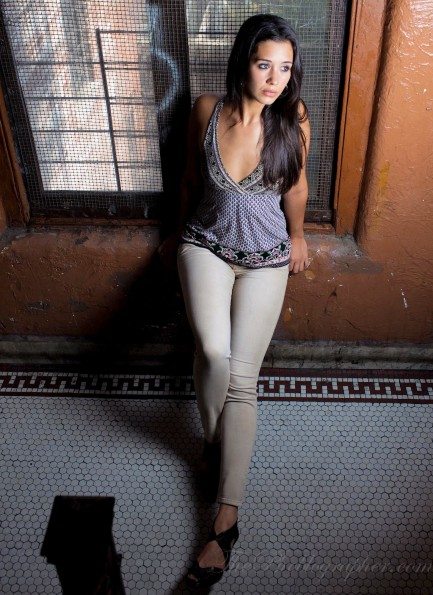
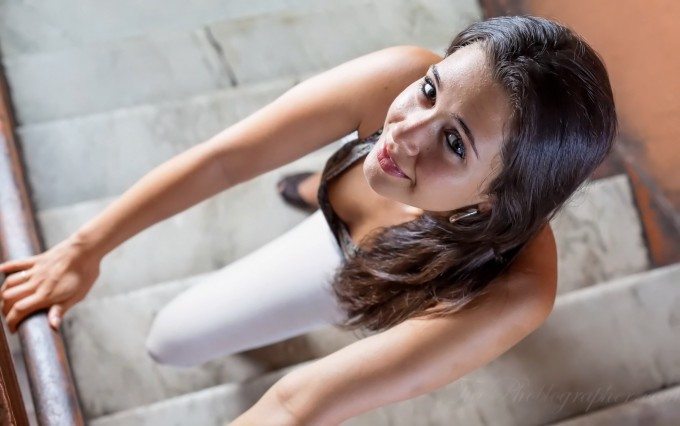
The photo of the left was achieved using High Speed Sync with the Canon wireless flash control system and the Phottix Odins. Standard TTL transmission wasn’t the best with the Quikbox and I overall feel that I’ve done much better with other diffusers. However, HSS is where I really felt it excelled. Sometimes, I even set the flash to manual mode even after using a manual light meter.
The included stand wasn’t so sturdy and in general I often recommend C Stands in place of photo light stands for many good reasons.
The Quikbox took a tumble when Sam and I headed outside to shoot due to the wind. It was a major pain in the butt, especially since I didn’t have sandbags on me or an assistant. To compensate, I borrowed my roommates Avenger C-Stand, and it worked like a charm.
This softbox is giant and because of its size I really can’t recommend the stand that comes with it unless Impact also decided to ship an assistant with their package.
During my experience of shooting outside with Sam, it was usually a bit tougher to get proper exposures. I often tried putting her right up against the sun and a clear blue sky, but I could never get the results I wanted.
Conversely, in other situations where Samantha and I worked in the shade, it was much easier to use the box. This doesn’t come from the fact that that was how I was taught to light, but it is from the fact that there could have been a problem in the TTL communication combined with the amount of diffusion.
The light is too narrowed in at 24 x 24 inches, and that is where I really preferred my Photogenic softbox instead. Additionally, that softbox has a silver beaded interior but is ultimately more complicated to set up.
Granted, the two have different price points as well and a 24 x 32 softbox will ultimately win the day no matter what.
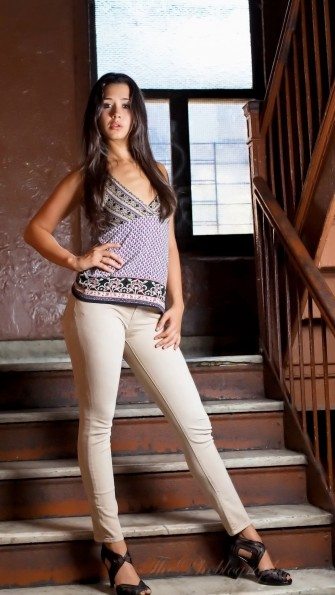
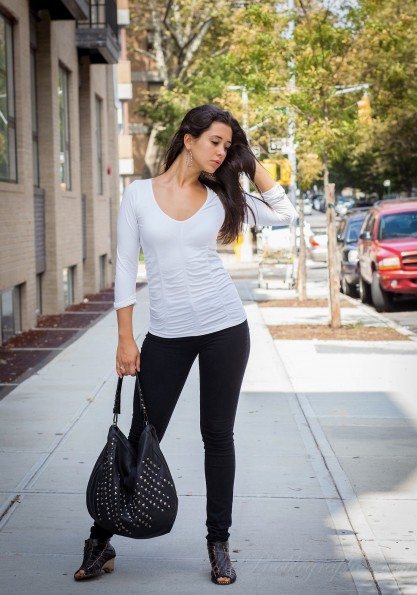
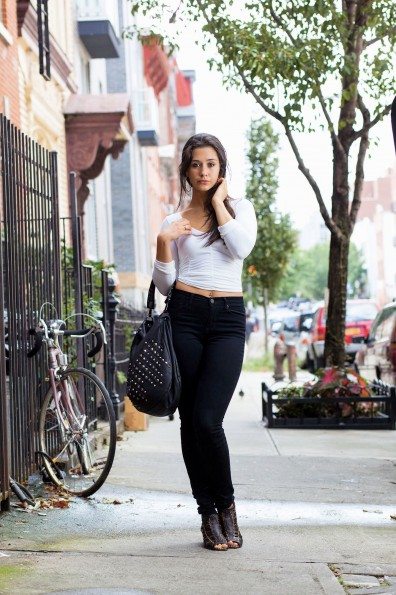
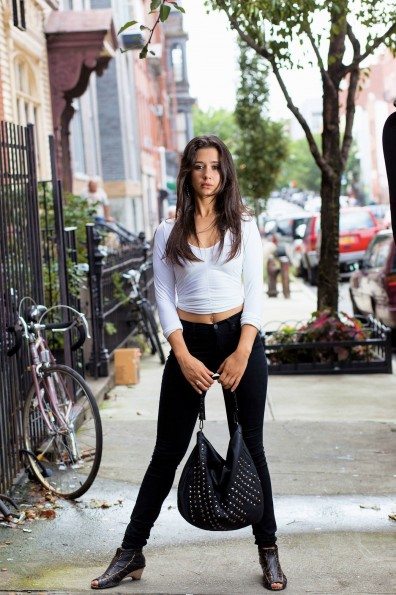
Here are other selected photos I shot with the Quikbox:
Conclusions
The Impact Quikbox did quite a good job. It folds up quickly and is easy to set up on a location. It comes with a convenient and easy to carry case too, though I wish that it also included some sort of should strap for easier carrying and transport when you’re by yourself on a shoot.
One of my quibbles is the fact that it got bent out of shape too easily. With the design of the box (that doesn’t use any removable rods) that may be a tough one to fix.
I personally know the designer of the product. While I admit that it is a good product, it wasn’t one that I could fall in love with in the end. If they made the Quikbox in larger versions (like 3 foot by 4 foot) I’d be married to it.
So who is this for? Location portrait photographer, engagement photographers, product photographers, and photographers who have two or more of these units might actually be able to deliver some very stunning results. But in the end, what I also wanted was interchangeability with the Impact LiteTrek: one of my favorite monolights and I am also told that the unit may soon with with the softbox.
Please Support The Phoblographer
We love to bring you guys the latest and greatest news and gear related stuff. However, we can’t keep doing that unless we have your continued support. If you would like to purchase any of the items mentioned, please do so by clicking our links first and then purchasing the items as we then get a small portion of the sale to help run the website.


