Last Updated on 07/30/2011 by Chris Gampat
Here’s the thing: we here at ThePhoblographer.com don’t usually ever do reviews on standard point-and-shoots (or at least we stopped from our early days). The other night though, Canon gave me a Canon PowerShot SD4500ISas a gift. Our policy is that if it doesn’t shoot RAW, we won’t review it. At the time of writing this posting, the CHDK for this camera has not been released yet. Though it’s not worthy of a full field review, I’m compelled to give this camera a short test and remind you all that it is being given away in a contest.
Before we go on, I want to say congratulations to Sophia Regan in the Barcelona ad for Canon’s, “Your Second Shot” campaign. Sophia is a sweet, wonderful actress. We worked together on a film where I was the cinematographer a little over a year ago (in college) from the time of writing this article.
Editor’s Note: This posting is also our first attempt at doing the field instructional type postings that users have been asking for. Since this is a standard point-and-shoot, we won’t go into great depth but please let us know your thoughts in the comments below.
Tech Specs
– 10MP
– 10x Optical zoom (f/3.4 to f/5.6)
– Hybrid Stabilization system (in the 100mm F/2.8 L Macro lens, a favorite of mine)
– ISO 3200
– Intelligent Contrast correction
– Fisheye effects, poster effect, miniature effect, handheld night scene,
– 1080p HD video
– Smart shutter
– 3 inch LCD
Ergonomics
The Canon SD4500 IS is a fairly slim camera. In fact, during a night out with it I was able to fit this and my T-Mobile G1 into one pocket right next to each other with ease. I wear slim jeans and my jean size is 30×28; so this really isn’t a big camera at all.
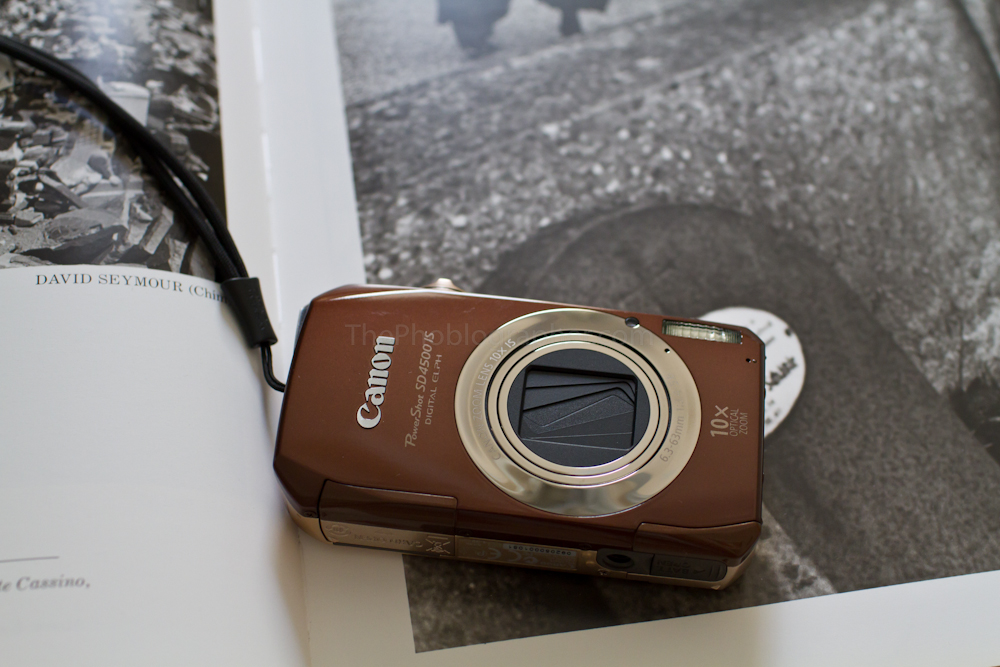
At the front of the camera you’ll see the lens and that very small flash. While it is small, it is very powerful. Images taken with the flash look no different than those of standard point and shoots though. This camera has a back-illuminated sensor to allow for better images in low light without flash. The camera is brown, and there seems to be no other color available. I know people that have said that it looks very nice. On a personal note, I’d never purchase a brown camera—black is so much more my thing.
Originally, I thought that the top of the camera wasn’t designed so well. Then while using it in practice, I changed my mind. The top of the camera was actually very well thought out and it shows. The on/off button is very small and requires it to be pressed down with direct pressure. This alleviates any worry that the lens or camera may come on while in my pocket—a very real problem that I experienced years ago and which began my move away from point-and-shoots. Besides this button, the shutter release, zoom and shooting selection switch is up here. Indeed, this camera has very few buttons and was created for the fashion-savvy consumer.
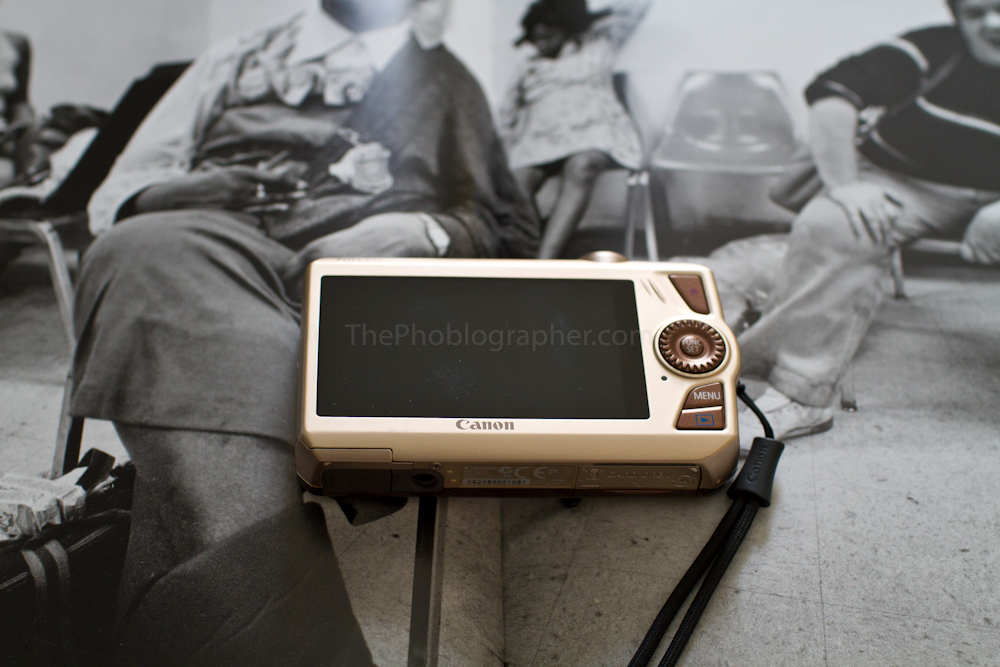
The back is almost purely the LCD screen; more on this later. To the immediate right of the screen is a wheel dial around a Func/Set buttton. On top of that is a one-touch movie record button. Below the wheel is the menu button and below that the playback button. Less tech-savvy users may be a bit confused about this. In use, the Func/Set button allows the user to control all menus that affect shooting. In contrast, the Menu button lets users control the more technical parts of the camera like setting the date, LCD screen brightness, etc.
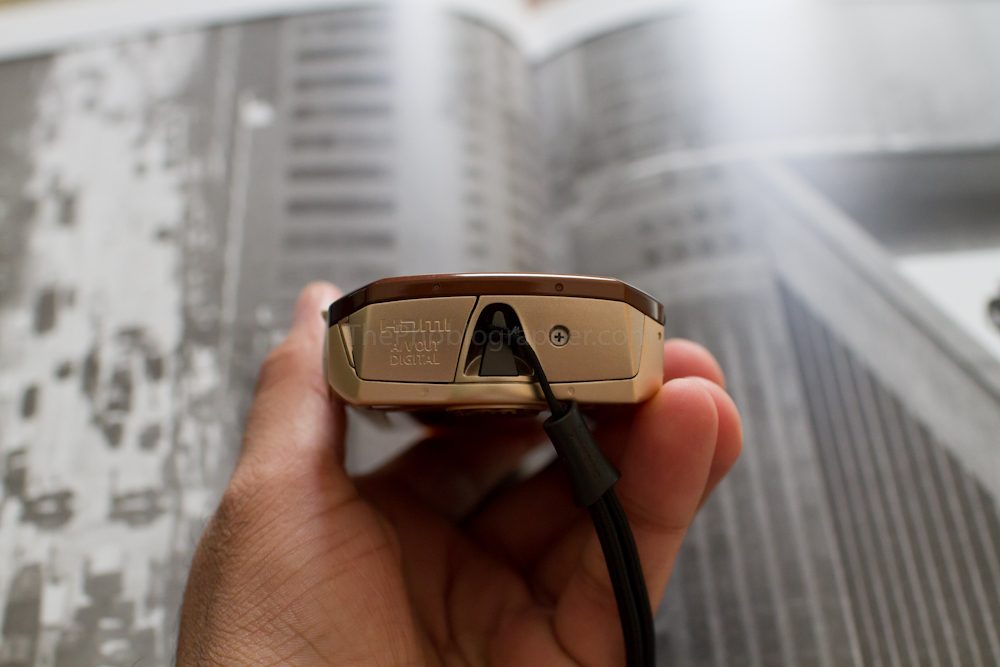
The side of the camera contains the HDMI out and USB port. That’s really all there is to it. The latch to get to it can be a bit frustrating at times.
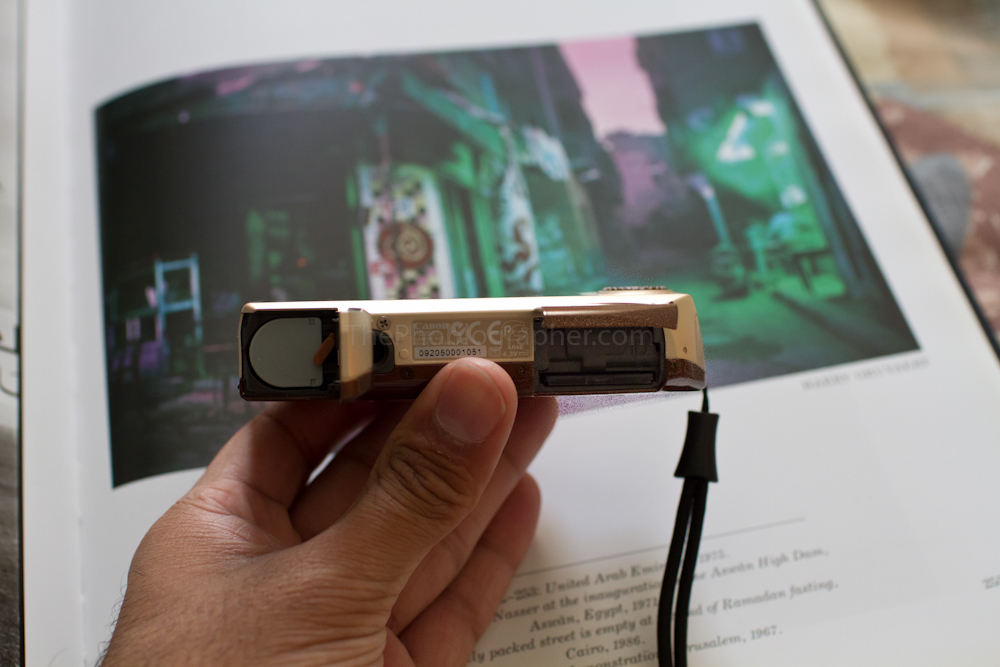
Lastly, the bottom of the camera contains the battery port and the SD card slot. This was actually a bit confusing. I didn’t understand why Canon put them in different spots. In fact, the card latch seems humorously large as an SD card is so extremely thin.
Autofocus
The camera has two different types of autofocus that need to be controlled by pressing the menu button. The two types are Face Detect and center. For the most part, the camera almost never misses in focusing and does very well in even low lighting. The only problem is that it is always slow—taking what I estimate almost a second in even moderate indoor lighting. This is at the wider end of the lens. Zoom in and you’ll have some extra issues despite the very good HS system that I’ve seen work so well in the 100mm F/2.8L Macro lens.
Most fashion-conscious consumers won’t mind it at all; it’s only the techies that will take any notice. As stated previously, it’s not a camera aimed at that segment of the market.
LCD Screen
The LCD screen is 3 inches across. The screen has 230,000 pixels—this will probably be okay for most users as they won’t pay much attention to it. Coming from a DSLR down to this is just horrid. DSLR LCDs are so much higher resolution and allow users to see great details. To be fair, those details are much more critical when shooting with a DSLR vs a compact superzoom like the SD4500 IS. At the more telephoto end of the zoom range, users will perhaps want that extra resolution as the extra camera shake is sometimes even too great for the HS system I’ve seen in some of my tests.
Battery Life
Canon rates the SD4500 IS battery life as four hours and 30 mins of use. Indeed, it actually lasted a good five hours in my test. However, I took precautions to ensure the absolute best battery life: dimmed the screen, didn’t delete anything on the card, let the LCD screen go to sleep, didn’t overcharge the battery, used my fastest memory card, and almost never used flash. We will have a whole article on how to get the best battery life from your camera coming soon.
After the five hours of use the battery meter started to blink and glow orange; indicating that it was about to die. I turned the camera off for the rest of the night and turned it back on the next morning. The battery life meter was around two thirds the way full when I turned it on. This leads me to conclude that with careful usage, the SD4500 IS battery life is truly remarkable and is even better than what Canon rated it as.
Metering
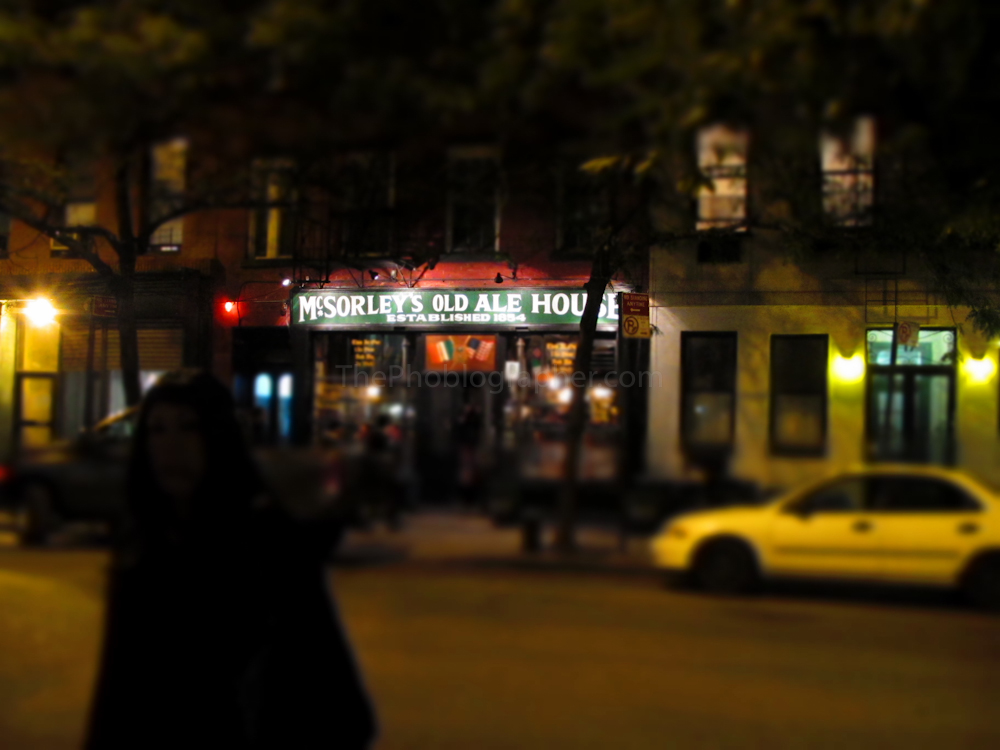
Now this is a problem. On the back LCD screen, all images look bright and perfectly exposed. The camera does have an exposure compensation setting in program mode, but I didn’t touch it. When I put the images on my computer, they all seemed very underexposed. This was very disappointing to me.
As a note, many of those images were taken at night. The ones in good lighting actually seemed very accurate.
Shooting Menus
The shooting menus aren’t complicated at all. To access them, press the Func/Set button and use the dial to scroll through them. Press right or left to go deeper in and out accordingly. Additionally, pressing the dial in certain directions will allow the user to control focusing, flash control, etc.
Interestingly, holding down the Func/Set button will change the screen and display the current time.
With a little bit of time, even the most technologically fearful person will be able to figure the camera out if they just care to read carefully.
Image Quality
The first thing I missed about using a point and shoot was the color swap ability which the SD4500 IS can do very well.
In order to do this, set the camera into Color Swap by Pressing the Func/Set button, go to record mode, press right, go down to color swap and then press Func/Set. When in this mode, hold down the menu button until the custom interface comes up. Now choose the color that you want to be swapped by moving the center box over it and holding down left on the dial. After this, cover the box over the color you want it to become and hold down the right button so the camera knows what color to make it. After this, just shoot the image.
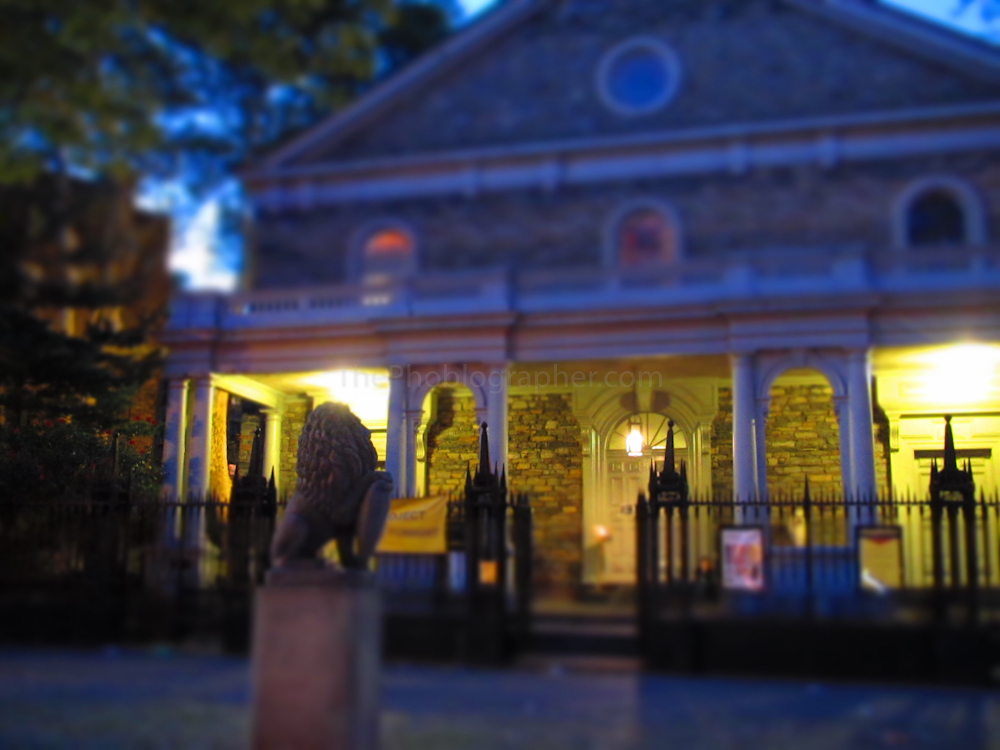
The miniature mode is actually very cool. This allows your photos to have a faux tilt-and-shift effect to them. To do this, press Func/Set, go to record mode, go right, choose miniature mode characterized by the car and building. To choose what is in focus, hold down the menu button and simply press right or left to choose what exactly will be in focus. For best results, have the rule of thirds display overlayed on the screen as well.
Once again, it’s an extremely cool feature to mess around with.
In fact, it’s perhaps the most fun feature to play with as it really makes the user think about their composition.
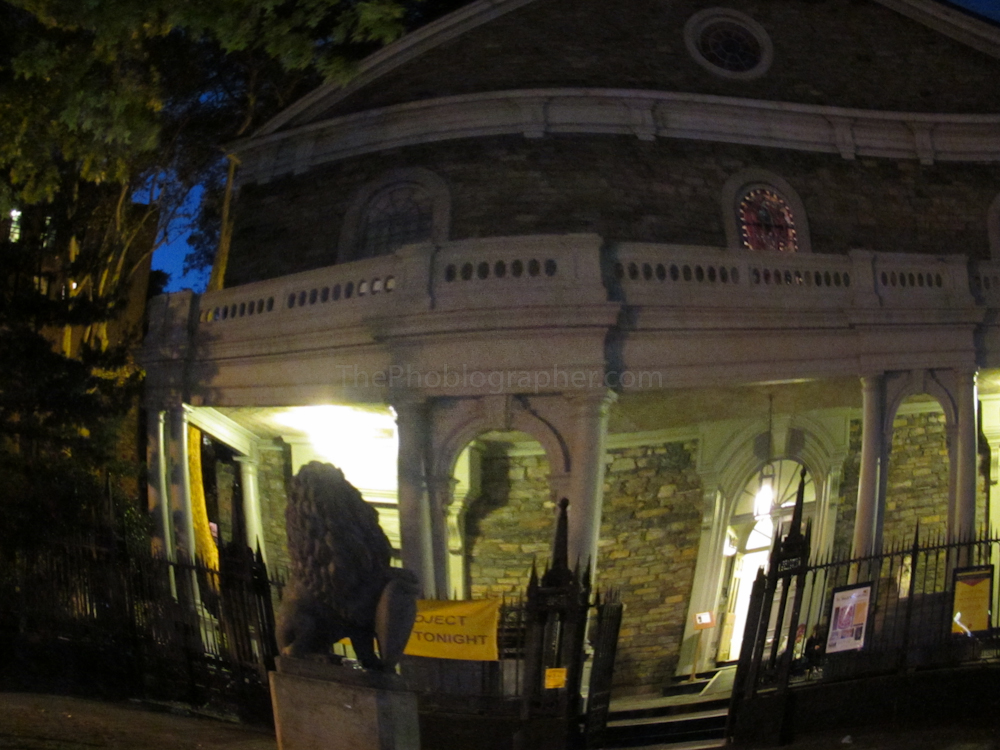
To access the fisheye effect, do as similar with the other modes but go to fisheye instead. While holding down the menu button, the user can control the level of distortion.
Unfortunately, the results can sometimes be very shaky.
Additionally, the results can be very wacky and weird.
For most uses, I actually tended to leave the camera in handheld night mode. In this mode, the users holds down the button of the image they want shot and the camera takes multiple images and combines them into one.
At first use, the Hybrid Stabilization system was actually quite awful in my eyes. Then I decided to give it a better test.
Here’s an image at the widest focal length.
Here it is fully zoomed in to 10x optical zoom. Digital zoom was off. It was much better this time around.
And yet again. I’ll let you judge for yourself.
Color accuracy of the images is nearly dead on. The above image was shot in low light mode, which takes one picture at a much smaller resolution (2.5MP). The results are more than usable for most people. To access low light mode, go into the shooting menu again and simply select low light shooting mode. Hold still!
Walkthrough video
Please Support The Phoblographer
We love to bring you guys the latest and greatest news and gear related stuff. However, we can’t keep doing that unless we have your continued support. If you would like to purchase any of the items mentioned, please do so by clicking our links first and then purchasing the items as we then get a small portion of the sale to help run the website.


