Though we (the millennial generation) don’t seem to care about the print that much, I can tell you from experience that seeing one in person creates magic in a person’s eyes. I’m not just talking about a print from a printer–although you should note before going on that this is fully a review of the Epson Surecolor P600 printer, but you should understand the background here.
Shoot an instant photo and someone will become mesmerized. Then hand it to them and they’ll be awestruck though may not necessarily know what to do with it. And that’s where I’m guilty.
Admittedly, this printer review took significantly longer for me to do than any other unit that I’ve reviewed. Why? It’s very easy for people like my and my generation to get caught up with the digital universe and stop being curious about the tangible things. It’s not that readers here don’t care about printers, we’ve found that you genuinely do in our experiments with the site. But instead, it has to do with the setup, finding space in a small NYC apartment, and getting it going. And like many people, we’re all afraid or put off by that very first initial step.
We barely print anymore: go get tickets to a concert and someone can scan your phone’s screen. But the Epson Surecolor P600 isn’t about that kind of print. It’s about art–and art is what keep that magic held in our eyes every time ink goes onto canvas and matte paper. And for a price point significantly lower than some cameras and lenses, you can’t go wrong.
Pros and Cons
Pros
- Setup isn’t that painful if you’re a Mac user.
- Lots of versatility: I was printing canvas one minute, then thick matte paper, then glossy paper.
- Printing is super fun and can be addicting, and the Epson P600 makes it fun while making it simple.
- Very simple integration with Adobe Lightroom–which makes printing even easier and fun
- This thing actually teaches you how to load the various types of paper on the little LCD screen, and it’s very simple if you pay careful attention to the diagrams.
Cons
- It ships in a massive, intimidating box that will probably make you not want to open it to begin with.
- Takes around 10 minutes to initialize itself after you’ve inserted the inks and turned the printer on.
- WiFi Setup froze up upon setup, and we needed to turn the printer on and off to get it back to doing its job.
- Manual paper insertion tray should have much better designations for paper sizes and alignment
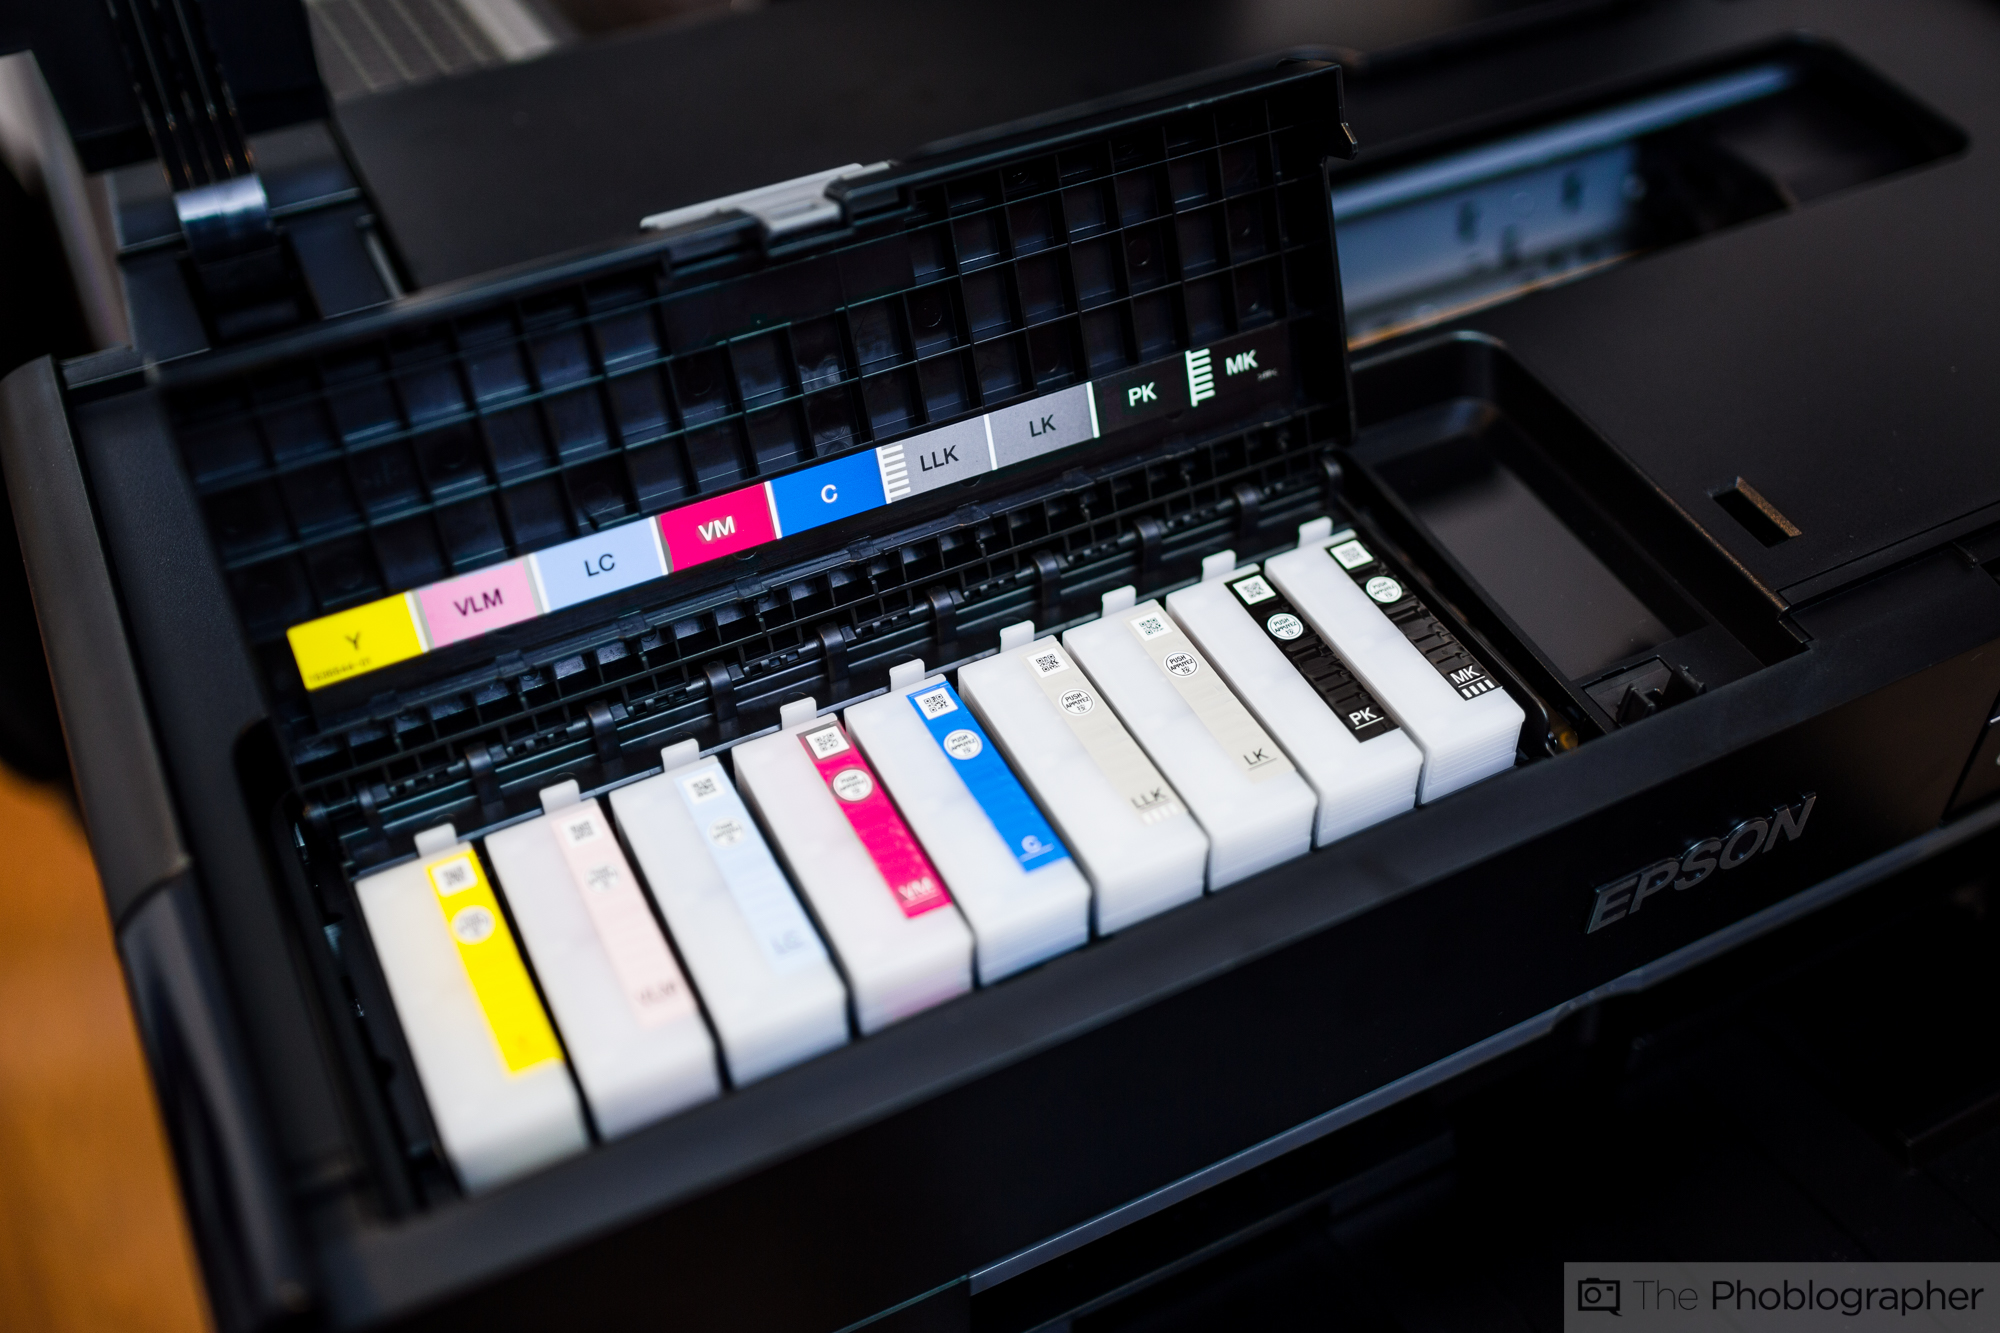
- At this level, you’re buying inks pretty much by the individual color, so you need to justify it to yourself.
Gear Used
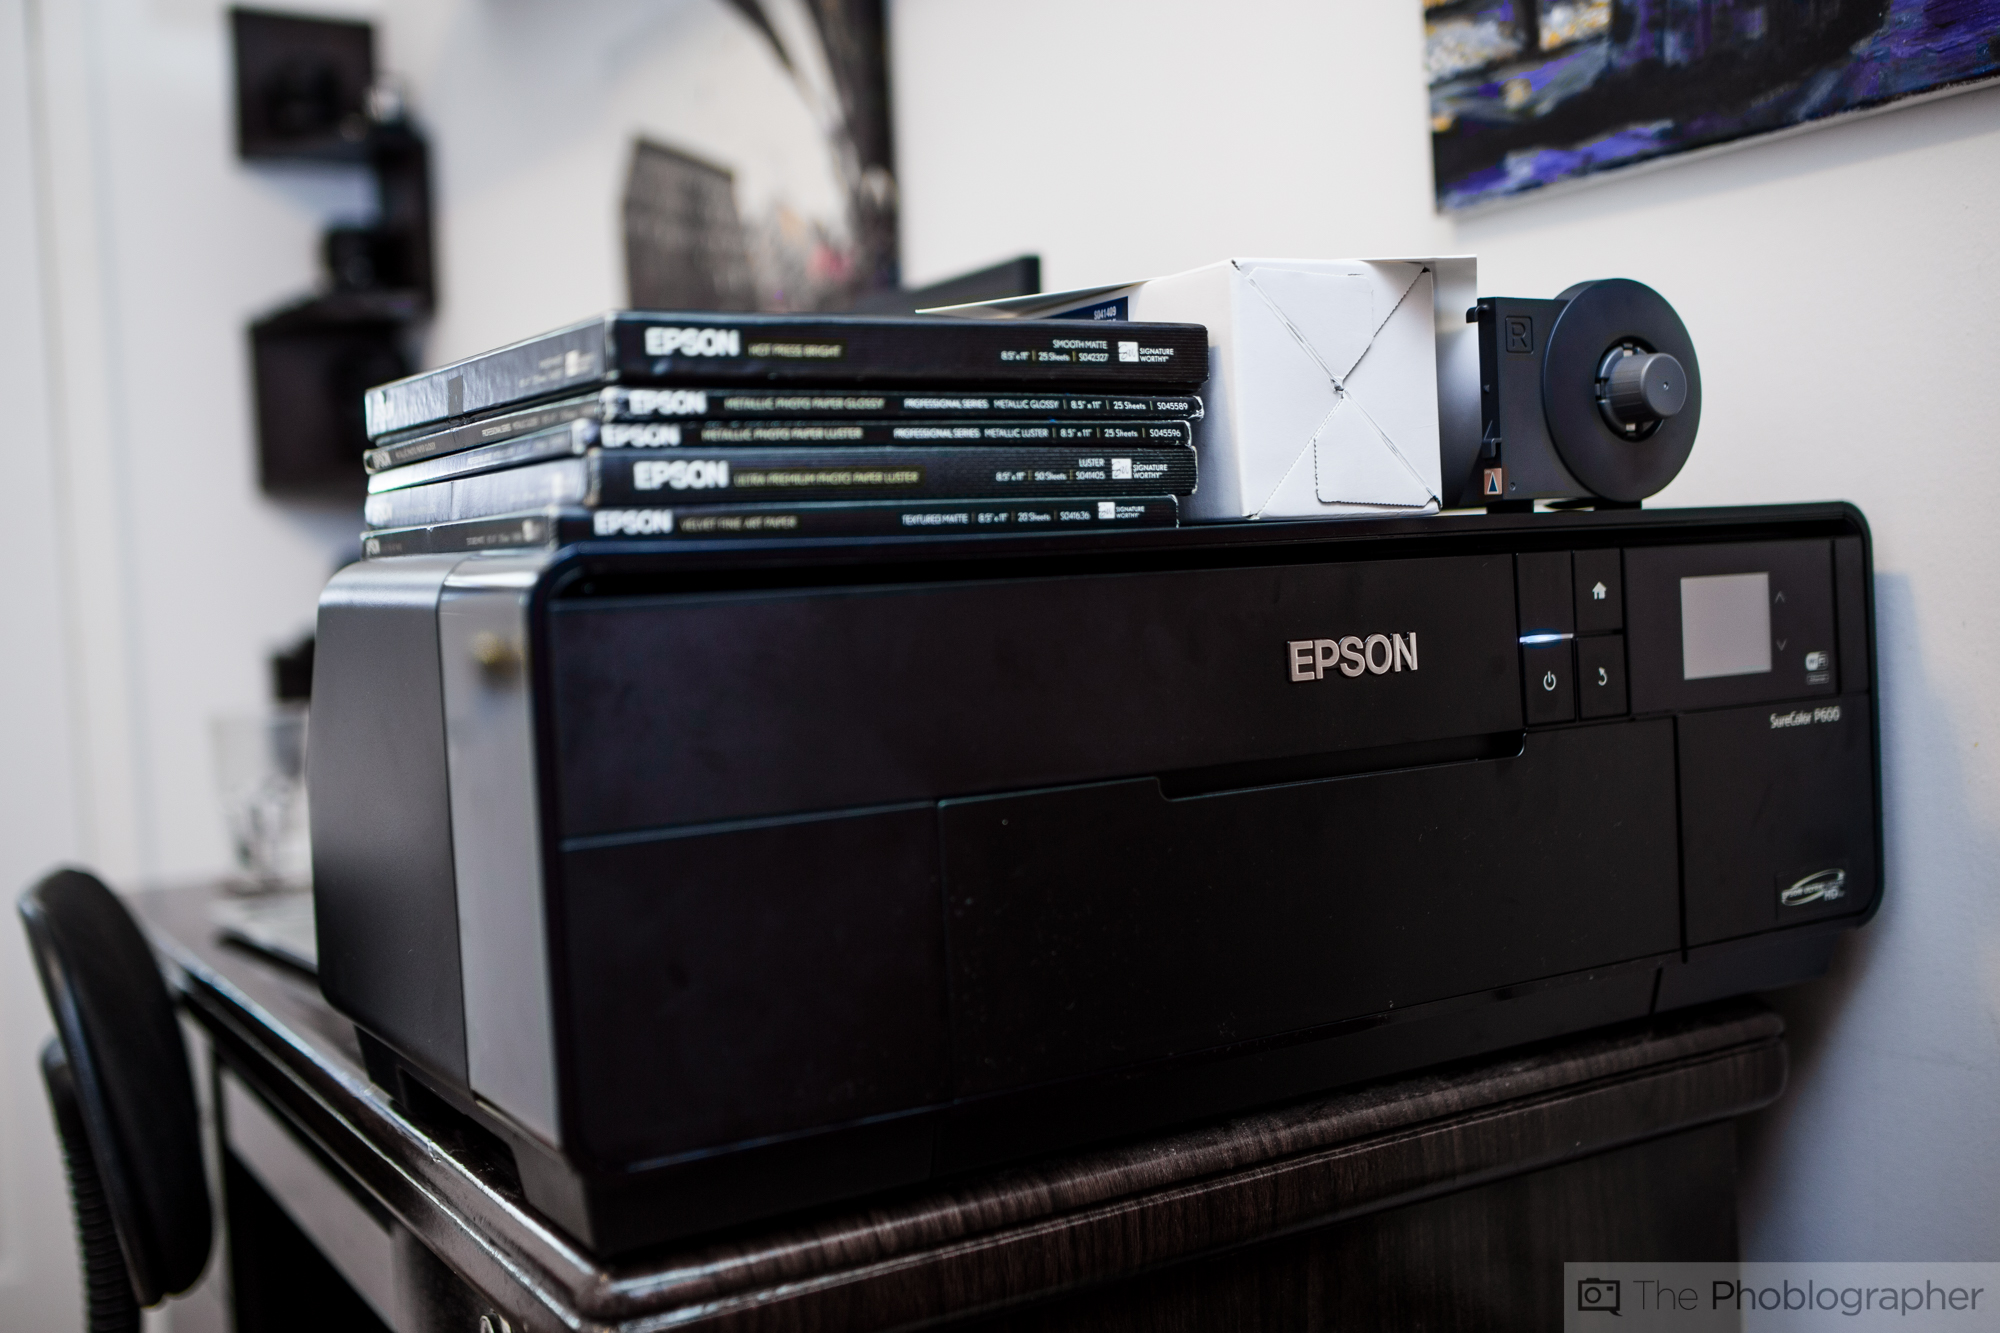
We used the Epson Surecolor P600 printer with Epson Exhibition Canvas Natural Gloss paper, Epson Hot Press Bright Smooth Matte paper, and lots more that Epson sent us for the review of this unit. These two papers are the funnest to work with.
Tech Specs
Specs taken from the B&H Photo listing.
| Packaging Info | |
|---|---|
| Package Weight | 43.5 lb |
| Box Dimensions (LxWxH) | 30.5 x 21.5 x 17.0″ |
Ergonomics
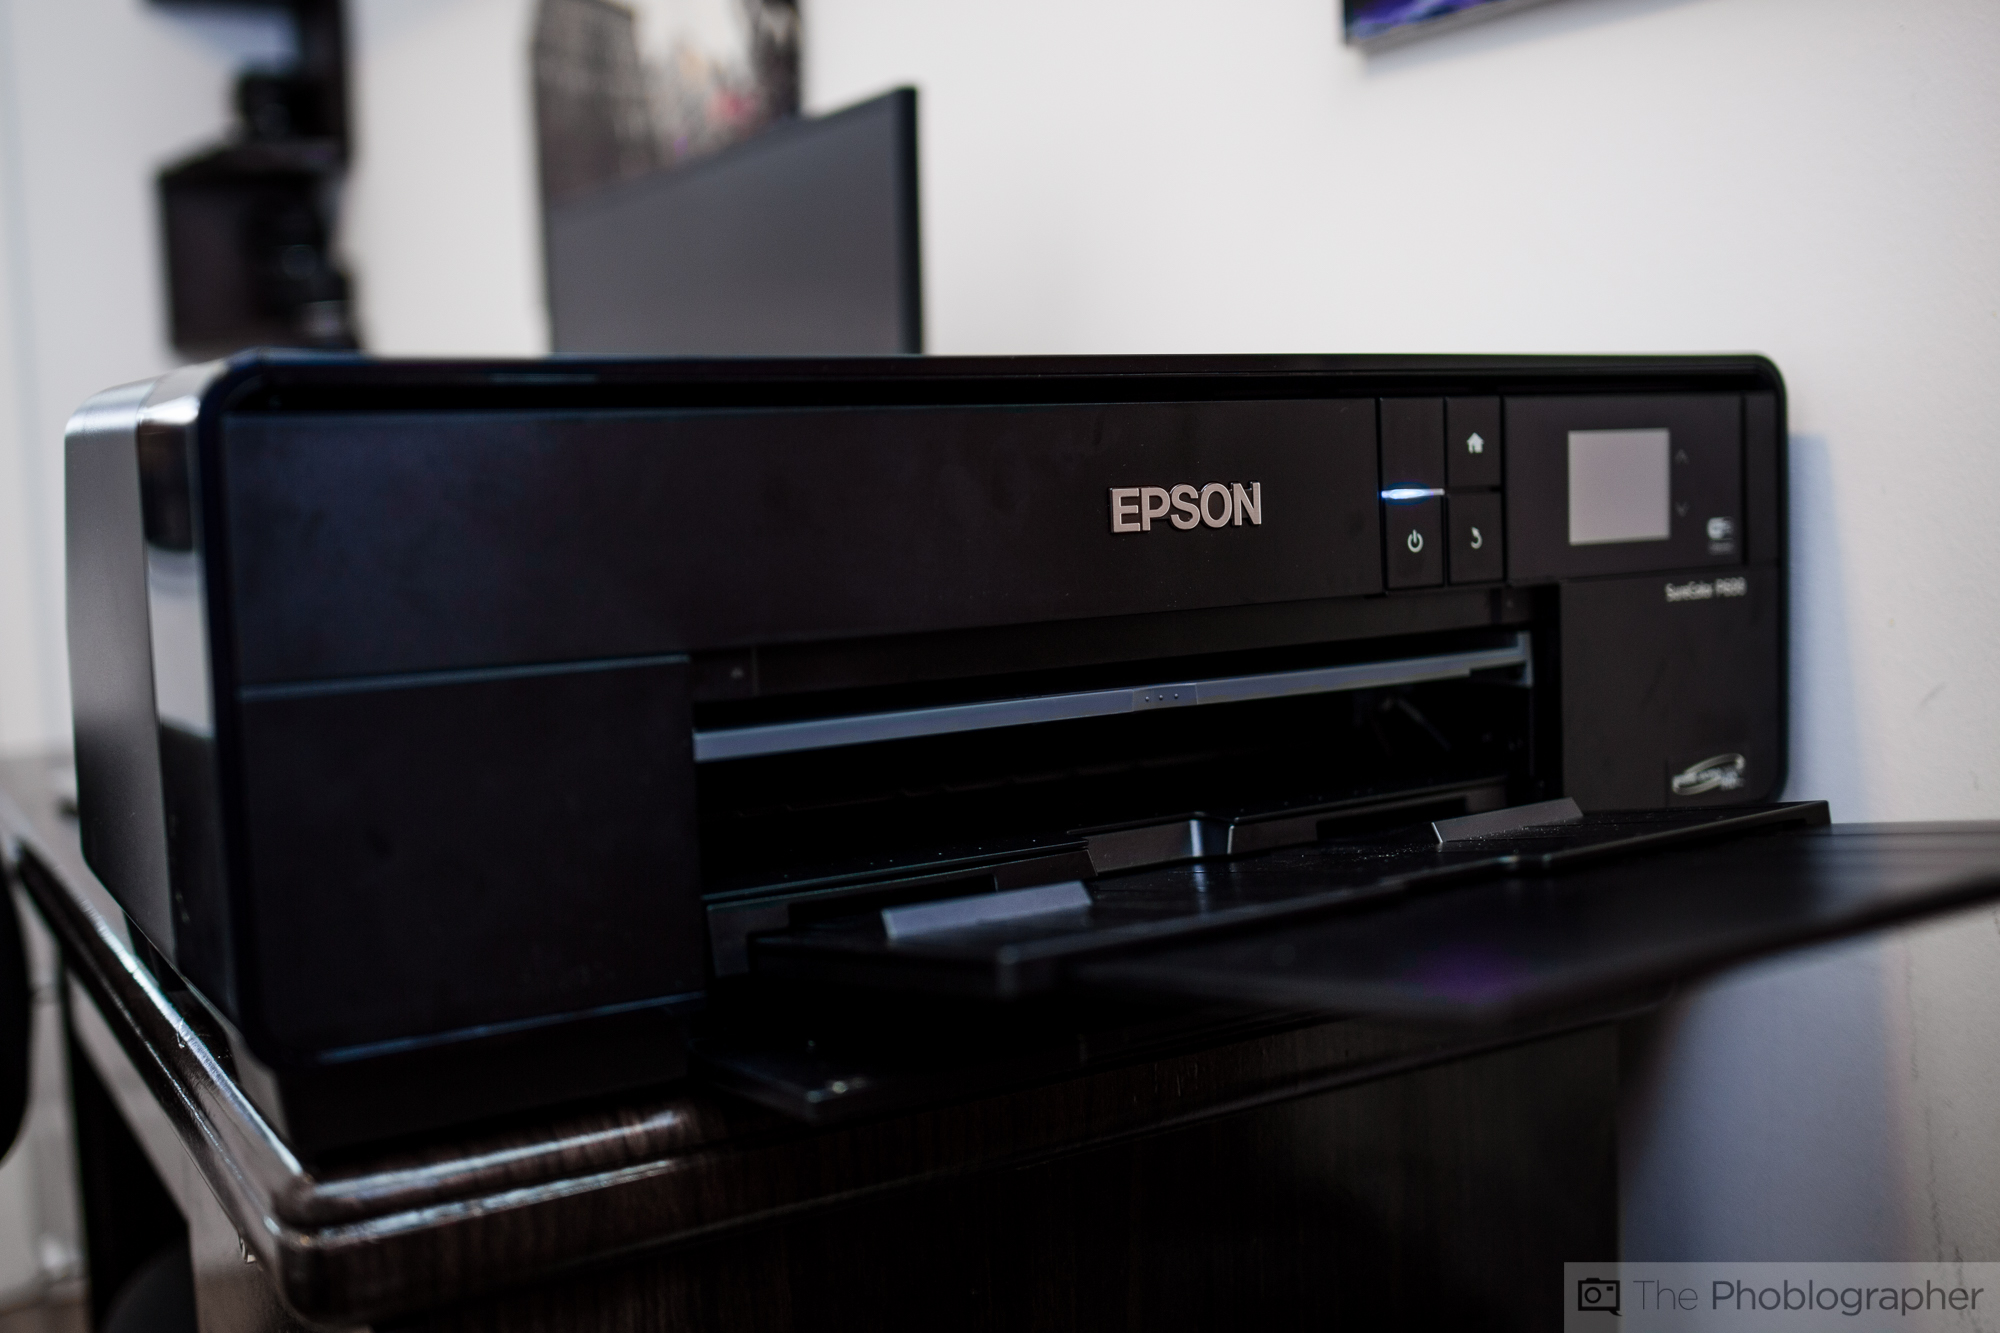
The Epson Surecolor P600 printer tries to be as minimal as it possibly can be–but that’s tough to do when you pack this much power into one machine. And so we start our ergonomic tour with the front of the printer. Here you’ll find the paper catch tray that extends out. Above all this are the power and navigation buttons. Next to that is the touch LCD screen that also has optional buttons on the side.

The gray part that you see is the manual loading tray–which can be pushed in with a satisfying click and released with just the same type of click. This is my preferred way of loading paper since I really only print one photo at a time and I’m using very thick paper.
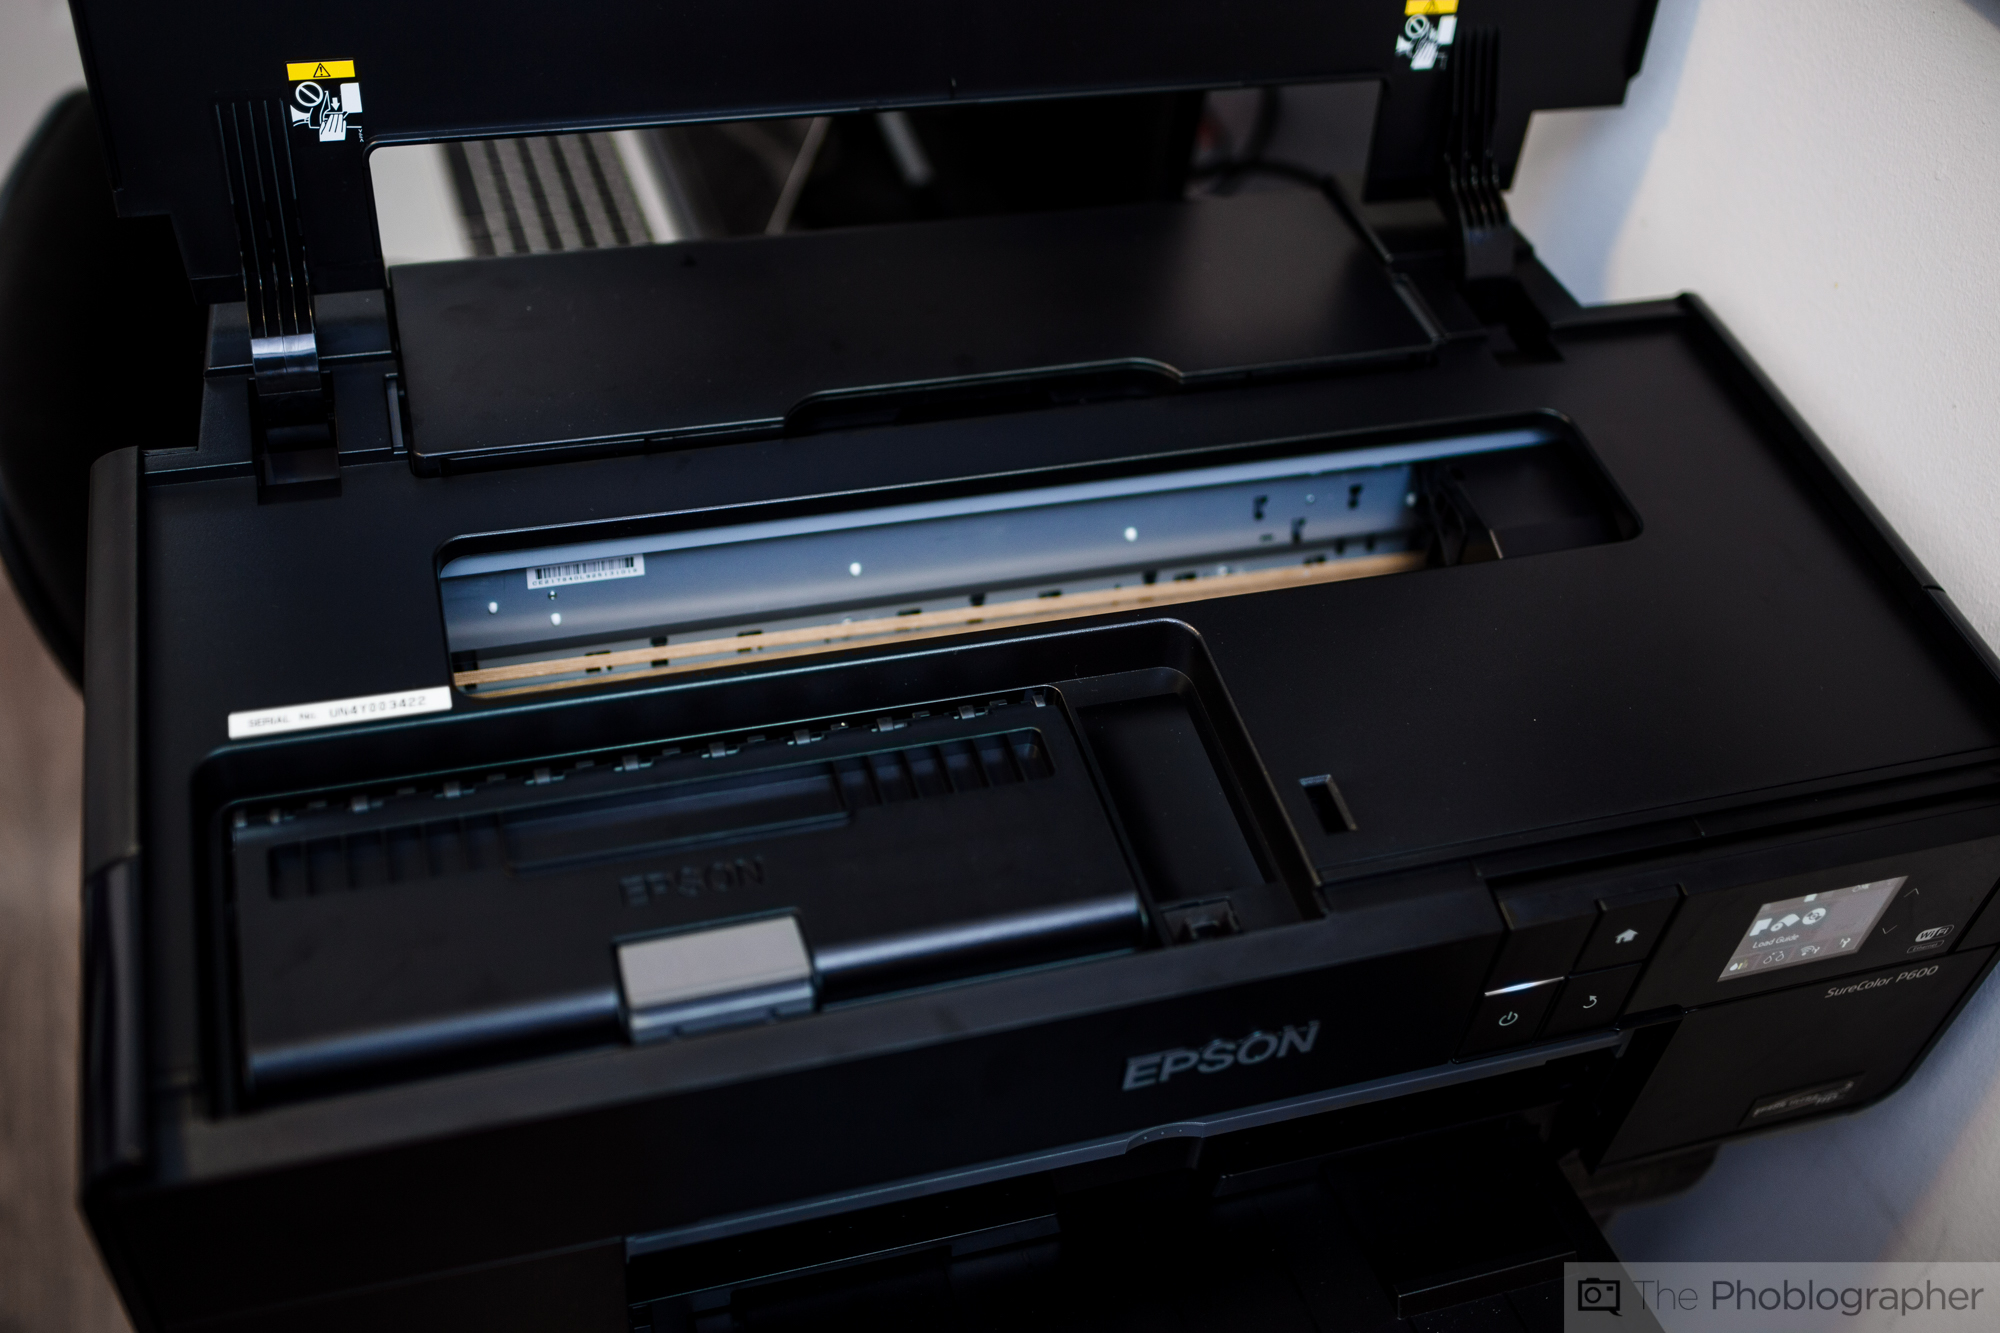
Move to the top of the printer and what you’ll find when you lift up the cover is…honestly, lots of stuff. You can load the ink into the front left area and paper jams can be cleared from the gray area going from the left to the right. This area is also called the automatic printer feed area–so you can load thinner and more conventional paper into here, too.
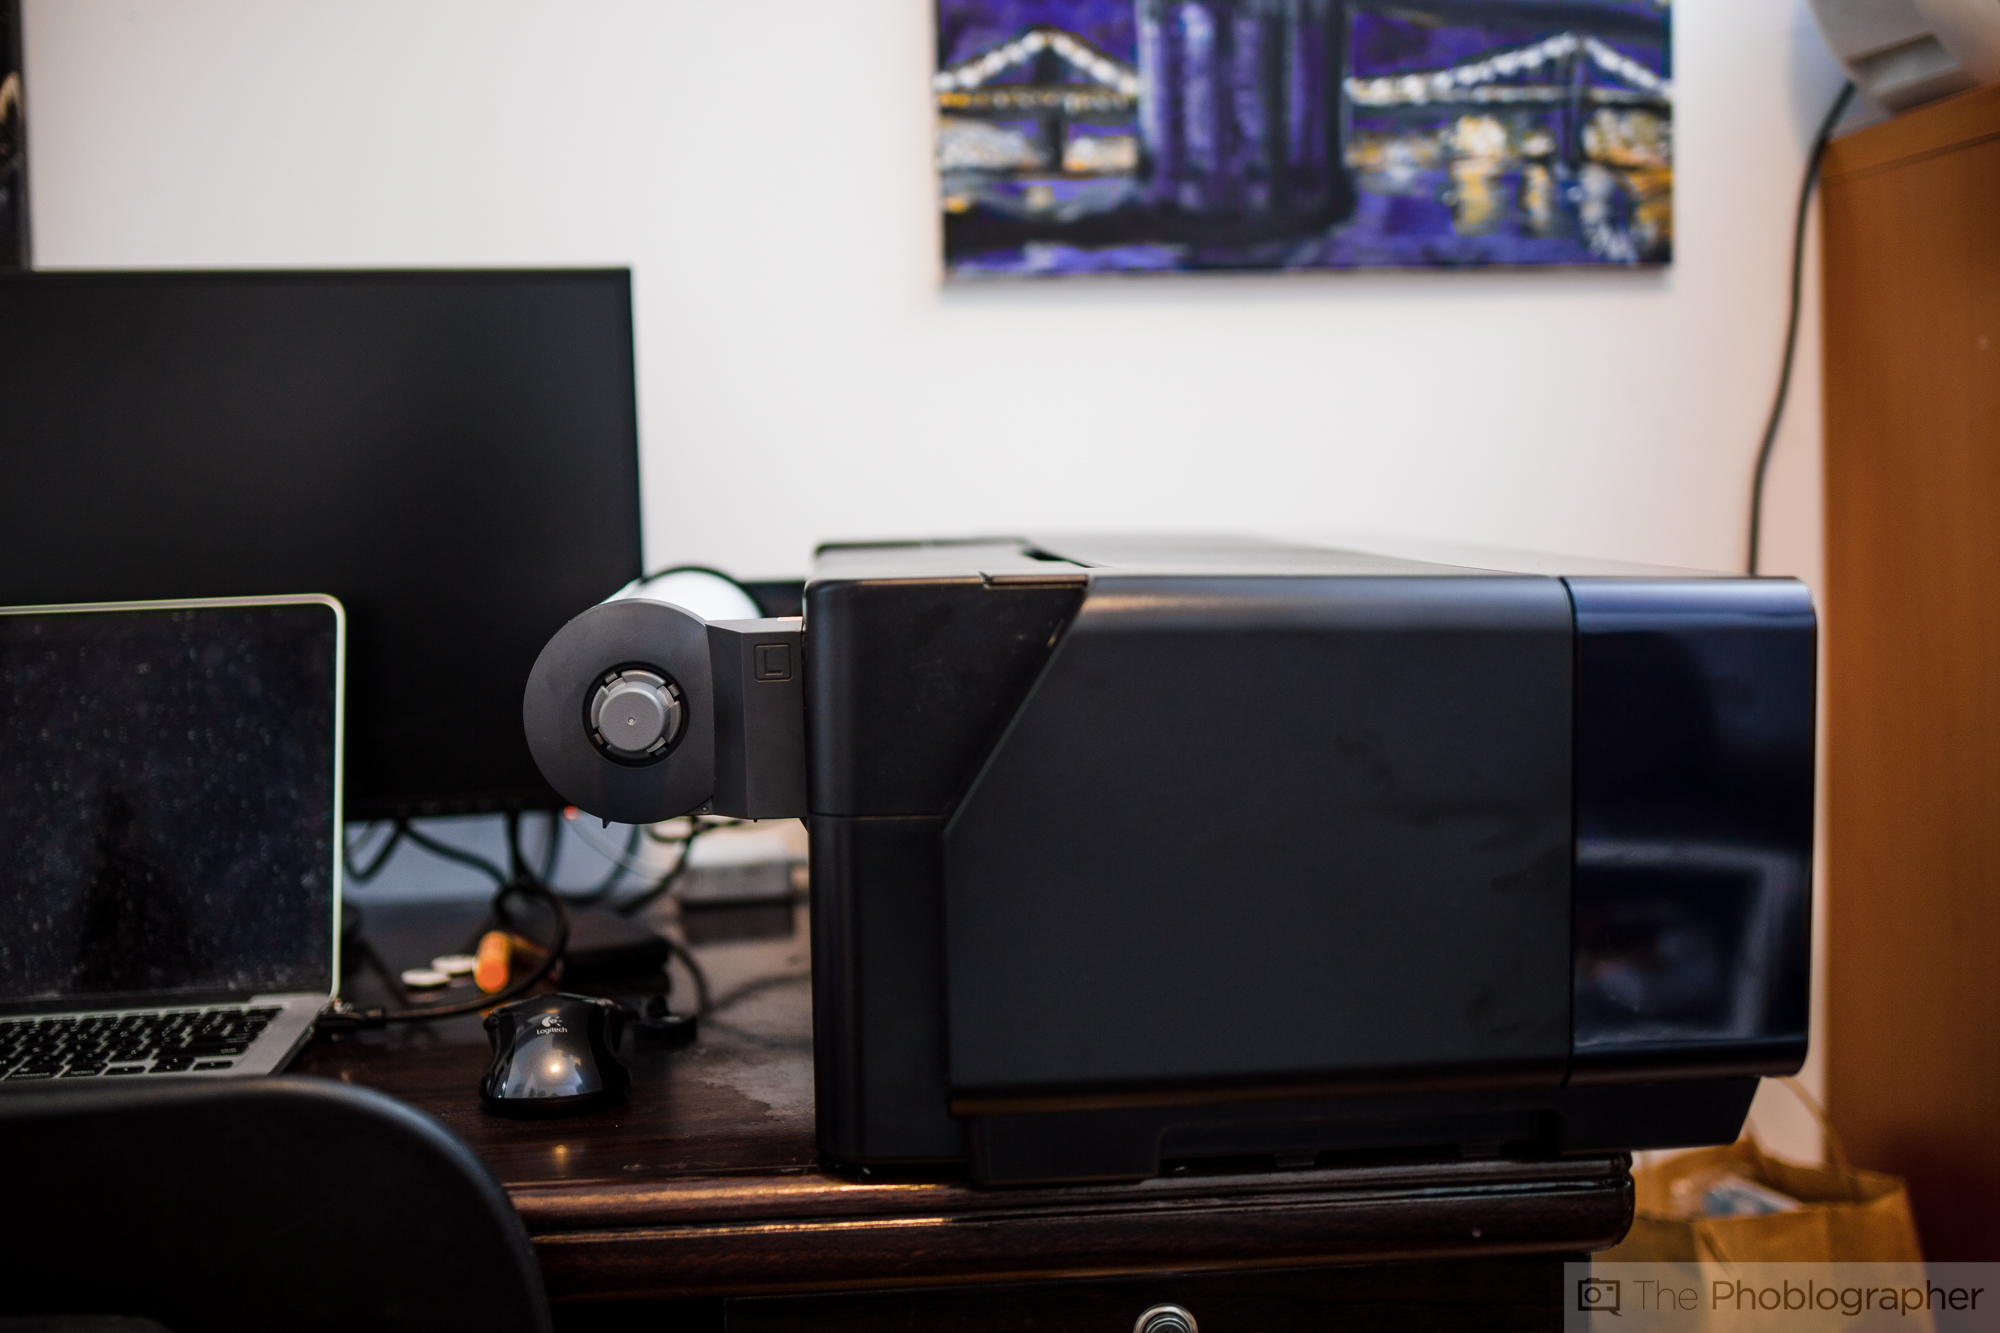
If you want to load up canvas paper, you’ll need to open up the rear catch, put the canvas on the rollers, and insert the paper. After you’ve told the printer that this is the paper you’re going to use, you just roll the paper in and it automatically gets a hold of it.
Build Quality
Though it has a lot of plastic components, it’s a well-built printer that looks beefy but is actually very lightweight. When first exploring it and taking off the plastic tabs to unleash everything, you’ll want to be careful–or at least I was while doing it.
Also remember that during a printer paper jam you need to apply constant, steady and even pressure when clearing the paper out lest you rip it.
Yes, this sounds like someone who has worked with a printer for the first time–but it’s really not. It’s just been a while and working with something like this is serious for a photographer that wants to build themselves and their business.
Ease of Use
Let’s be honest here, this is a printer meant for someone that’s a bit more tech savvy and patient–but it tries to work with you. When you boot the printer up after you’ve inserted the inks, it takes a while to initialize itself. After that, it’s ready to print, but you’ll have to decide whether you want to send the images wirelessly via WiFi or if you want to send them through a USB cable.
My personal philosophy is that the less cables I have on my desk, the more space I can reserve for the loads of lenses that come in for me to review. But with that said, setting up the WiFi was a bit of a headache. After choosing the standard one in my apartment (I have two configurations because I pay for a Time Warner Cable business class connection) I typed in the password and it tried to connect. Then it gave me a blank, illuminated screen while the blue light on the front of the printer kept blinking.
I sat there waiting for over 10 minutes for a sync wondering what the heck was going on until I turned the printer off and back on again. At this point, I was pleasantly surprised to learn that the printer connected–a confirmation would have been nice but this could genuinely just be a weird fluke that happened to me.
Why me though? 😉
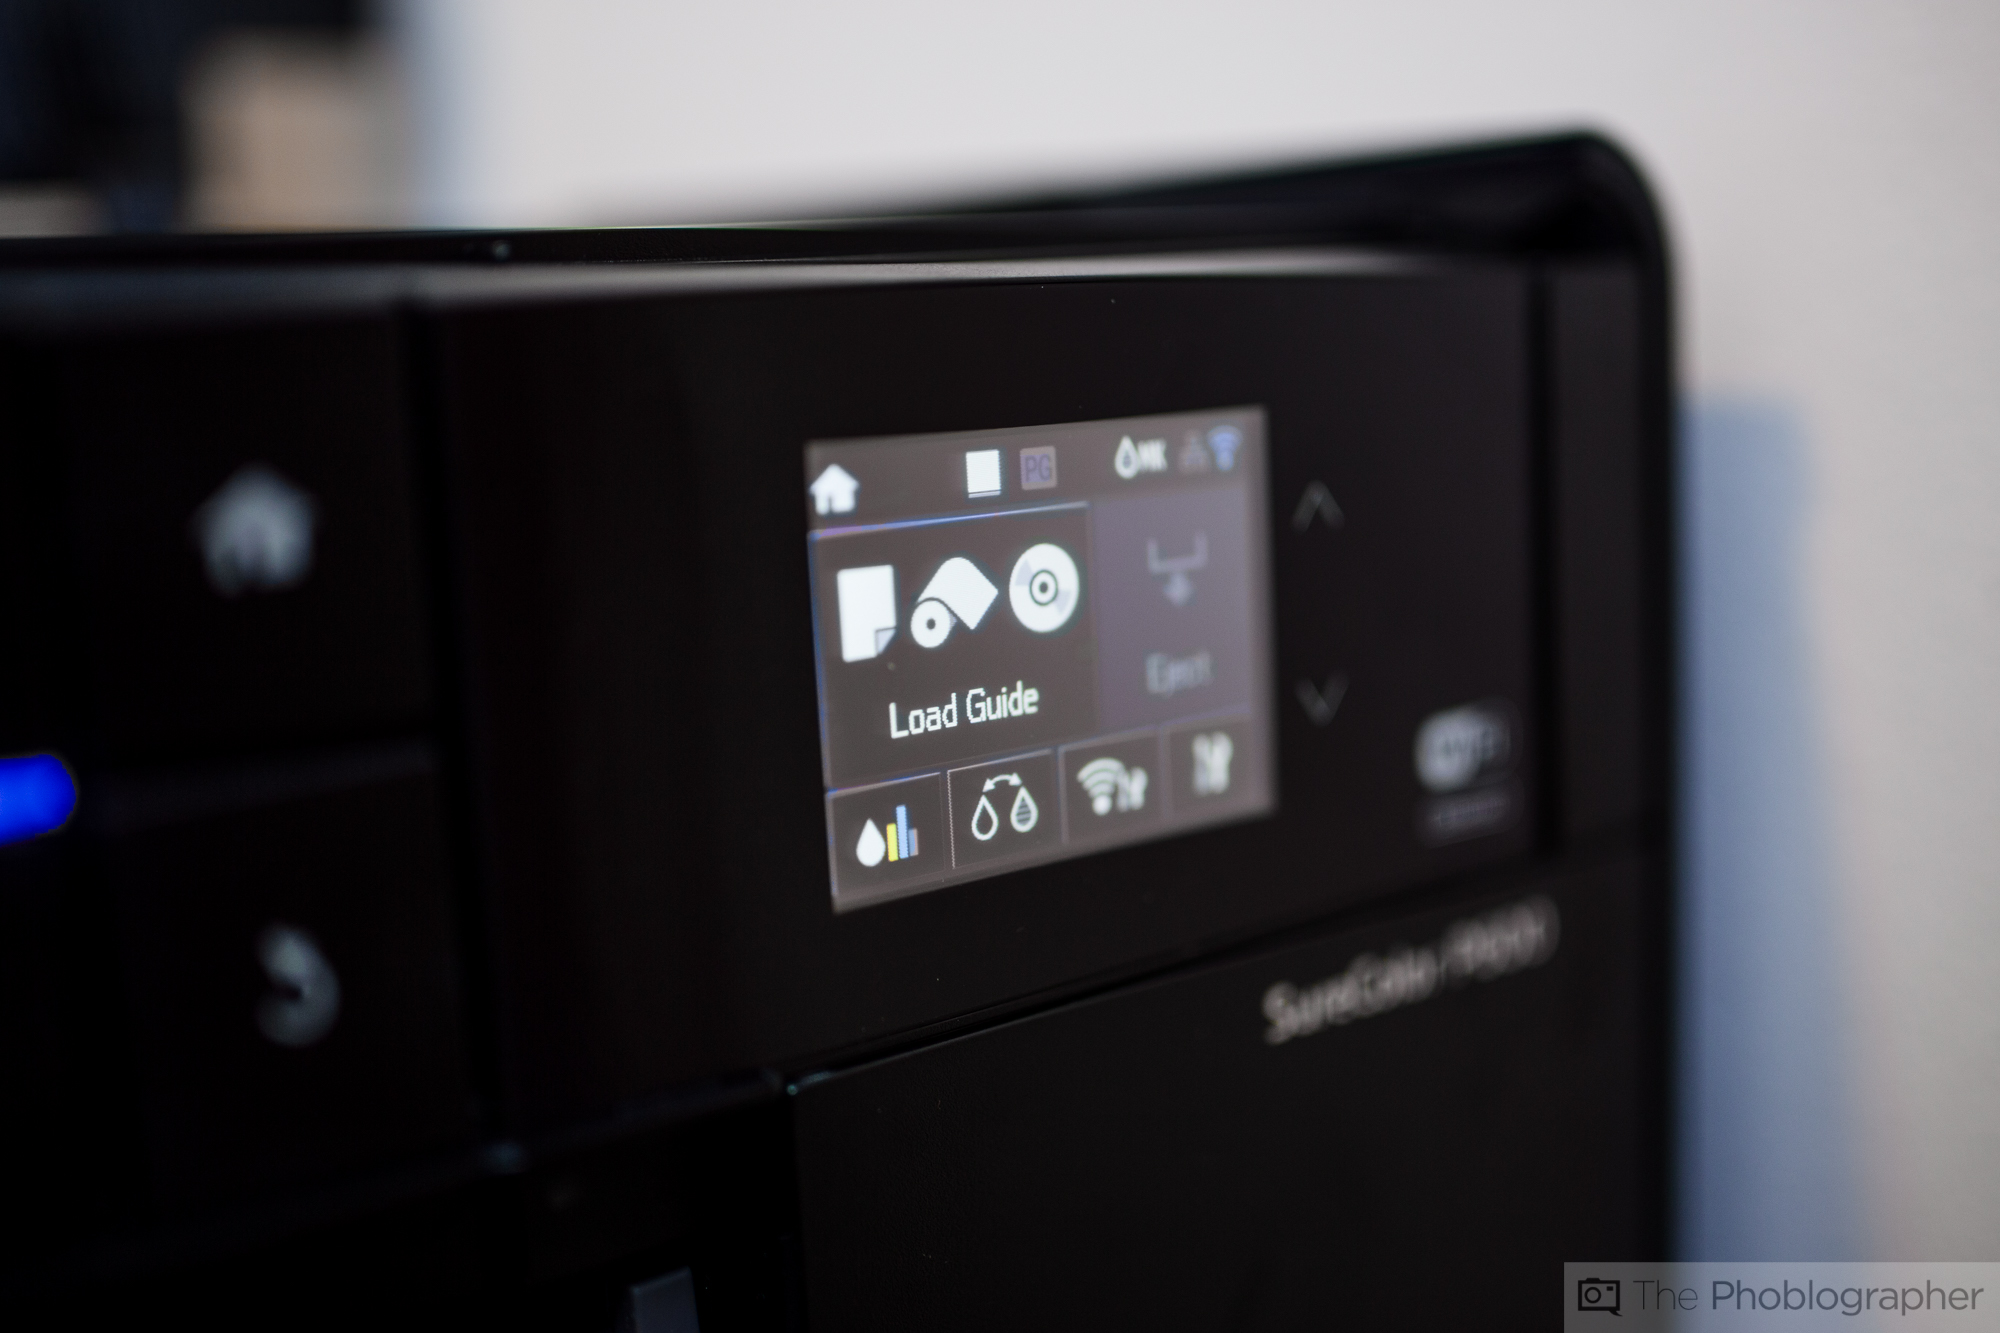
After this I went about loading up the canvas paper. To do this, I went to the LCD screen–which is essentially an all-in-one hub, but in a much better way than I’ve seen with HP or older Canon models. The Epson P600 taught me how to load and setup the canvas roll with instructions followed by diagrams. It’s never been easier and it meant that I didn’t need to break out the manual. For what it’s worth, I’m one of the people who never minds reading the manual–but I can’t tell you how many people hate doing that.
Into Adobe Lightroom CC I went and chose a photo of my roommate that he recently asked me to shoot of him. I printed an image and framed it for him within 10 minutes because I had the wood lying around. He loved it. Then I made a bigger print, and he loved that even more. While printing the canvas, the printer tells you when its done and allows you to cut it yourself by giving you extra room by spitting out more canvas. When you’re done, it takes the excess canvas back in. It would be really nice if Epson gave an option to automatically cut the canvas for you based on the size dimensions that you set in Lightroom.
The mad canvas printing spree continued and I printed out canvases of Amanda and Asta, two models whom I often photograph for the site. When showing them their prints, they became giddy.
Then I moved onto another paper type and so I chose the manual loading tray. This tray is usually tucked away until you press it and unclick it from its holster. The LCD screen asks you to load the paper type according to what the tray configurations state. Unfortunately, these configurations are tough to see–or at least you should know that I’m becoming more and more blind. A nice touch would have been to color code these tray designations so that A4 (the one that I used) appeared in red on the tray and something else was blue, etc. When you do this, the paper comes out of the back of the printer and preps itself to be printed. Once you print, its spat out through the front.
Cool stuff indeed.
Print Quality
Print quality really varies based on paper, your calibration, and what you tell the printer to do. But Epson also incorporates loads and loads of different types of inks to precisely mix colors. Canon does something similar with their higher end printers.
After calibrating my screen, I set Adobe Lightroom to automatically define the printing parameters based on detection. It honestly did a pretty good job while working with the printer. But then I started to try to fine tune them and was able to create more pleasing prints. To be fair, I calibrate my screens (I have two) once or twice a week depending on if I’m traveling or not. In order to get the most from these printers, you need to do this.
I printed lots of photos from the Canon 6D, Tamron 35mm f1.8 Di VC, Sony A7r Mk II, and the Fujifilm X-T1. When combined with great Epson paper, it creates beautiful prints with lots of details. As my roommate pointed out to me, it can even render things like little water droplets.

Here’s the image that he was talking about. Obviously, seeing a print behind a screen like you are on this site does it no justice; and so we’re not going to show an image of a print. But printing is something you need to see to believe. To be fair, this also isn’t the best quality print that it can deliver. If you see that stuff, well, you’ll be ready to submit your images to a gallery.
Conclusions
![]()
Once you’re ready to make the leap and get beyond the initial setup phase, you’ll be amazed. It’s a big printer, and it’s bigger than my desk in some respects–but you’ll really appreciate what it can do if you’re a serious photographer. If you work with it and pay attention to the sounds and the LCD screen, you’ll realize that it was well-built and designed. And to be honest, we can’t imagine how printing could become any more fun or simple at the serious level.
The Epson Surecolor P600 printer wins the Phoblographer’s Editor’s choice rating and five out of five stars. I’d usually, put a buy here link, but I’d do a great injustice if I did. Printing is something you need to see to believe. If you experience the Epson quality at a local photography dealer, come back to the site and click our pay through links in this review.
But seriously, go experience it yourself. Life and photography is about experiences.
Get rid of the ads!
Did you enjoy reading this article as much as we enjoyed writing it? There's a way to support us and our reporting, getting ad-free navigation and more as a bonus. Subscribe to us for less than a coffee per month —just $3.99— or take advantage of our yearly subscription with a hefty discount for only $25.- An ad-free experience
- A free mystery box for Lightroom or Capture One
- All the books in our store
- 20% discount on Capture One
- 30% discount on Imalume Photo Theft Protection
- 20% off Herbs and Kettle Tea Company.
- 20% off your order from MPIX printing services.
- 5% off Viltrox Products via their eCommerce store.
- 10% off all film developing, printing and scanning services from Blue Moon Camera and Machine
- 15% off 7Artisans products: The lens and accessory maker is offering a sweet discount for Phoblographer's readers.