

It’s been some years since I used any of the software from the Nik Collection suite. Nearly a decade I’d say. Their U-point technology was one of the most precise editing systems I’d seen back then, and I was often in awe of their color replacement tech. But my editing style changed and Nik and I parted ways about a decade ago. During this time, the company owning them changed at least once. When the most recent upgrade, the Nik Collection 9 was announced, my interest piqued and I reached out to the new owners DxO Labs to try the suite out.
Table of Contents
What’s New In Nik Collection 9
Quite a few tools and features are new to Nik Collection 9 as compared to previous editions, some of which are AI-enabled. Most notable among these are the new AI Masks and the even more impressive sounding Depth Masks (which allow you to select areas of your photo based on perceived distance from the lens), and new Color Grading tools. What I didn’t expect to see though, was this rather shocking error when I tried to load some files into Nik Viveza 9
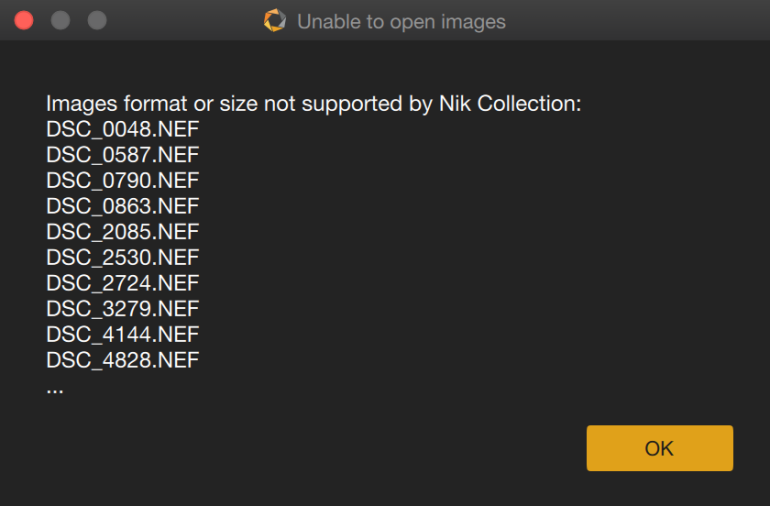
Firstly, I can’t remember that this was a restriction when I last used the Nik Collection. Was I really so much of a jpeg photographer back then that it didn’t phase me all those years ago? Anyhow, it’s rather surprising that Nik hasn’t evolved to support raw files as a starting point for photographers to edit. That then reduces the Nik Collection 9 as a suite for people to only further enhance their photos after having done basic exposure corrections in other software. Anyhow, that meant me now having to convert all my NEF files into jpegs using Photoshop, before importing them into the various Nik software, not something I expected I would have to do when I installed the apps.
Nik 9 Color Efex
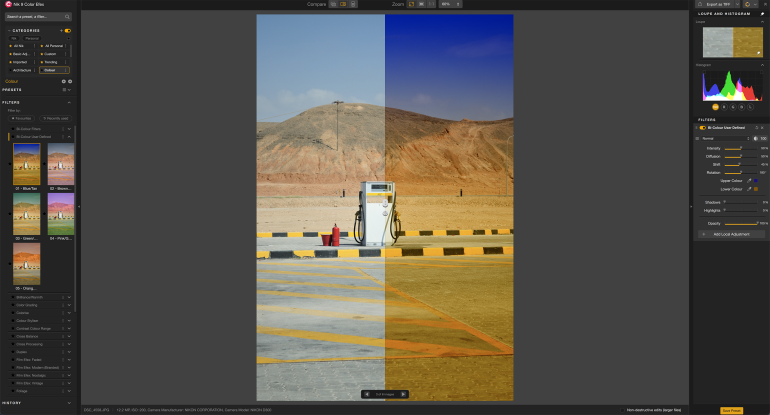
One of the most popular apps of the Nik Collection 9 suite is the Color Efex tool (wasn’t this called Color Efex Pro earlier)? Opening this up not only brought back a flood of memories, it also reminded me of the early days of Instagram filters. At first glance, the available filters shown in Color Efex might give you that impression, but it is a little more capable than that in terms of giving you editing options.
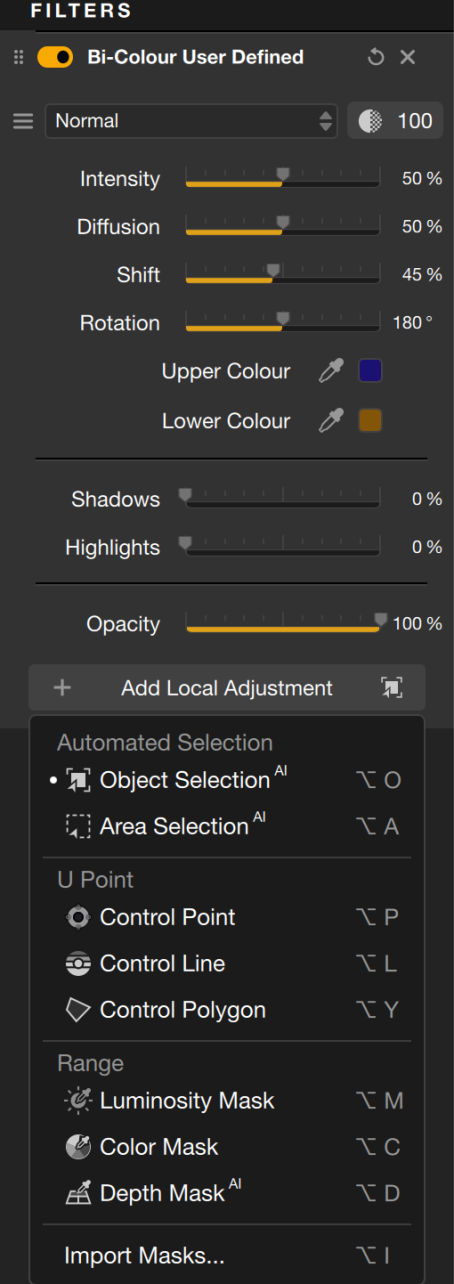
Layering is a definite possibility with the app giving you the ability to also toggle on and off each layer, something that is extended to their other apps too. But where previously Color Efex and other tools used to champion what was referred to as U Point™ Technology, now they also have AI masking and Depth masking tools which some editors might find more intuitive to use in order to select portions of the image. These AI tools take a bit of time to show effect, and it was odd to not see a progress bar as they run in the background, often suddenly showing masks when I least expected them.

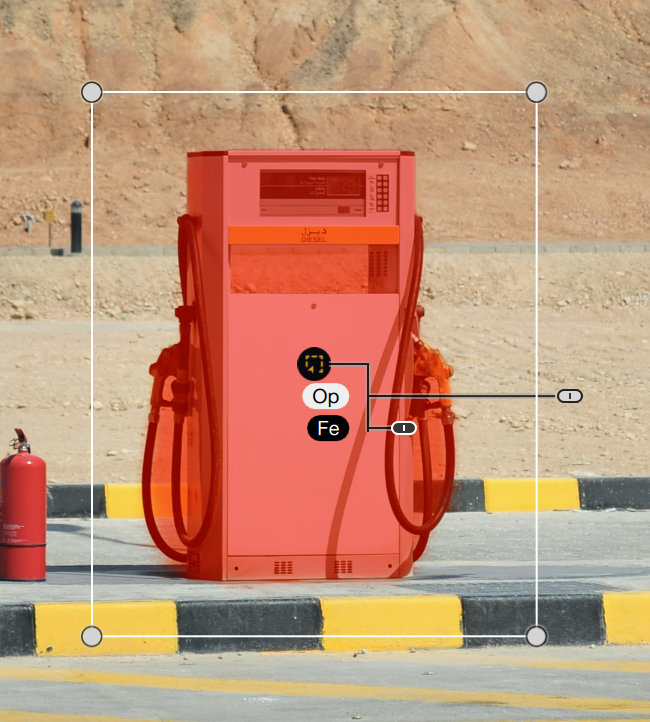
I thought the Object Selection AI tool would have easily been able to pick up the petrol pump when I drew a box around it, but sadly it wasn’t the case as you can see in the image above.
I had to choose the Area Selection AI tool instead for far better results, even if the gaps between the hoses were selected too. Next, I tried out the Depth Mask AI enabled tool to see if the area behind the pump could be selected easily.
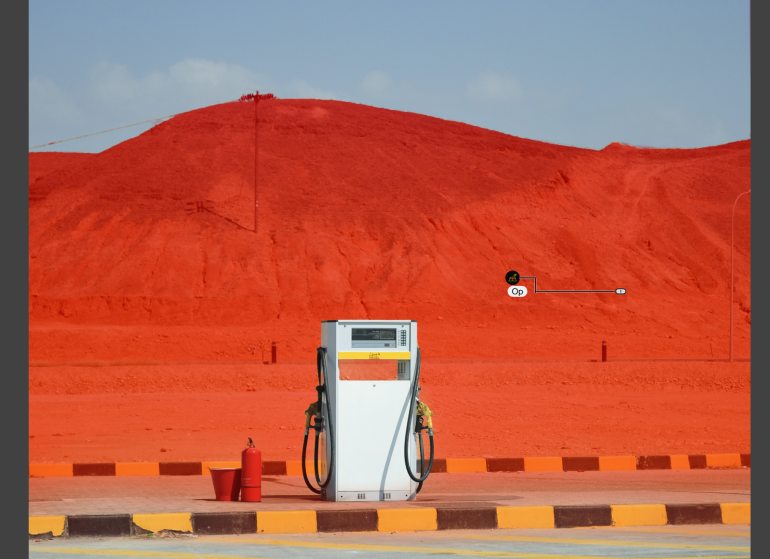
This one worked a lot better, cleanly leaving out the sky, and selecting the sand and mountains behind. Nik describes this tool as being able to understand the distance of various parts of the image from the lens, and then making a calculated selection, even when depth data is unavailable in the image (which is the case pretty much every time in a jpeg file).
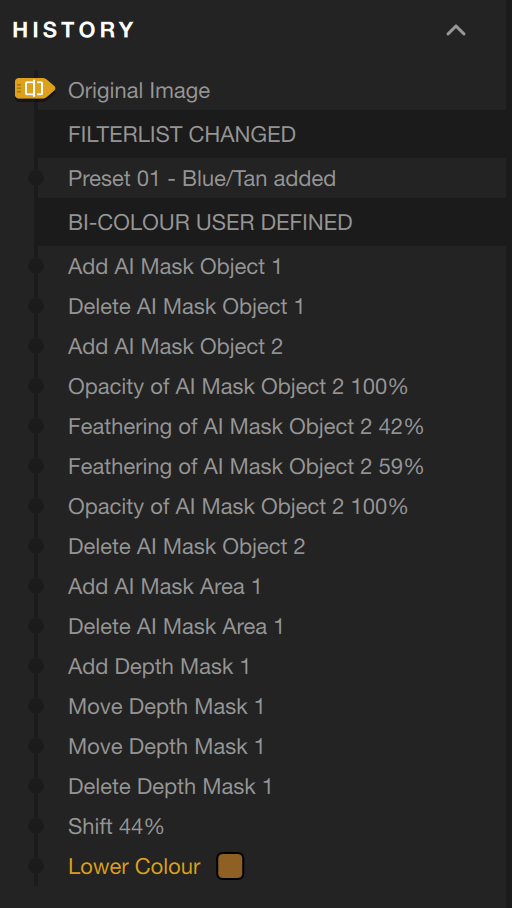
It’s neat that you get a history tab as well which you can use to go back in order to see the state of your photo as well as export it from there if need be.


Even if on first glance it just seems like a collection of extensive filters for your photos, Color Efex from the Nik Collection 9 suite is a powerhouse of color editing options that allow for localized changes as well. Best used when you have plenty of time to edit as you can get easily lost in the ocean of possibilities here.
Nik Silver Efex
This was one of my favorite tools to use in earlier Nik Collection versions. At the time, Silver Efex was the definitive software for me to create stunning black and white conversions from color images. The level of creativity it was able to bring out from me back then was unparalleled because of the plethora of tools available inside it. There was only one image I could think of to edit in it – one of my favorites from 2008, which I shot back on the island of Burano in Italy, which I’d titled “Catch Me If You Can”

You get the same AI enabled masking tools and filter options (albeit monochrome ones) as earlier, but in addition to this, you get film simulation curves in a dropdown list, and grain possibilities for further fine-tuning your color photograph into a monochrome stunner.
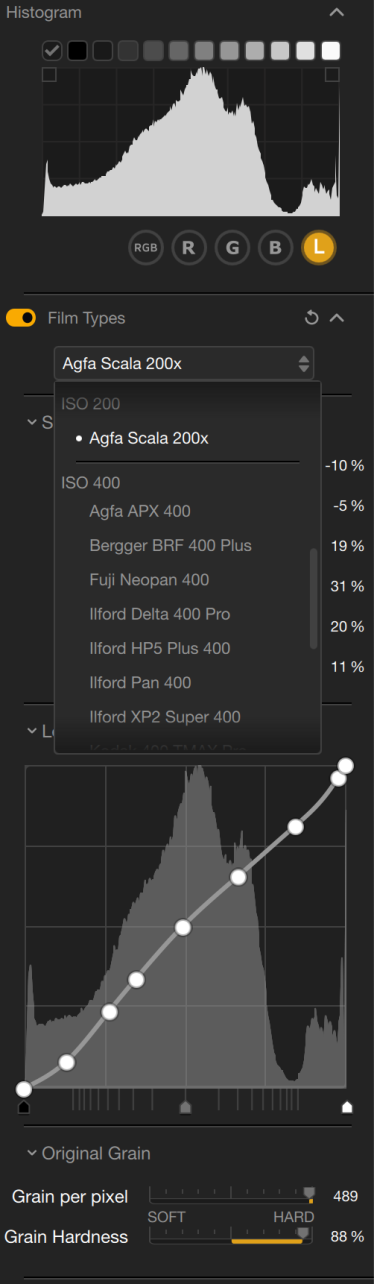
Halfway through my edit of this, I realized that many years ago I had edited the same image in Silver Efex as well. It was a nice throwback to an image that captured my heart almost immediately after I clicked it. AI masking helped quickly select the little child in the background in order to brighten him a little.


Silver Efex is a great piece of software when used with patience. That’s not only because there are very many presets in there that you could at times find yourself lost in, it’s also because there is so much fine-tuning that can be done in it. Just remember not to lose sight of your own original vision for your photo’s edit, so as not to find yourself tumbling down a post-processing rabbit hole. This is easily my favorite unit of the Nik Collection suite.
Nik Viveza
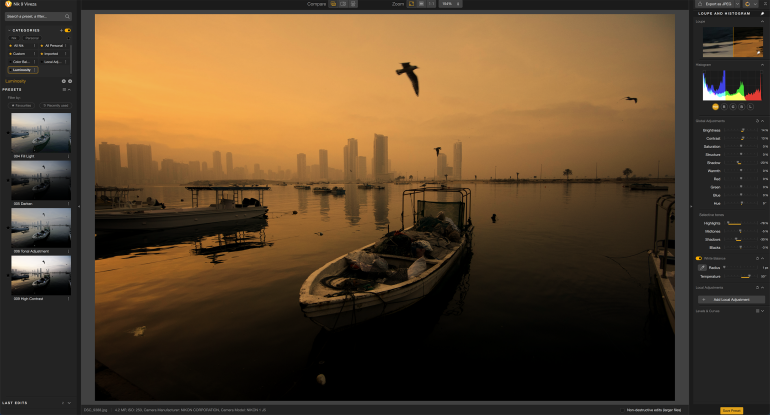
Viveza is probably the easiest to use of all the color correction units of Nik Collection 9. Pretty much all the presets in here apply their changes at an image level, rather than a localized one. Think of it as a one (or few) click corrective tool for you to quickly adjust and enhance parameters of your photo like contrast, fill light for the shadows, skin softening, sky and foreground adjustments etc.
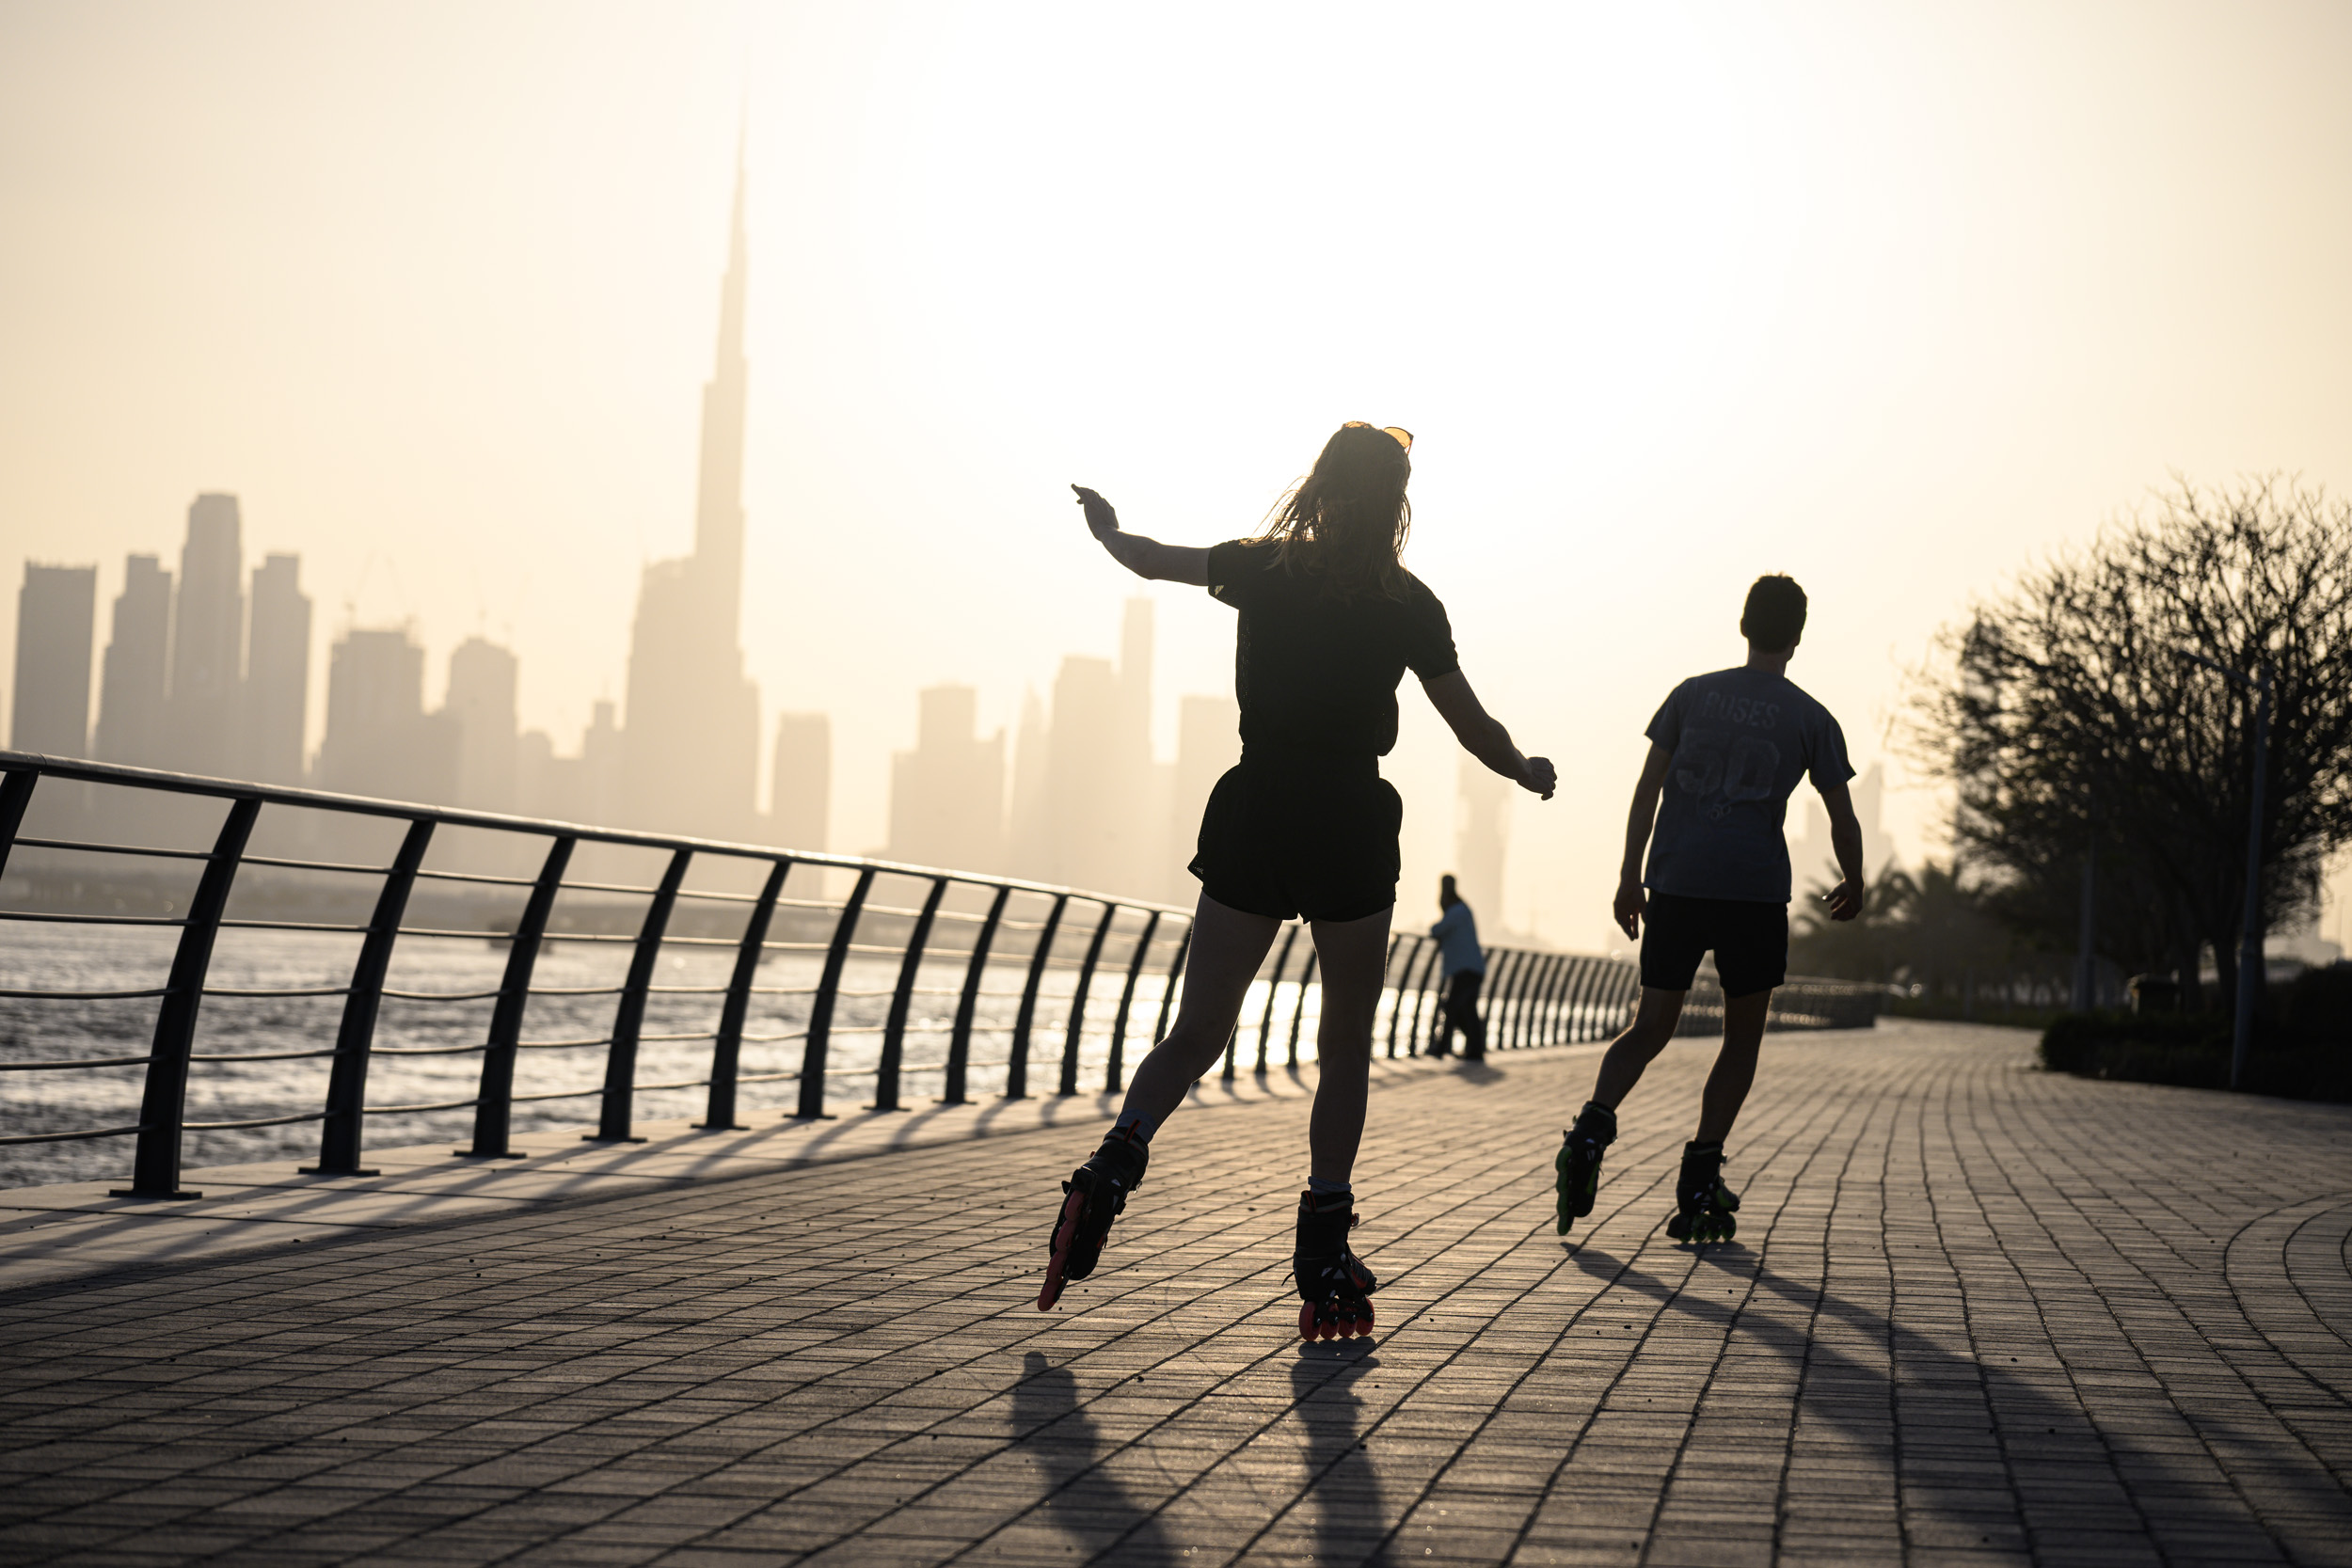
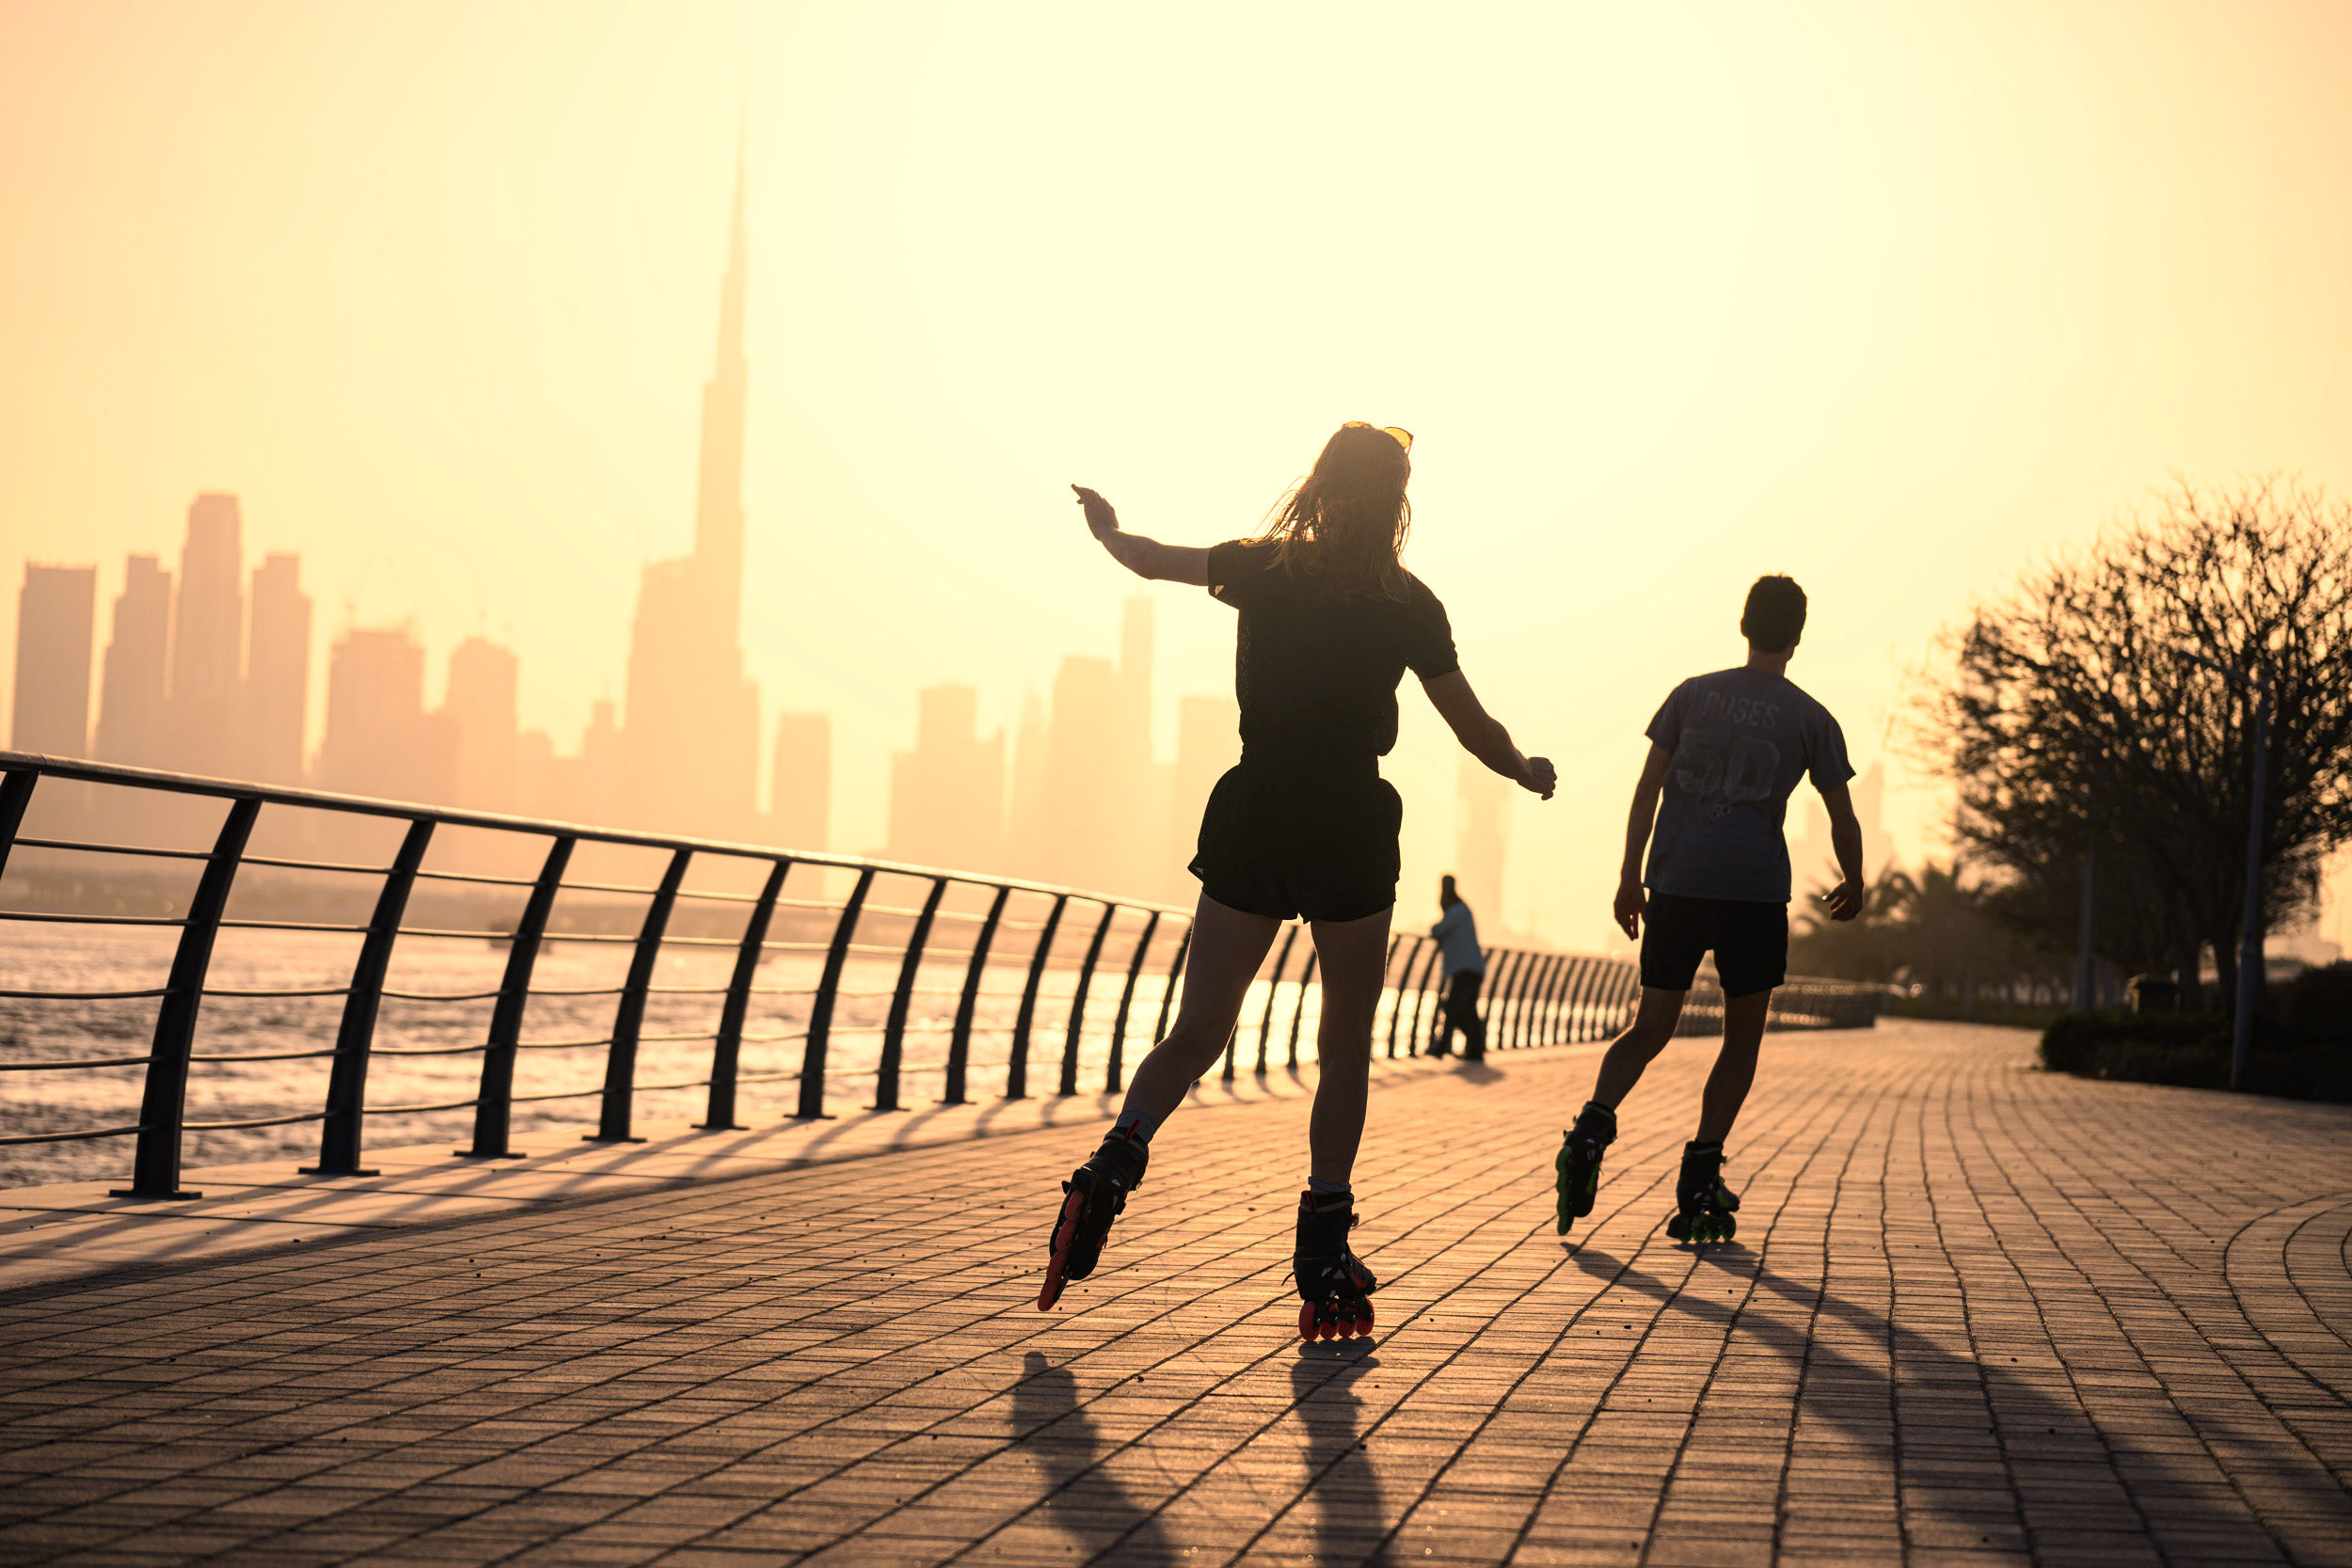
It’s pretty effective at making images look immediately more presentable, taking care of the atmospheric feel of the photo in a few clicks or less


But somehow my memory kept tugging me back to one localized feature of Viveza and I found it just before I was about to close the app. I remembered that I used to utilize Viveza to very effectively replace colors in photos, in a very natural-looking way.
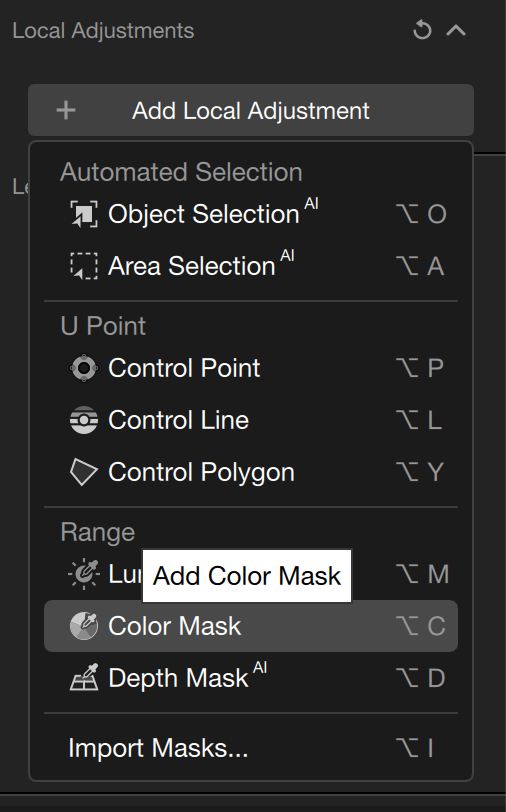
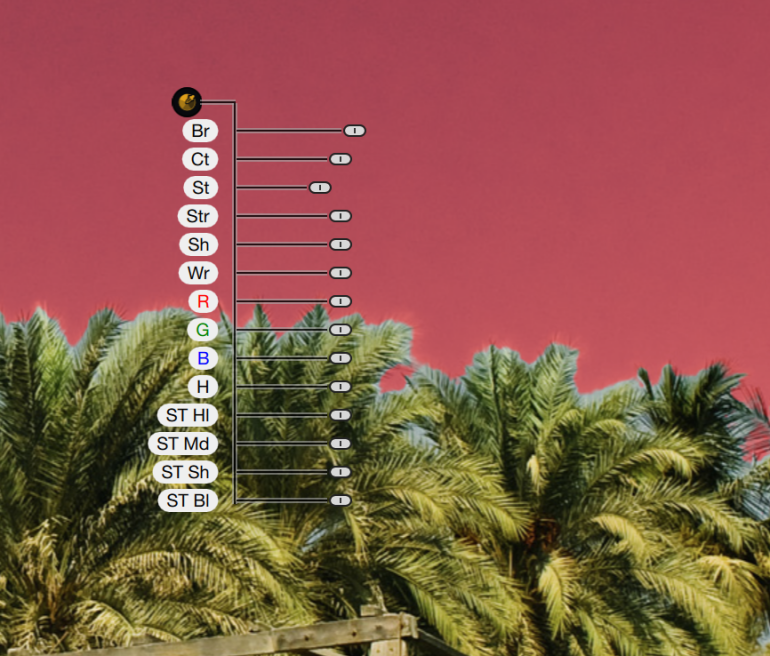
Something also brought my memory back to the fact that selecting a single color, or similar colors, was very easily done in Viveza back then, at a time when Photoshop struggled to do this. I decided to see how Viveza in Nik Collection 9 would do if I tried to adjust the color of a sky

Right off the bat, Viveza performed just as I expected for color selection. In fact, it almost instantly selected the exact range of the sky blue when I hovered the mouse over it. I wanted to reduce the darkness of the sky on an edited image from nearly 2 decades ago. Viveza helped me do this in less than 10 seconds because of how cleanly the color was masked in just one click.


Interesting to note that this tool still uses the U Point methodology.
You could argue that the depth mask could do the same here, and rightly so. But when color selection is needed across a larger part of the image, that isn’t necessarily in the same plane, then this tool becomes invaluable. The below image illustrates this. I desaturated the blue tie with just one click
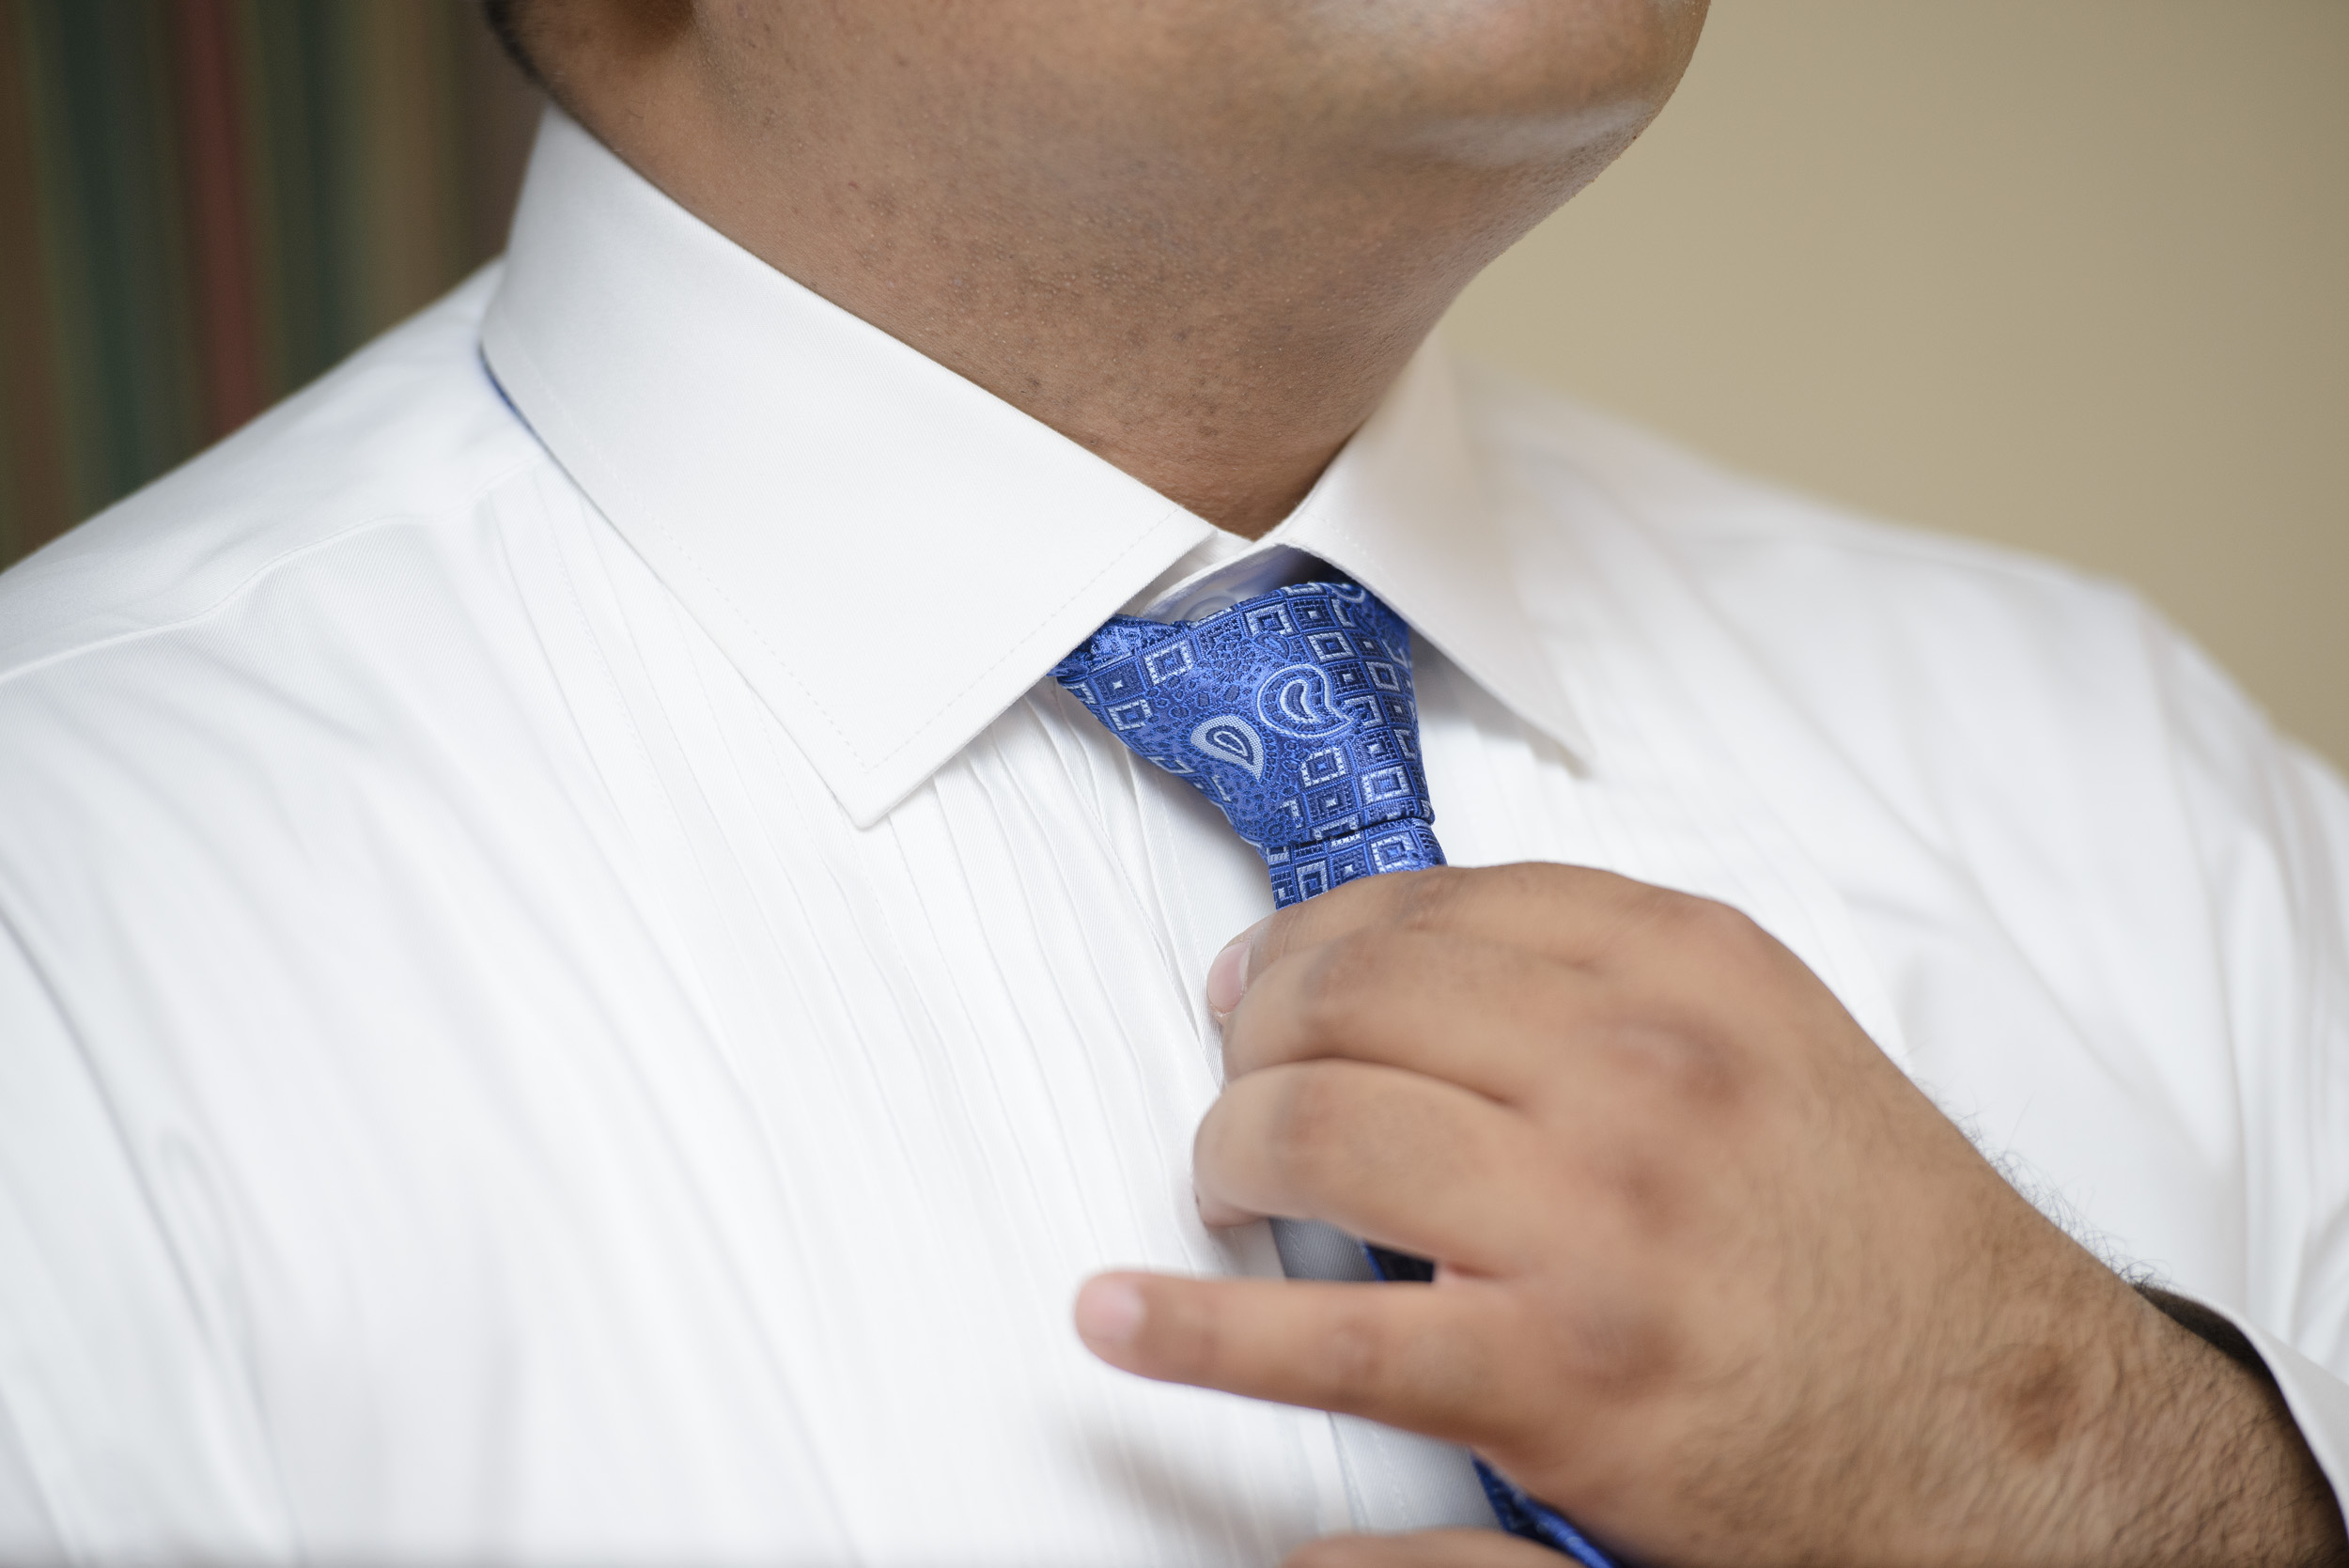
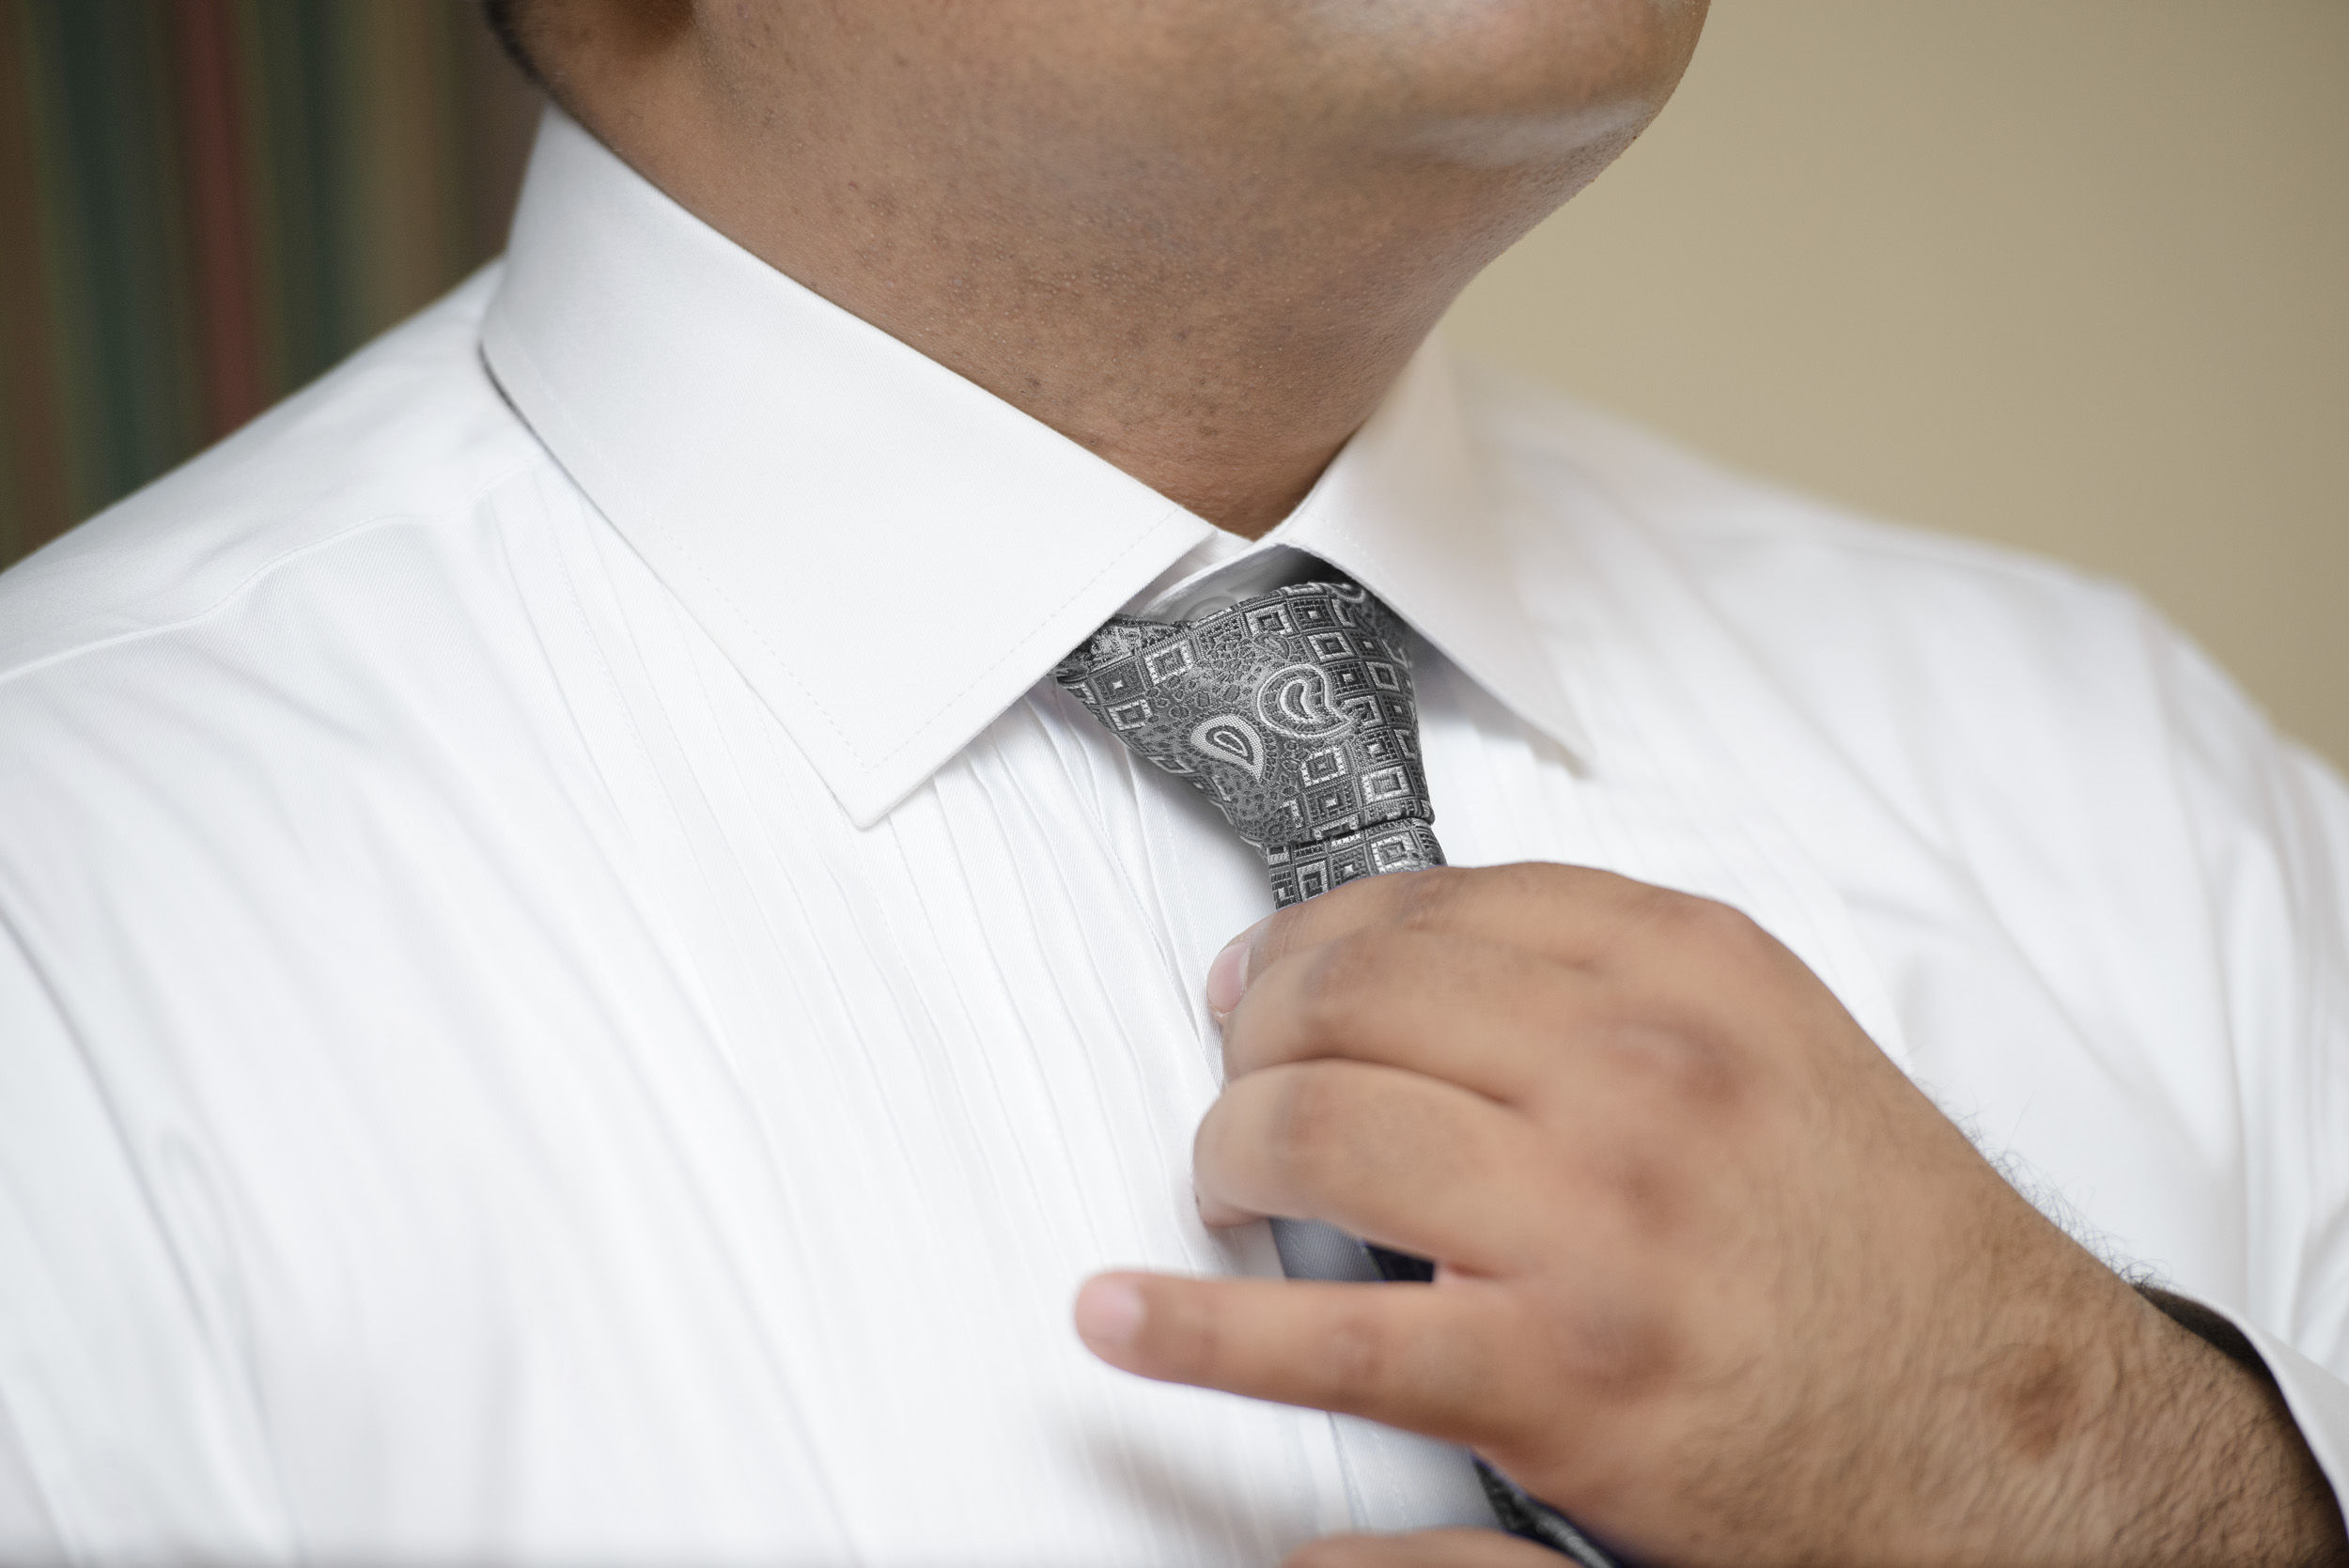
If it’s for color replacement, hue changes, or global saturation related work, Viveza is the right option to pick.
Analog Efex
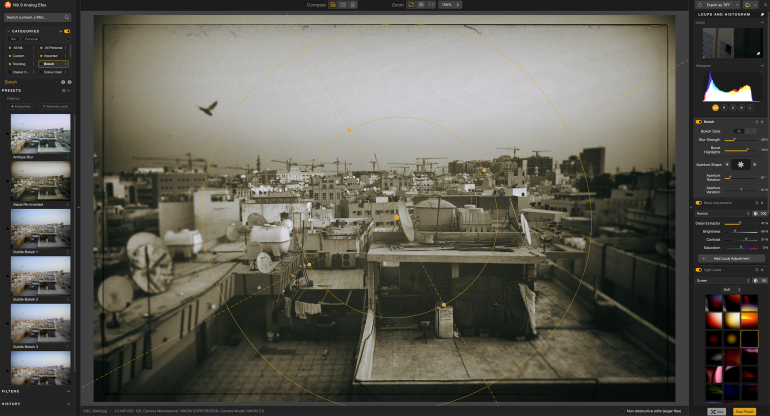
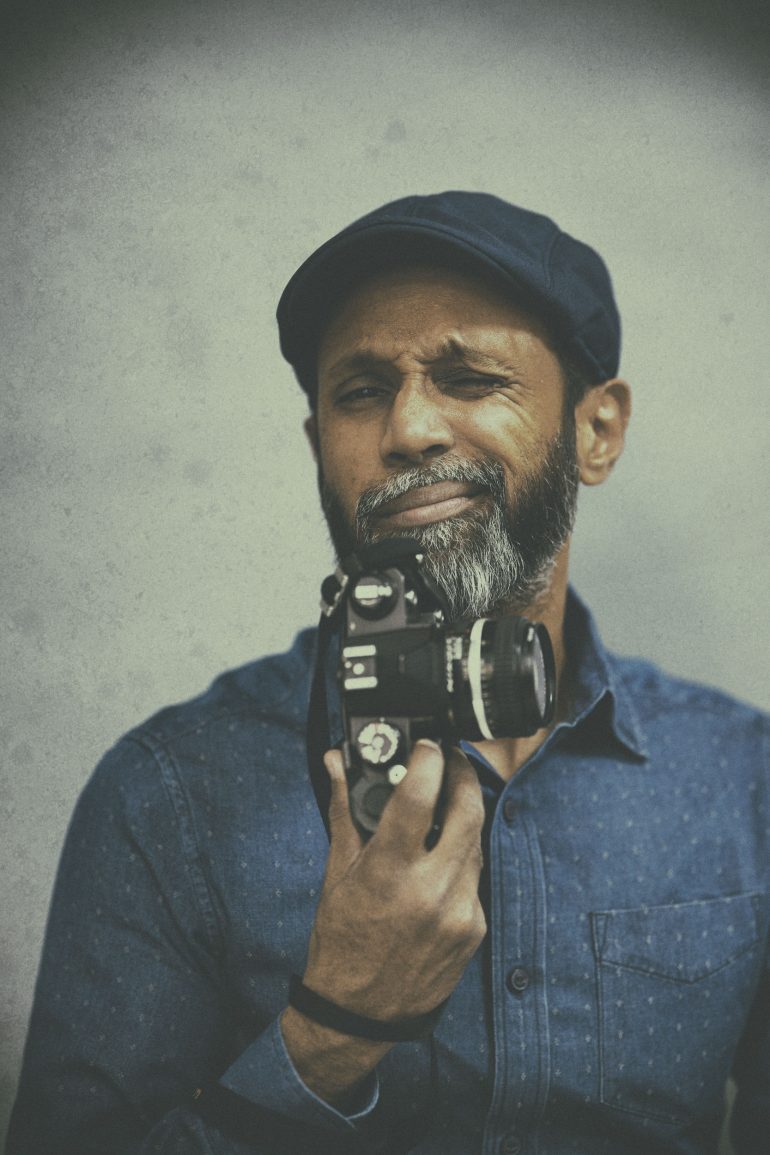
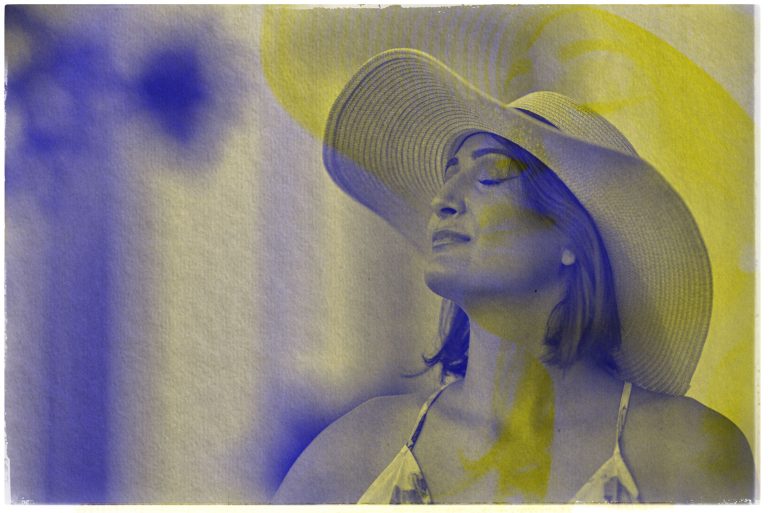
The name might make you think this software gives you a bunch of 35mm film style presets to apply over your photo, but it actually goes a lot beyond that. Think about even older era film photography, almost dating back many decades before photography became commonplace among the public.
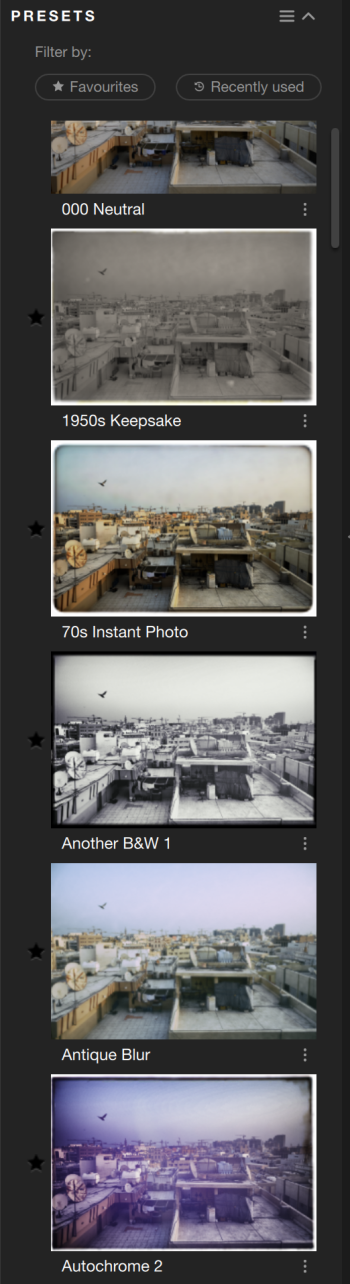
Sepia, old school bokeh lens effects, tin type, damaged film, magenta / cyan shift – these are some of the few and varied options you can try out using the latest Analog Efex tool of the Nik Collection.
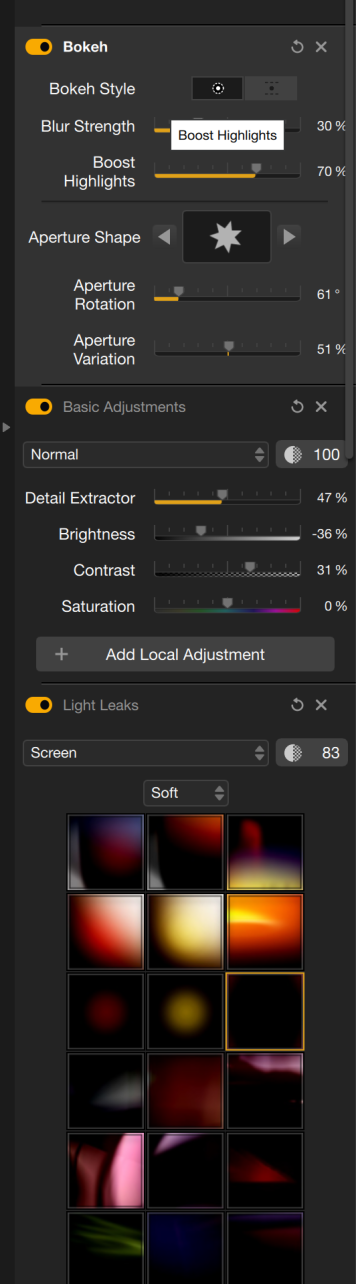
Don’t pass on this thinking that’s all; you can even customize bokeh style for some presets, add a variety of light leaks, and still perform localized adjustments. There’s even a Frame tool to add some creative borders.



Pre Sharpener and Sharpener Output


I could be wrong, but I recall being able to open NEF raw files in the Pre Sharpener tool in the past. Alas, that doesn’t seem to be the option now. I even tried a non-compressed D810 NEF file and that didn’t open either, so it wasn’t a Z8 compression limitation.
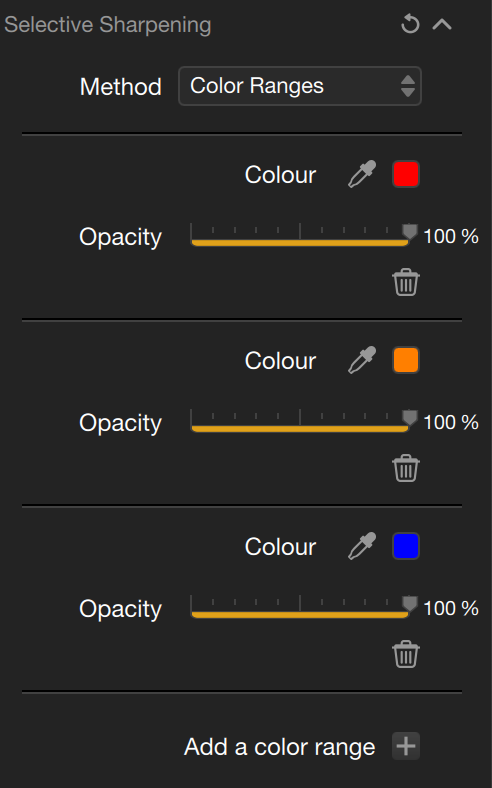
Presharpener gives you the option to sharpen selective areas, or limit the sharpening to a color (seen above).
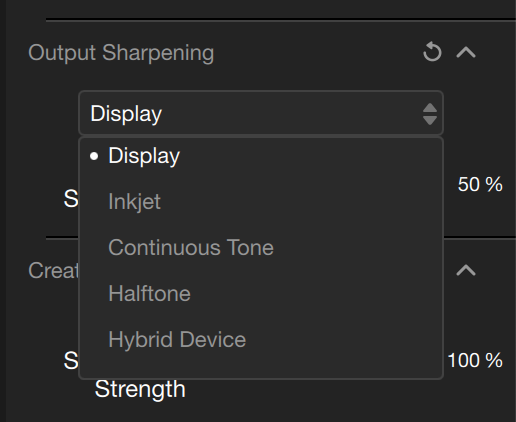
Sharpener Ouput has the same but also has sharpening options based on whether the edited image is meant for display, or for specific types of printers.
Maybe there was a case to have these as separate software in the past, but I genuinely can’t see why they can’t be combined in one tool now.
Nik Dfine
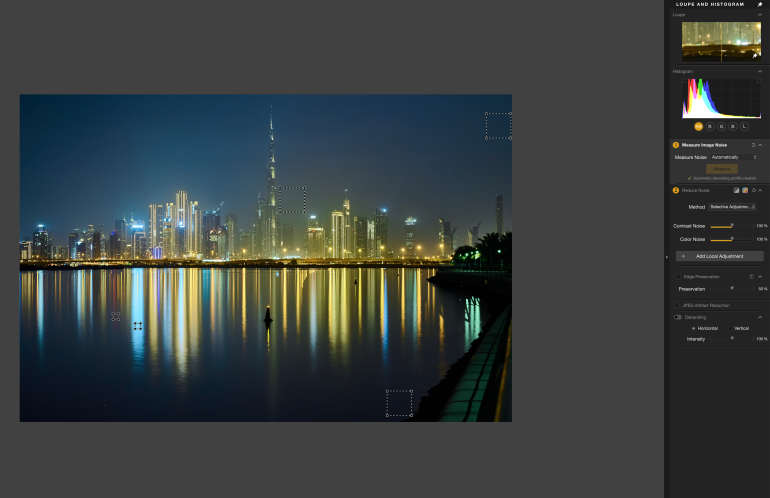
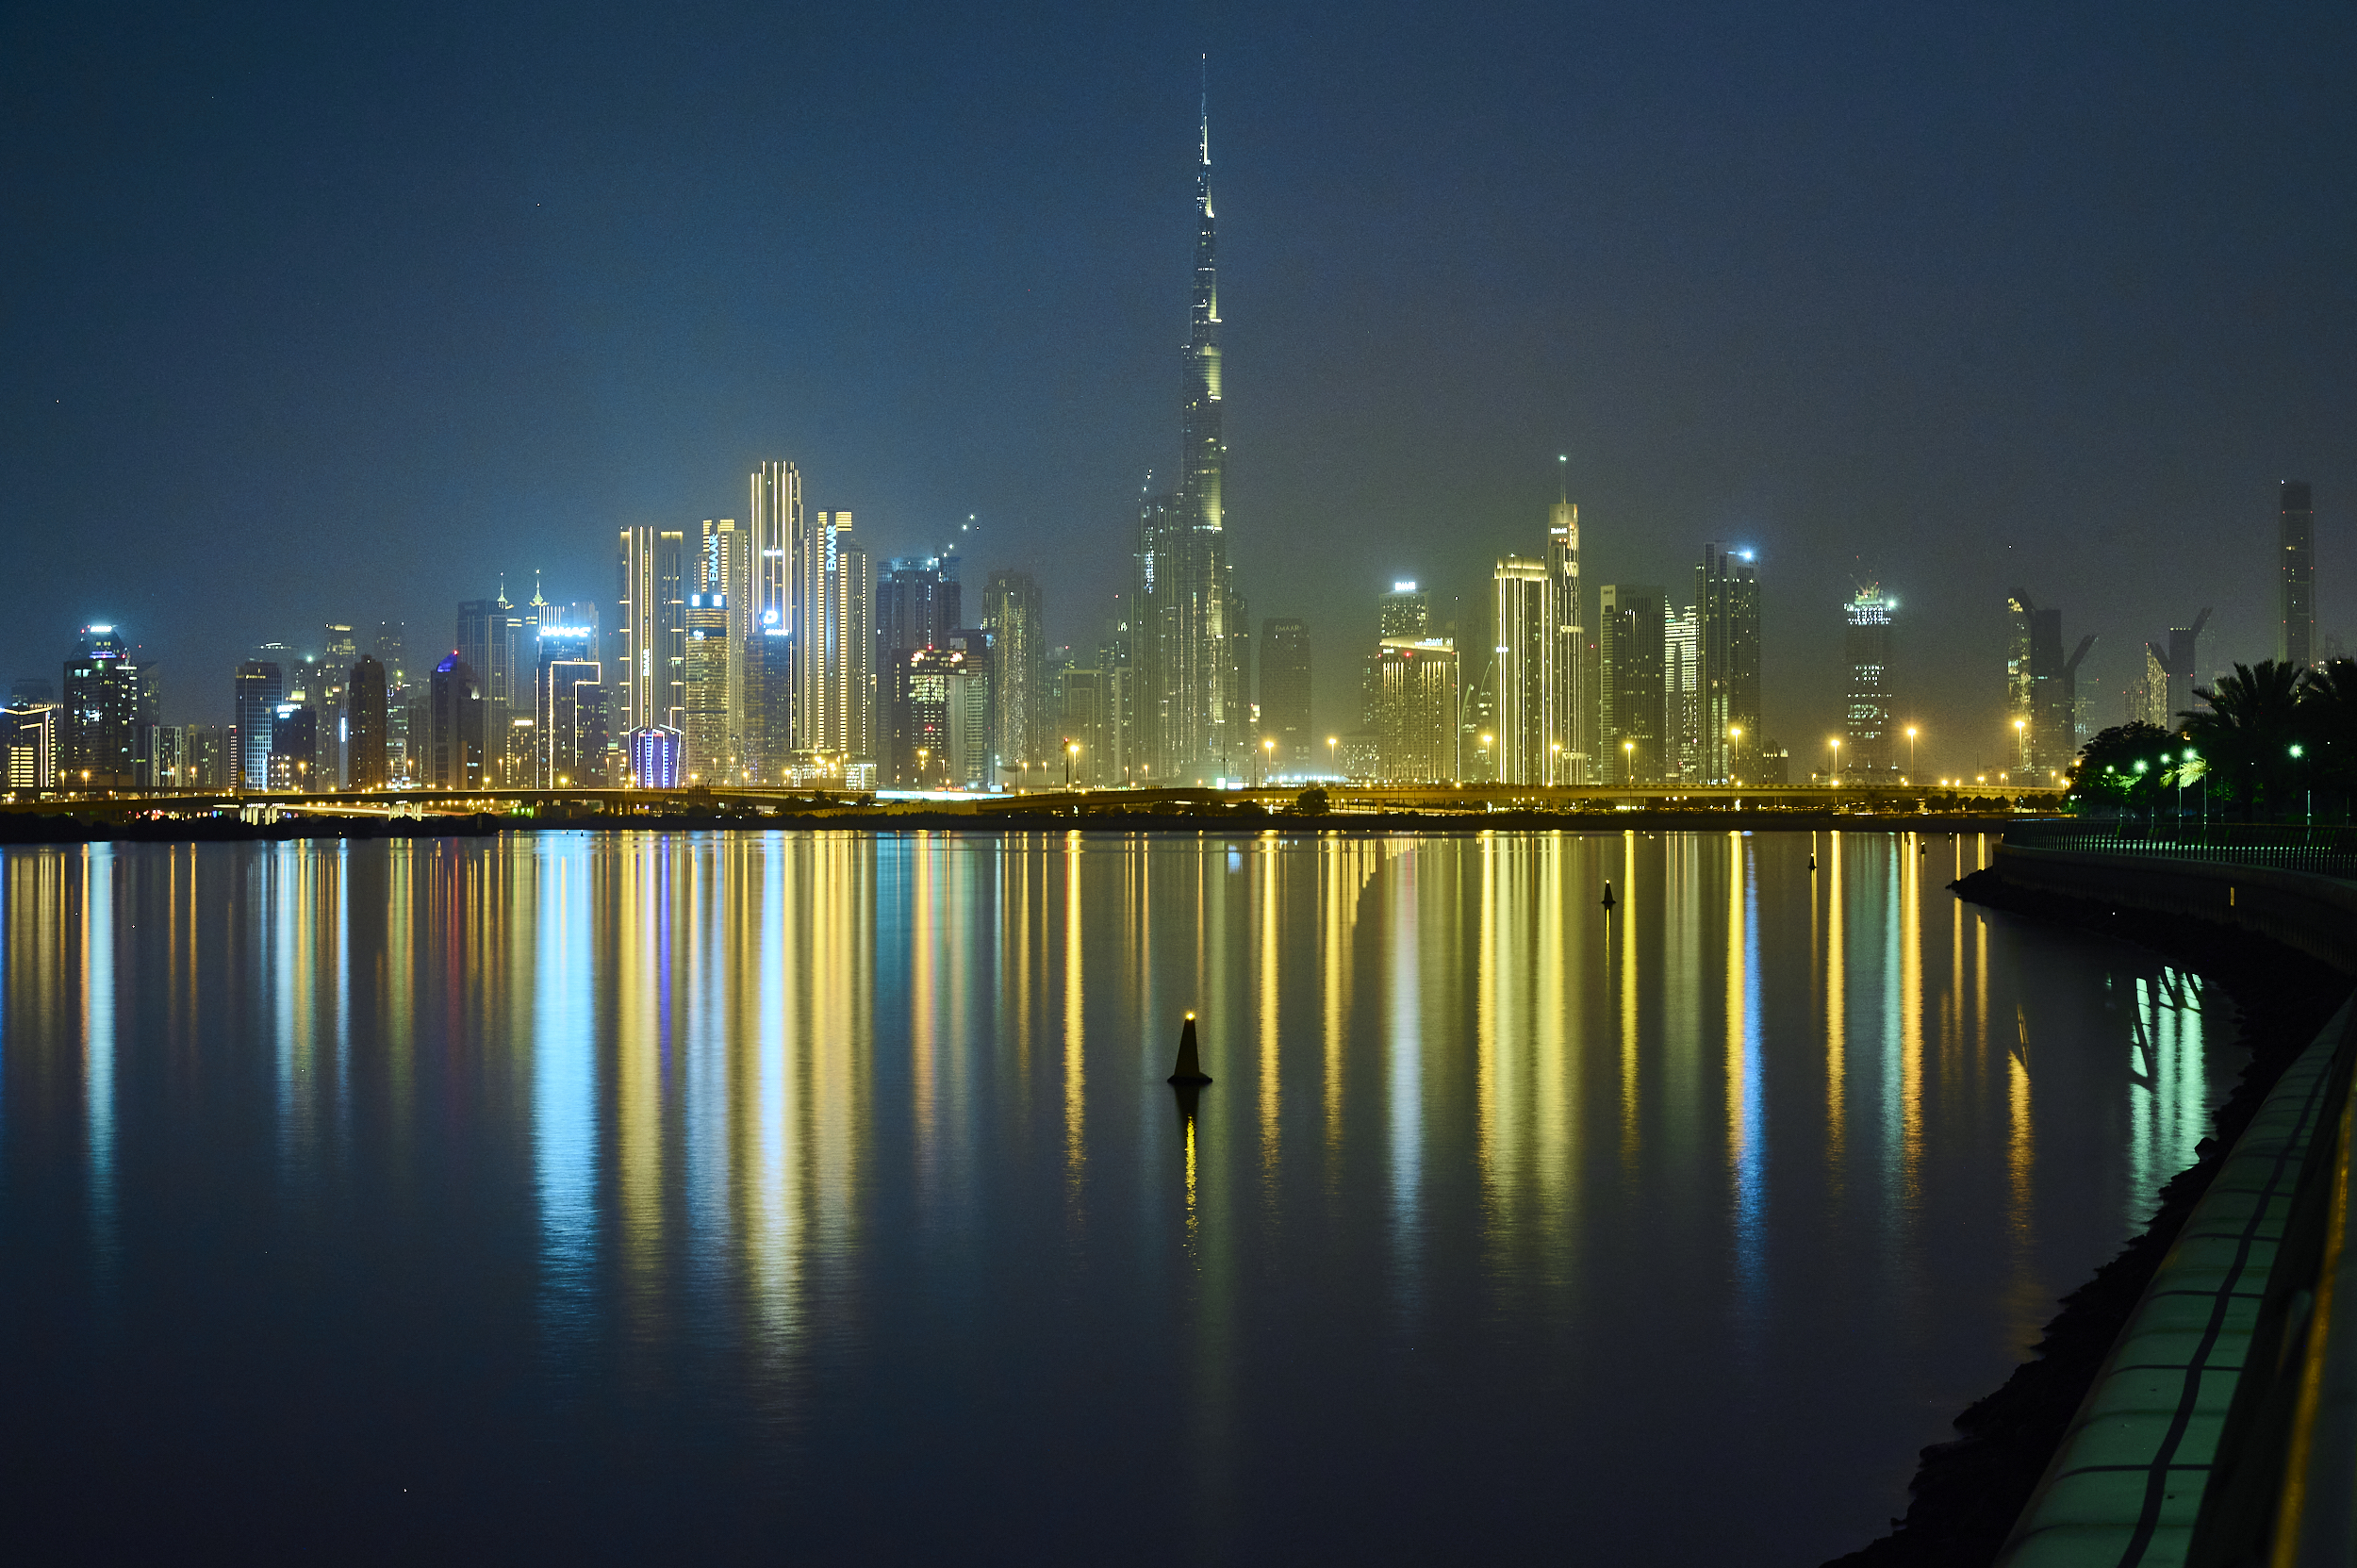
Took a shot that’s too noisy? No problem at all for Dfine, the noise removal software of Nik Collection. One of the standout features of this tool is the ability to tell it to sample various parts of the photo in order to measure the noise levels, and then apply reduction.
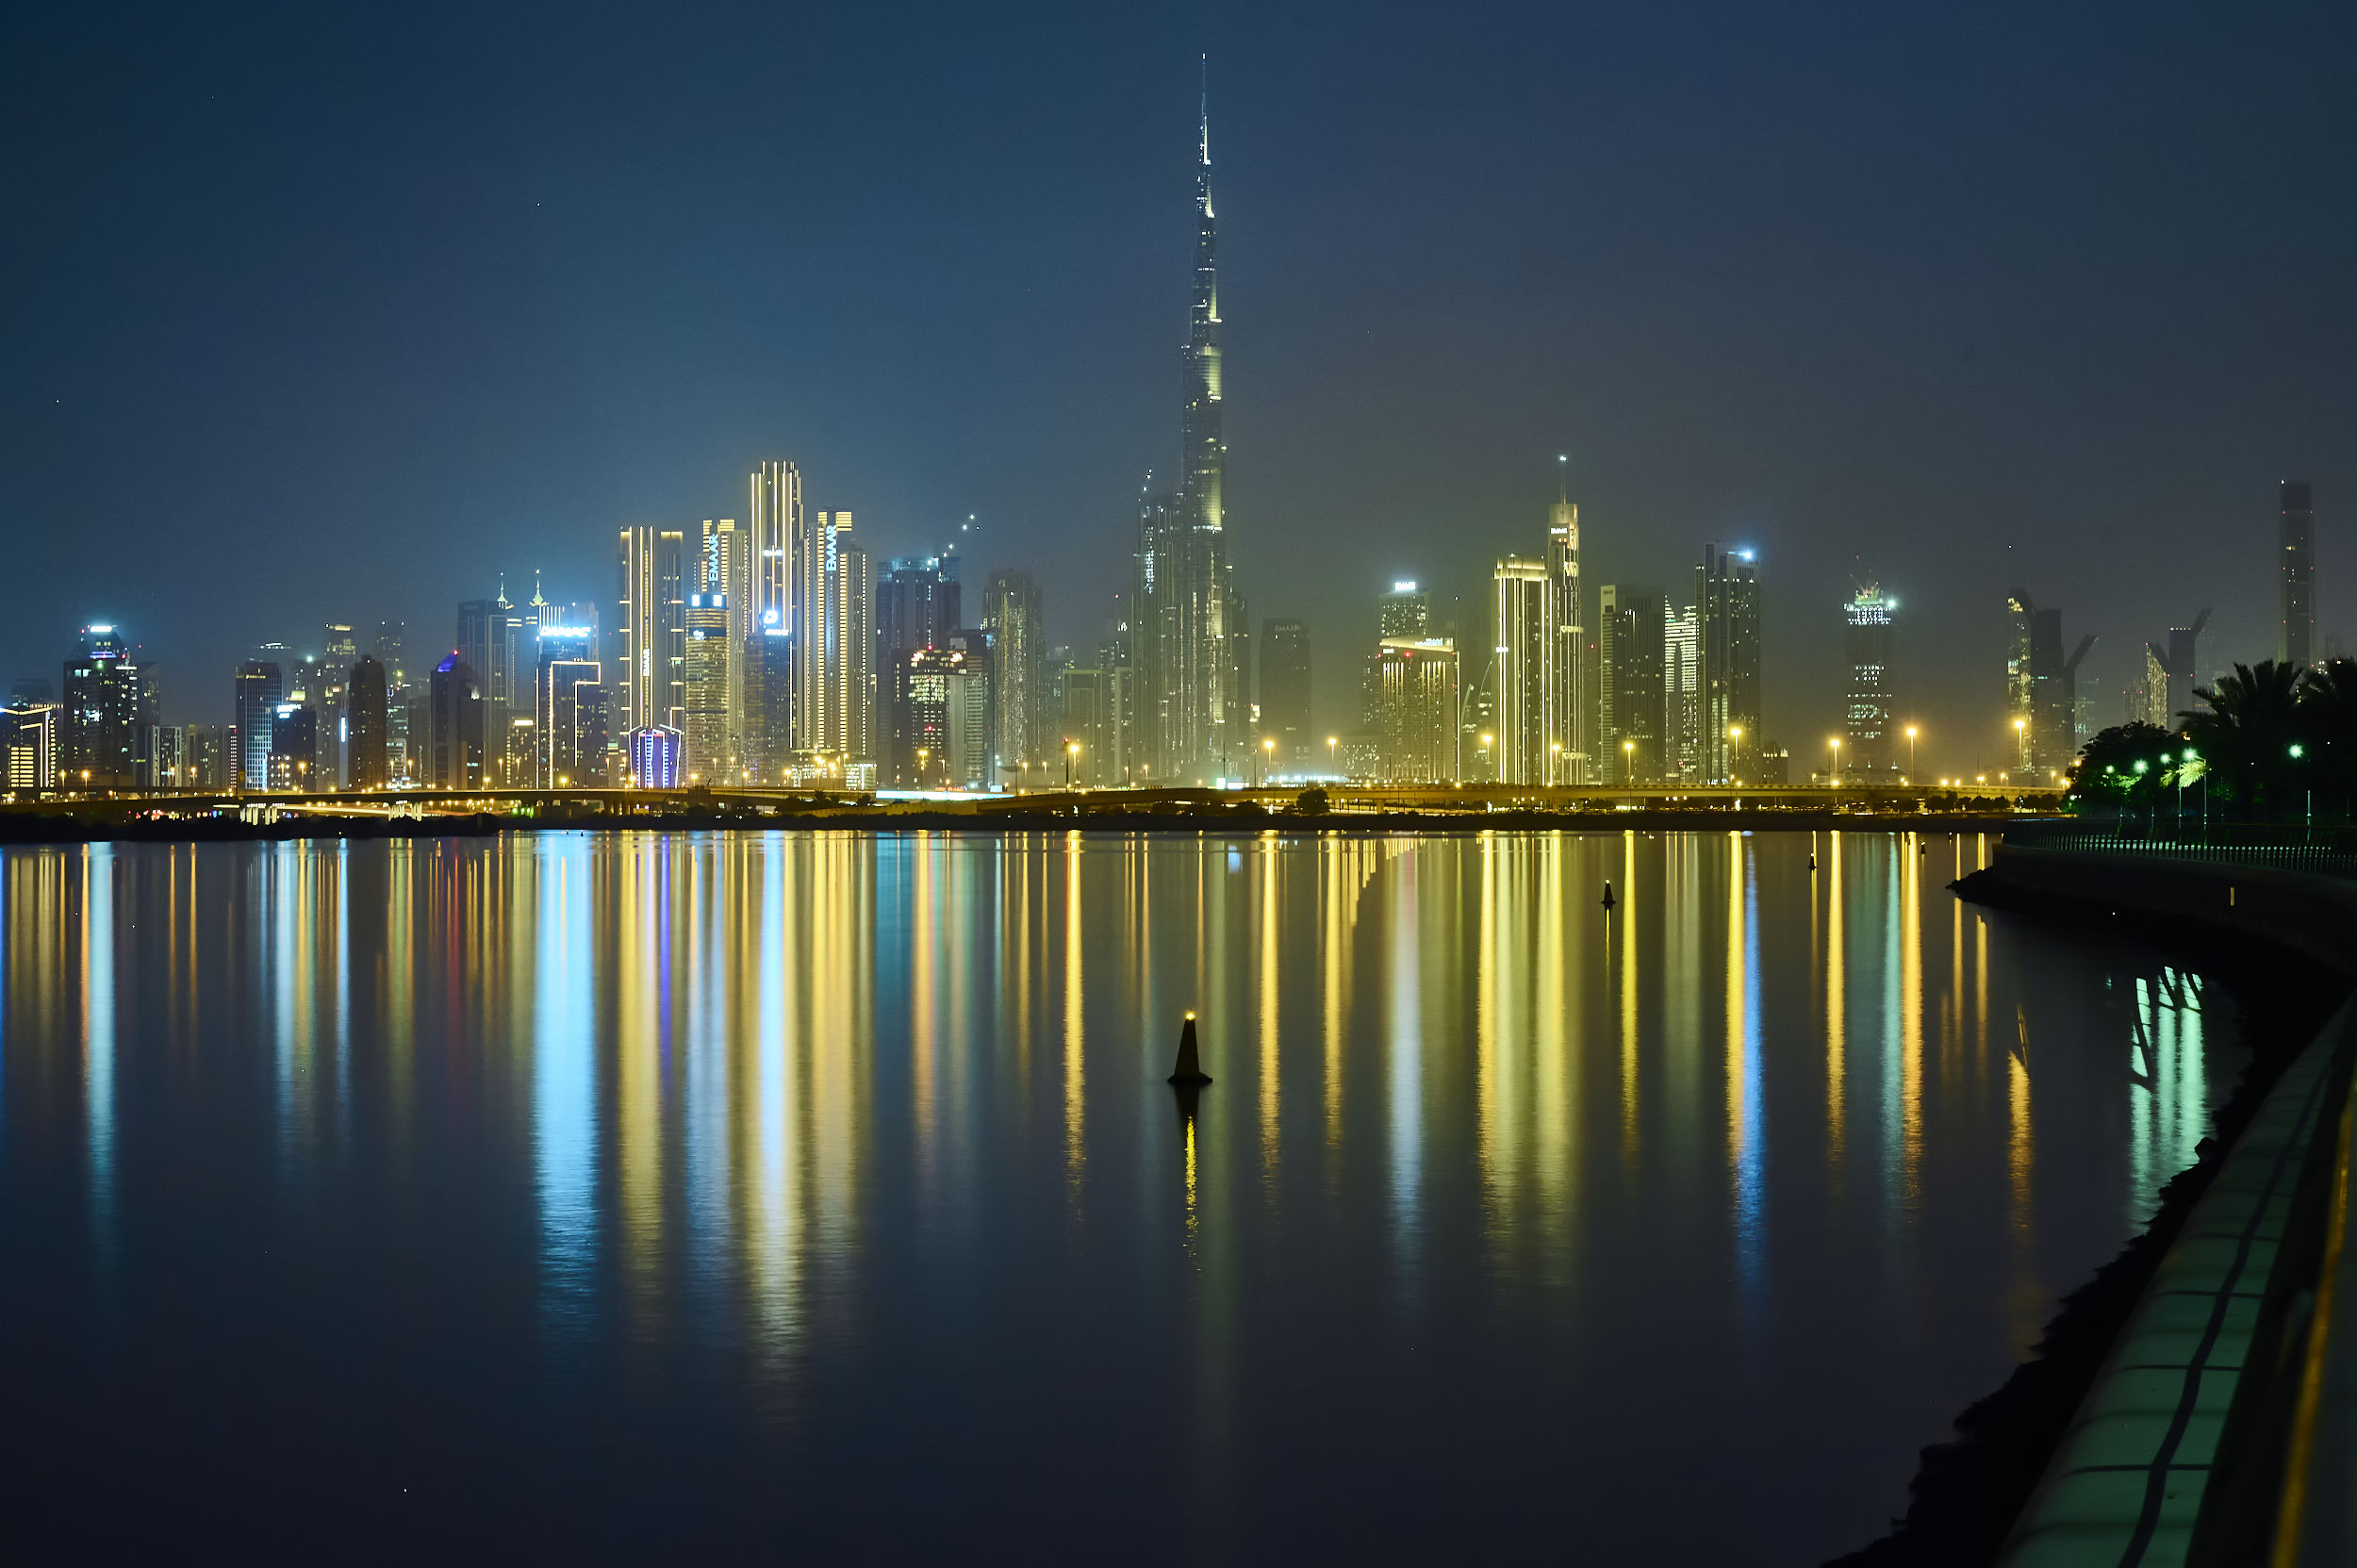
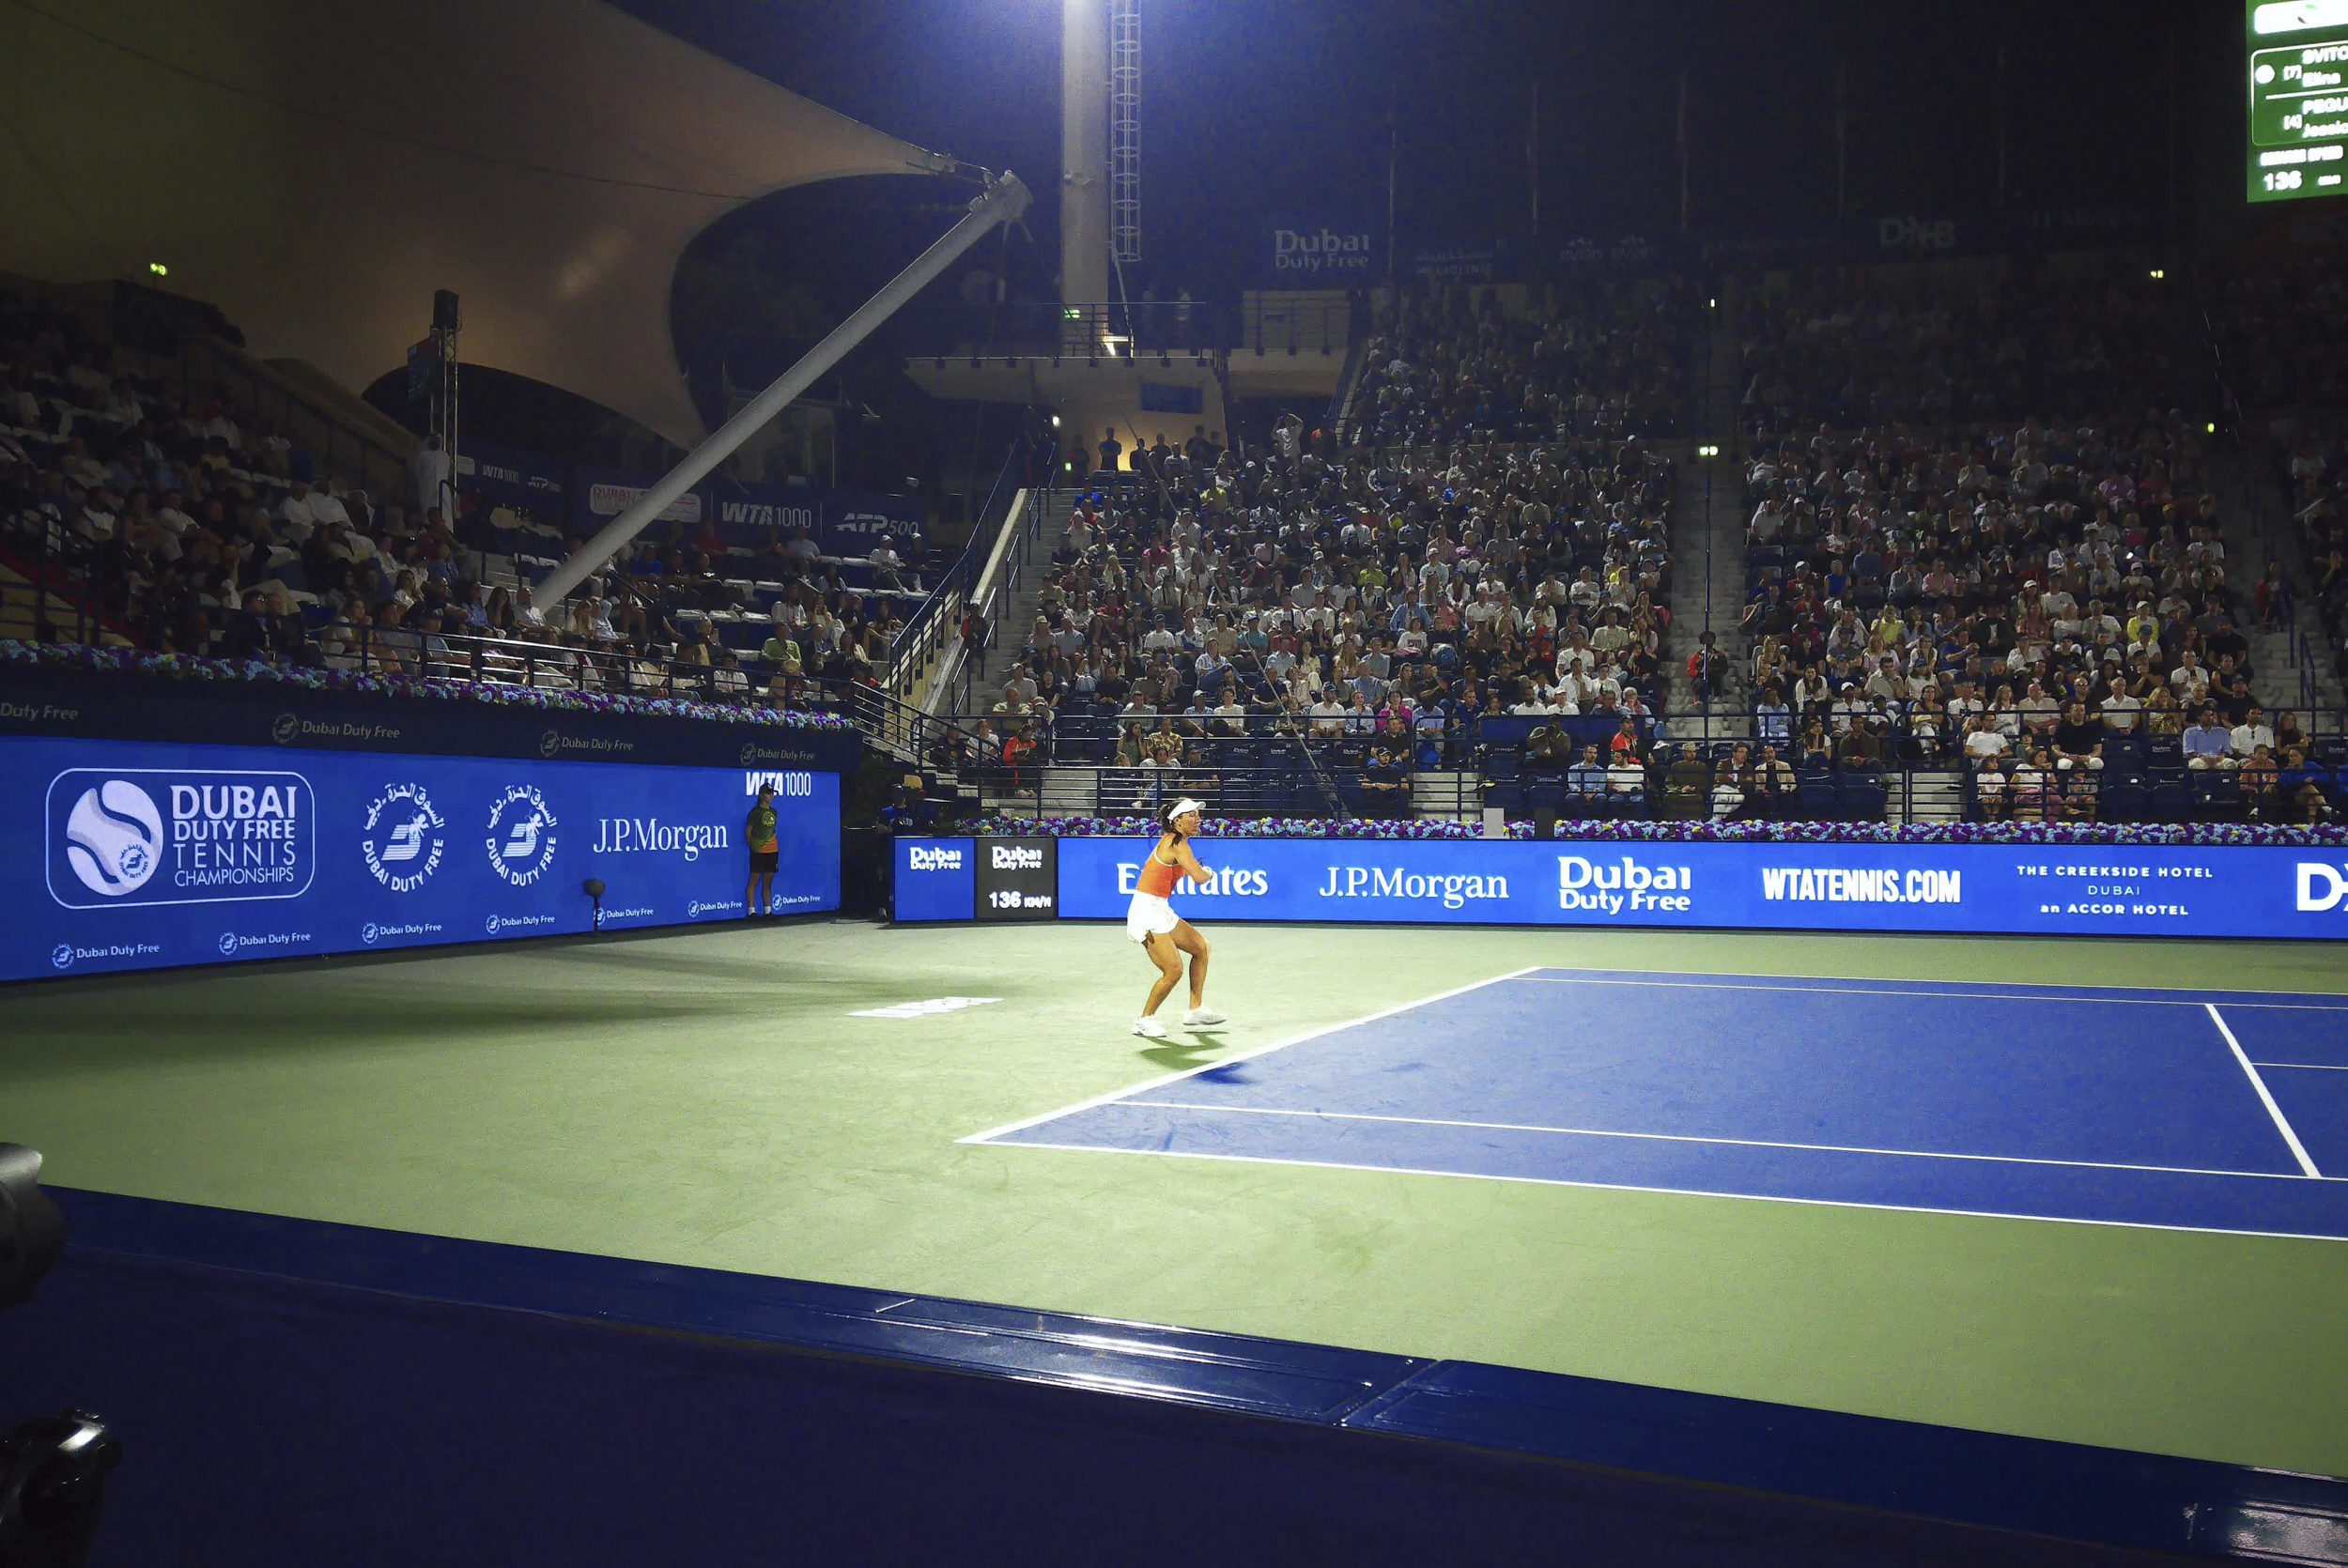
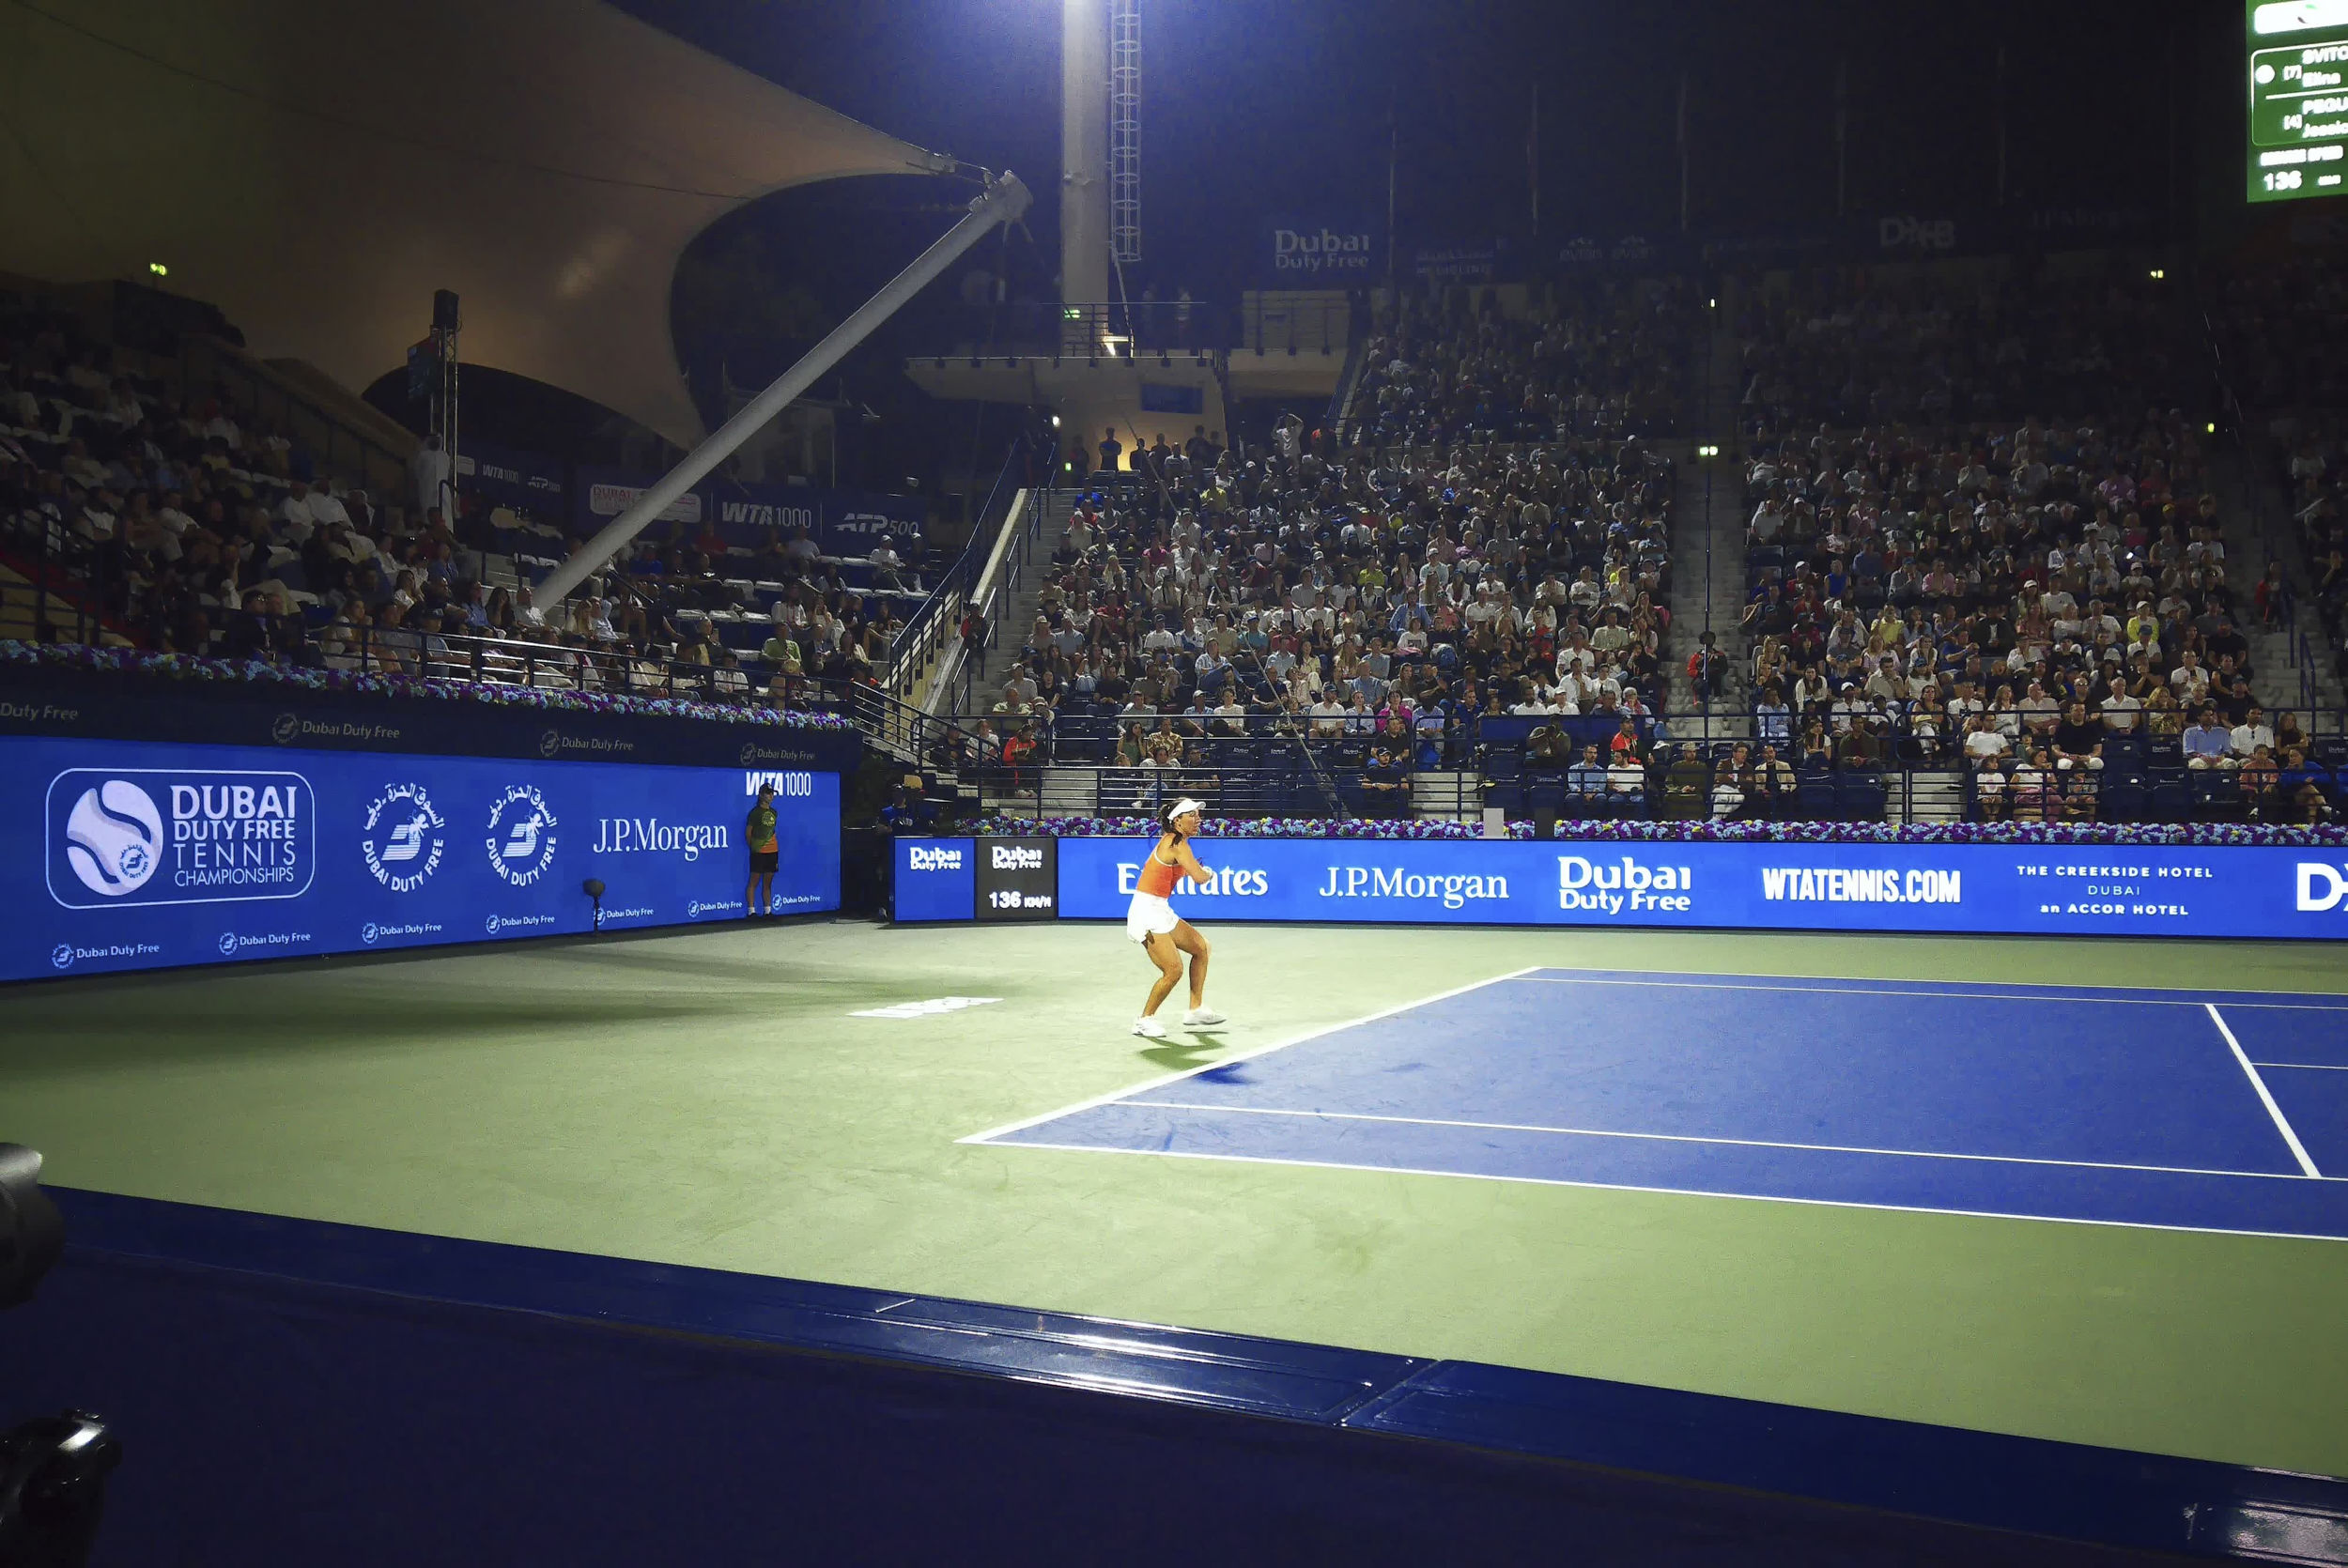
To be fair, the automatic measuring tool does a great job already. I would suggest trying that out as a default measure before attempting the manual measurements.
Unlike with other noise reduction tools like Topaz DeNoise or Lightroom’s AI Denoise, there isn’t an AI in the measurements or processing with Nik Dfine, which means you get a clean image much faster than the others.
HDR Efex
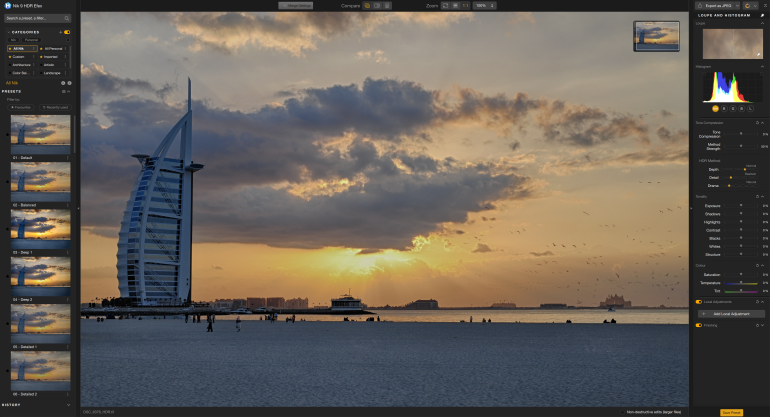
I got off Trey Ratcliffe’s HDR bandwagon about a decade ago and nearly decided to not give this tool a try, but since there was one sunset series from some time ago that I always wanted to re edit, I decided to take the plunge with HDR Efex 9.


Truth be told, I didn’t expect the HDR image to get generated as soon as I clicked the button.

The output was a very clean and almost natural looking, not superly saturated HDR result. I was expecting something that would make me want to rinse my eyes out with rose water, but the result was far more pleasing that I thought it would be. Not a tool I will use in the foreseeable future, but it’s good to know that it’s a capable performer.
Overall Verdict
Nik Collection 9 is for the serious editor and post processor for whom SOOC (straight out of camera) images aren’t at all an option. The various tools in here can give you a very good set of options to post process your images in multiple ways, and DxO has done a good job of keeping the software true to its early roots. However it really does require support for RAW files and that’s probably one of the reasons why a lot of professional photographers may not pick it as their primary choice for editing. Still, there’s something in here for everyone to play around with and come up with some really creative results. It’s more of a good set of finishing tools rather than a starting point for your edits.
We received a coupon code for a full license of the Nik Collection 9 for the purpose of this review
Get rid of the ads!
Did you enjoy reading this article as much as we enjoyed writing it? There's a way to support us and our reporting, getting ad-free navigation and more as a bonus. Subscribe to us for less than a coffee per month —just $3.99— or take advantage of our yearly subscription with a hefty discount for only $25.- An ad-free experience
- A free mystery box for Lightroom or Capture One
- All the books in our store
- 20% discount on Capture One
- 30% discount on Imalume Photo Theft Protection
- 20% off Herbs and Kettle Tea Company.
- 20% off your order from MPIX printing services.
- 5% off Viltrox Products via their eCommerce store.
- 10% off all film developing, printing and scanning services from Blue Moon Camera and Machine
- 15% off 7Artisans products: The lens and accessory maker is offering a sweet discount for Phoblographer's readers.