
Wildlife photography is one of the medium’s most exhilarating genres. Many pursue this form due to their love for nature and the environment, with some finding flora and fauna far more fascinating than dealing with people. Either way, wildlife photography really tests an individual as a photographer and a human being. If you have just begun your journey here, we are here to share a few tips and tricks to make your life easier. Bear in mind, the photograph is a reflection of you and your knowledge, and not the gear you are using.
Get Down Low
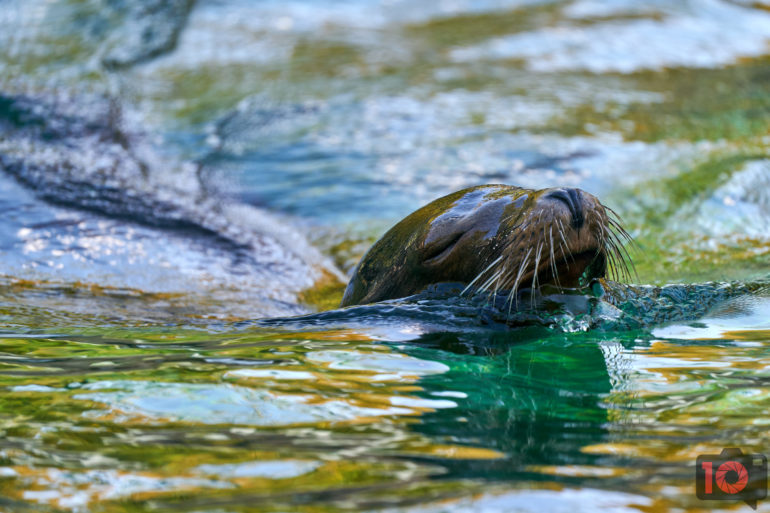
One of the most important things in wildlife photography is to get down to the eye level of your subject. This is quite critical as it allows you to see the world from where they are, while also helping you get a better background. In fact, an eye-level subject will always stand out against a smoother backdrop, giving the images a sharpness, if the lens you use is not too sharp. To achieve this, get on your belly and take the support of the ground, a bean bag, or a small tripod.
Camera Settings

Shutter speed plays a critical role in wildlife photography. So, if you are shooting moving subjects, ensure your shutter speed is 1/1000 sec, at least. If it is a static subject, you can reduce the speed. But if you are capturing birds in flight, then a higher shutter speed of 1/2500 may be required. At the same time, a lens with a brighter aperture can be really helpful, as well as pushing the aperture to f5.6 or f6.3 can be helpful in capturing sharper images. Last but not least is the autofocus setting. A Continuous AF or Multiple AF is ideal if the subjects are moving, but a Single AF Point is suitable for static subjects, with the aim being at the animal’s eye. One can always play around with these settings before they commence their shoot, as the light and area will impact it.
No Tight Crops
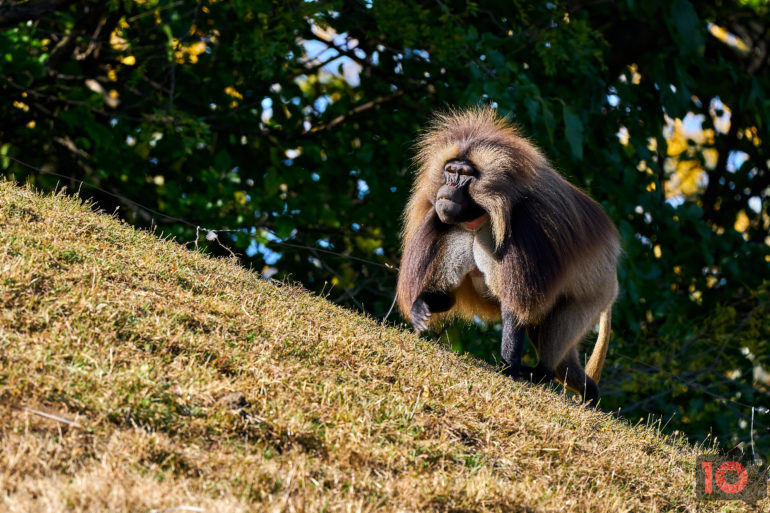
Often, photographers choose to get super close to the subject in their images, leaving no breathing room. For instance, they remove background elements such as trees or water, thus removing the environment in which the animal is. While this may work in some cases, it is not always the case. Sometimes, you give them space so they can move into the space. The image above, for instance, would be different had we just focused on the face vs where the monkey is looking. So, tight crops are great if you want to highlight some aspect of the image, but otherwise, let the image breathe a little.
Let Lines Guide You
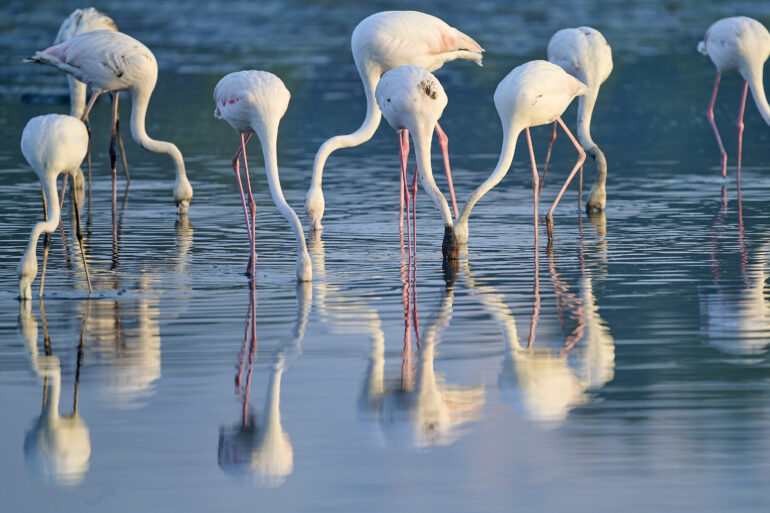
Leading lines such as roads, rivers, and fences can be a great way to draw the viewer closer to the subject. Diagonal lines, in that matter, help you add depth, while curved lines can enhance the image. For instance, the curve of the neck or arm of the animal can help you make your image stand out. As a result, the poses of the animal, the nature around you, and understanding light can help you make your wildlife photography different from the rest.
Be Creative

Last but not least, be creative in your wildlife photography. In addition to composition and camera settings, you need to pay attention to light, color theory, or even use a slow shutter to get a trail. You can rely on dual exposure, creative filters, and so on to make your photographs different. You are not just documenting bt also expressing your love for the creature. So, why stop at just take normal images?
Use leading lines—like roads, rivers, shadows, or fences—to guide the viewer’s eye toward your subject. Go beyond straight lines: diagonal lines add energy and depth, while curved lines bring grace and emotion. Combine both for powerful, flowing compositions that feel alive. Look for lines in body poses, nature, and architecture, and reposition yourself to let these lines pull the viewer in and gently lead them through the frame.
Get rid of the ads!
Did you enjoy reading this article as much as we enjoyed writing it? There's a way to support us and our reporting, getting ad-free navigation and more as a bonus. Subscribe to us for less than a coffee per month —just $3.99— or take advantage of our yearly subscription with a hefty discount for only $25.- An ad-free experience
- A free mystery box for Lightroom or Capture One
- All the books in our store
- 20% discount on Capture One
- 30% discount on Imalume Photo Theft Protection
- 20% off Herbs and Kettle Tea Company.