")
Blending flash and natural light is all about listening to the light meter in the camera.
“Why can’t I just do this in post-production?” is what I heard in a recent event I attended on mixed lighting and flash. Many times the answer is that a photographer can’t get an organic look and effect in the scene. Further, why work a long time in post-production when you can just get the image right in-camera? Why can’t you achieve your creative vision without the use of a computer or an app? And why do you need to live by that preset life? In this tutorial, we’re going to walk through the ideas behind blending natural light and flash.
The New Exposure Triangle Is a Square
When using a flash, a new exposure triangle pretty much happens. Perhaps this throws most people off because they’ve learned what shutter speed, ISO, and aperture do. Well, the good news is that there are changes, but they only have to do with lighting. All the rules you knew before still apply, but there are a few extra steps. The studio offers the most control over lighting, but on a location you’ll need to work with natural light and a strobe. So here’s how the laws change:
- Shutter speed: Controls motion and the exposure of ambient lighting in the scene. Look to your camera’s light meter to create a balance between stopping motion blur and controlling the ambient lighting.
- Aperture: Controls the flash output and depth of field. This is best controlled in Manual flash mode. In TTL flash, the flash reads what your flash’s aperture is and makes a judgment.
- ISO: Controls overall sensitivity of the scene. This is based on what the needs of your shutter speed and aperture are. In TTL Mode, your flash will read the ISO and make a judgment.
- Flash: Controls both motion stopping power and light. The more energy there is, the brighter it will be per your ISO and aperture. Moving the flash also determines power.
This is the basic layout working with flash and natural light. Photographers should memorize it and consider it carefully. Even as you become more experienced, you’ll still work with it in different ways to get the results you want.
A checklist of questions to ask yourself:
- Do I want the background to be darker? Then I need a faster shutter speed or a lower ISO setting.
- Do I want the flash output brighter? What will happen when I open the aperture up? Do I want to open the aperture?
- What will raising the ISO do to this scene?
- What will happen if I move the light further away from my subject? Can that fix my problem?
- What is my light doing exactly?
TTL or Manual Flash
The big question is whether or not to use TTL flash. TTL stands for through the lens and the way that it works is by having the flash, camera, and lens work together. The ISO and aperture are read, and then the flash determines what power level to deliver. Distance to the subject (focal length) is also incorporated. Most of the time, TTL won’t give you what you want: TTL only provides you what it thinks you want. Manual is a much more direct way of working with flash. You’re probably shooting in manual mode to begin with. If you’re not, then maybe that’s a place to start.
Pro Tip: The deeper you can make the blacks in the scene look, the sharper the image will appear.
So when does one use TTL instead of manual mode? A good time is with very bright sunlight. TTL and high-speed shutter sync can help create the scene you have in mind. If your light is in a softbox or bouncing off of a wall, manual mode can be best to work with. You’ll just need to blend the light with the scene and the other exposure parameters. To understand this a bit more, it all depends on the light’s power. Lighting power is determined by fractions. So if a light (strobe or studio light) is 600-watt seconds, then at 1/2 power it will deliver 300-watt seconds. That’s around the power of four standard hot shoe flashes. Do you really need that much power? If you need more, then raise the power: if you don’t, then lower it.

Pro Tip: At max, a regular flash can deliver around 80-watt seconds of power. Look at the power of your strobe and think about it comparatively. Do you need more power than a hot shoe flash? Then crank the power-up. Do you need less? Then lower the power output.
Finding the Right Natural Light
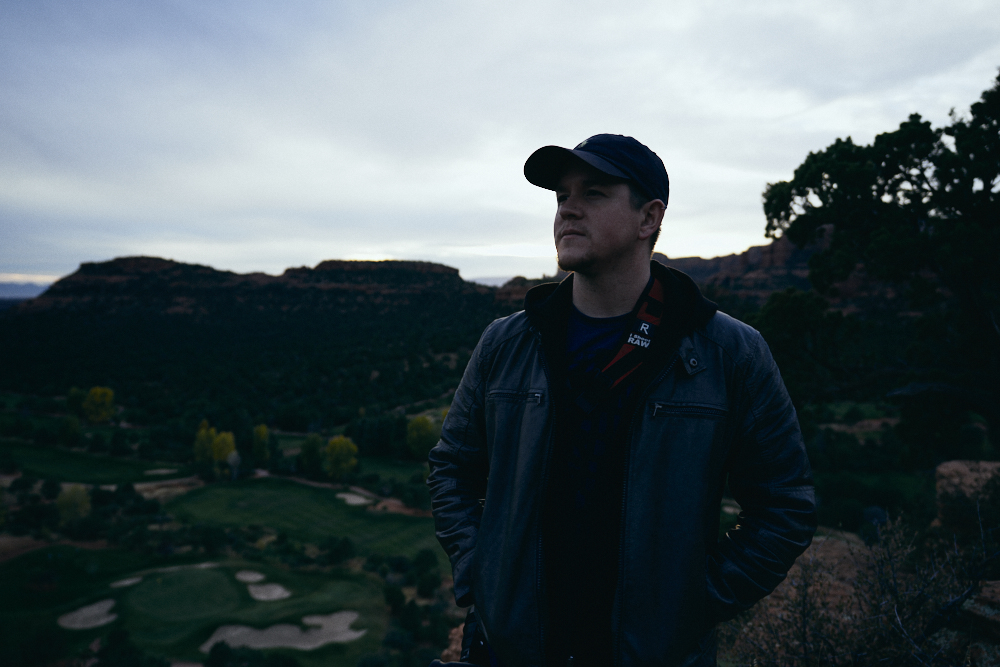
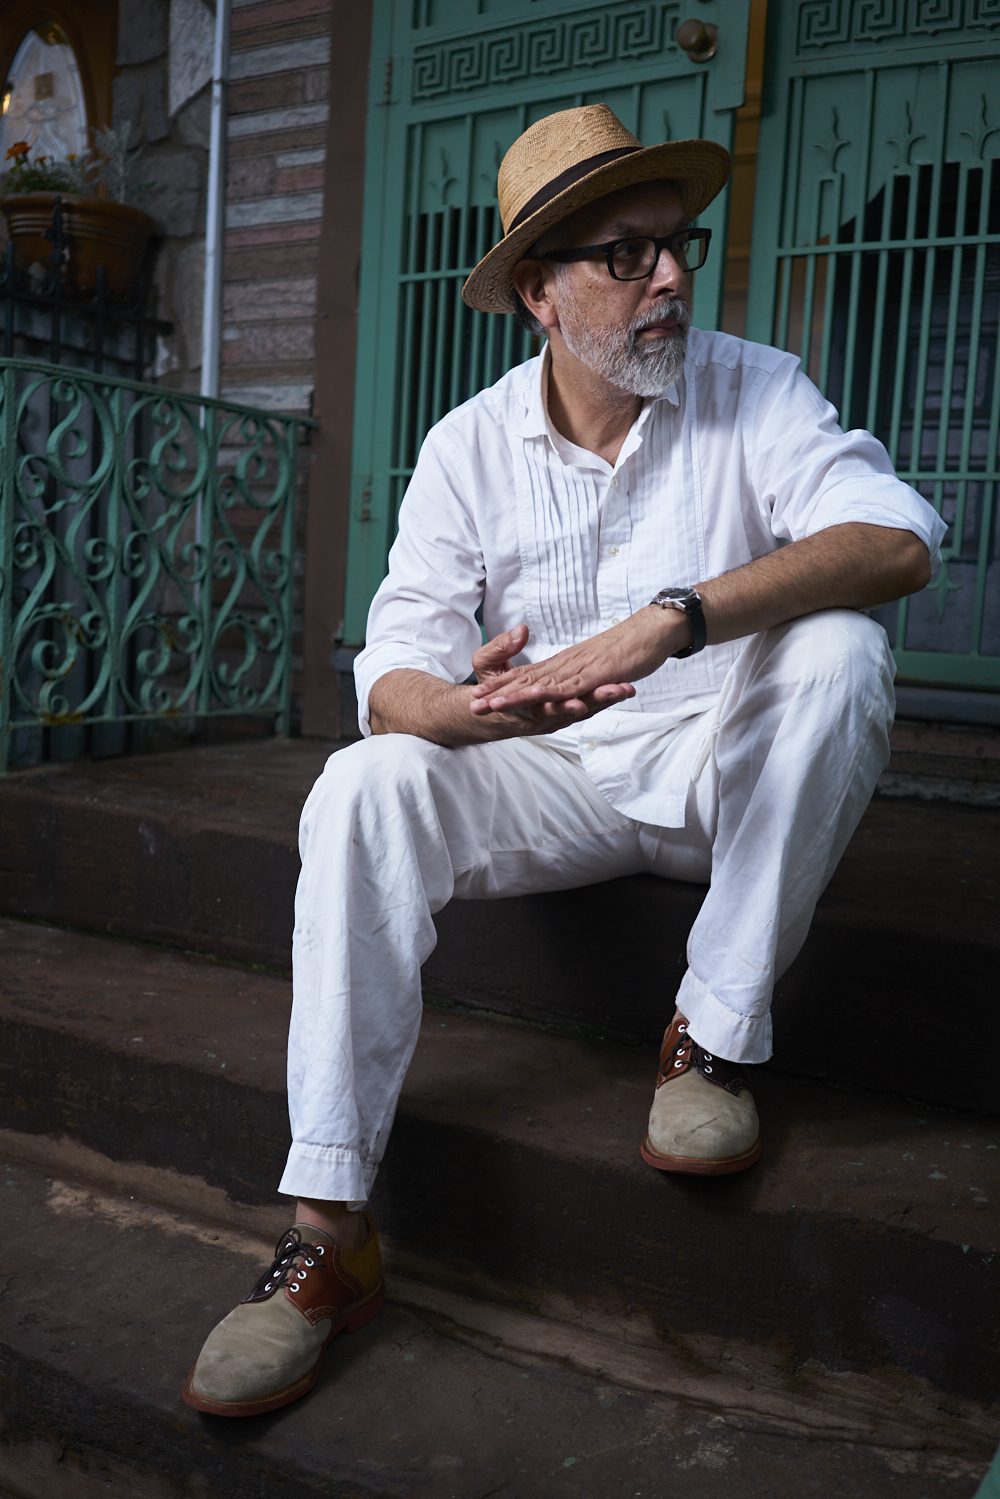
One of the most significant issues with blending natural and strobe light is first working with the natural light in an area. The first thing you should do is look for the shadows. When you look for the shadows and shoot in them, you have more control over the light in the scene. For example, some good places are under a tree, an awning, a bridge, etc. There is a consistency with lighting in shadows. So adding the output from a flash becomes much easier.
A rookie mistake many photographers make is placing the subject poorly in relation to the natural light. Put the natural light source behind your subject. When it’s in front of them, they’re going to squint. Don’t do that to your subjects.
Is Your Flash Capable Enough?
Generally speaking, the answer to this question is yes. Flash is rarely required beyond ISO 1600, though we’ve had to do it. Where a flash might not have enough power is with stopping fast motion. That has more to do with sports and super-fast motion photography.
Get it Right In-Camera

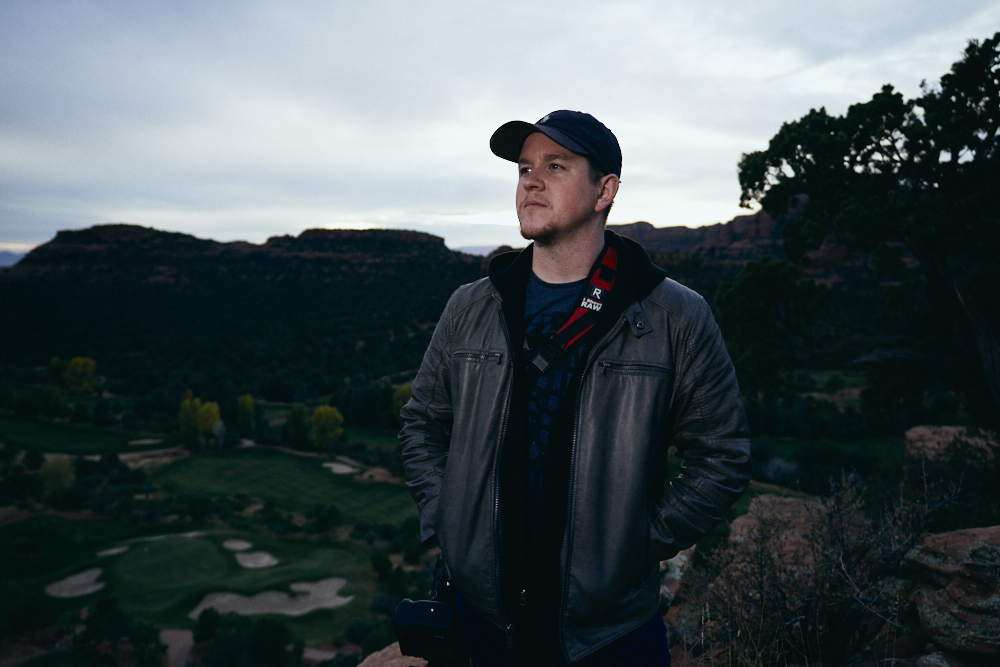
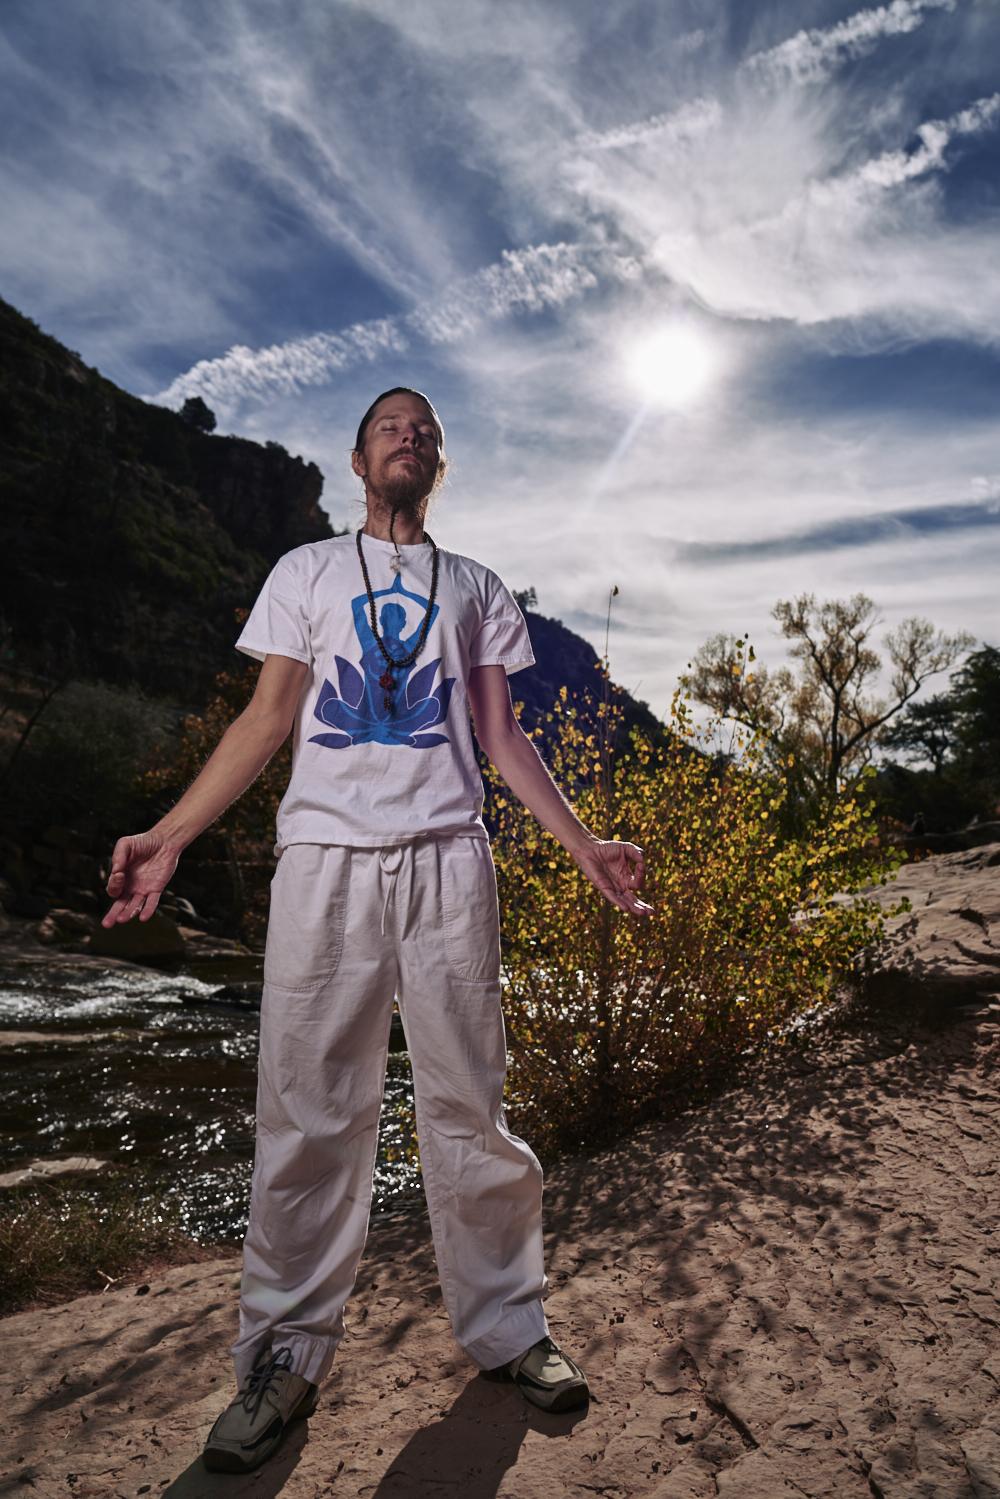
Now here’s an application that we’re talking about. We placed the sunlight behind Amanda, evident by looking at the shadow cast by the pole. To get this image right in-camera, you’ll need to blend the ambient light and the strobe output. TTL flash worked well here. While we raised the shutter speed and lowered the amount of ambient light in the scene, the ISO and Aperture worked together nicely with the flash output.
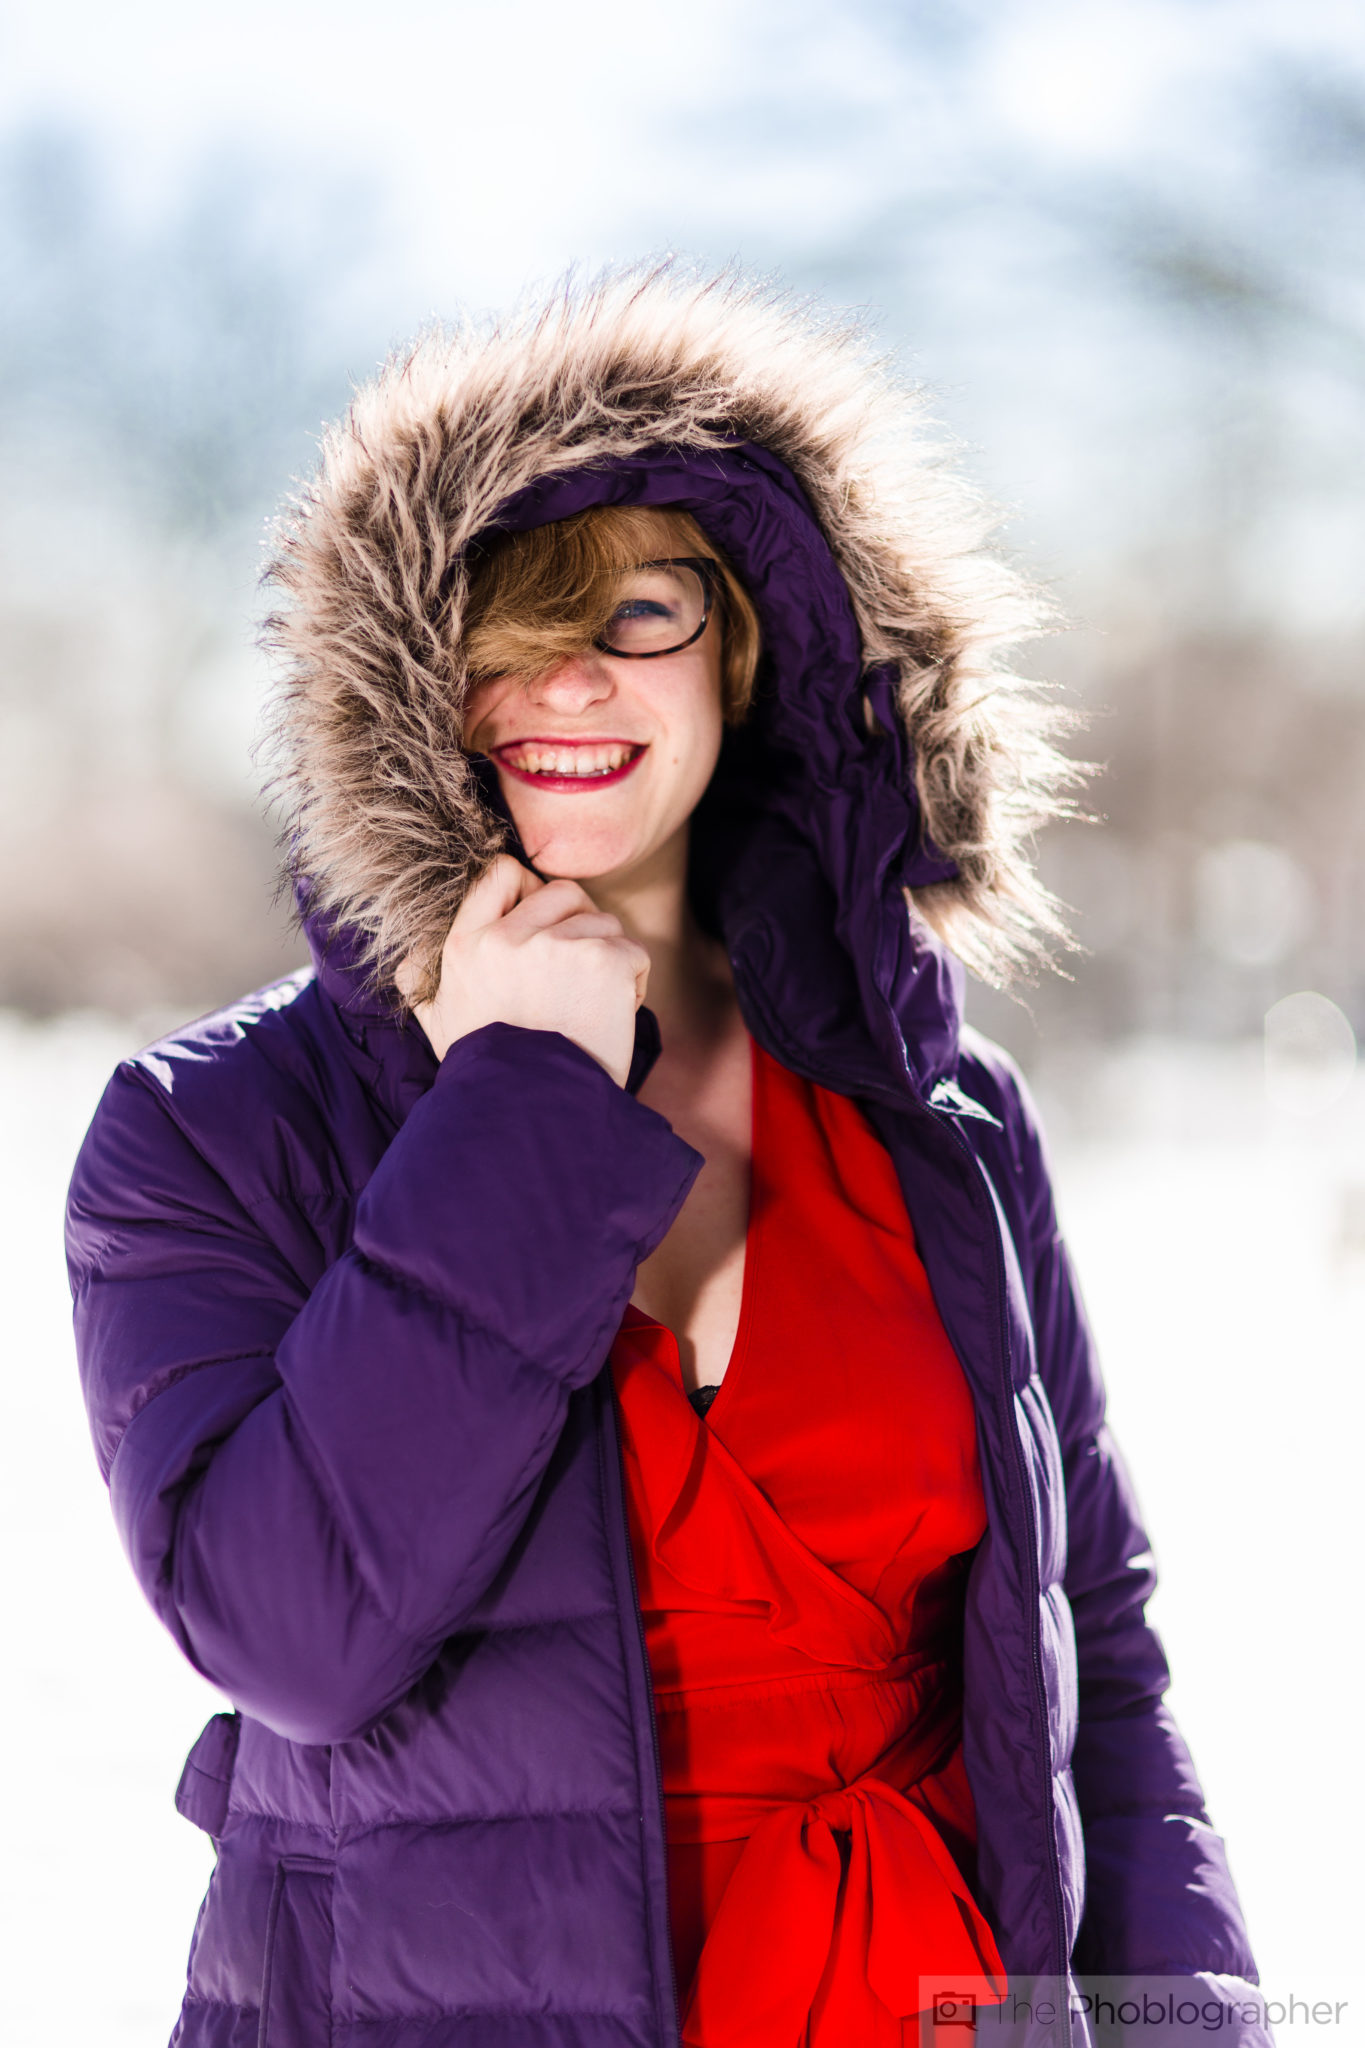
Sometimes, this method is really just as simple as placing light and using TTL.
Get rid of the ads!
Did you enjoy reading this article as much as we enjoyed writing it? There's a way to support us and our reporting, getting ad-free navigation and more as a bonus. Subscribe to us for less than a coffee per month —just $3.99— or take advantage of our yearly subscription with a hefty discount for only $25.- An ad-free experience
- A free mystery box for Lightroom or Capture One
- All the books in our store
- 20% discount on Capture One
- 30% discount on Imalume Photo Theft Protection
- 20% off Herbs and Kettle Tea Company.