

Last Updated on 03/17/2023 by Lara Carretero
Photography at night can bring mystery, viewer curiosity, and (when done right) rich color to your work.
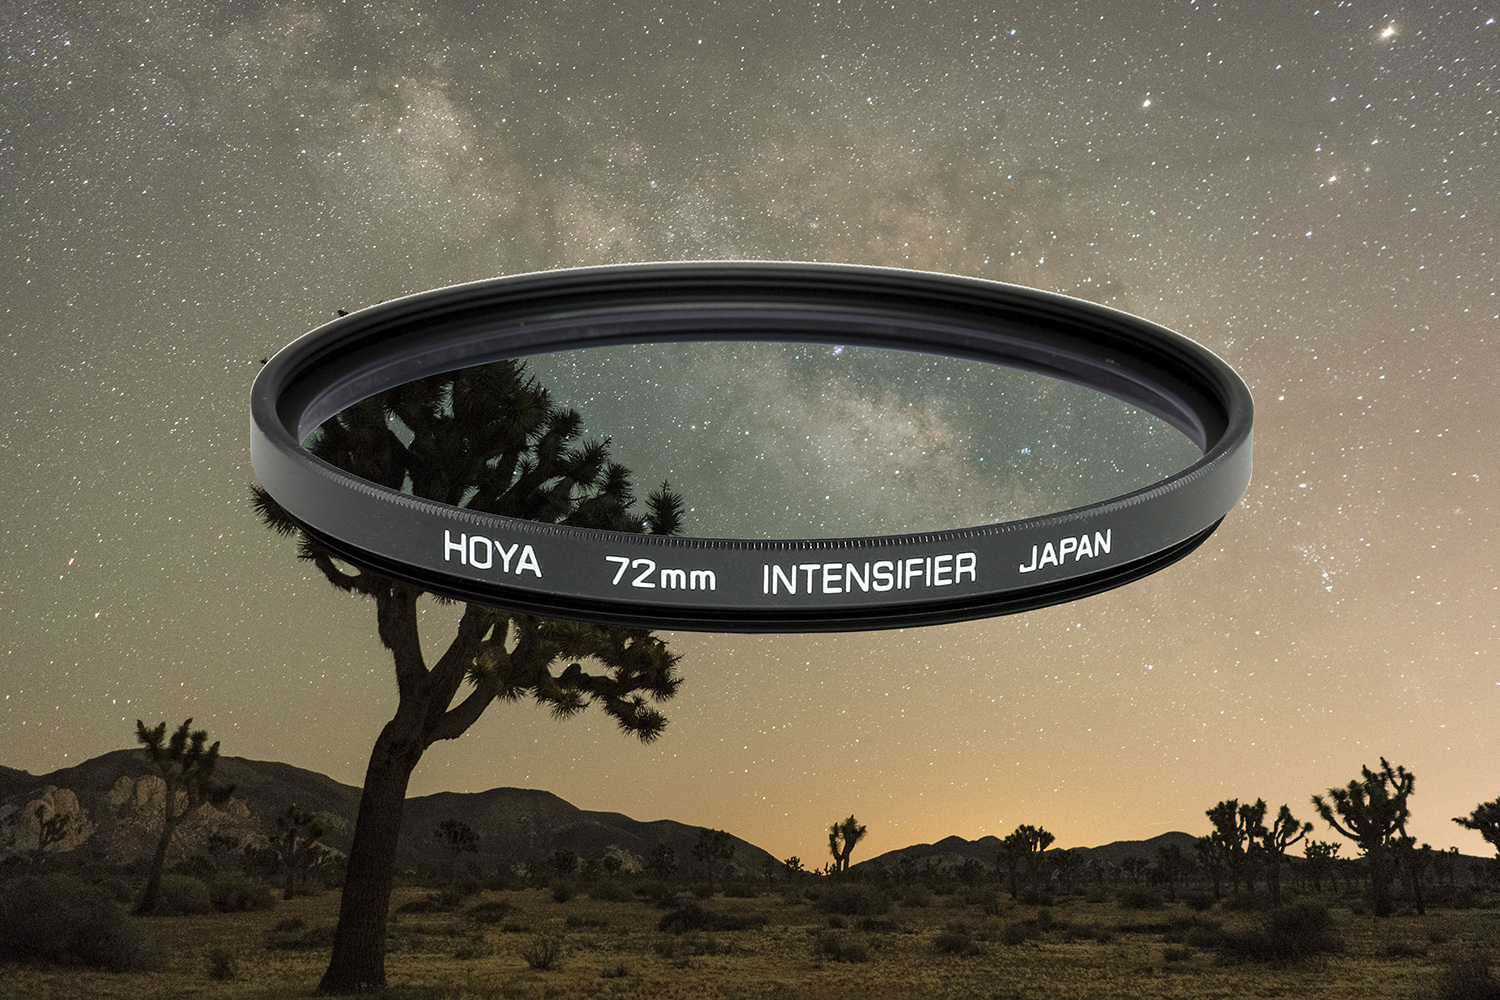
It’s common knowledge that at night you should have a tripod and cable release at a minimum, but there’s one tool that’s considered a secret weapon among successful night photographers and that’s an intensifier filter. An intensifier filter (AKA red intensifier, light pollution killer and the technical name “didymium”) is a tool every photographer needs to have in their kit. Basically, the intensifier works by targeting the light emitted by common street lamps and dramatically reduces the muddy yellow glow as the light passes through the filter. What you end up with is a clean RAW file with rich color, and increased contrast and sharpness.
Editor’s Note: The is a sponsored blog post from Hoya Filters being provided in part for funding our first Analog photography zine: Emulsion.
Traditionally, photographers have used intensifier filters for fall foliage and sunsets. However, an intensifier can be used for any situation where you want to increase the warm colors of the spectrum while leaving other colors unaffected.
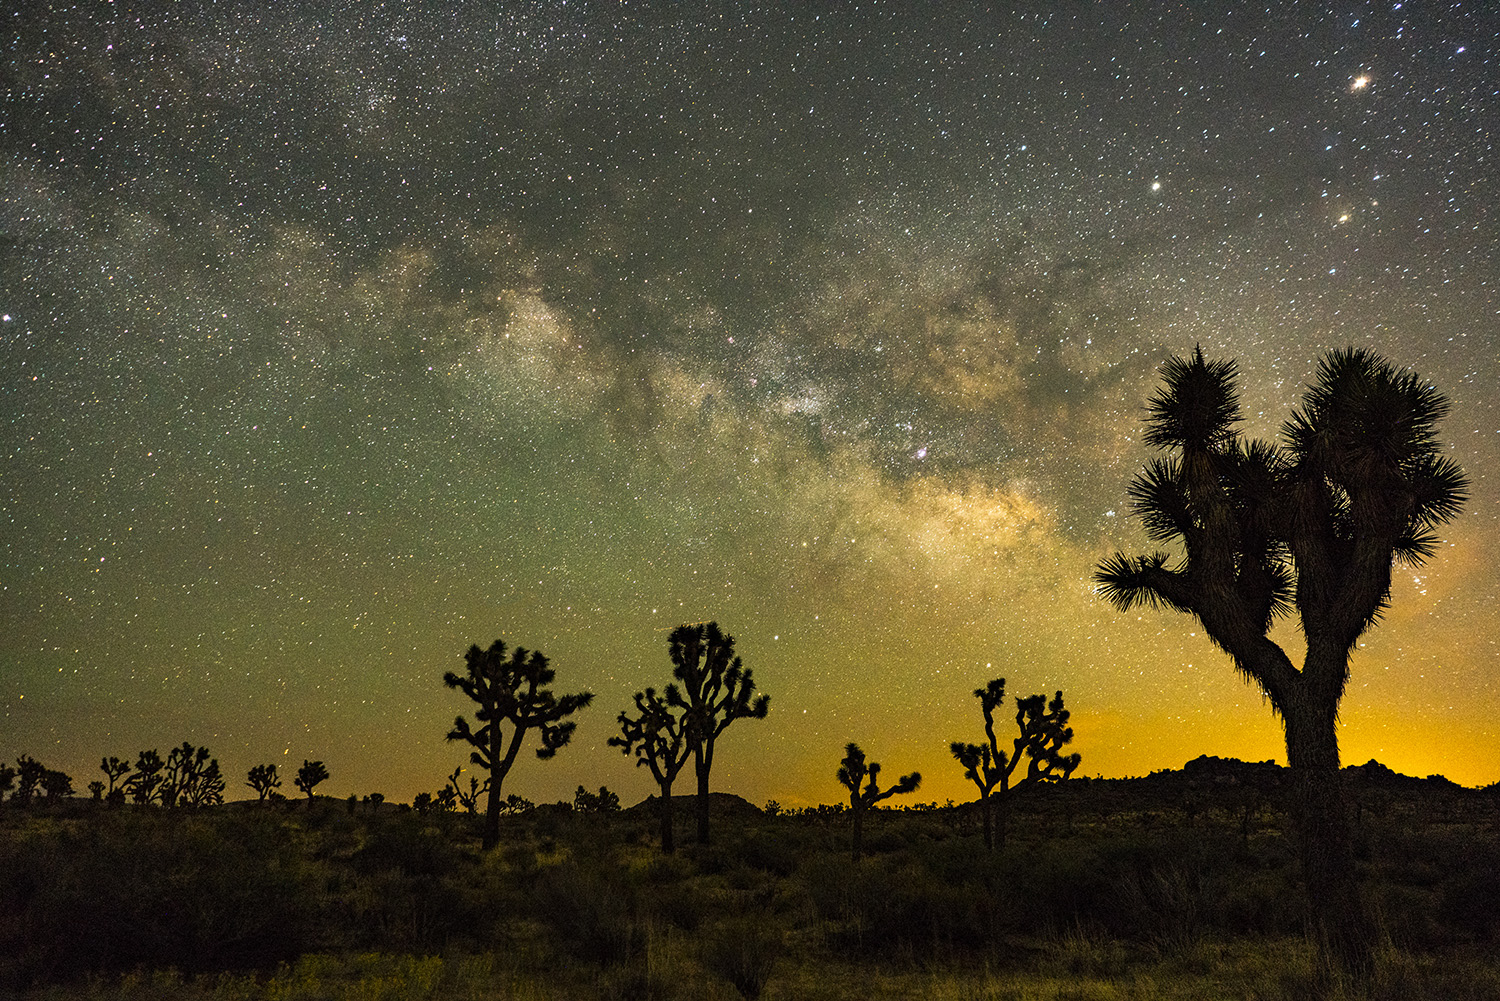
Photography after hours is a blast but the post-production on the images can be a freaking nightmare; dealing with the magenta shift from cheap LED lights (which is also a nightmare) in post, and trying to clean up the muddy yellow color cast of sodium vapor lights so that it looks good is nearly impossible. When I’ve shot digital photography I’ve deleted many files because I simply could not get the color how I wanted. And no, adding a ton of blue to the image will not fix it, nor will a plugin. Captured light is either bad or good and you can’t fix that in post.
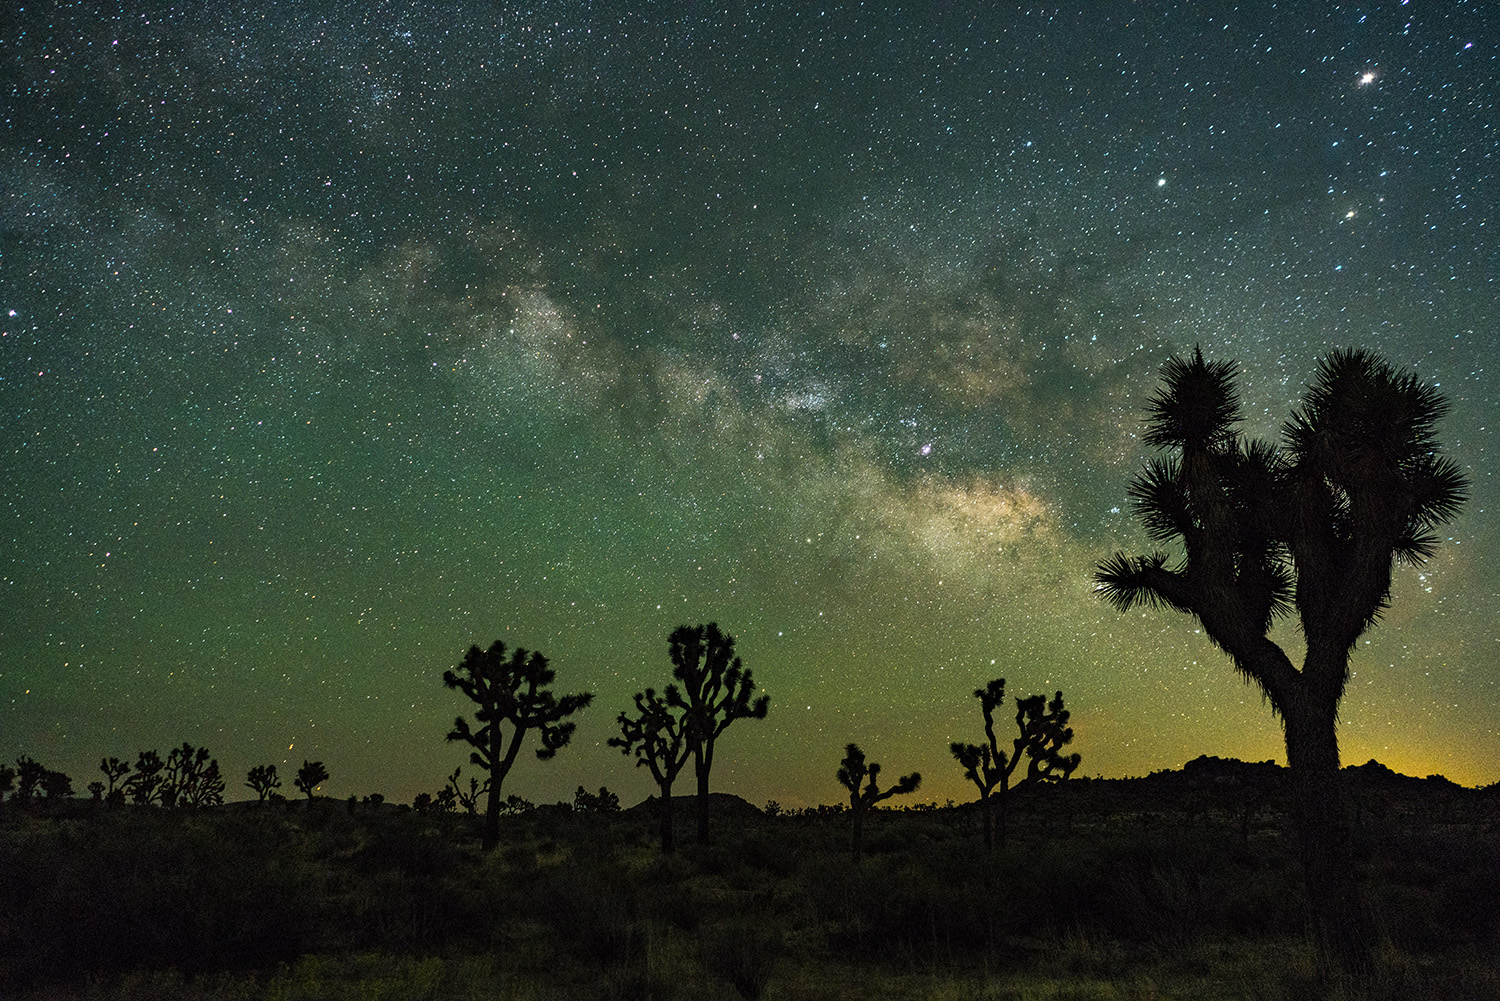
Since the intensifier is adding some red to the shot, photographers have in the past used them to add some punch to fall color. With night shooting though, the results are even more dramatic to the point where using the filter can make or break your shot. What you’ll end up with is more contrast, color pop, and sharpness, not to mention you’ll feel awesome about your capture.
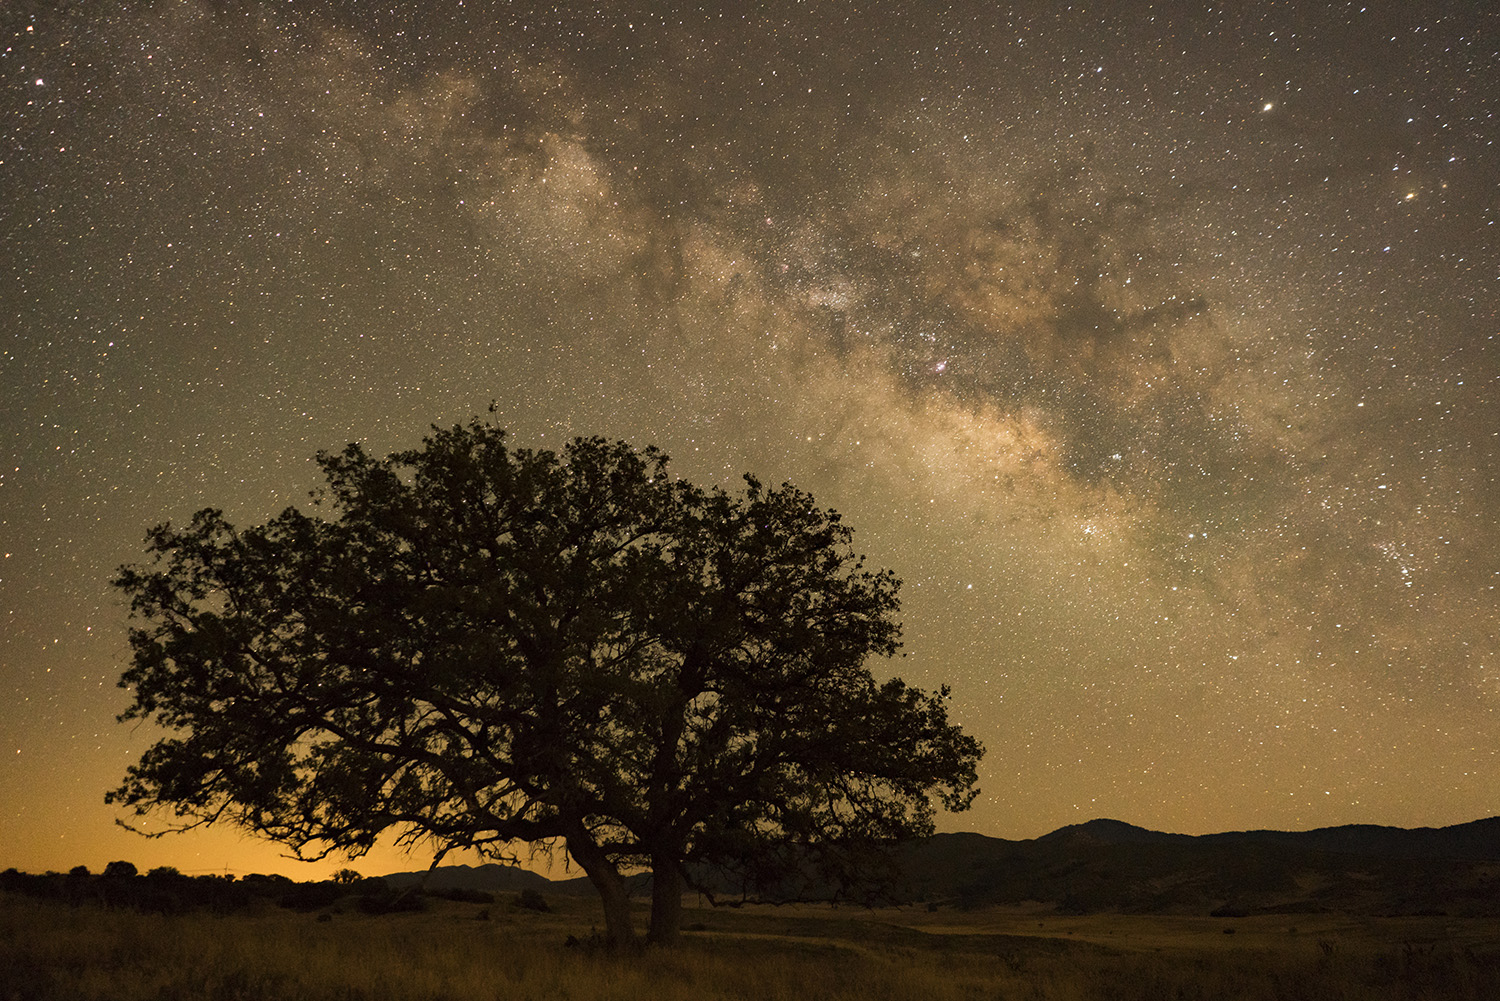
The most simple solution for this is to tape a CTB gel over your eyes and shoot. Kidding! The actual solution is even easier; make it a part of your setup procedure when shooting at night to add an intensifier filter on your lens. That 15 seconds or so will save you hours in post.
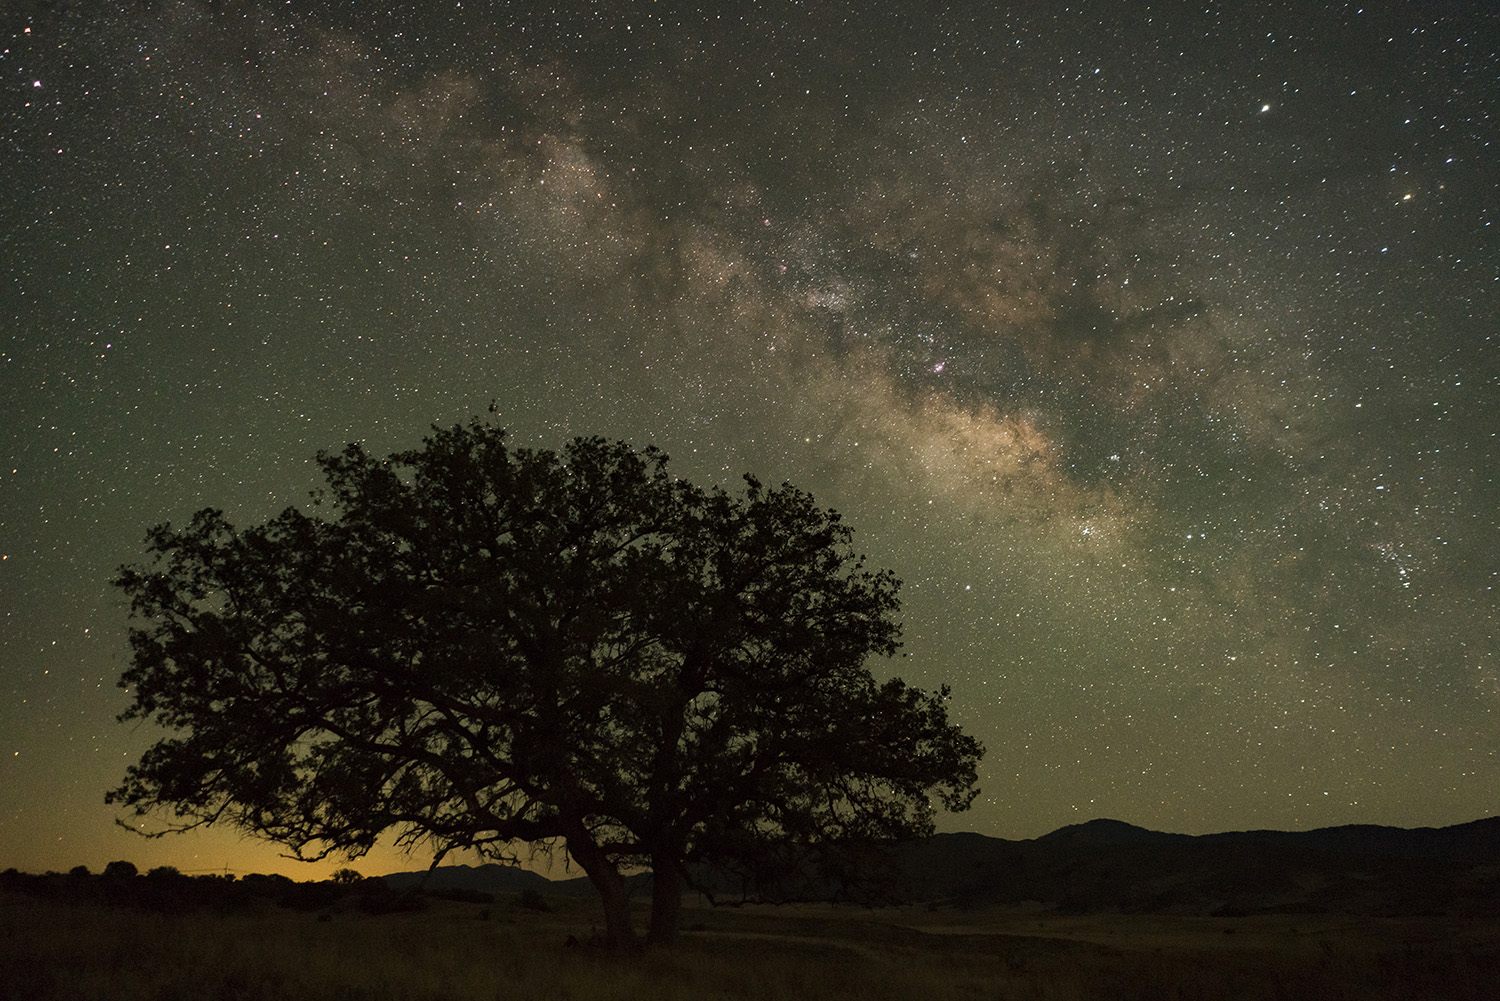
The human eye is an amazing instrument, and if you’re not careful you might miss much of the muddy yellow color cast of sodium vapor lights. Even a skilled photographer, distracted by the excitement of the shoot, might not notice the color cast. A good rule of thumb: if you don’t want the “muddy yellows” in your raw files put the intensifier filter on when you start to shoot at night. Even though you’re shooting raw, you want the best image you can get from the get-go so that when you do get into post-production you’re spending less time making a good image great. Adding an intensifier to your kit and making it part of your capture workflow is essential to getting beautiful night shots.
Get rid of the ads!
Did you enjoy reading this article as much as we enjoyed writing it? There's a way to support us and our reporting, getting ad-free navigation and more as a bonus. Subscribe to us for less than a coffee per month —just $3.99— or take advantage of our yearly subscription with a hefty discount for only $25.- An ad-free experience
- A free mystery box for Lightroom or Capture One
- All the books in our store
- 20% discount on Capture One
- 30% discount on Imalume Photo Theft Protection
- 20% off Herbs and Kettle Tea Company.
- 20% off your order from MPIX printing services.
- 5% off Viltrox Products via their eCommerce store.
- 10% off all film developing, printing and scanning services from Blue Moon Camera and Machine
- 15% off 7Artisans products: The lens and accessory maker is offering a sweet discount for Phoblographer's readers.