
Film photography requires patience to practice, but it obviously doesn’t end with just a click of the shutter button on your analog camera. If you’re someone who doesn’t just process your negatives for print, and wants to make digital copies of those photos, then you know how painstaking it can be. We’ve written many articles on the best ways you can scan film negatives, but here we’re reviewing distinctly different film conversion software that can be used to convert those scans into positives. This isn’t an article that ranks them – it just tells you the best part of each software and leaves the choice in your hands.
We’ve chosen four different film conversion software for this piece. Three of them I’ve used in the past; one of them is more of a recent release. They all have their strengths and weaknesses, as well as dependencies. The goal of this article isn’t to tell you which one scores the best, it’s to inform you about what options each of them has and for you to pick what works best for you. All are professionally developed software and none of them are free. The image files used for this test were shot on multiple camera brands and models and were all RAW files.
All scans seen in this article were done against a uniform, daylight white balanced light source, using a macro lens. The software we tested are:
- Negative Lab Pro (Adobe Lightroom Classic plugin)
- FilmLab (standalone software)
- Capture One (Negative Film Conversion tool built in to v16.7.4 and higher)
- SmartConvert by Filmomat (standalone)
Table of Contents
Negative Lab Pro
Among all the ones we’ve tested, I am willing to argue that Negative Lab Pro is one that darkroom developers and purists will most admire in terms of the complexity of options available. This one requires you to have Adobe Lightroom Classic in order to develop your film scans. There’s no standalone desktop version unfortunately which is something I really would have liked to use. Nor is there a Capture One plugin (I see a lot of developers being unable to port over their Lr tools to C1). For now Nate and his team at NLP have only released a Lightroom plugin version for their film conversion tool.
Negative Lab Pro isn’t a one-click-you’re-done kind of software. It requires quite a bit of patience to work with, and you really need to get your ducks in a row before you set out to convert your scans using it. The learning curve is quite steep and it requires you to really pay attention to what you’re doing, and follow the process diligently each time. Pretty much like what you’d be doing inside a darkroom with real film and chemicals. You don’t just import images into Lightroom and start in a hurry. For example, to start with, the white balance for your scans isn’t set after the conversion. You need to do this once before you even invoke the NLP plugin. Use the white balance selector in LR and sample off anywhere in the film border. You don’t need to do it for every frame; just do it once per roll and sync across photos, as long as your light source’s white balance was consistent across the roll. If you’ve scanned multiple rolls in the same batch, remember to repeat this for each roll.
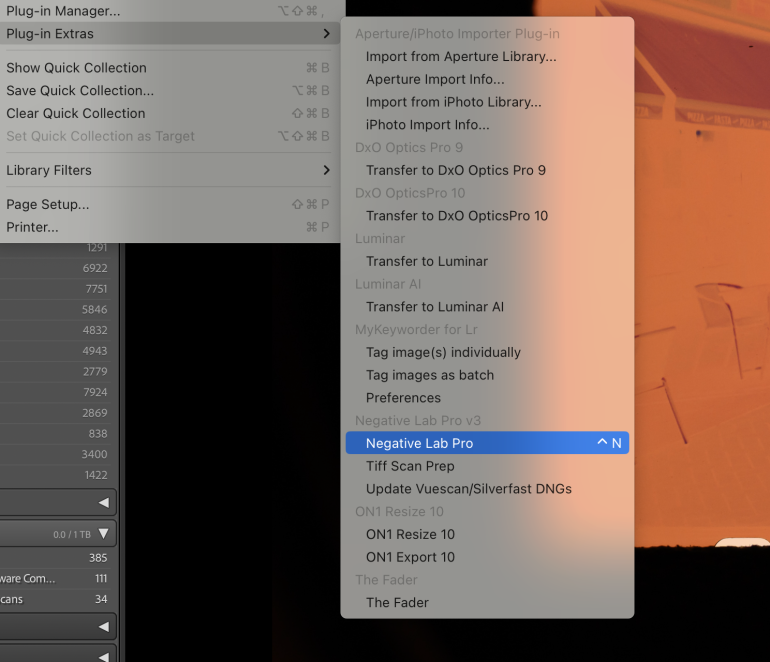
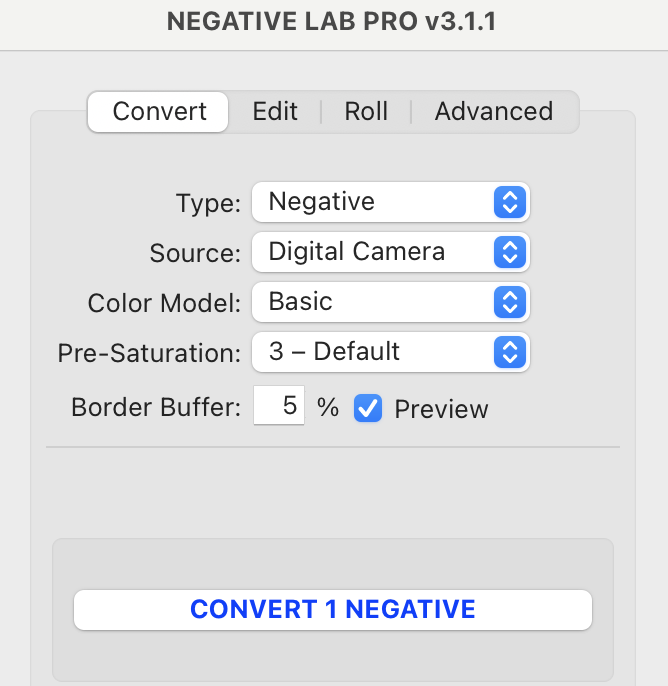
Start off with one negative and move to batch processing once you’re confident. Make virtual copies of an image before you do the conversion, in case you want to try different NLP processes on the same still. You can either invoke the film conversion process via a keyboard shortcut, or the Plug-in Extras menu option. This opens up a small window next to your selected scan. It might be small, but it’s packed with a lot of features. However, prior to the conversion, you will only be able to use one of 4 tabs – the Convert one. Depending on what selections are pre-populated in here, you might see a subtle change in the image already on your screen.
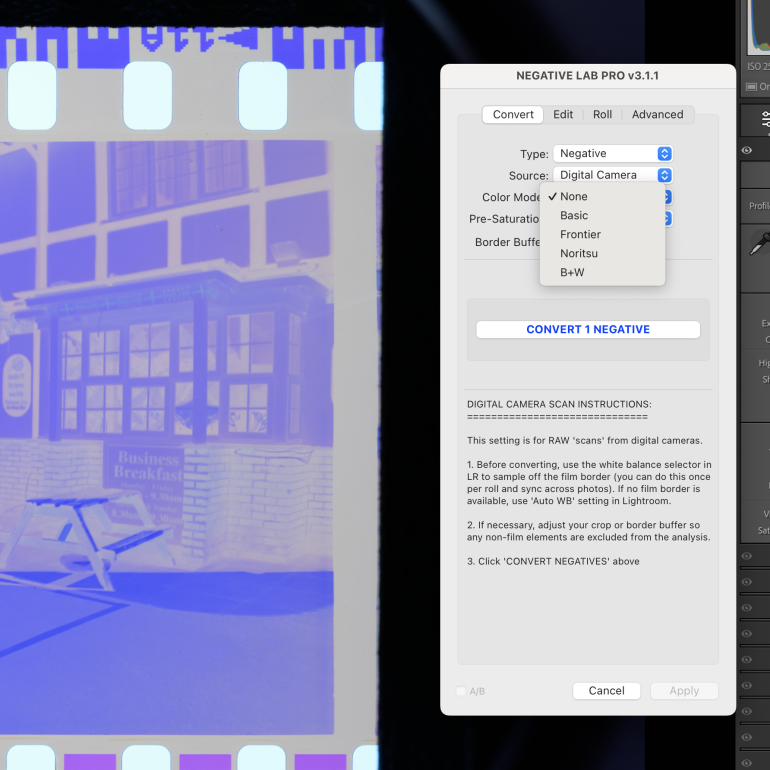
NLP allows you to choose between various Color models, to closely mimic the traditional lab scanners from the past. Choose between Basic, Frontier, Noritsu, B+W or None (which uses the last used settings). If you’d like you can also select pre-saturation settings and then hit the convert negative button. Wait a few seconds and you’ll see that your negative is now a positive.
It might not look great right away, but NLP has a packed set of editing tools that allows you to further finesse your negative to get the best out of it. Believe me when I say again that this requires careful study and understanding of the science behind film, in order to really get top class results. But the effort you put towards this will really pay off.
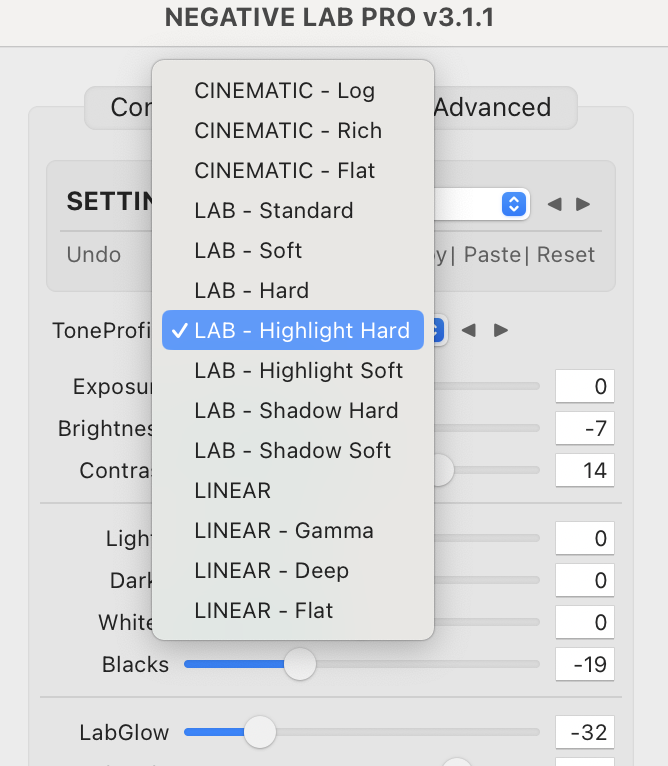
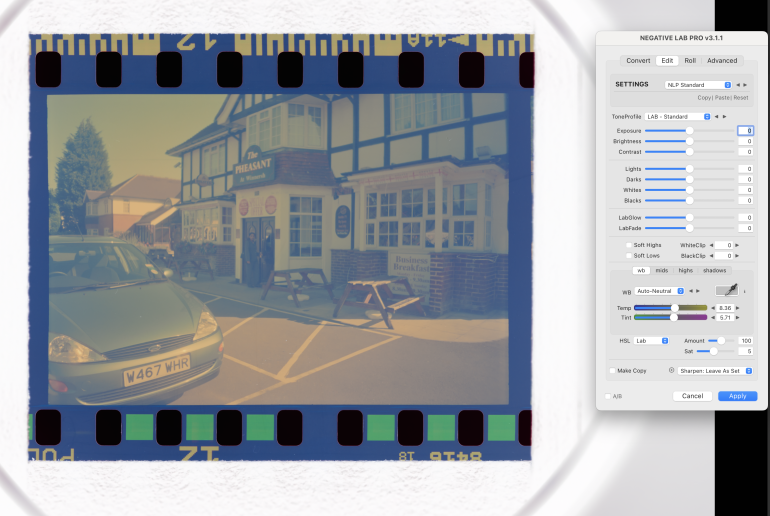
One of the first steps to do after the conversion from negative to positive has occurred, is to choose a Tone Profile. How you approach a conversion will be very different from any other photographer would, and tone profiles help you get a head start into the overall end look for your photo. Choose Cinematic for classic cine style film stock, LAB for stock that was more commonly used by families, and Linear for various flat options to begin working your creative vision from scratch. Once you’ve set this, then use the plethora of edit sliders available at your disposal to go about finishing your photo.
The good thing about NLP in Lightroom is that all edits you do are always against the original negative (in a non-destructive way), which gives you more flexibility as opposed to making edits against layer upon layer. This however can also be a major pain point for a lot of users. As every edit using the NLP window is basically writing an edit into the Lightroom xmp file, and Lr is a majorly slow software these days taking up loads of RAM any time it is open. This can severely slow down the overall time taken to fine tune an image, because something as simple as finely adjusting a slider can take longer than expected to visually reflect in the photo on your screen. the good thing though, is that you can always just reset the whole NLP process and start again without any damage burned in to your original scan file.
A word to the wise – finish all your editing within the NLP window using the tools you see there. Adjusting the native sliders in Lightroom Classic after NLP had done its work, often gave results quite the opposite of what was expected from the slider behavior. Of course, this is because the image has been inverted from what it used to be (negative to positive).
Negative Lab Pro isn’t for those just starting out with their negative conversions to digital. You really require some understanding of film stock and how darkroom science used to be. Having said that, there’s no reason you can’t use it to get wonderful results with some luck. It’s just that with a lot more understanding, you can get great results. It’s available for USD 99 to buy, for an unlimited set of conversions. If you want to try it out, click on the FREE TRIAL Download link. It’s the full program with no watermarks, but is limited to 24 conversions. We received a coupon code for the usage of this software and are grateful to Nate for this.
FilmLab
I really enjoy using FilmLab for one primary reason – speed. Whenever I want to process a batch of hundreds of images quickly, this software breezes through it. It’s a standalone desktop software available for macOS and Windows, but they also have an iOS and Android app for free (with a lot less capabilities of course).
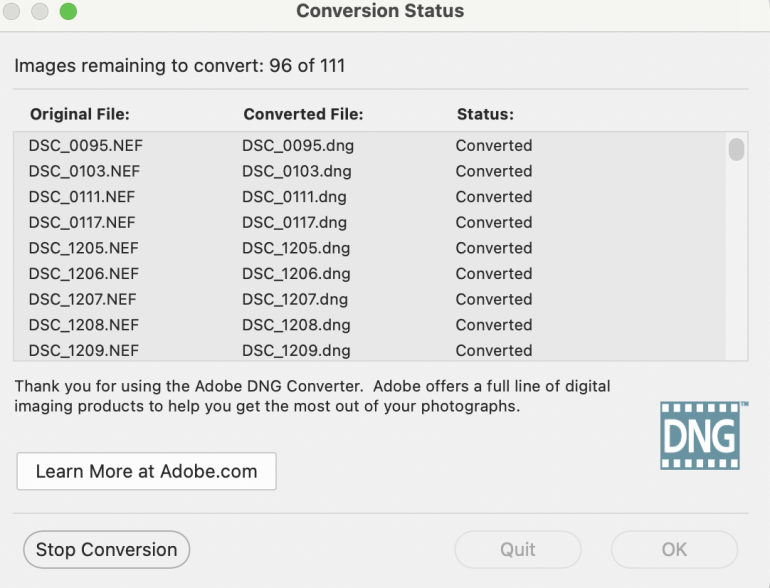
When I first used FilmLab, I ran into an issue. All the Z8 NEF raw files I had opened up in there, weren’t recognized by the software. I panicked because I had scanned a few hundred images for a friend over a few hours, and having to redo the whole thing would be a bit embarrassing. As it turned out, the issue wasn’t with the Z8 as such, but more with the NEF compression type I had used. FilmLab can only generate thumbnails for and work with uncompressed NEF files. The only fix for this now, was to convert all those NEF files into DNG, using something like the Adobe Digital Negative Convertor.
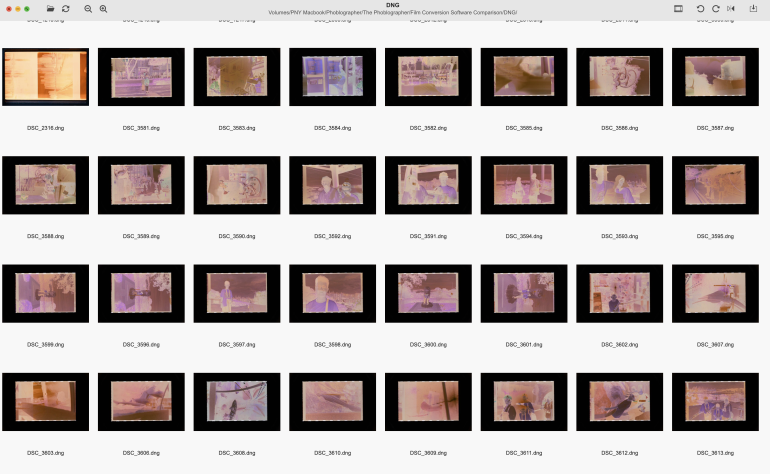
Once I selected the DNG folder, thumbnails for all images appeared.
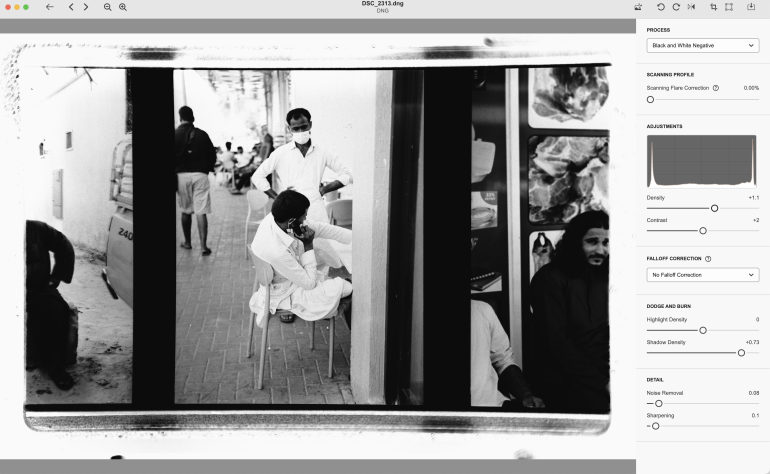
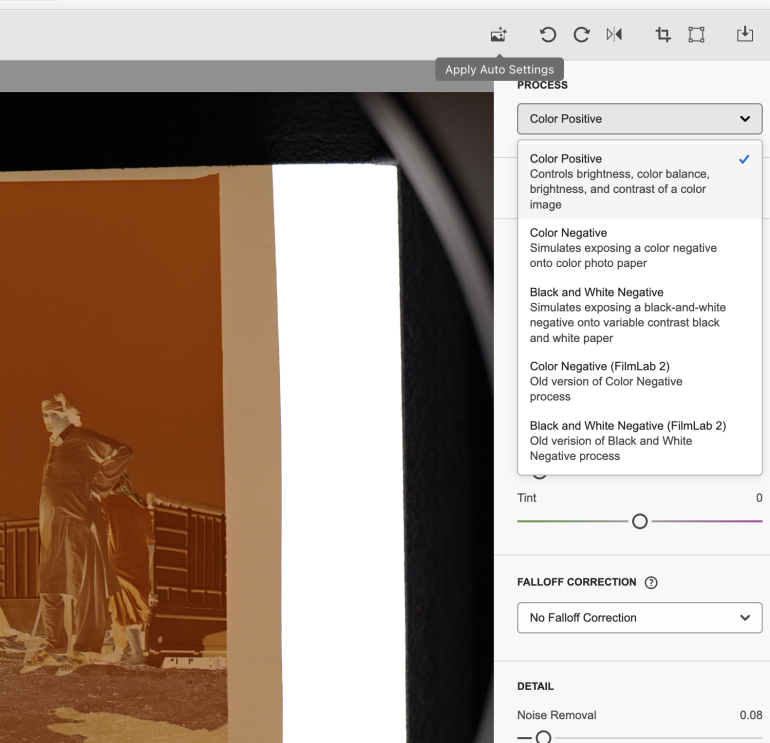
The tools in Negative Lab Pro are easily laid out and don’t appear intimidating to beginners and amateurs. The most used options like the Auto Settings (which works great so often), flipping, cropping etc are all on the top right of the window. Below this you have a dropdown to select the film conversion type (positive, negative, black and white etc). One of the really interesting settings in here, is the ability to choose what film stock was used, and FilmLab automatically readjusts the conversion output based on your selection.
You can further refine the result by choosing what brand of camera the negative was scanned on, as well as the light source you may have used for it. There’s also temperature adjustments, vignette correction, and noise removal, besides the standard brightness and contrast settings.
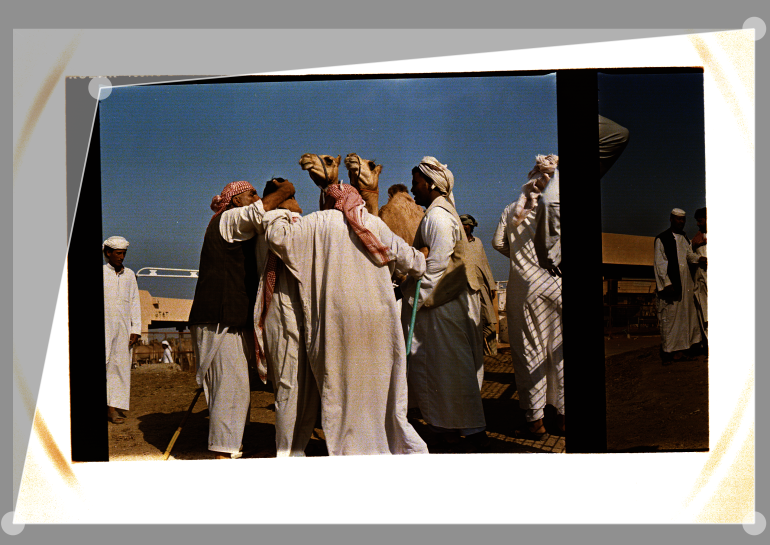
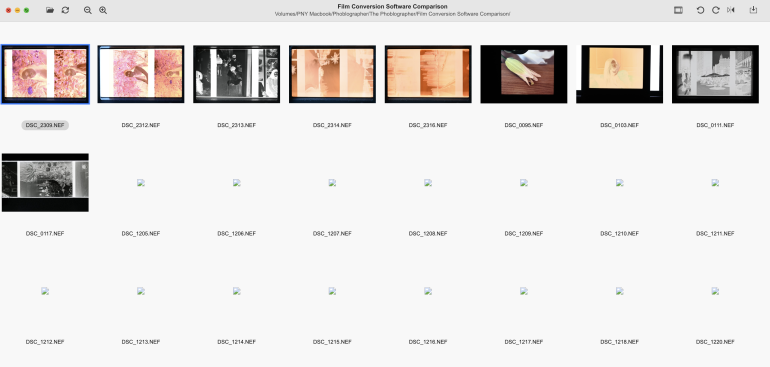
One thing I did notice, when editing the same photo in DNG on FilmLab and NEF on Negative Lab Pro, was a lot of banding in the dng file. If you’re using a Nikon and you see the kind of banding seen in the above reference image, it’s best to shoot uncompressed RAW and edit that instead of dng.
For photographers who really want to quickly convert their negatives into digital, especially when working with huge batches of images, Film Lab will be the perfect software to use. It’s fast, even working with hundreds of images, but more importantly, it is laid out in such a way that you find it easy and intuitive to use the tools. Abe from FilmLab sent us over a 1 year subscription code to use for this review. You can also purchase monthly or lifetime subscriptions if you find this perfect for converting your negatives.
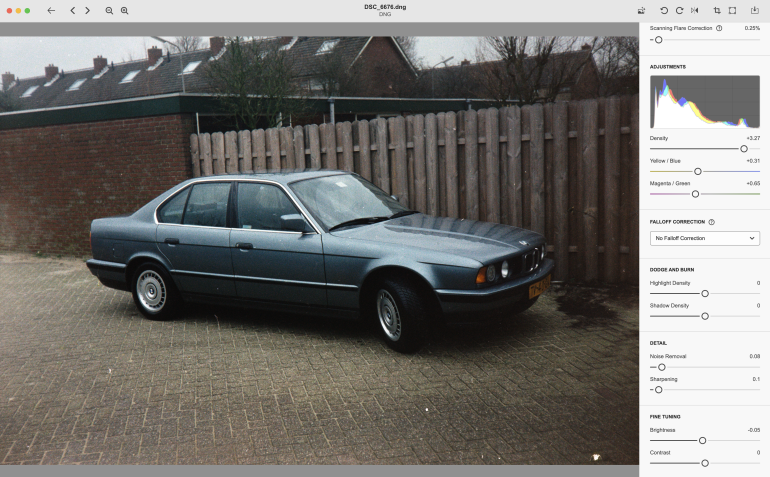
Capture One Negative Conversion
We’ve done a detailed review of this while it was in beta, but I’ll still go over the features here now that it’s been released to subscribers. Capture One still has the best tethering option I’ve seen in any modern software for photographers today, so if you’re using a copy stand for photographing your negatives, I would recommend subscribing to them. There’s now a dedicated tethering mode called Scan for when you intend to photograph your 35 or 120 negatives directly into Capture One
Once you’ve done your scanning or if you’ve already got raw files of scanned negatives, head straight into the new Negative tool tab. A lot of color correction tools that you are familiar with in Capture One can be found here and are easy enough to understand if you’re a seasoned photographer.
It’s fantastic that you can add the new Convert Negative tool to the top of your toolbar now. If you don’t want this visible all the time, it’s just a quick swap of your regular workspace for the Film Negative one when working with scans, and you’ll see this quick edit tool at the top. This is a great tool for an instant conversion of your negative, and it is instant.
It’s weak. I think among the lot, Capture One’s conversion doesn’t work as good as NLP or Film Lab. It falls short of some of the most basic requirements – there’s no mirroring option by default in the Film Negative workspace to flip your image around, for example. And in the new dedicated workspace, you might see lesser tools at your disposal for editing, as compared to the Adjust tab in your usual workspace. Of course, these tools can be manually added, but it is confusing when you initially reach out for a tool and then find out it isn’t there.
This is a good option to use when you’re tethering to scan negatives, as you can apply an inversion to the image as soon as it shows up in Capture One. It makes it a great tool to then see right away what negative you’ve scanned but for more refined editing especially when the negatives are old, I would go with any of the other tools. Capture One needs to improve this one. Still, for now it’s a great option if you’re already subscribed to them.
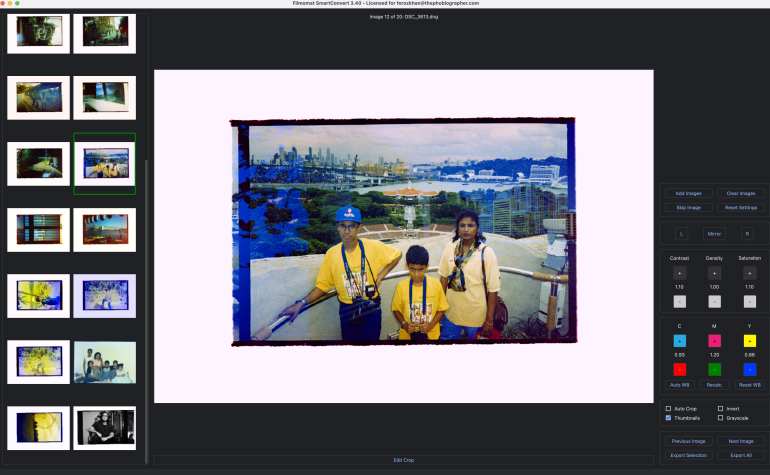
SmartConvert
The same folks that developed the PhotoPlug gadget, which took an Editor’s Choice award last year, are also the team behind the negative conversion tool SmartConvert. Filmomat is run by Dr. Lukas Fritz and has made this smart tool when it comes to meeting the needs of modern photographers who need their scans in a digital format.
Right off the block, I noticed something in here that other software didn’t have, or at least I didn’t see upfront. Multiple monitor profiles were available to choose from in SmartConvert, something I realized then is so integral to getting your colors right.

There isn’t tethering support for cameras, but you can use existing tethering-capable software, like Capture One, and then specify the path of that folder to SmartConvert. It then keeps scanning that folder continuously and updates the program thumbnails.
White balance, saturation and contrast are easily adjustable here. And I love that the auto crop feature is so fast. For performance reasons, the displayed preview images are shown in low resolution.

You can apply what’s known as Flat Field Correction to your images. This removes any vignetting that may be on the scans and is done by uploading a photo of the light source that was used.
One major issue thoug – the app crashes any time you try to open a compressed Nikon RAW file. Dr. Fritz responded back to me quickly when I queried him about this and informed me that the issue is due to file incompatibility and that such RAW files weren’t currently supported by the software. If your images look washed out at times, Filmomat recommends you crop the images without the sprockets visible, and then run a Recalc on the scans.
Bonus Feature
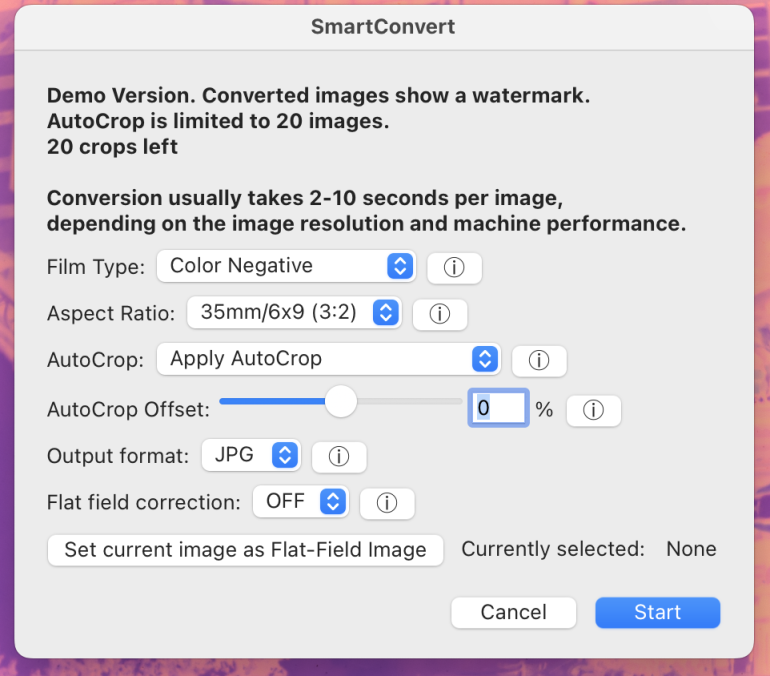
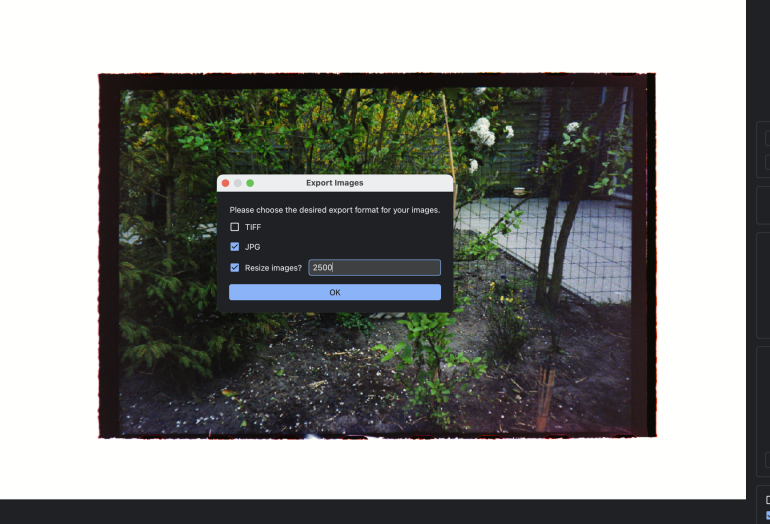
SmartConvert is the only negative conversion tool we’ve tested that’s available both as standalone and as a plugin. At the moment you can use it on Adobe Lightroom Classic but sadly there are no plans for a Capture One plugin any time soon. We received a coupon code for the usage of this software; I was unable to successfully activate the Lr plugin at the time of writing this article though.
Overall Thoughts
I’m not here to make decisions for anyone; my preferences will vary greatly based on anyone else’s, even when it comes to picking one from the four options here. All four have different workflows and editing capabilities, but they all can satisfy your needs if used as per their respective creators’ guidelines. Pricing varies quite a bit, but trials are always available to test them out first.
Get rid of the ads!
Did you enjoy reading this article as much as we enjoyed writing it? There's a way to support us and our reporting, getting ad-free navigation and more as a bonus. Subscribe to us for less than a coffee per month —just $3.99— or take advantage of our yearly subscription with a hefty discount for only $25.- An ad-free experience
- A free mystery box for Lightroom or Capture One
- All the books in our store
- 20% discount on Capture One
- 30% discount on Imalume Photo Theft Protection
- 20% off Herbs and Kettle Tea Company.