
Dehancer as a company has been around since 2014. Since then, they’ve been making film emulation tools for some of the top video editing software. They’ve created a plugin for Adobe Lightroom and Photoshop that’s supposed to help do the same for photographs. We tried this plugin to see whether it could authentically recreate your favorite film stock looks. It didn’t disappoint.
We hate banner ads too. Download our app for iOS, iPad, and Android and get no banner ads for $24.99/year.
Film emulation presets for Adobe Lightroom aren’t new. Since film made a resurgence some years ago, digital photographers have tried to get analog looks with their digital files. Countless websites offer both free and paid presets for Lightroom to make clinical digital images look like they were shot on a film camera. But how many of those one-click presets come close to the real deal? Sure they look vintage, but do they actually resemble the film stock they claim to replicate? And with so many photographers and influencers putting out their own film presets, which ones do you really go with?
Dehancer Film’s plugin for the Adobe suite (and now for Capture One, too) makes this easier for you. It has over 60 distinct film profiles, editable and customizable to your visual tastes. It’s pricey at $199, but if you’re a professional looking for authenticity and convenience, it’s a small price to pay.
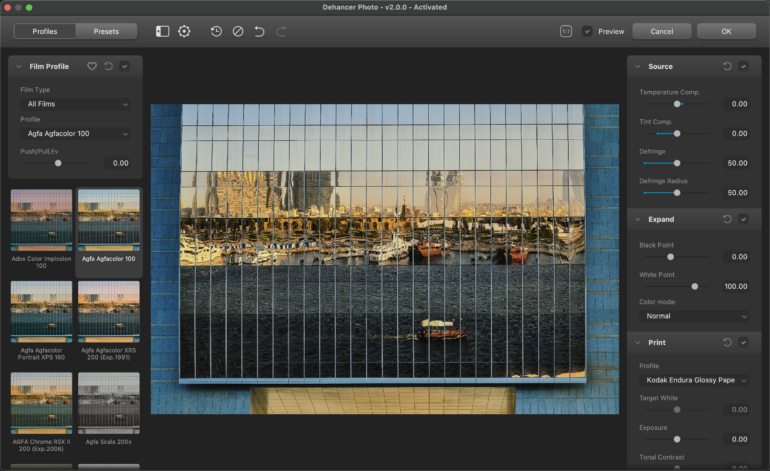
Table of Contents
The Big Picture
These days, many digital cameras allow you to get a film look directly in-camera, using a corresponding picture profile. This is one of the cornerstones of Fujifilm’s X-series of cameras and one of the reasons for their success today. But for other brands like Canon, Sony, and even Nikon, this isn’t quite there yet. The in-camera presets or profiles are far from the film stock they claim to recreate. It probably can work better for black and white emulations, but I find them falling short for the color options. I’ve probably invested in over 200 presets to date for Lightroom, and Dehancer does a better job than any of them.
Want the Best Kind of Film Look? Just Shoot Film
At The Phoblographer, we advocate for shooting film as much as possible. But we understand this isn’t possible for everyone. And film stock prices are rising. While the Dehancer Film plugin isn’t cheap, it’s certainly a way for some of us to feel nostalgic. Sometimes, one click of an emulation preset in the plugin window was enough to transport me back to my childhood. While you don’t get the incredible experience of shooting analog by using this plugin, it does a great job invoking nostalgia if you’ve shot film extensively before. The plugin also allows you to edit the applied profile by adding grain and adjusting bloom, halation, and vignetting. It’s almost like a digital darkroom in some ways, with the added bonus of being able to effectively choose whatever film emulation you want after taking the image.
As a Nikon mirrorless user, I am yet to find a decent set of picture control profiles that can emulate film stock in-camera. After seeing what this product can do, I think I’m just going to go with post-processing to get that look using this plugin. For its ease of use and decent varieties of film stock, I’m giving the Dehancer Film plugin four out of five stars.

Pros
- Preview windows allow you to see the effect of each base profile before applying it.
- Add and adjust grain independently in shadow, mid-tone, and highlights areas.
- The license allows you to use it on up to two computers.
- Works as a plugin with both Adobe Lightroom Classic and Adobe Photoshop
- You can now also use it with Capture One Pro and Affinity Photo.
- Working with the Grain tab is really fun.
Cons
- Pricey
- No text search feature to quickly locate film stock. You’ll have to scroll down each time (or set some as favorites).
- Can’t hover over film profile icons to preview their effect over the main image (like Adobe Lightroom allows you to do with their presets)
- Missing some of my favorite film stock like Kodak Tri-X 400, Ilford Delta 3200
- Workspace settings are not saved when you close the window after editing a photo.
- Doesn’t work as a standalone program or as a plugin for Adobe Lightroom CC (non-classic version)
Gear Used
I tested the Dehancer Film Ps / LrC / C1 / APh plugin v2.0.0 with:
- MacBook Air M1
- Adobe Lightroom Classic 11.3.1
- Various NEF and JPG files shot using a Nikon D4, J5, and Z6
Innovations
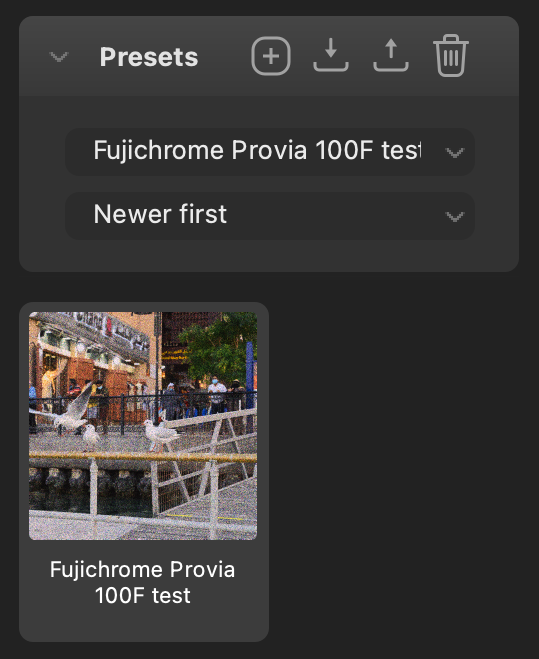
You can save your own presets – these are for your own quick usage if you’ve adjusted the film emulation (using the various sliders we’ll mention below) and want to replicate it easily later on.
Tech Specs / Hardware Requirements
Taken from the Dehancer website:
- Apple Macintosh, starting from middle 2012
- Metal-enabled GPU is required
- Apple Silicon M1 optimized (two different distributives for Intel and for M1 provided with installation package)
Ease of Use
We received an activation key for trying out the Dehancer Film Ps / LrC / C1 / APh plugin. Once you sign up to their website and purchase the license, you can download the installer zip file. Depending on what system you use, choose the correct installer package file and follow the instructions that come with the attached pdf files for the program of your choice (Lr / PS).
For Adobe Lightroom Classic, right-click on any image in the Library or Develop modules and choose Edit In > Edit In Dehancer Lightroom Plugin to open up the image in Dehancer Film.

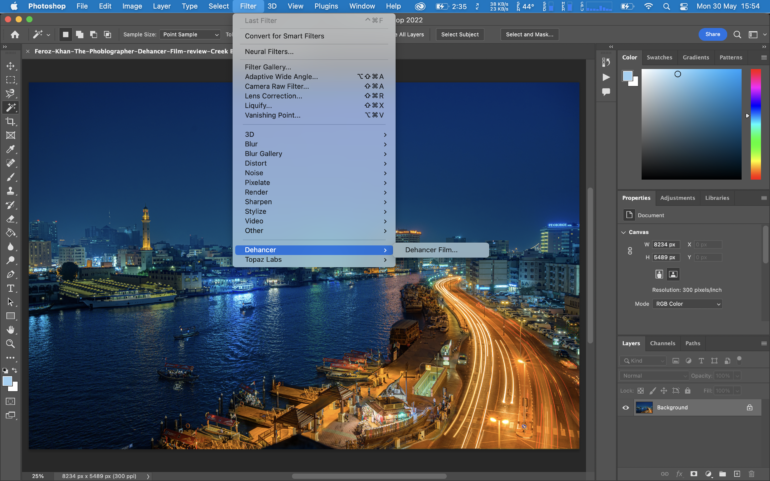
For Adobe Photoshop, you need to click on Filter > Dehancer > Dehancer Film
Once you select the desired file output type (jpeg/tiff/PSD) and the color space, bit depth, and resolution, it opens up the file in the Dehancer Film window.
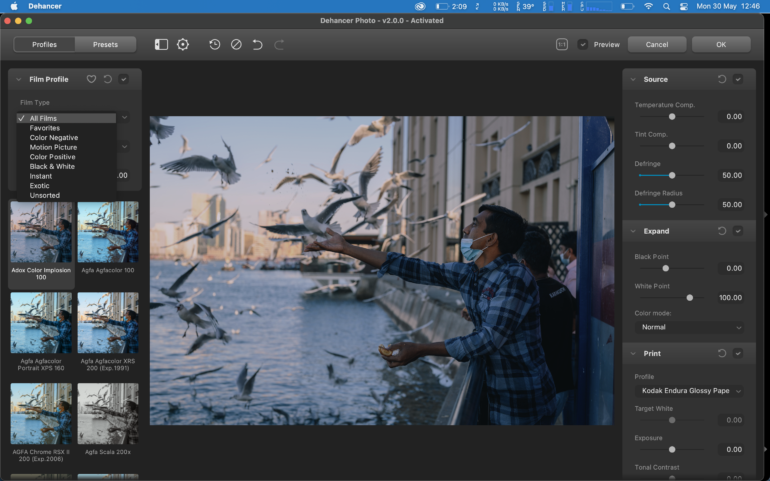
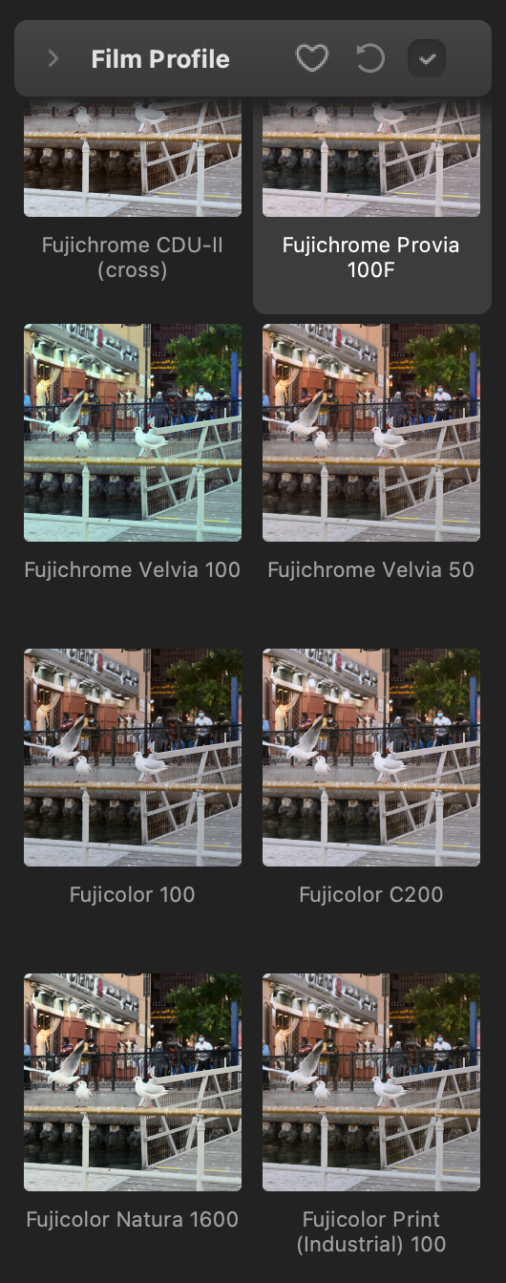
You can adjust the window size as you desire or go full screen. Pick, edit, and save as favorites from over 60 film profiles. Each film profile has a thumbnail that shows you what the image would look like if you clicked on it. Unfortunately, hovering over the thumbnail doesn’t seem to preview the profile in the main image; you’ll have to click on it to see this (as good as applying the profile). To the left of the image, you also have a drop-down list where you can select between various types of film profiles.


There are many customizable sliders on the right grouped into different categories.
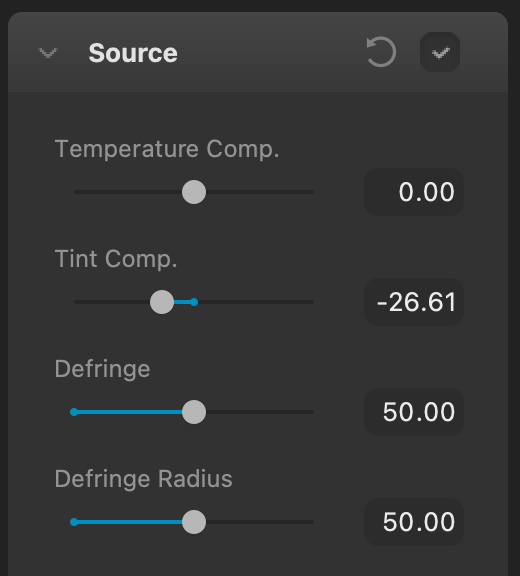
Each slider is customizable, giving you a lot of control over the final output of the edited image, not just a one-click preset kind of approach.
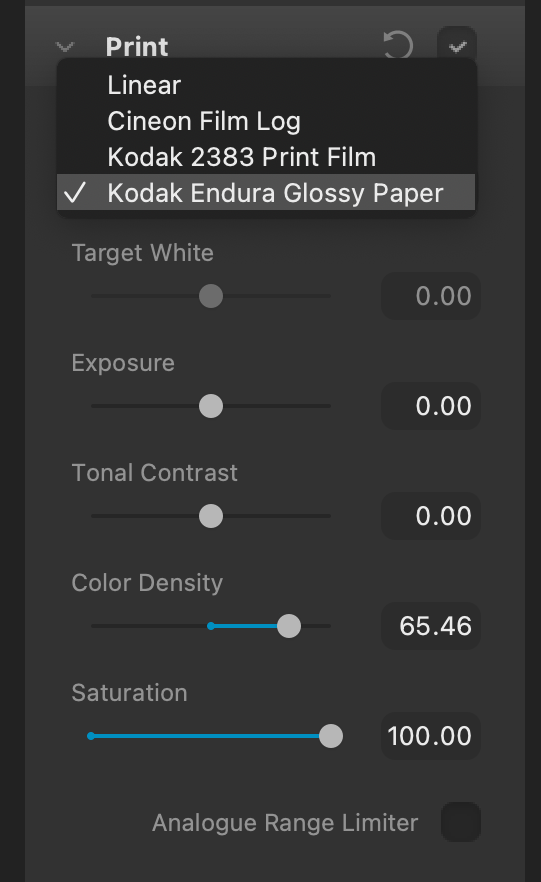
The team at Dehancer has done some extensive work behind the Dehancer Film app. One of the key things they’ve included in this program is a Print category. There are four options to choose from here, and as explained by Dehancer on their blog, these are:

Print category types
- Linear
The characteristics of the print medium are not applied. Only a ‘pure’ profile of the selected film is used, without the influence of the characteristics of photographic paper. This parameter is used by default. It is similar to the way film profiles worked in all previous Dehancer versions, including the very first one. - Cineon Film Log
Film, selected in the Film group, is ‘printed’ into Cineon film scan format. For example, if you are using Kodak Vision 3 250D negative film and Cineon Film Log printing, the Dehancer output will be Cineon-scanned imitation of 250D. This parameter makes it possible to ‘print’ our negatives outside Dehancer, in additional nodes after it, if it is required for whatever reason. For example, to prepare a file for printing on Arrilaser or other film printer[s]. - Kodak 2383 Print Film
Film, selected in the Film group, is ‘printed’ onto Kodak Vision Color Print Film 2383. - Kodak Endura Glossy Paper
Film, selected in the Film group, is ‘printed’ onto Kodak Endura Premier Glossy Paper. In the previous versions of Dehancer, it was not possible to obtain this print option, because before this print medium characteristics were subtracted from a film profile.

Halation and Bloom
You also get to add and adjust Halation and Bloom settings for a misty, dreamy look; Dehancer explains more about these in their blog posts. Film enthusiasts and purists would find this option quite useful, given that it allows for much greater control of your intended output.

What happens next?
The edited image comes back into your Lightroom Classic filmstrip if you’ve opened Dehancer Film from this program. You can then export the image as you’d normally do. For Adobe Photoshop users, the edits it Dehancer Film are applied as a new layer to your original image
Image Quality

What did I judge this on
- Is it authentic? – For the most part, yes. You could nitpick and argue that a lot of the finer details of each film stock may not be quite what you remember. But then you’d be arguing that a lot of the research that the team behind Dehancer Film does isn’t authentic.
- Is it customizable? – Absolutely. You don’t just click a film profile and stop there. Using up to either separate categories and many sliders, you’re able to fine-tune the output as desired
- Is it easy to use and fun? – I haven’t had this much fun using any software in recent times. It doesn’t just give you a nostalgic feeling. Sometimes after exporting an image with a film profile applied, you wish you could just get some of that film stock and shoot it. Being able to see the preview in the thumbnails is excellent. I hope Dehancer Film allows for the large hover-over preview feature in their next upgrade
- Can you tell that it’s a film profile applied to a digital photo? – Early this year, we posted an article where we posted digital photos and film scans to see if anyone could tell the difference. Now, the answer to this question would depend on many variables. How experienced one is with various film stocks, whether the image was shot in a modern area or not, etc. But I do think Dehancer Film has a lot of potentials. It does a very decent job already, especially with the ability to add grain to your edits. Where I think improvements could come in would be the option to add lens flaws, light leaks, scanner obstructions, and more. But in its current state already, the software seems to offer a fair bit more than its competitors. I’d even say it would help using a vintage lens with your mirrorless camera. This would allow that lens’s individual characteristics to seep into your digital image. Applying a Dehancer Film profile to an image shot this way might give it even more of a film feel.

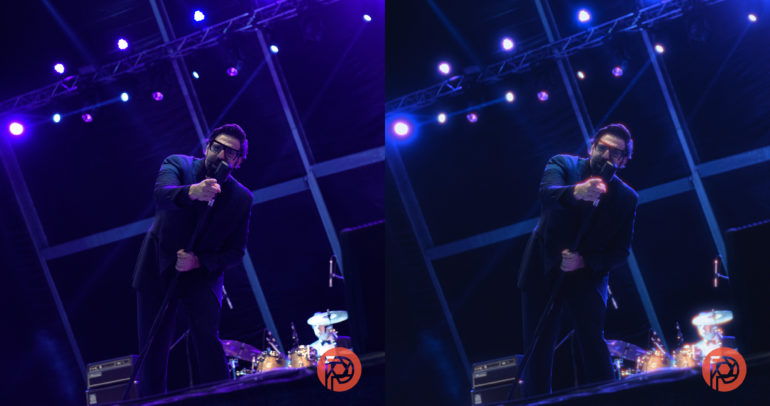
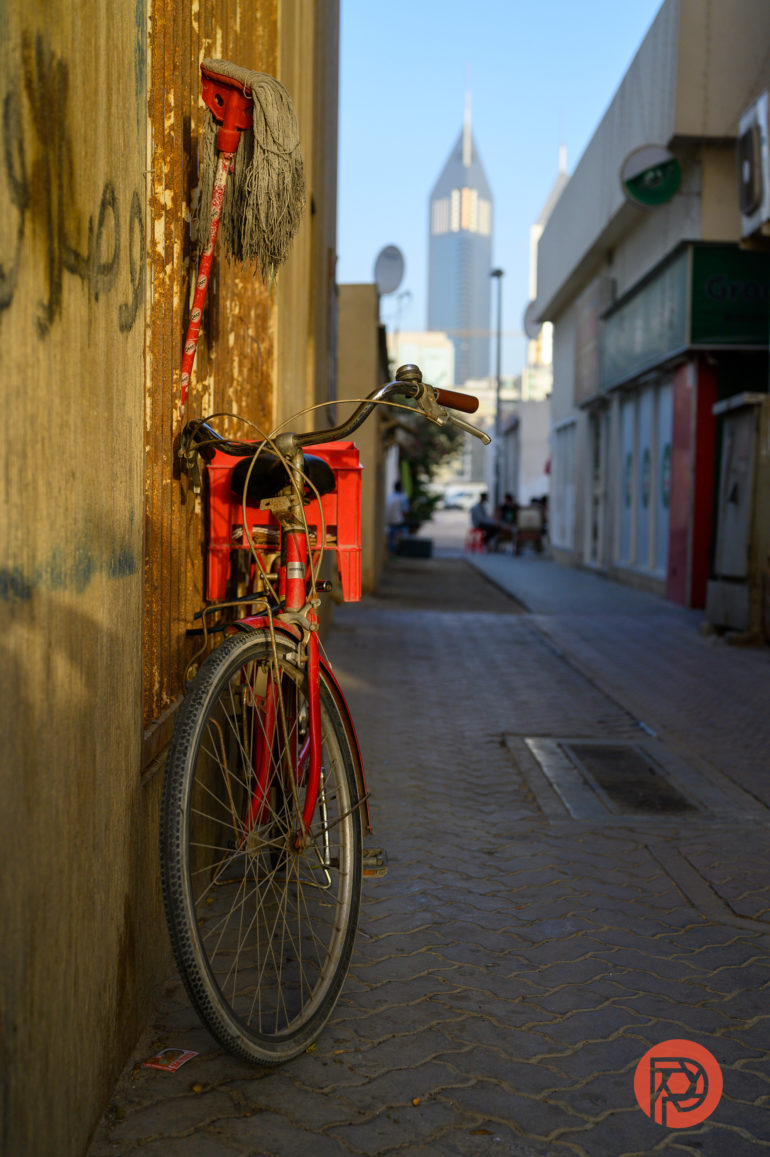
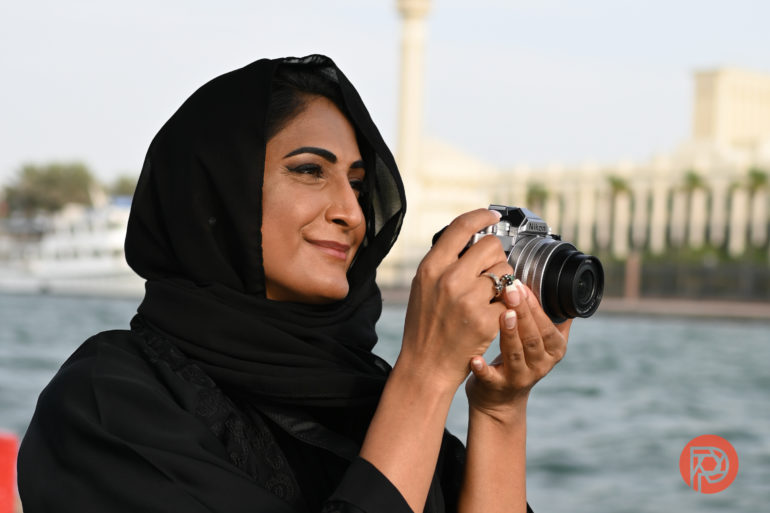
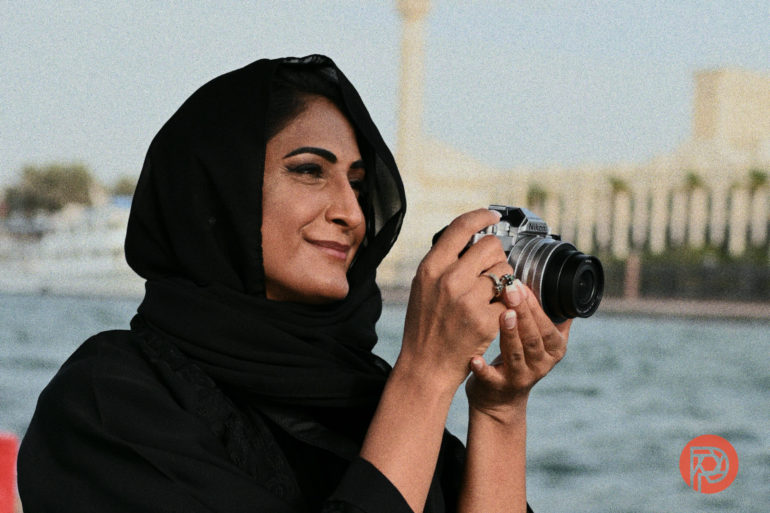
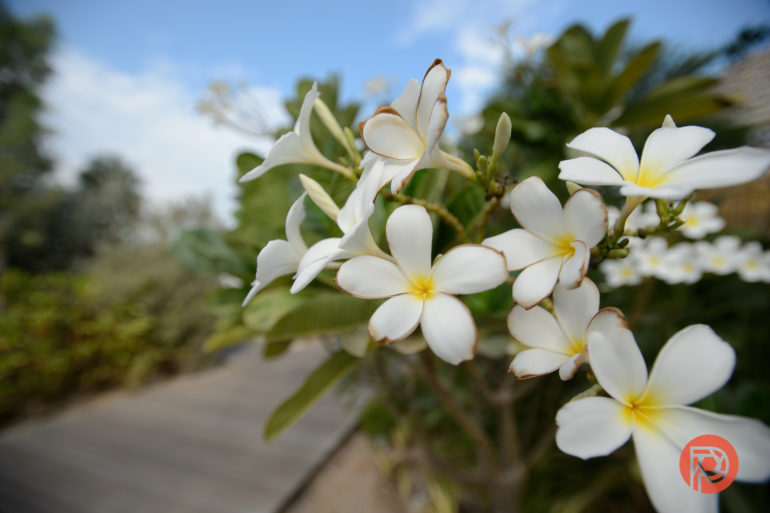
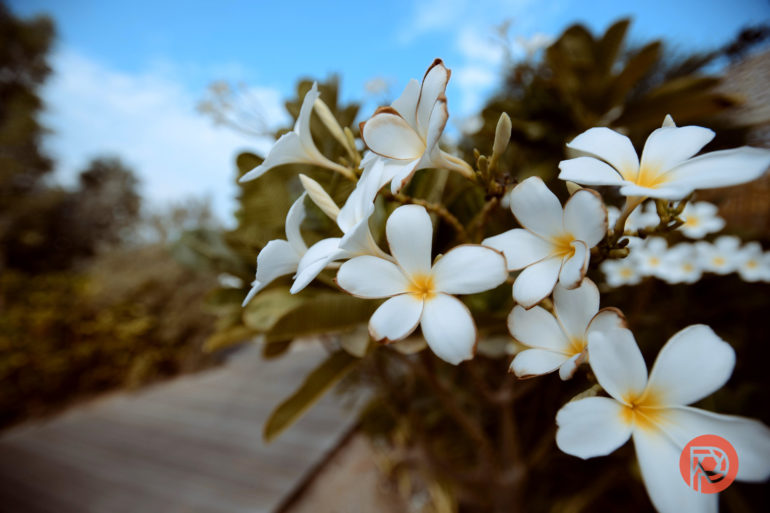
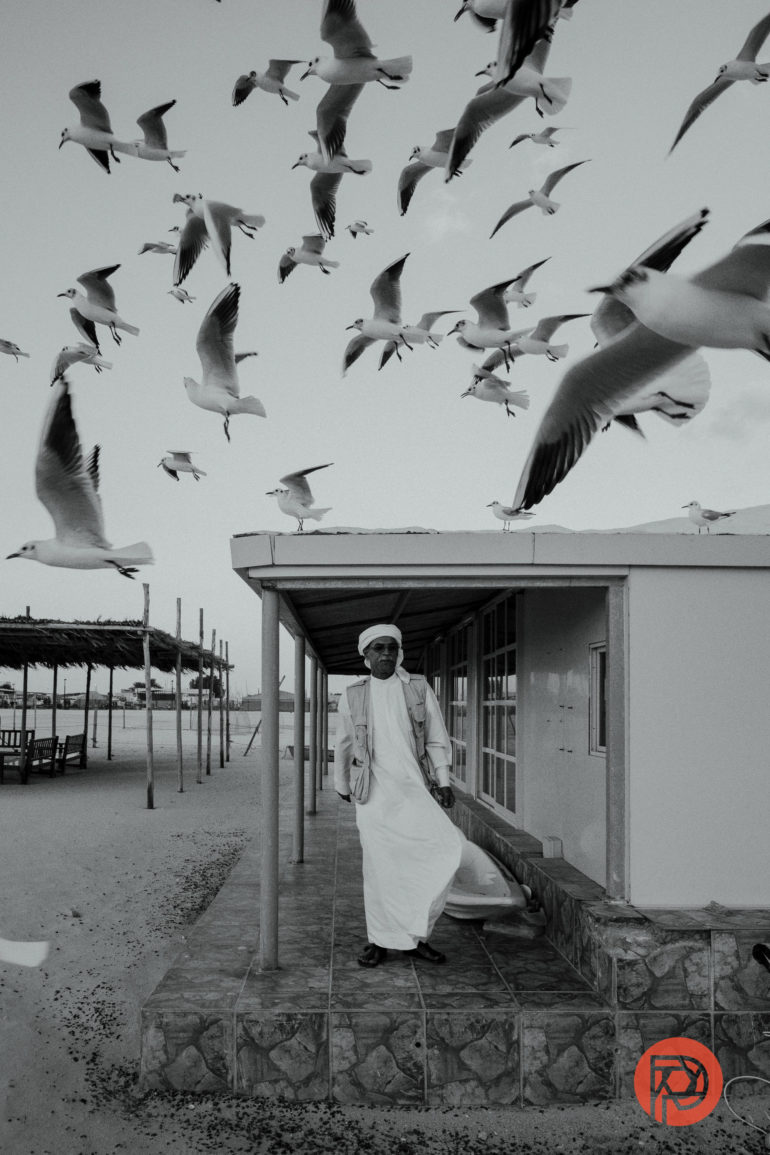
Extra Image Samples
From day one, The Phoblographer has been huge on transparency with our audience. Nothing from this review is sponsored. Further, lots of folks will post reviews and show lots of editing in the photos. The problem then becomes that anyone and everyone can do the same thing. They’re not showing what the lens can do. So we have a section in our Extra Image Samples area to show edited and unedited photos. From this, you can make a decision for yourself.


Who Should Buy It?
Photographers who can’t seem to get their favorite film profiles for their cameras (definitely not all Fujifilm users who are really lucky in this regard). Also, editors who can’t seem to find Lightroom presets that can correctly replicate the look of the films they claim to duplicate the look of. Dehancer Film, through some extensive research practices, is doing this somewhat correctly now.
It’s certainly not for every enthusiast at the USD $199 price tag. Professionals who want the utmost out of creating a film stock look on their digital image will find this worth investing in

Get rid of the ads!
Did you enjoy reading this article as much as we enjoyed writing it? There's a way to support us and our reporting, getting ad-free navigation and more as a bonus. Subscribe to us for less than a coffee per month —just $3.99— or take advantage of our yearly subscription with a hefty discount for only $25.- An ad-free experience
- A free mystery box for Lightroom or Capture One
- All the books in our store
- 20% discount on Capture One
- 30% discount on Imalume Photo Theft Protection
- 20% off Herbs and Kettle Tea Company.