
Last Updated on 07/29/2021 by Mark Beckenbach
This tip is going to work with pretty much any lens, no matter what.
The nose is something loads of people are self-conscious about. It’s easy to look for the best lenses to flatten the nose: there’s a lot of choices online. There are also lots of methods on how to do it. But there’s another element that I think is incredibly important. And it’s one most people don’t talk about because it’s the most complicated. So we’re going to discuss a bit of the obvious and some of the less obvious ones here.
This Effect in Practice
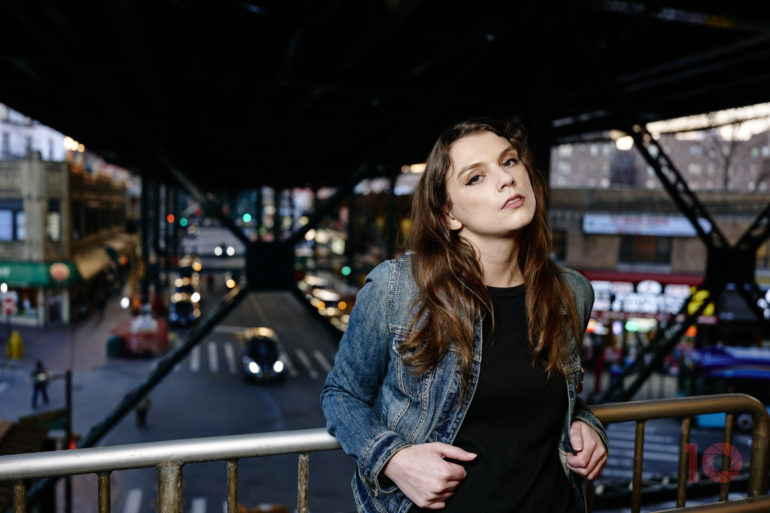
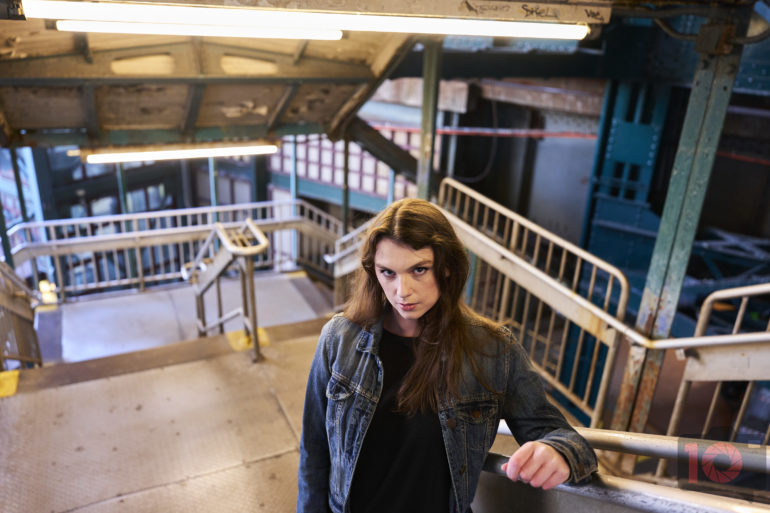
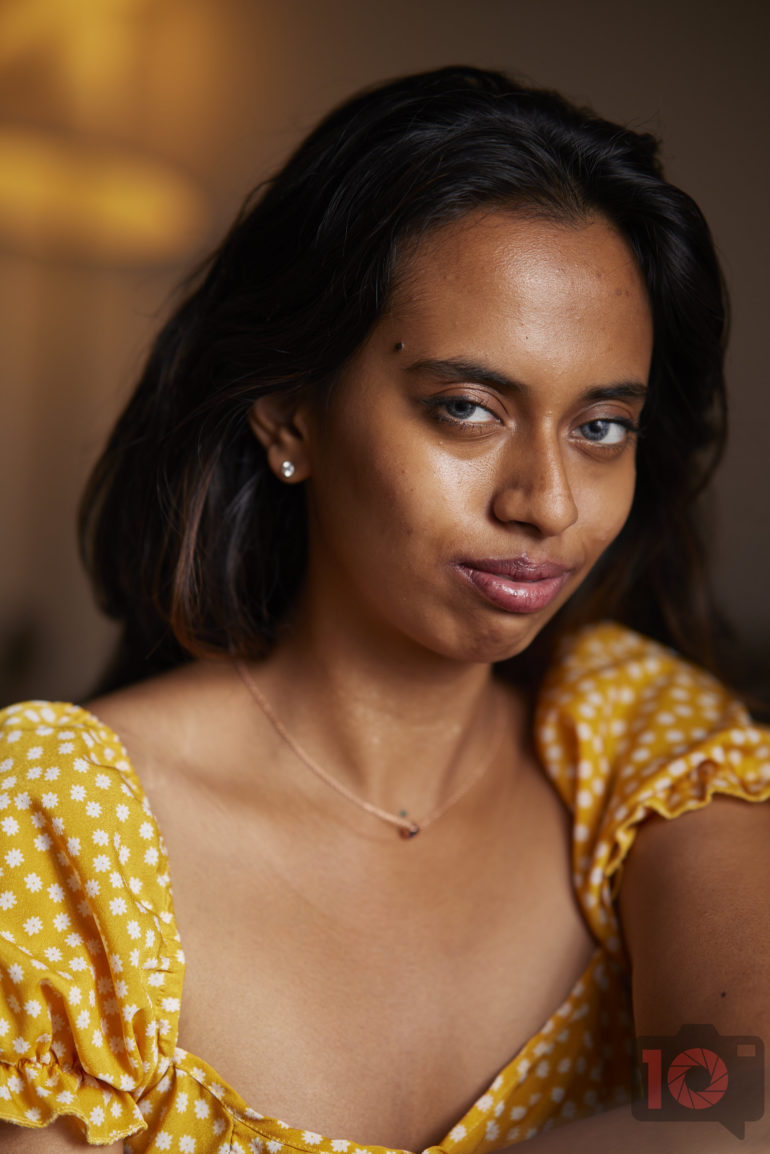
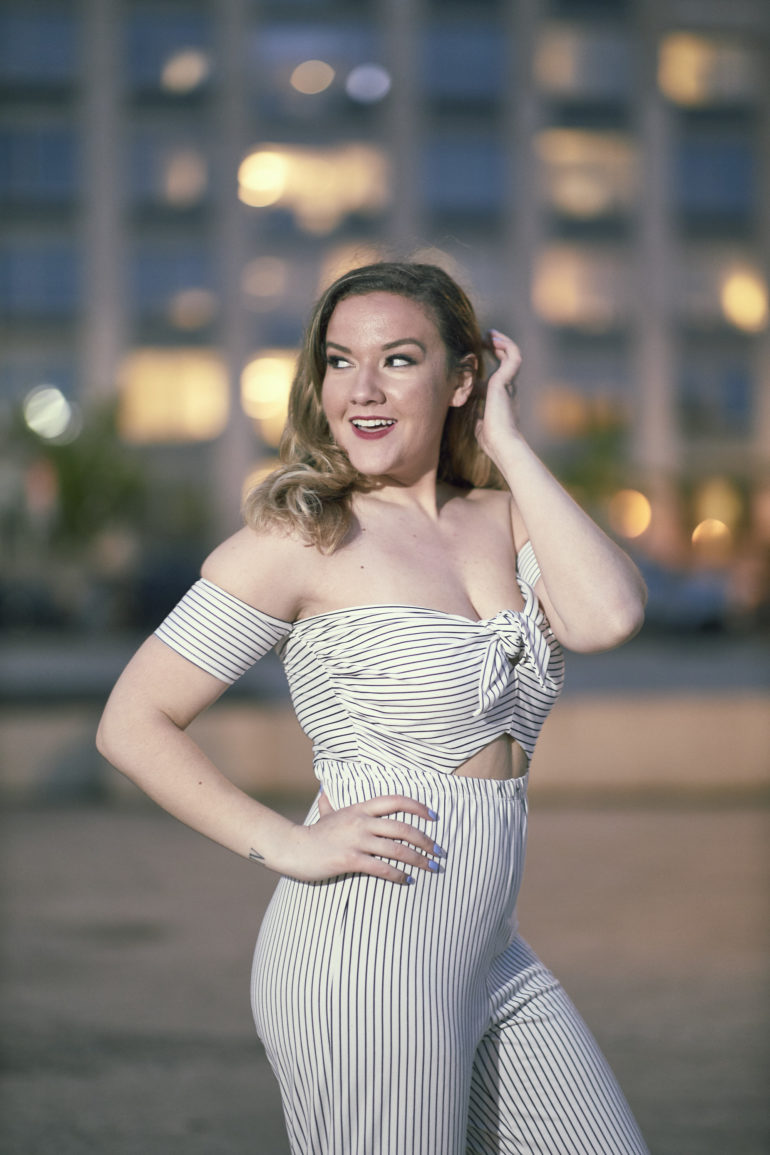
The image above and the image below are examples of what not to do. Their noses look larger even though they really aren’t. Neither of these subjects looks bad, and that’s because of a huge thing we’re doing. Can you guess what it is that can flatten a nose?

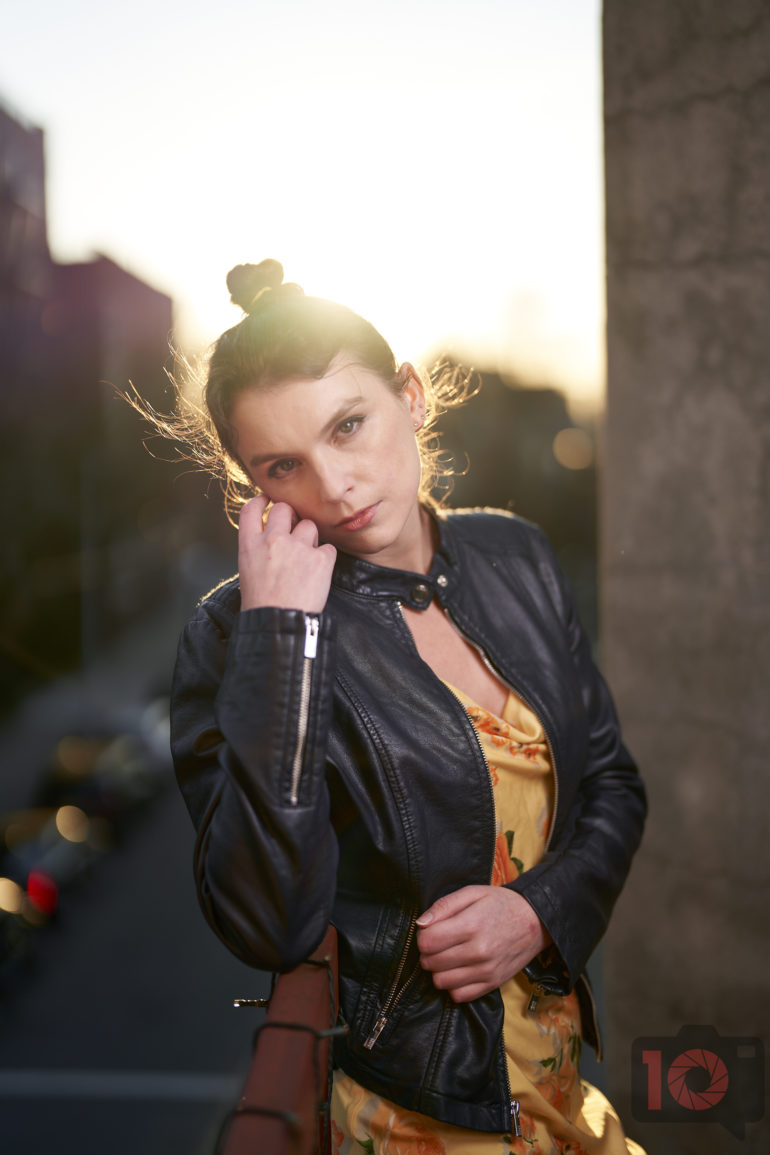
The images below are where you’d get a flatter-looking nose. We’re giving you a bunch of examples.


How Do You Flatten the Nose?
Quite honestly, the method to flatten a nose doesn’t have to do with your camera or your lens. Of course, those are factors in all this. But posing someone and using a lens is easy.
- Chin down and not up in most situations.
- I suggest using a softbox, a huge light source, or an umbrella in front of your subject.
- If you’re directly in front of your subject, have them turn their face towards the light source. Position the light source next to you anywhere from 45 degrees or 30 degrees towards the subject.
- Make sure that the light source is larger than the area of the subject you’re photographing.
- Position the nose so the natural background for it is against the skin.
- Make sure your subject is closer to the center of the lens.
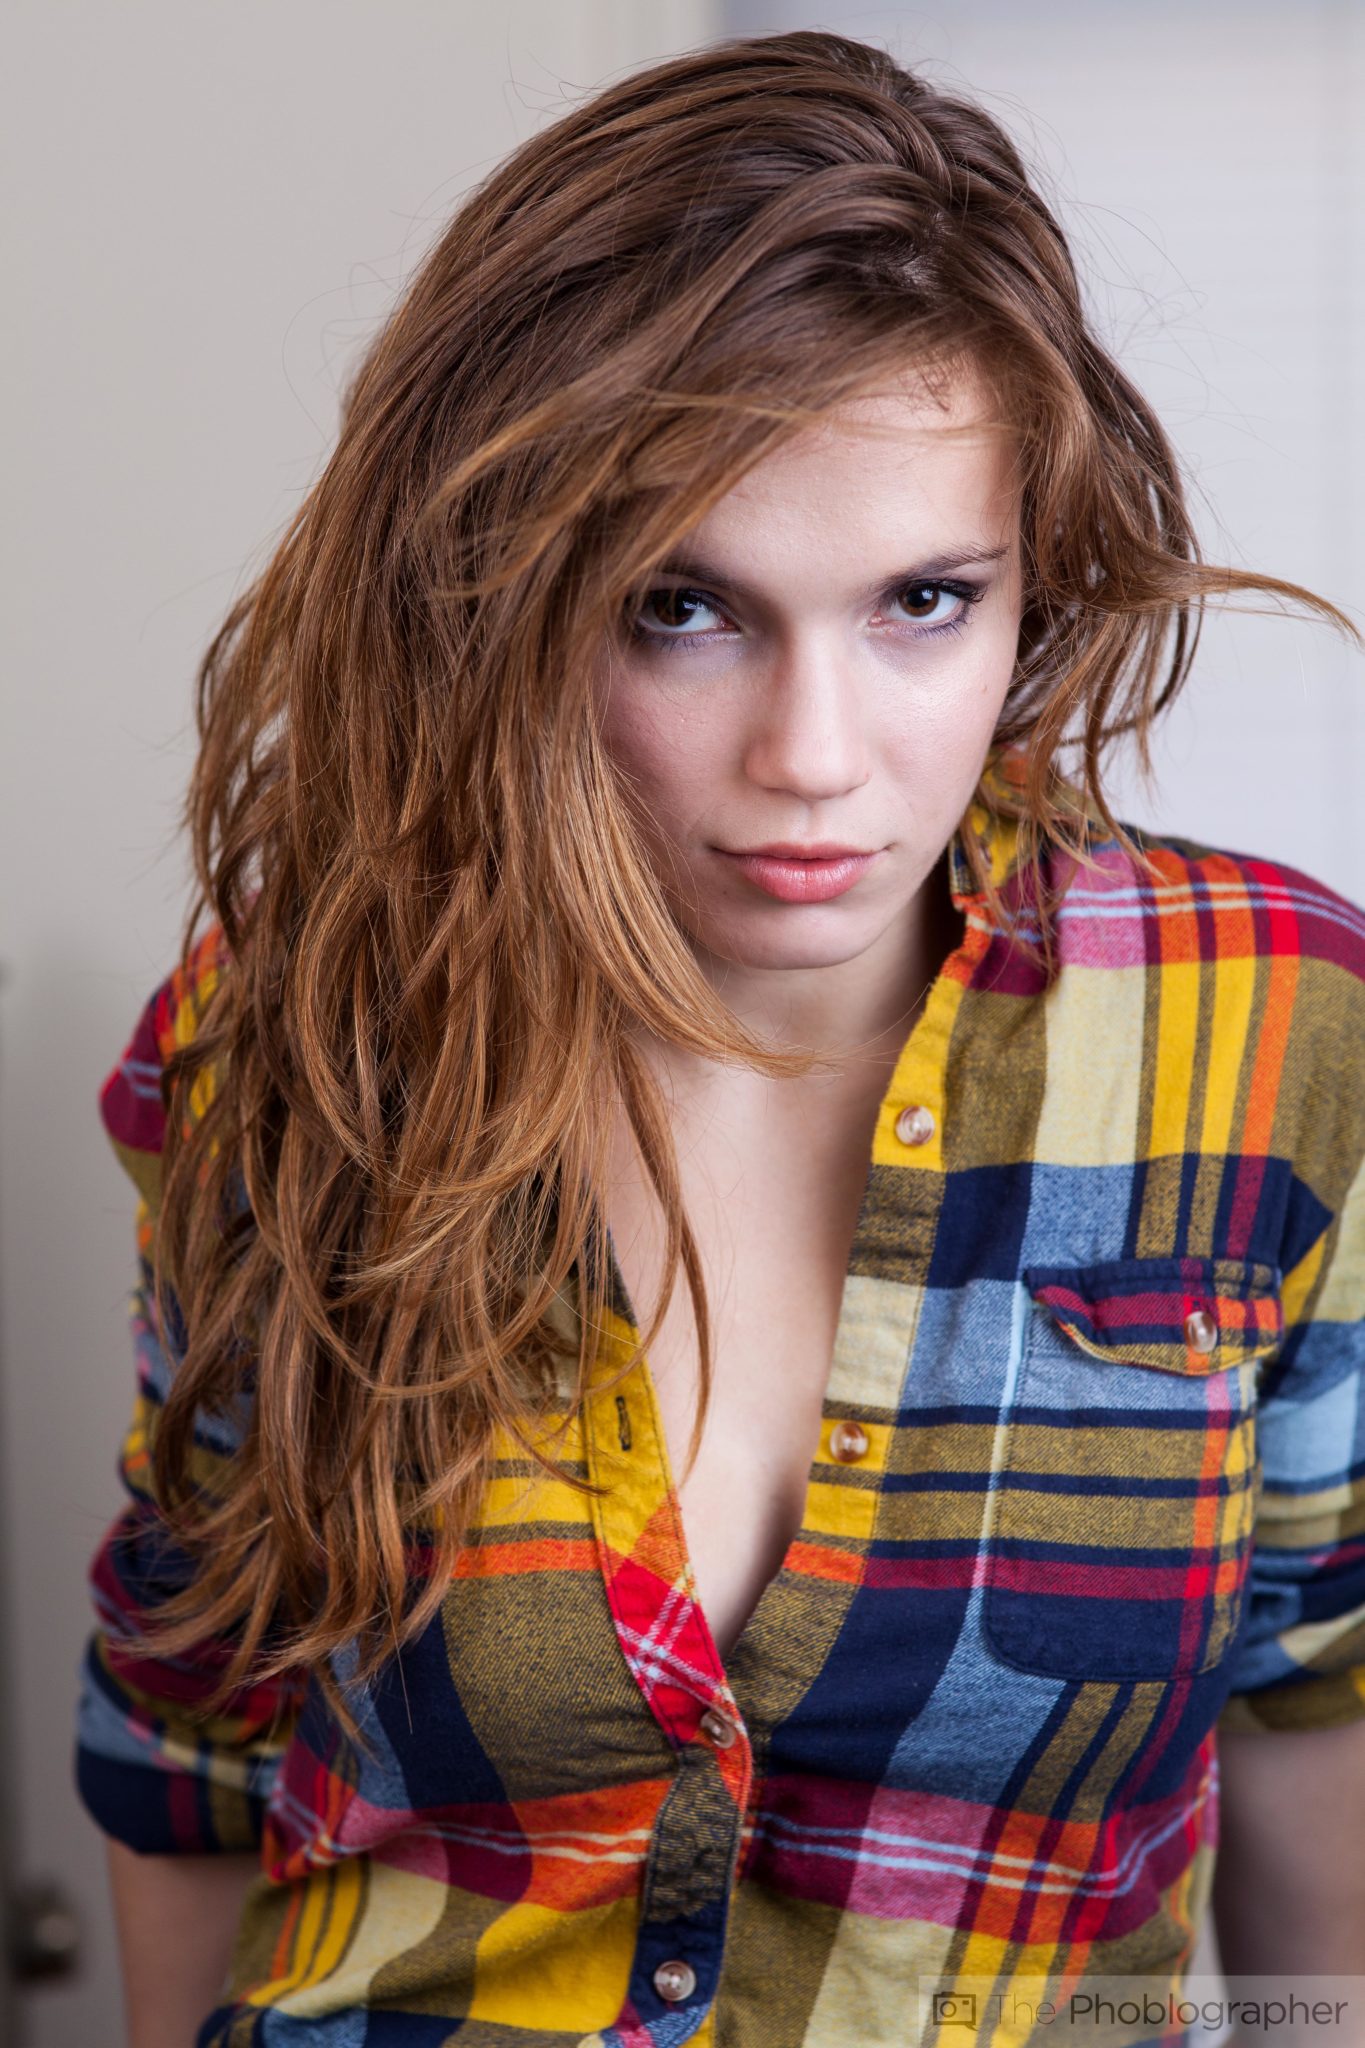
The most important part of flattening a nose has to do with lighting. I’m using a technique called wrap-around lighting. Essentially, that’s when the light almost totally envelopes the subject. Light fills almost all the dark areas, and there are little to no shadows on the subject. When you do that, it places the nose against the skin. Lighting your subject this way creates little to no contrast on the nose. Instead, it just blends in with the rest of the face. Combine this with the right focal length, and you’ll see that it will flatten the scene overall.
Another key to flattening the nose is not making the nose such a large part of the photo. Pull back a bit. That’s harder to do for headshots, as with headshots, you need to be tighter on your subject. To that end, the nose will take up more of the photo. That’s where all these tactics will become much more useful.

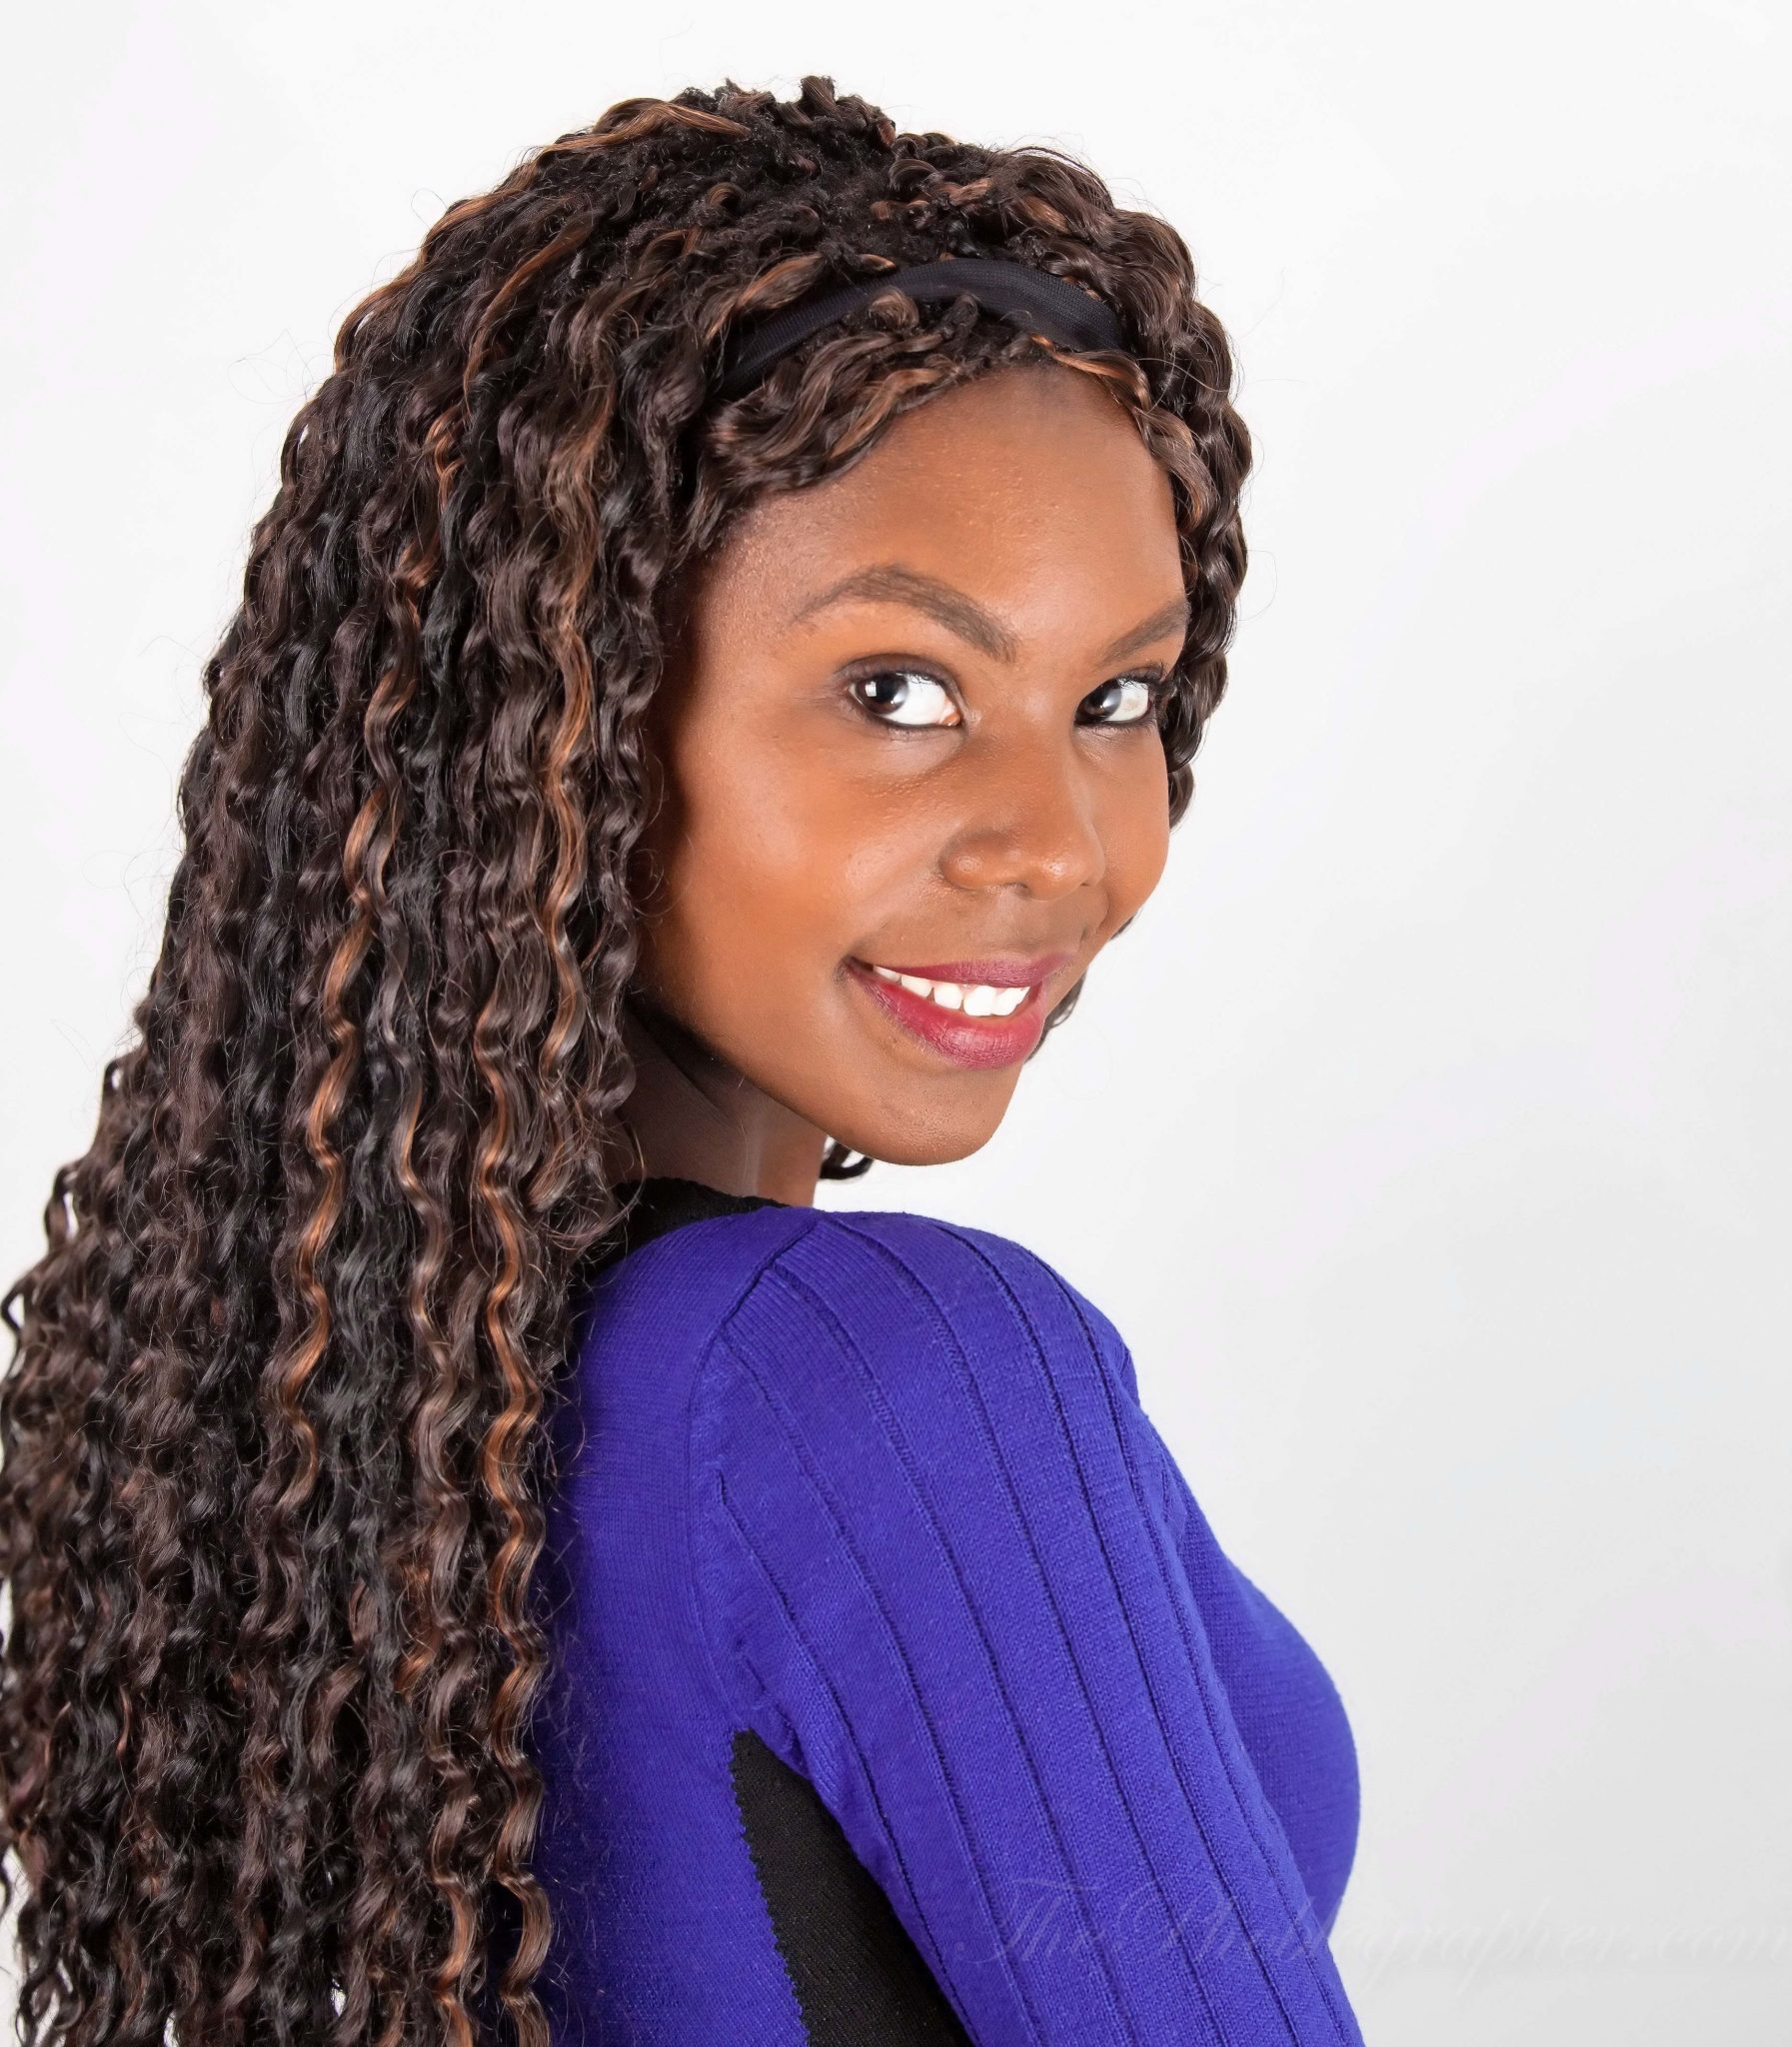
Above is an example of the nose placed against the skin. Of course, it looks really nice and not distorted.
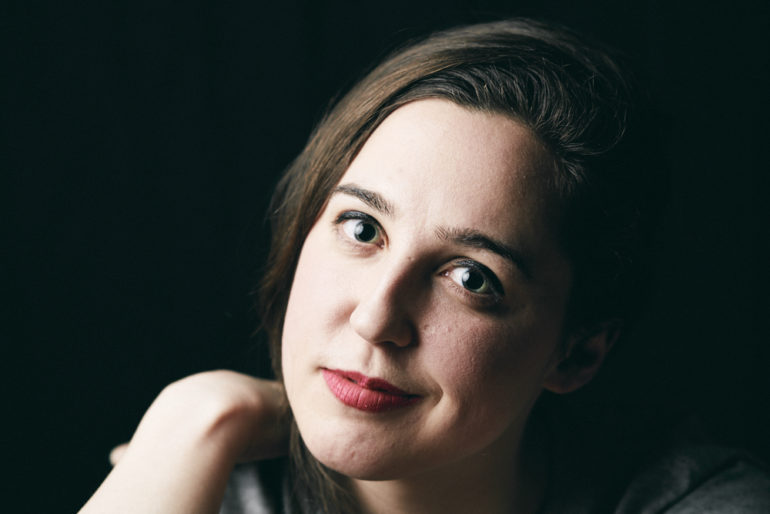
In the photo above, the nose is not against the skin, and there’s a lot of contrast. So it looks larger. Additionally, this photo is shot closer to the subject. That’s why it’s imperative to employ all the other methods.
Get rid of the ads!
Did you enjoy reading this article as much as we enjoyed writing it? There's a way to support us and our reporting, getting ad-free navigation and more as a bonus. Subscribe to us for less than a coffee per month —just $3.99— or take advantage of our yearly subscription with a hefty discount for only $25.- An ad-free experience
- A free mystery box for Lightroom or Capture One
- All the books in our store
- 20% discount on Capture One
- 30% discount on Imalume Photo Theft Protection
- 20% off Herbs and Kettle Tea Company.
- 20% off your order from MPIX printing services.
- 5% off Viltrox Products via their eCommerce store.
- 10% off all film developing, printing and scanning services from Blue Moon Camera and Machine
- 15% off 7Artisans products: The lens and accessory maker is offering a sweet discount for Phoblographer's readers.