
Want more Useful Photography Tips? Click Here.
Today’s tip is our 200th! And we’re very excited to bring it to you! We’ve been looking at what you’ve been putting into the search engine on our website and figured we’d create this piece of content just for you folks. There’s lots of information online on how to make your digital photo look like a film photo, but those photos often lack that film photo aesthetic when printed. And in fact, many of you were looking for how to do something just like this. It’s a process that starts in the post-production stage and transfers to the printing stage. Here’s how you do it!
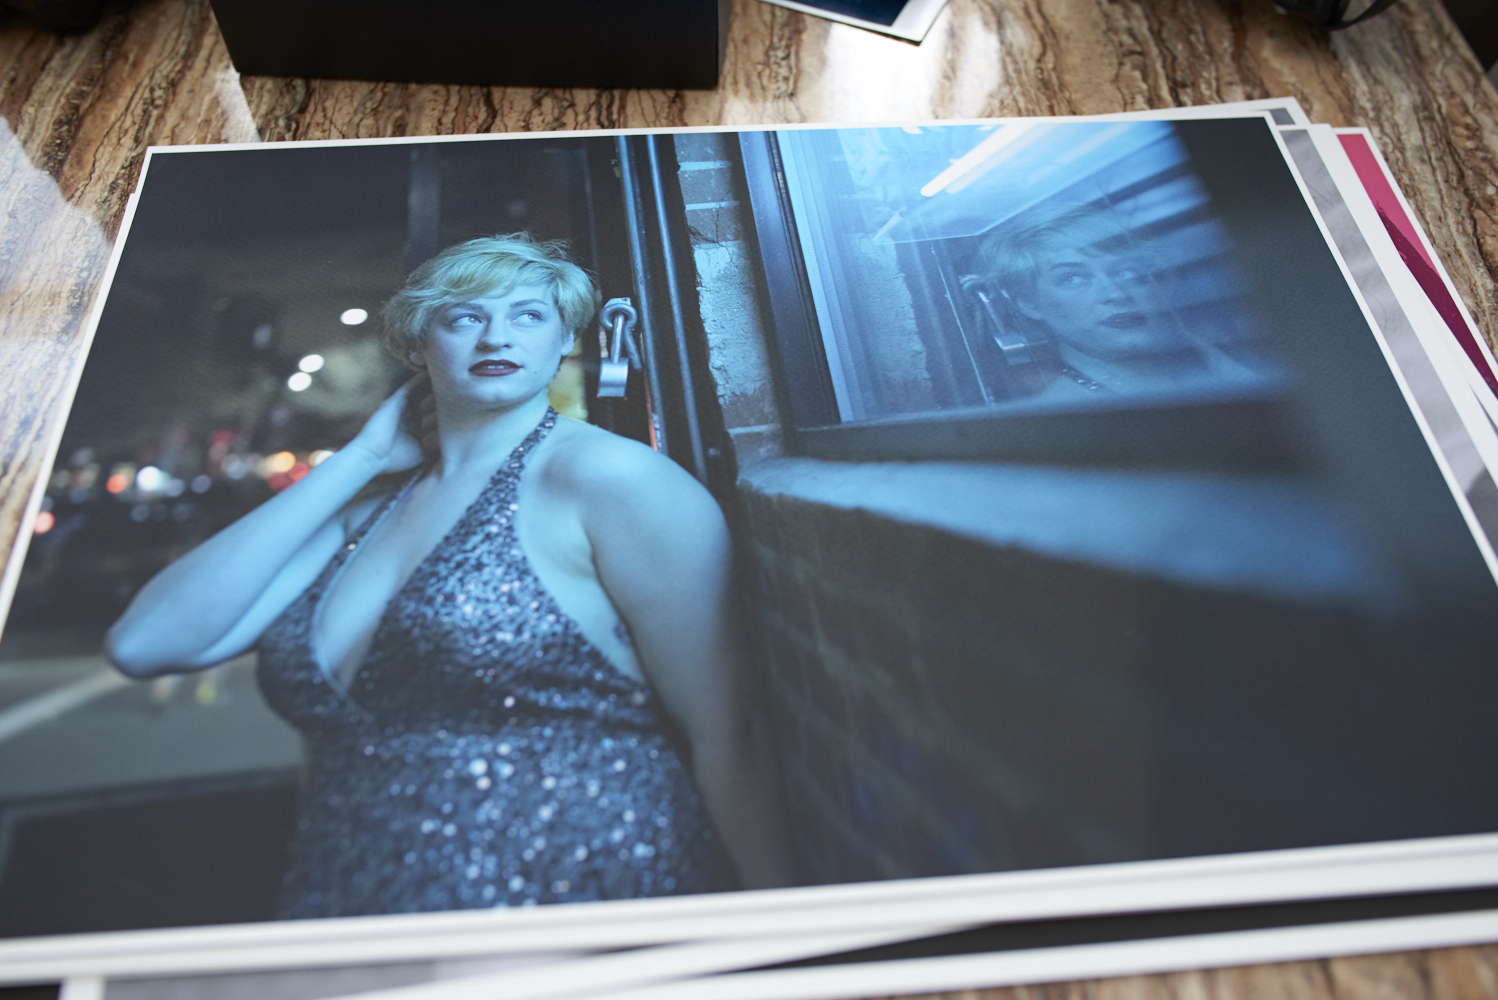
First, pull your image it into Lightroom or Capture One and apply some sort of vintage or film preset to it. We recommend using the options from RNI films as they’re our favorite by far. Be sure to add grain and vignetting to your liking. For the best results, make the granularity a bit on the higher side and add lots of grain (to your personal taste).
Now, here’s the biggest part of this, you can get the look of a classic film photo in two ways:
- Glossy paper: this will give you the Costco look you’re used to seeing everywhere. I personally reach for Canon paper in this case: Pro Luster or Pro Glossy is best. When printing glossy, you’ll need to crank up the grain.
- A Darkroom print: You need Red River Palo Duro Etching paper. With the texture on this paper, you can dial it back a bit with the post-processing.
Indeed, this had a lot more to do with the paper type you’re using than anything else. For the absolute best results, you’ll need to format your image to a film format, so 3:2, 6×4.5, 6×6, 6×7, or 6×9 is the way to go. Of course, this is just how to do it without getting more technical and doing something like a cyanotype, which is a method that is more difficult to make.
Give it a shot!
Get rid of the ads!
Did you enjoy reading this article as much as we enjoyed writing it? There's a way to support us and our reporting, getting ad-free navigation and more as a bonus. Subscribe to us for less than a coffee per month —just $3.99— or take advantage of our yearly subscription with a hefty discount for only $25.- An ad-free experience
- A free mystery box for Lightroom or Capture One
- All the books in our store
- 20% discount on Capture One
- 30% discount on Imalume Photo Theft Protection
- 20% off Herbs and Kettle Tea Company.
- 20% off your order from MPIX printing services.
- 5% off Viltrox Products via their eCommerce store.
- 10% off all film developing, printing and scanning services from Blue Moon Camera and Machine
- 15% off 7Artisans products: The lens and accessory maker is offering a sweet discount for Phoblographer's readers.