
Last Updated on 06/27/2020 by Chris Gampat
While modern cameras have highly sophisticated autofocusing systems, the Focus and Recompose method is still a useful tool in every photographer’s toolbox.
The autofocusing systems in modern cameras are nothing short of technological marvels. Some of the latest cameras have hundreds of autofocusing points, making it incredibly easy to nail focus consistently. But things weren’t always this simple. Back in the nascent days of digital, when much of the industry was still shooting film, autofocus systems were significantly less sophisticated. Cameras with autofocusing capability had only a handful of AF points at most. The Focus and Recompose method was a technique that actually predates autofocusing and was used widely across the industry when autofocusing was first introduced.
Photographers would place their AF point over their subject, let the AF point lock on, and then recompose their frame to the desired composition before taking an image. Typically, the center AF point was used, and they were placed over critical parts of an image such as a subject’s eyes for portraits or objects in the distance for landscapes. This allowed photographers to work quickly while ensuring their images were reasonably sharp. If you’ve only shot with digital cameras, the Focus and Recompose method may seem foreign, but it can still be very useful today. Let’s explore how you can apply the Focus and Recompose method to your photography workflow.
Use Cases
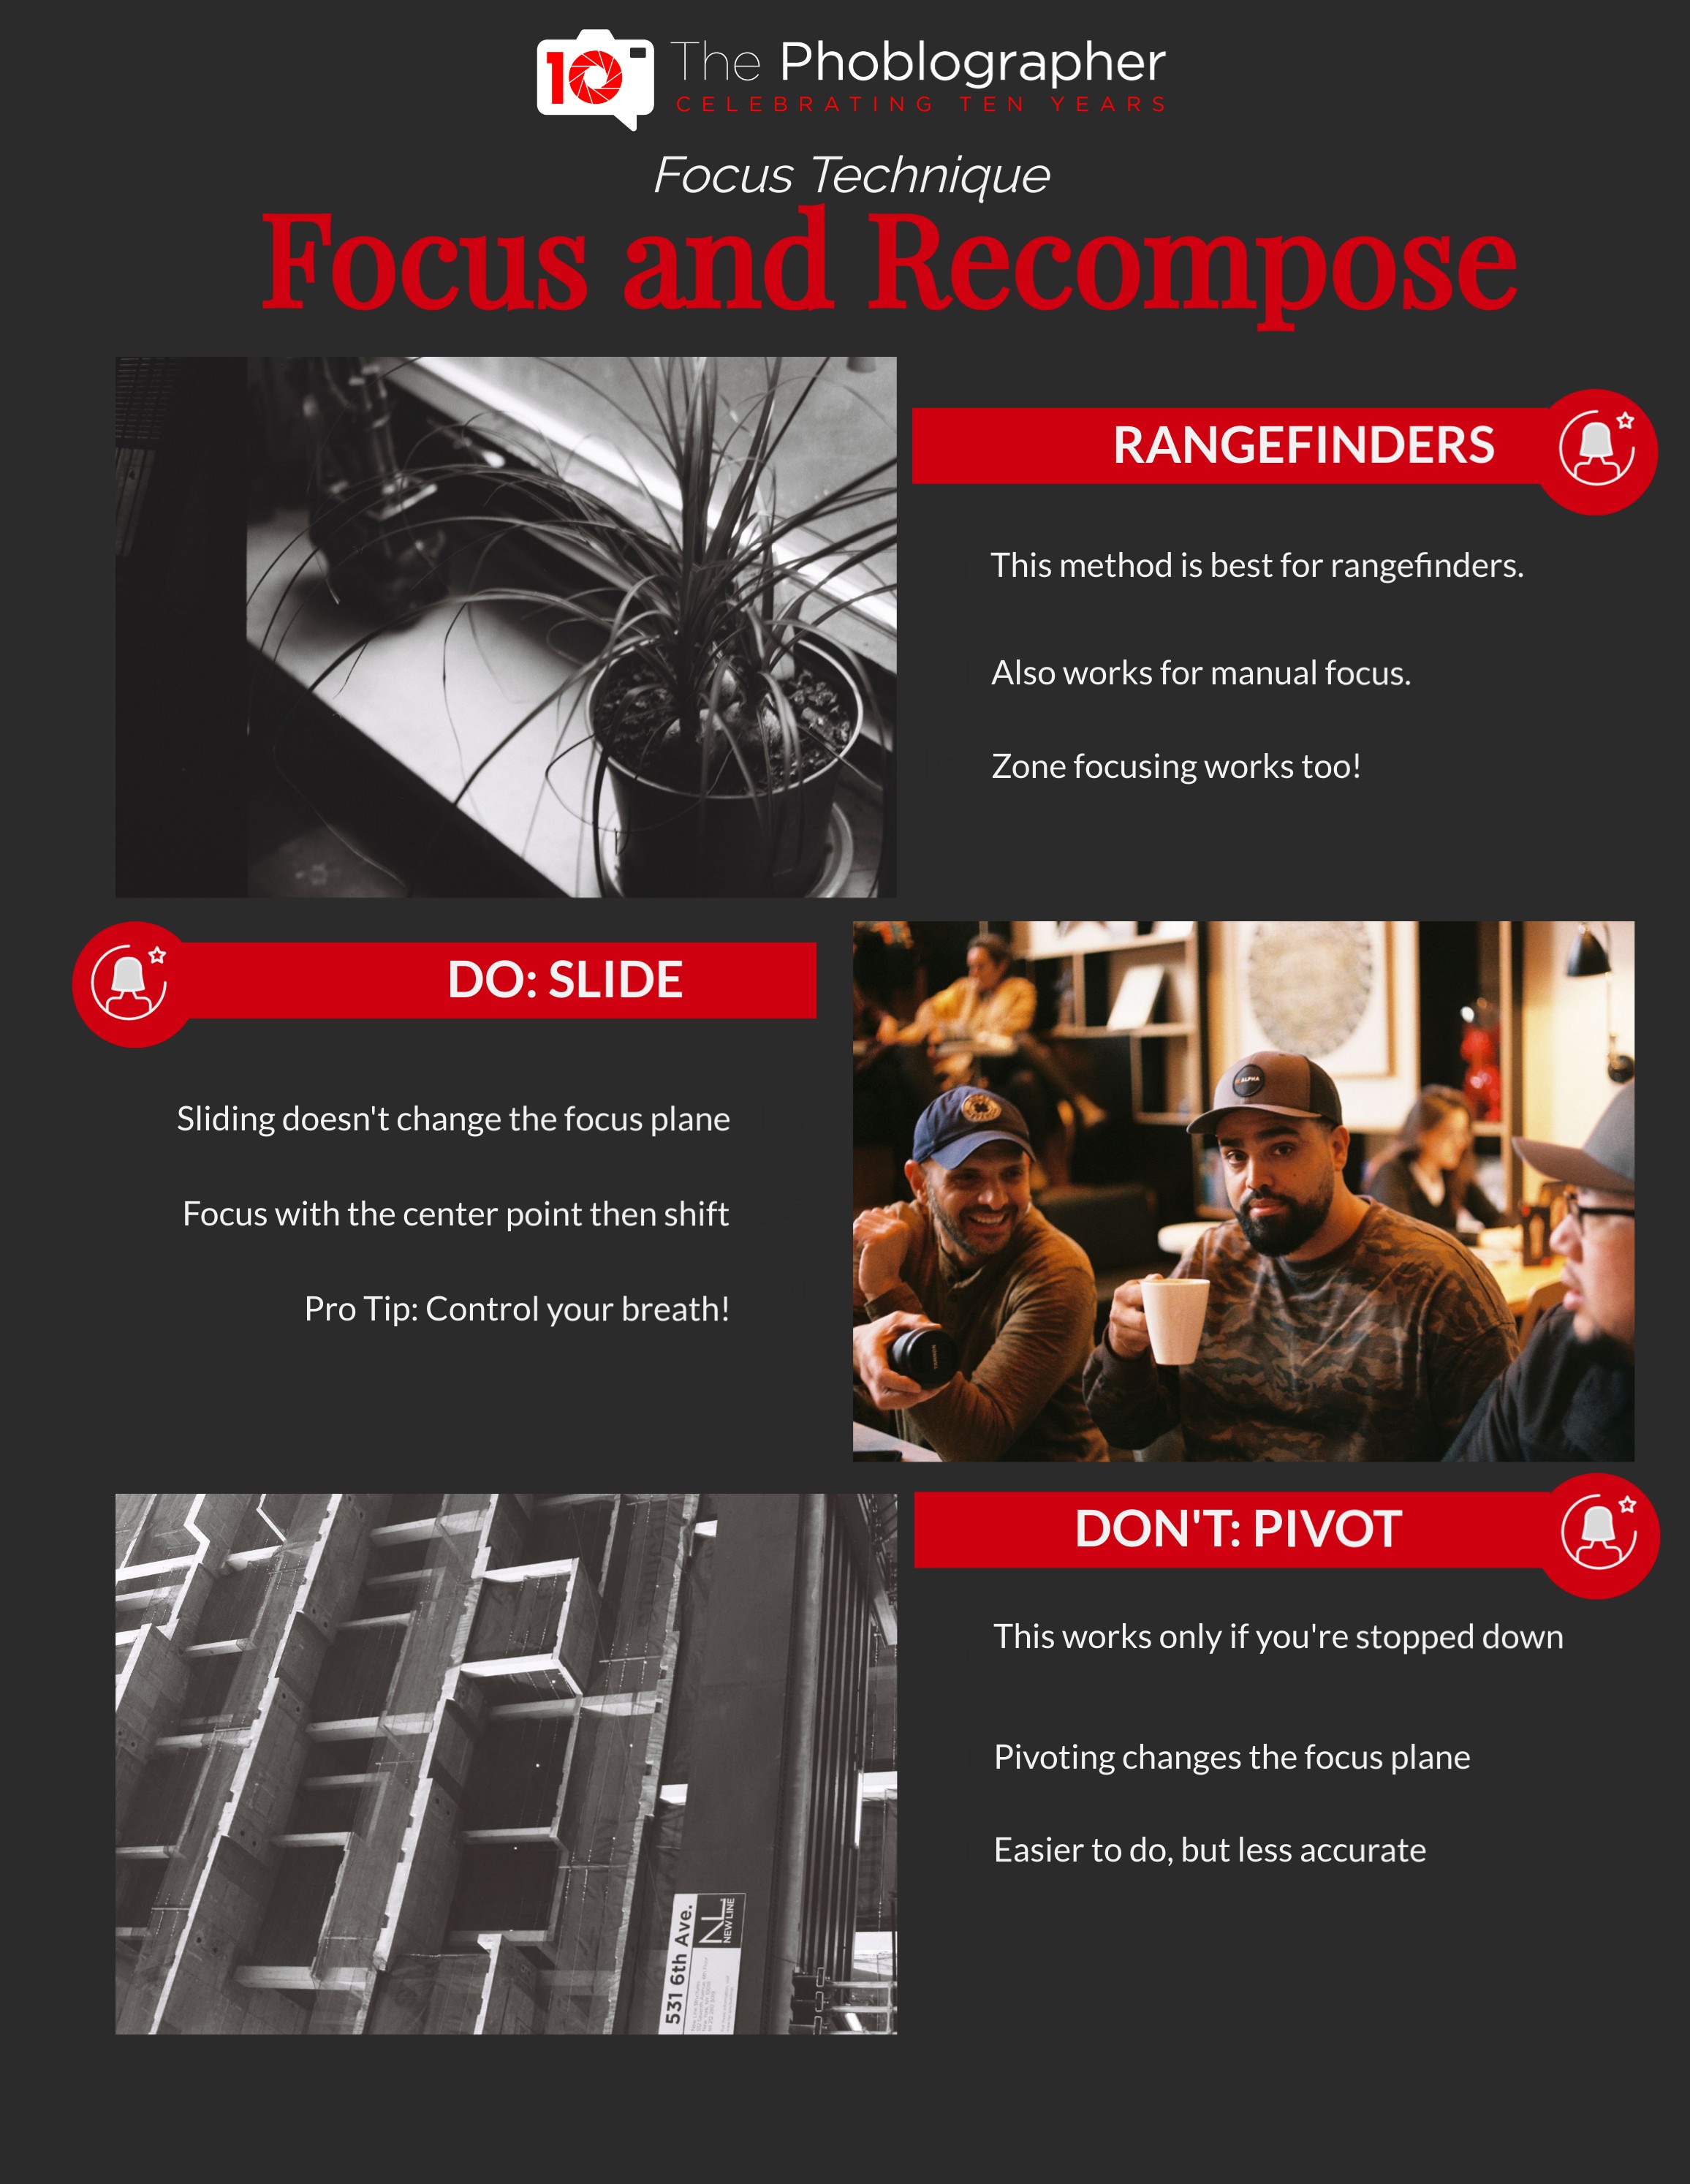
The Focus and Recompose method can be used with practically every kind of commercially available camera on the market. Photographers shooting with rangefinder-style camera bodies will find it particularly useful. This works for both autofocus and manual focus models. Start by placing the rangefinder patch over your subject. You’re essentially treating the rangefinder patch as you would a center AF point. Ensure that the image within the rangefinder patch lines up perfectly with the rest of the image in your viewfinder. Once you’ve dialed in your focus, recompose your framing to achieve the desired composition. The same principle can be applied if you’re zone focusing as well. As long as your subject is within your focusing zone, you can recompose your framing and be reasonably sure that your subject will remain in focus. Focus and Recompose can be a helpful technique when you’re working in fast pace scenarios where you don’t have the luxury to fine-tune the focus for every shot.
Dos and Don’ts
It’s important to keep in mind that the Focus and Recompose method isn’t an exact science. You’ll want to pay particular attention when you’re shooting wide open. If you’re photographing work that needs to be 100% sharp, then the Focus and Recompose method is most likely not for you. With that said, here are some things to keep in mind to ensure that you produce the best possible results when using the Focus and Recompose method.
Dos
- Acquire focus using the center AF point first, then recompose the framing to your liking ensuring that you’re staying on the same focal plane.
- Remember that sliding doesn’t change your focal plane, so keep this in mind when you’re recomposing your image.
- Control your breathing. For the best results, release your shutter when you’re at the top or bottom of your breath.
Don’ts
- Pivoting your camera after you’ve acquired focus will change your focal plane. This is a common mistake when using the Focus and Recompose method, especially when you’re shooting wide open. Your focal plane tends to be very shallow, so any changes in your focal plane will result in your subject falling out of focus.
- You’ll want to refrain from pivoting your camera after you’ve acquired focus using the center AF point unless you’re shooting with your lens stopped down, thus widening your focal plane. Even then, we’d still recommend you recompose by sliding along the same focal plane rather than pivoting.
Get rid of the ads!
Did you enjoy reading this article as much as we enjoyed writing it? There's a way to support us and our reporting, getting ad-free navigation and more as a bonus. Subscribe to us for less than a coffee per month —just $3.99— or take advantage of our yearly subscription with a hefty discount for only $25.- An ad-free experience
- A free mystery box for Lightroom or Capture One
- All the books in our store
- 20% discount on Capture One
- 30% discount on Imalume Photo Theft Protection
- 20% off Herbs and Kettle Tea Company.
- 20% off your order from MPIX printing services.
- 5% off Viltrox Products via their eCommerce store.
- 10% off all film developing, printing and scanning services from Blue Moon Camera and Machine
- 15% off 7Artisans products: The lens and accessory maker is offering a sweet discount for Phoblographer's readers.