
Last Updated on 05/11/2020 by Chris Gampat
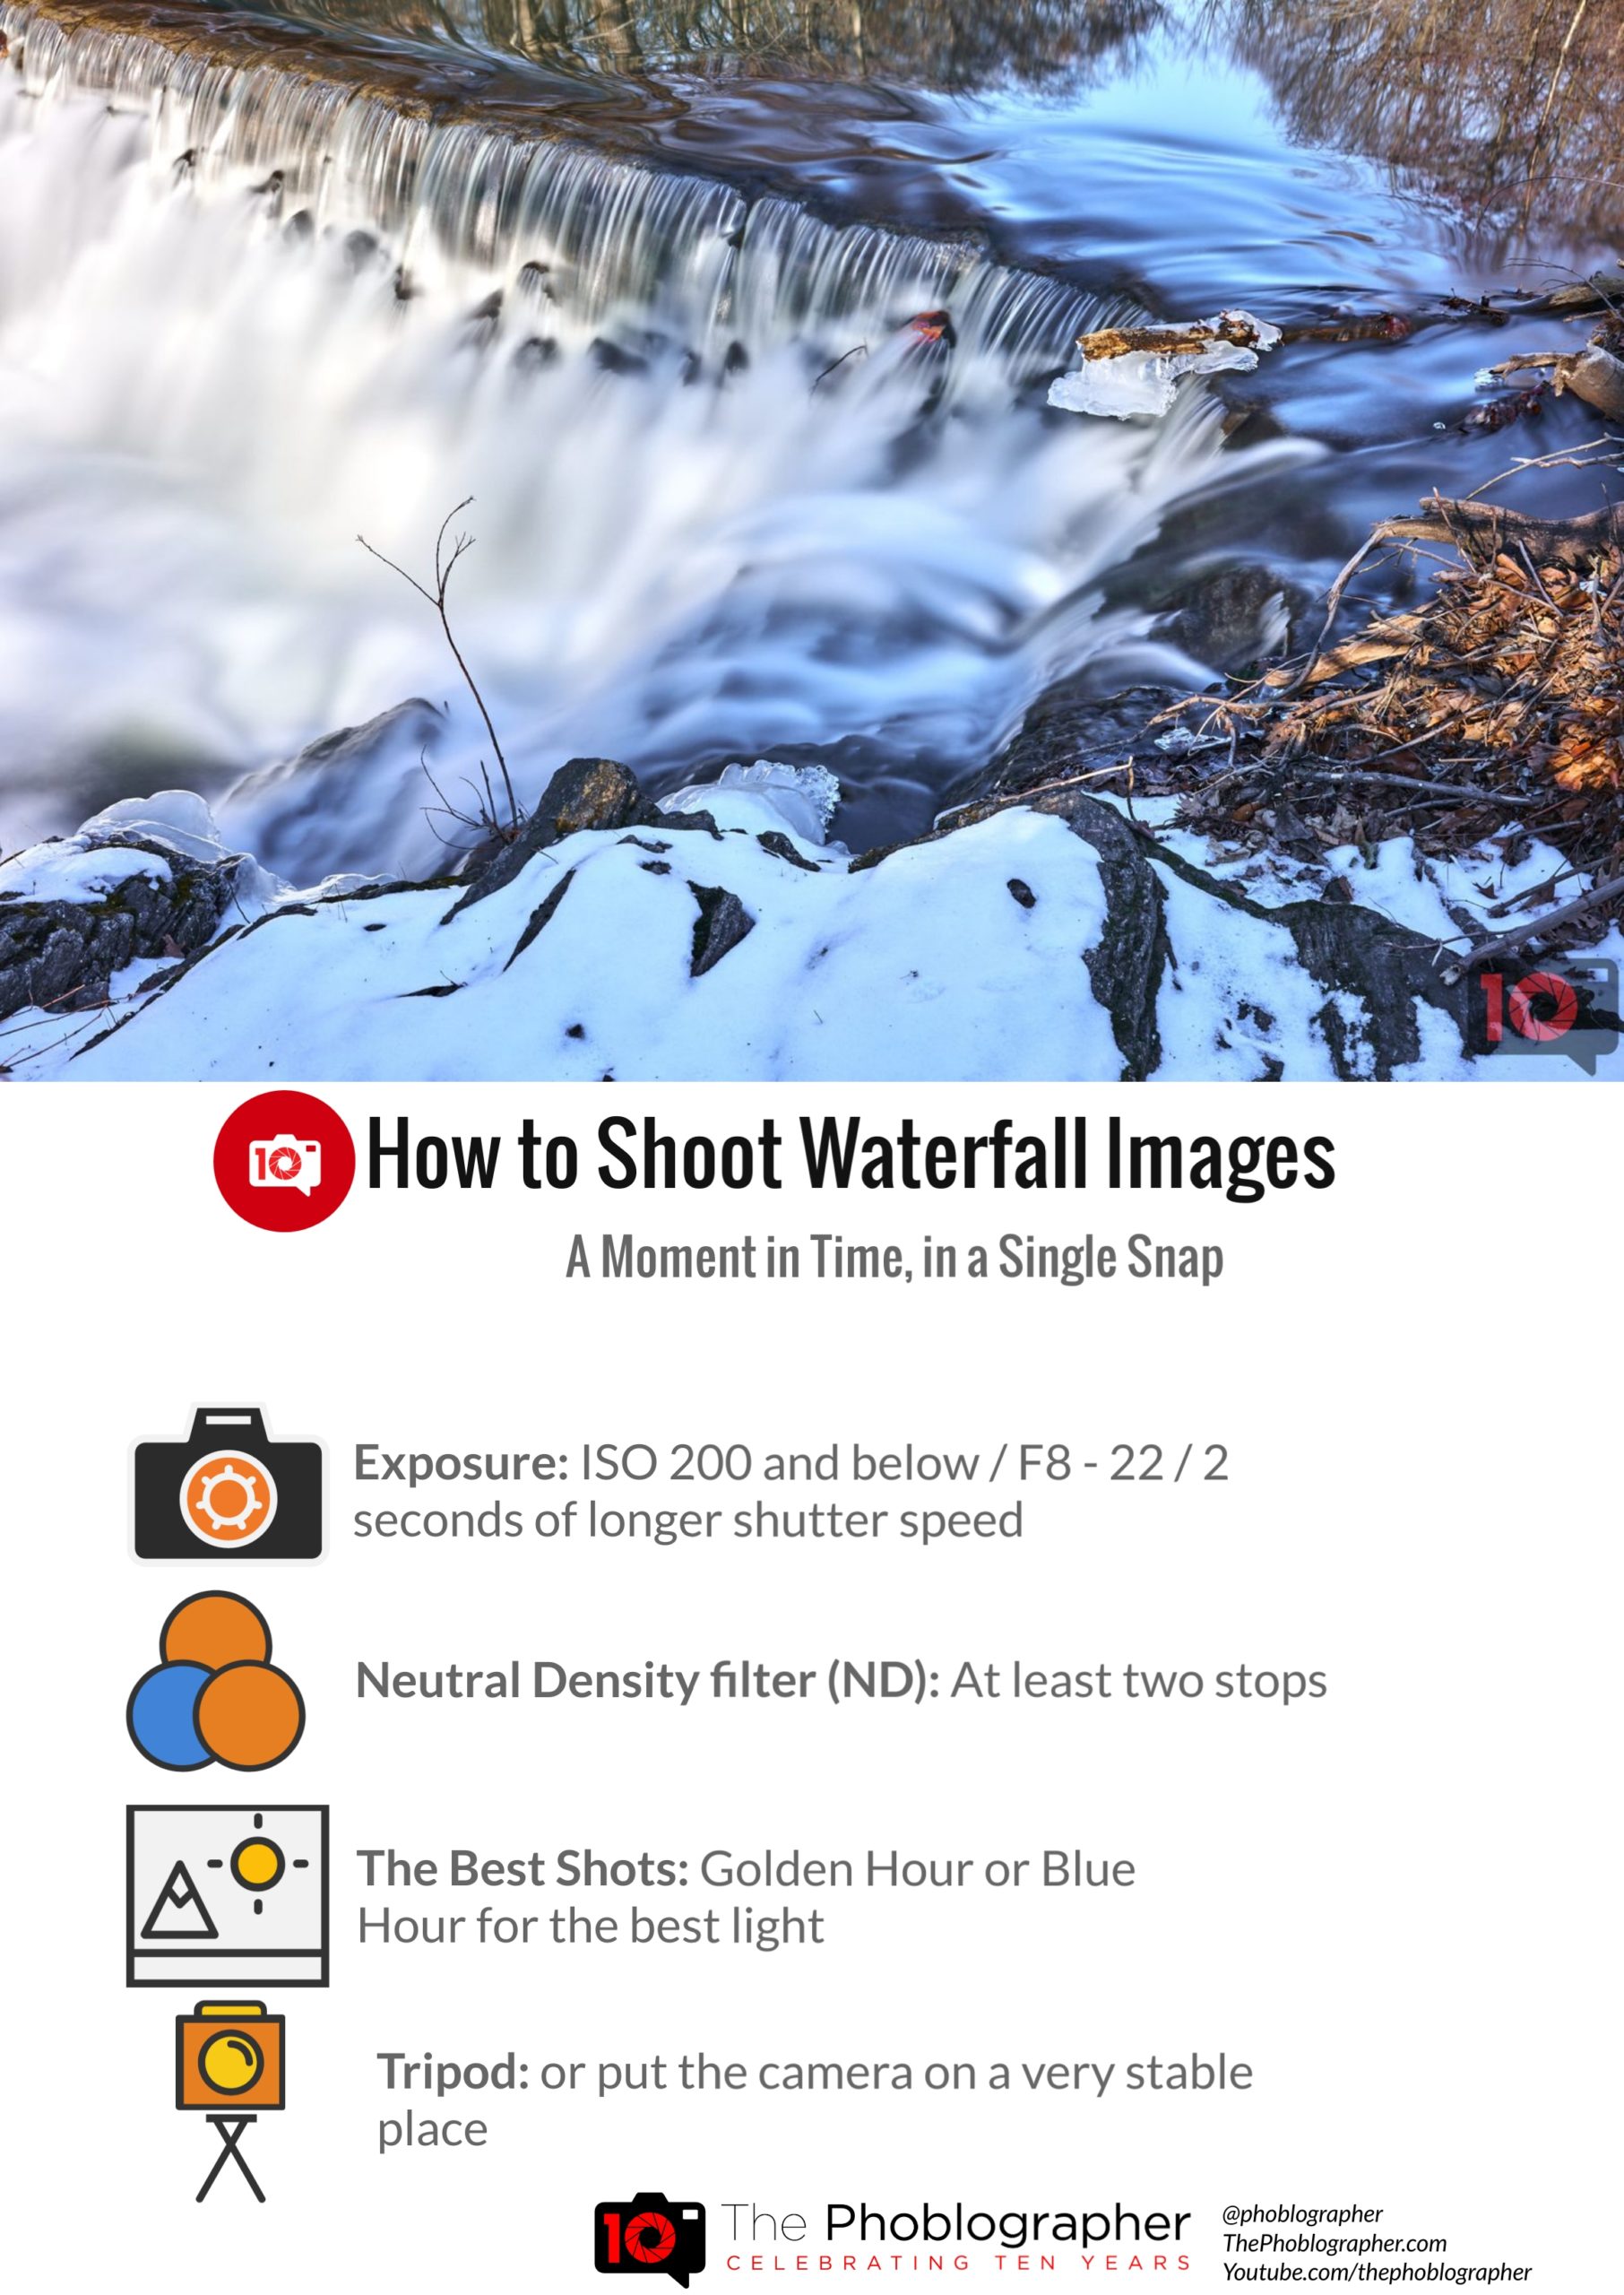
Here’s a photography cheat sheet for those who want that ethereal look to their waterfalls.
We’ve all seen them–those dreamy waterfall images that inspire awe in us and make us want to book a ticket to the latest vacation spot. Landscape photographers spend hours upon days looking for not only the best locations but also the best light. That careful combination is offset by using the right filters and the proper exposure. It’s followed by post-production, and possibly printing. Most important of all is the right light. You’ll have to search out the golden or blue hour to get just the right amount of glisten on the water. And even above all that, having the right tools. We’ve got that all set up for you in today’s photography cheat sheet. But we also have extra tips below on how to photograph waterfalls.
The Settings
Most cameras go down to ISO 100, but a few start at ISO 200 instead. Whatever your lowest base ISO is, start there. That’s why I love some of Nikon’s DSLRs for their sub-ISO 100 option. After this, use slow shutter speed, a narrow aperture, and ND filters. Use the ND filters to cut out the excessive light that you’ve got in the scene. This also slows the shutter speed down even more so that you can get even dreamier images when trying to photograph waterfalls.
“Long exposures will require the right balance between shutter length and aperture. I always shoot long exposures at ISO 100 (or whatever my camera’s lowest native ISO setting is), and I usually shoot with an aperture between f10 and f18, depending on the ambient light. If I need things to be darker so that I can have a longer shutter, I will use a smaller aperture, etc. I also want to ensure that more of the scene is in focus. All you need to do then is adjust the shutter speed to get the correct exposure.”
Stability
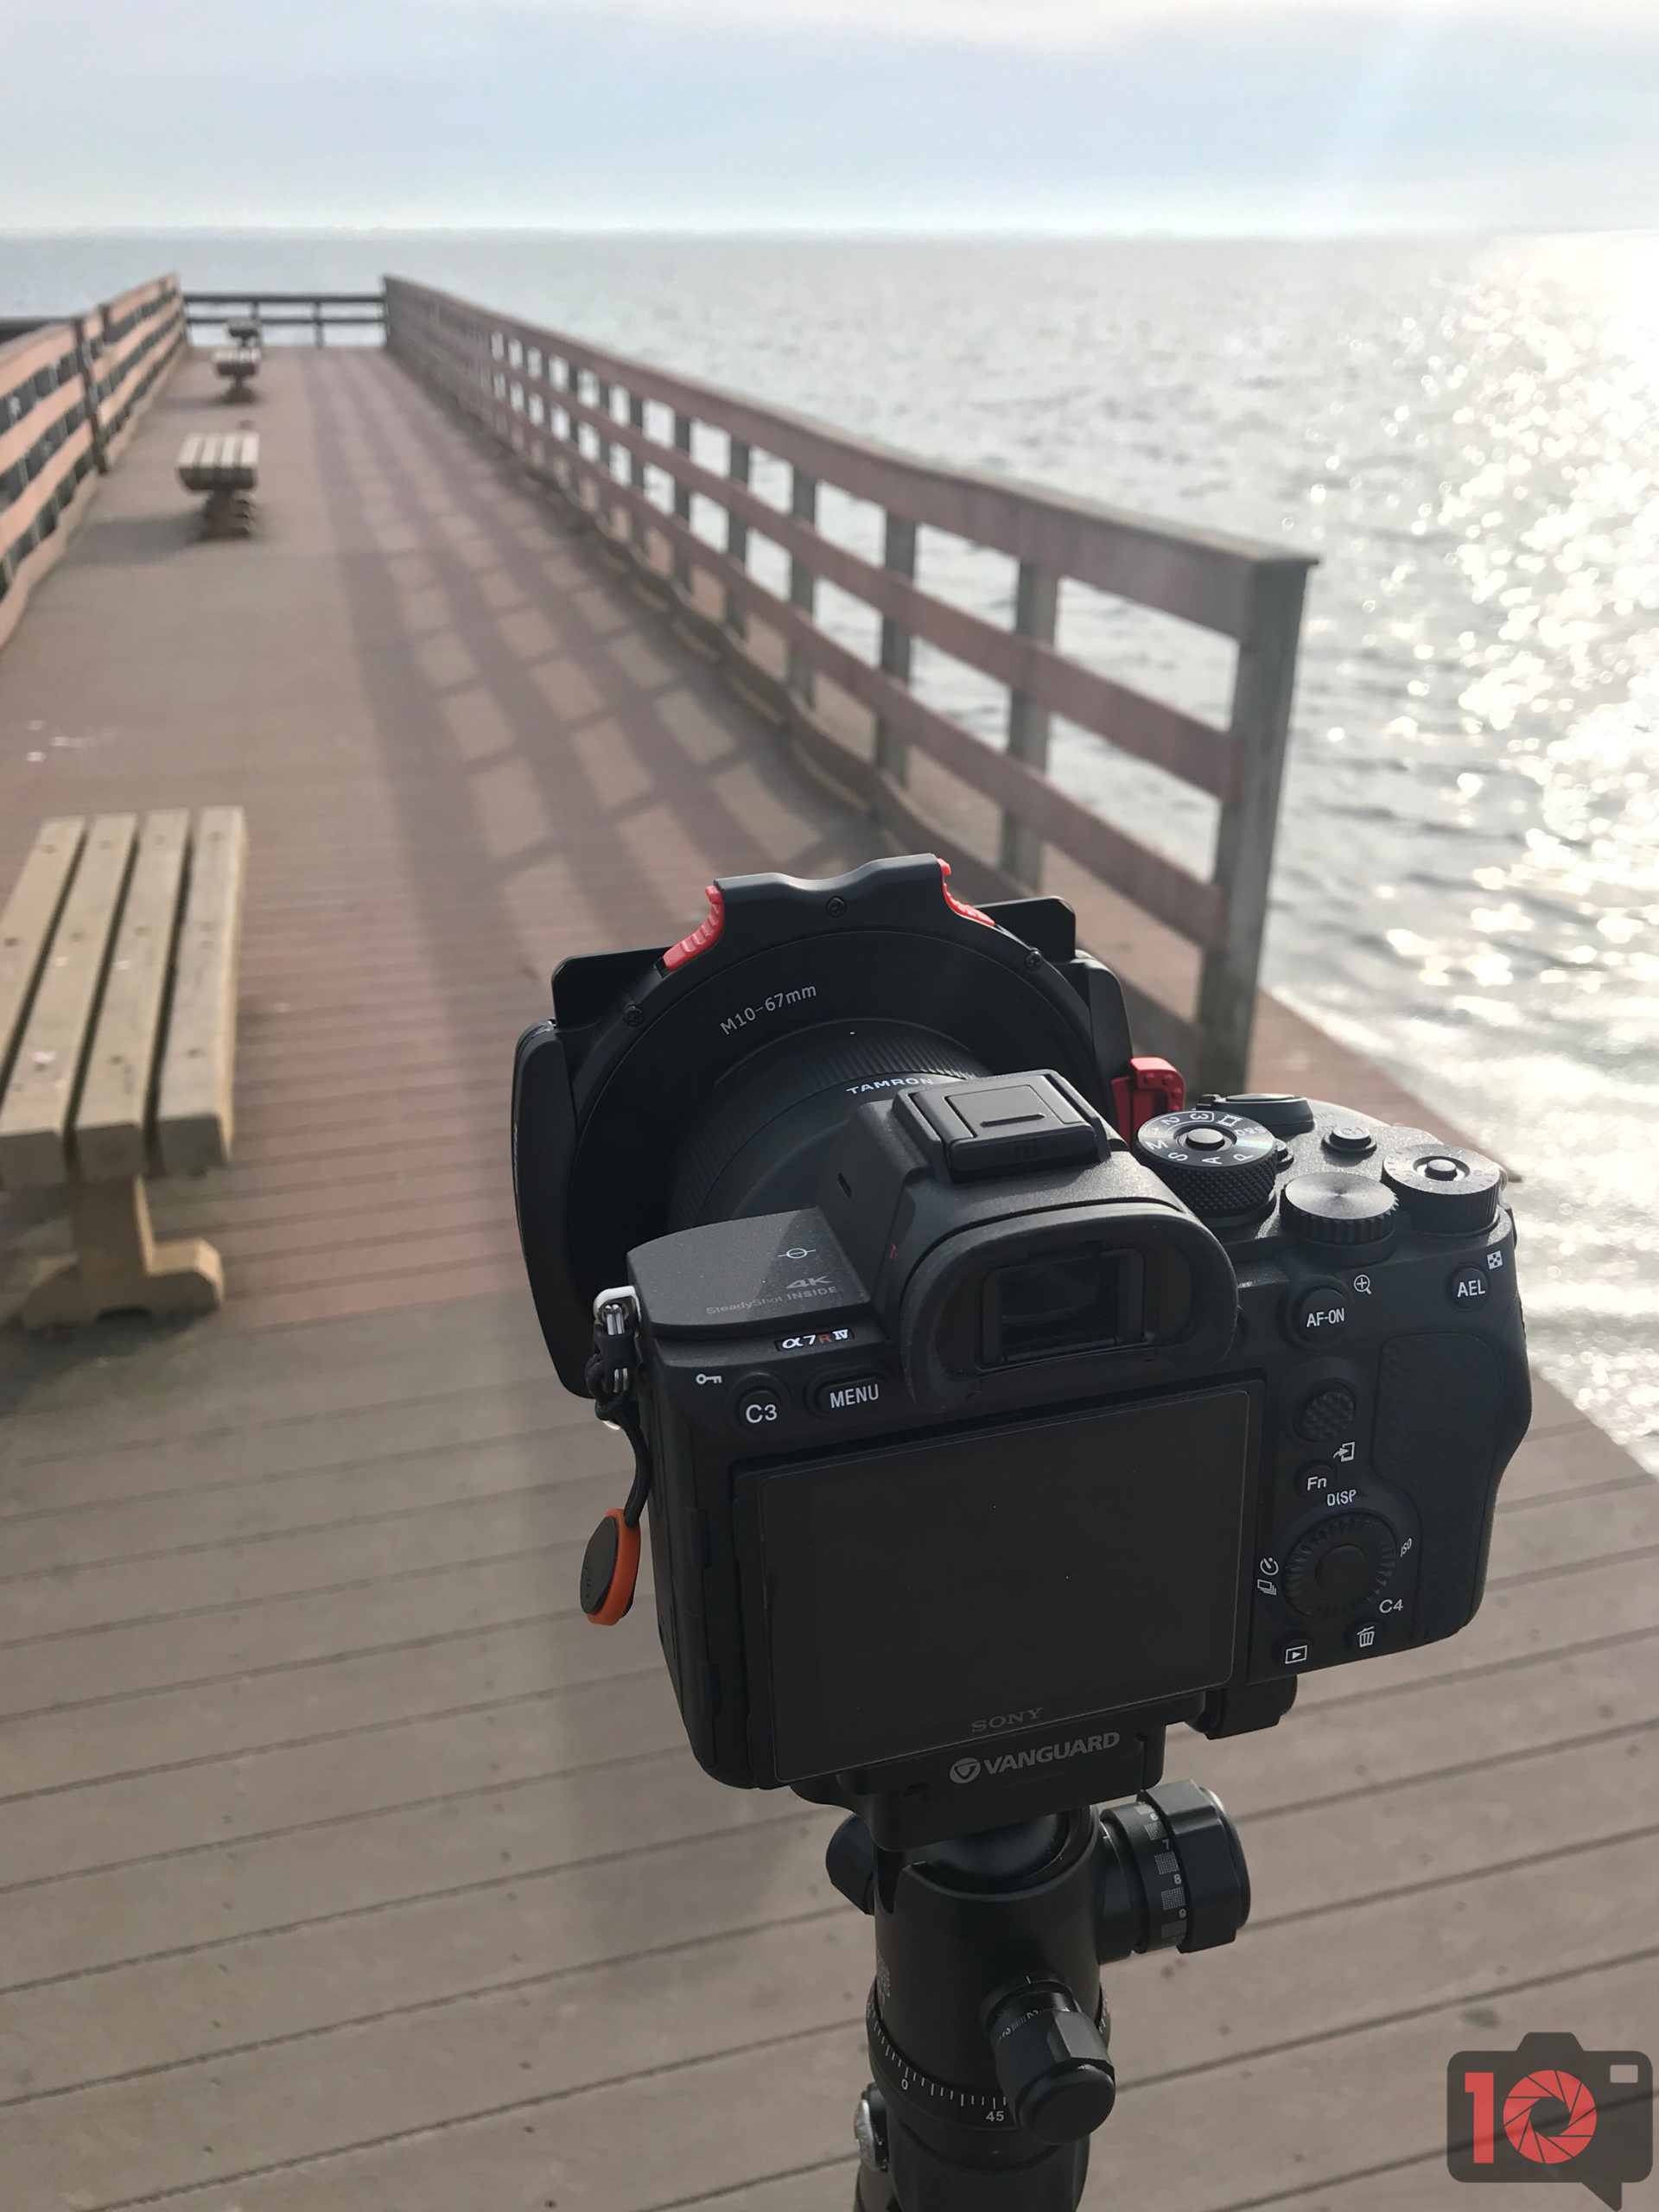
Because you’re shooting at such a slow shutter speed, you’ll need stability. Ideally, you have a heavy tripod that won’t move about in the wind. But if you don’t have a tripod, then find a rock. Alternatively, look for something else that’s flat and stable. Most importantly, feel your surroundings. There’s probably some shake around that you’re not even paying attention to. If you’re on a bridge, know that that’s not an absolutely perfect, stable surface. Your best bet is solid ground at the lowest elevation possible.
Other tripod alternatives:
- Platypods
- Camera bags
- Books
- Benches
- The ground as long as lots of people aren’t walking by
In general, avoid ports and piers. Though they may not seem it, they’re incredibly shaky, and you’ll get camera shake in your photo. If you want to chance it, turn on image stabilization in the lens or sensor. If neither of those is an option, well, resort to the other info we provided.
The Lighting
The lighting here is vital when trying to photograph waterfalls. Trust us, trying to shoot waterfalls in the middle of the day isn’t at all ideal. You need a super slow shutter speed, possibly stacked ND filters, a very narrow aperture, and a super slow shutter speed. Go for super early in the day or right before sunset. All of these change, though, depending on the weather. If you’re in cloudy weather, then you’ve got the most perfect time to be shooting in many respects. The light will be even and easy for you to shoot in. Any other problems that you have with color can be fixed with the right white balance.
Our photography cheat sheets are created used Visme.
Get rid of the ads!
Did you enjoy reading this article as much as we enjoyed writing it? There's a way to support us and our reporting, getting ad-free navigation and more as a bonus. Subscribe to us for less than a coffee per month —just $3.99— or take advantage of our yearly subscription with a hefty discount for only $25.- An ad-free experience
- A free mystery box for Lightroom or Capture One
- All the books in our store
- 20% discount on Capture One
- 30% discount on Imalume Photo Theft Protection
- 20% off Herbs and Kettle Tea Company.
- 20% off your order from MPIX printing services.
- 5% off Viltrox Products via their eCommerce store.
- 10% off all film developing, printing and scanning services from Blue Moon Camera and Machine
- 15% off 7Artisans products: The lens and accessory maker is offering a sweet discount for Phoblographer's readers.