")
Last Updated on 04/27/2019 by Mark Beckenbach
Whatever the reason, if noon is the only time you can shoot portraits, here are some tips to help you work with the harsh light.
Any photographer will tell you that noon is the worst time to shoot portraits because of the harsh light of the sun and the unflattering shadows it casts. A fact of life is that most people just don’t look good in lighting like this when out in the open. Even the backlighting method is very difficult to do at times under noon lighting. If you absolutely have no choice but to shoot in that light (like when you’re on assignment and on a tight schedule), these tips and tricks from boudoir photographer Michael Sasser should help you get some good photos. In fact, noon lighting can become a friend.
1. Don’t do it.
Ideally, just don’t do it. This is easier said than done when you’re shooting for a client who wants you to follow a tight schedule. But if you have greater control over the shoot or can make suggestions, suggest to do it during the morning when the sun isn’t directly overhead, or later in the afternoon closer to the Golden Hour. You’ll be better off shooting during those times. As an extra tip, shoot when the light is soft.
“Many photographers can’t always tell the difference between hard light and soft light. By definition, the differences have to do with the quality of the shadows. Hard light delivers very, very dark shadows that seem to muddle details while in contrast soft light delivers very light shadows or even no shadows at all.” – From The Differences Between Hard Light and Soft Light Demonstrated
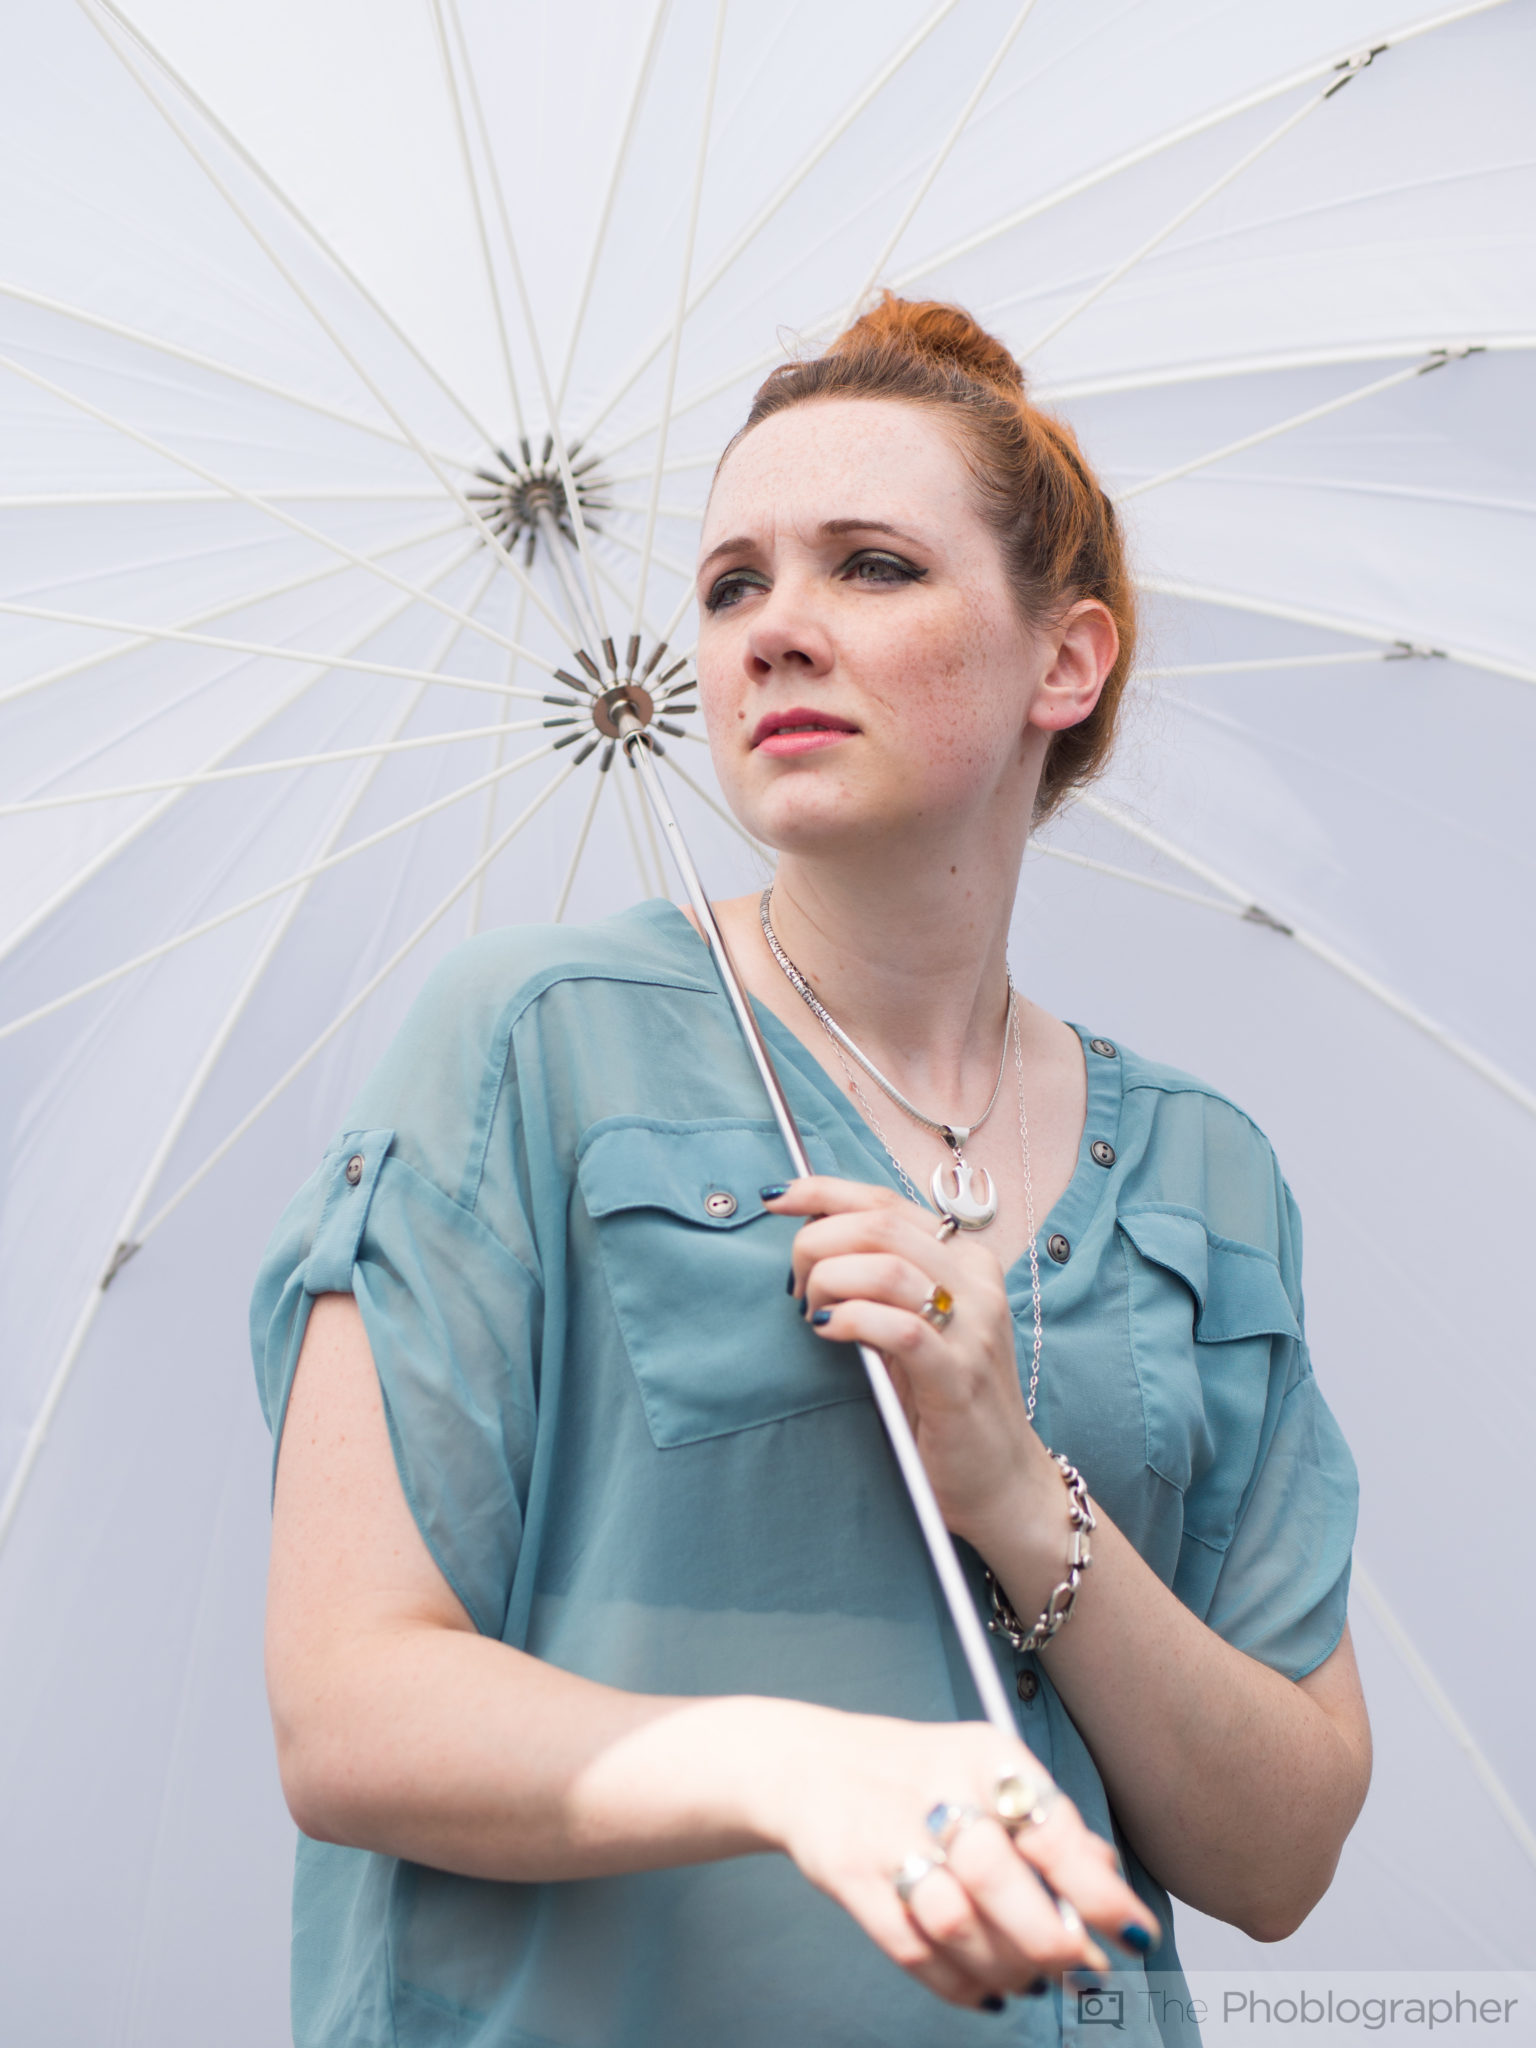
Model: Kristen Sirotta
2. Use it, don’t fight it: Okay, we understand you really have no choice. In this case, you’ll have to work with the lighting as much as you can. For example, you can get your model to face towards the light in such a way that the shadows show more of the contours on her face and look as flattering as possible. If you want to shoot your model with her eyes open, only have her open them fully the moment you press the shutter.
3. Use a scrim: Another way to work with the lighting is to tame it down using a scrim. The idea is to create a softer, more flattering light on your model the way you would a softbox. This way, you can still work with the light directly above you like a directional light, but you get a more even and diffused light. Pro tip: Make sure you get someone to assist you, especially if you’ll work with a large-sized scrim!
4. Find some shade: To make the shoot easier and more comfortable for you and your model, you’ll also want to look for shady spots to shoot in. In this video, they were able to find a nice alley with light-colored pavement and walls, which can reflect some of the light. The shady spot also kept the harsh light off the model’s face. As our photographer mentioned, you essentially have a window effect this way, where it’s dark behind the model and bright in front. Anywhere there’s an overhang, like a garage, would also be perfect.
Don’t forget to check out Michael Sasser’s YouTube channel for more of his photography tips and tricks!
Screenshot image from the video
Get rid of the ads!
Did you enjoy reading this article as much as we enjoyed writing it? There's a way to support us and our reporting, getting ad-free navigation and more as a bonus. Subscribe to us for less than a coffee per month —just $3.99— or take advantage of our yearly subscription with a hefty discount for only $25.- An ad-free experience
- A free mystery box for Lightroom or Capture One
- All the books in our store
- 20% discount on Capture One
- 30% discount on Imalume Photo Theft Protection
- 20% off Herbs and Kettle Tea Company.
- 20% off your order from MPIX printing services.
- 5% off Viltrox Products via their eCommerce store.
- 10% off all film developing, printing and scanning services from Blue Moon Camera and Machine