
Last Updated on 04/27/2019 by Joy Celine Asto
Looking for a guide on using vintage lenses on your modern camera? David Krooshof has you covered with his in-depth how-to.
Previously, we saw here an explanation about using vintage lenses on your new camera, including a video testing them for the bokeh. Let’s look into the world of adapters that are needed if you’d like to use retro glass. These adapters come in the form of rings with one end connecting to your specific camera, and the other accepting a certain lens.
Which Vintage Lenses Can I Use?
How focusing works
Many contemporary lenses only move a few of the lens elements to get the image in focus, but the older lenses often move the complete assembly in and out in one piece. When the lens is fully contracted, close to the camera, the lens is focused on infinity. The further the lens is moved from the sensor, the closer it is focused. If you want to make macro shot or focus closer than your lens allows, you can take the lens off of the camera, and hold it further from the camera. This is called free lensing.
Flange focal distance
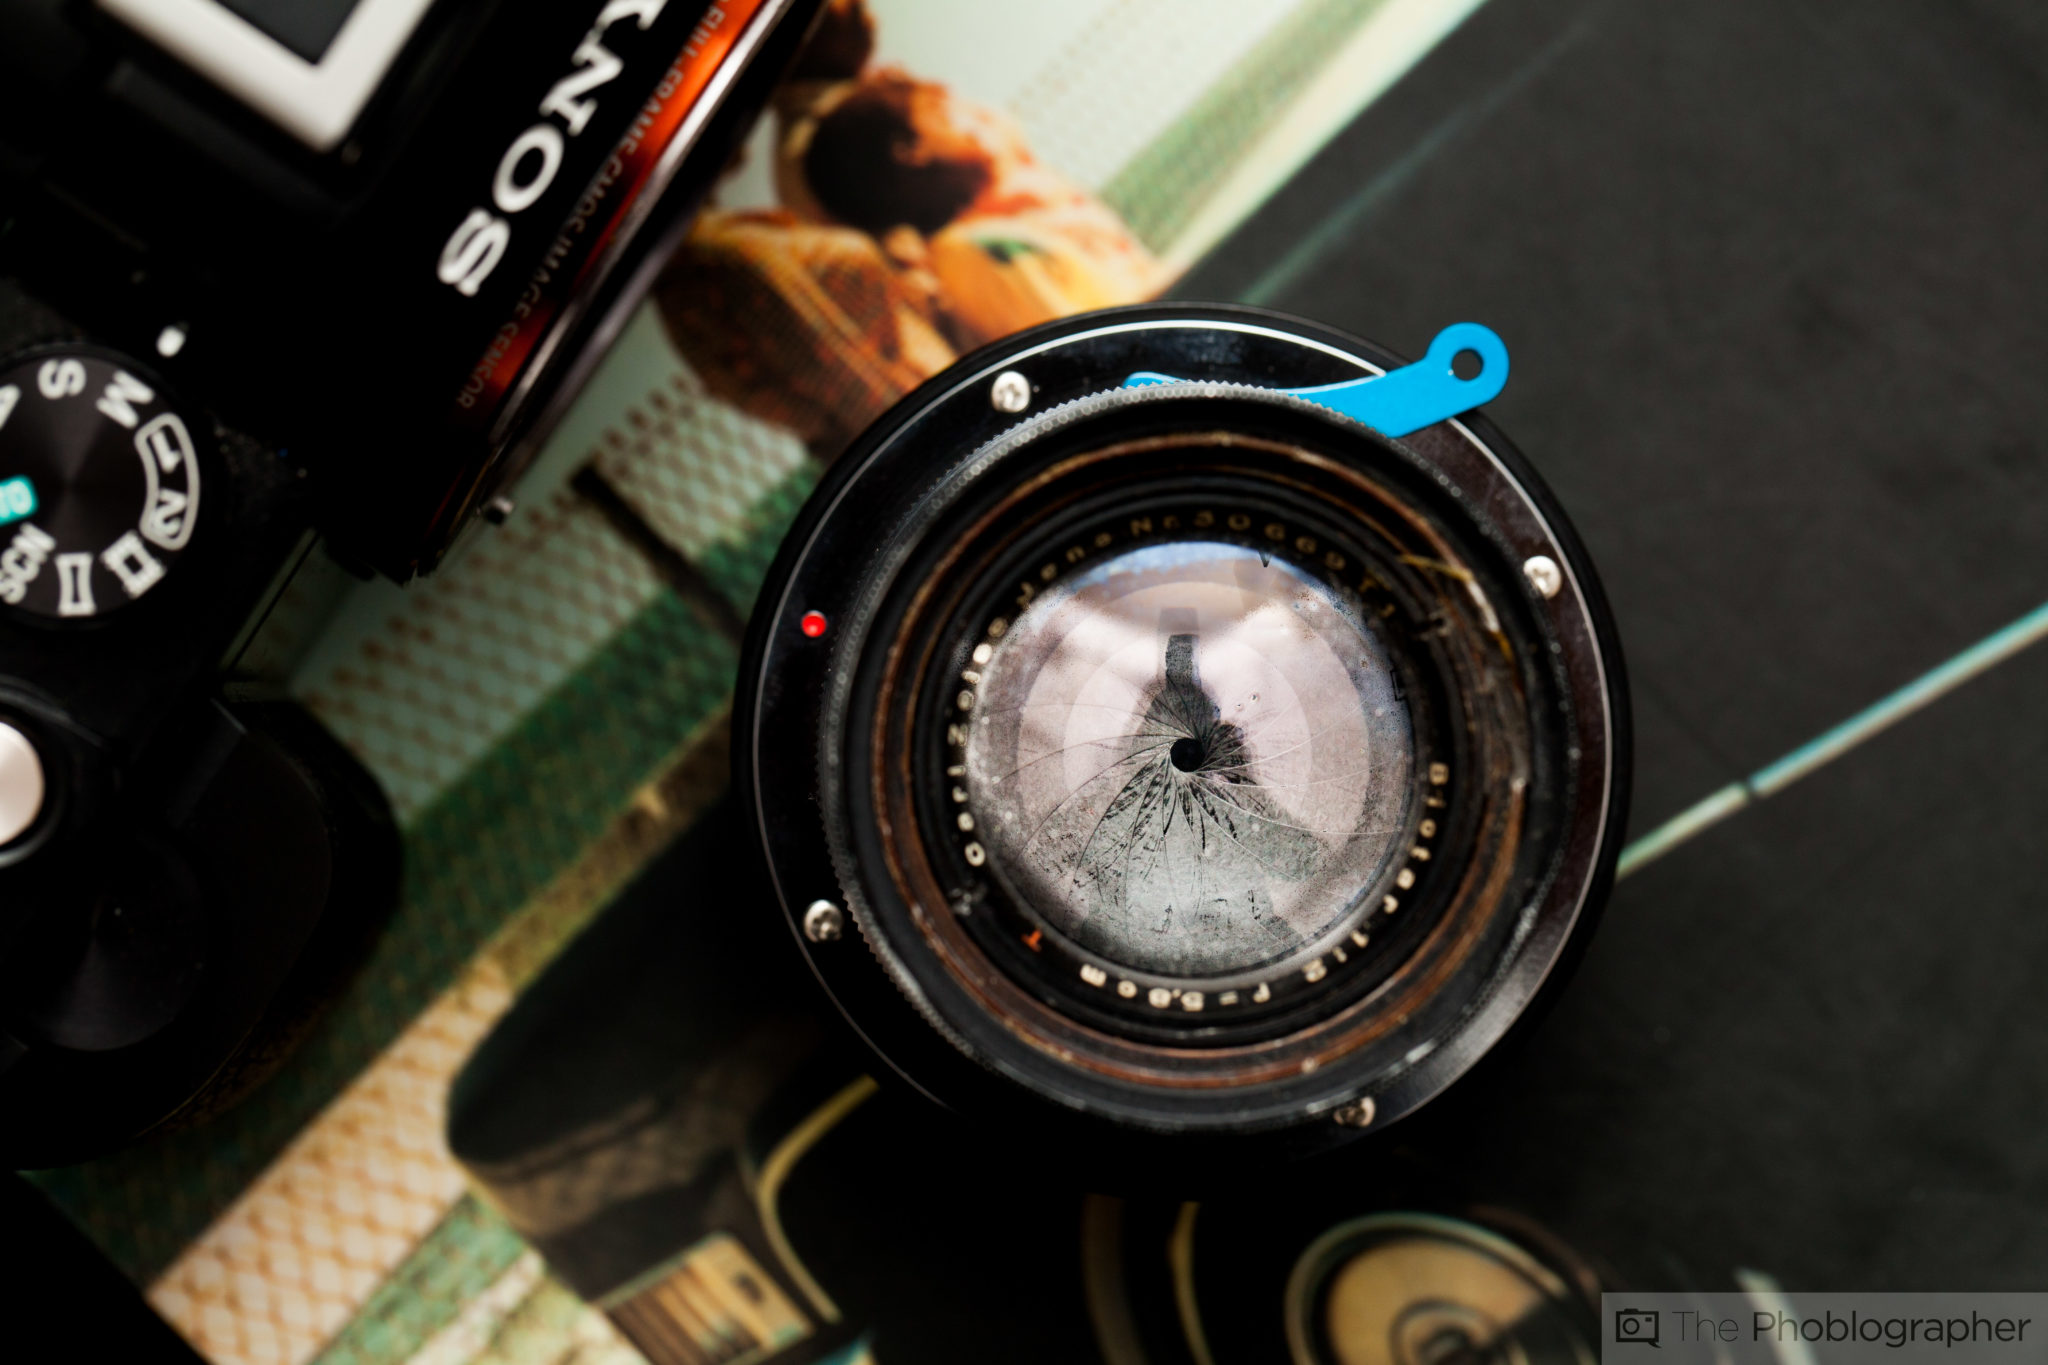
Camera brands not only have different mounts for the lenses, they also sit at different distances from the sensor in the camera. This distance is relevant if you want to use old lenses with a different mount than your camera has. For example, a Nikon F SLR lens sits further away from camera than the Canon EF and M42 screw lenses do. This means that if you mount such a lens to your Nikon SLR, it sits too far away from the sensor, making it a macro lens that is unable to focus to infinity. If you want to use a M42 (Pentax thread) lens on a Nikon SLR, you need an adapter with with an extra lens element to compensate, much like how some people need negative prescription glasses to see objects in the distance sharply. Adapters with lenses ruin the delicate quality of the vintage glass, which is a pity, and actually useless.
You can look up the mount of your camera on this list. Each lens with a mount mentioned below your camera, can be adapted to your camera, provided that you can find the correct adapter ring. So, a Canon EOS camera can be adapted to accept Nikon lenses, but a Canon lens can not be mounted on a Nikon. Nikon cameras can, however, be used with Mamiya 645 lenses, mentioned lower in the list than the Nikon F mount.
Mirrorless Cameras
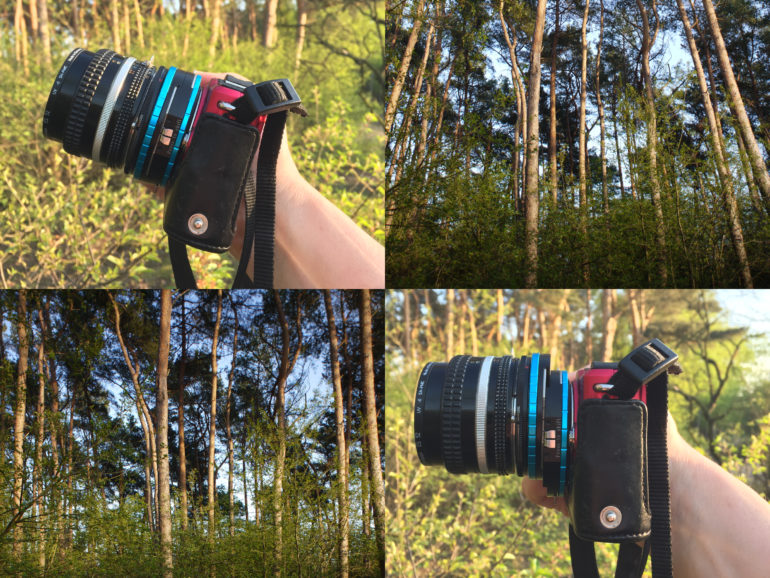
Single lens reflex cameras need some space between the film and the lens, because the mirror sits there, and it needs some room to flap up. On a mirrorless camera, this space is not needed, and the lenses native to your mirrorless camera sit much closer to the sensor. The difference in flange focal distance is bridged by the adapter ring, that actually has the form of a tube. Most common SLR lenses can be mounted to most mirrorless cameras using such tubes. Ebay is full of cheap adapters to do this. I toyed with Canon FD, Nikon, Minolta and M42 lenses on my Panasonic GF2. The adapters are so cheap, that I bought a lot of them, I just left them on the lenses.
About the Quality of the Simple Adapters
In general, not all adapters are created equally. Some have a tight fit, some are a bit loose. Some are too shiny on the inside, causing flares. Some designers worry so much about ensuring that the user can focus to infinity that the adapter tube is ever so slightly too short. If that’s the case, your lens can focus “beyond infinity”, meaning that if you want to focus on the horizon, you can’t dial it all the way to the end. I preferred the brand “Big IS” and “RJ” but there are bound to be other nice ones now. There is no reason to spend more than 25 dollars on such a simple adapter.
For Canon FD lenses, the adapters have a pin inside them to push a lever that makes the aperture dial work. If you do not do this in the right way, the aperture controls may jam. It’s easy to free the aperture up again, but it’s annoying. The adapters are therefore hard to put on the lens. I bought one adapter for each Canon lens, and just let them sit on the lens forever. M42 adapters come in variants. If your lens does not have an A/M switch (auto/manual aperture), look closely to see if the adapter has a flange on the inside that pushes the auto aperture pin in when you screw the lens in. If that rim is not there, you can only use the lens wide open. Such a flange will not be mentioned in the description of the seller, so you need to check the images. Nikon and Minolta adapters, and Mamiya 645 to Nikon adapters are simple, worry-free items.
Simple, or nice?
The size these tubes leave plenty of room for extra features, so if you throw in a little more money, you can do even nicer things. I’ll describe the three features I love: tilt, shift, and focal length reduction.
Tilt
There are very expensive lenses that are called tilt/shift lenses. Please let me inform you that tilt and shift are two distinct and very different features. Tilt places the lens on an angle relative to the camera. It works best on 40mm. On shorter lenses, more things are in focus anyway, so the effect does not show. You can use it to make the world look miniature if you shoot a picture from some height. Yawn. Much more interesting is that you can be very selective with your focus. You can shoot two people that are on different distances to your camera, wide open, with both of them in focus. Or you can shoot a photo of your dinner plate with all of it in focus, while using a wide aperture. Or just put things out of focus on purpose. Put the camera on a tripod to learn to focus properly. Check the whole frame without moving the camera. If you are a bokeh monster like me, you want to be able to tilt your lens.
“Tilt places the lens on an angle relative to the camera.”
I got a €20 one, for M42 lenses to NEX cameras and one for M42 to MFT cameras. There are virtually the same, including the degrees mark being upside down. It reads 8 when it is straight, and 8 when it is about 10 degrees tilted. You can rotate the adapter so you can tilt sideways (that’s actually called “swing”) or tilt vertically. Tilt is one of the most expressive features to have.
Shift
Shift works on shorter focal length lenses, and does not show on longer ones. It’s more effective with a 20mm lens, than with a 40mm. It is helpful to put lines straight. If you photograph buildings, you can make the vertical lines parallel. This is something you can do in post too, obviously, but it is nice to control for perspective when photographing up to buildings and tall trees. A smaller sensor is a bit of a benefit here, as your corners won’t get so dark when you shift a lot. I’ve noticed that the exposure can sometimes be off, and colors may shift too.
“Shift works on shorter focal length lenses, and does not show on longer ones.”
There are other things you can do. You can take extra wide pictures in two parts: Put your camera on a stand. Shift the lens to the left, take a picture, then to the right, and take another. You can stitch there in a photo editor without any adjustments, because the position of the sensor relative to the landscape did not change. Oh, and you can take a picture of a mirror without the camera being in the frame. Shift the lens sideways to achieve this. Very cool when you want to do an over the shoulder shot of someone looking at their reflection in a mirror.
I got a fancy one from Fotodiox, with a discount. You can rotate the adapter so you can shift sideways, or vertically (that’s actually called rise and fall).

Focal length reduction
On a Micro Four Thirds camera (MFT), images taken with my favorite 20mm ƒ1.7 lens, look like images taken with a 40mm ƒ2.8 on a Full Frame camera, like a Nikon FX. This is due to the fact that the smaller sensor only sees a part of the images that the lens projects, so in effect, it is zoomed in. This zoom is called a “crop factor”. On a MFT it is 2. This makes a “normal” 50mm lens look a bit like a 100mm tele lens. 100mm is longer than I like my lens to be. So here’s where the focal reducer comes in. Such an old 50mm lens is is meant to project light on a 24 x 36mm sensor. A focal reducer bundles this projection to 14.5 x 24mm. As a nice extra: Because more light falls onto your sensor, you get one extra stop of light. And, one stop worth of bokeh extra too! This is why one brand calls their focal reducer a speed booster.

- MFT camera + focal reducer + 50mm ƒ1.4 lens, looks like a 70mm ƒ2 on a full frame.
- APS-C camera + focal reducer + 50mm ƒ1.4 lens, looks like a 50mm ƒ1.4 on a full frame.
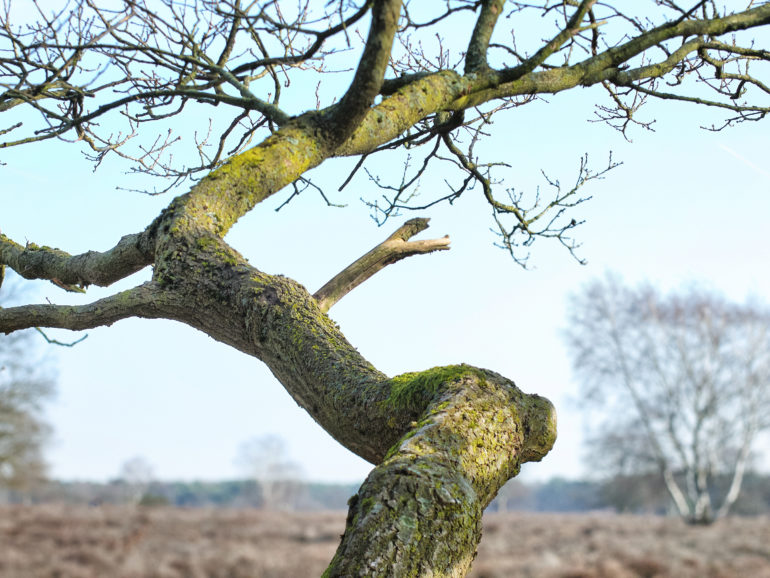
It’s a bit like a wide angle adapter, but it does not sit on the front of the lens, but between the lens and the camera. I had very bad results with an adapter for M42 lenses on Nikon, because the lens in it ruined the quality, so I figured a focal reducer would be bad too. Then I saw a test, and I noticed that even with a mid priced (80 euro) focal reducer, the quality of an old lens actually improved: Less color fringing in the form of green and purple auras around tree branches against a bright sky, for instance. So I went for the RJ focal reducer form the eBay seller JinFinance. It cost me 1/6 of the price of the (arguably much better) Speed Booster, but I’m happy with it. Very sharp, and good colors. There are much worse focal reducers on eBay, though, so take care.
Pro Tip: If you have several different brands of vintage lenses that you want to use, and can’t choose in which mount you want to buy your fancy adapter, go for the Canon FD mount. The FD is the shortest adapter, and with simple $10 rings, you can convert it to accept Nikon F and M42 screw mount lenses. Yes, you can adapt your adapters!
Are There Downsides to Using Vintage Lenses?
Downside 1: Blue spots
The downside of lenses that are meant for a larger sensor is that they spread a lot of light around inside your adapter. Some of it is reflected back into the lens. In some lenses, you can see a blue spot when you close the aperture. I first noticed that with my focal reducer, but I saw the same when using an a simple Mamiya 645 to Nikon F adapter that was quite shiny. You do not see the blue spot when shooting wide open, but it appears when closing the aperture, and photographing into the light. I use my focal reducer from ƒ8 and wider, not smaller. But I noticed that using a lens hood (sun shade) helps. I use a large collapsible one, so I can squeeze it in, and control flare this way.
Downside 2: Stupid Colors
Not all lenses were created equal. Some lenses produce boring colors, others are great. I used to have a 28mm Vivitar and a Nikon F zoom, that were rather bland, especially in the reds. A Kiron 28mm I have looks much better, but the reds may become very undetailed. Not usable for flowers or red plastic objects. My Mamiya M42 28mm is the best 28mm I have. I had two, though. I kept the one with more saturated colors. Not all lenses were created equally, not even if they have serial numbers that are quite close.
Downside 3: Radioactivity
Some lenses become yellow over time. Looks very retro! In some of those yellowed lenses, this is because of the use of thorium glass. I LOVE thorium glass! So sharp and saturated! But a little radioactive. Ah well, not to worry. It’s not that much.
Downside 4: Manual focus is hard
Yes, but there are tools to help focus manually.
Focus Aides
Focus confirm chips in the adapter
Canons have an upshot: You can glue a chip in the converter that tells the camera what kind of lens you mounted. Or look for adapters with focal confirm chips already in them. Some of these can even be programmed to store the correct info about your lens. With a chip, you can set the camera to trip the shutter as soon as the image is in focus. The chip lies to the camera that your old lens is an autofocus lens, while it is a human that is turning the dial, rather than a motor. Once the image is in focus, the camera fires. Neat.
On a Nikon, I was not so lucky with the dandelion chips, as they are called. The communication was not reliable, and the camera did not even want to do auto expose, or even meter. Going full manual did however produce nice results.
A focus confirm chip did not work on my MFT. The feature of that chips seems to only work for the four thirds (not micro FT).
The chips for Nikon and (M)FT did allow for proper EXIF data, though actual focus distance and aperture are not recorded, as no connections run from the dials to the chip.
Focus peaking
On newer cameras, you will find focus peaking. It puts a bright color onto the screen where the image is in focus. Really useful for filming. Sony was the first to use this. It works like a charm on the Nex5 and newer. MFT cameras introduced this much much later, on more expensive models only. I tried focus peaking on a top of the line Olympus OMD camera recently, and found that for stills, I can focus sharper myself without that tool. Bummer.
Zoom function in the display of the camera
Over the years I became quick with manual focusing using the zoom function. My camera is set to zoom in where I touch the screen. It flips back to normal when I touch the shutter button. I do miss shots, though. But it is digital, and I do not shoot press photos, so who cares. I walk around with my lens more or less in focus, so I only have to adjust slightly when I take the picture. I scan the focus back and forth, going over the maximum focus point once or twice. Then I chose the middle setting. This way, I can focus just a little sharper than what I can see on the display. It’s easier to focus wide open, then stopping down a little. Another reason to use a “fast lens” (meaning with a low ƒ number) even when shooting at ƒ8.
Which Lenses are Nice to Find an Adapter For?
20mm to 28mm
A 28mm lens wants to sit closer to the camera than the mirror allows it to be. To overcome this extra distance, wide angle lenses for SLR cameras have a few extra lens elements. So the native lenses for your mirrorless camera will actually perform way better, as they can omit these extra elements. Unless, of coarse, you want to use a tilt adapter! Then shorter is better!
35mm to 100mm
Yes, go for it! Please note that these will look like a 70mm on a APS-C/DX camera, and like a 100mm on a MFT camera. The depth of field also changes. f1.4 looks like a ƒ2 on an APS-C, and ƒ2.8 on a MFT camera. If the field of view is okay as it is, get a tilt adapter. Otherwise, get a focal reducer.
135mm and longer
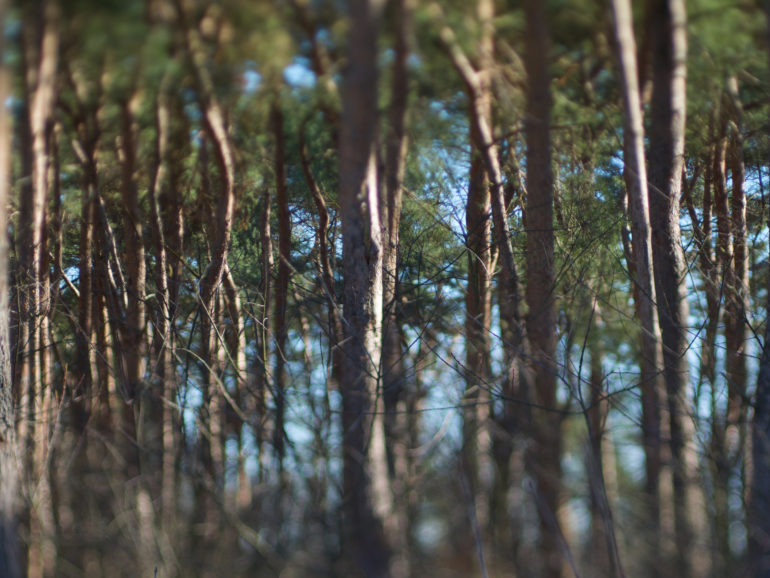
On crop sensor cameras, these will be a long lenses. Nice if you want to take pictures of animals in a forest or paparazzi photos. But if that is your game, you will want a quick autofocus, or you will miss too many shots. I have a 80mm on my MFT which is much more useful than my 135mm.
Zoom lenses
I think modern zoom lenses are much better than the old ones. Old primes, however, are full of character. But don’t take this from me, as I don’t like zoom lenses at all. I gave them all away.
One Little Warning
Please note that at some point, you will want to use a focal reducer, a tilt and a shift at the same time and as such, these adapters are a gateway drug into large format cameras. You may find yourself wandering the streets with a wooden camera, bearing a heavy tripod, a few film holders for maybe four photos, and too little time to dial in all the shifts, rises, swings and tilts, and using a really old 150mm lens that looks like a 50mm ƒ1 beast of bokeh. It’s what happened to me.
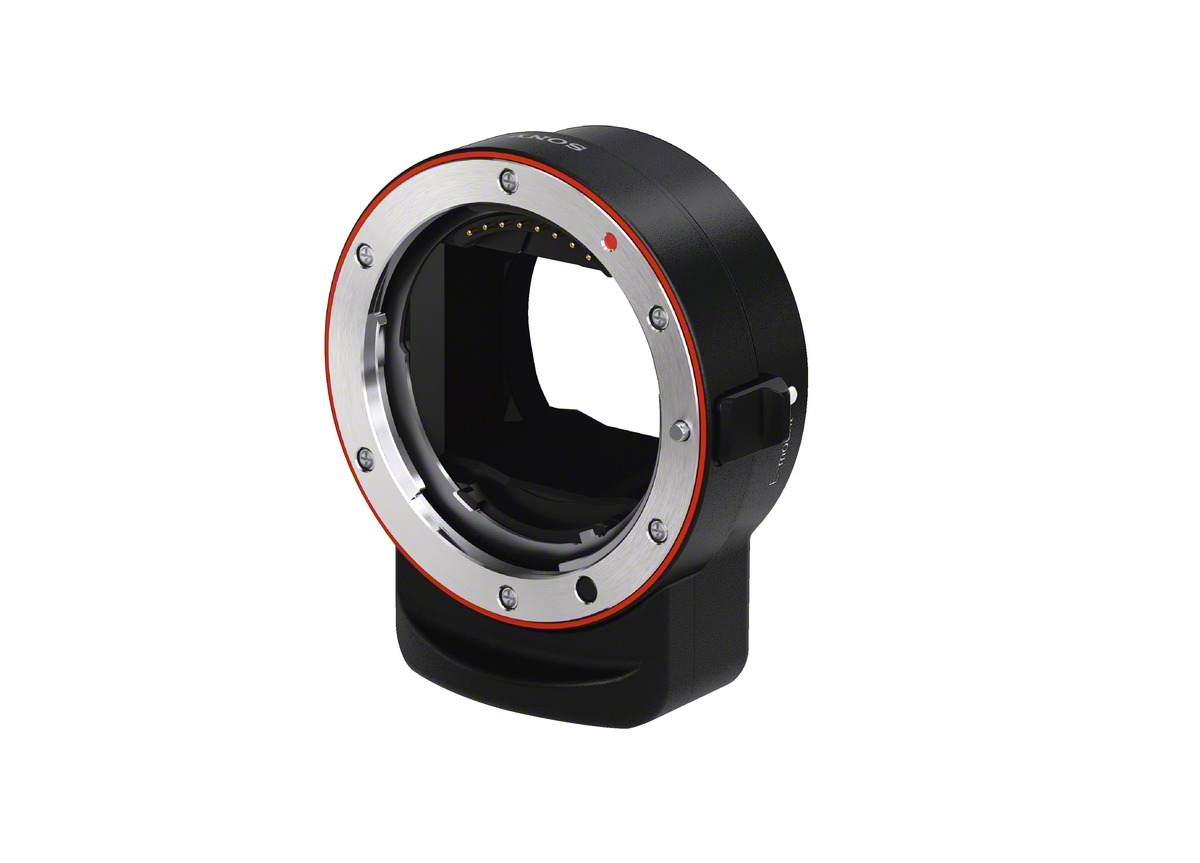
All images (save the white Mamiya and the adapter with electronic conductors) and text by David Krooshof. Used with permission.
David Krooshof studied sociology and electronic music and works as sound engineer and instructor in the Academy for Theatre and Dance in Amsterdam, The Netherlands. Over the last decade he started to photograph more and more. His analog large format portraits are his signature works. Check out his Facebook and Instagram to see his work.
Get rid of the ads!
Did you enjoy reading this article as much as we enjoyed writing it? There's a way to support us and our reporting, getting ad-free navigation and more as a bonus. Subscribe to us for less than a coffee per month —just $3.99— or take advantage of our yearly subscription with a hefty discount for only $25.- An ad-free experience
- A free mystery box for Lightroom or Capture One
- All the books in our store
- 20% discount on Capture One
- 30% discount on Imalume Photo Theft Protection
- 20% off Herbs and Kettle Tea Company.
- 20% off your order from MPIX printing services.
- 5% off Viltrox Products via their eCommerce store.
- 10% off all film developing, printing and scanning services from Blue Moon Camera and Machine
- 15% off 7Artisans products: The lens and accessory maker is offering a sweet discount for Phoblographer's readers.