Last Updated on 10/01/2020 by Chris Gampat
The purpose of this article is to help you decide which of nine C-41 color film stocks, of those currently available in the US, is right for you. If you’d rather digest this content in video form rather than article, that’s an option as well.
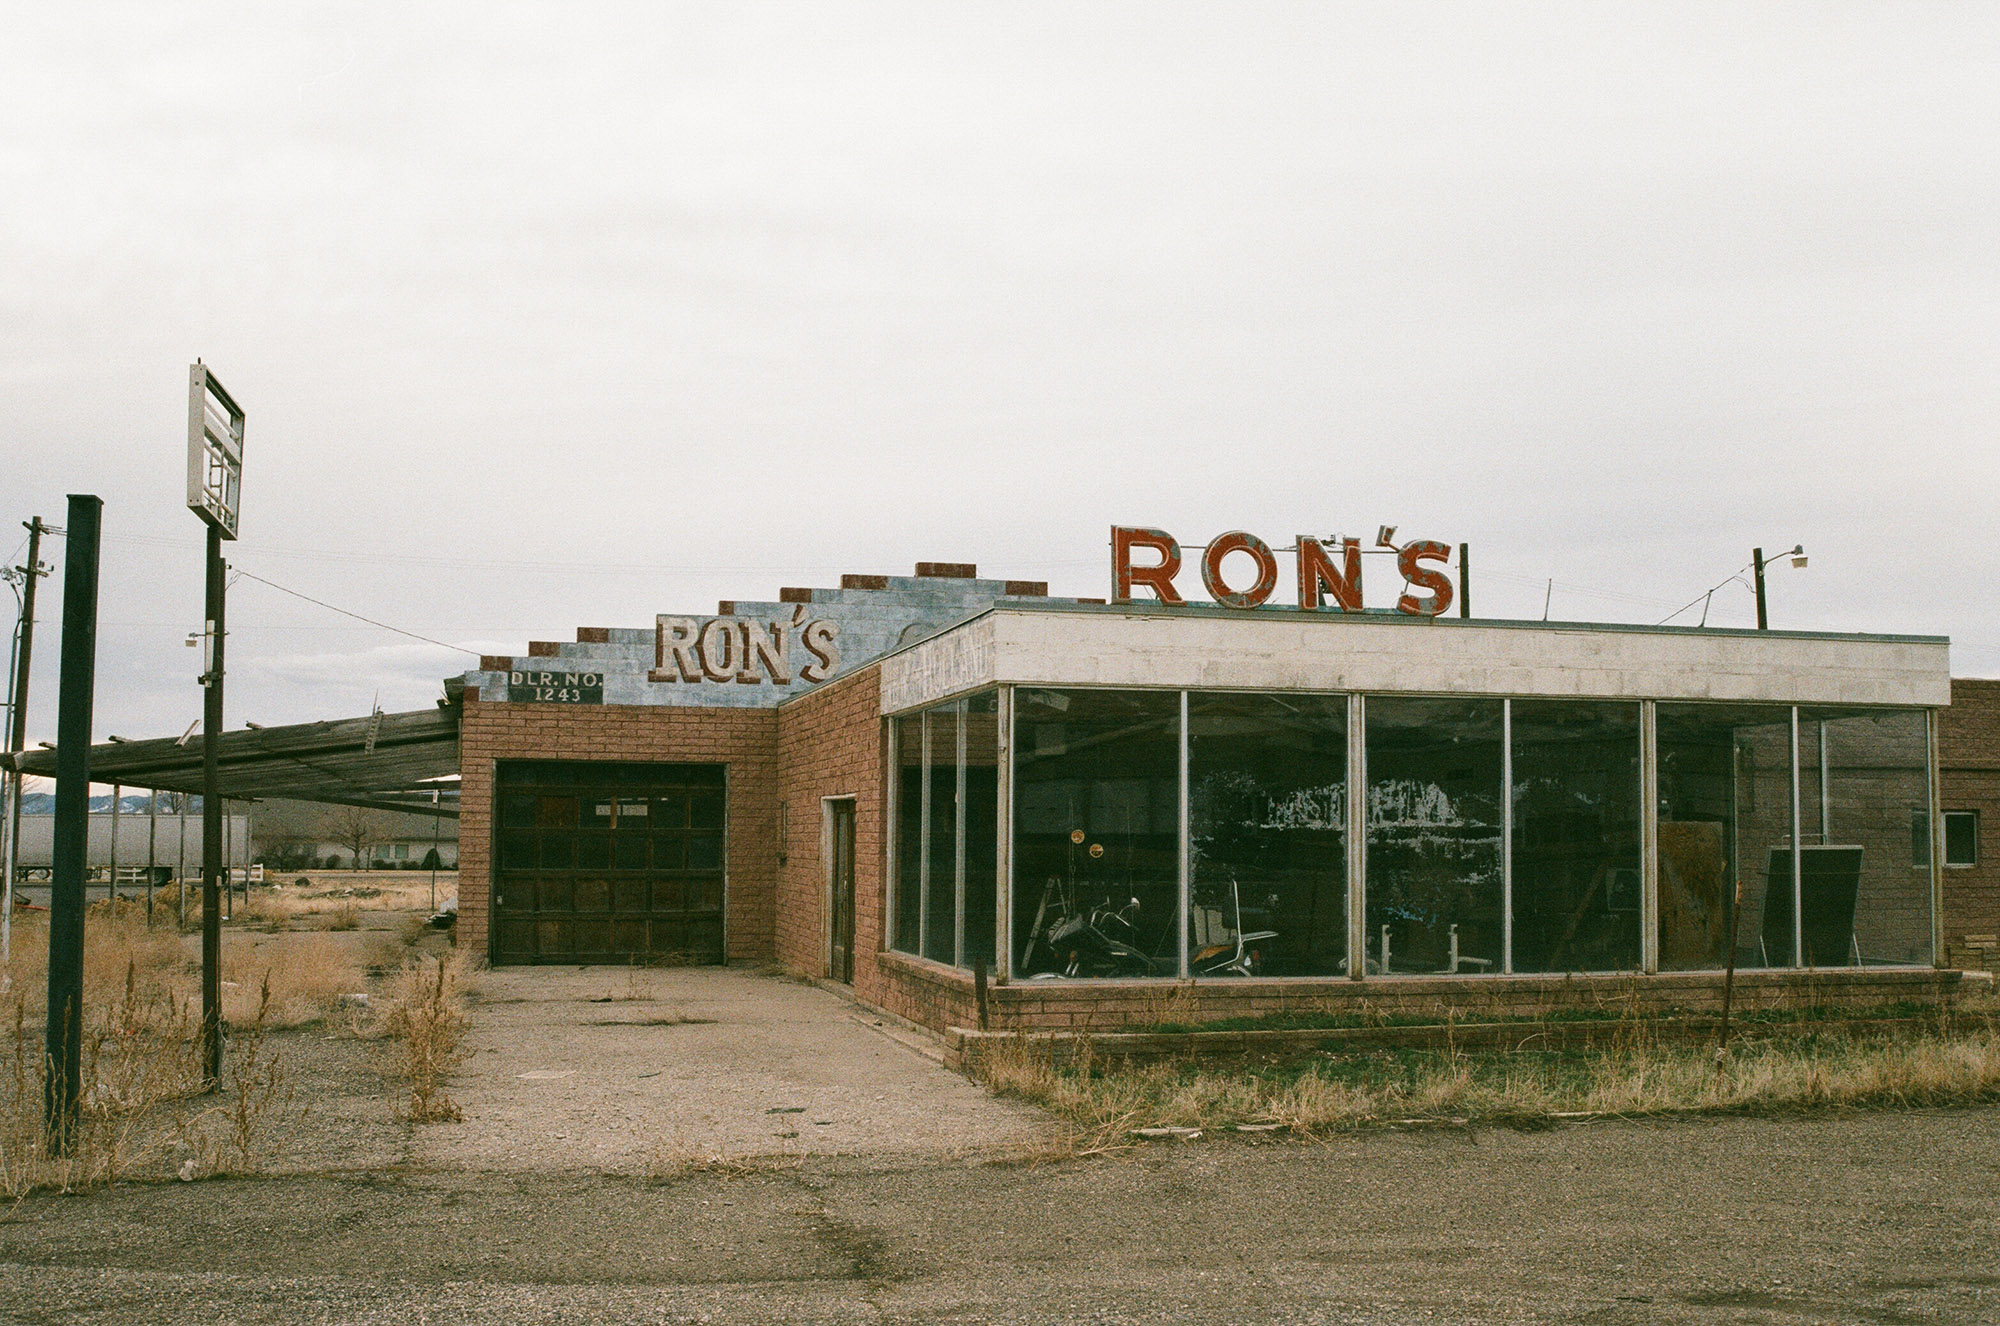
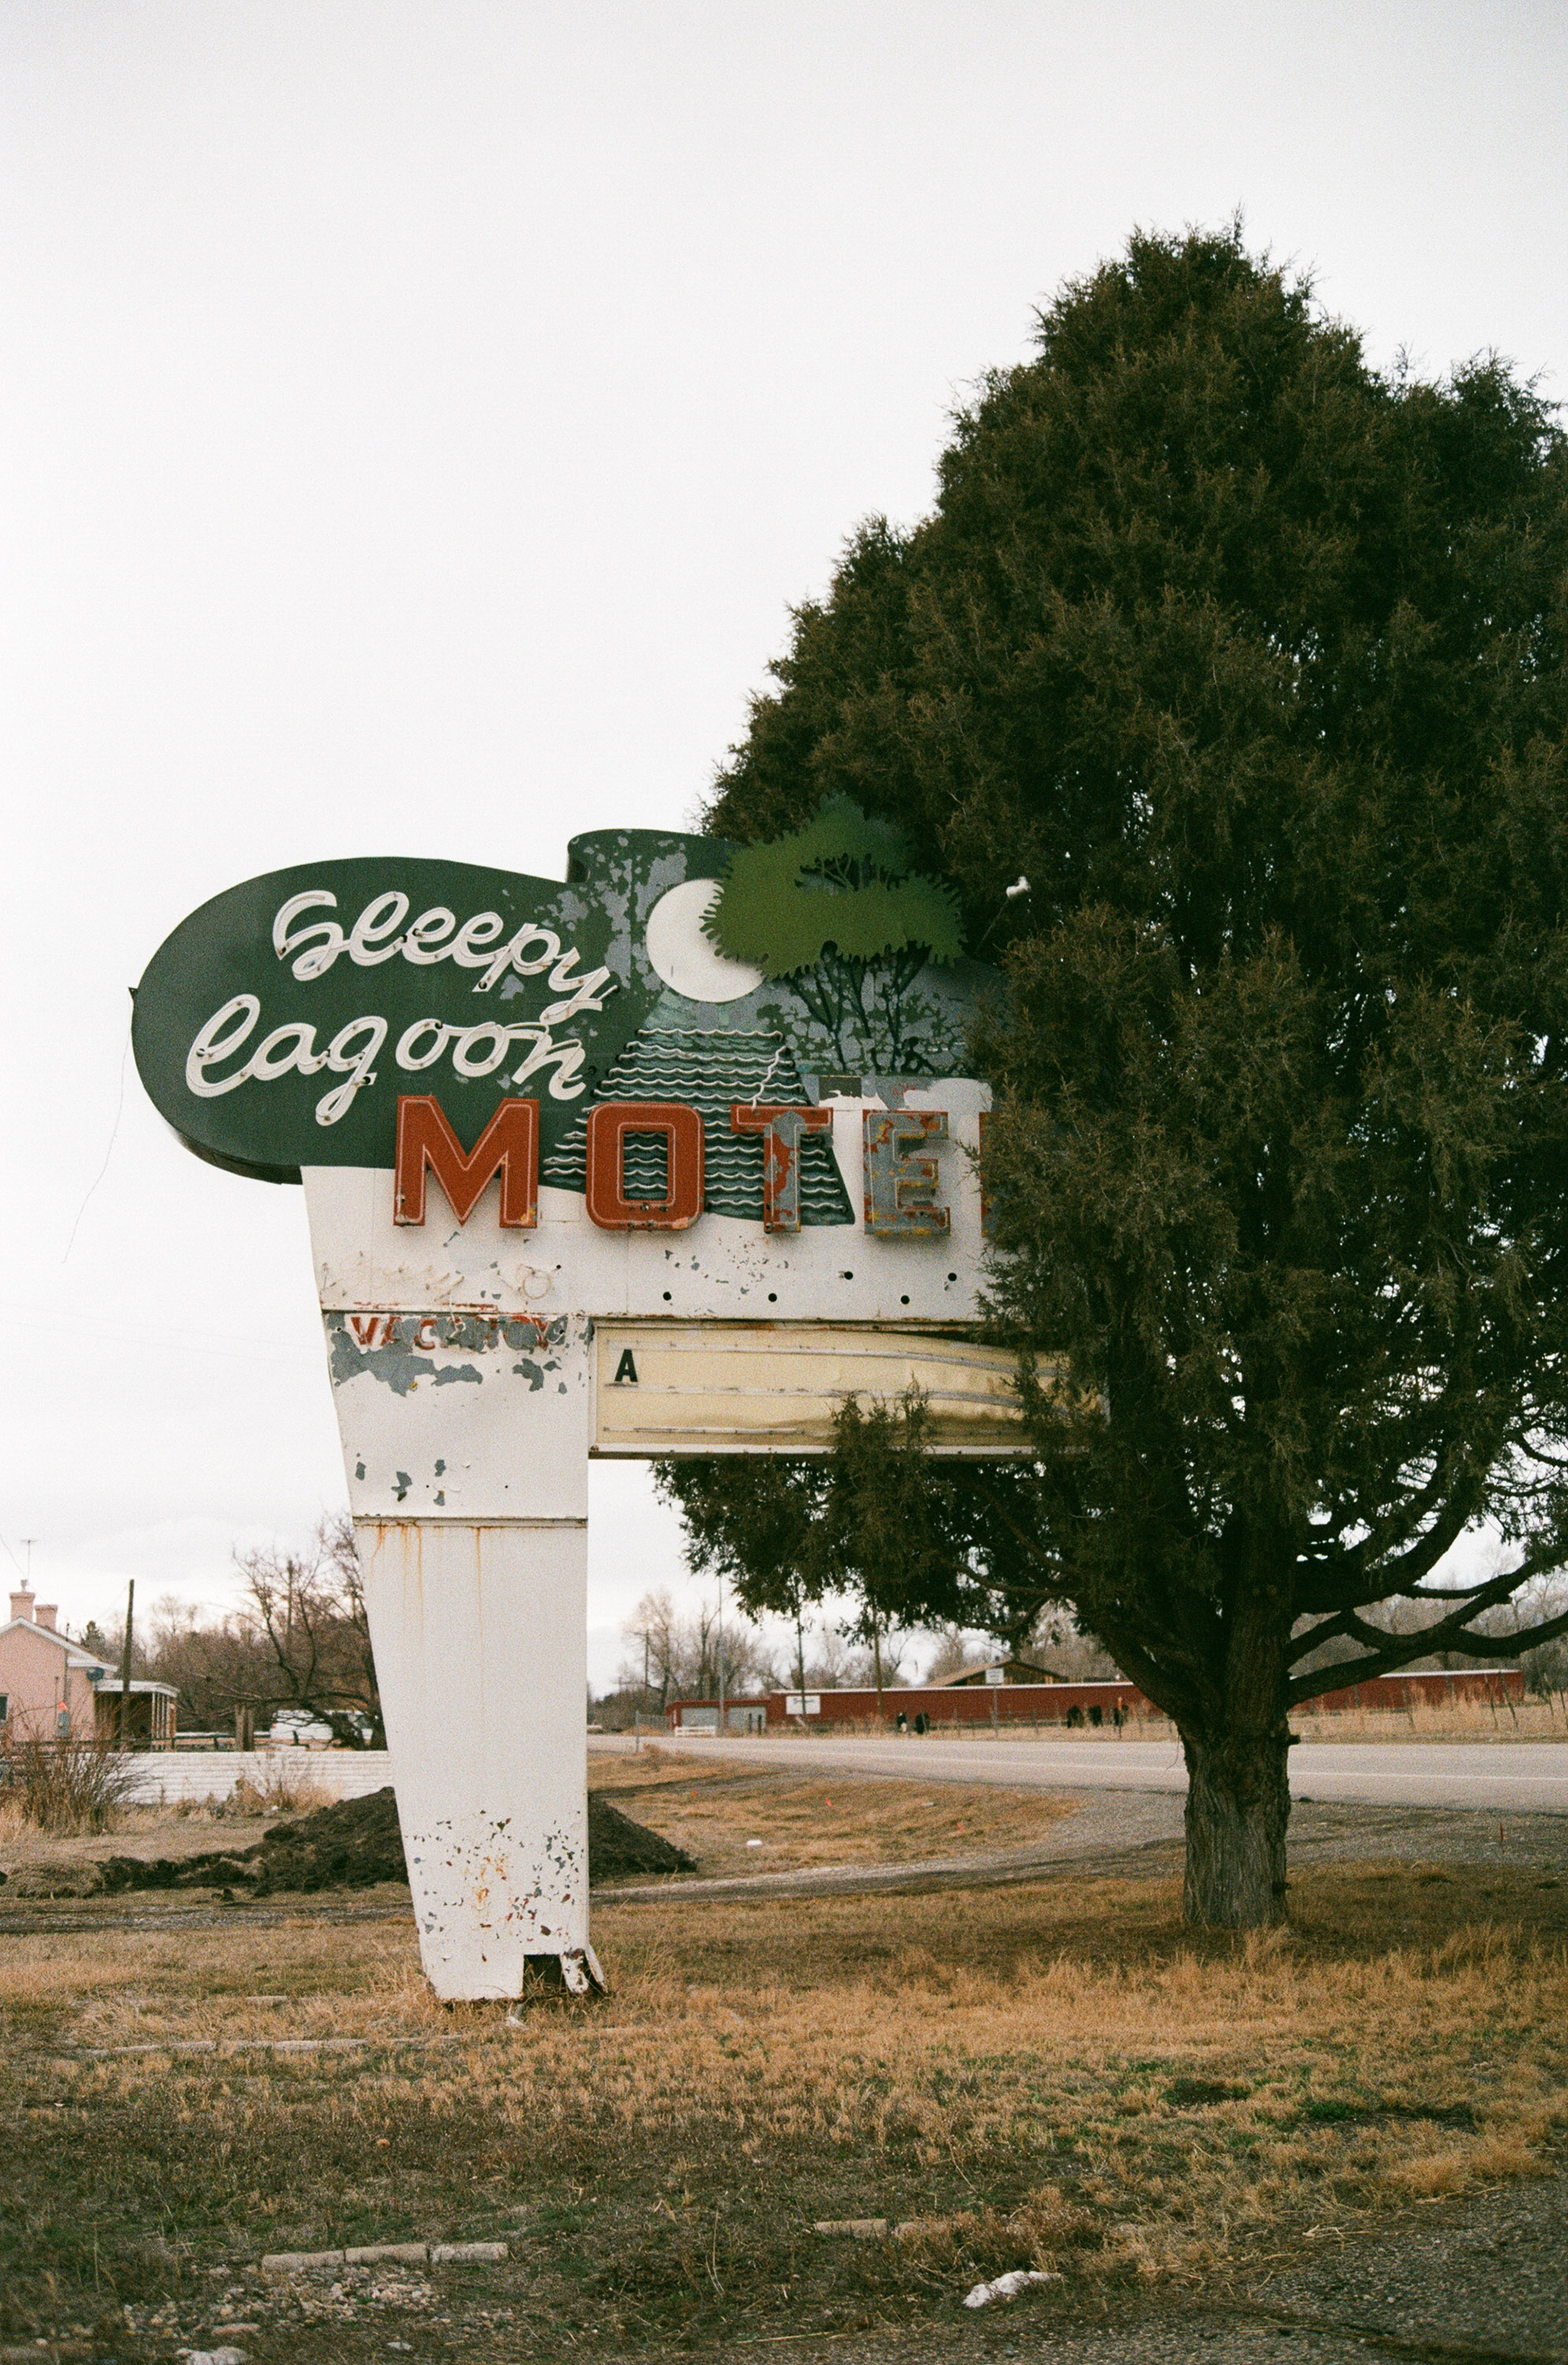
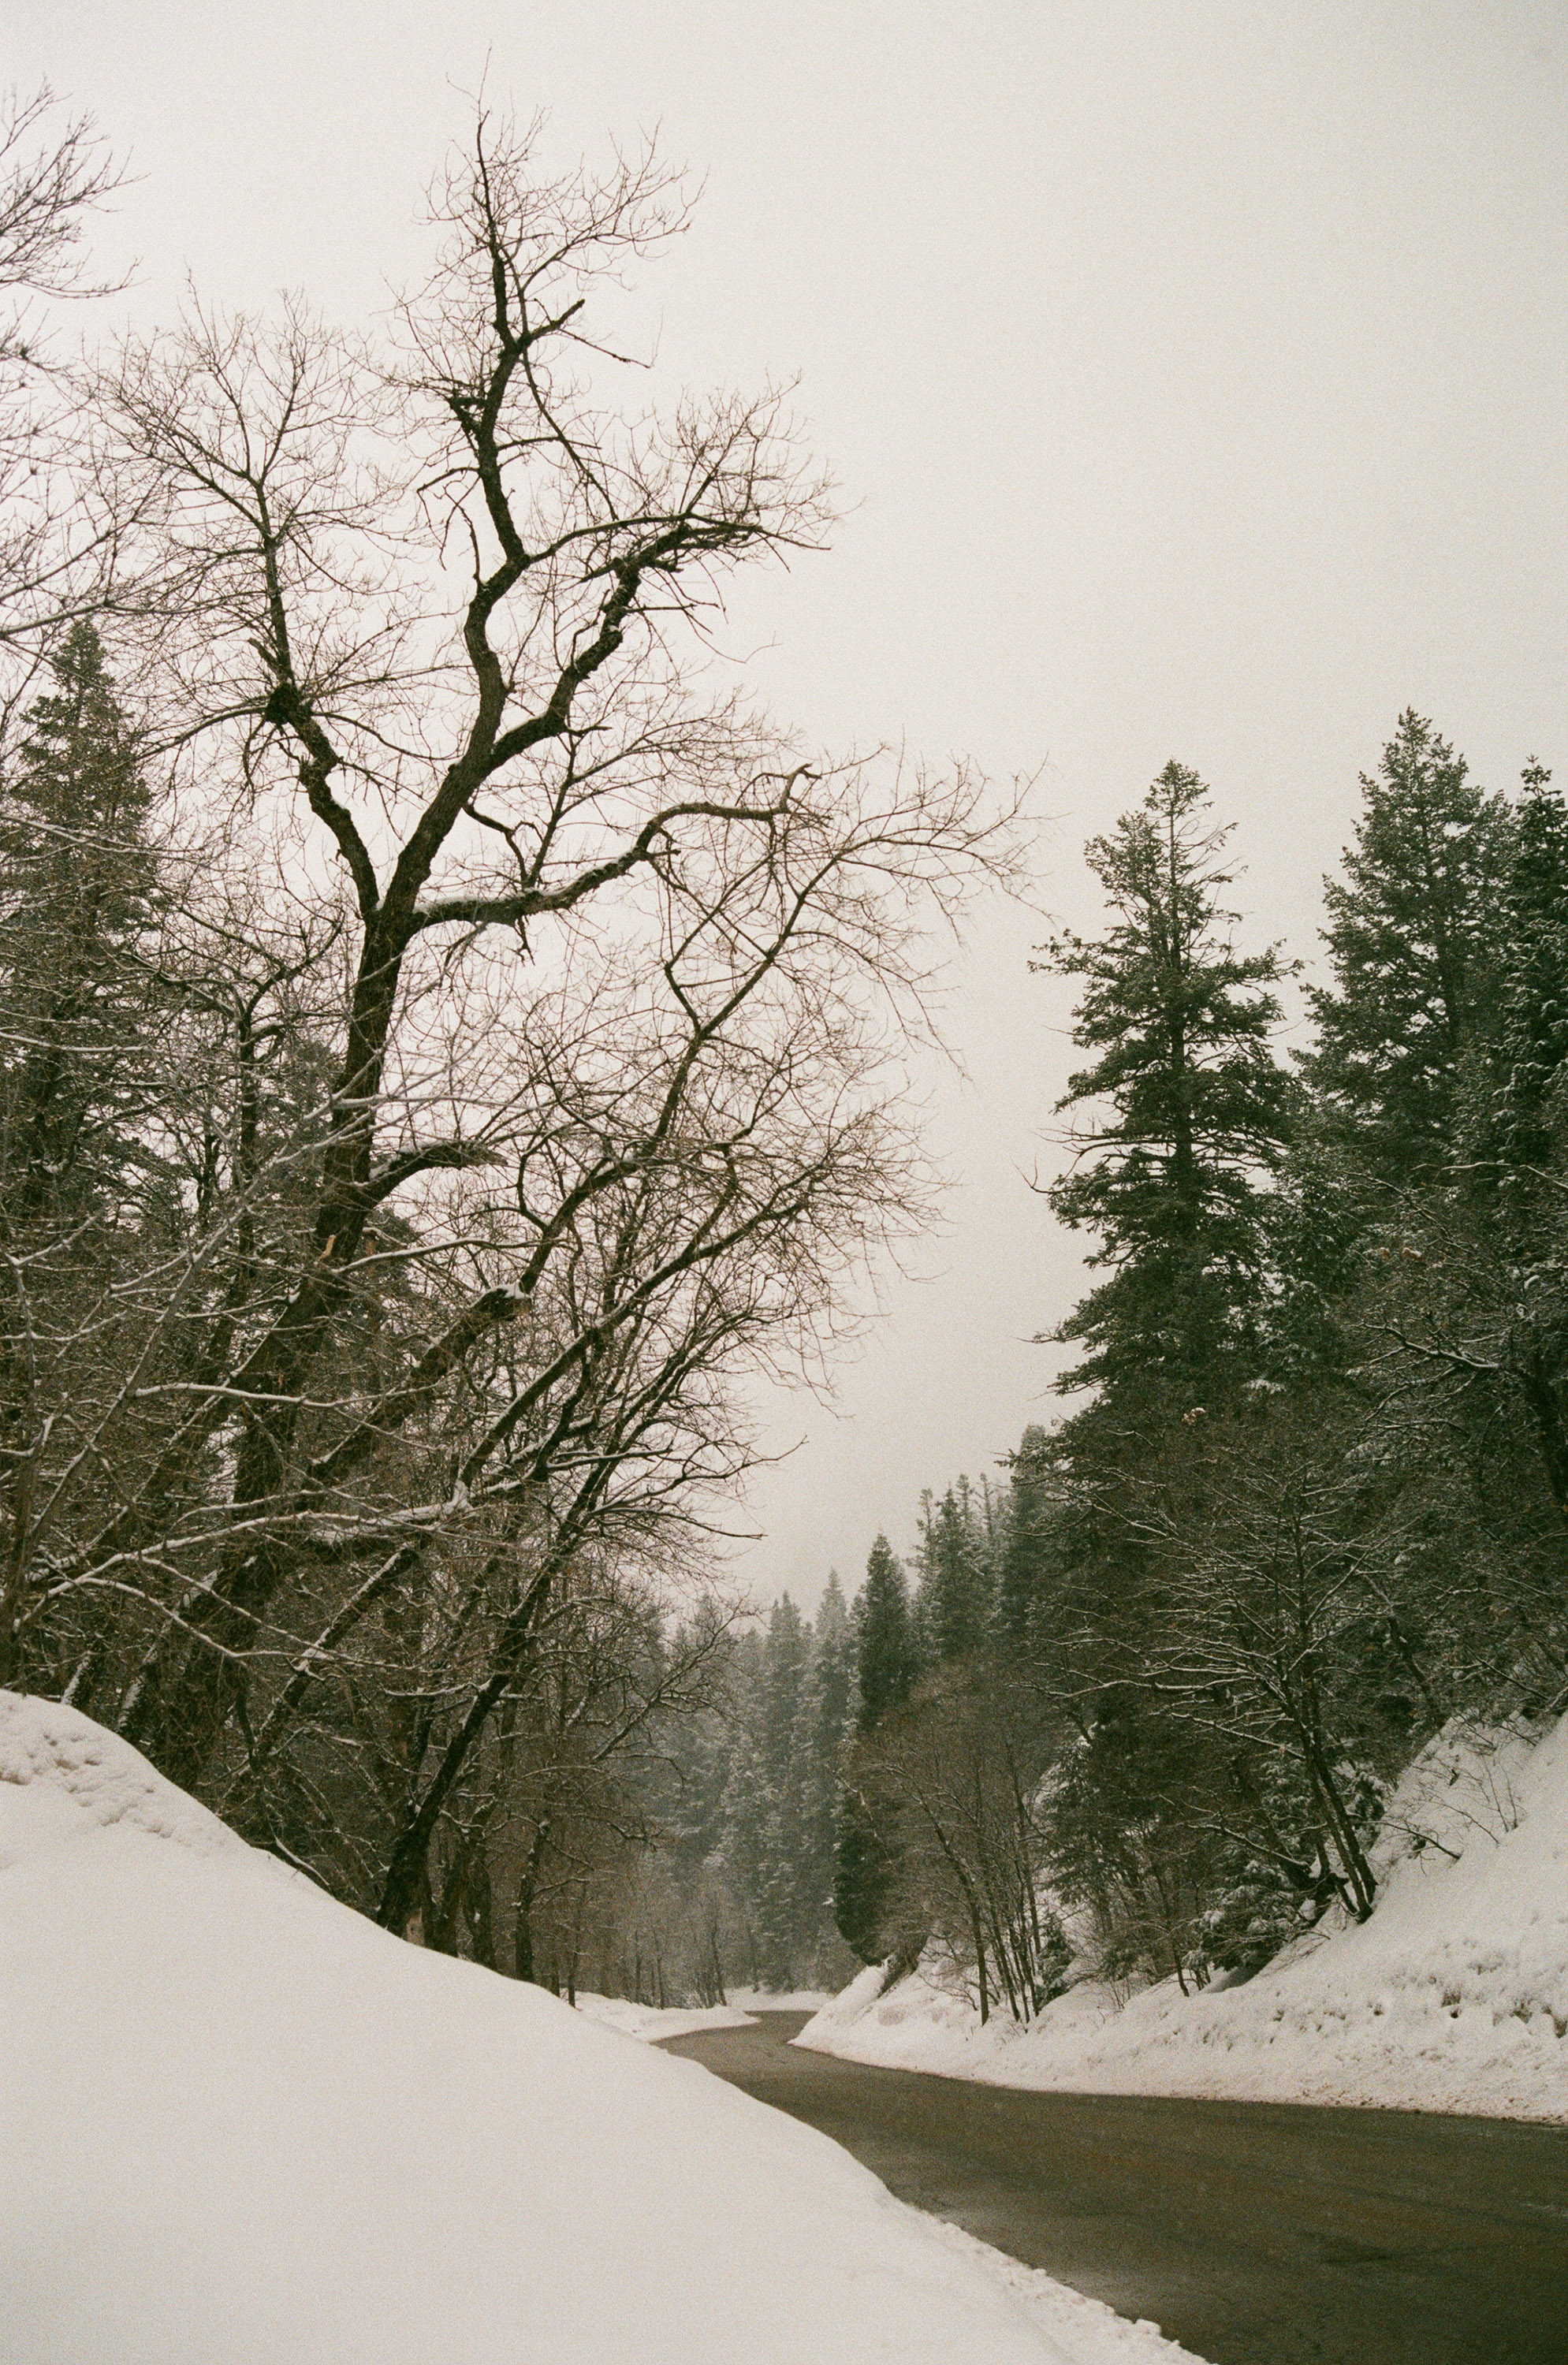
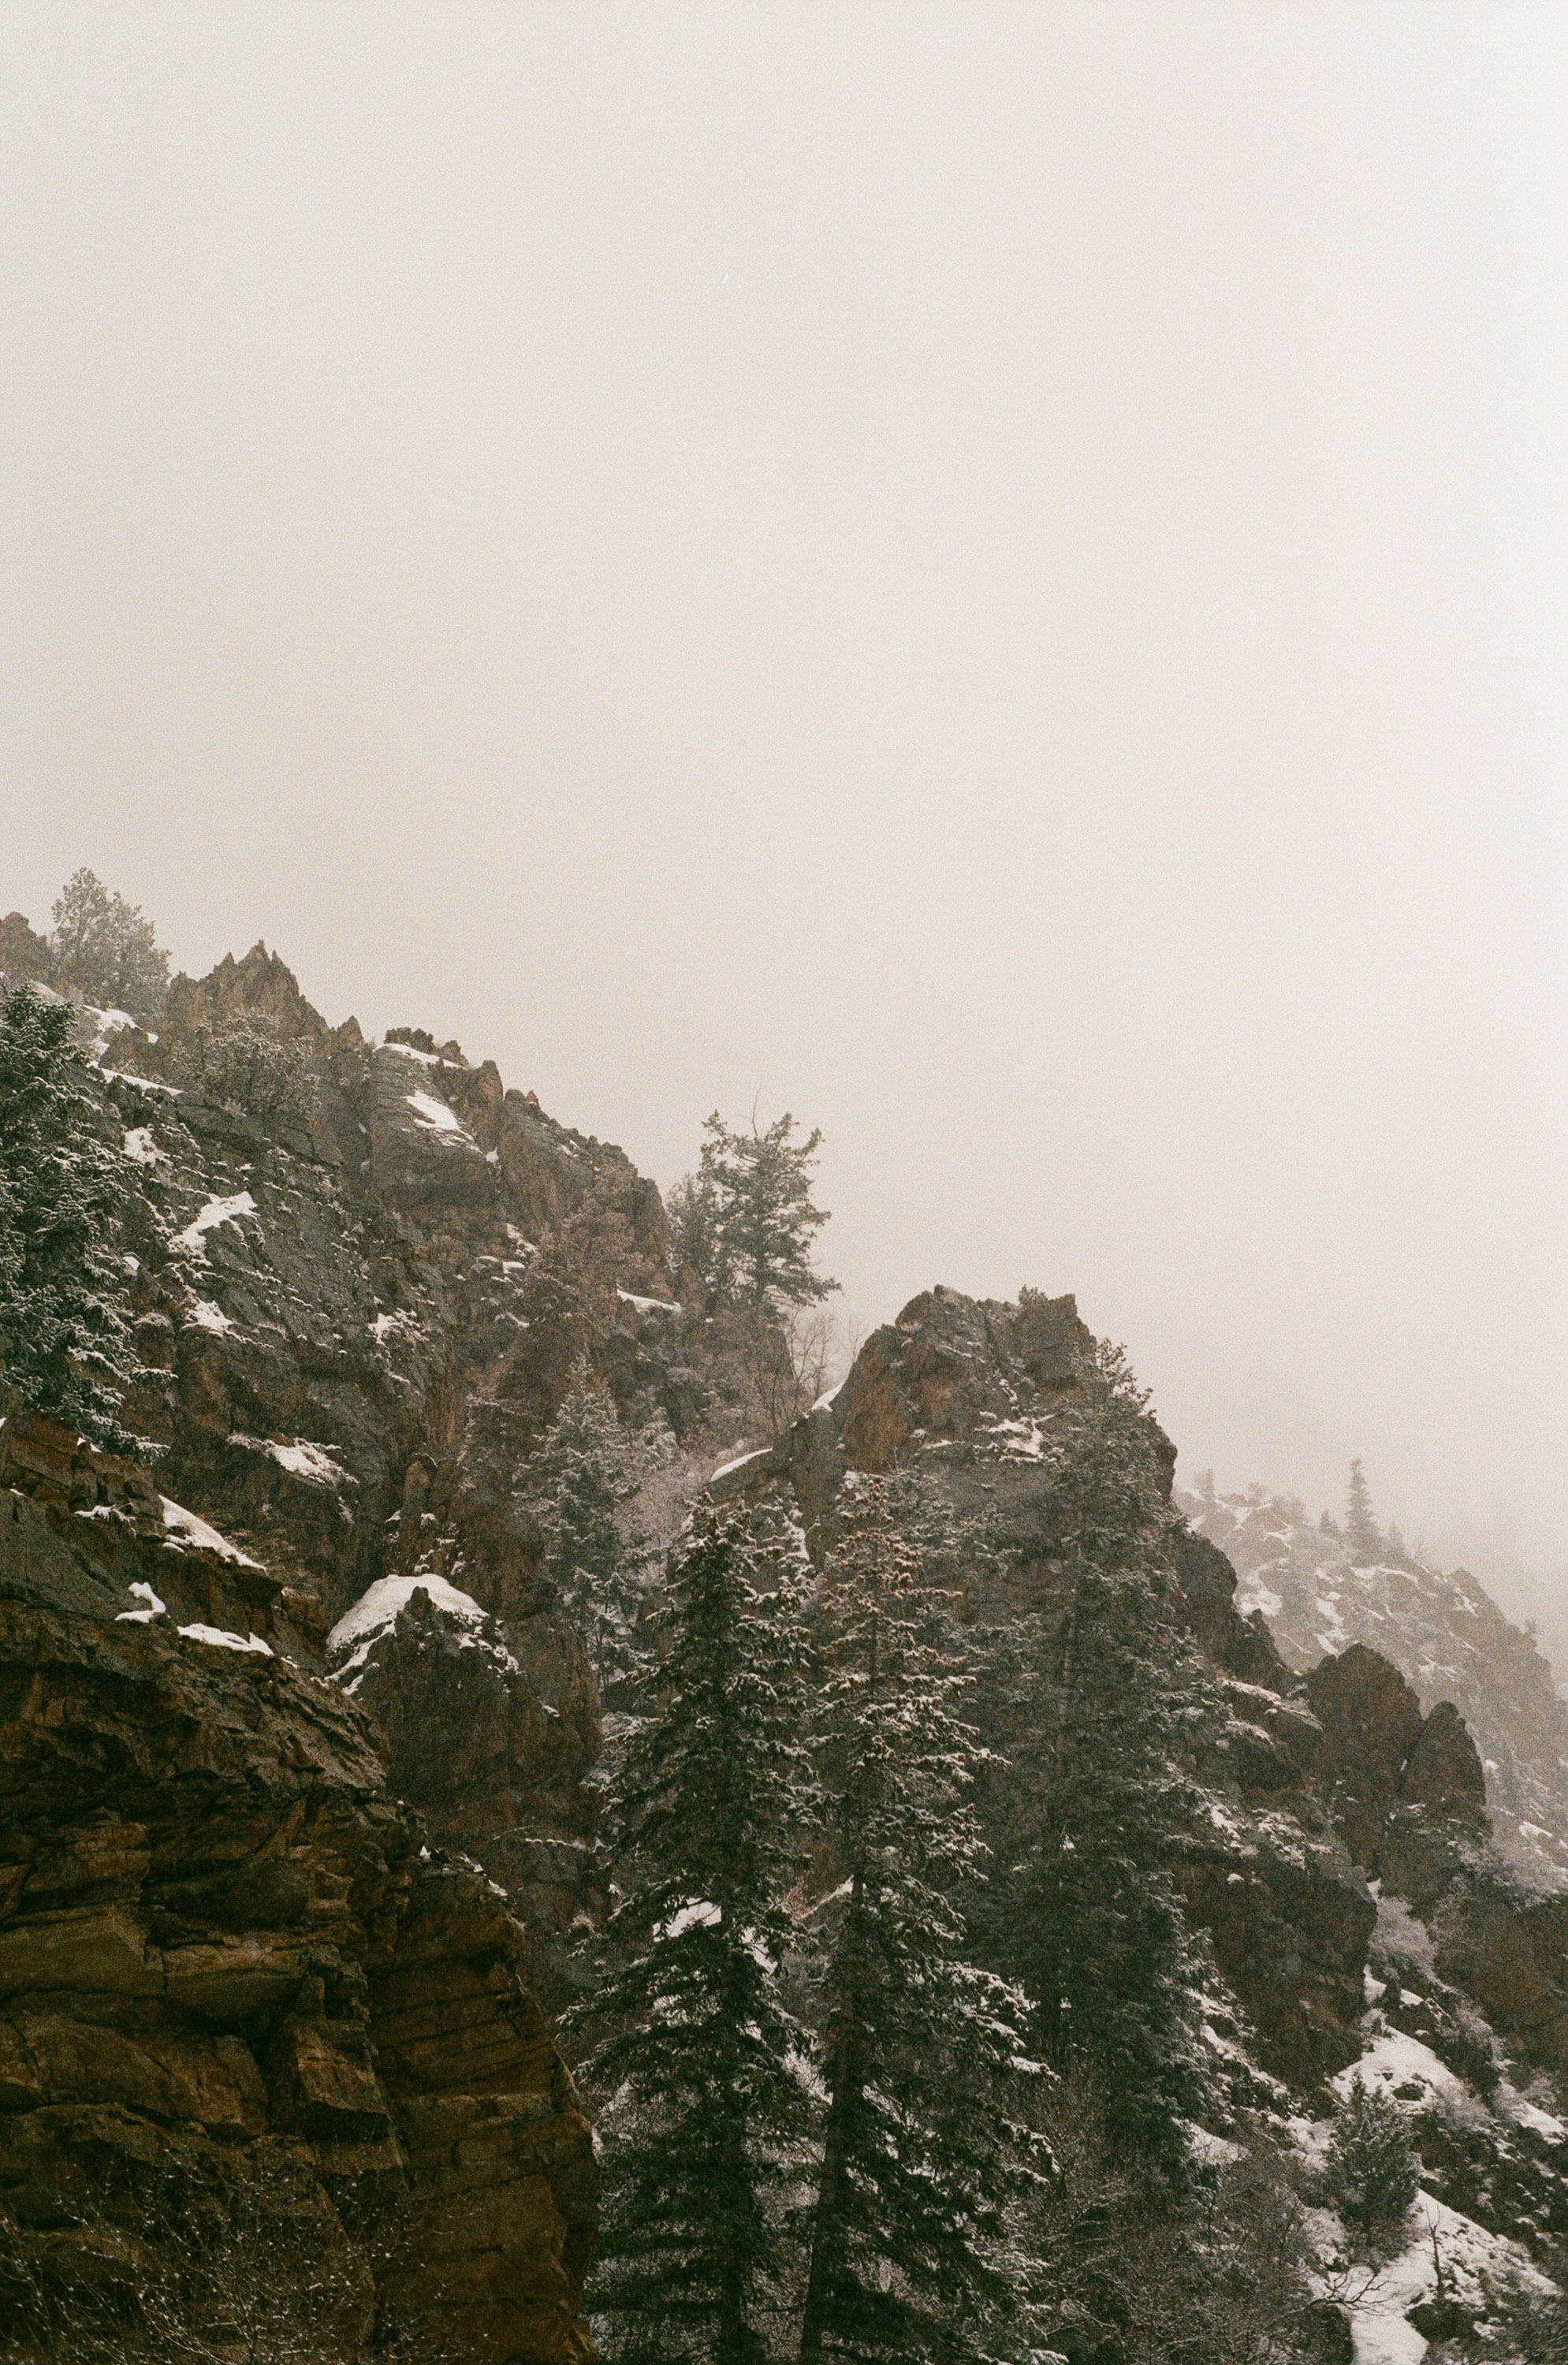
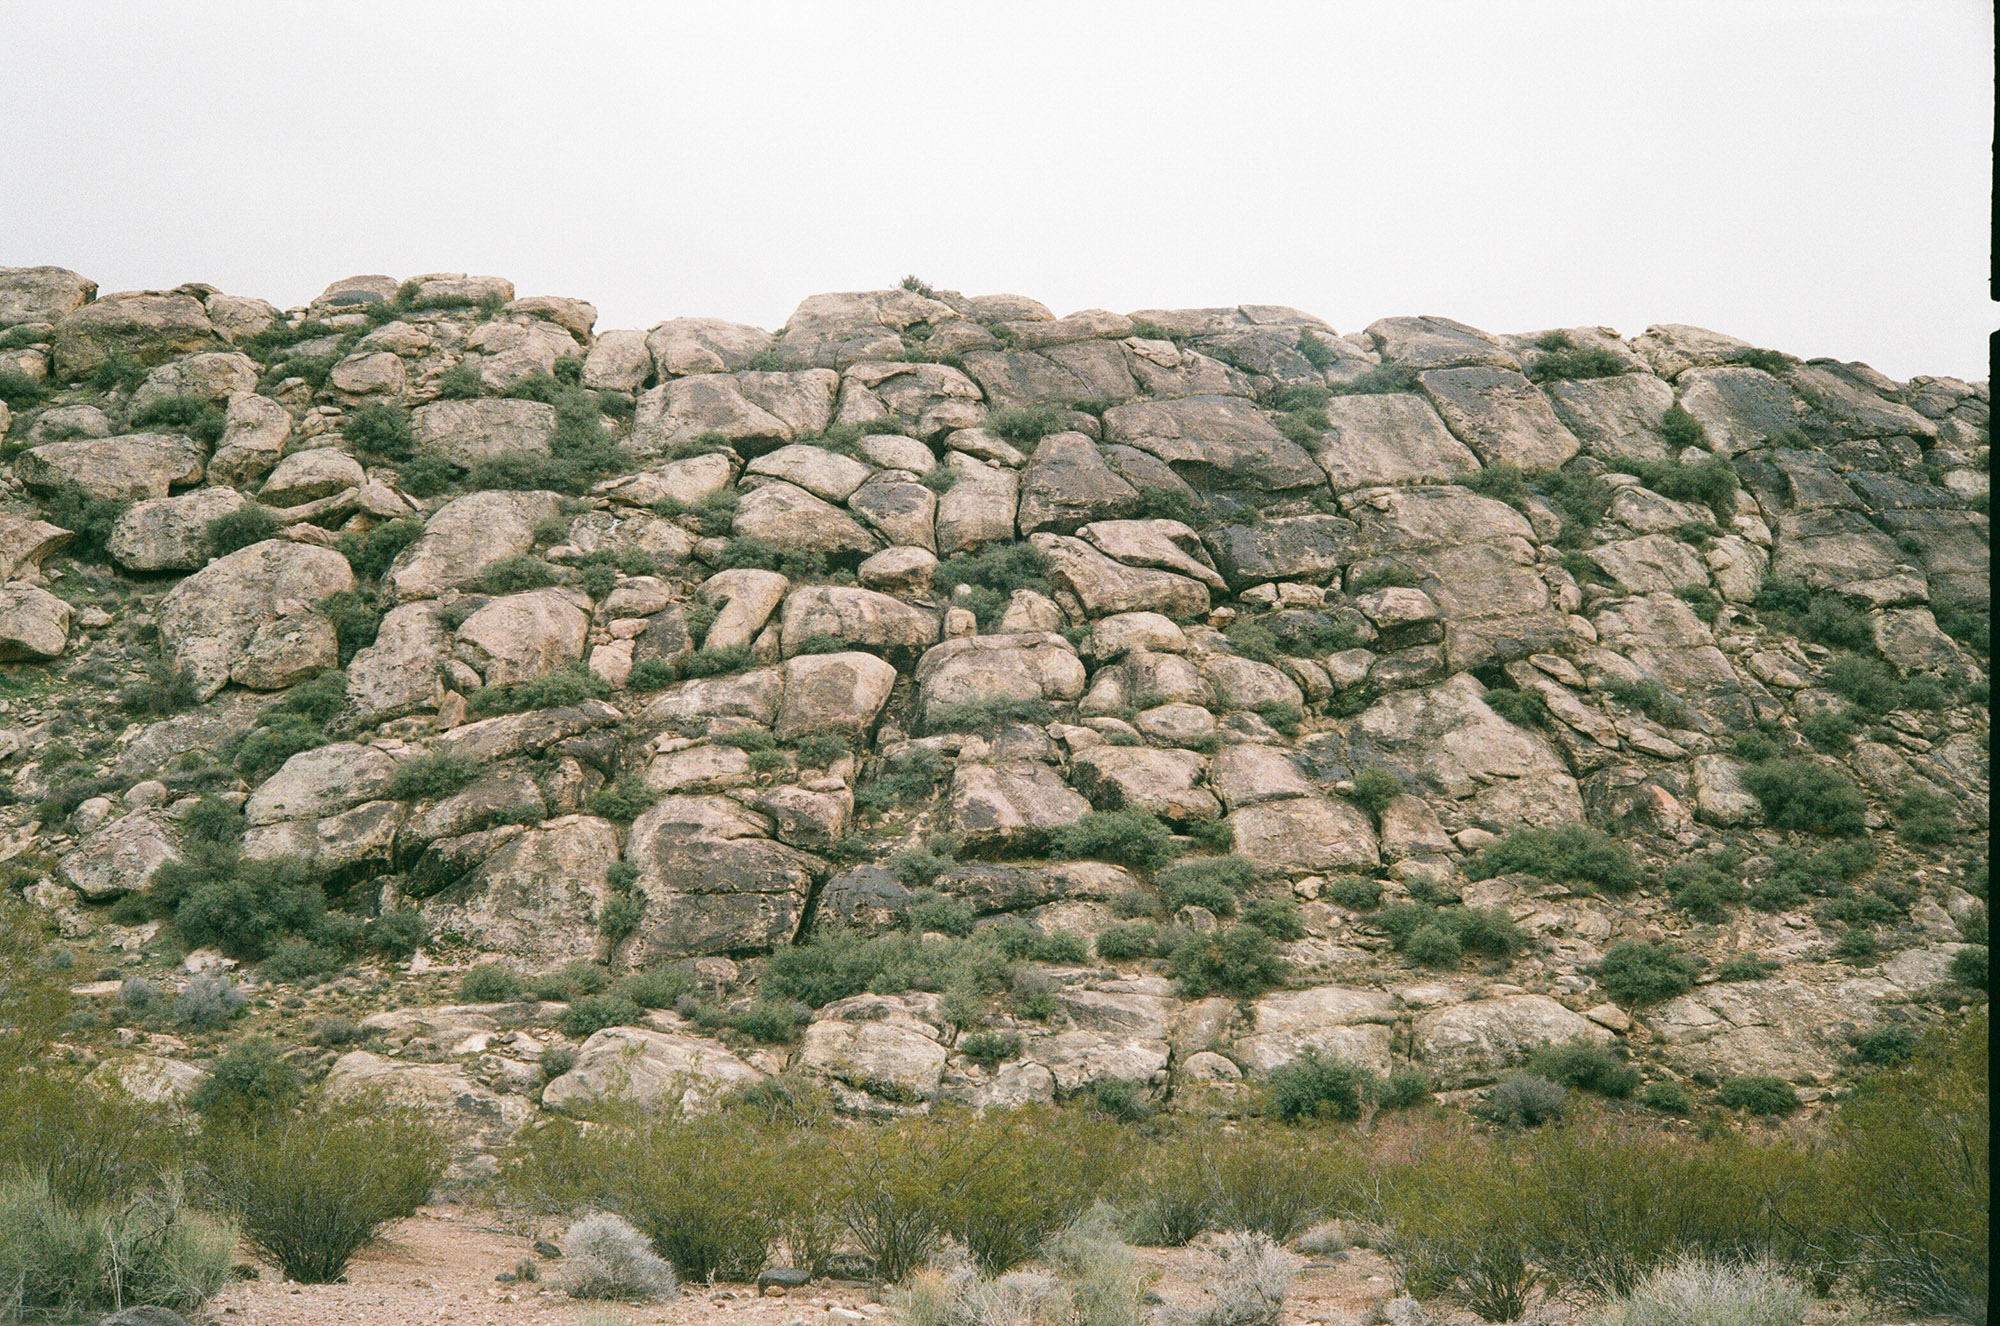
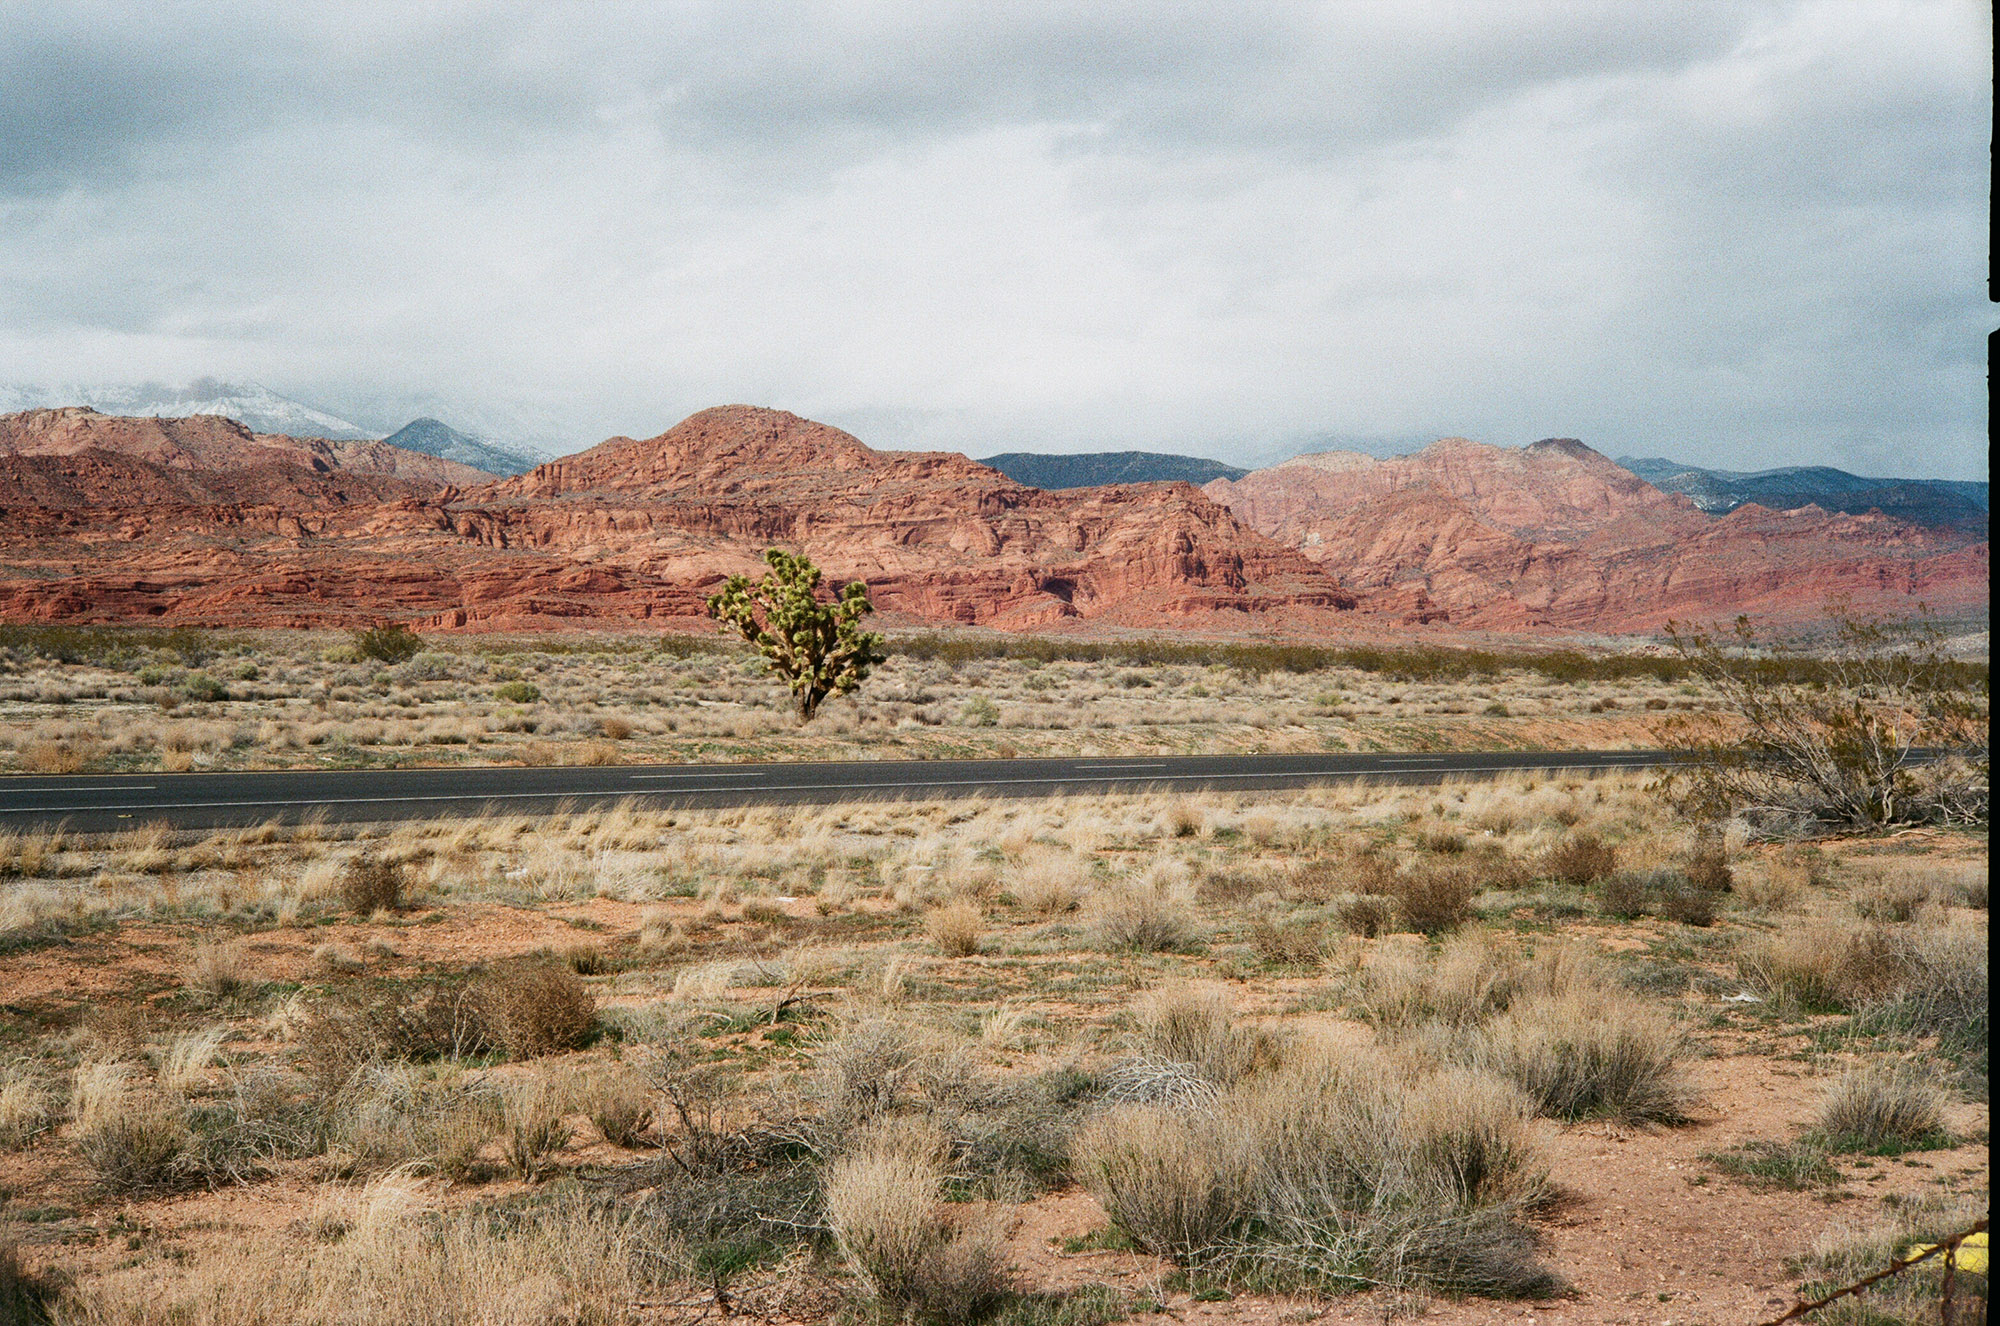
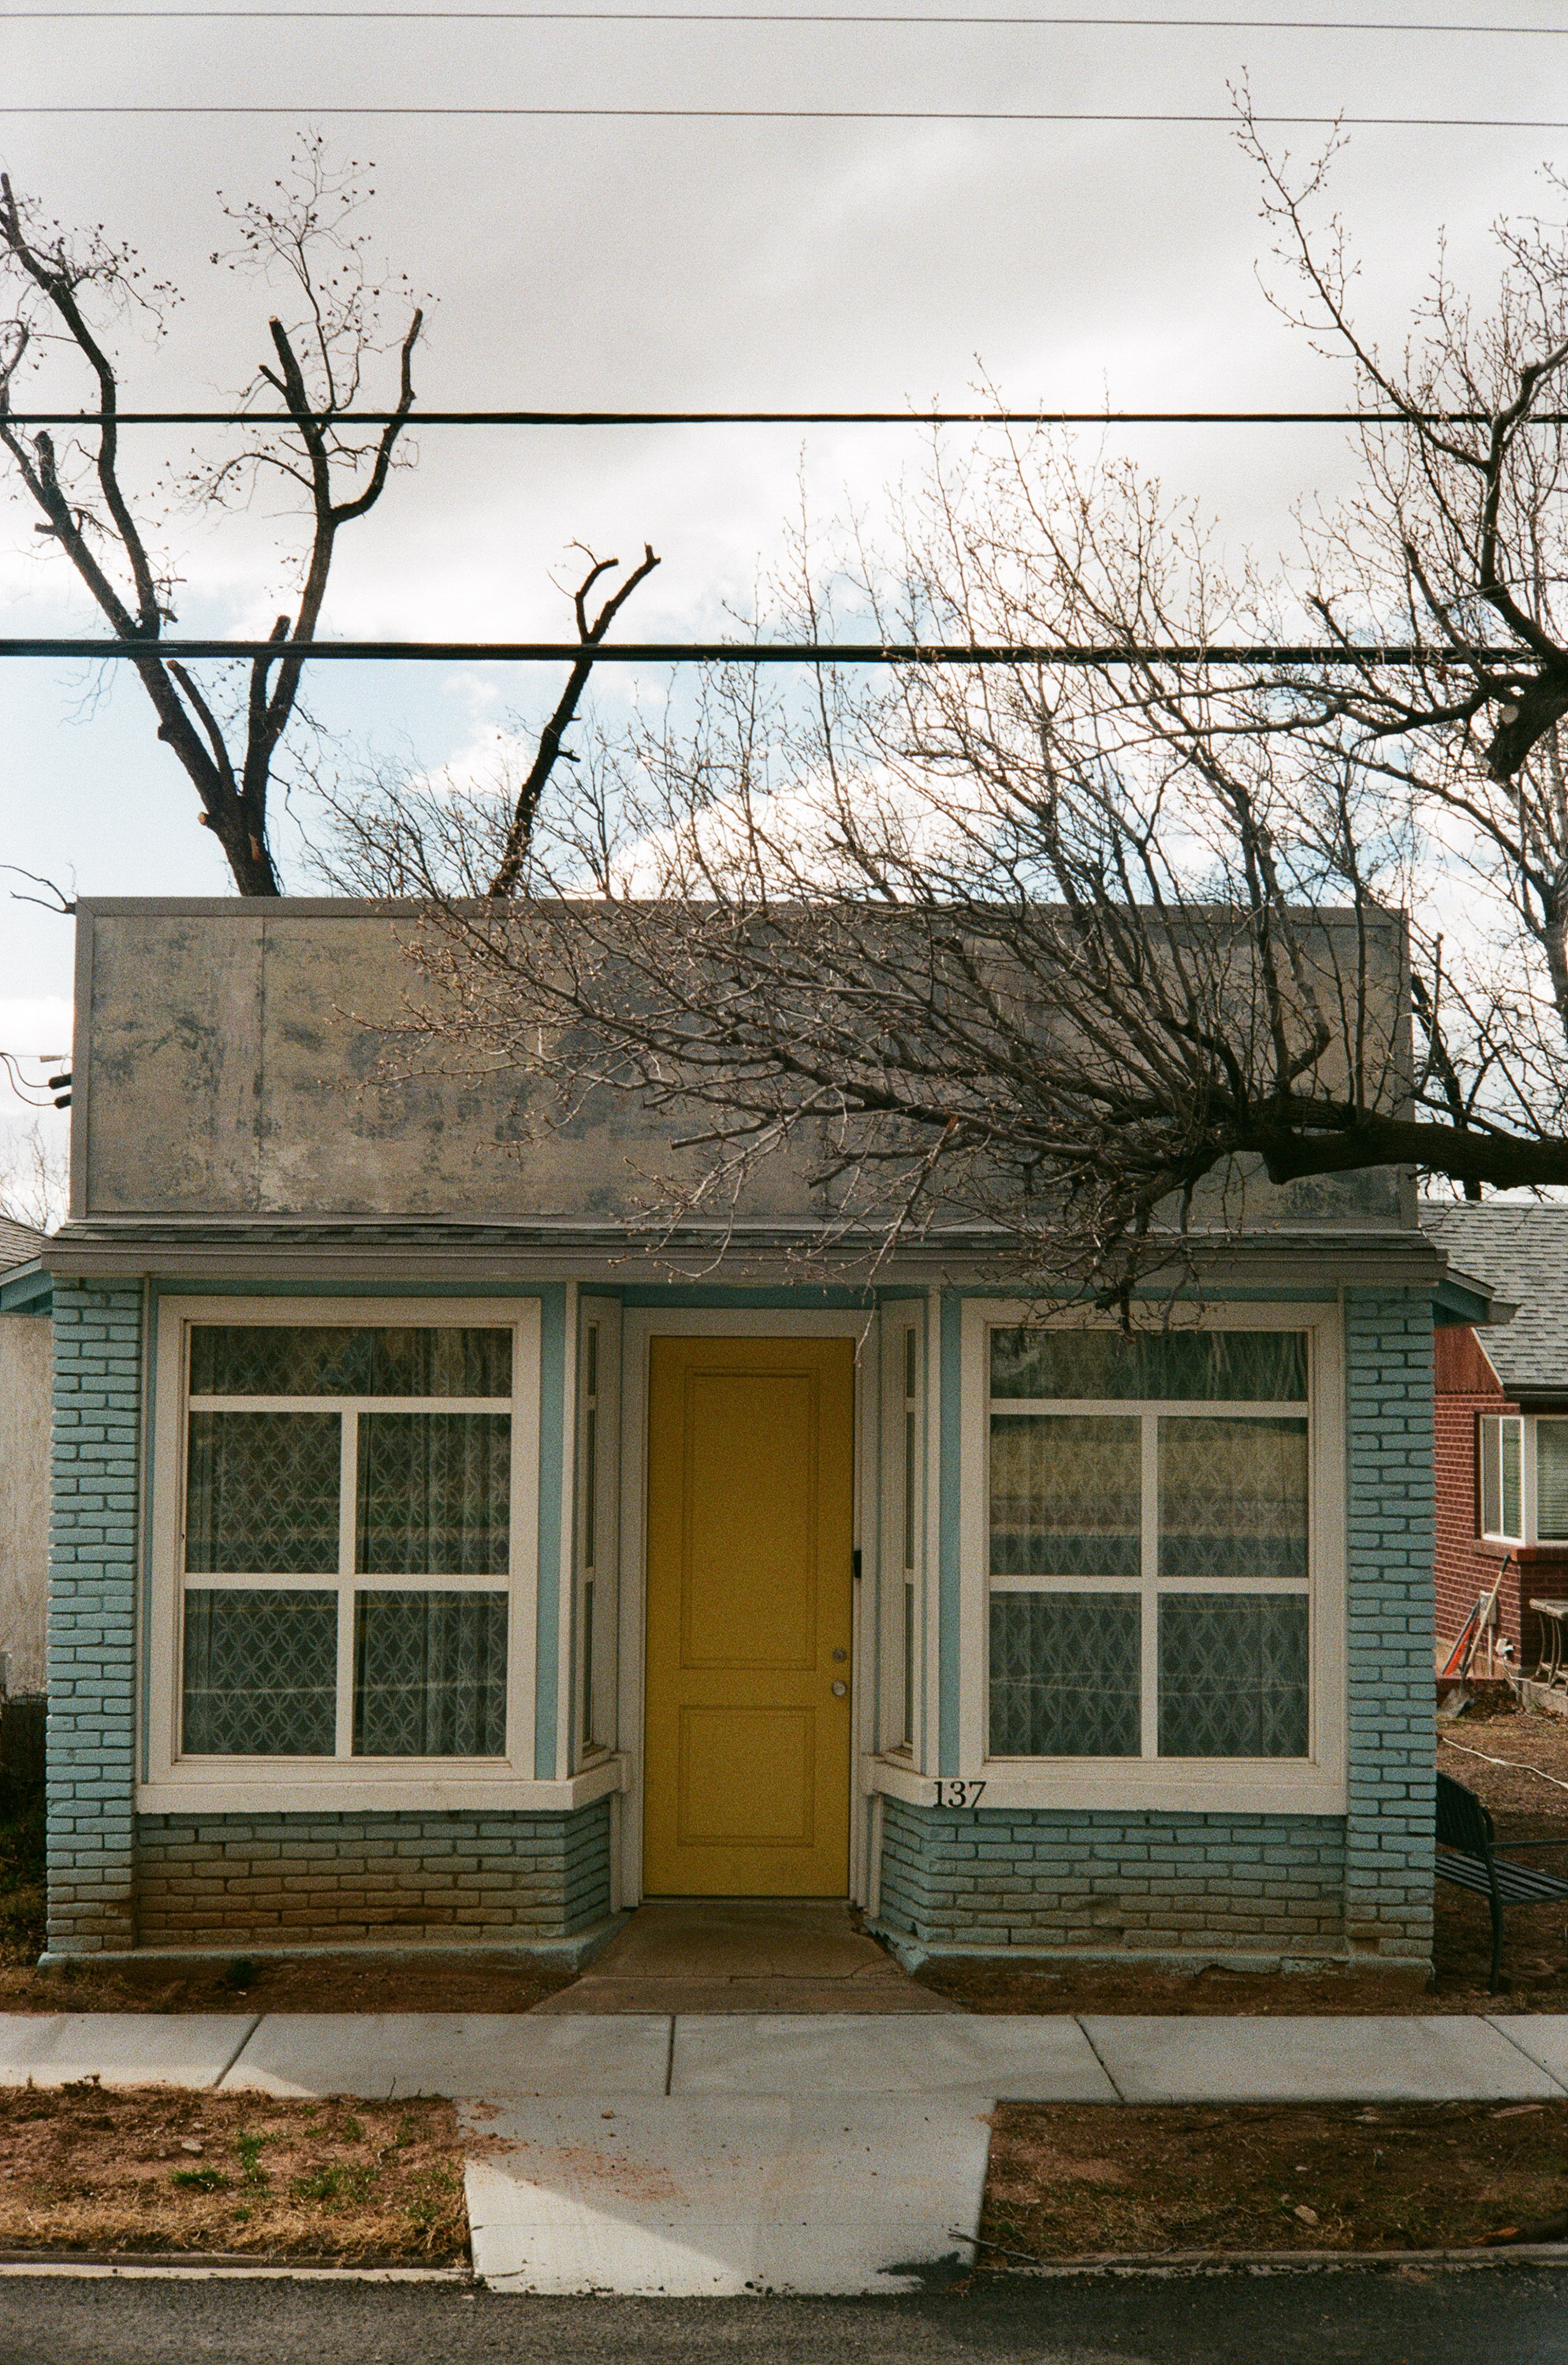
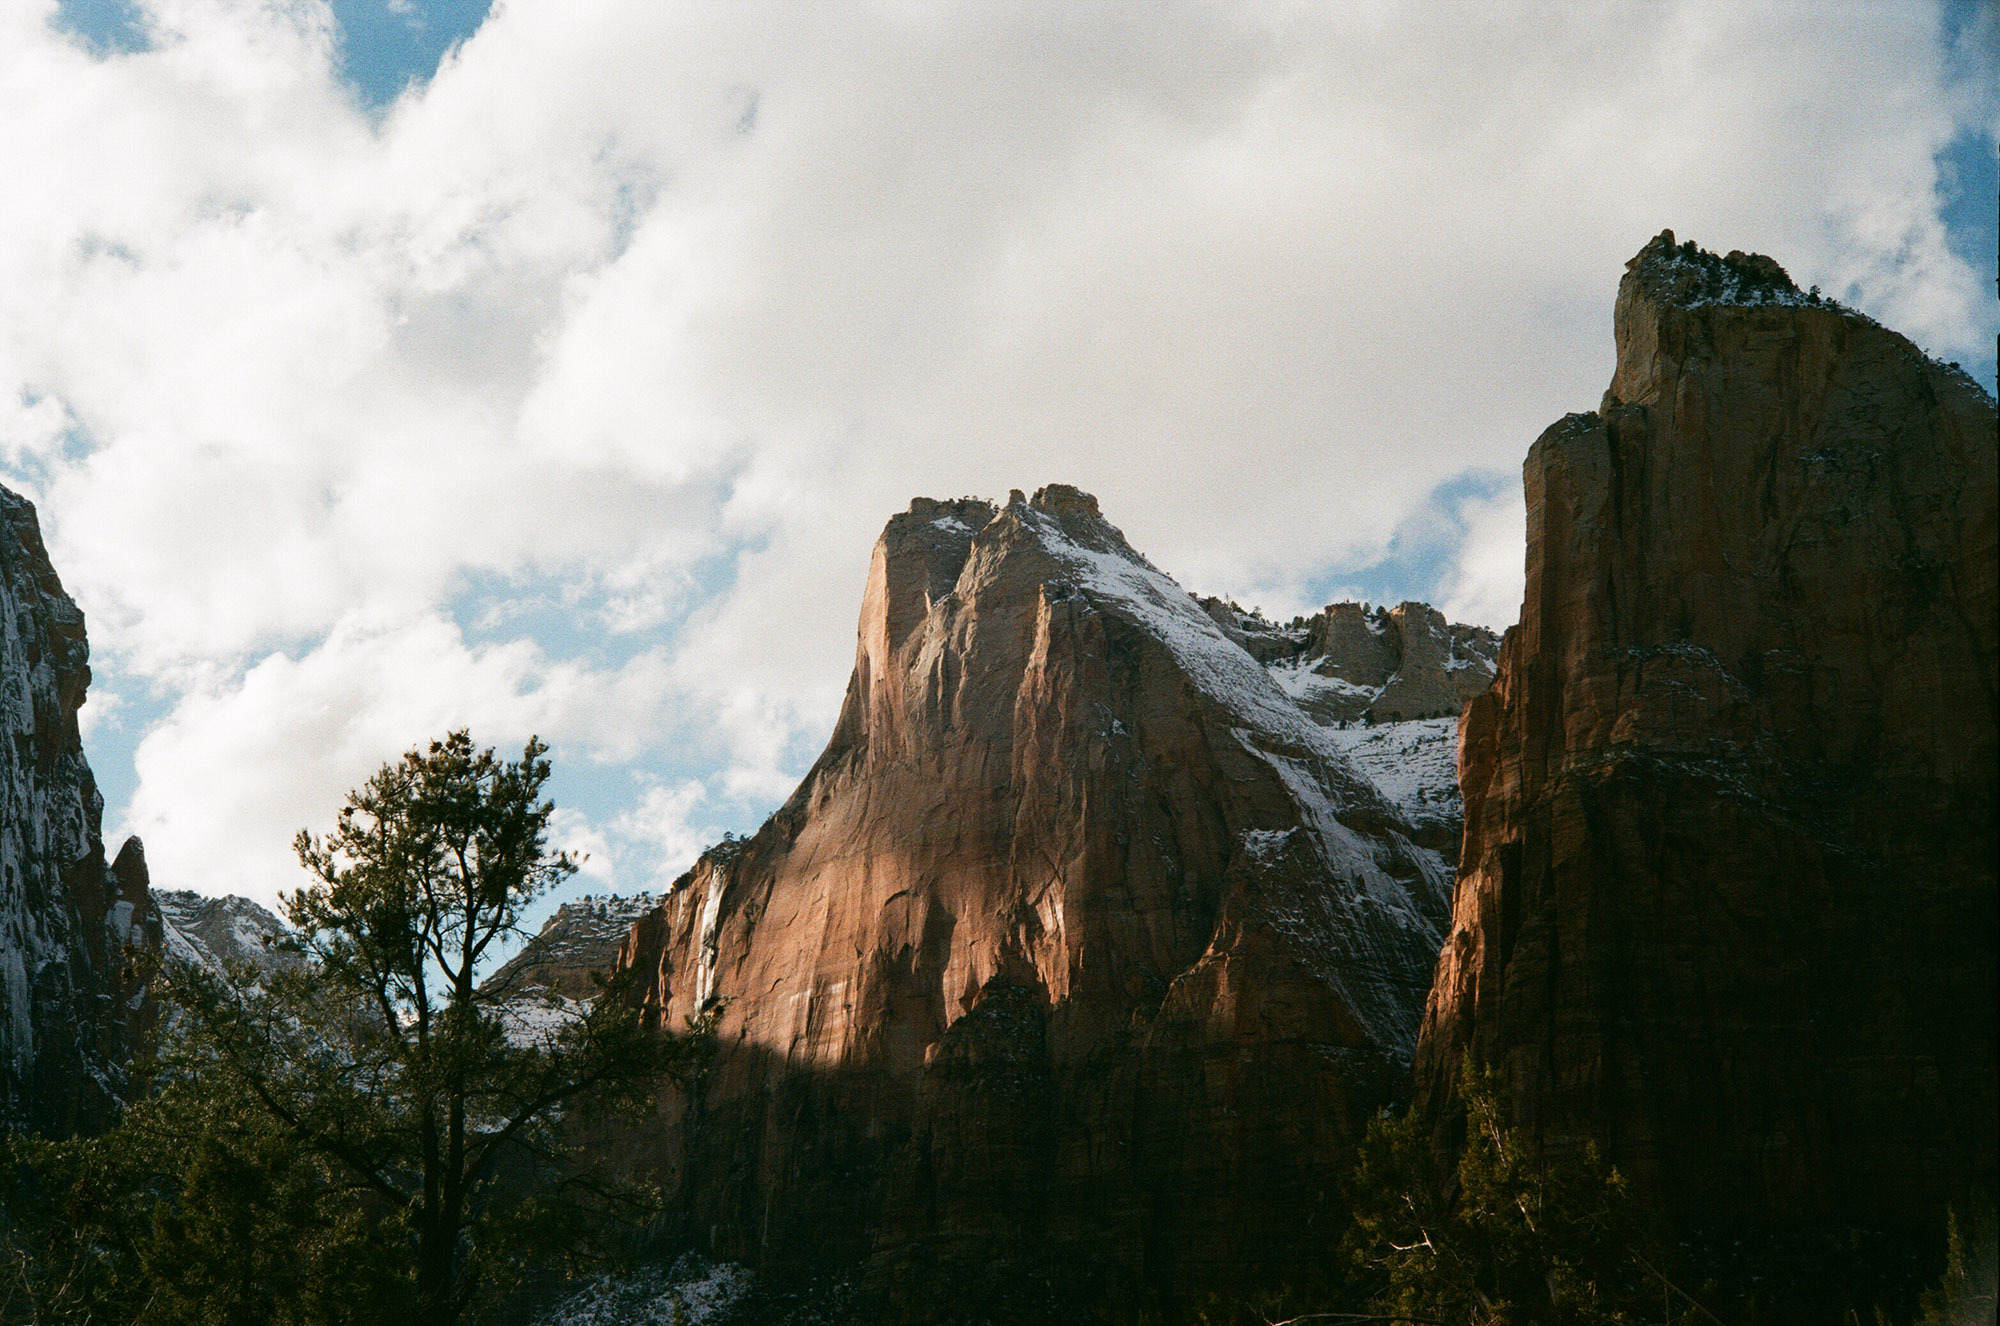
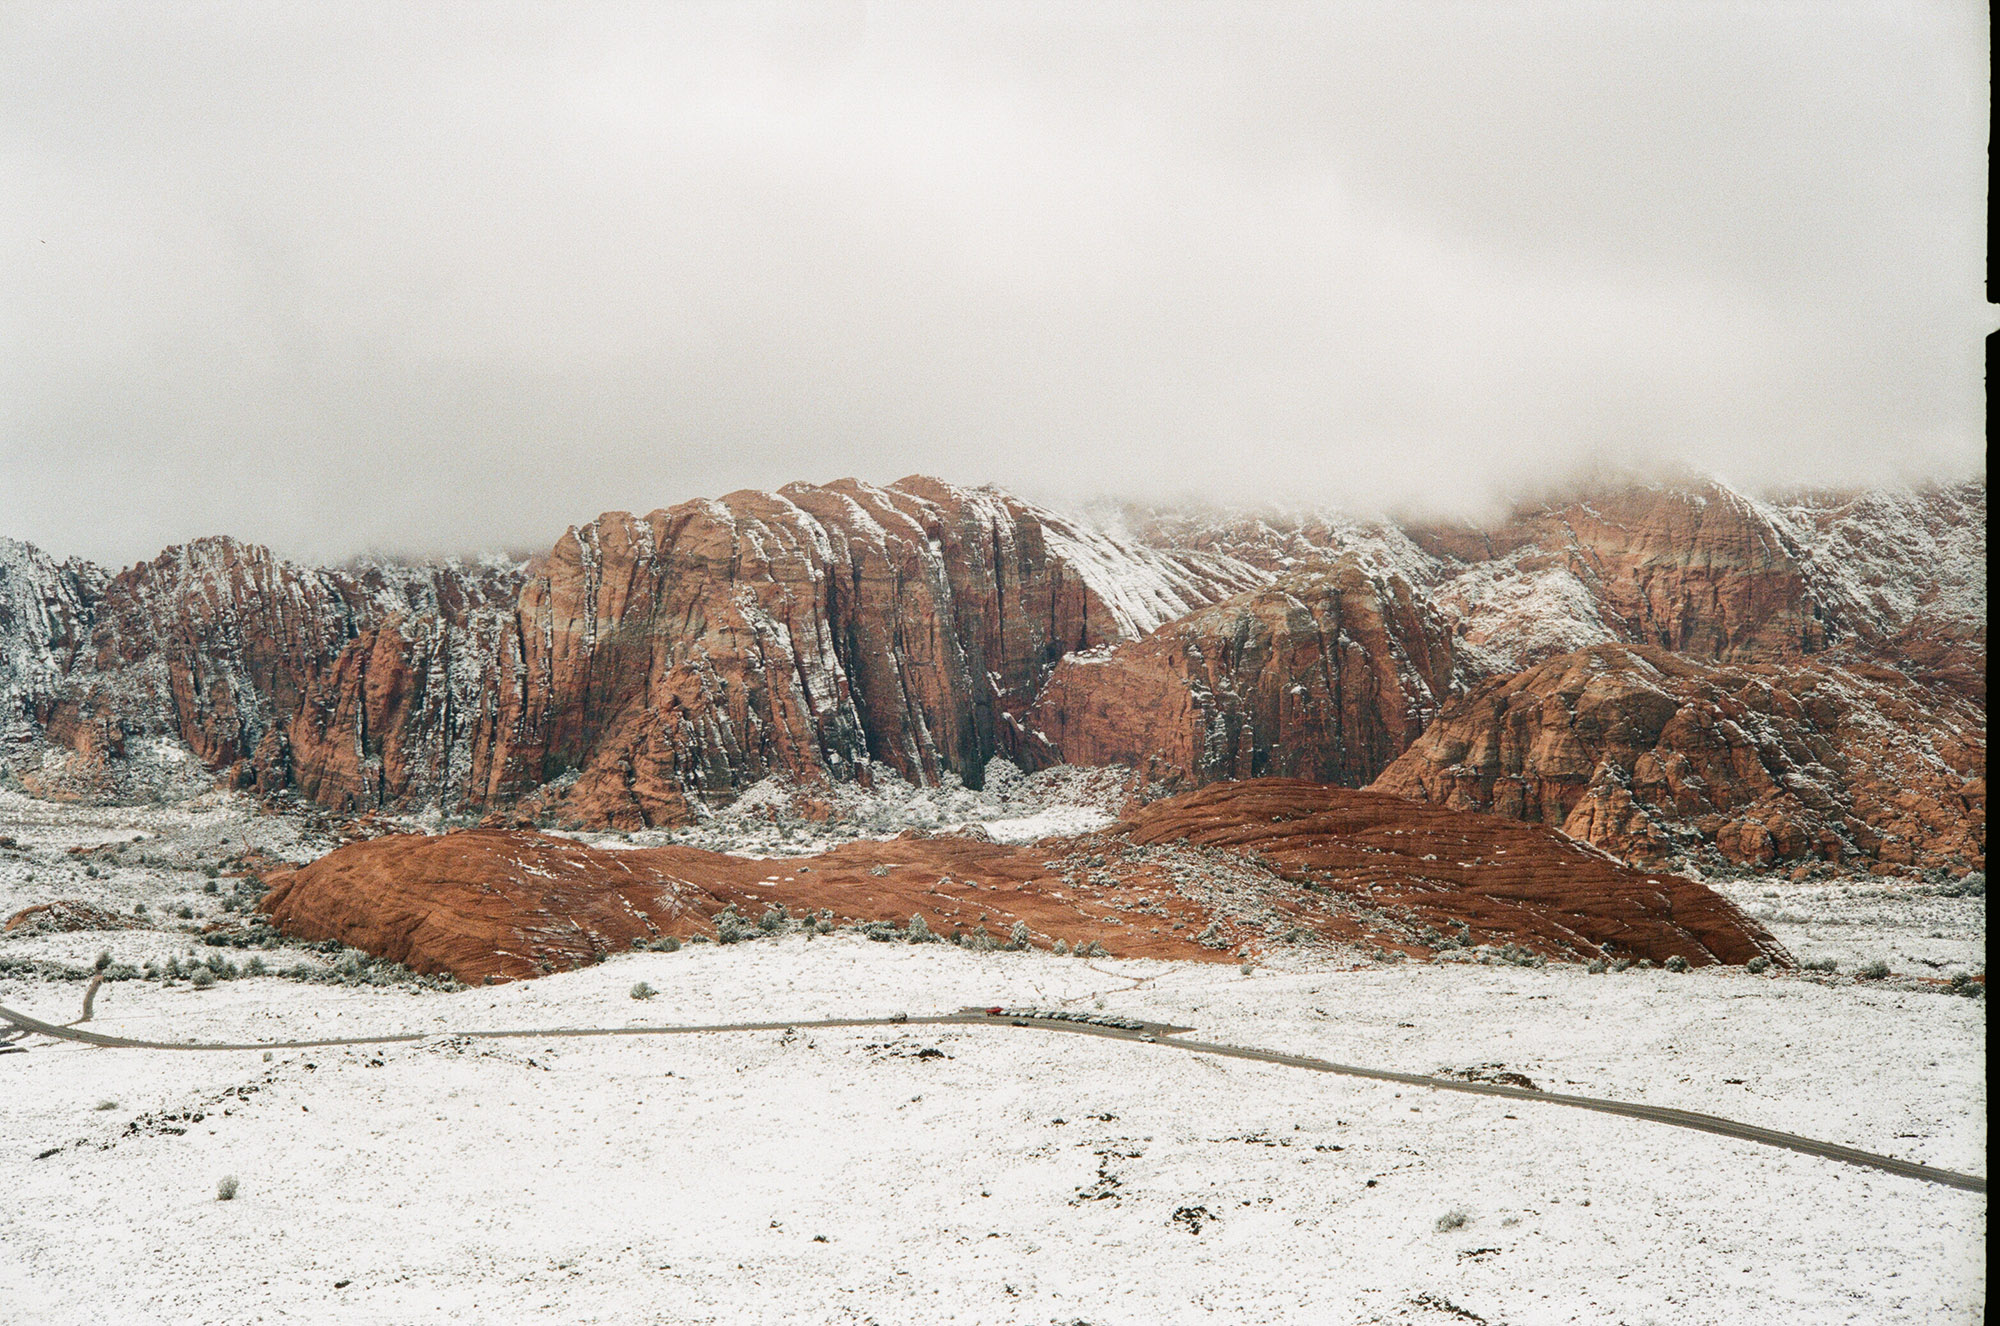
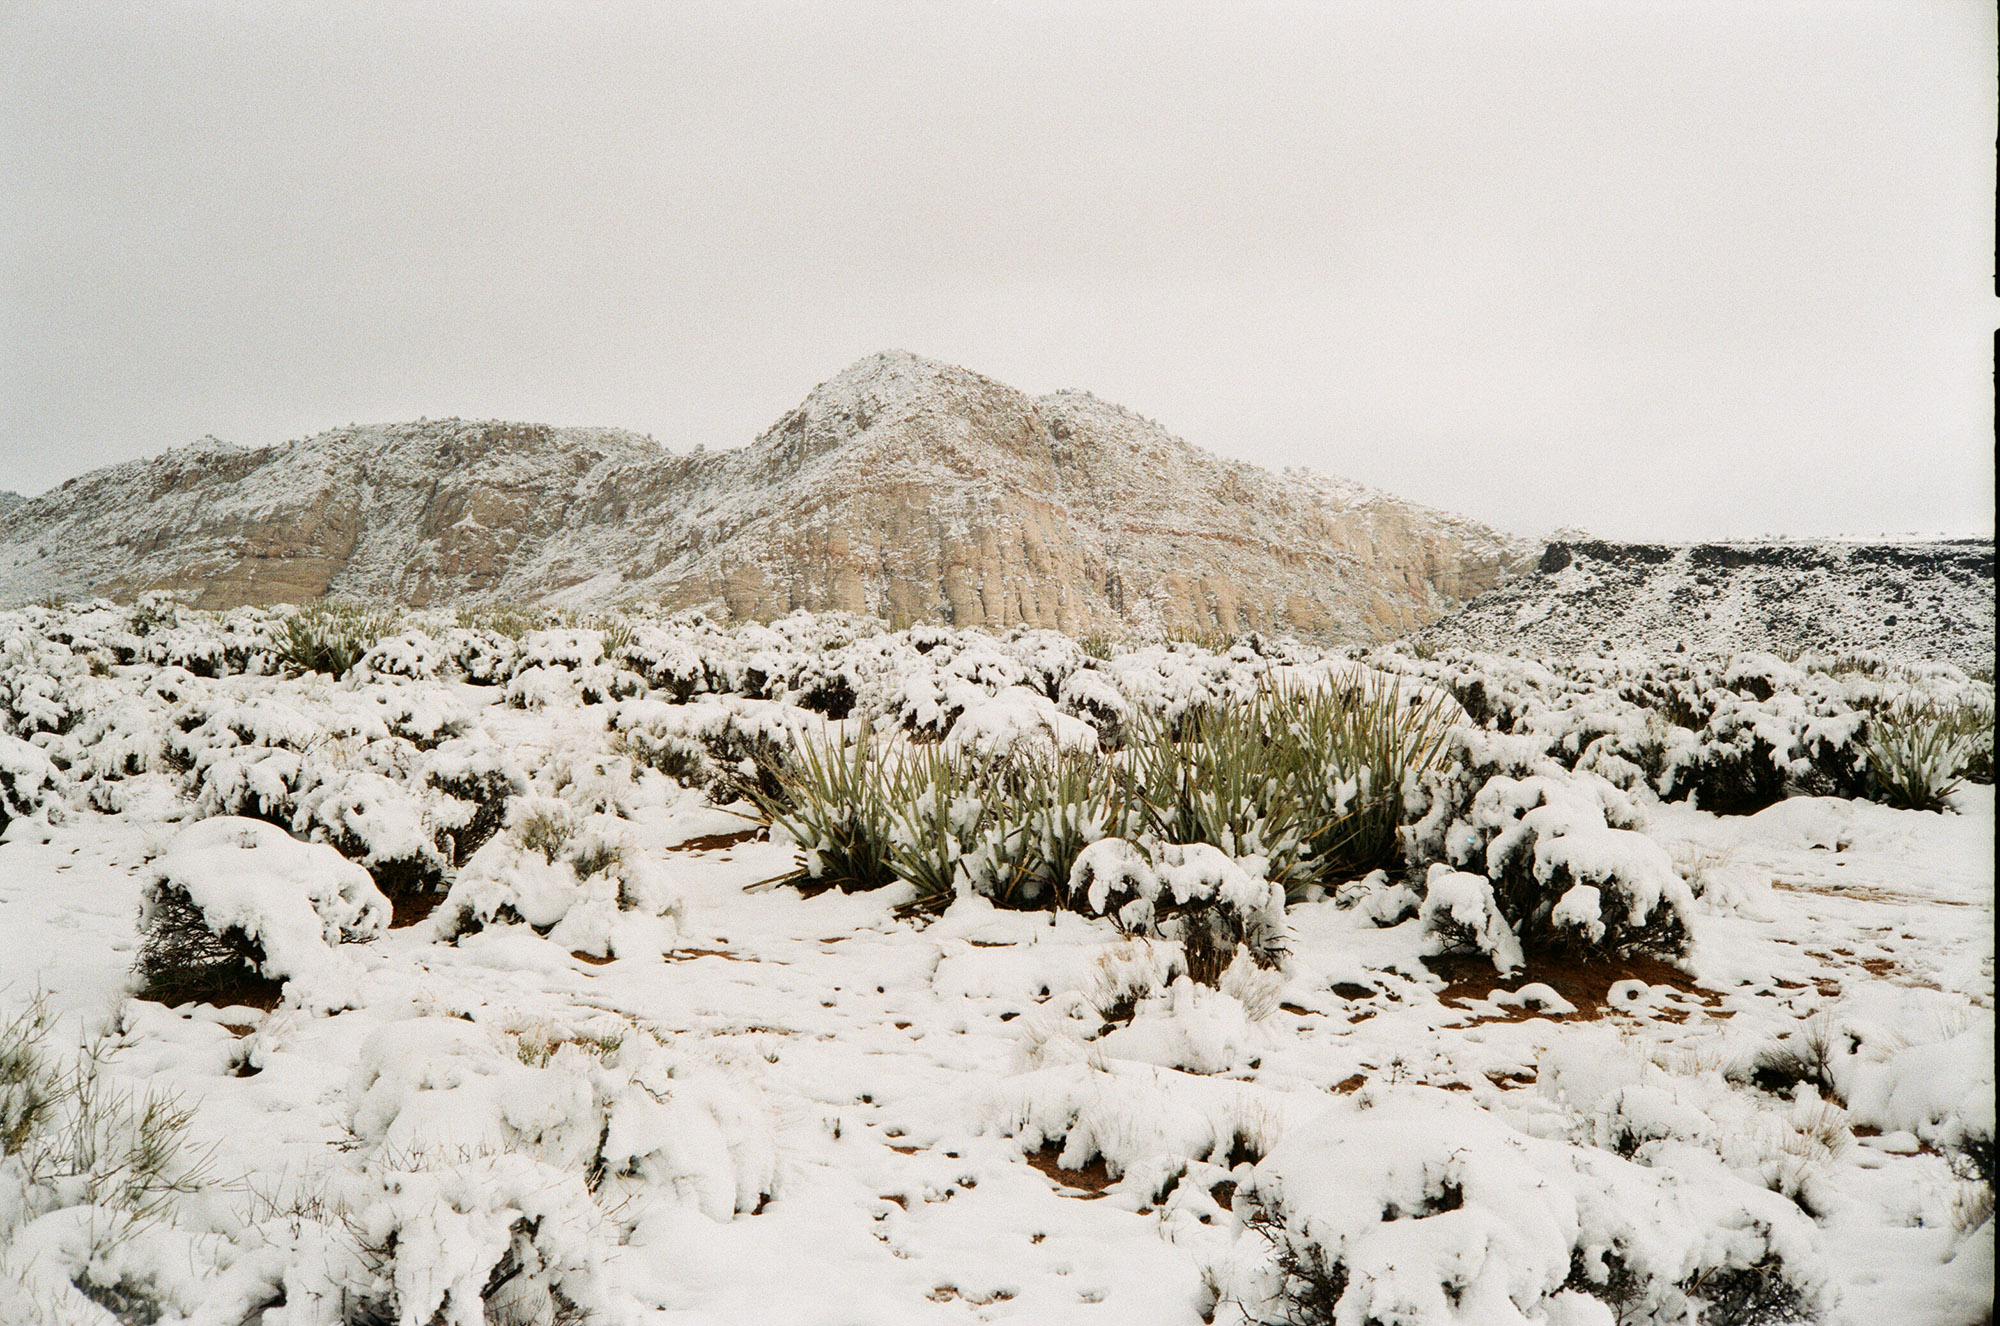
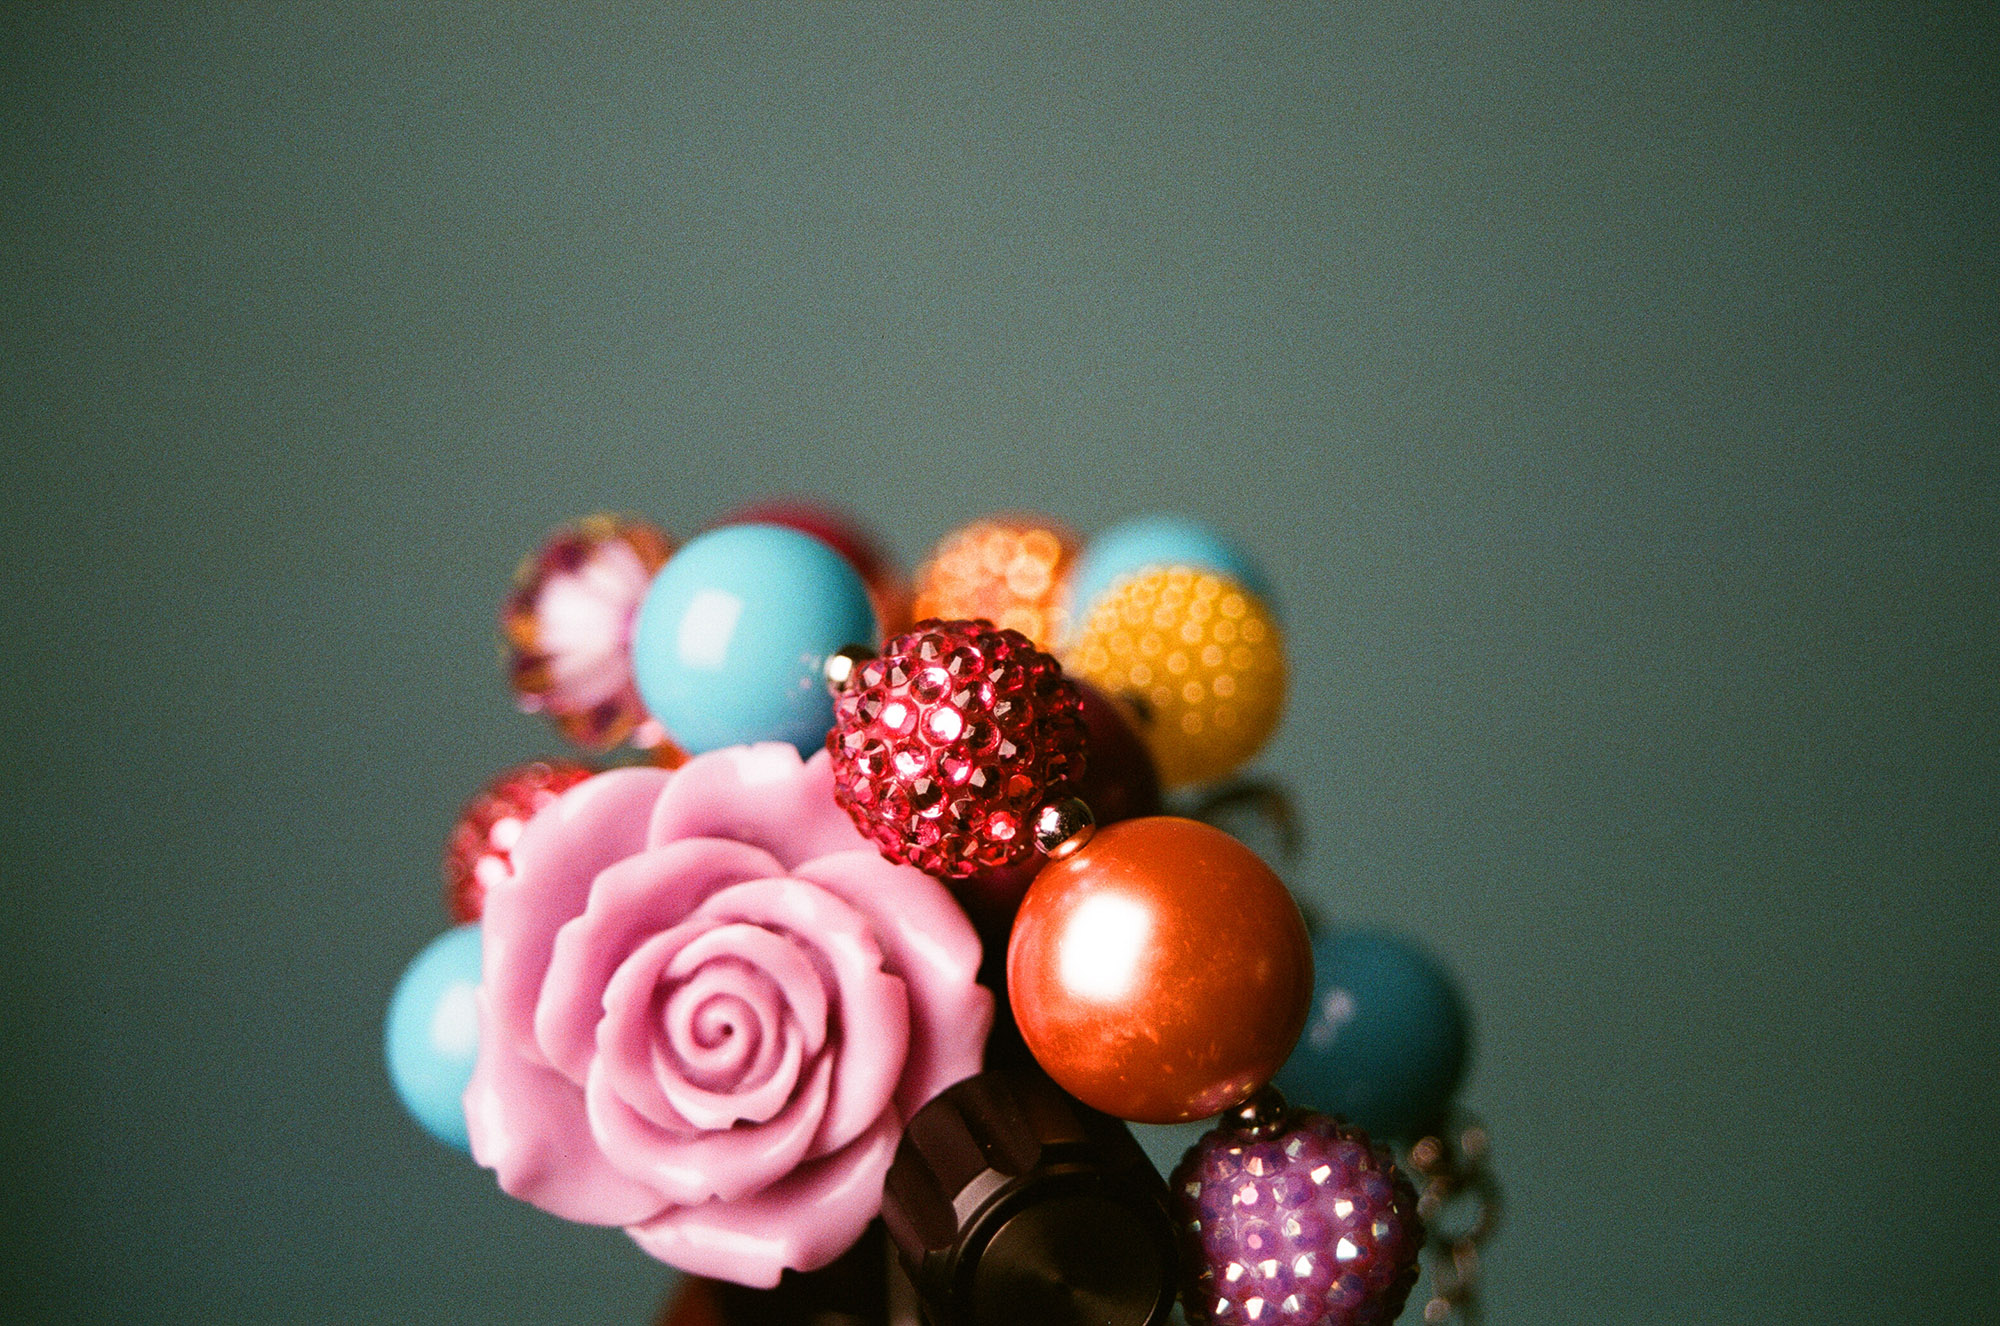
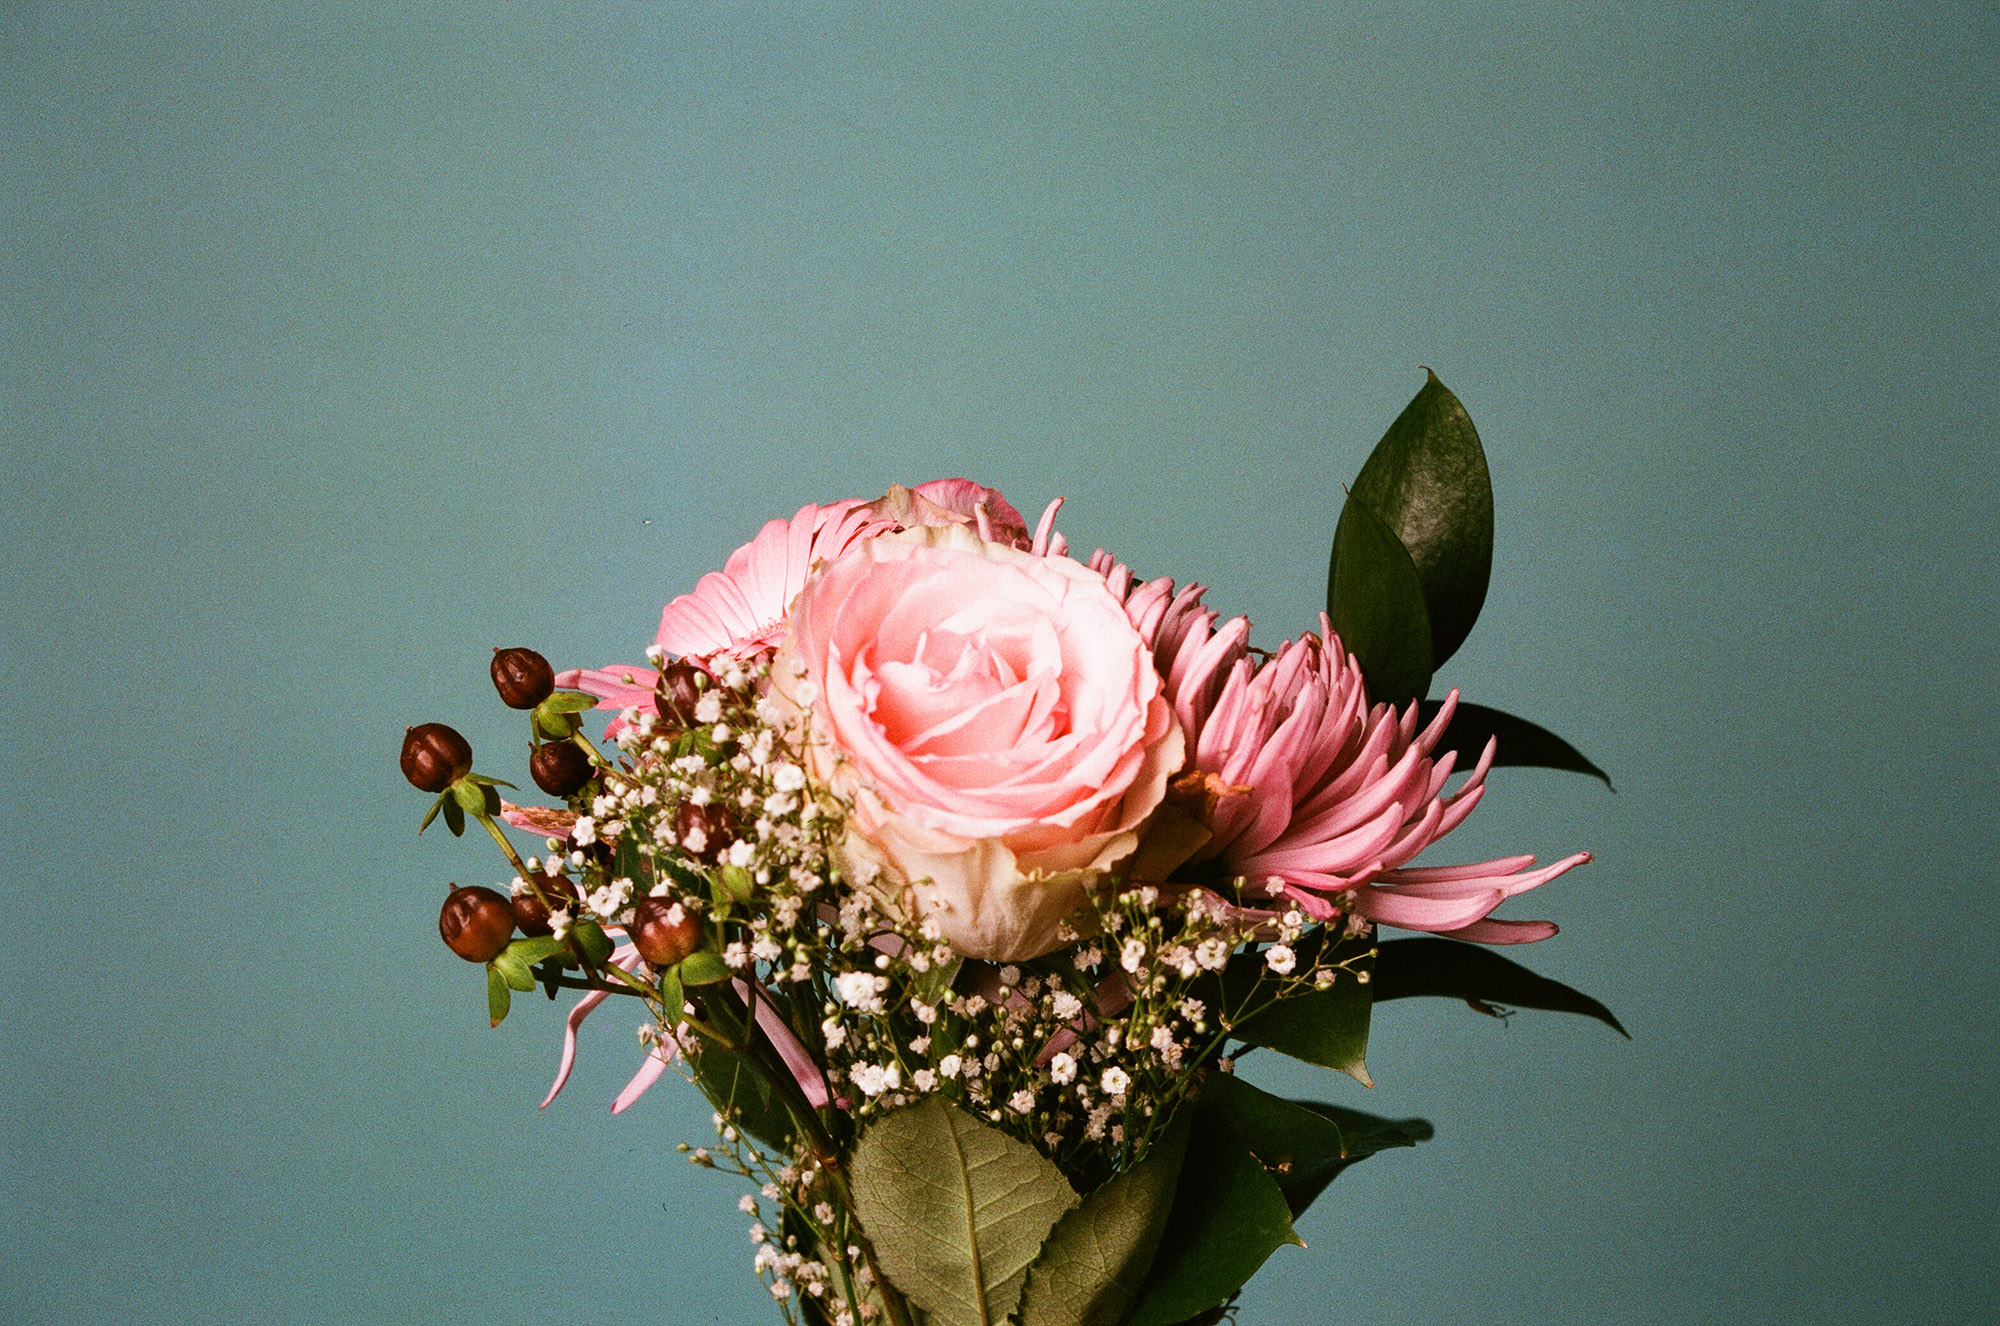
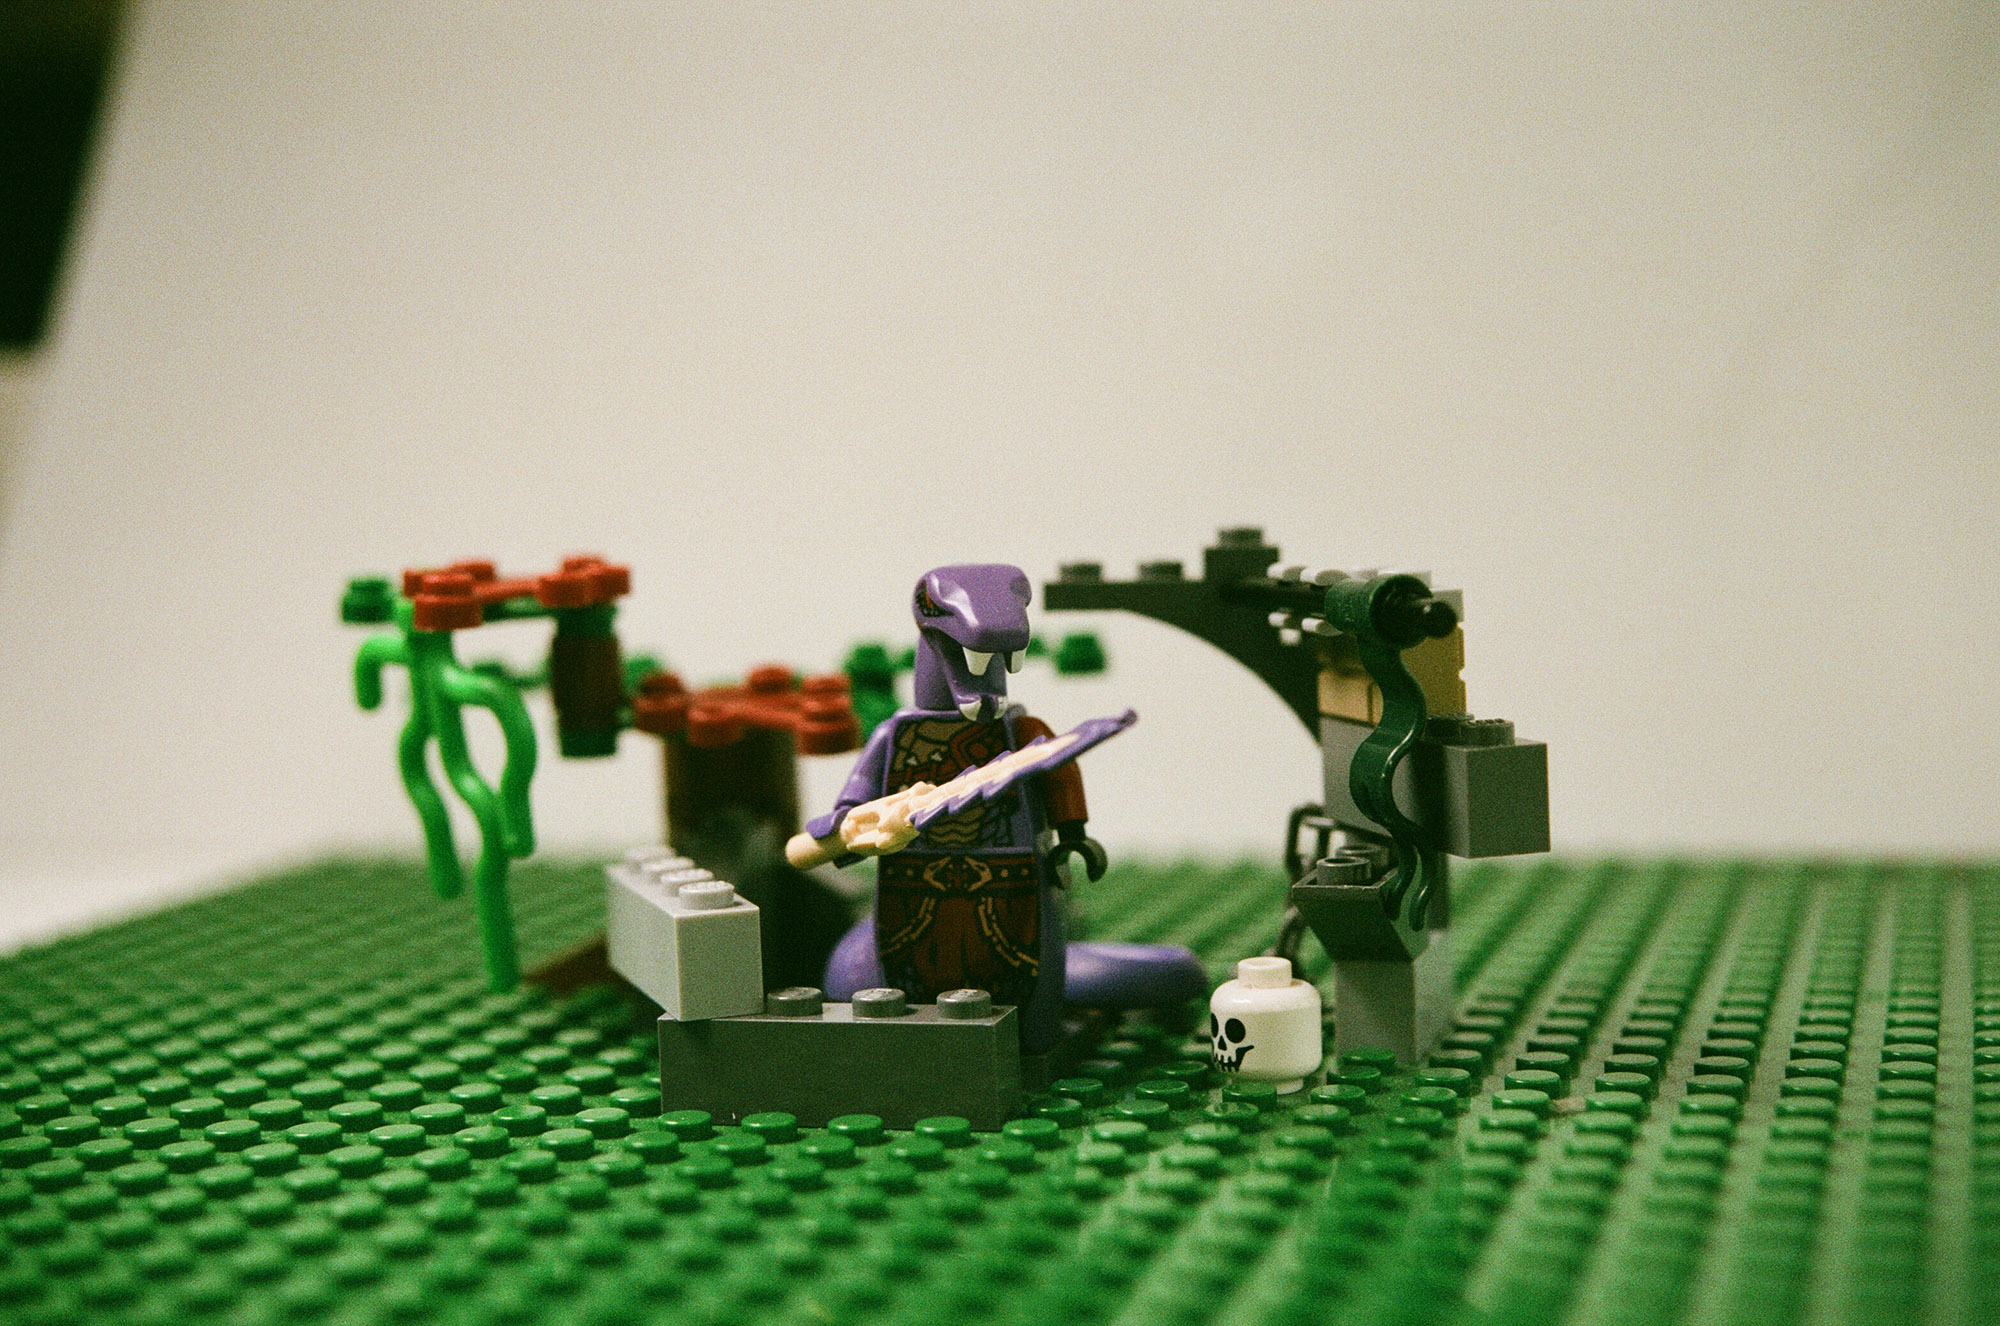
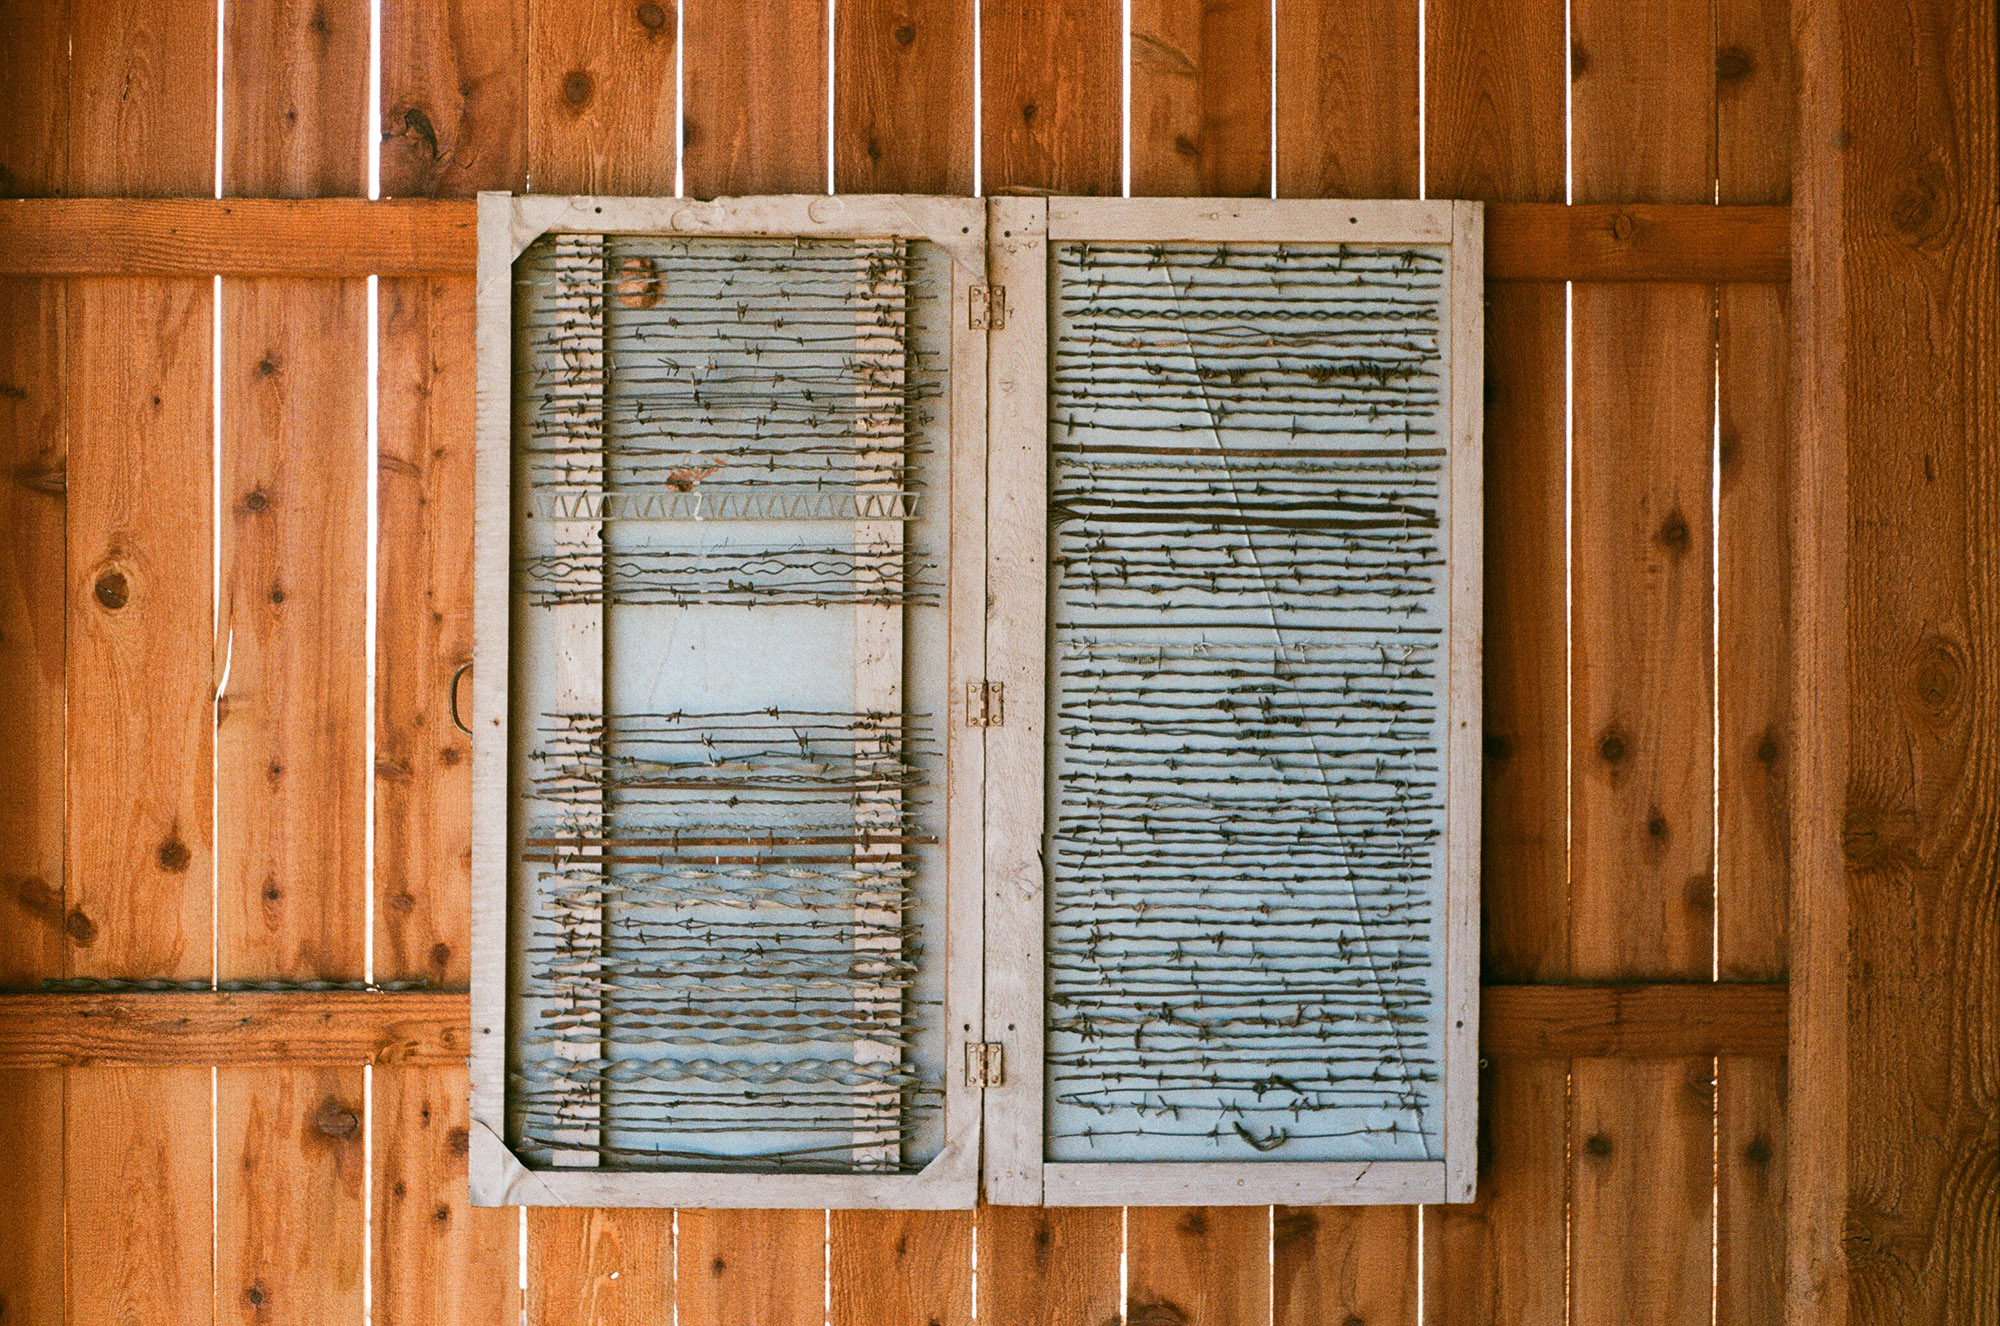
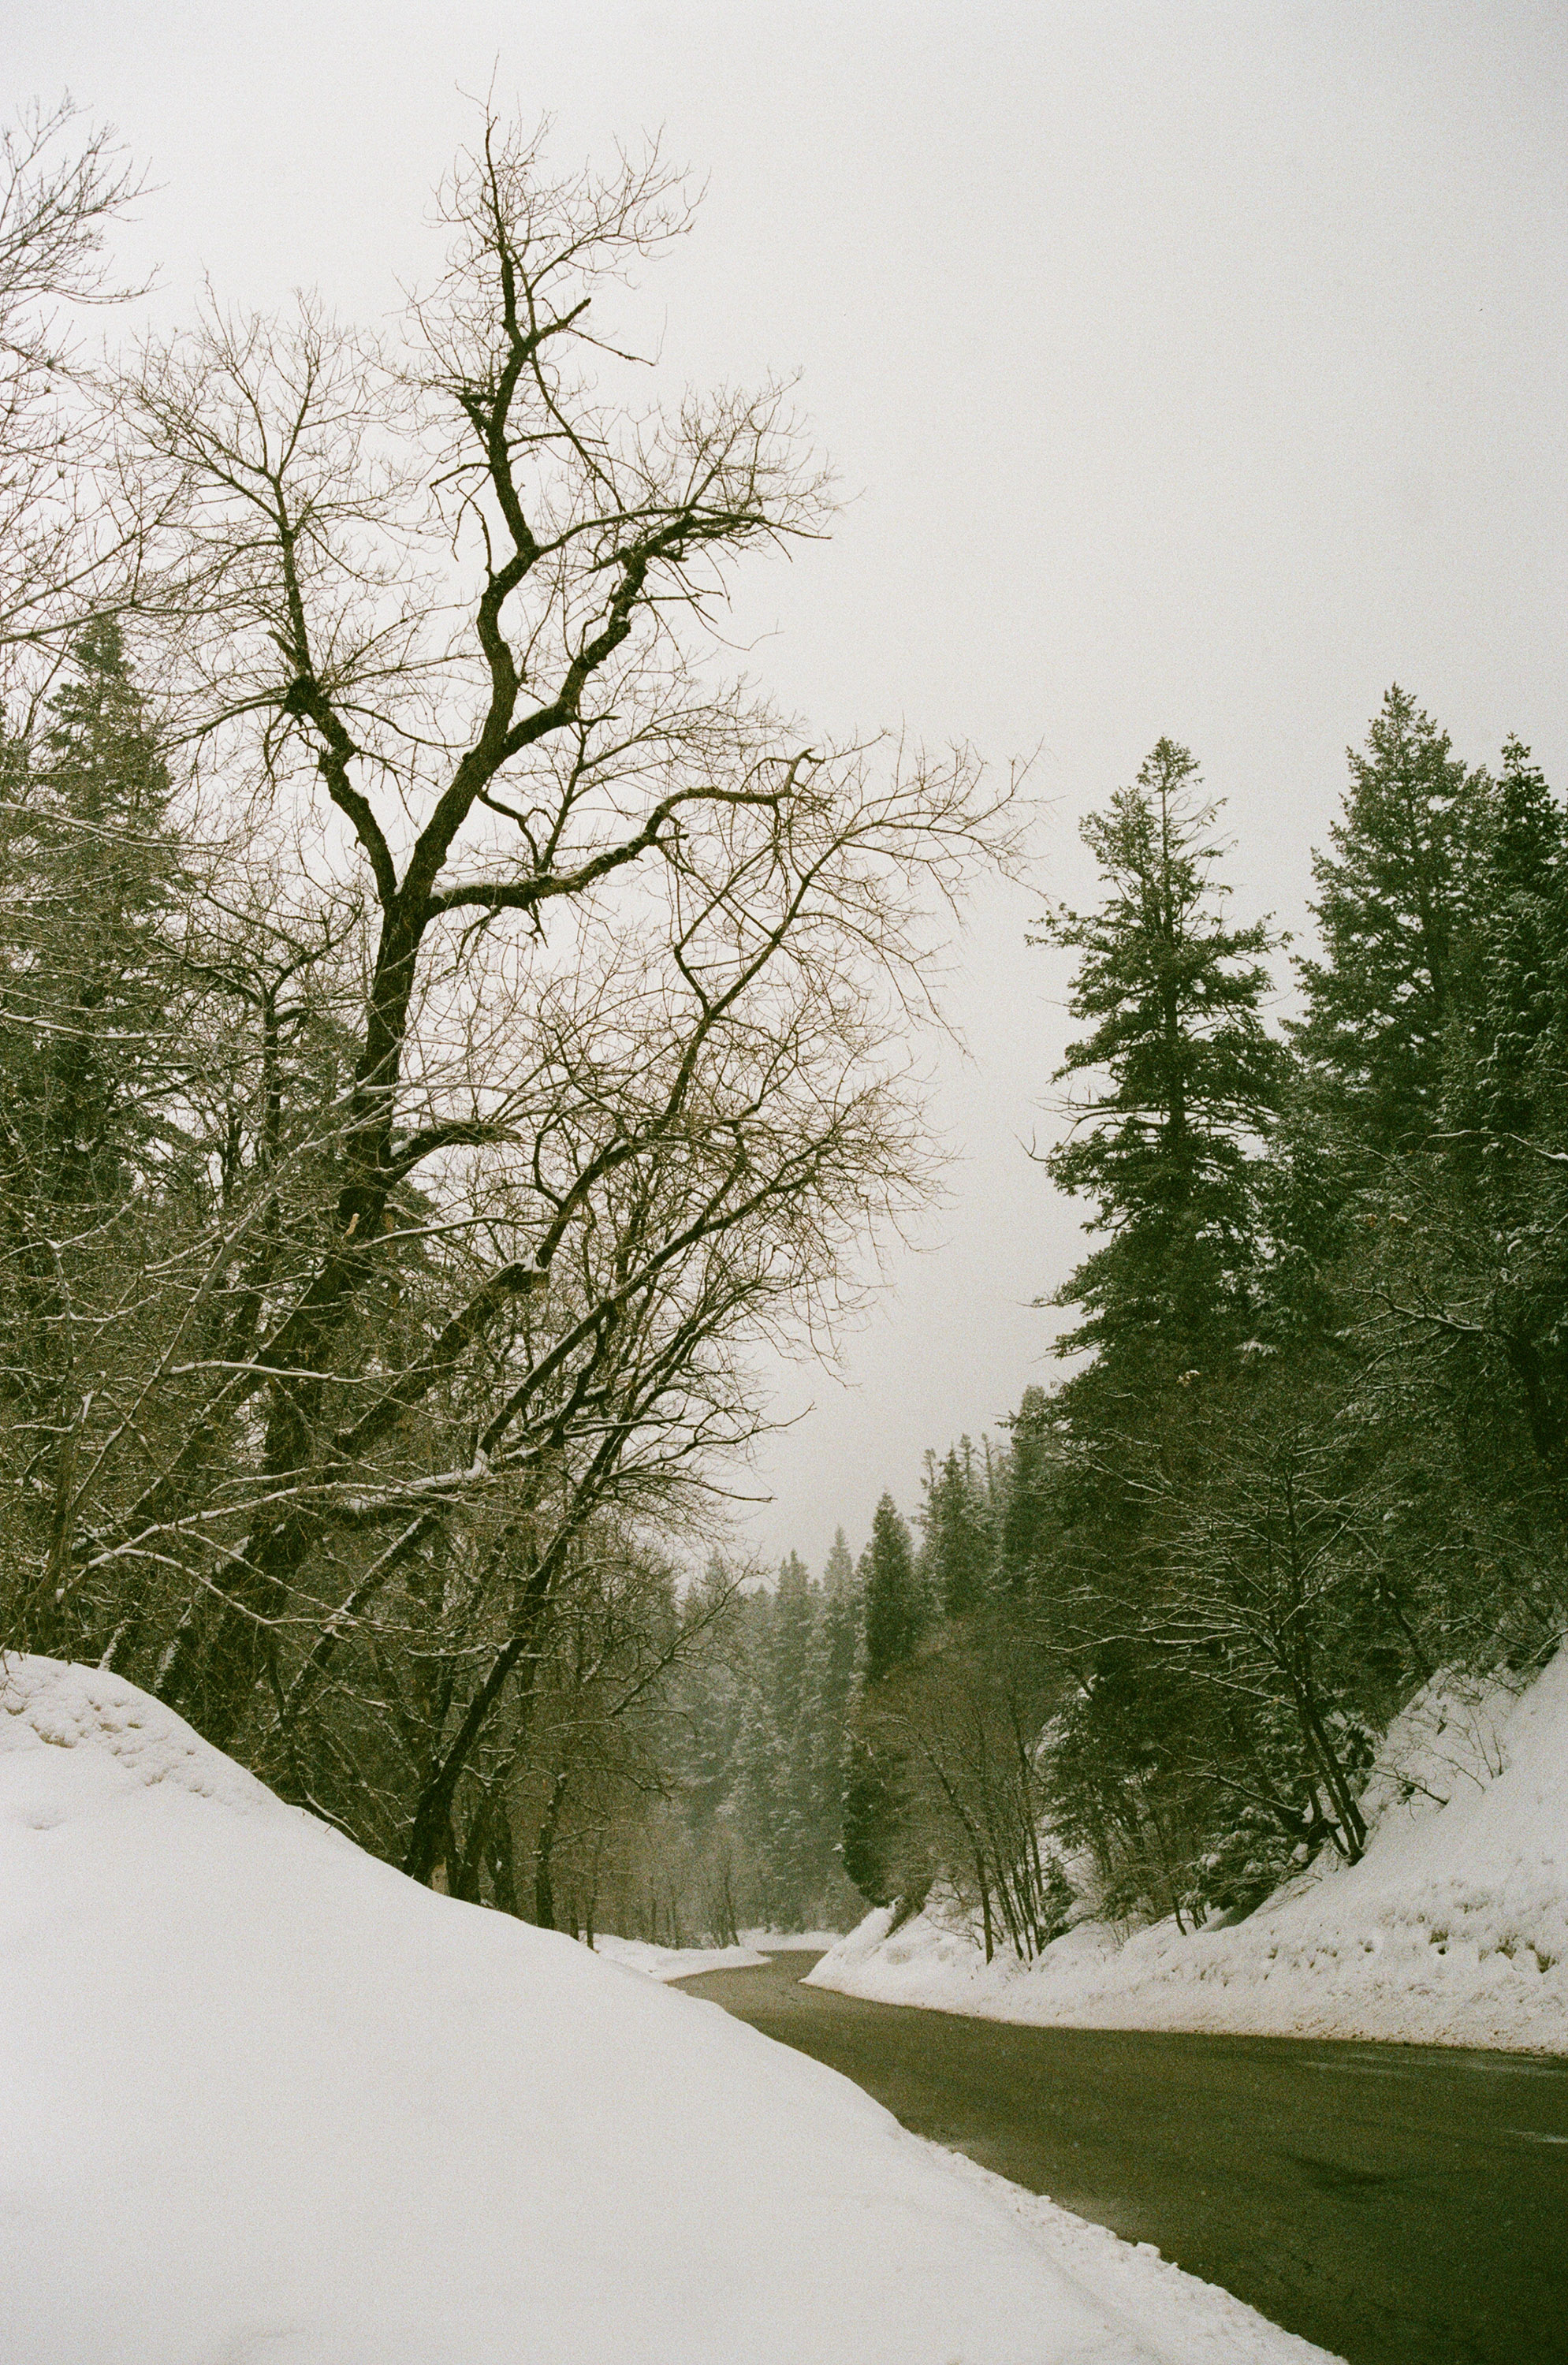
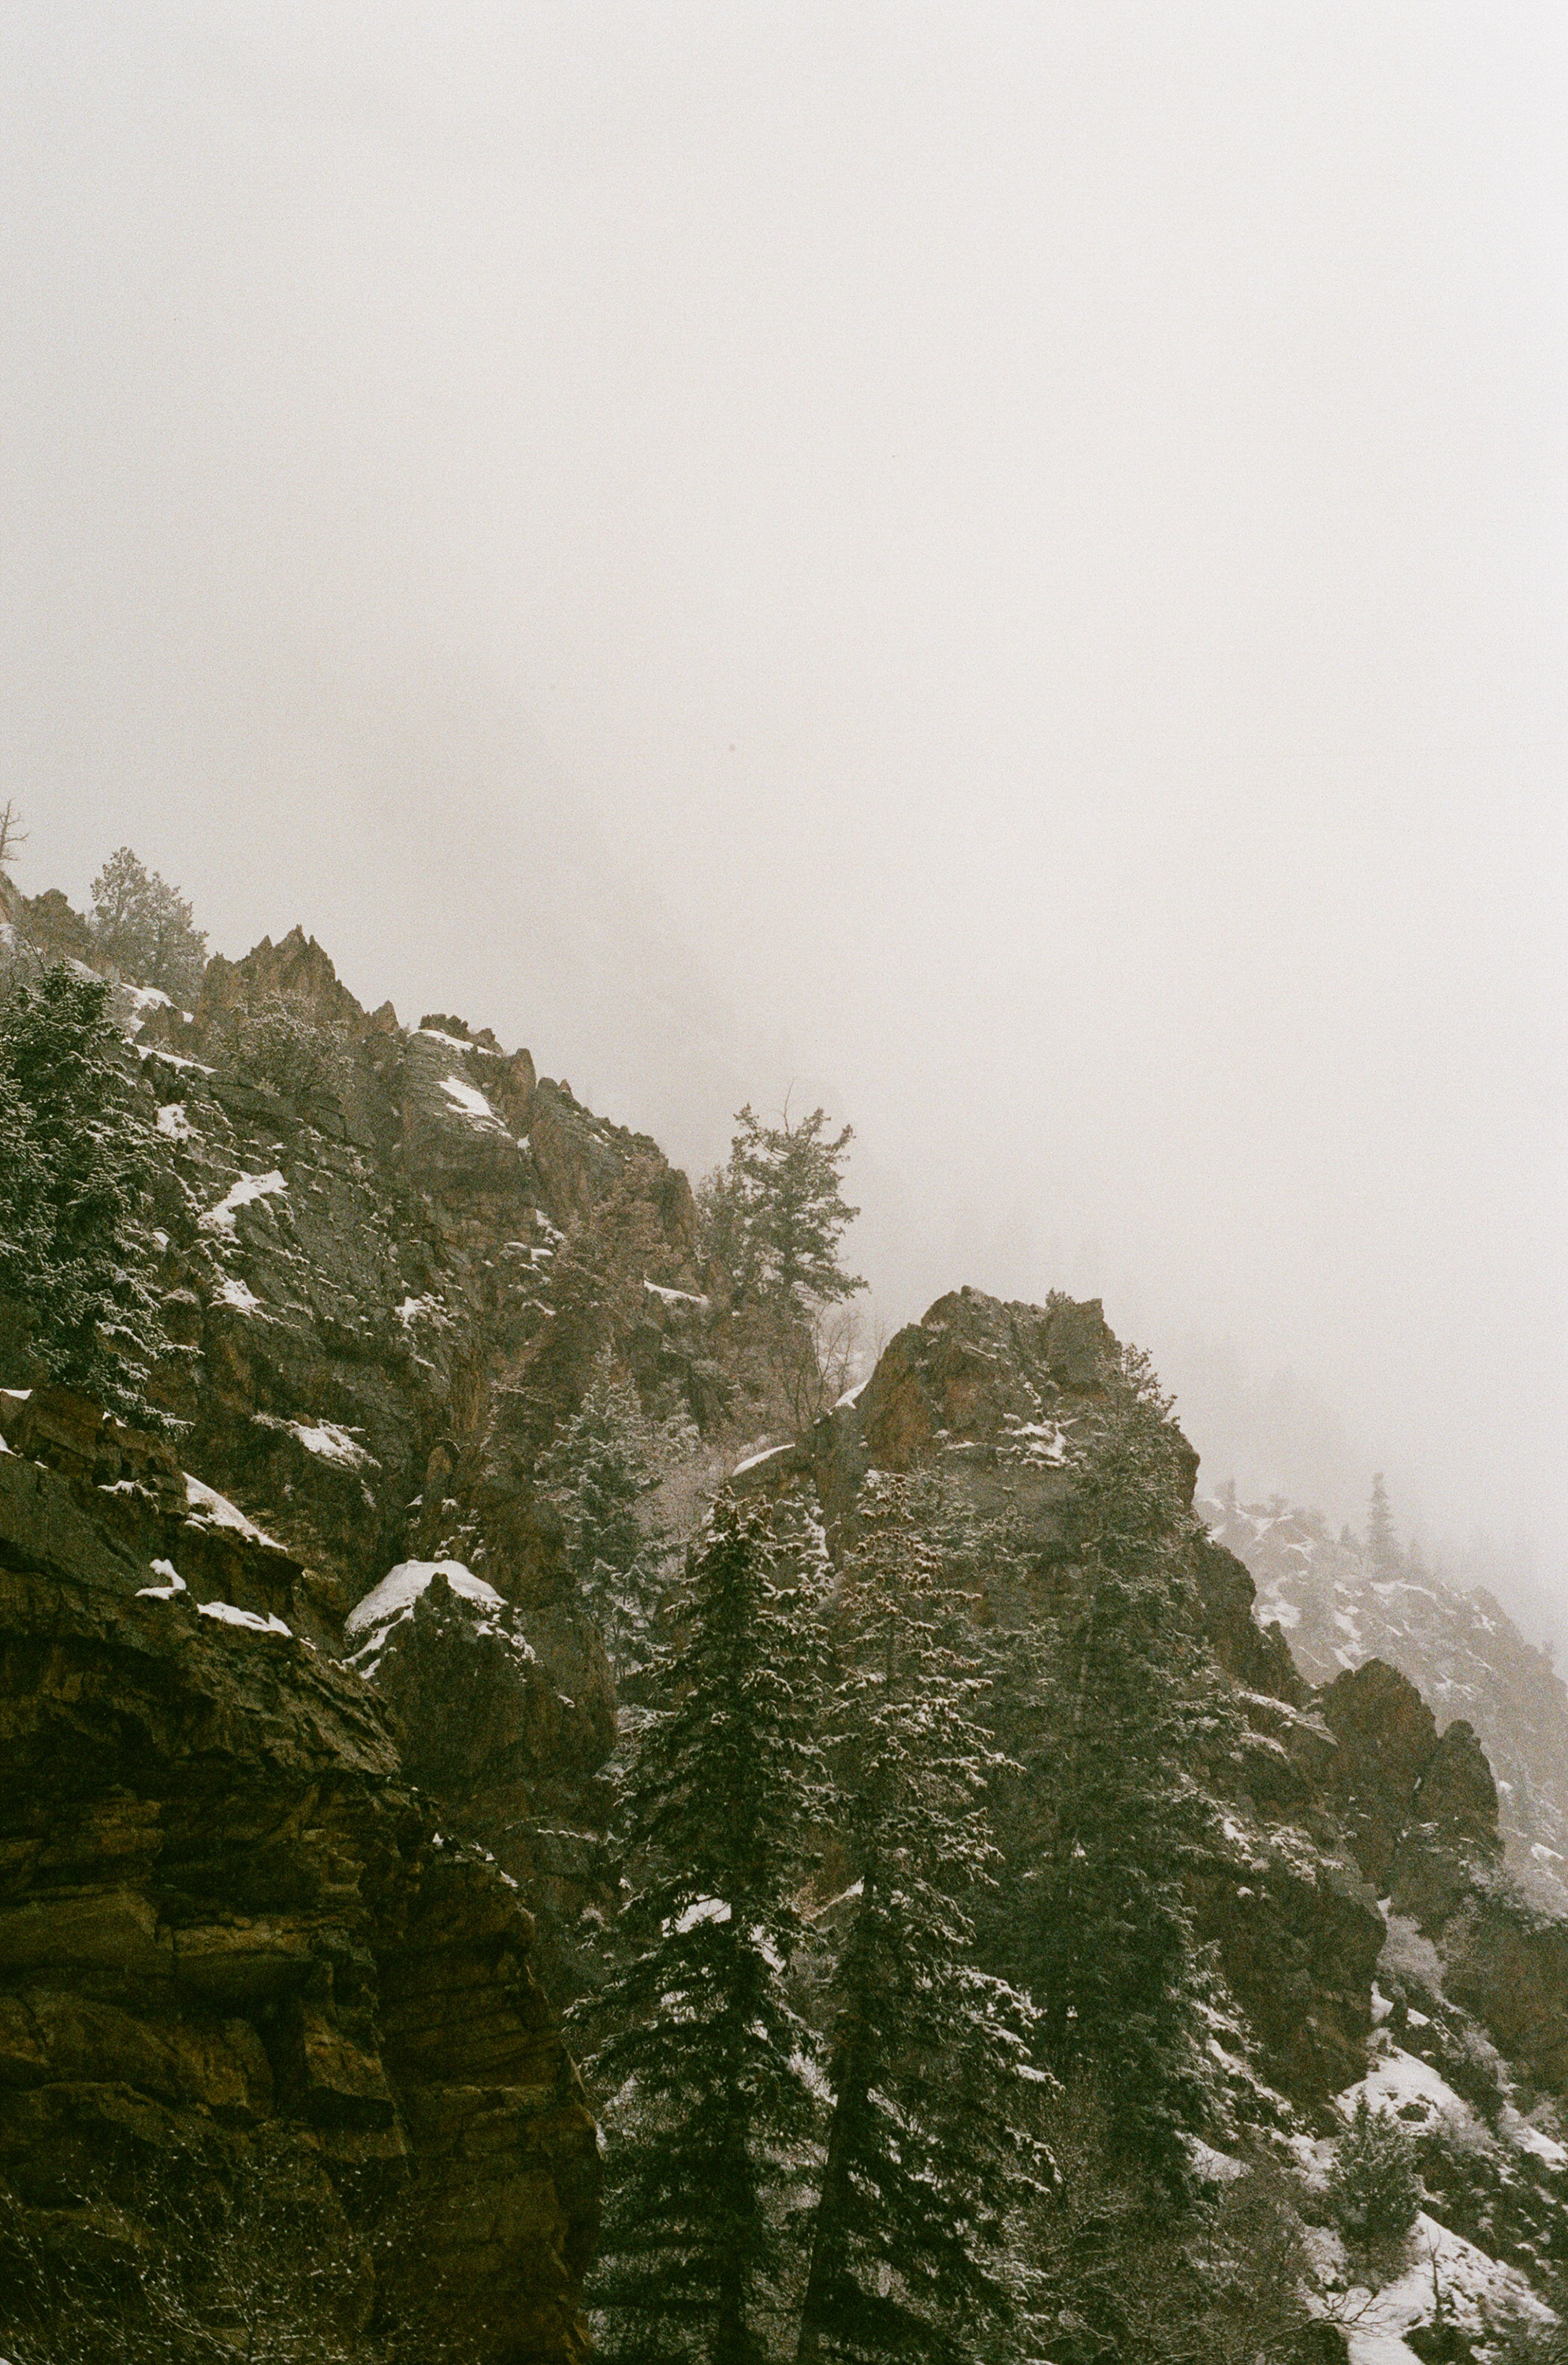
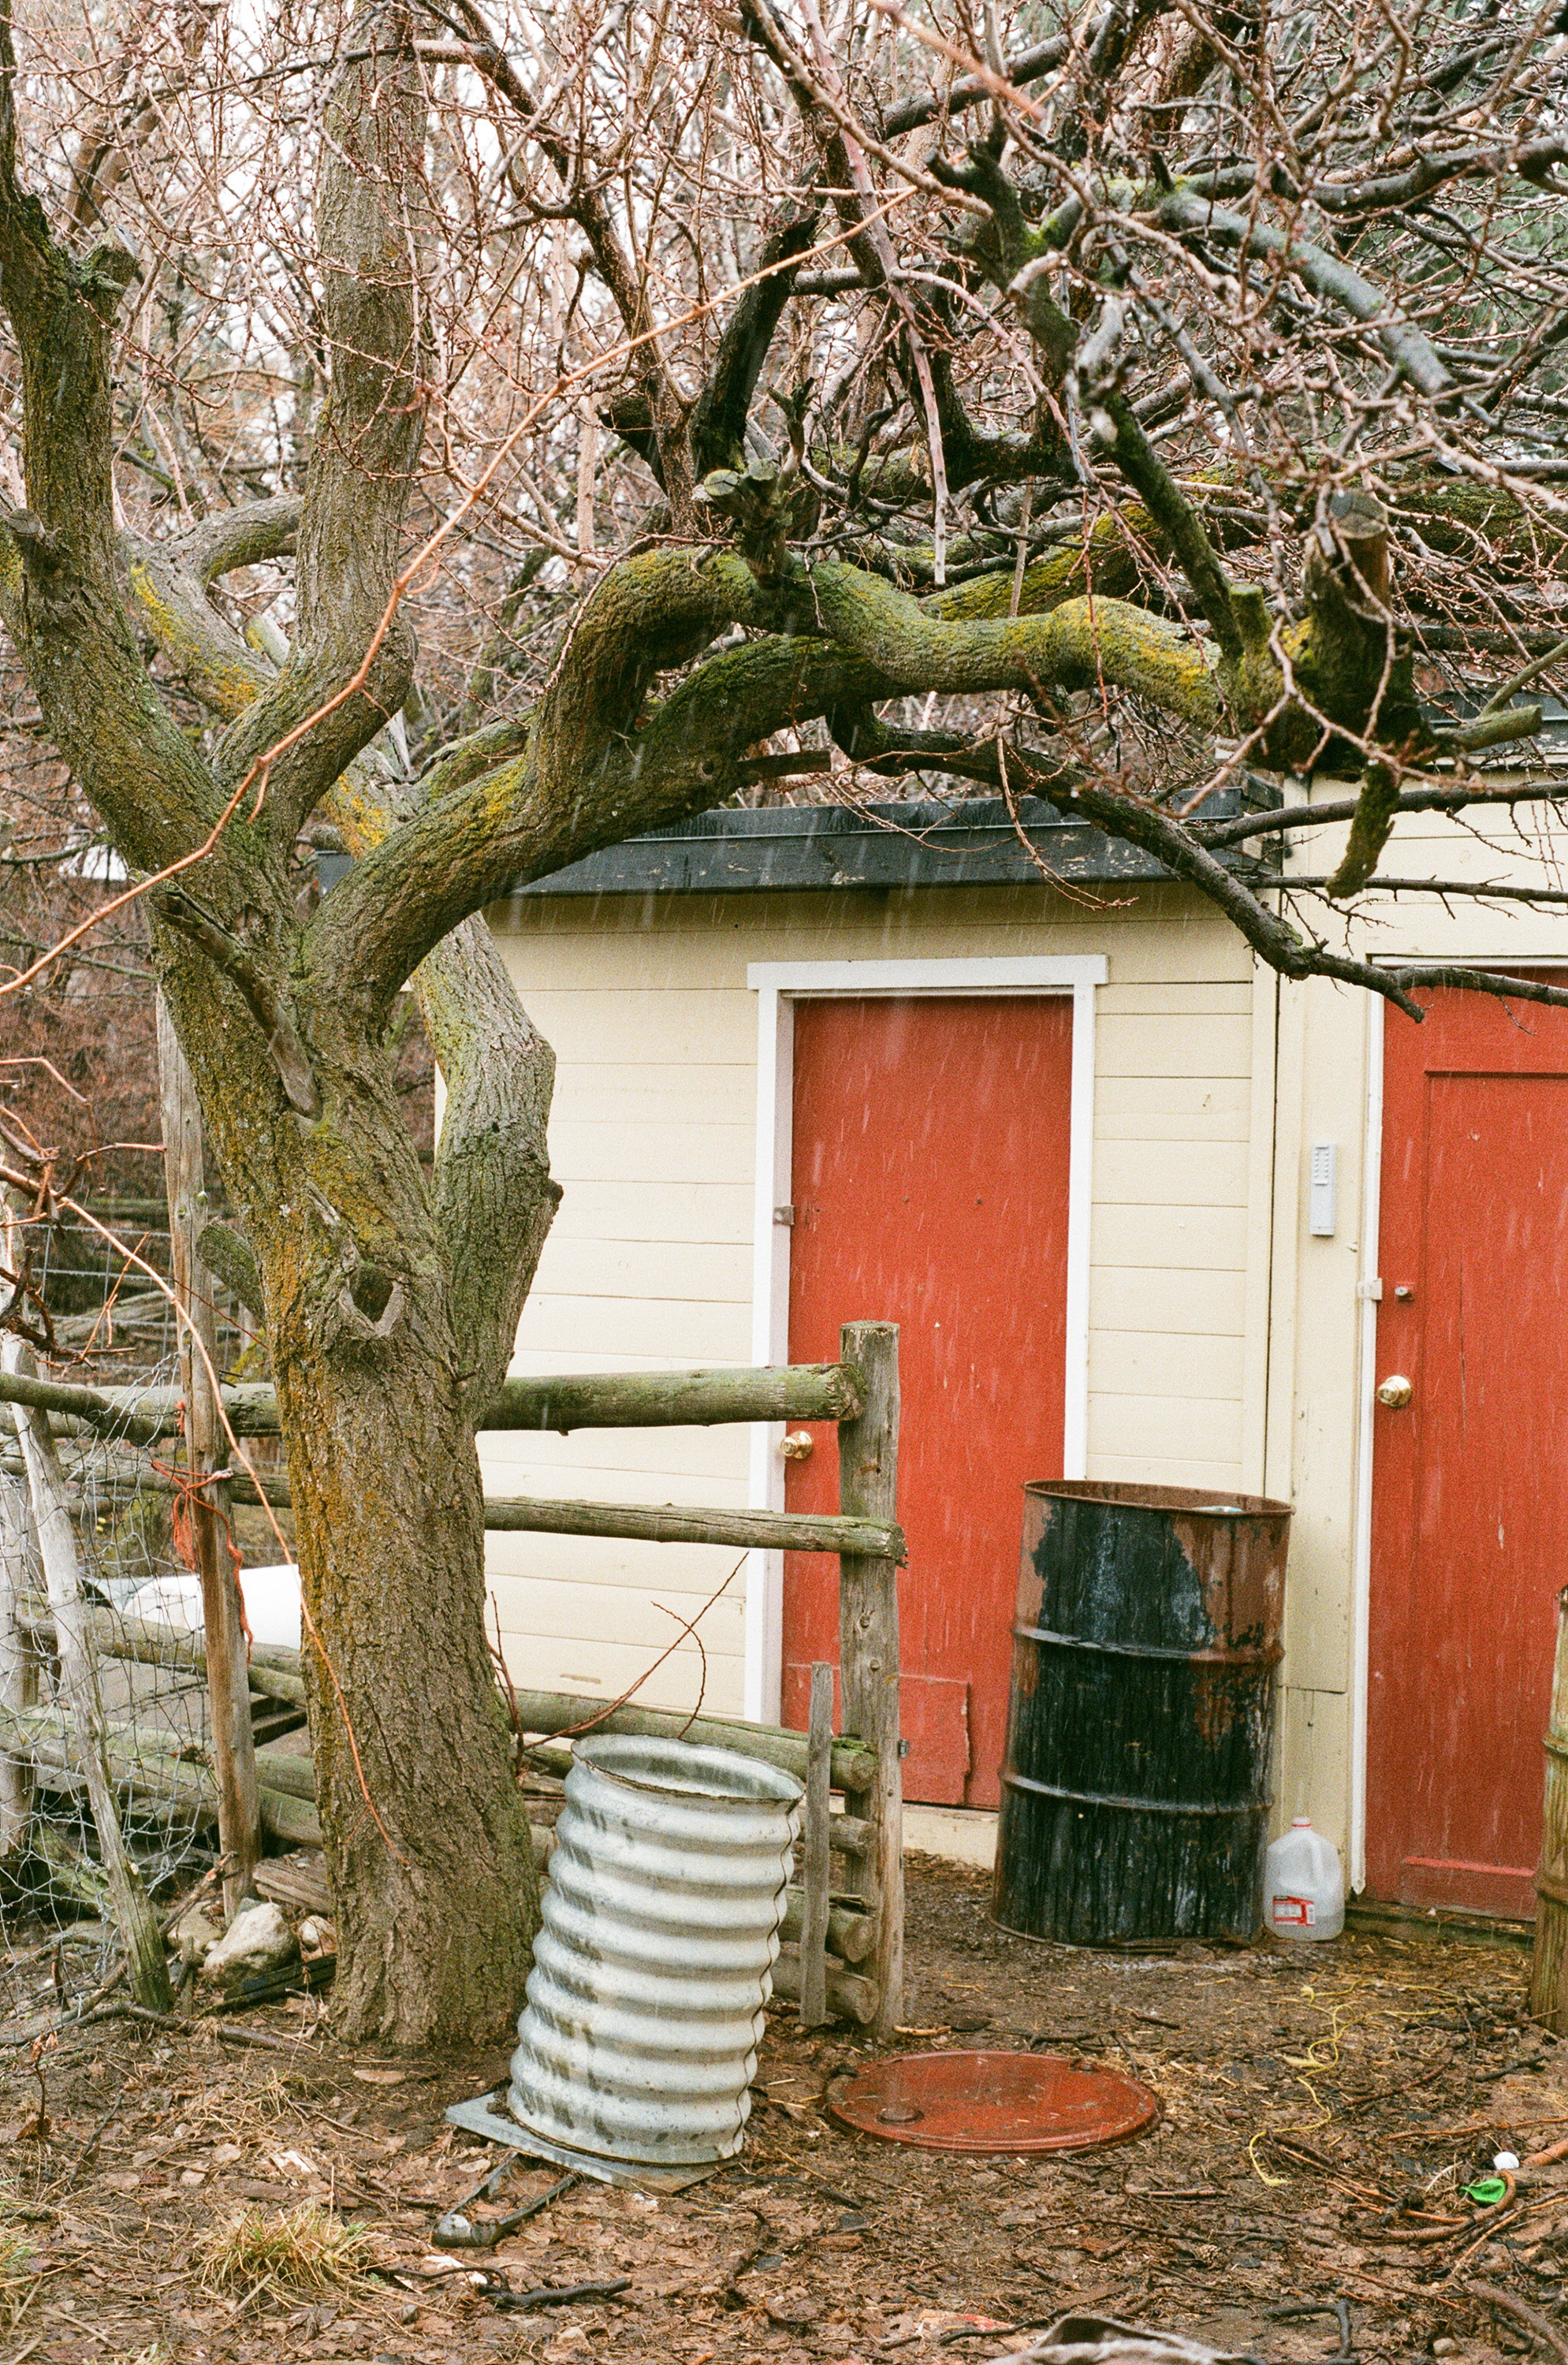
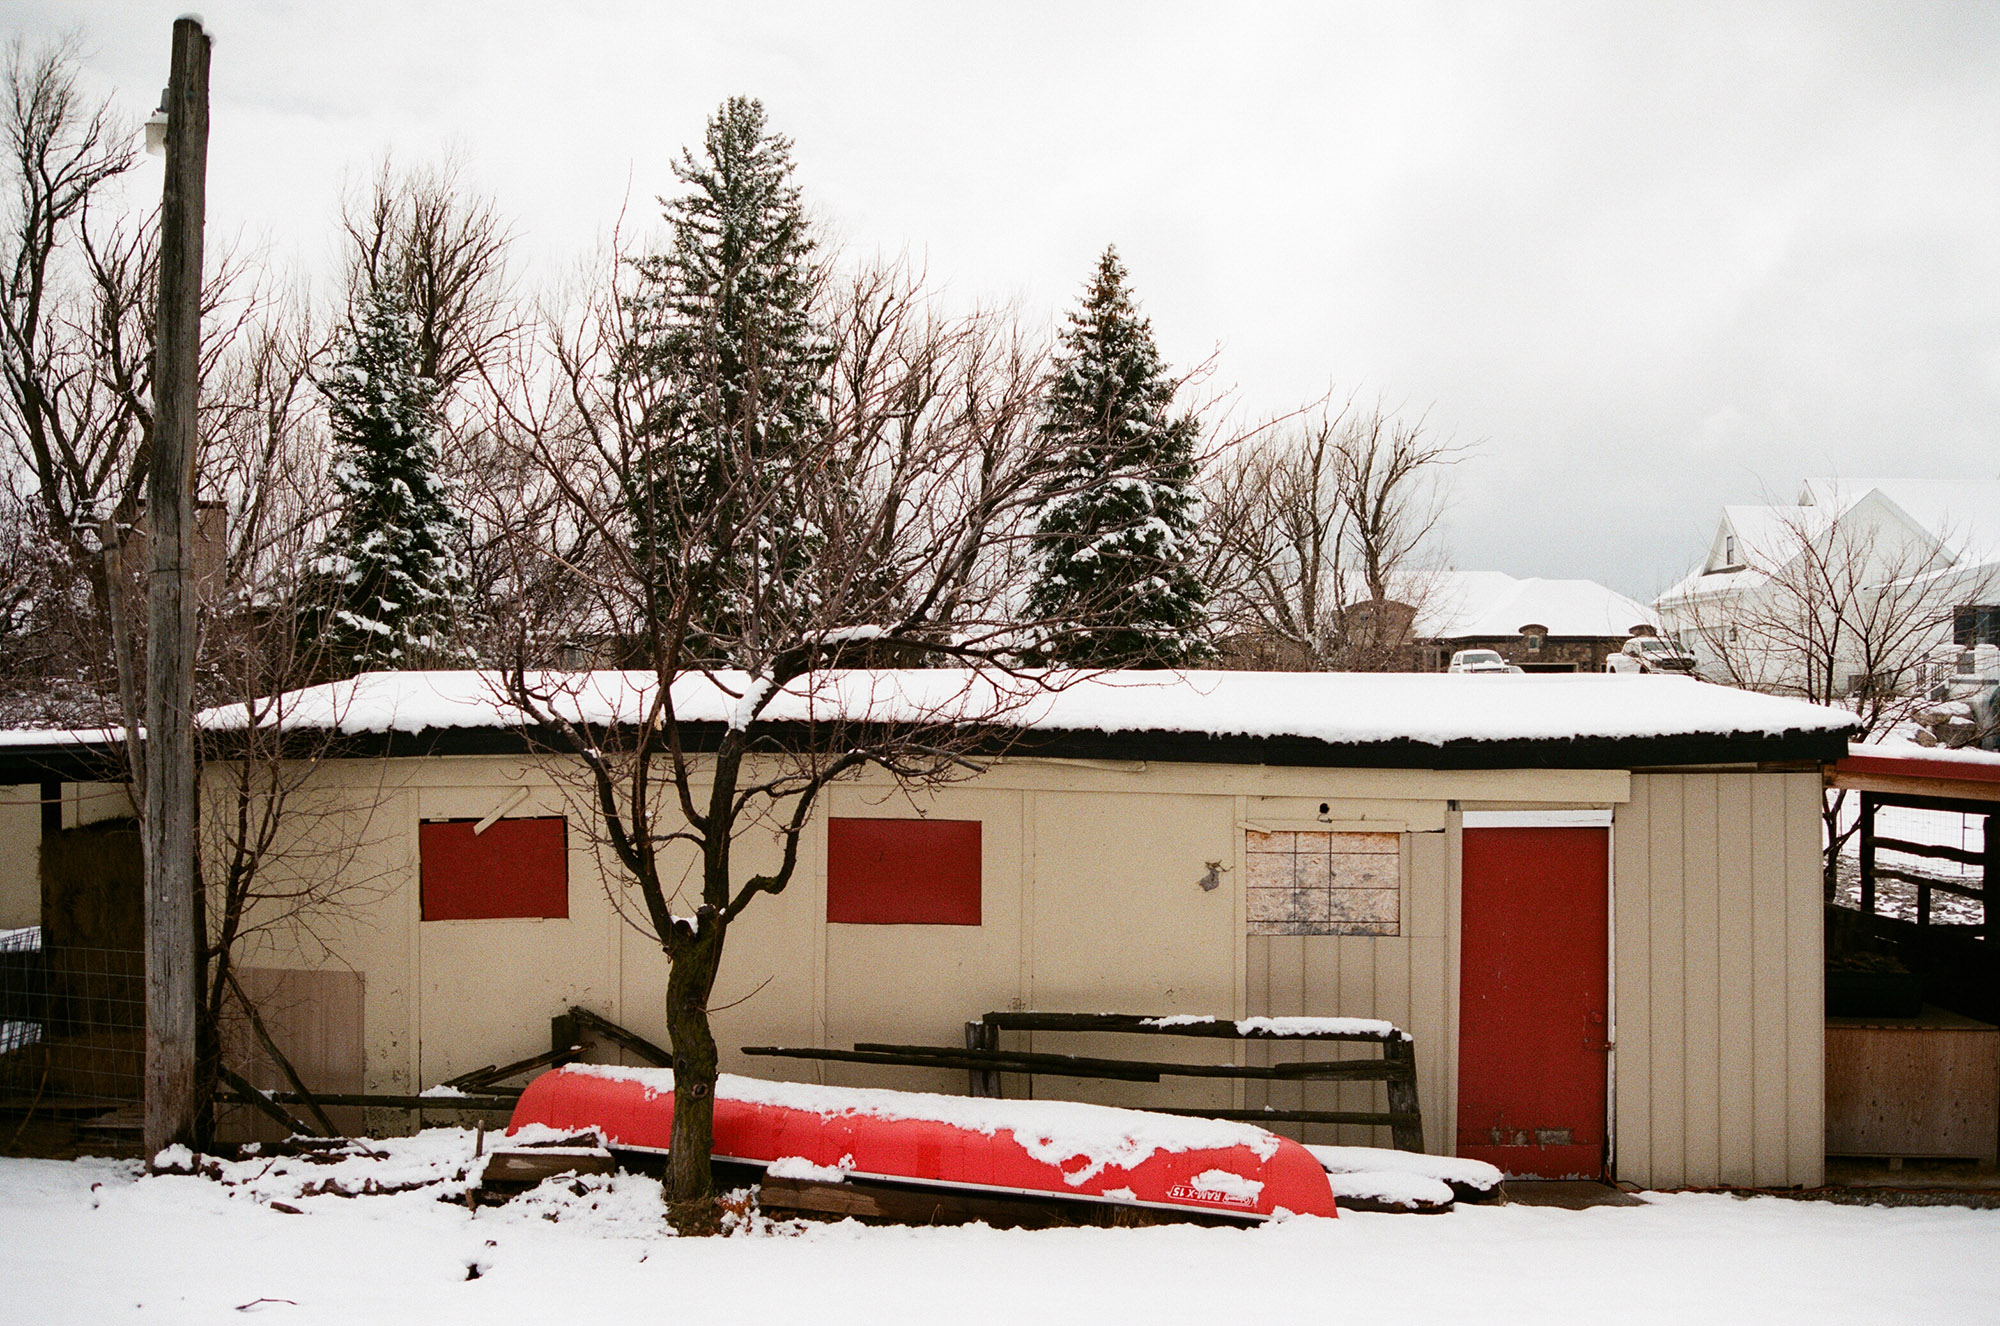
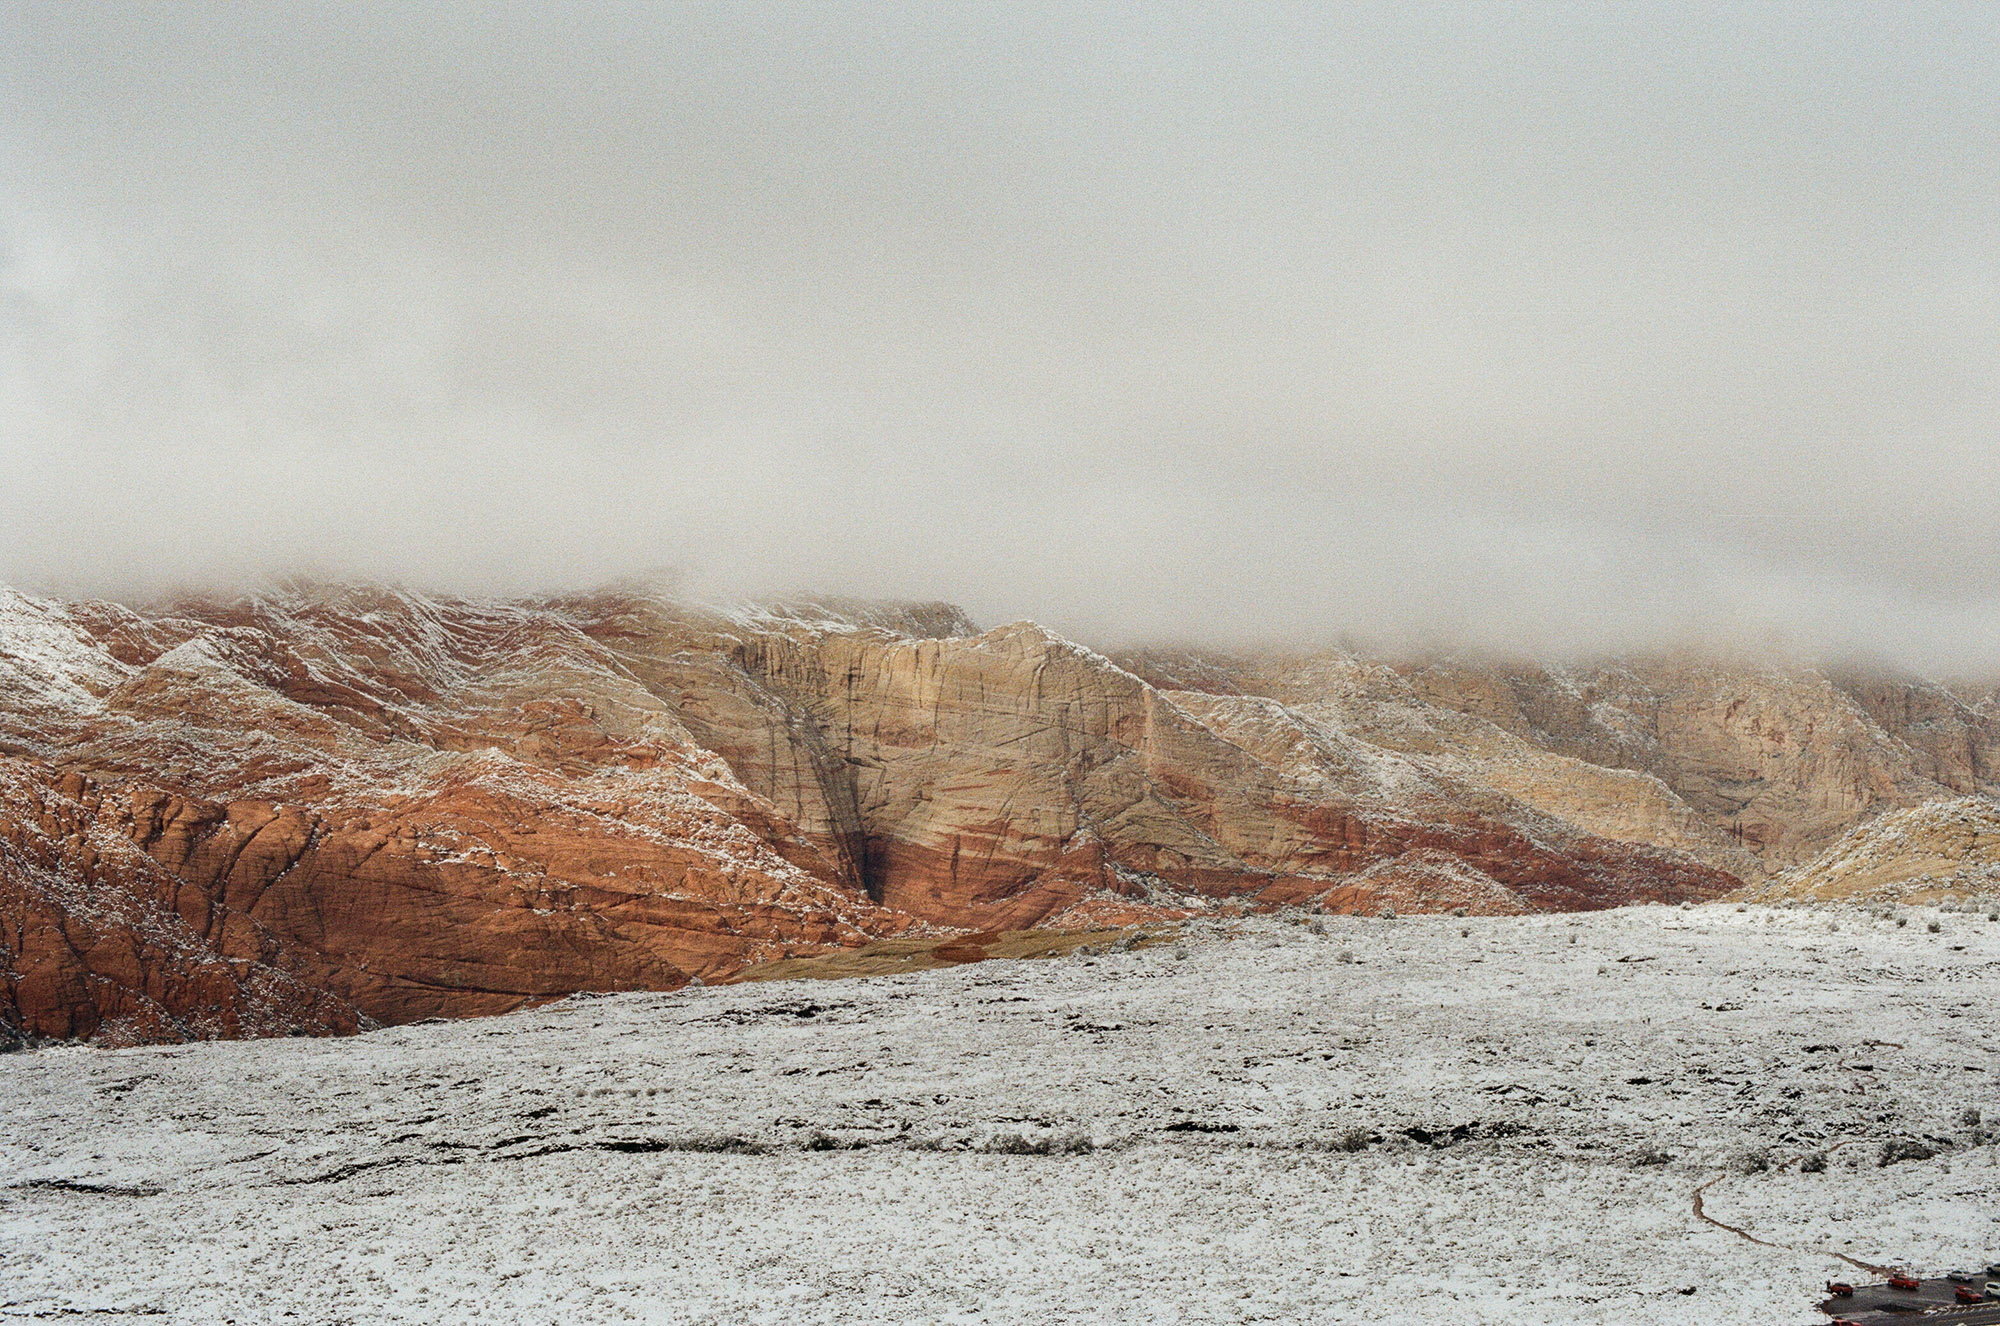
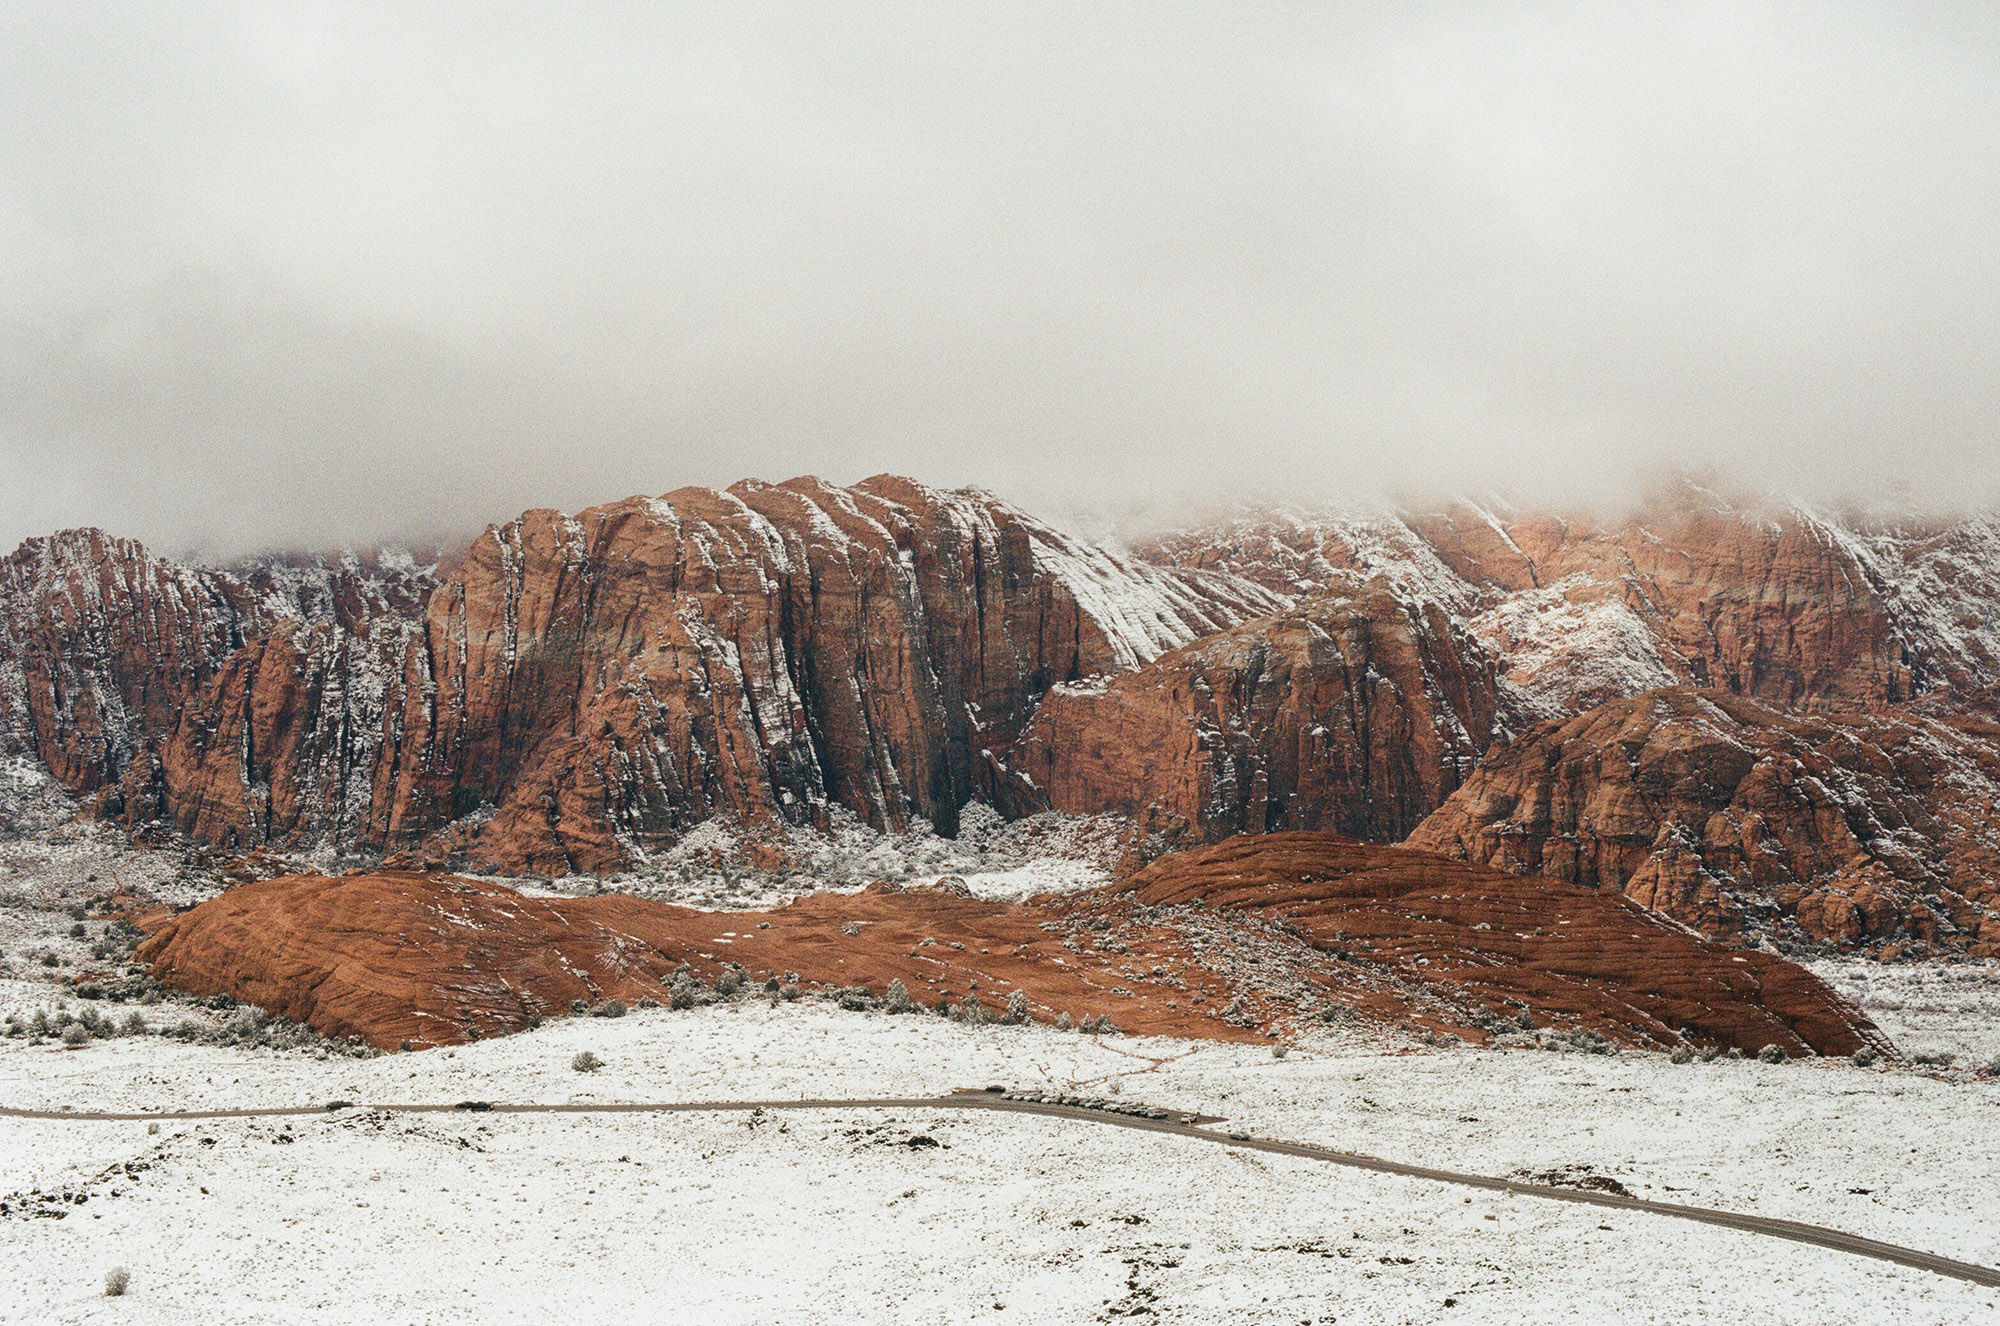
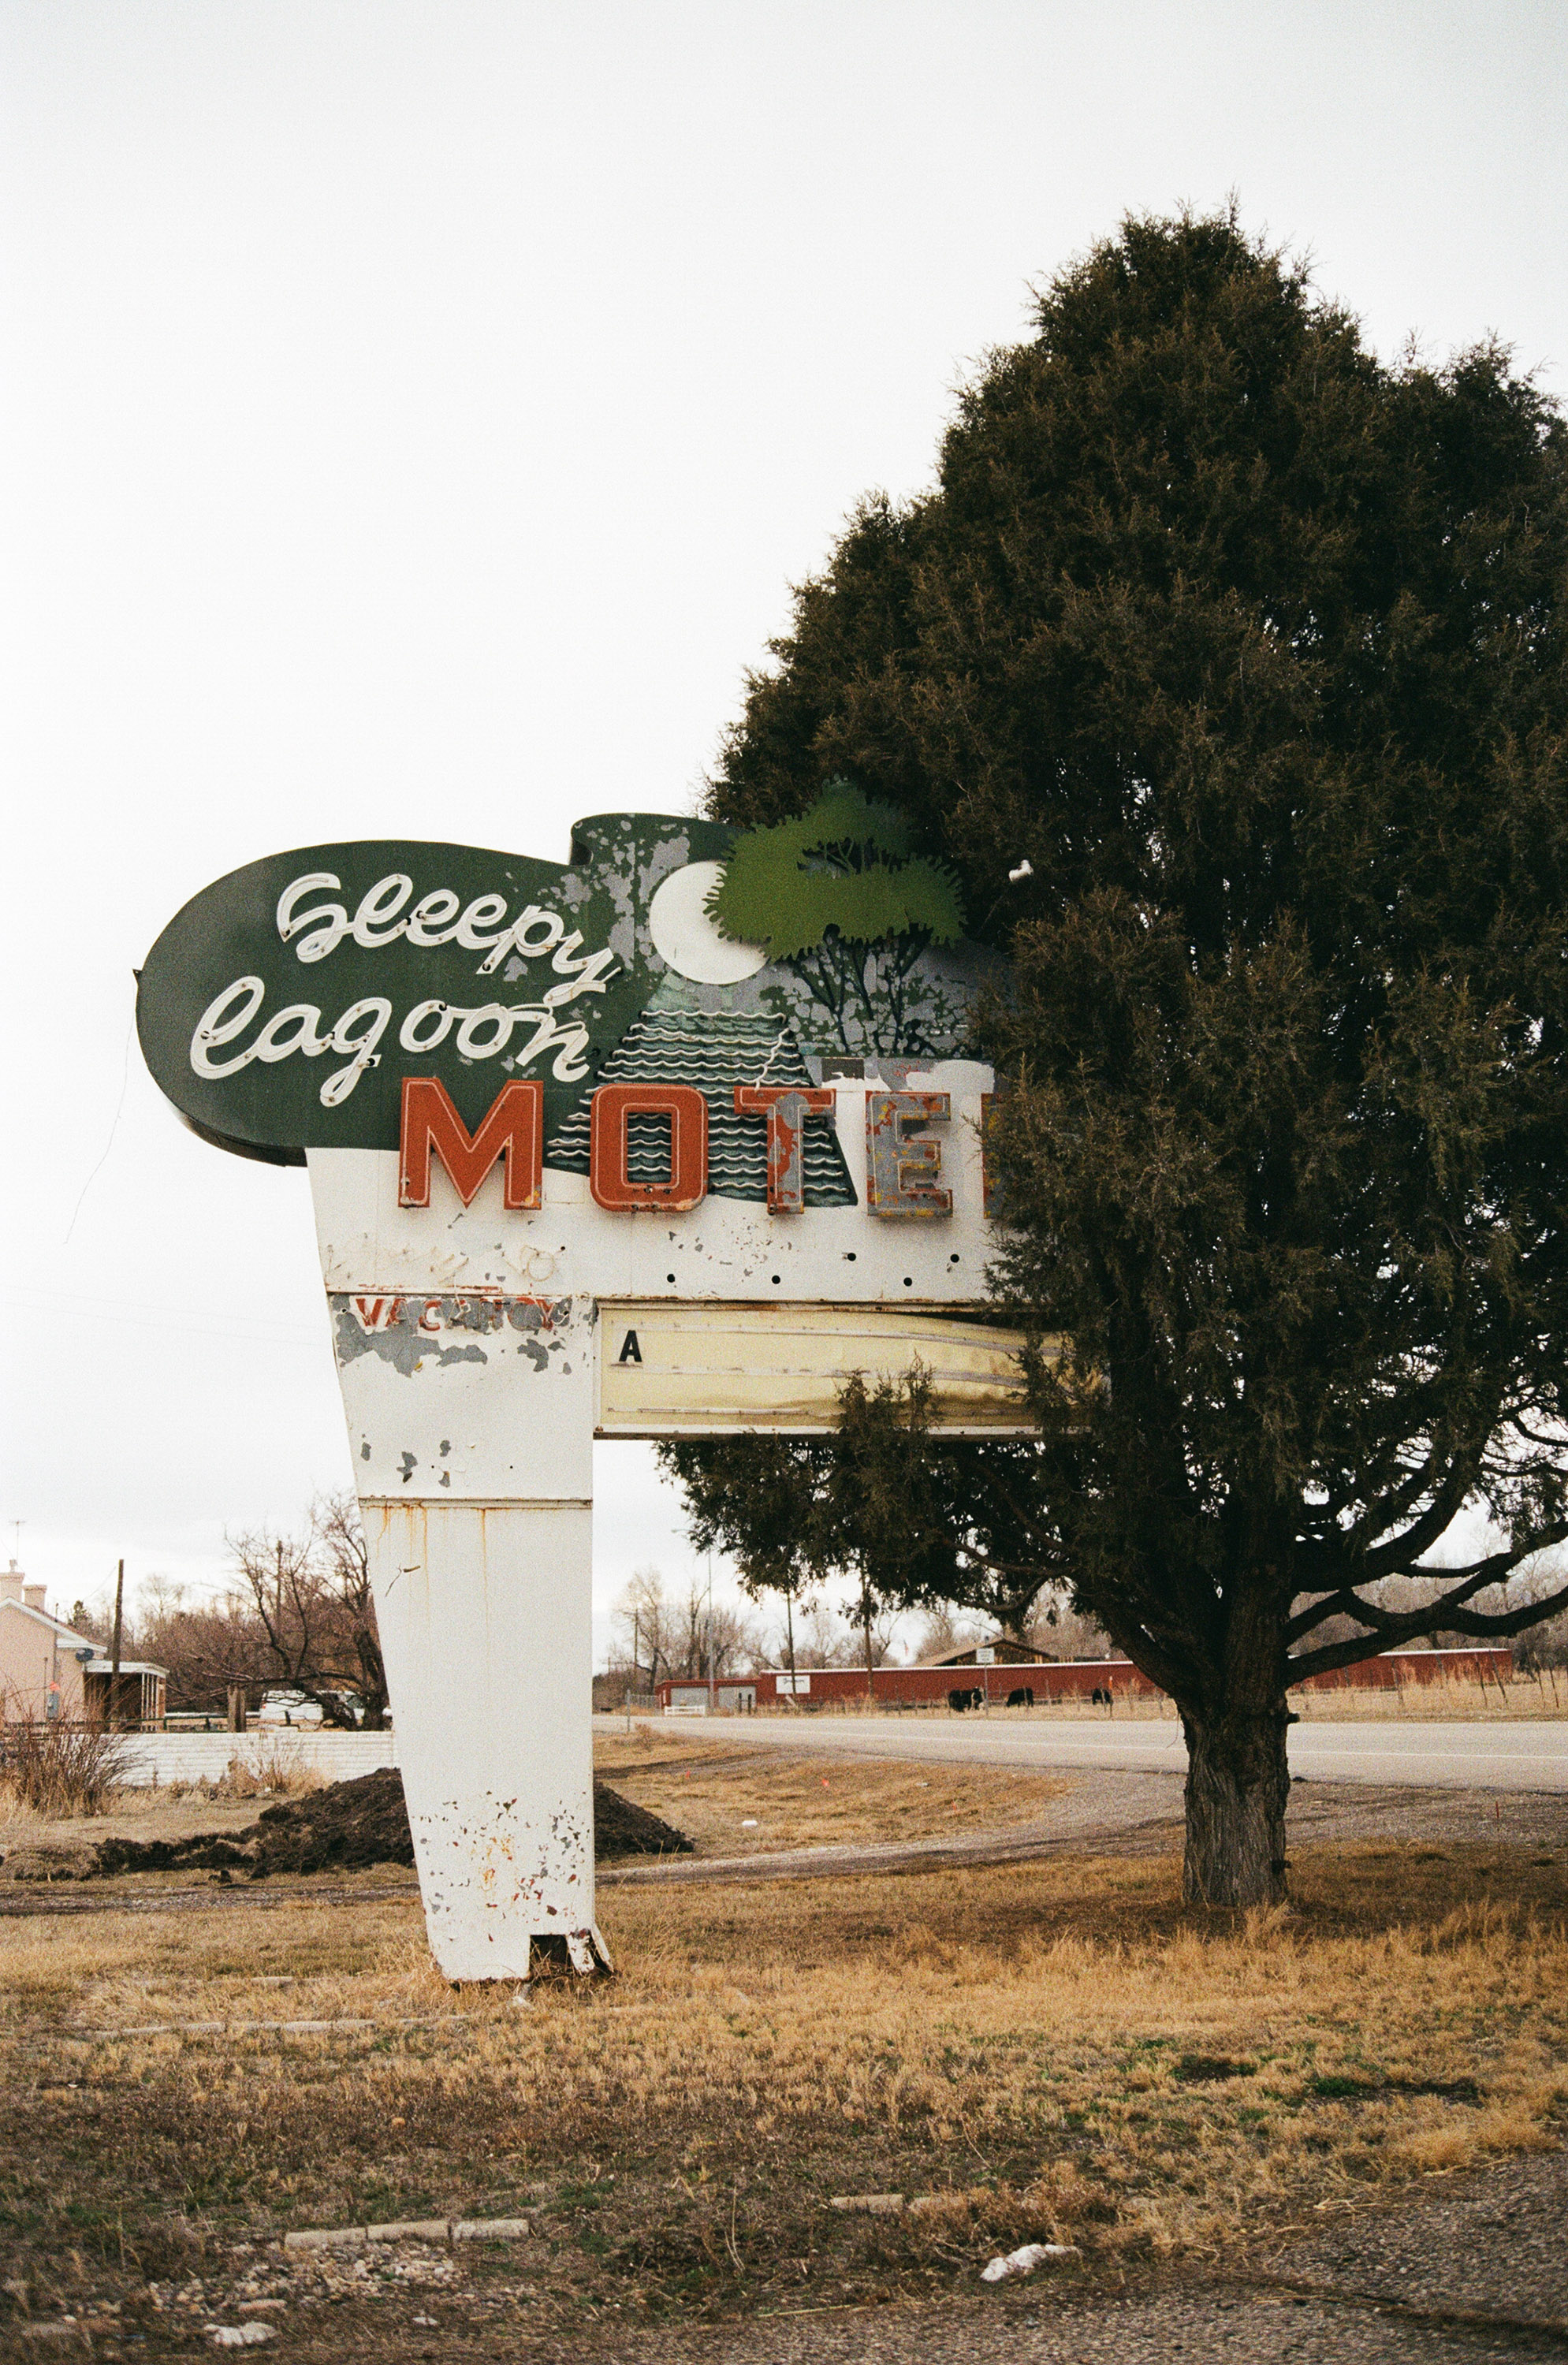
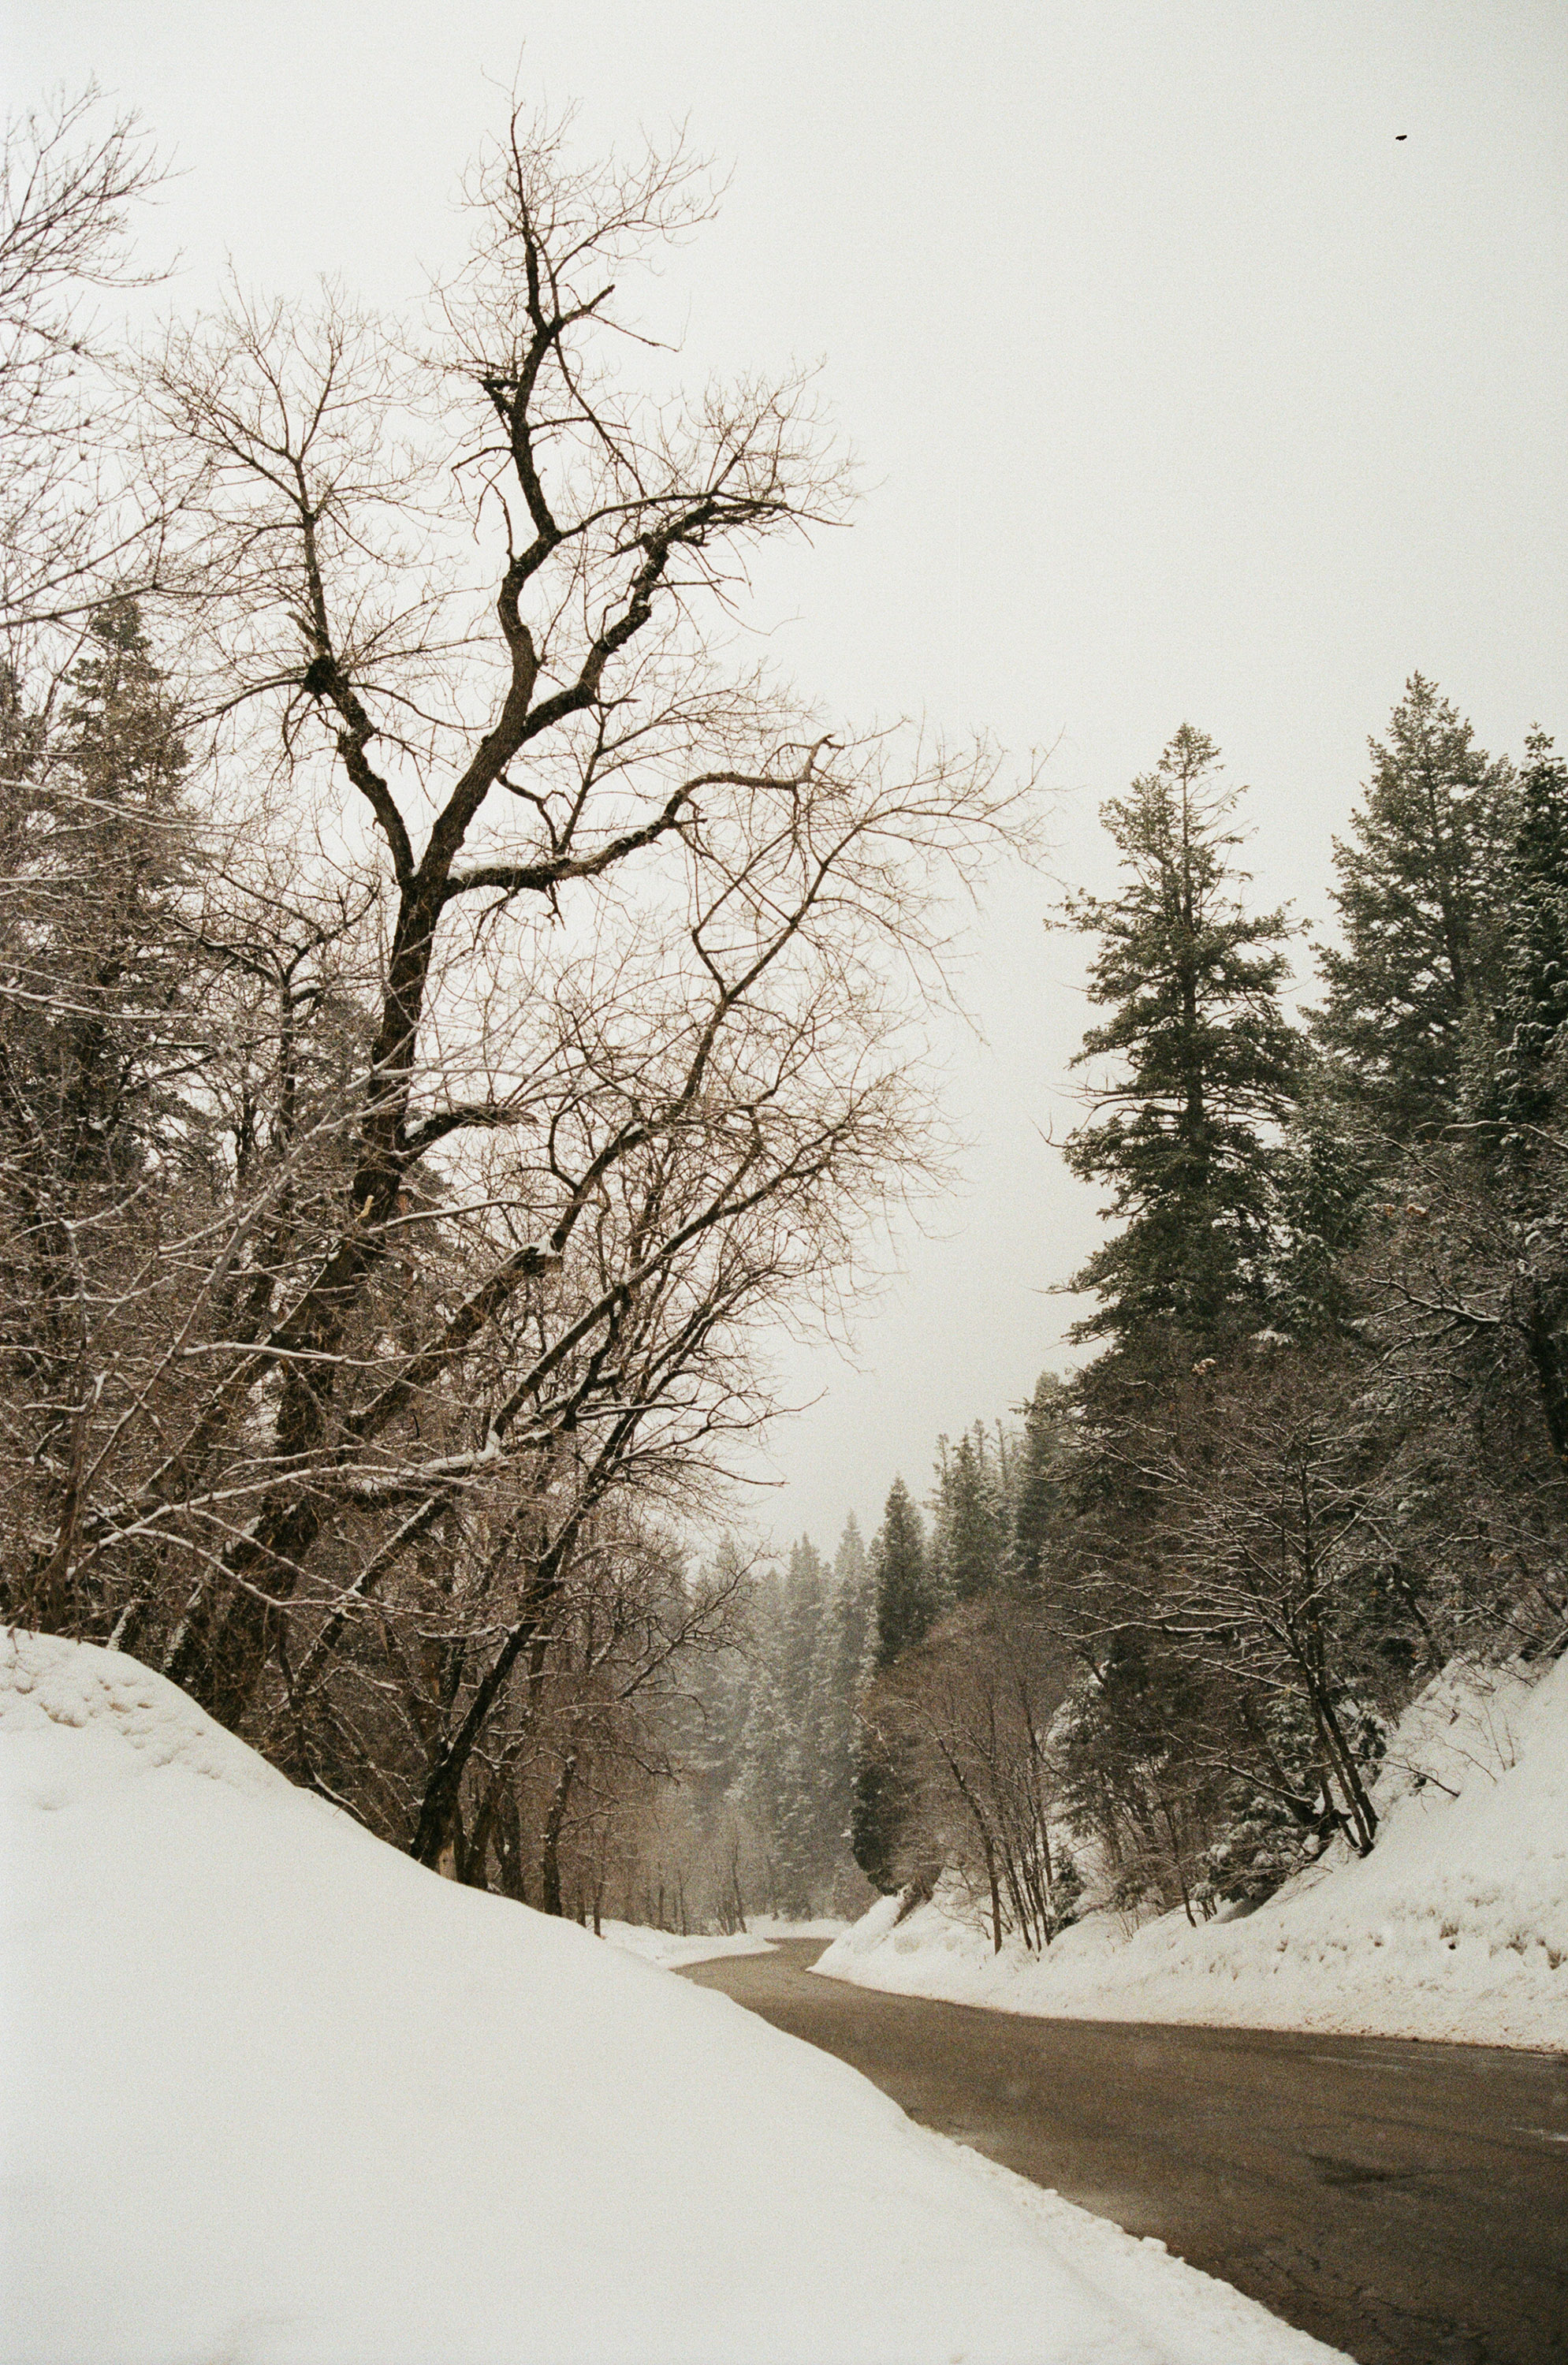
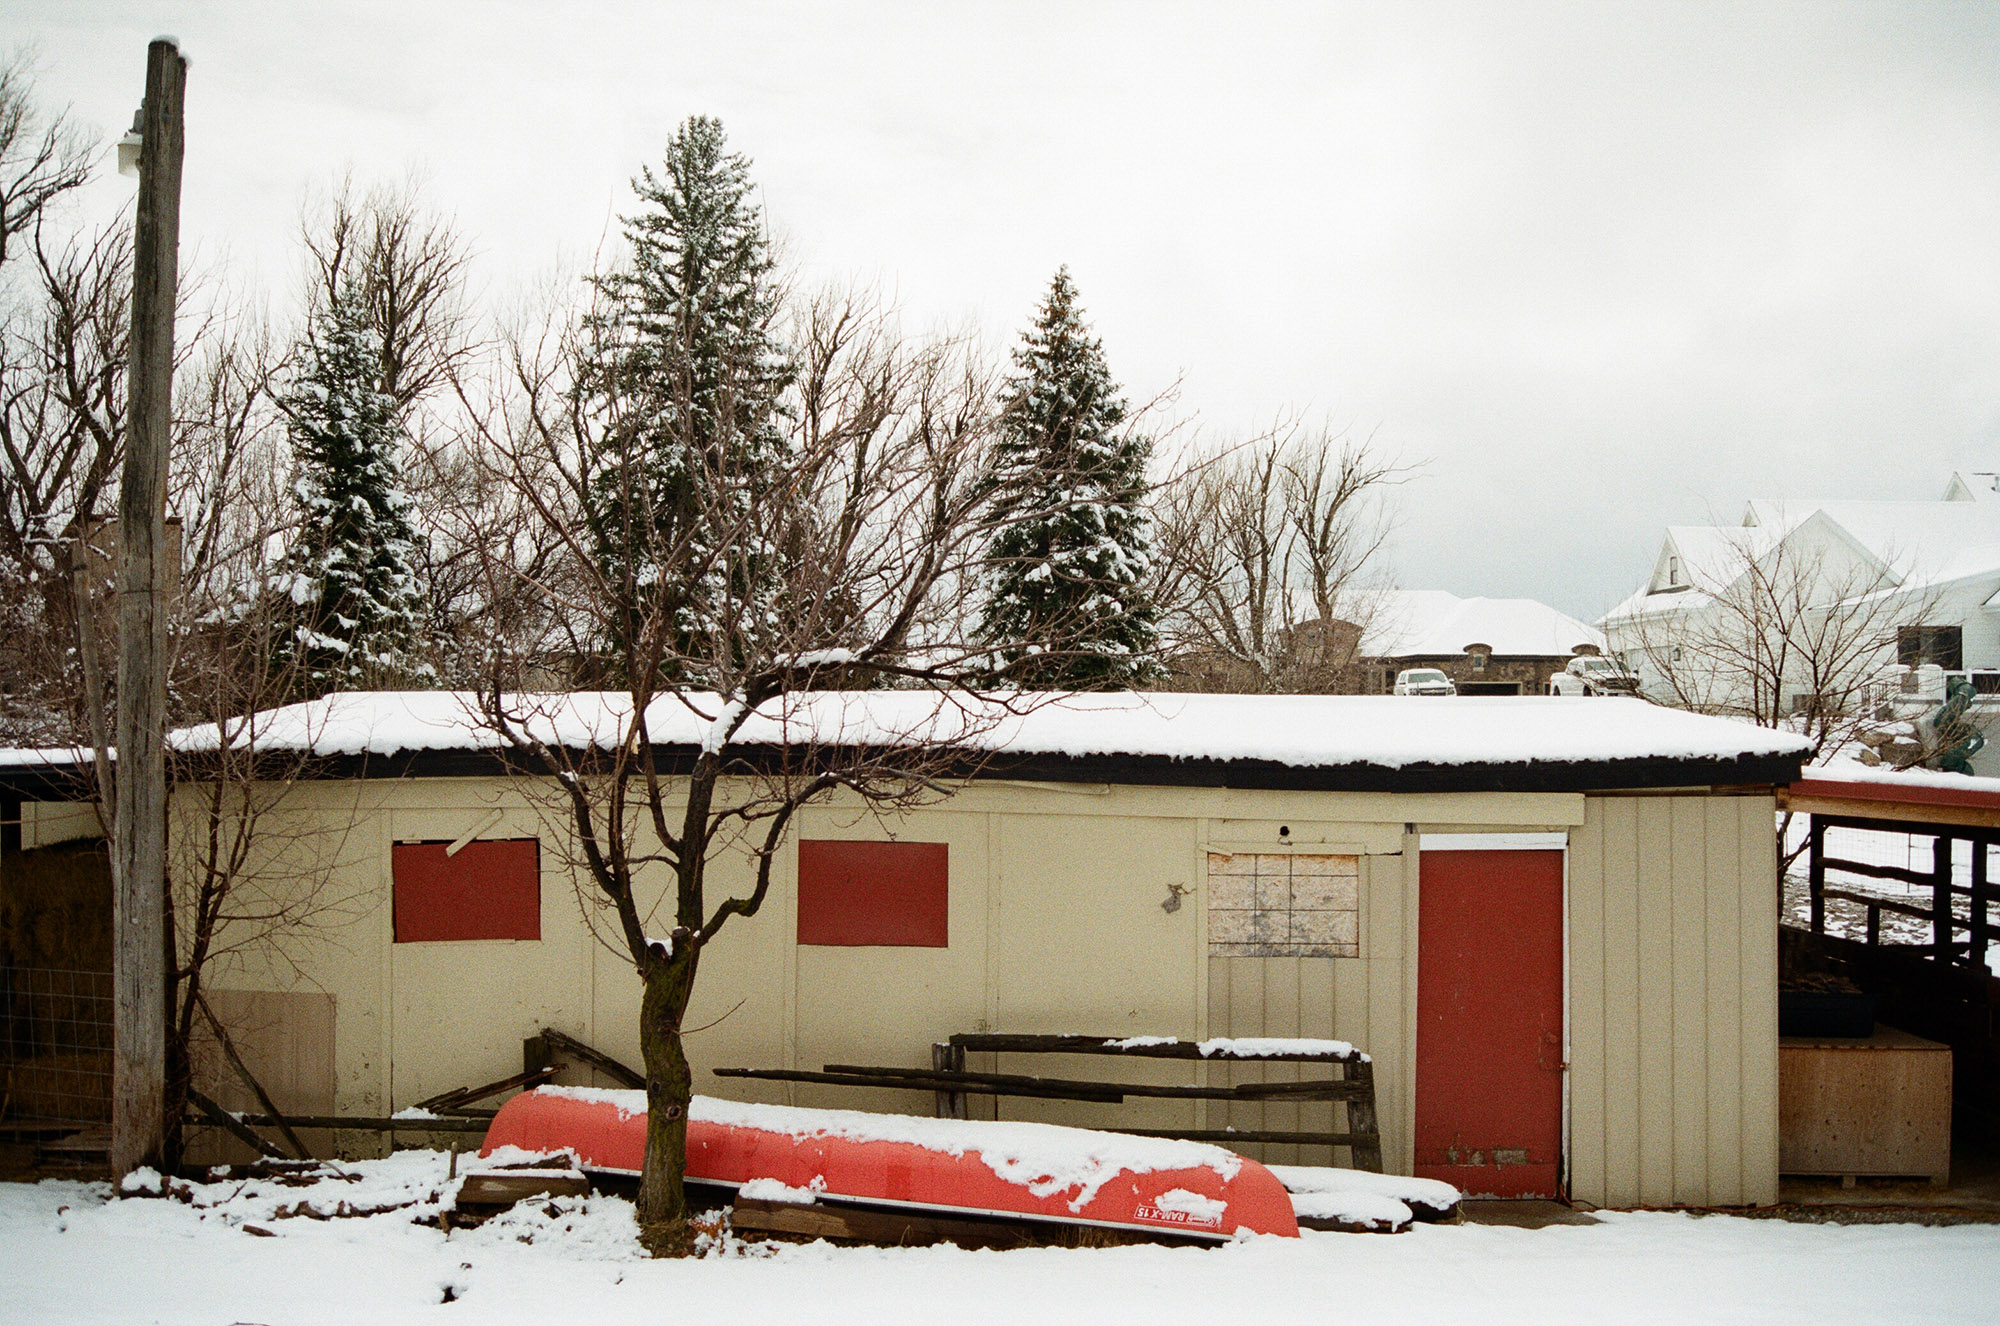
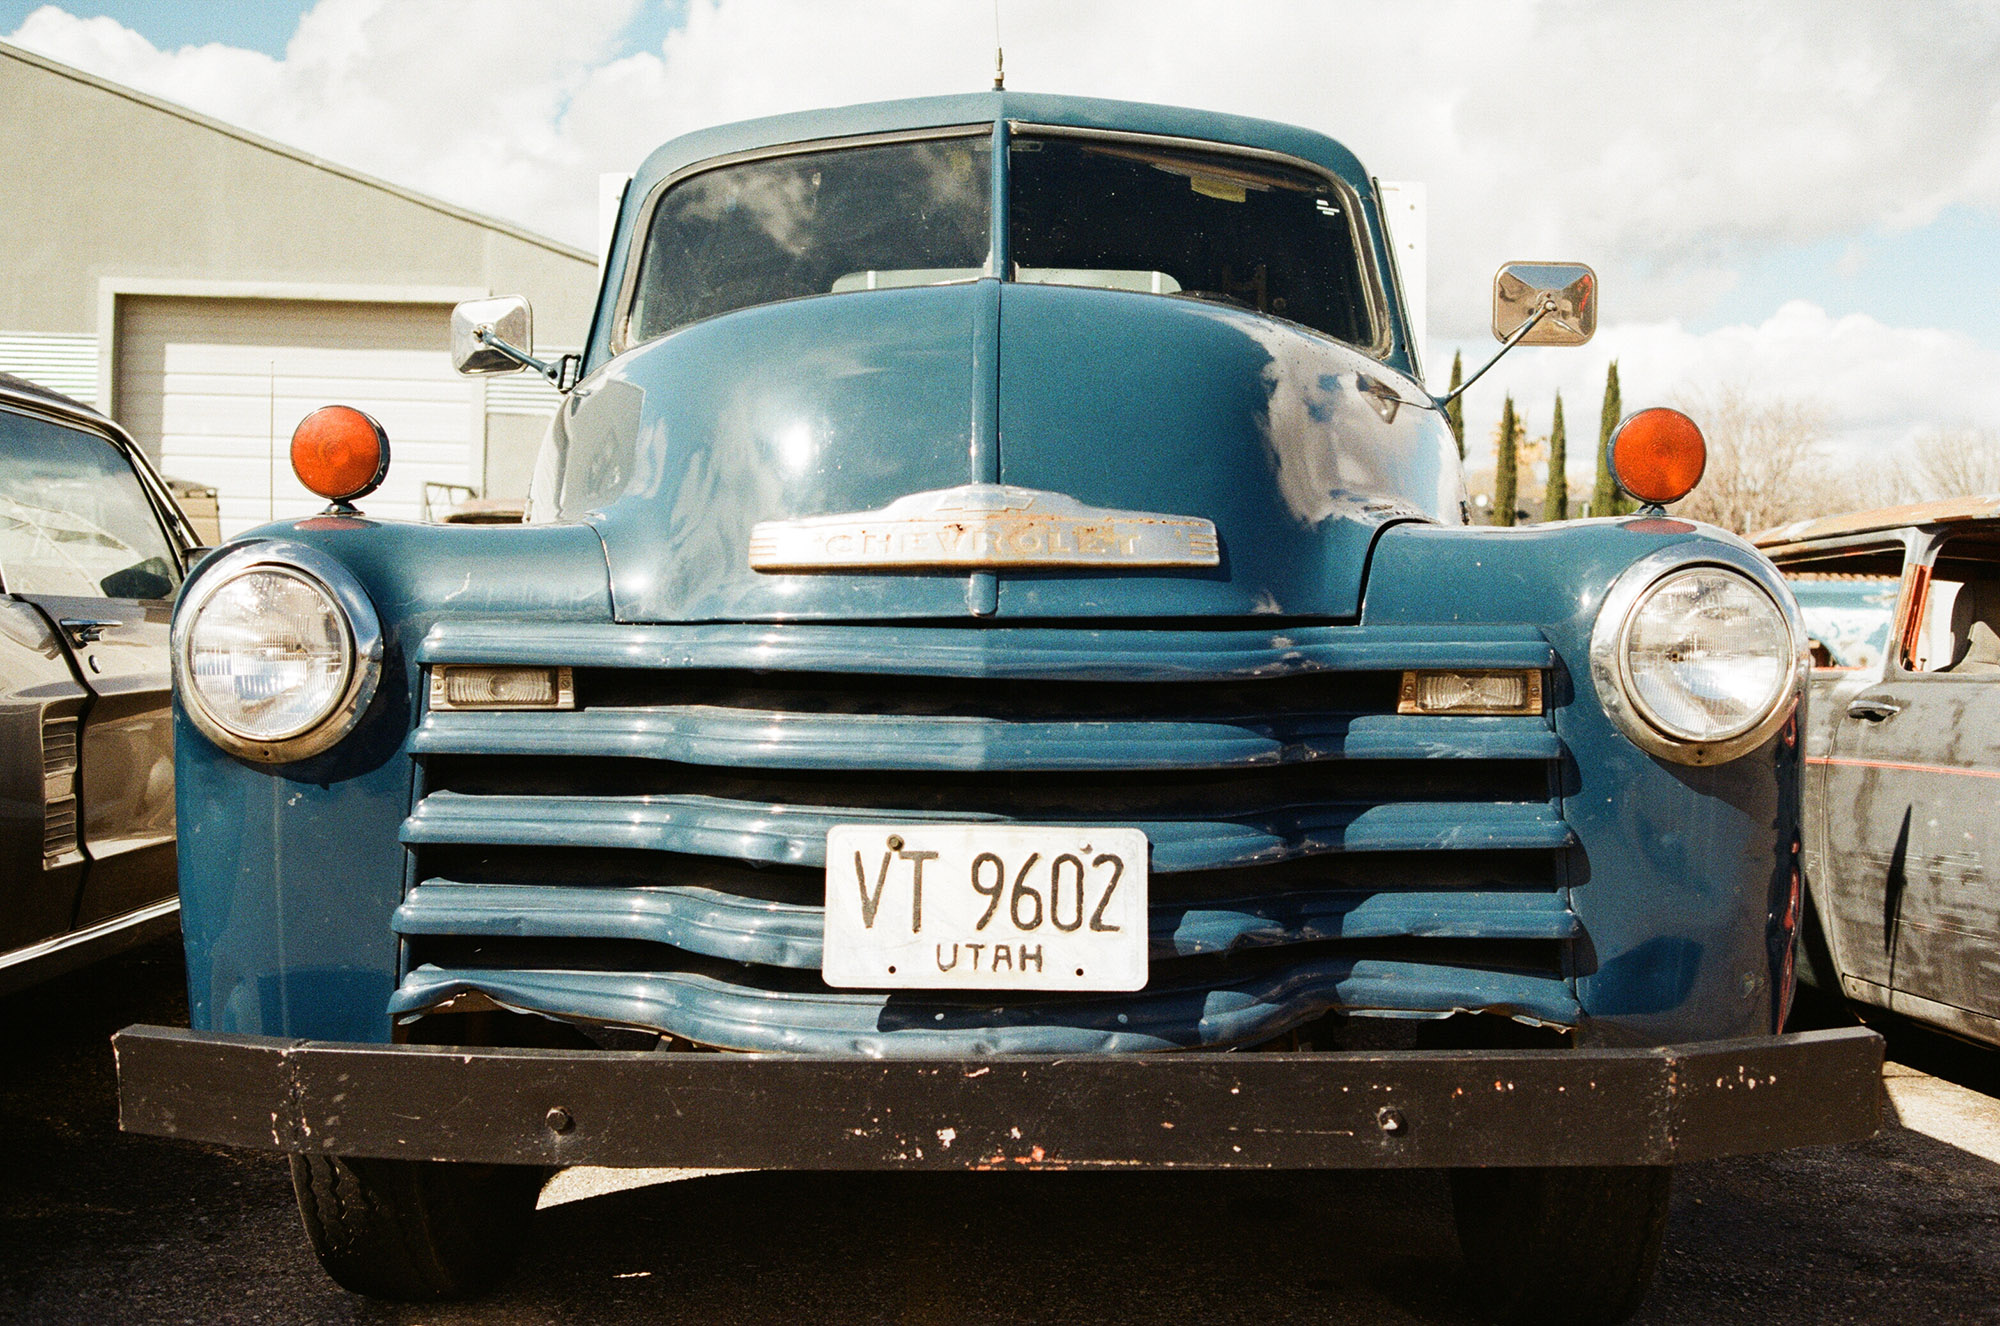
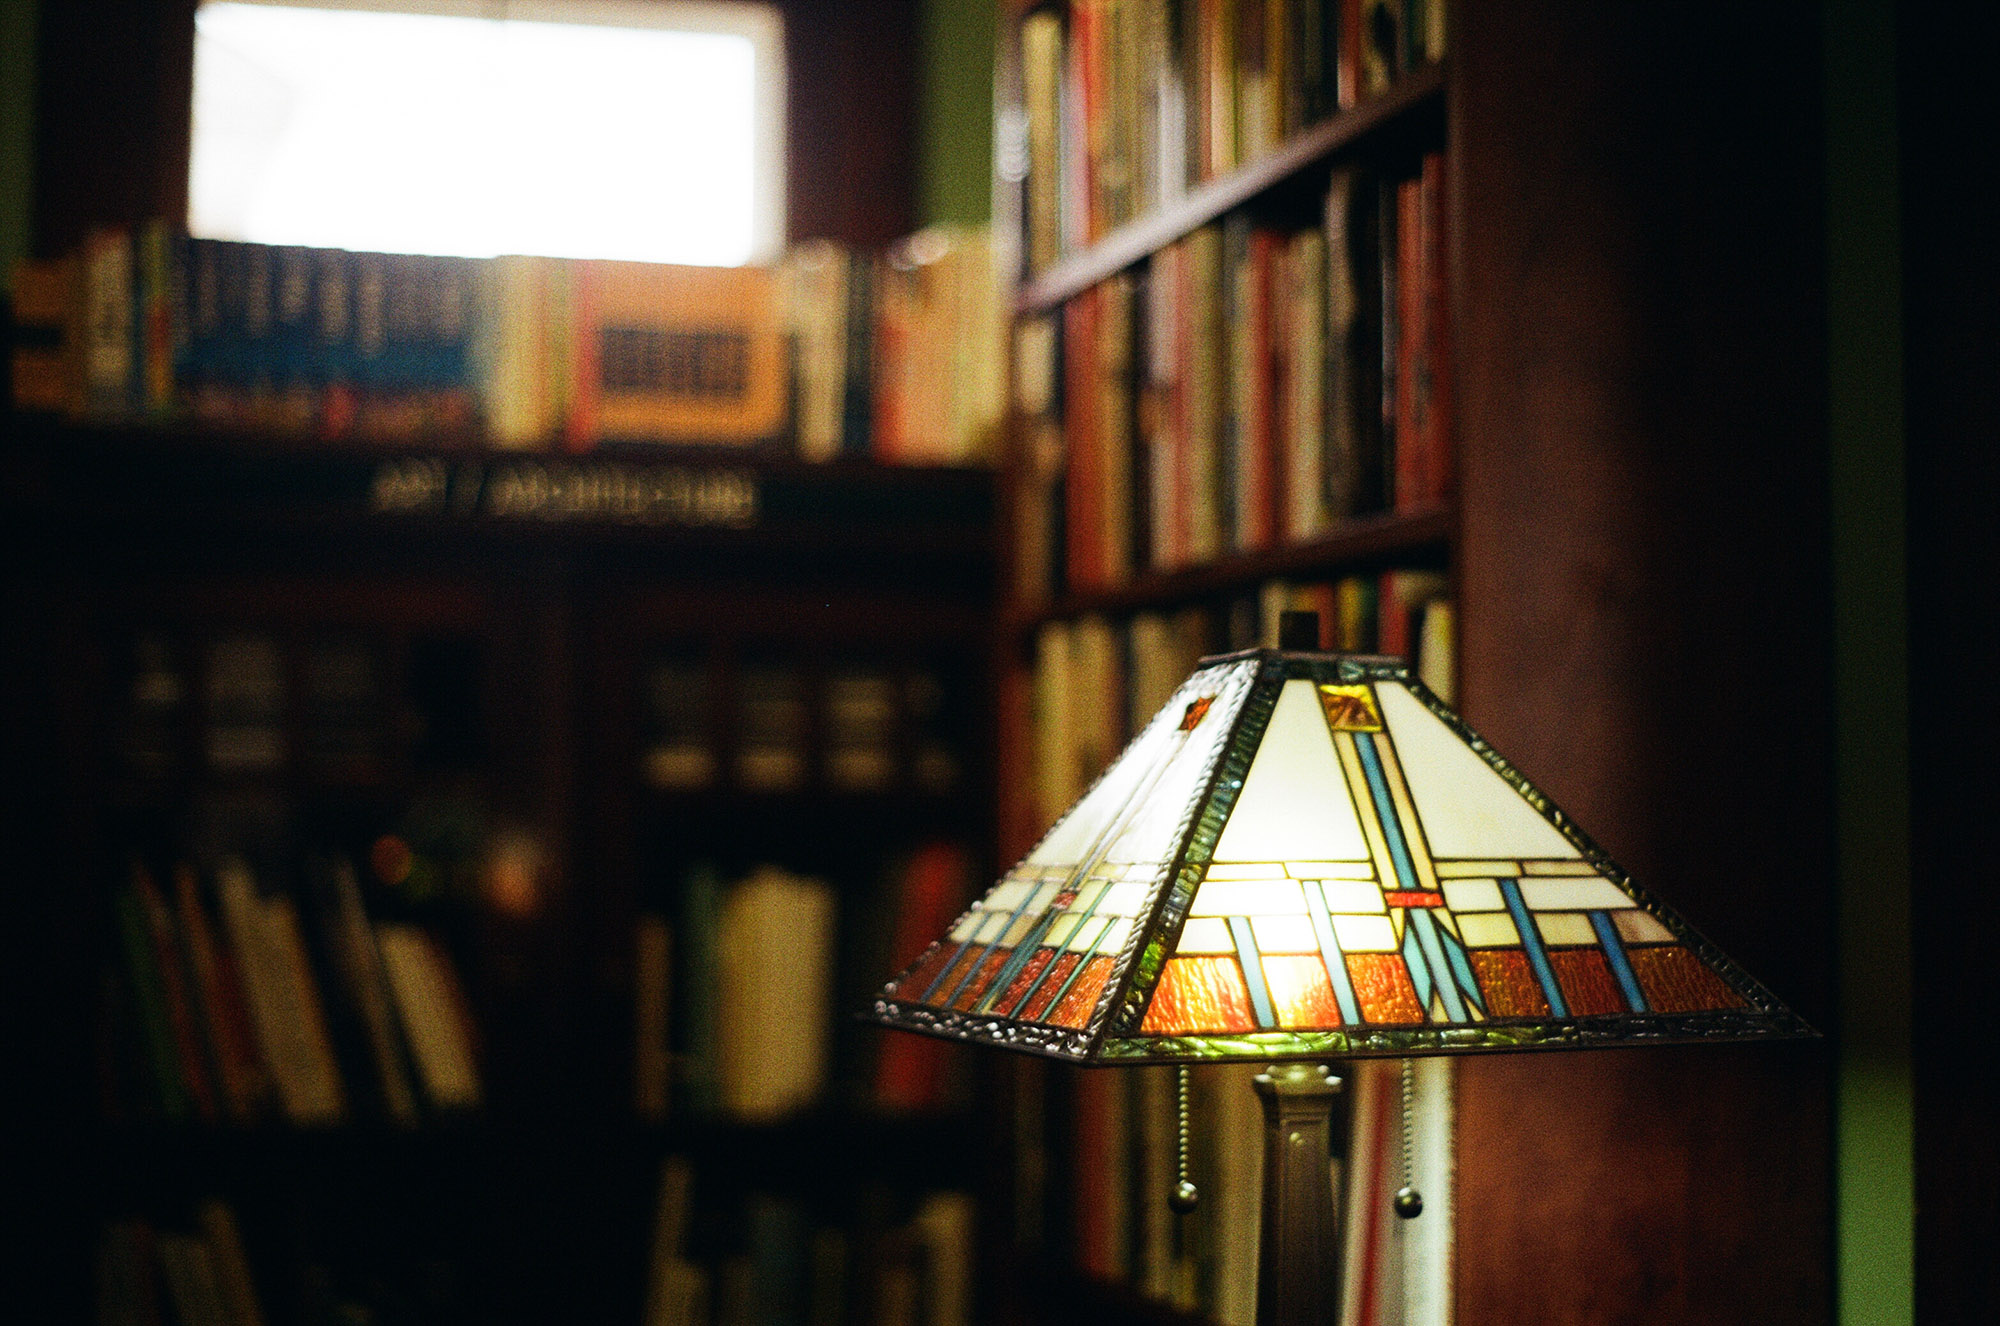
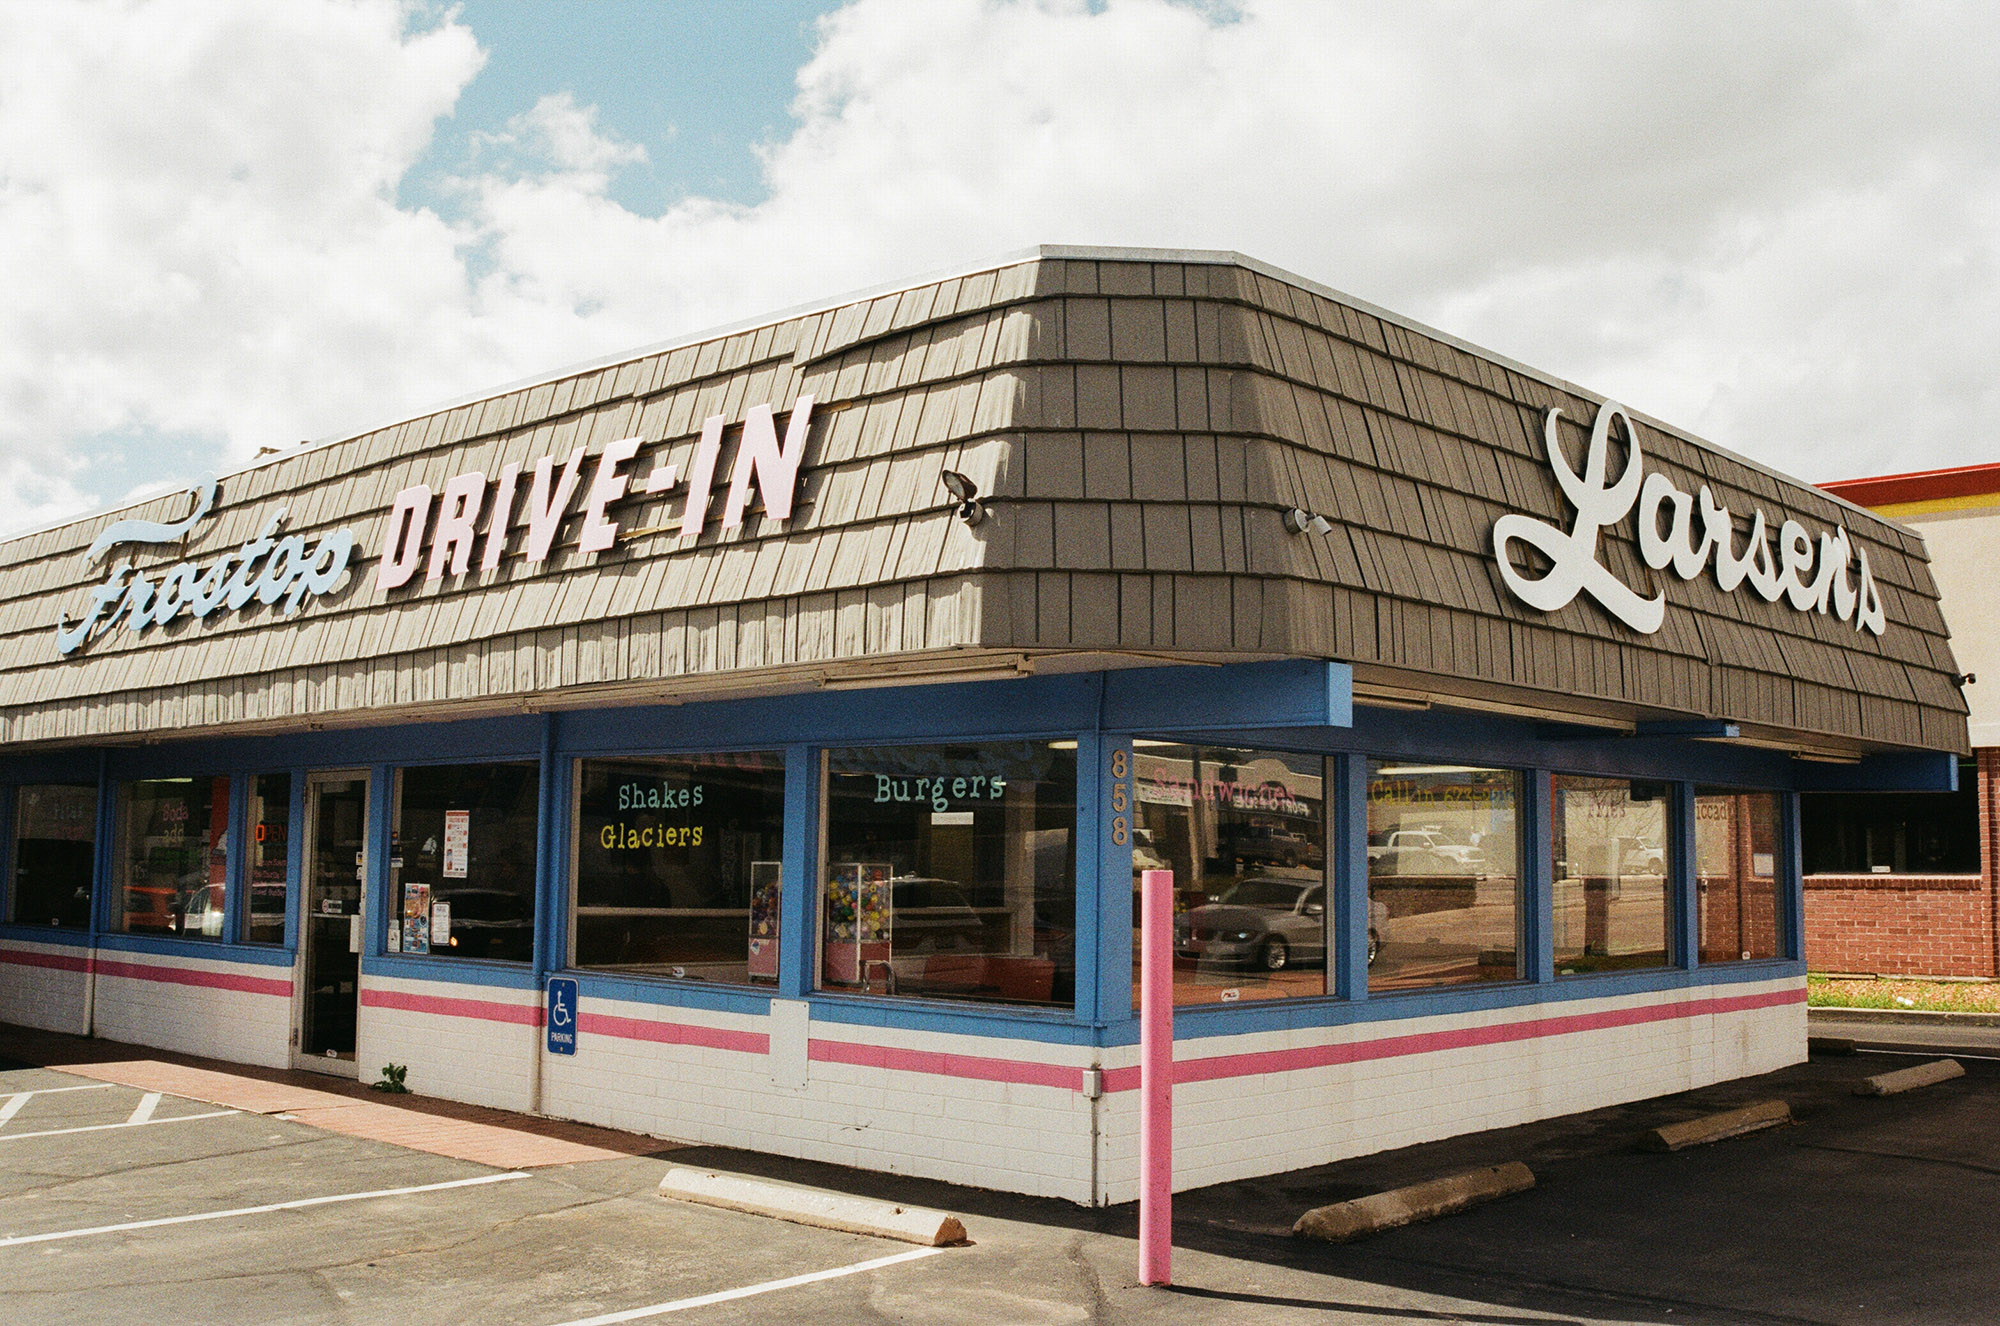
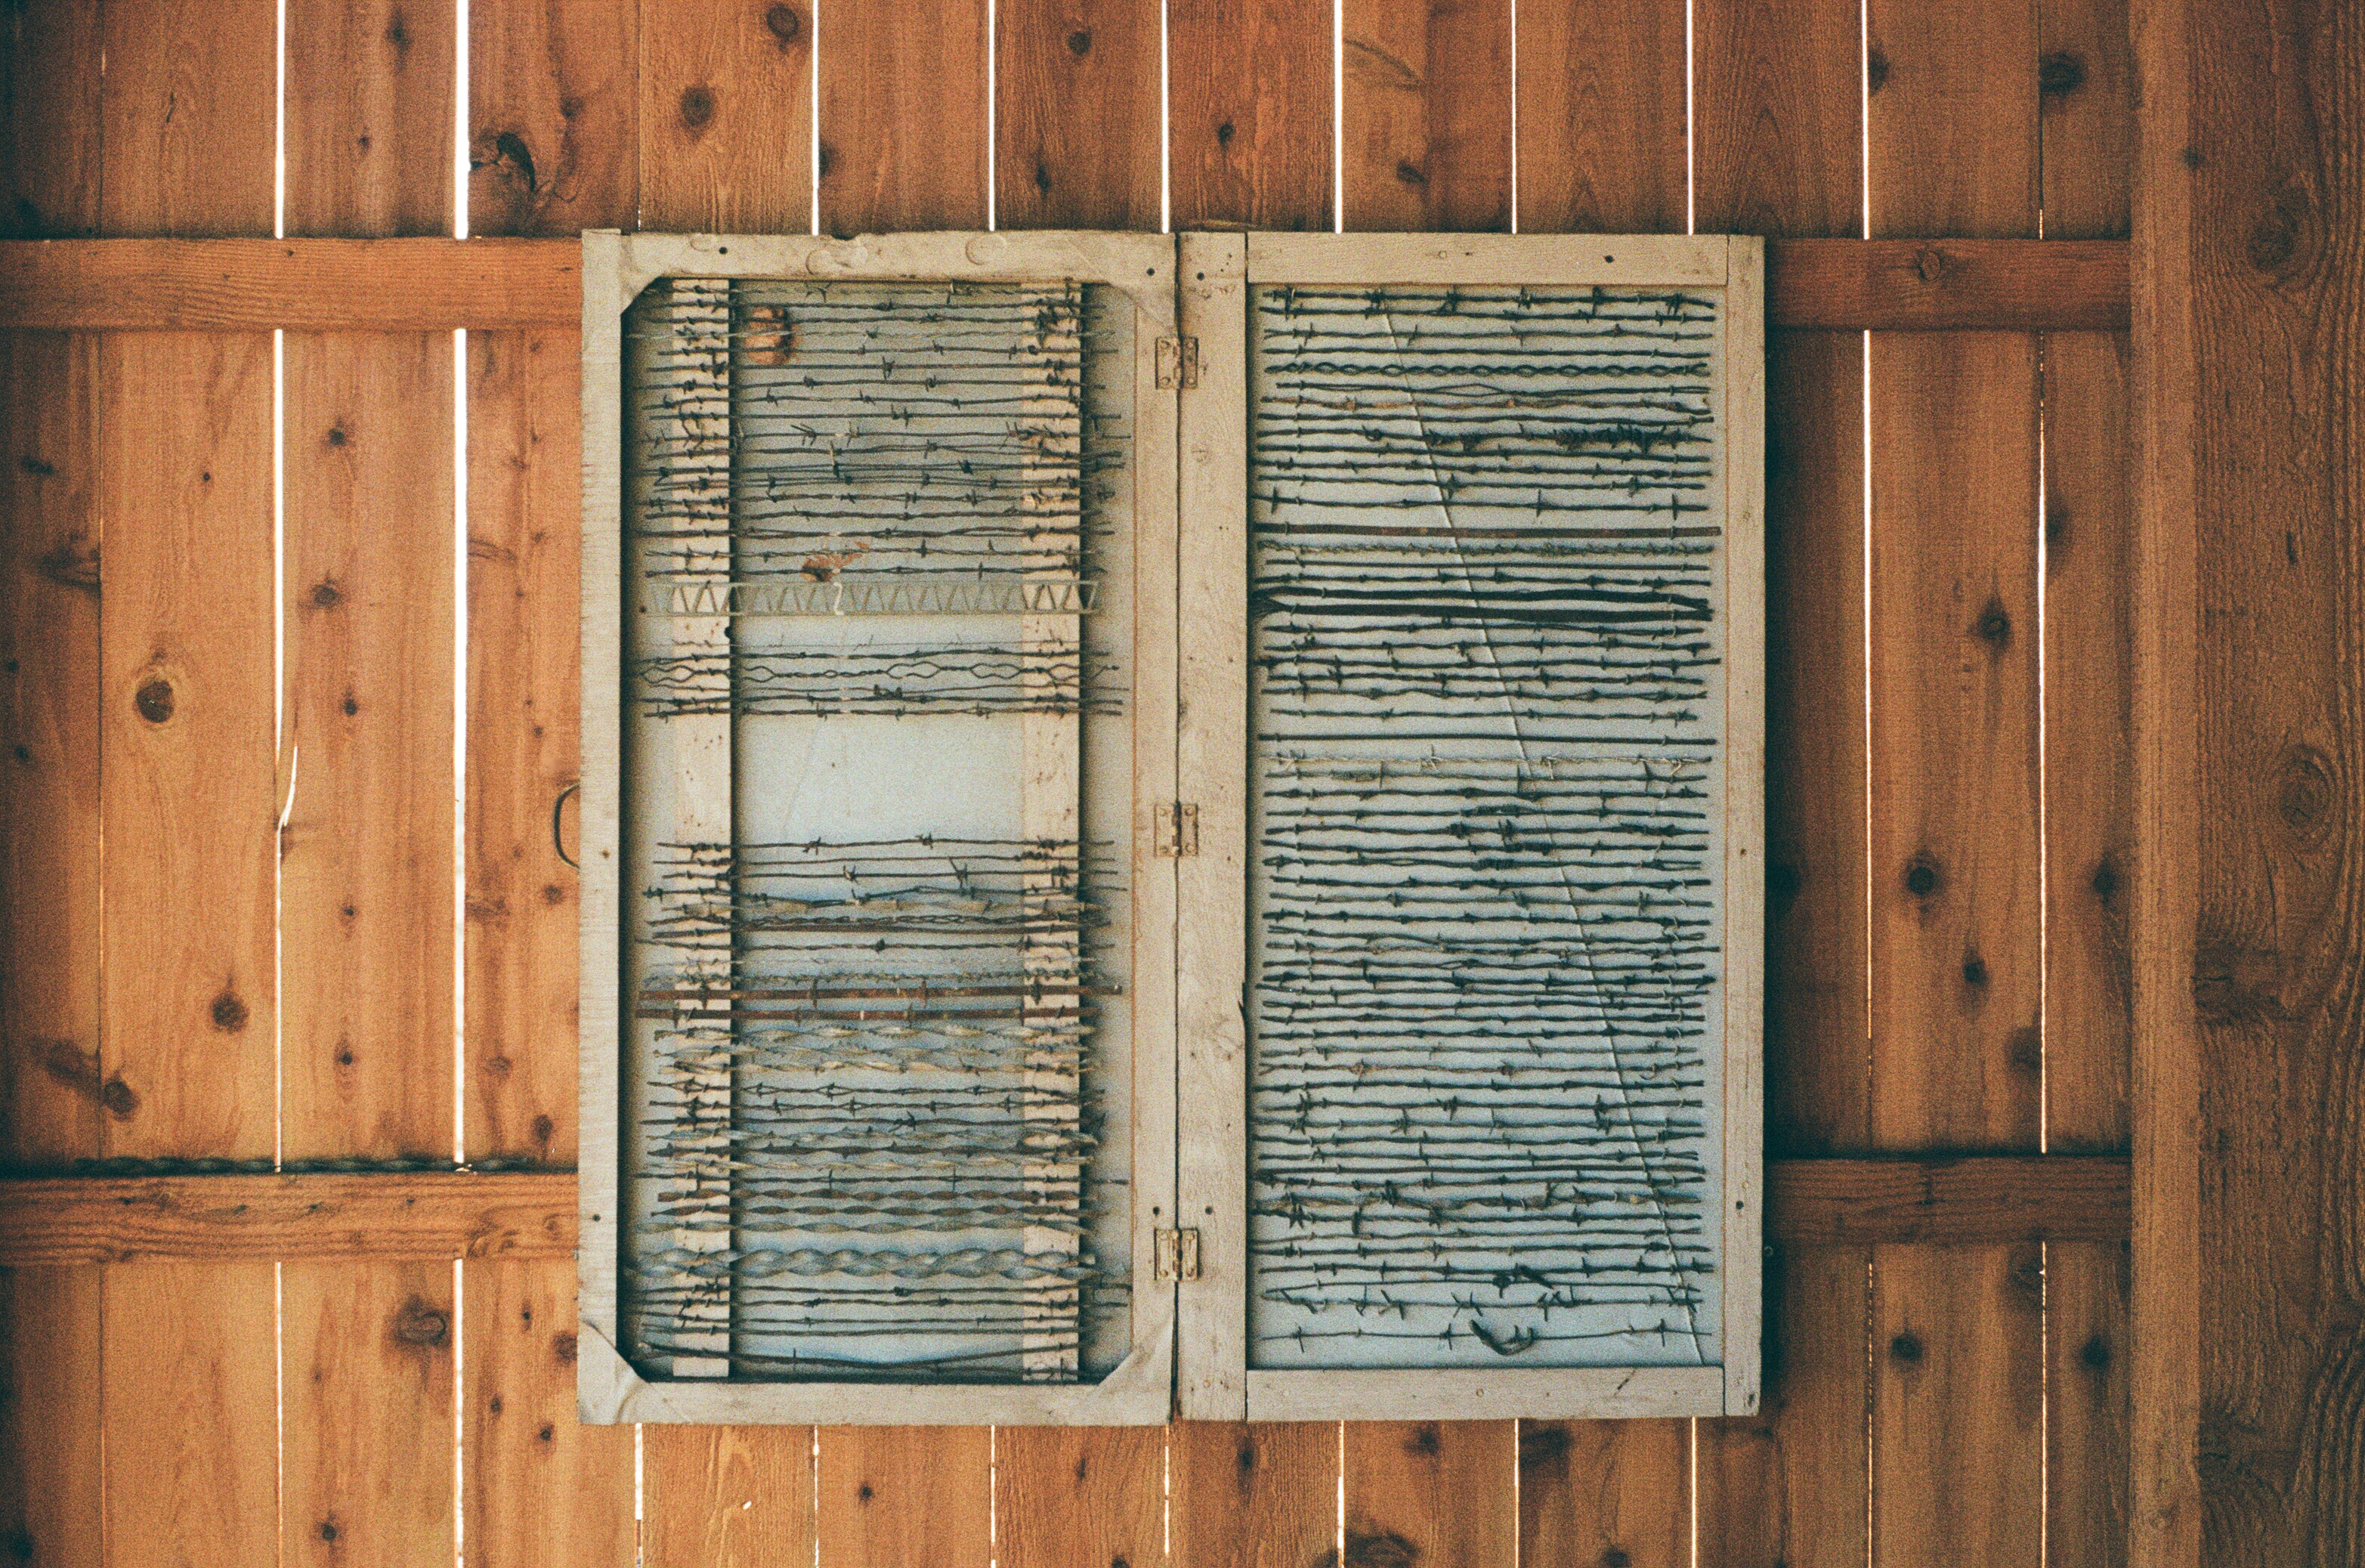
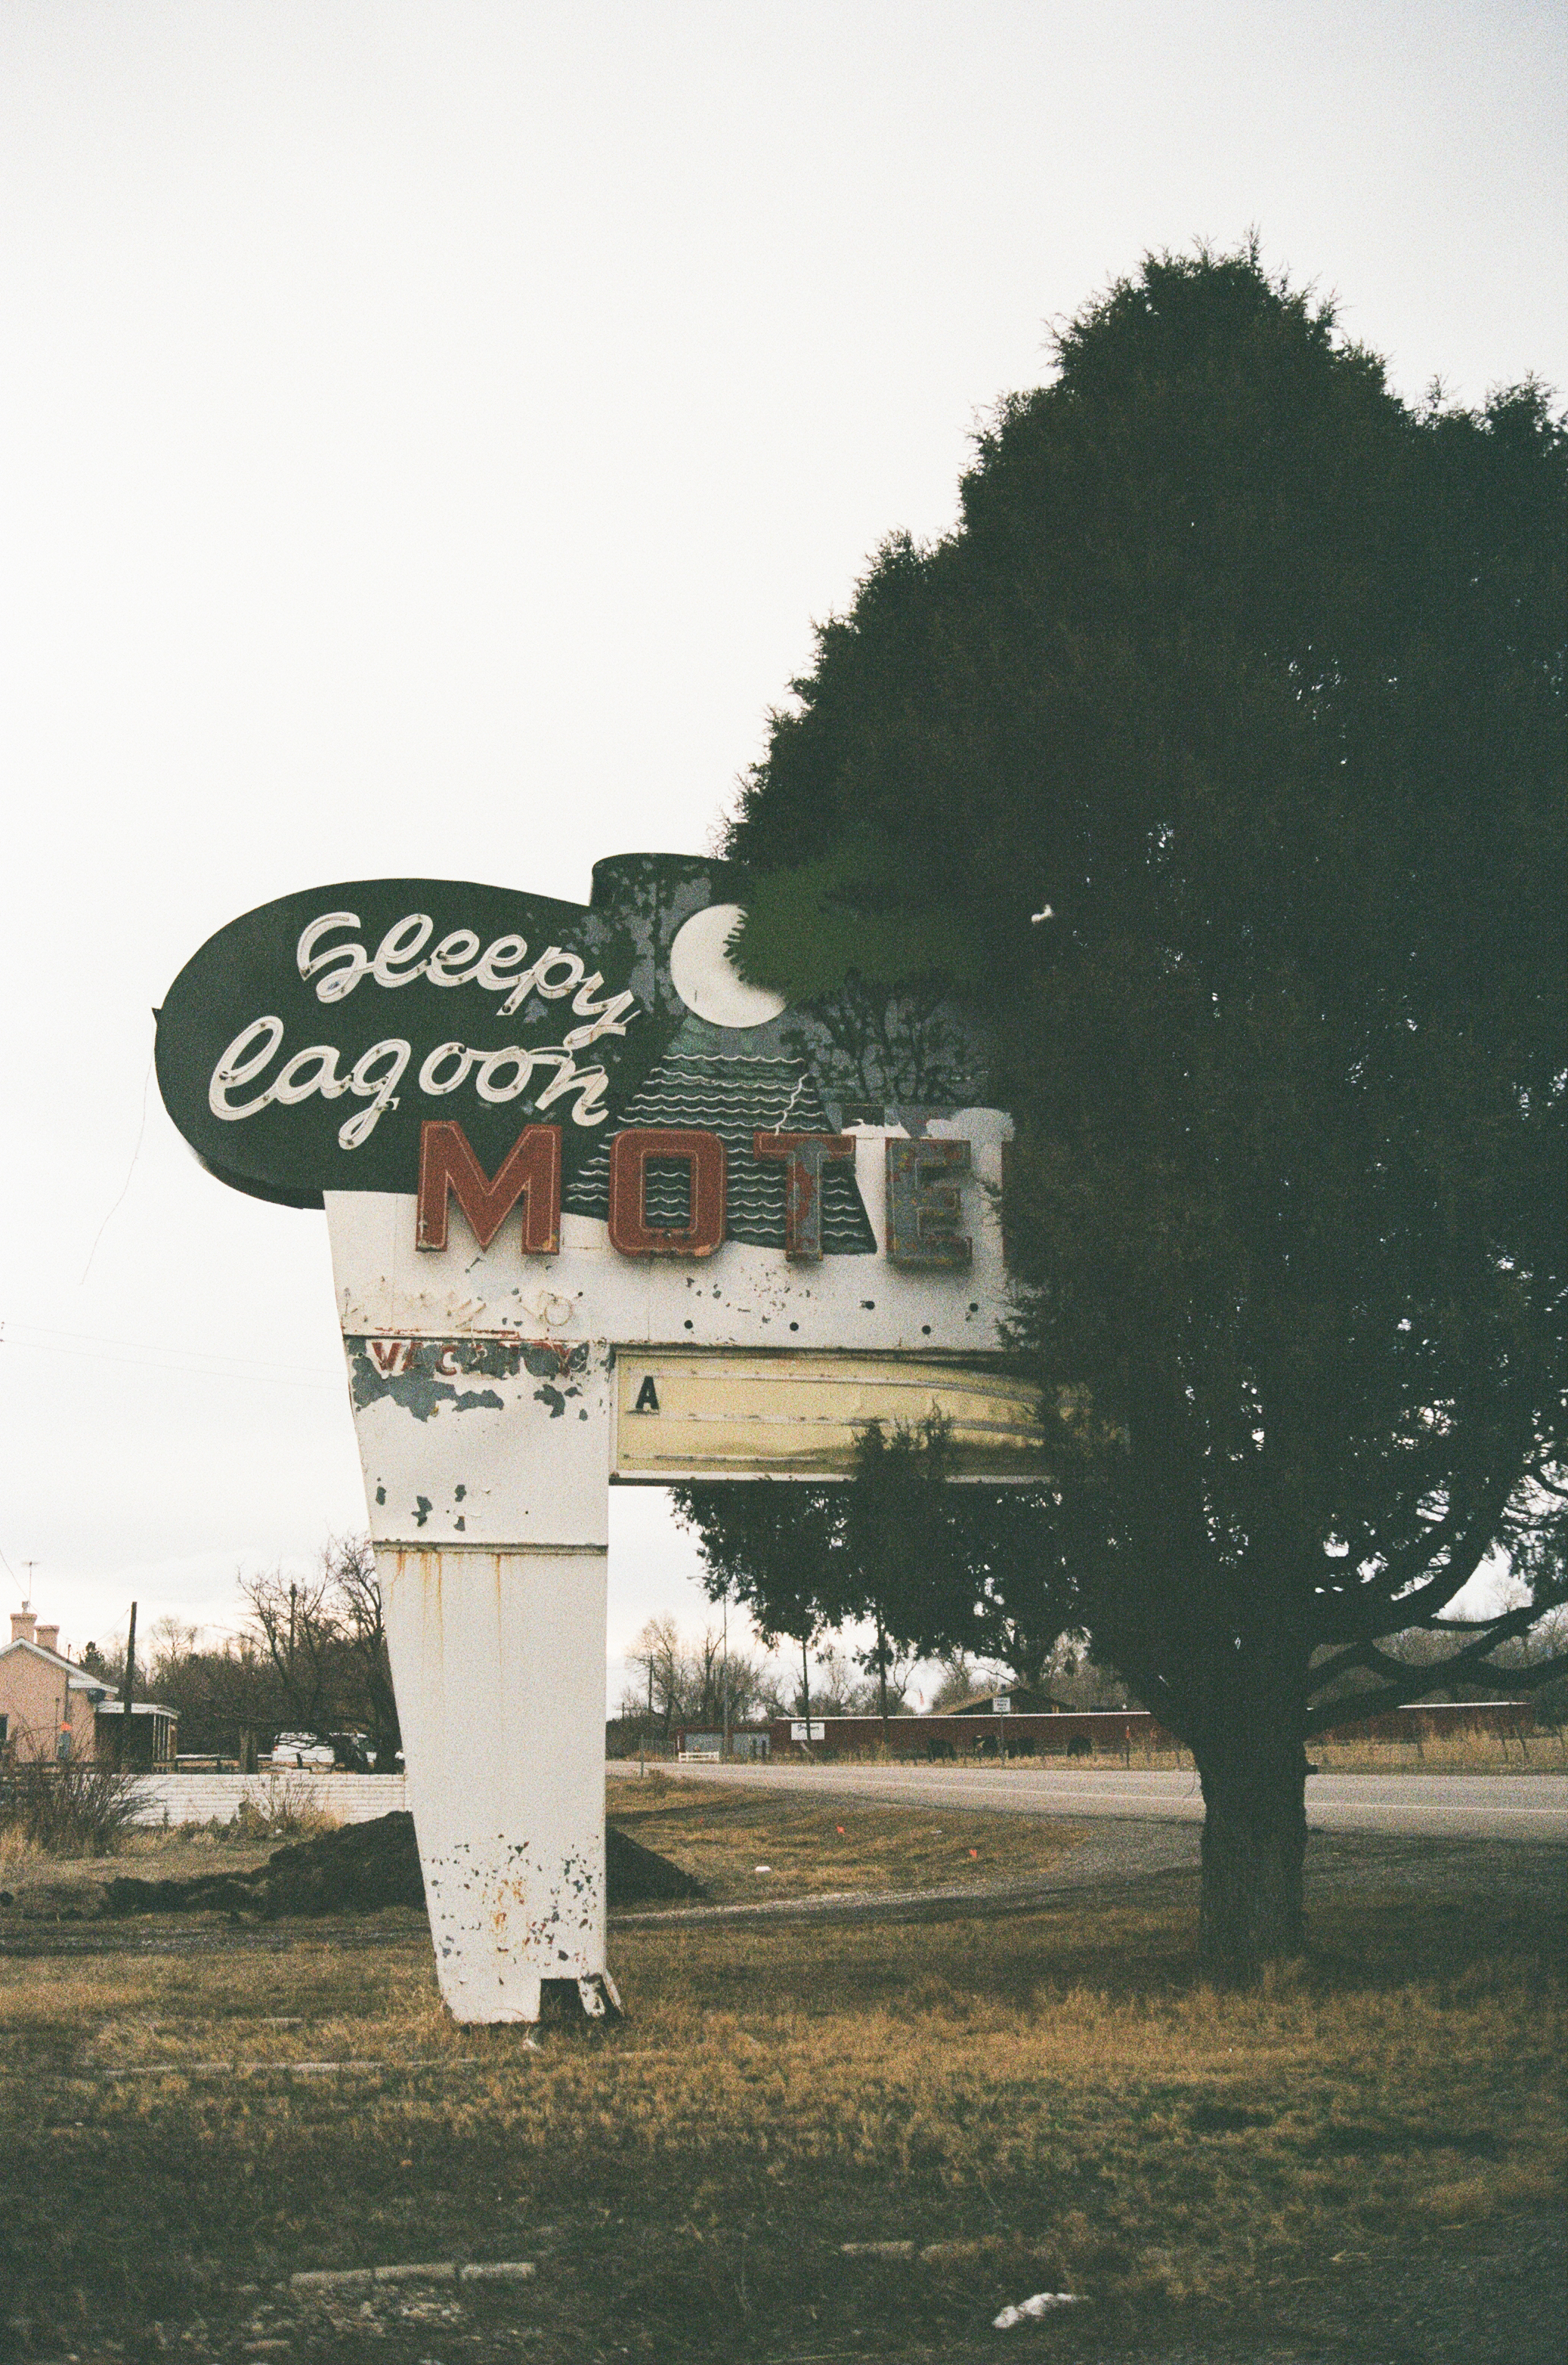
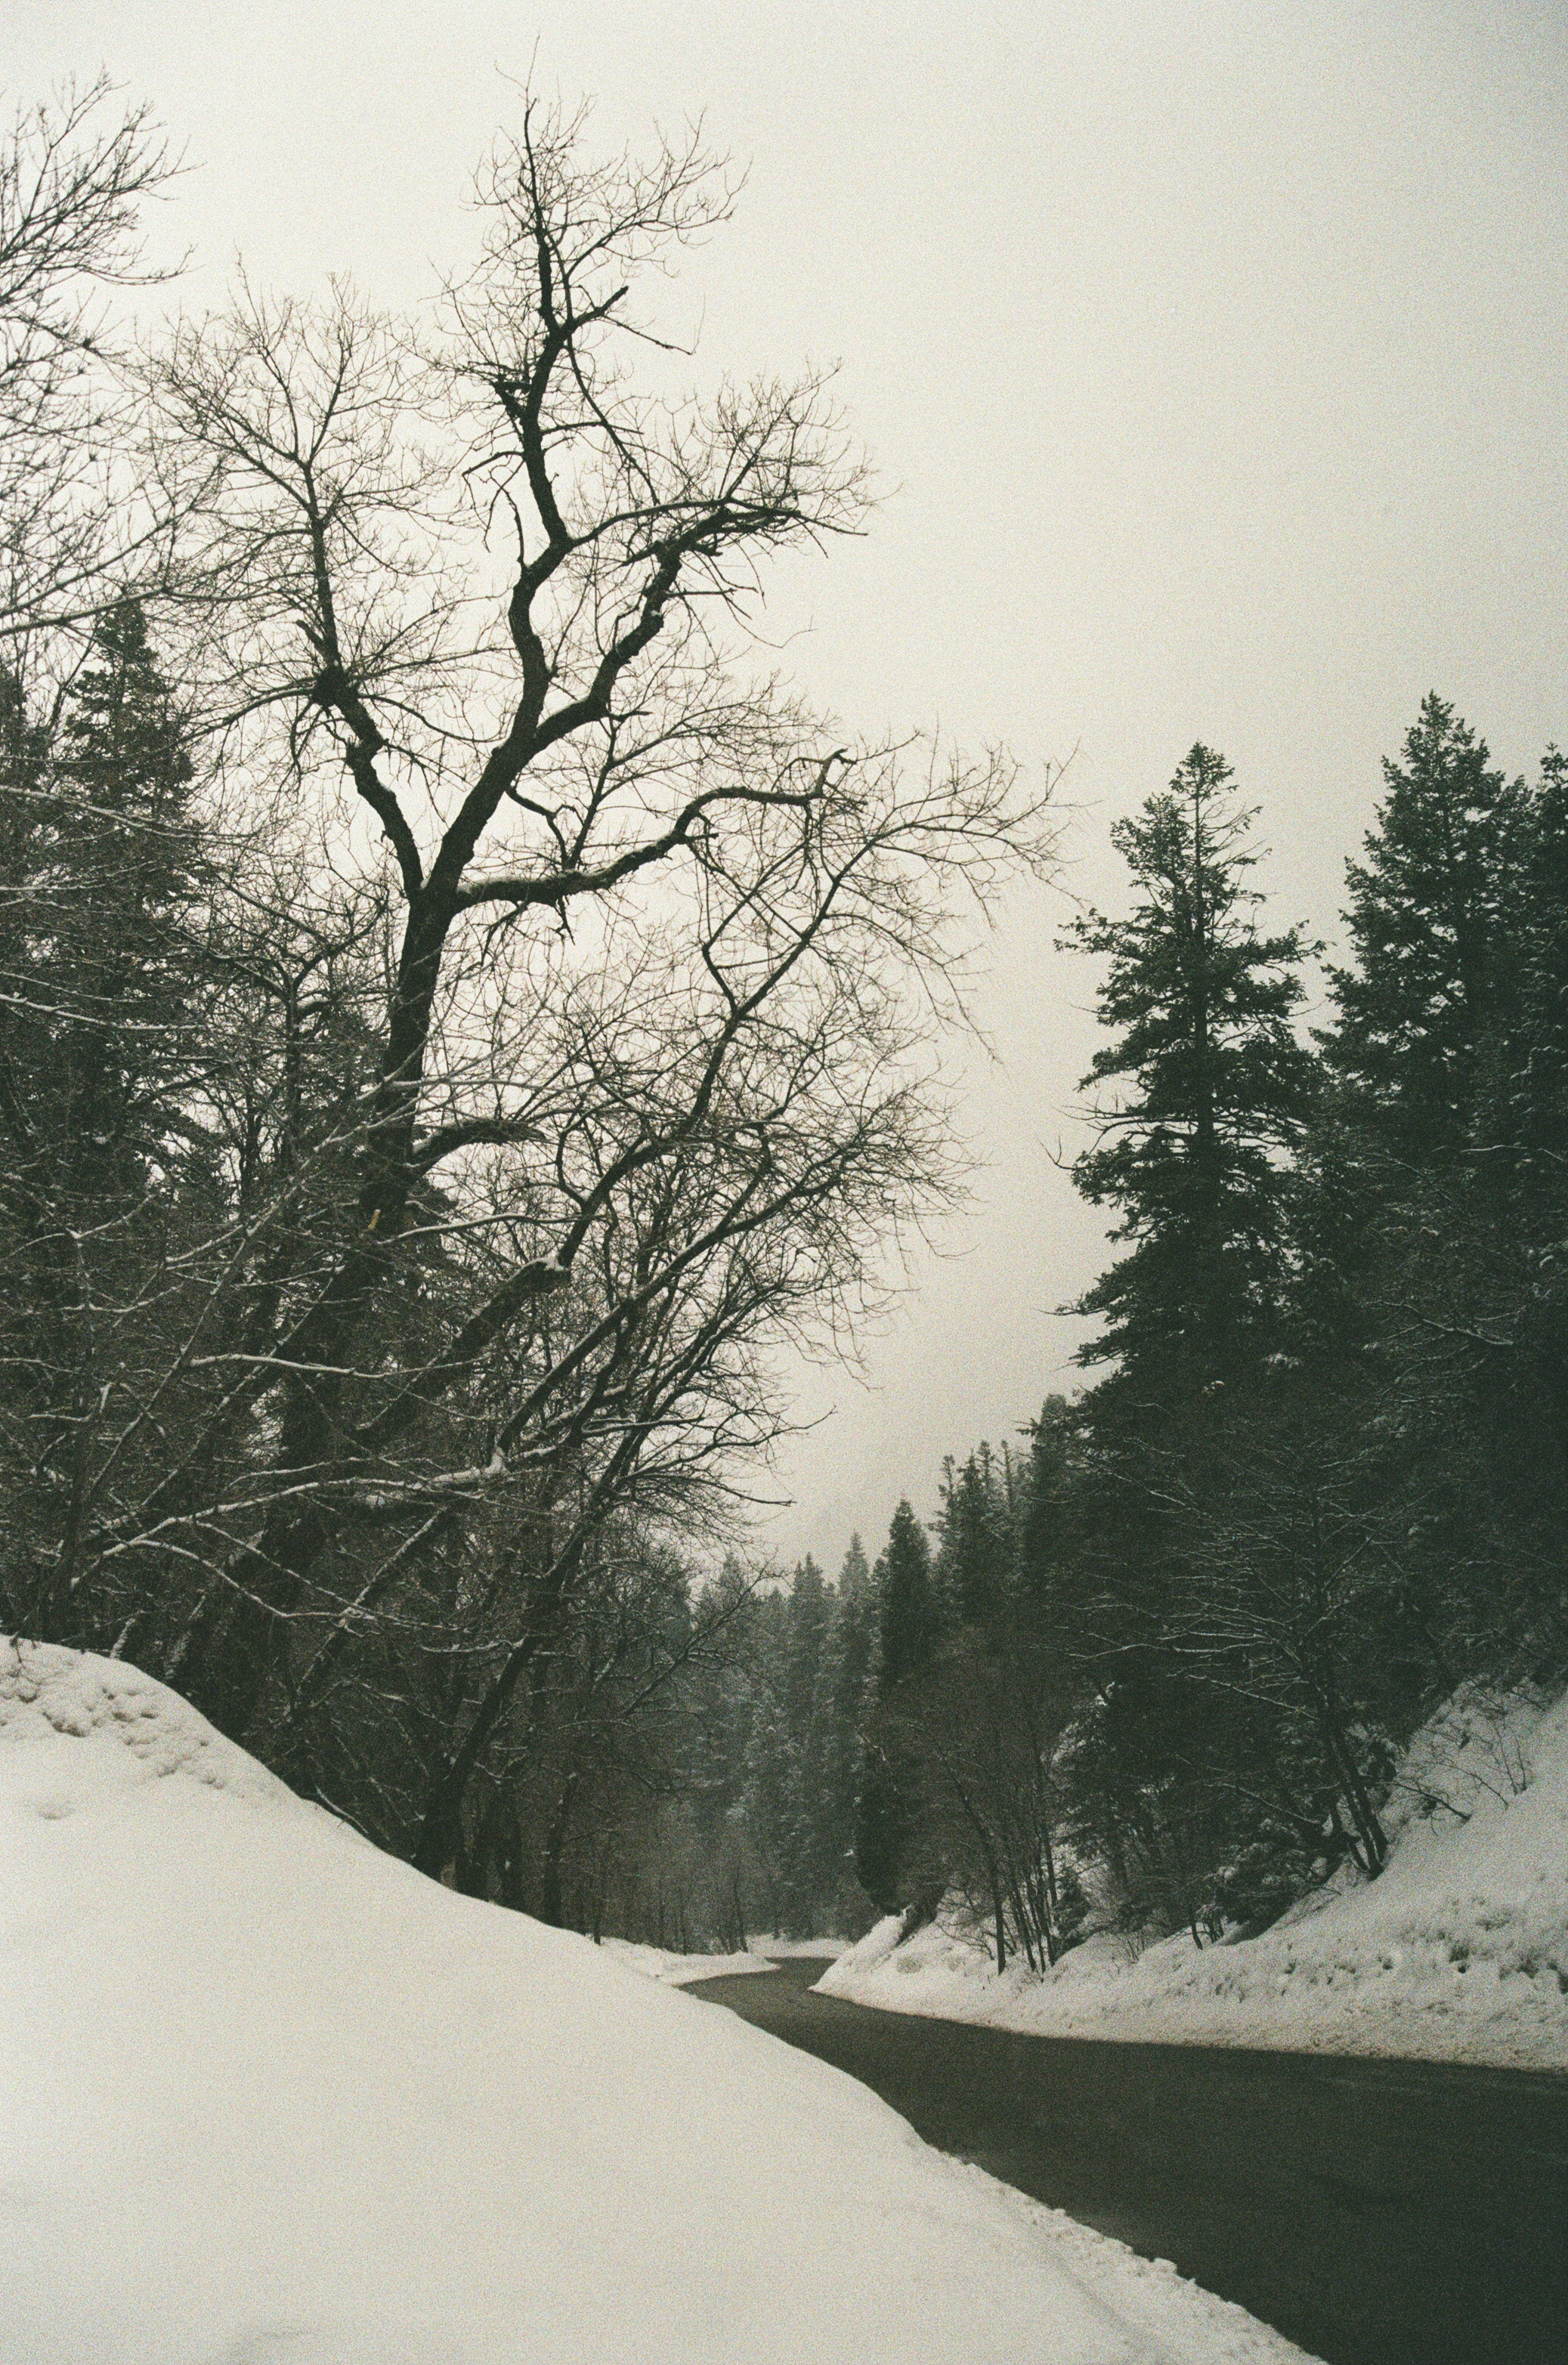
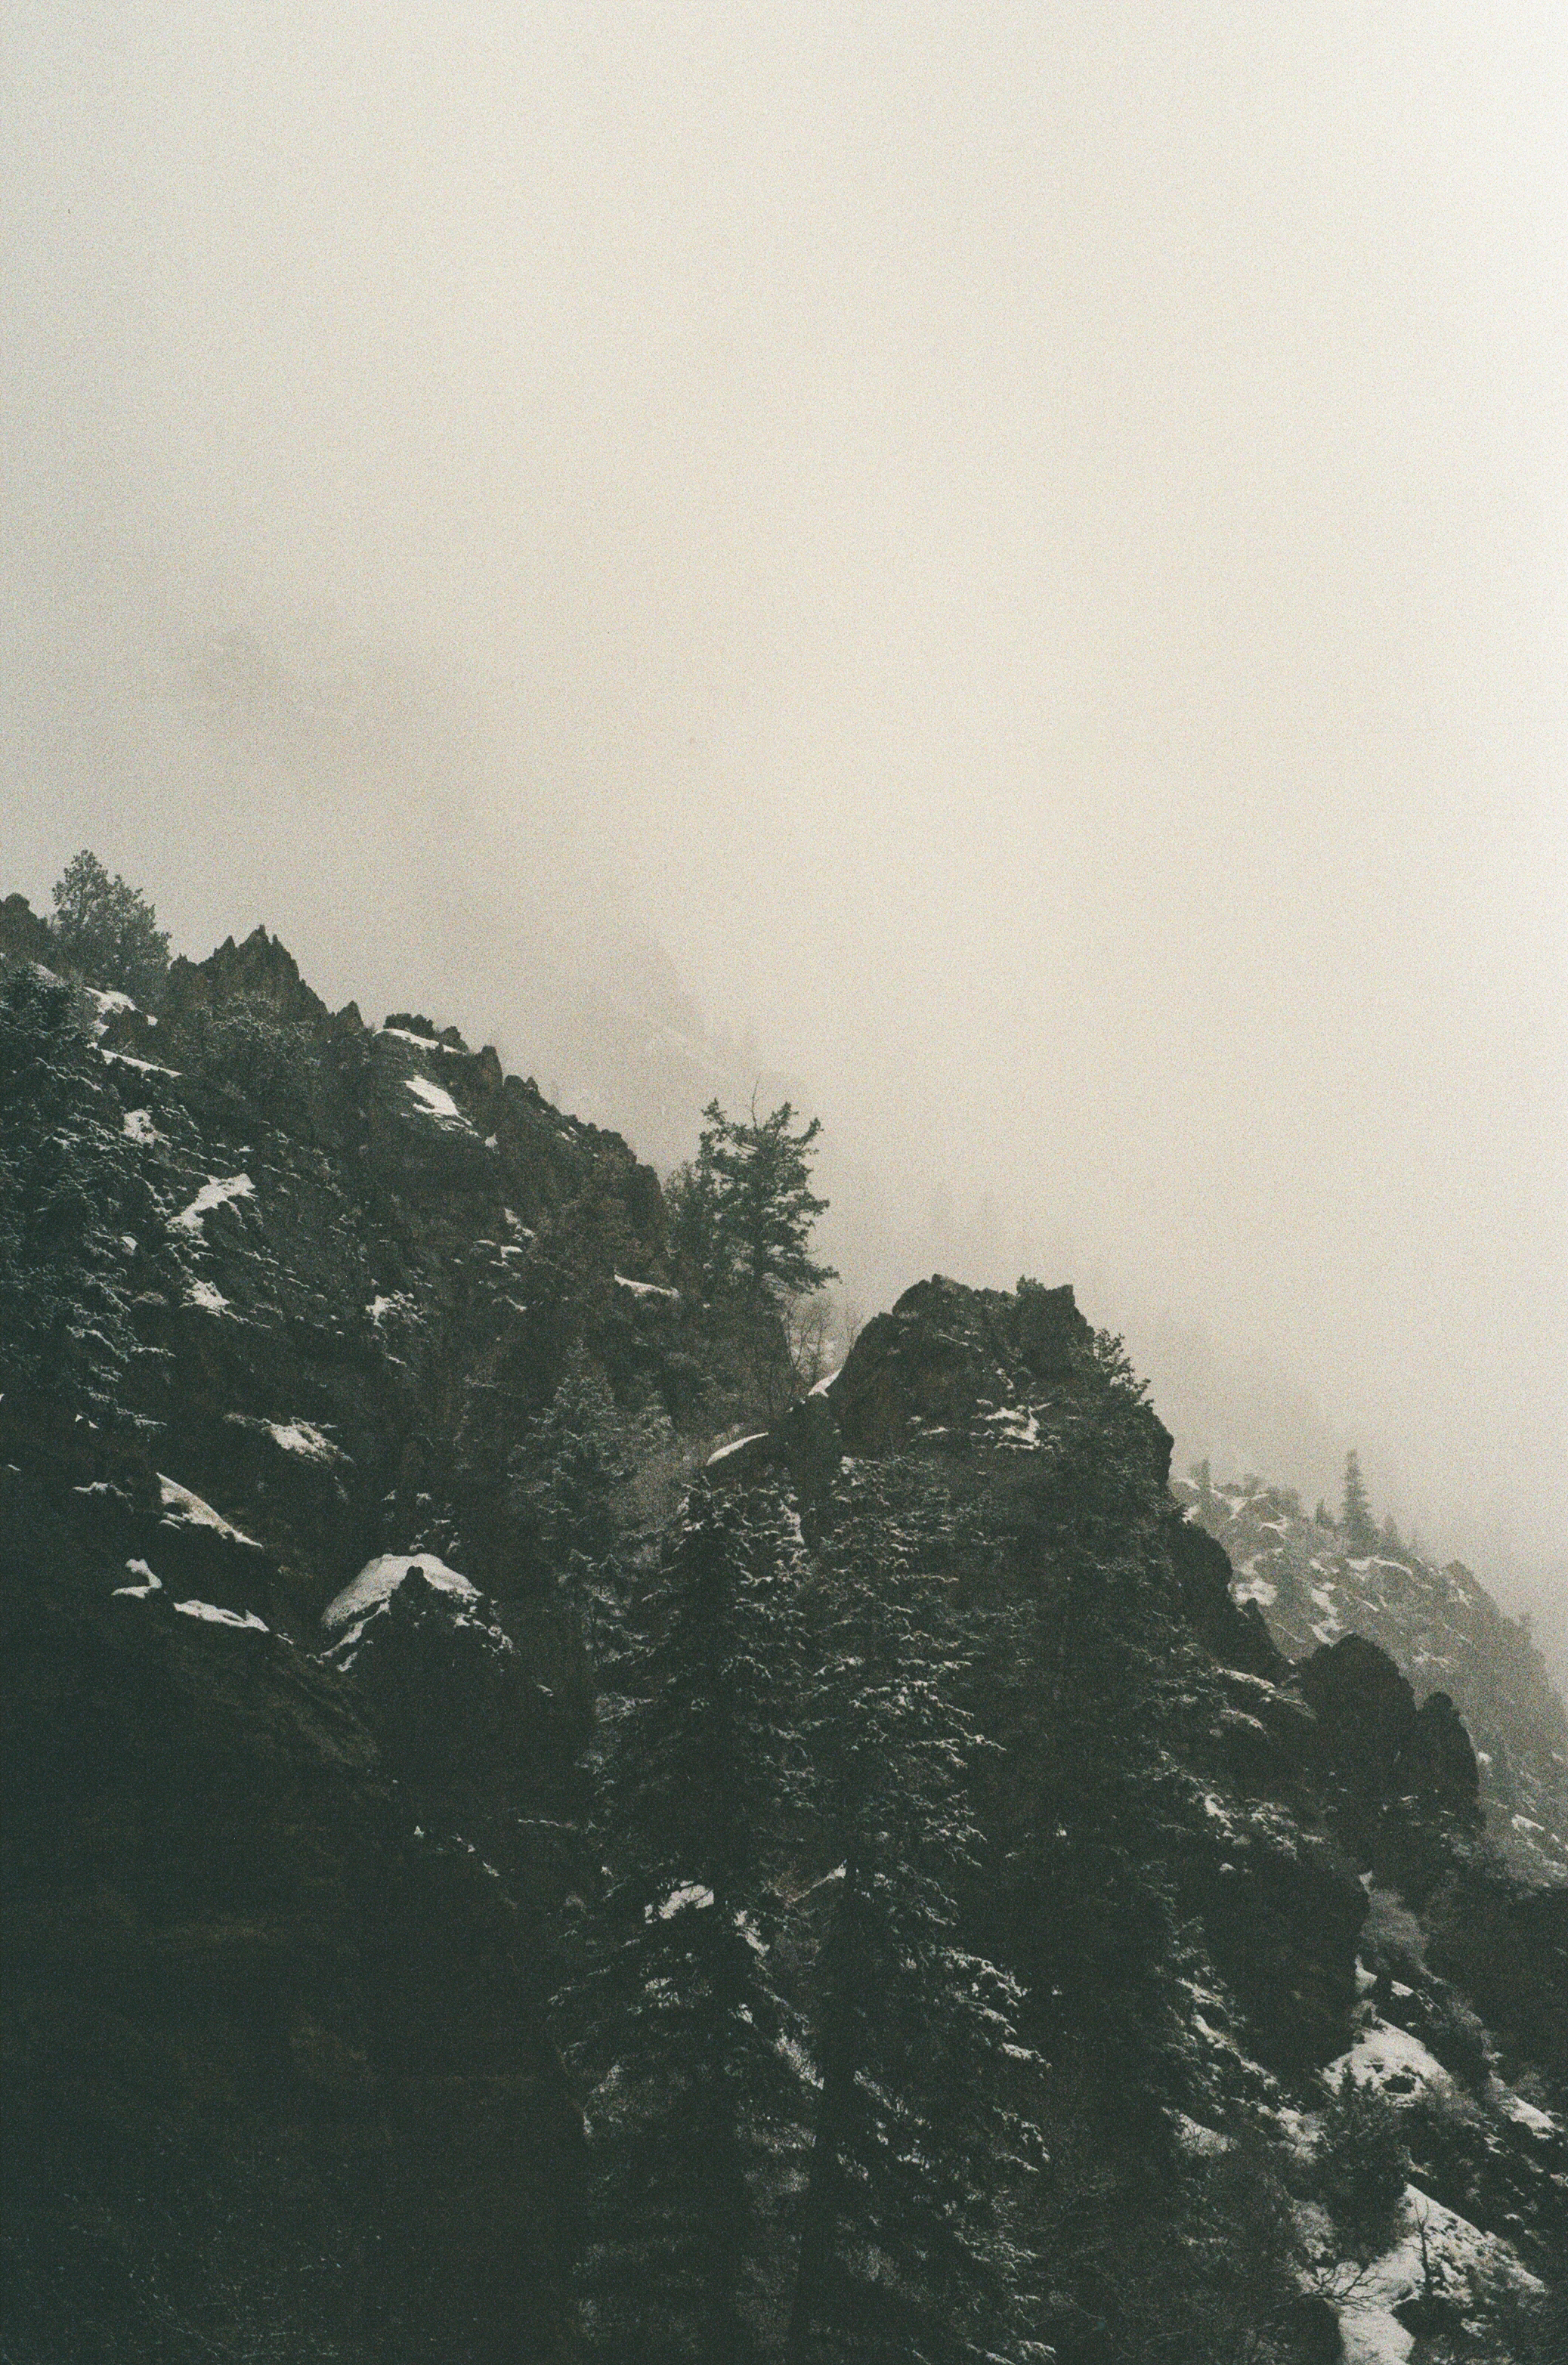
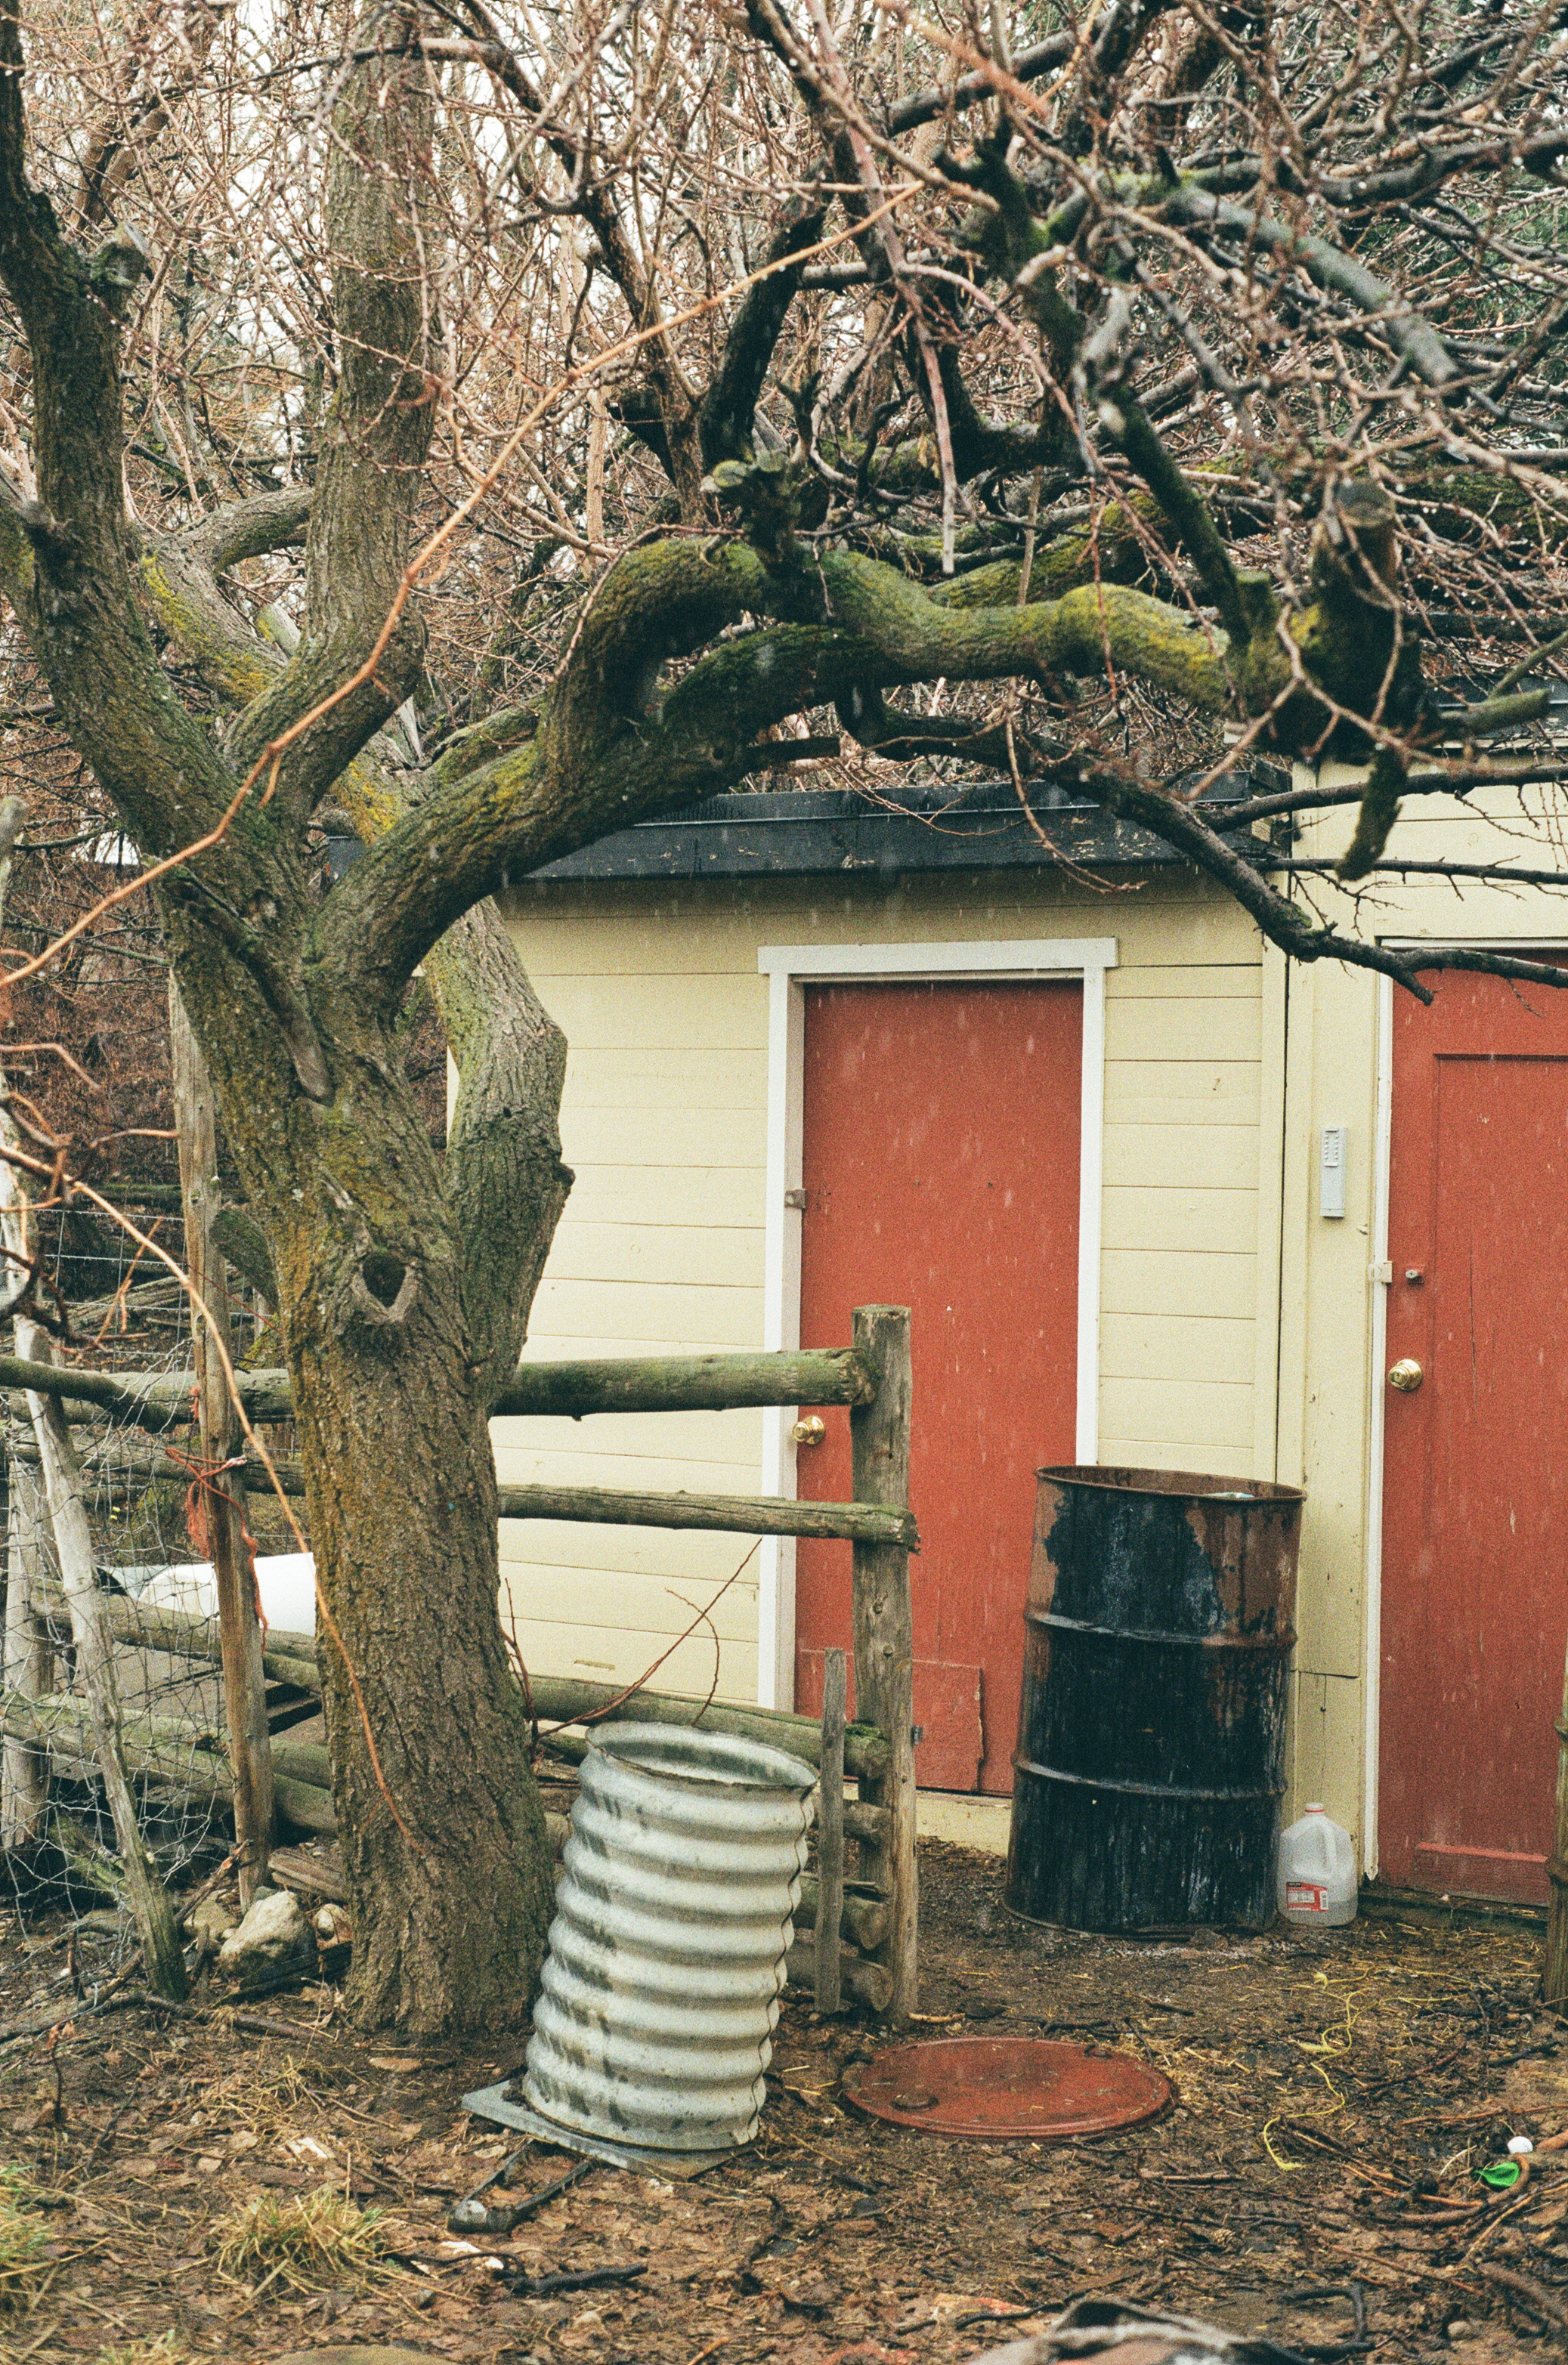
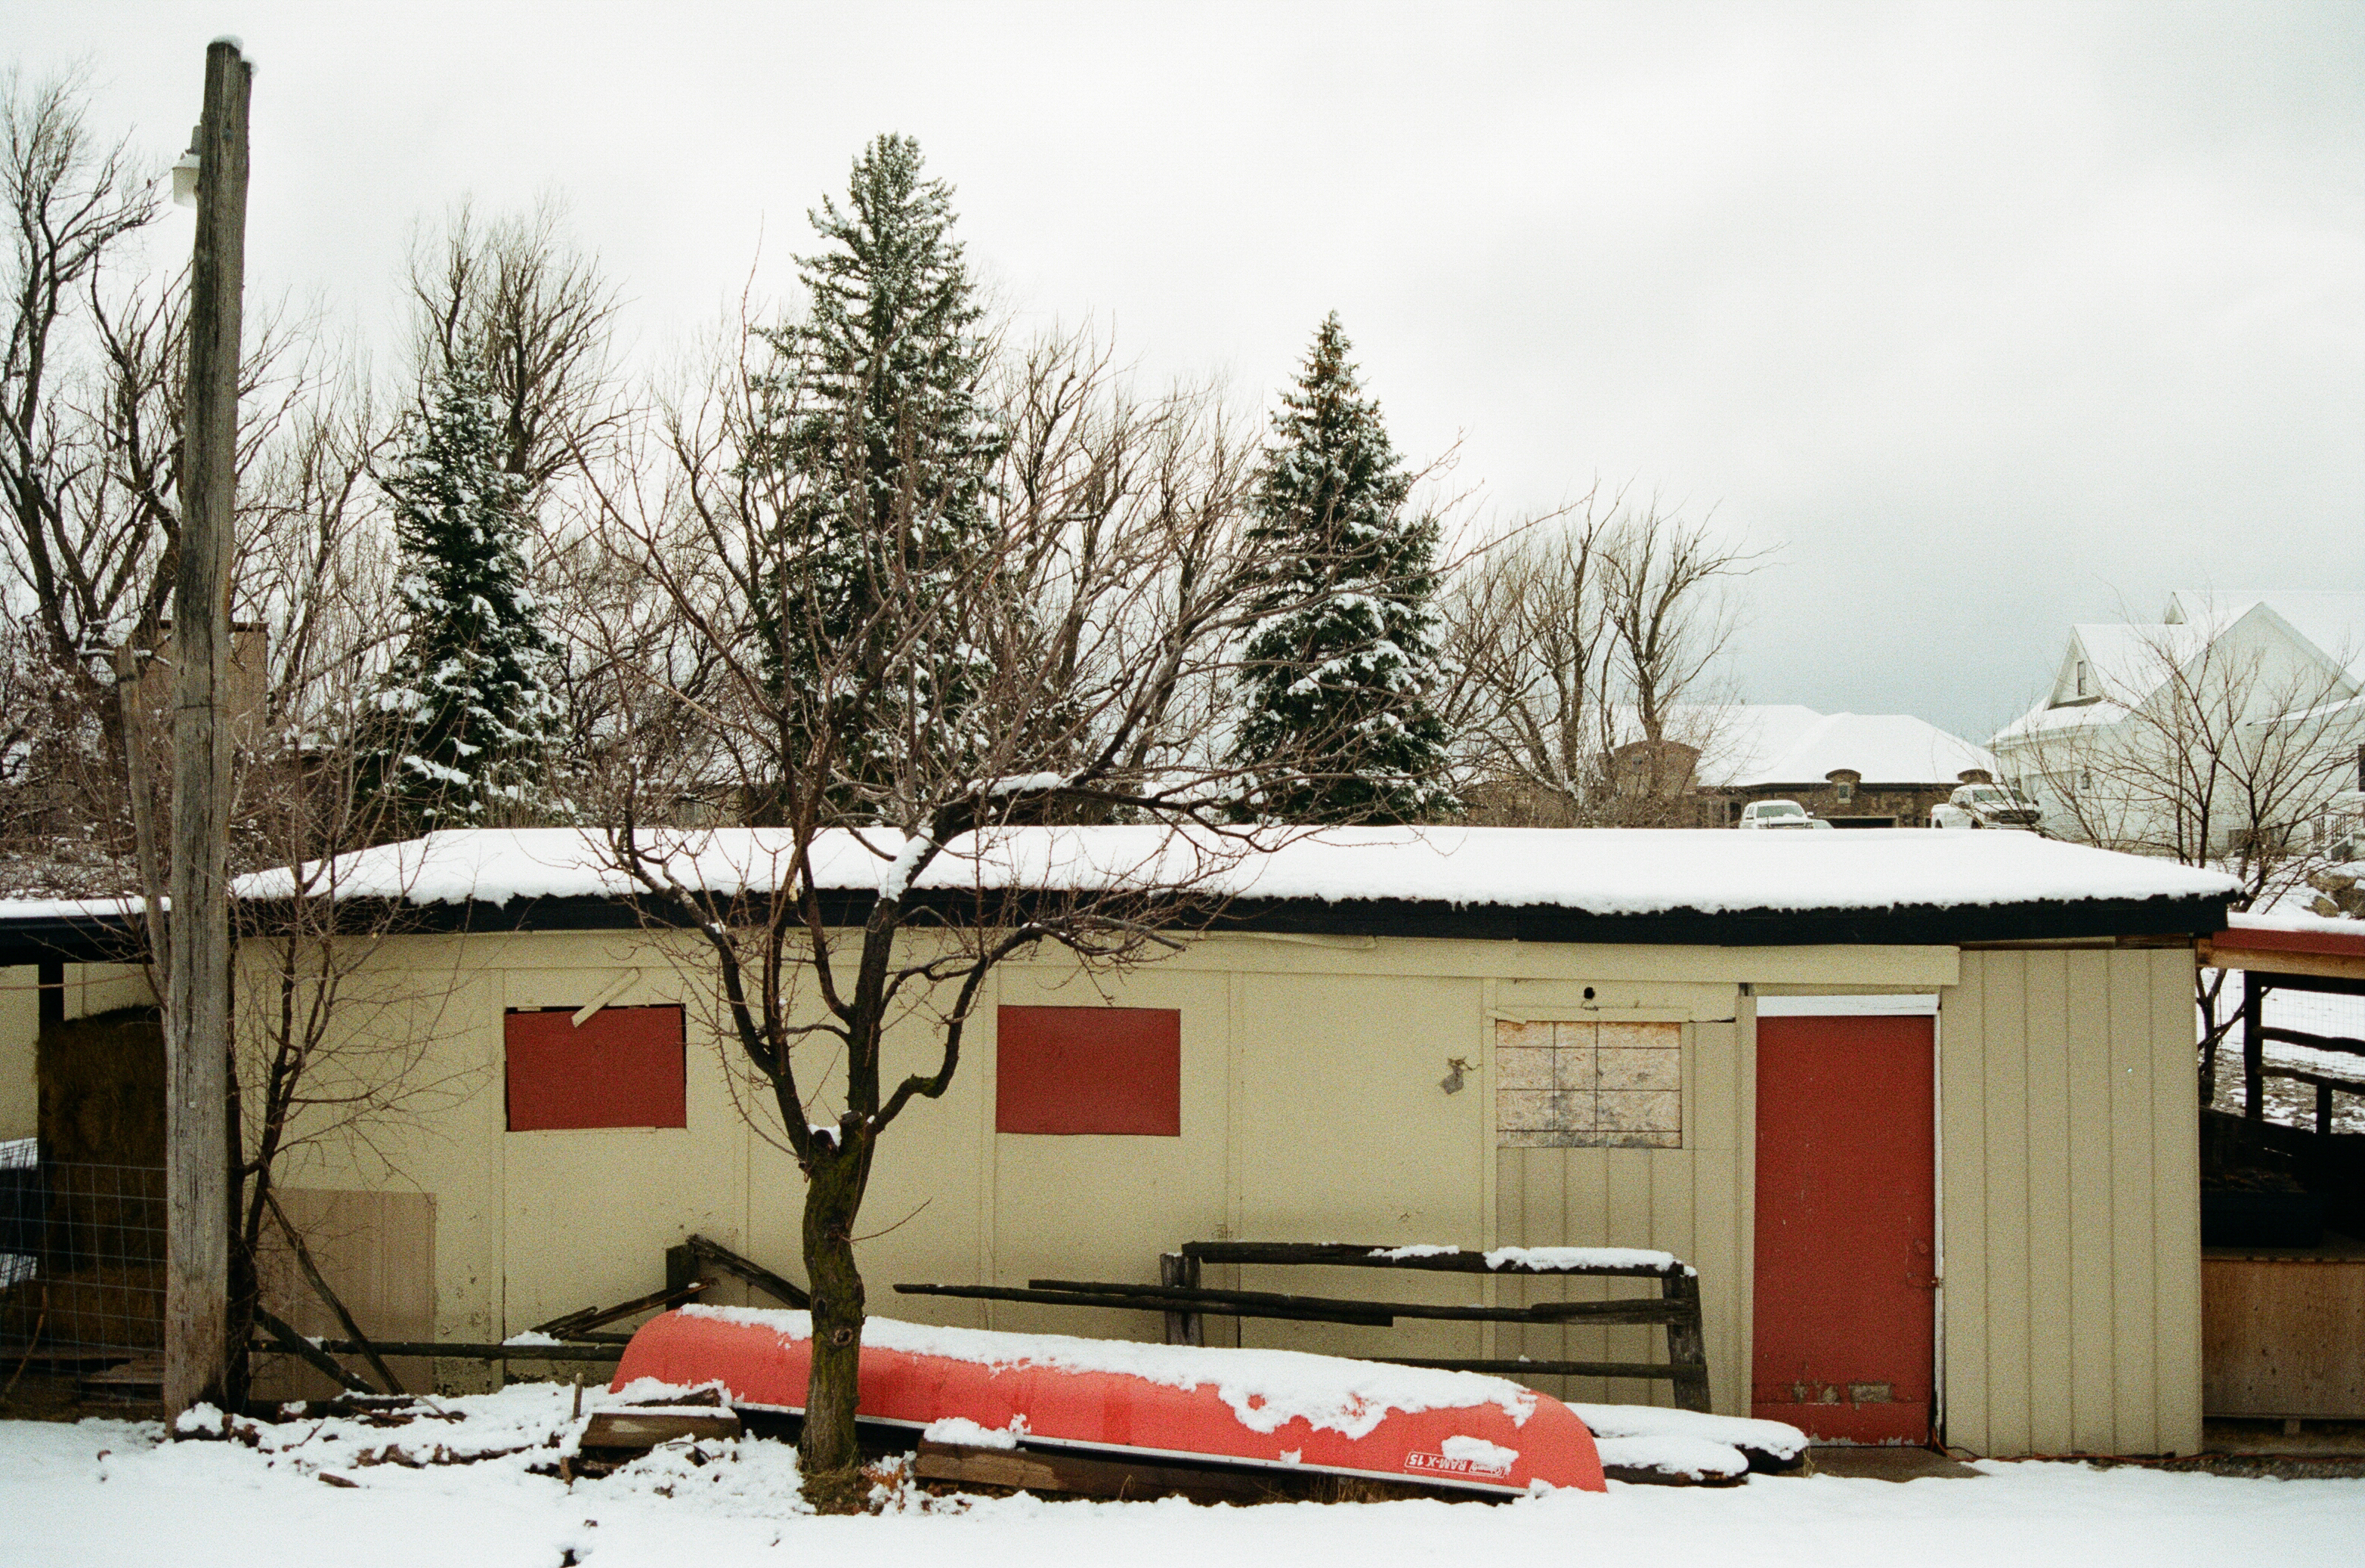
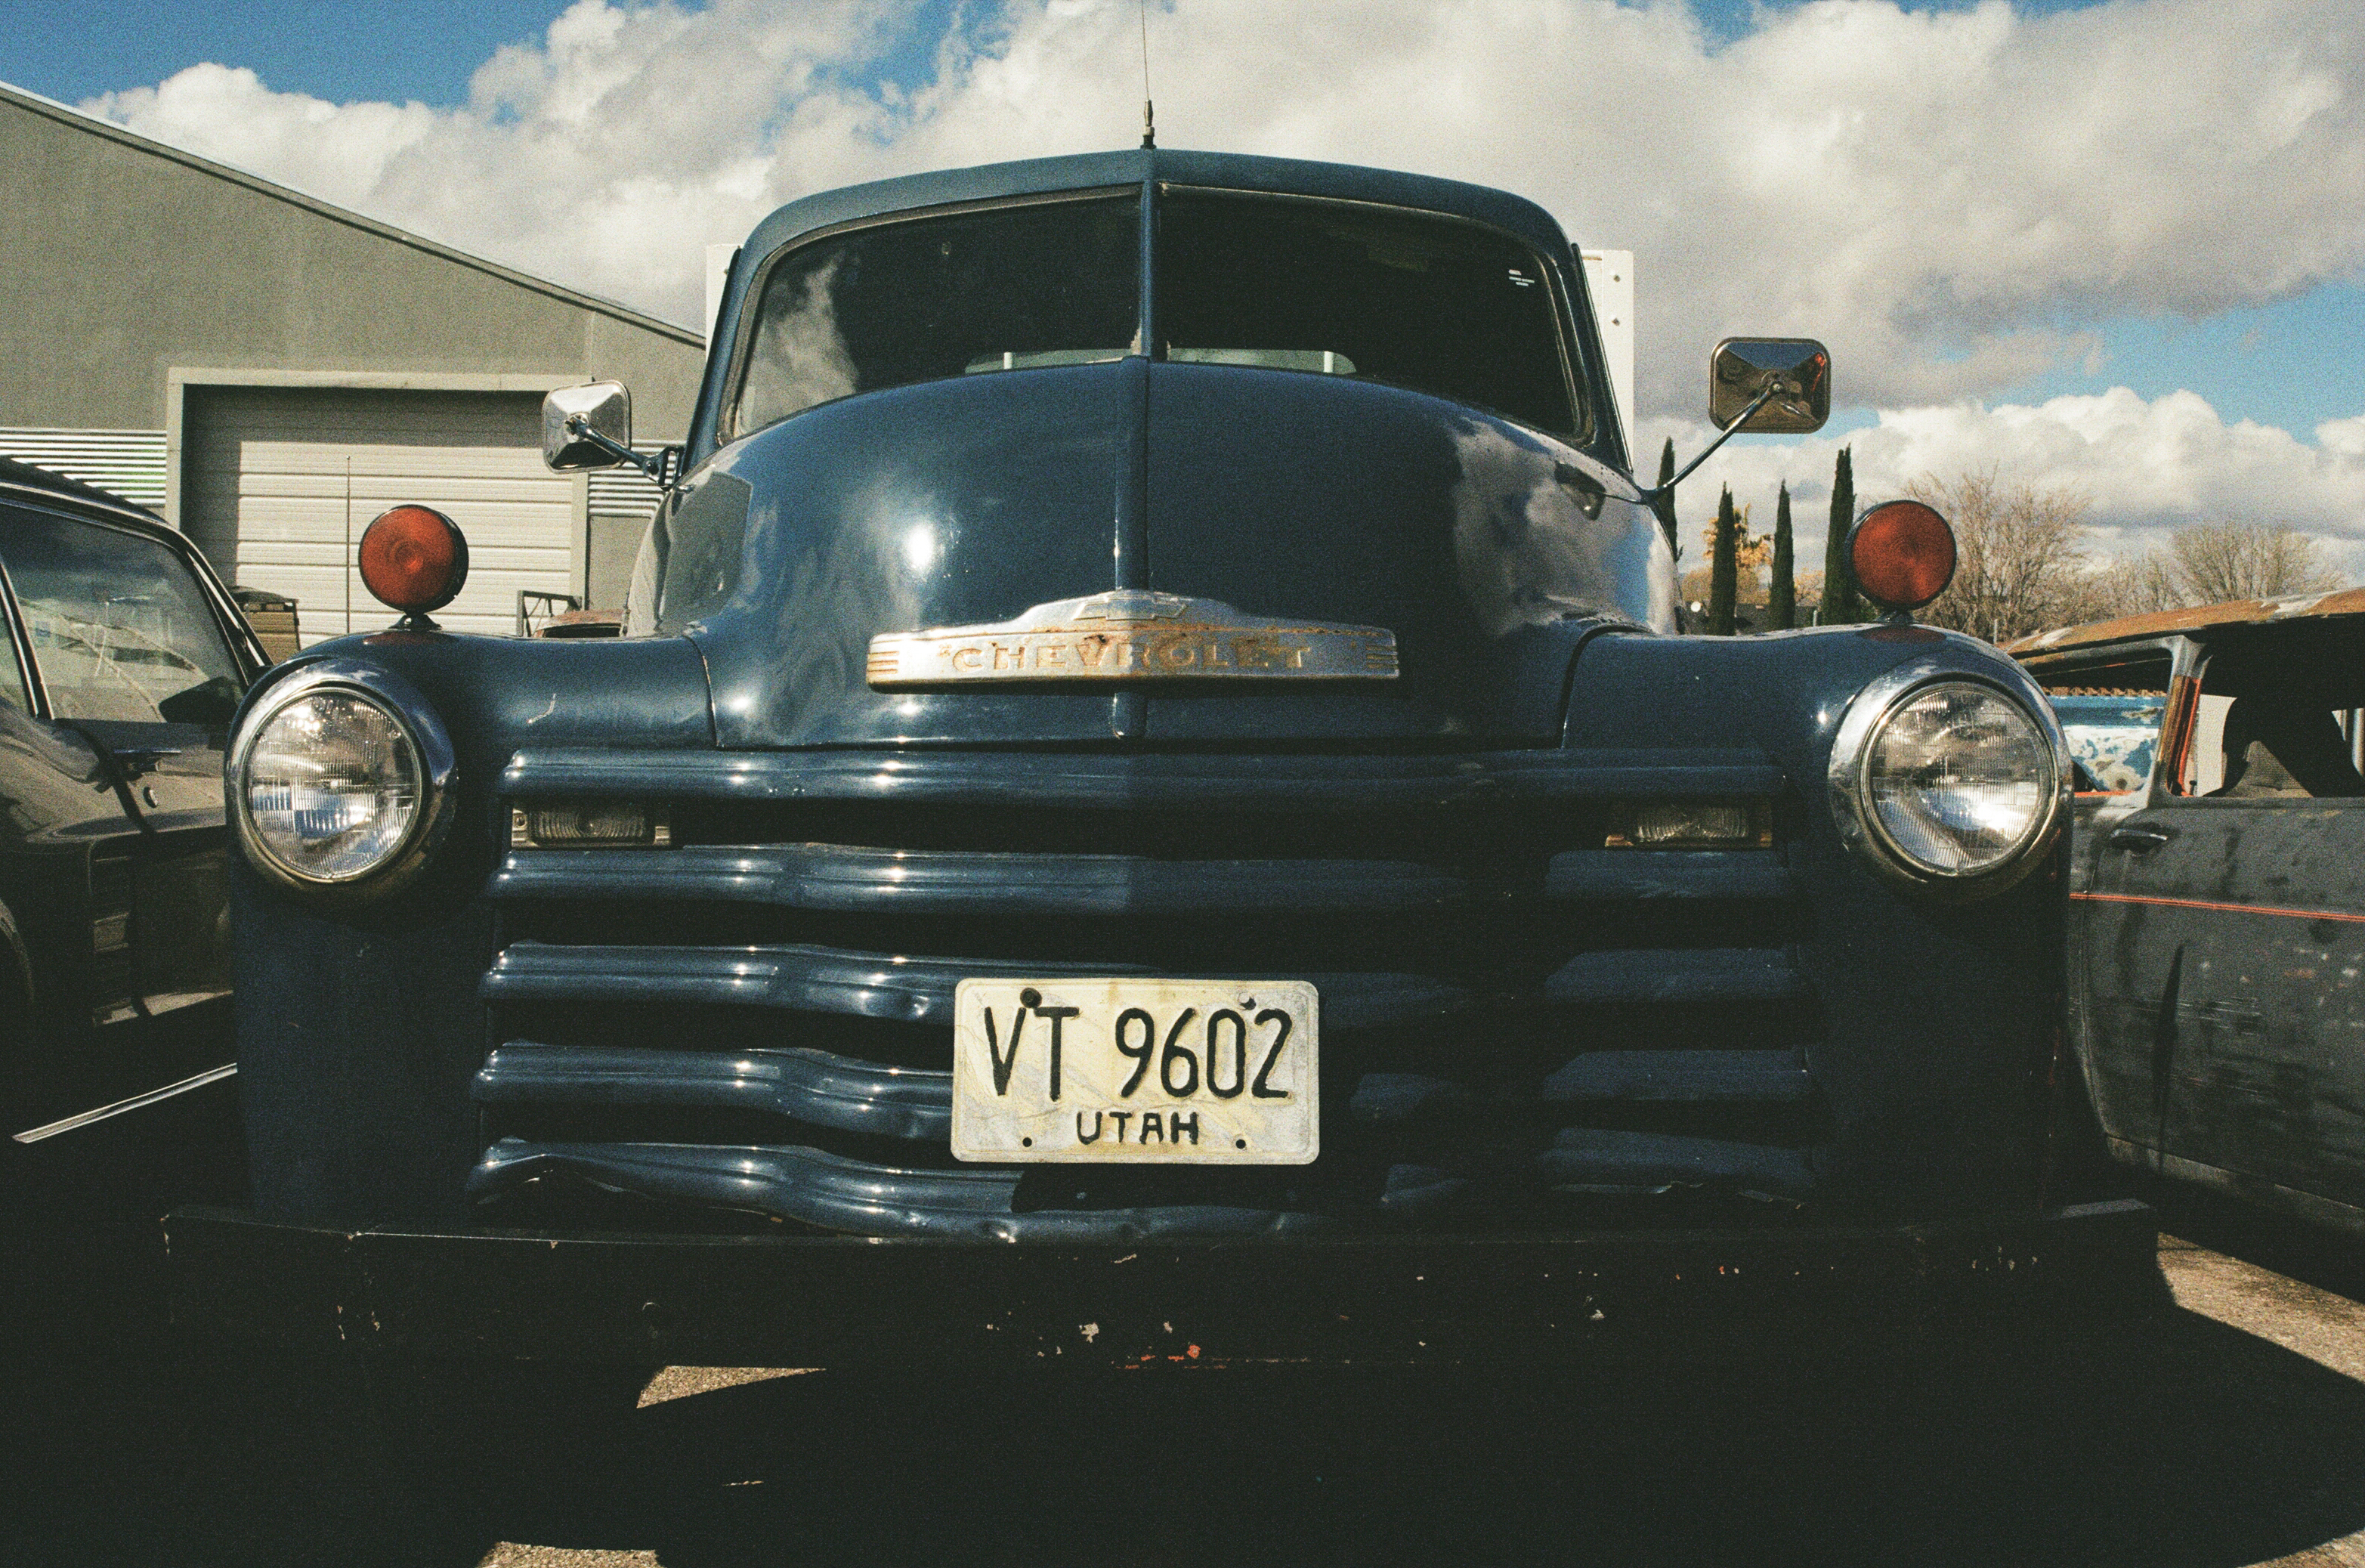
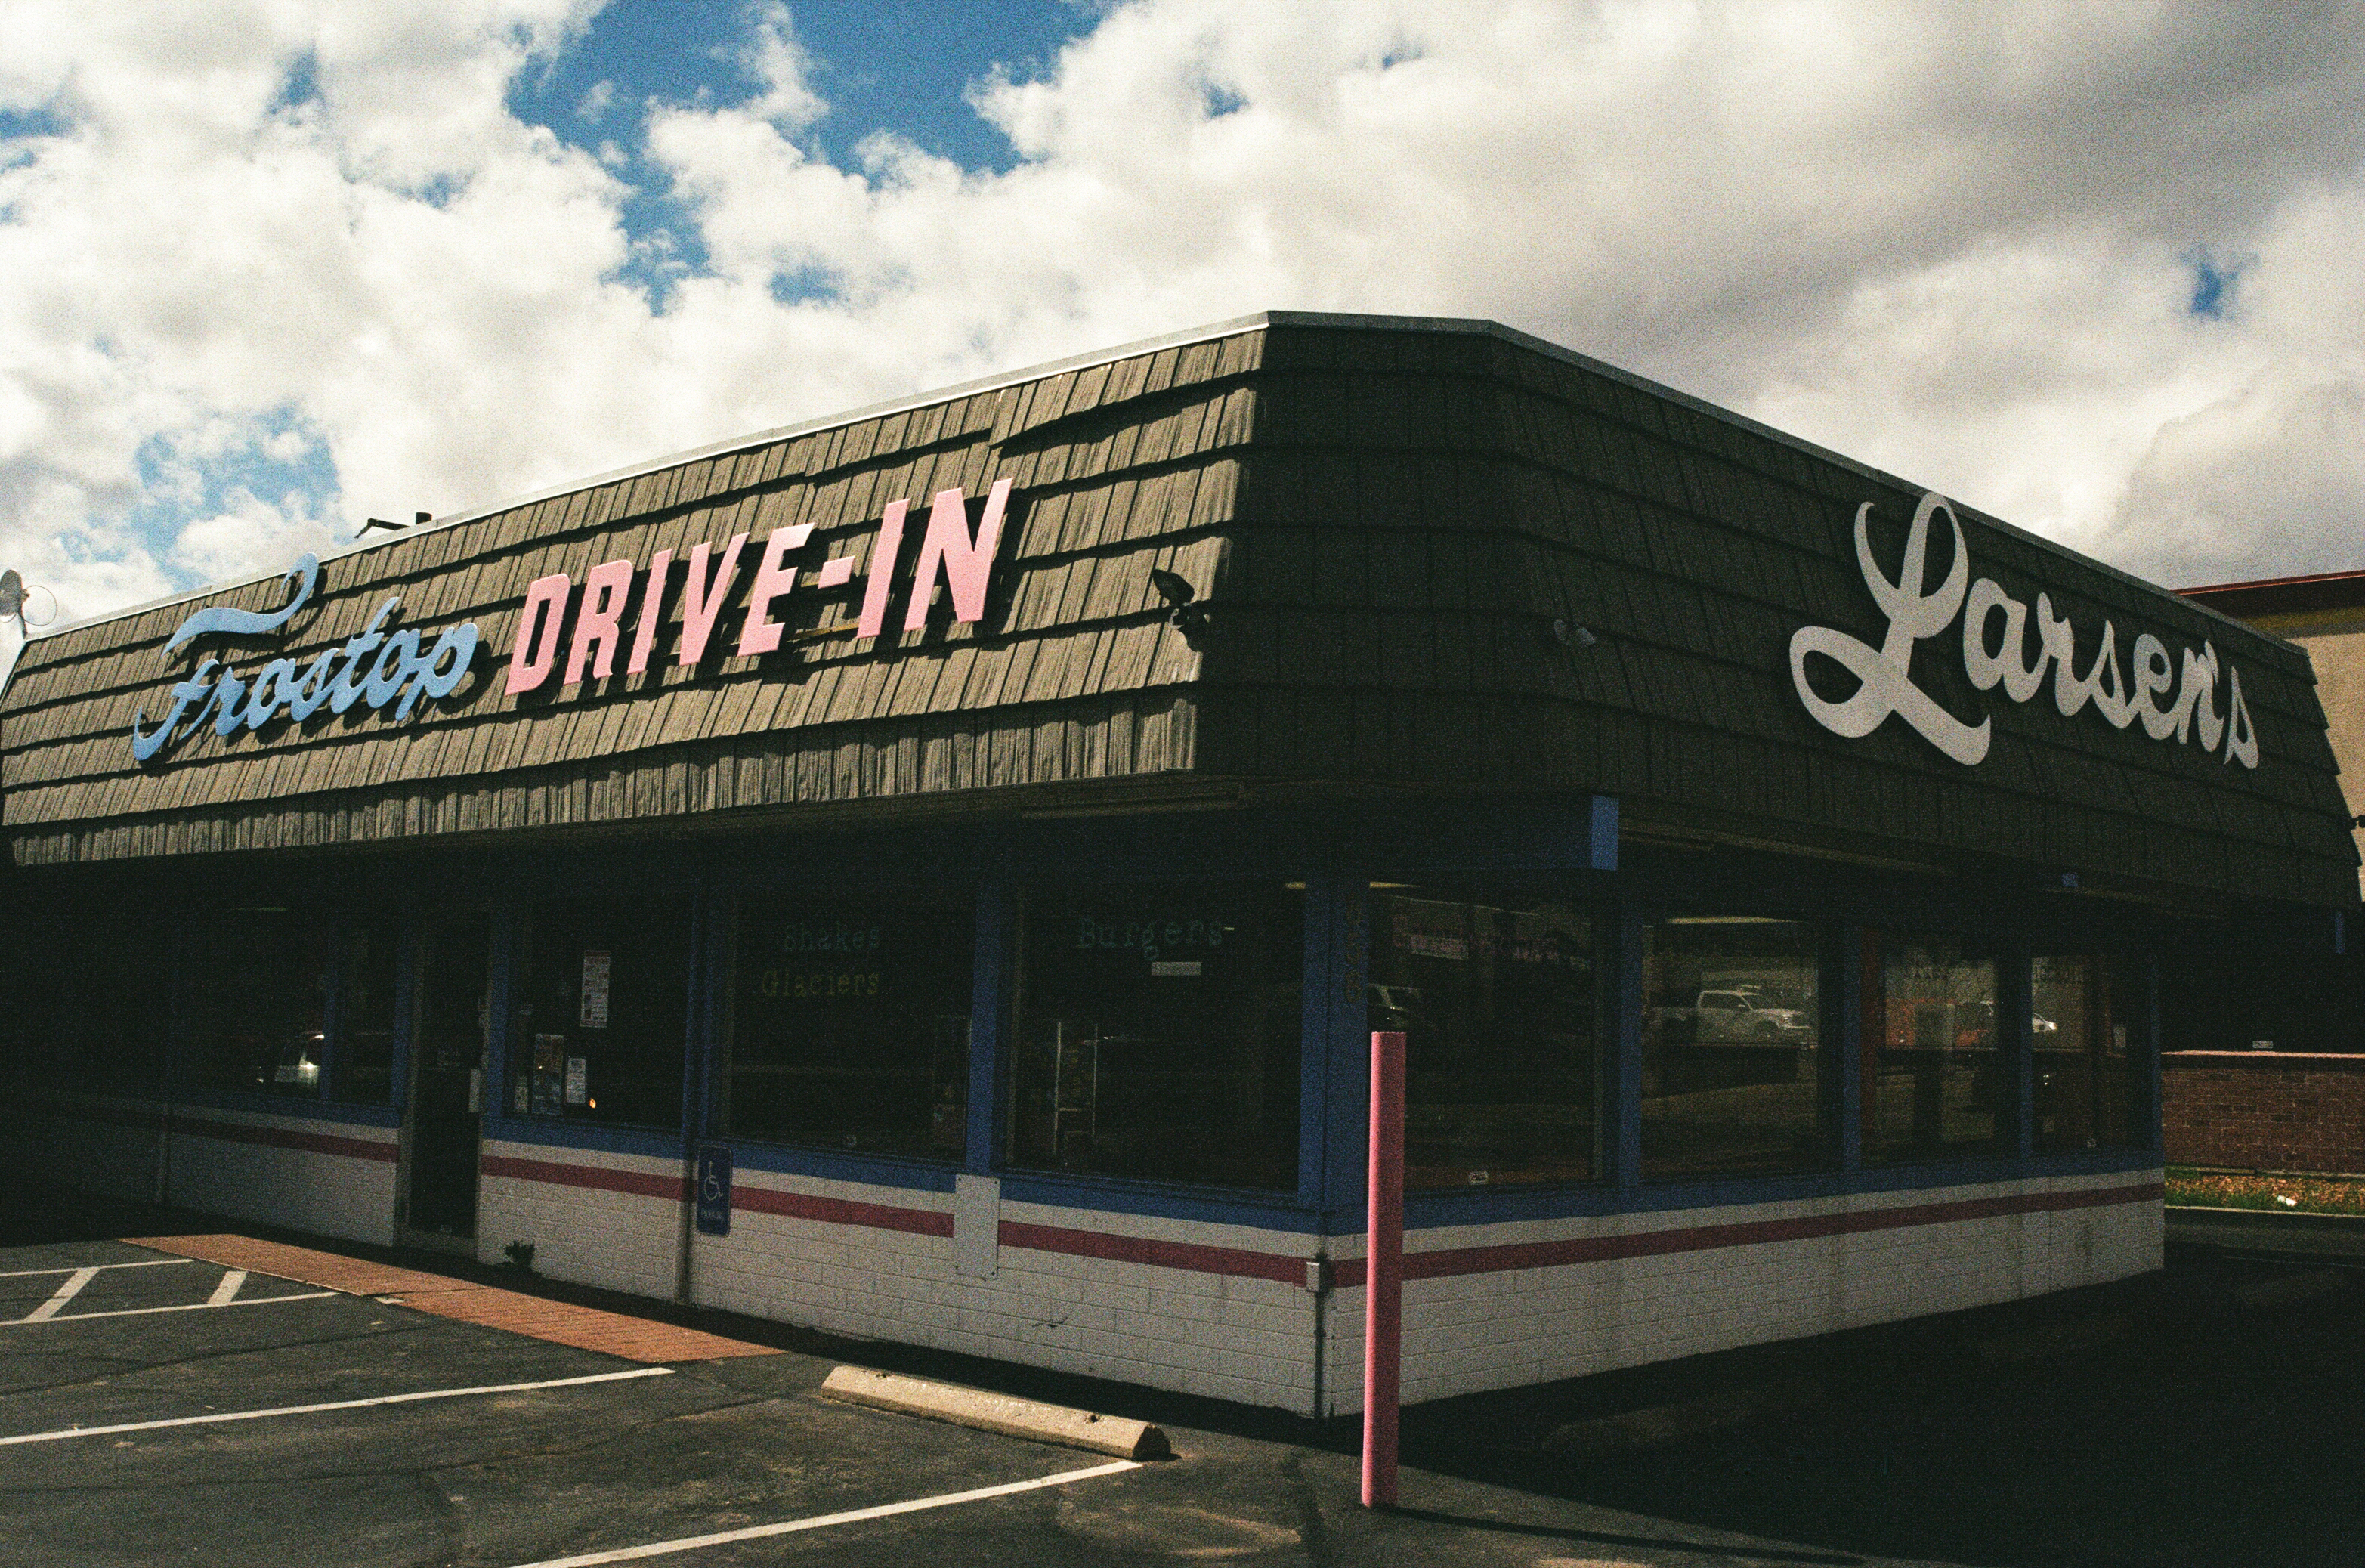
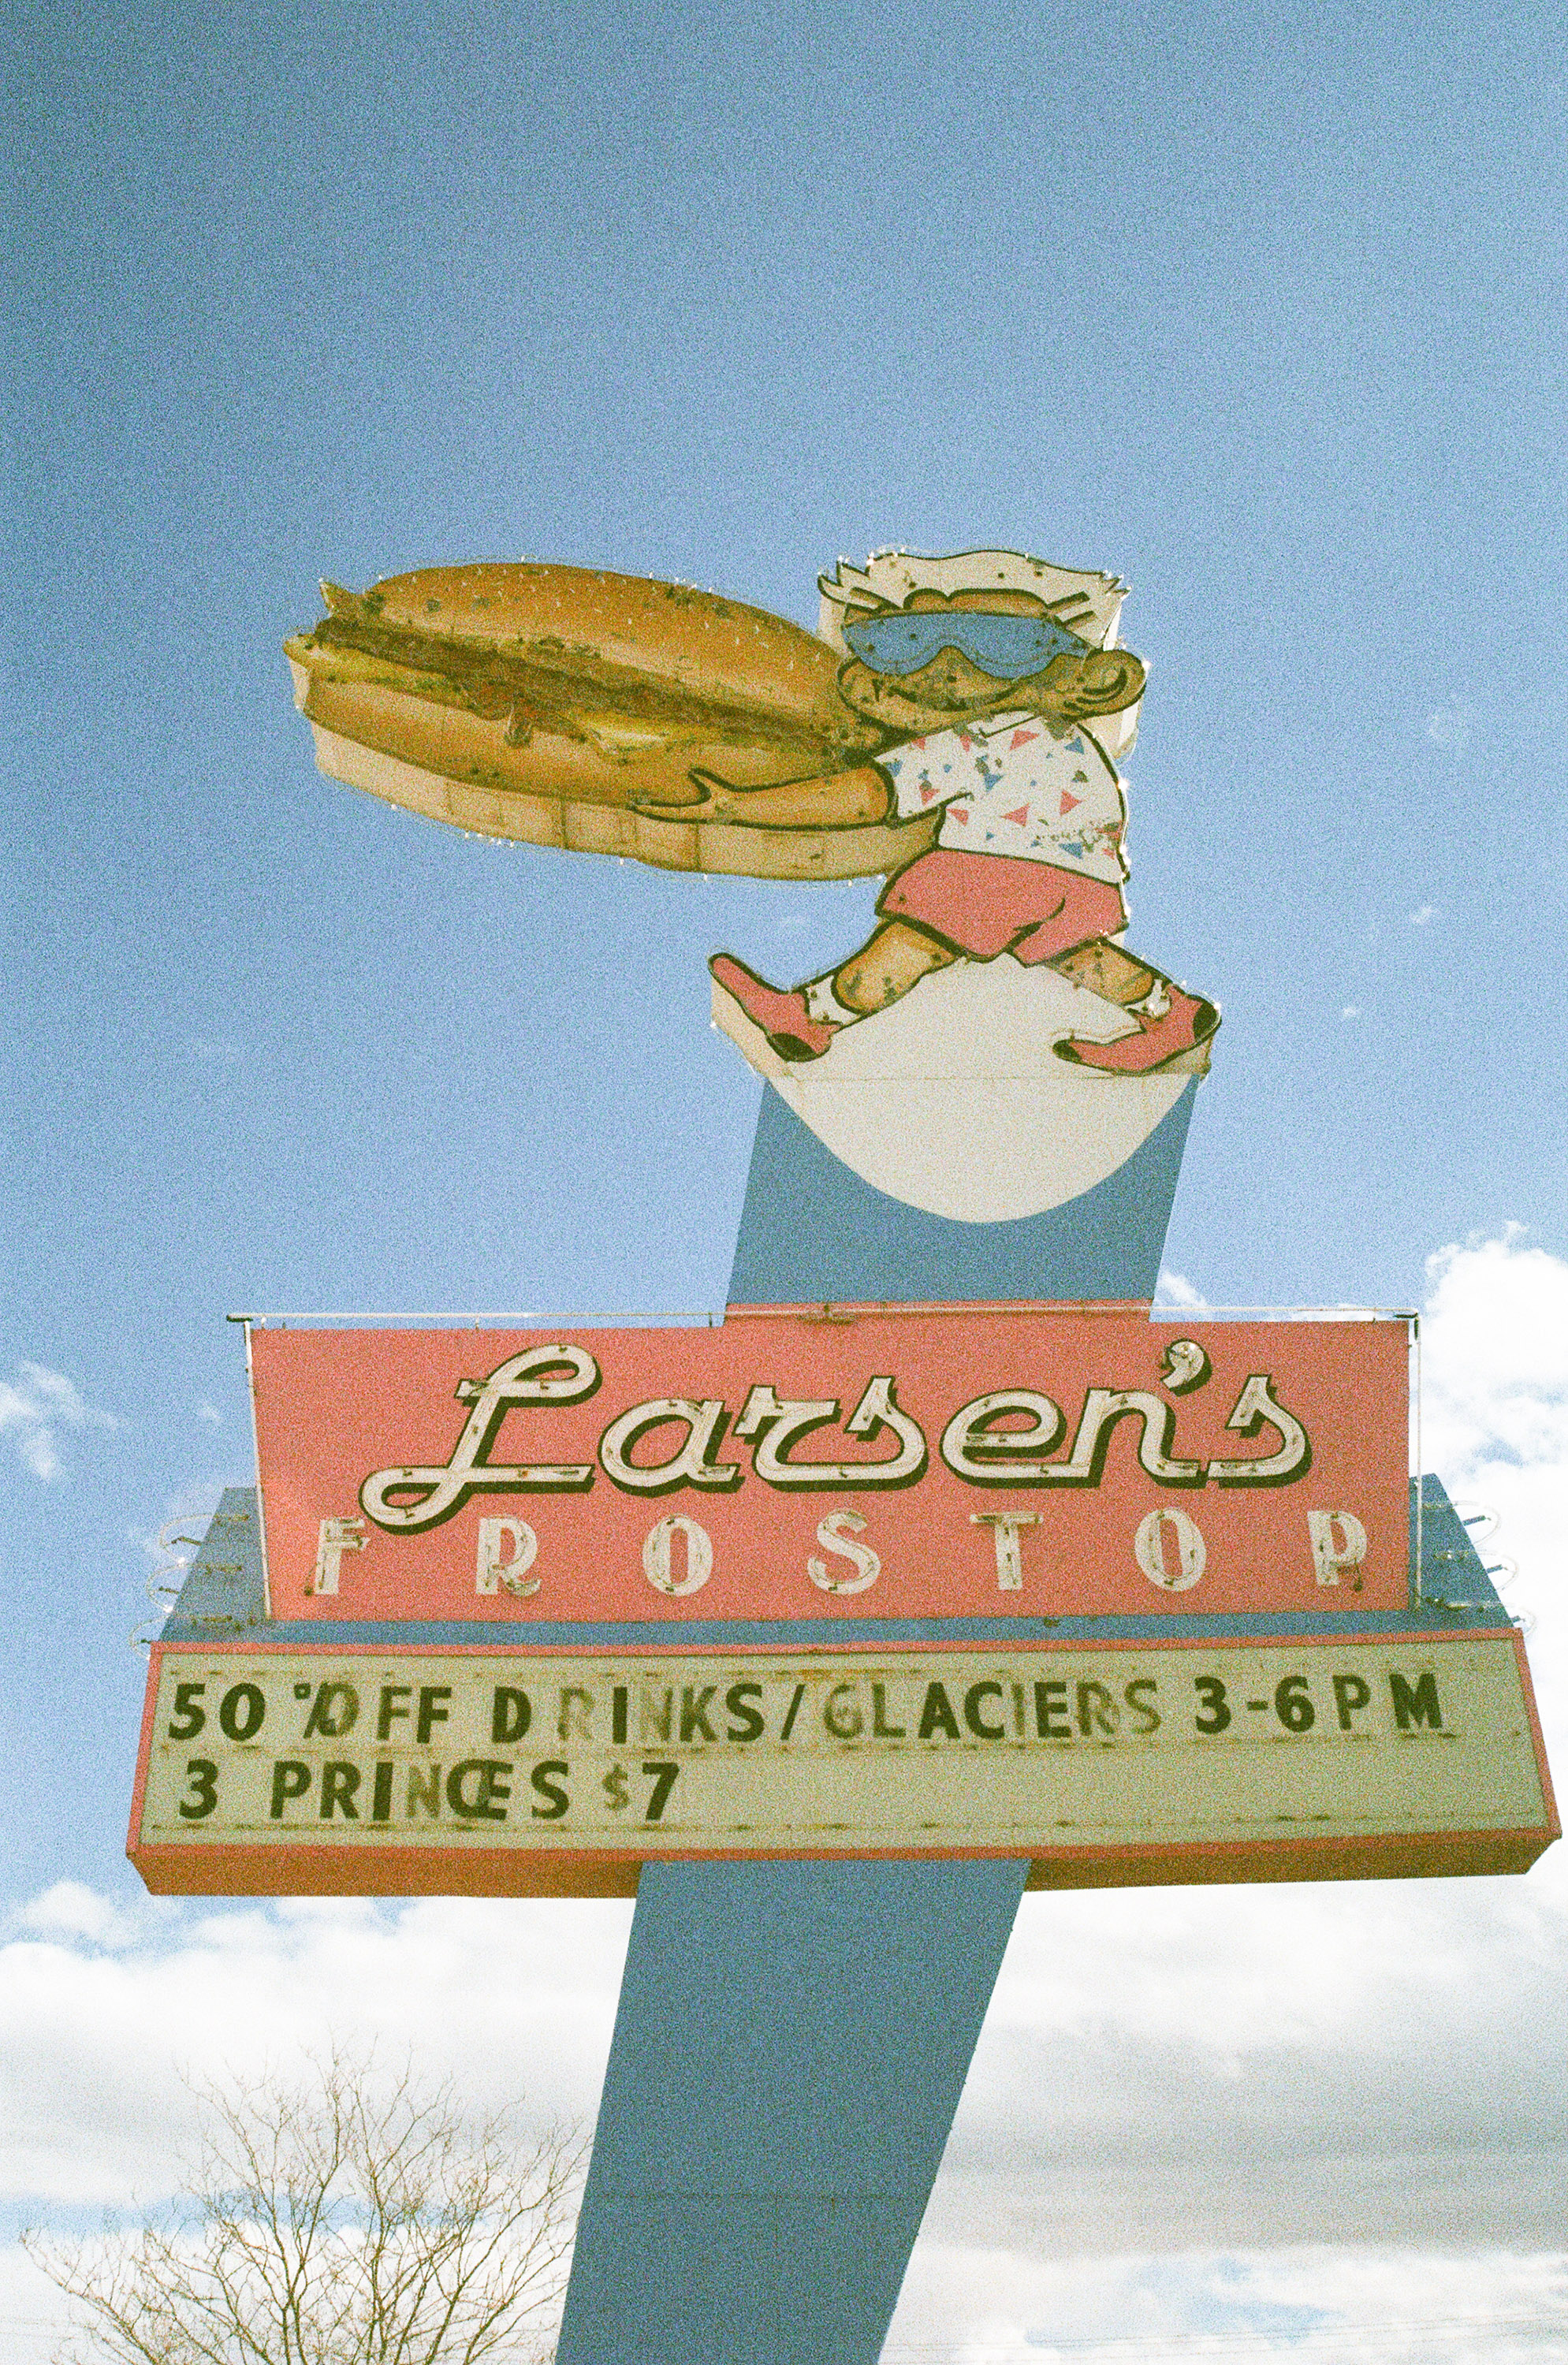
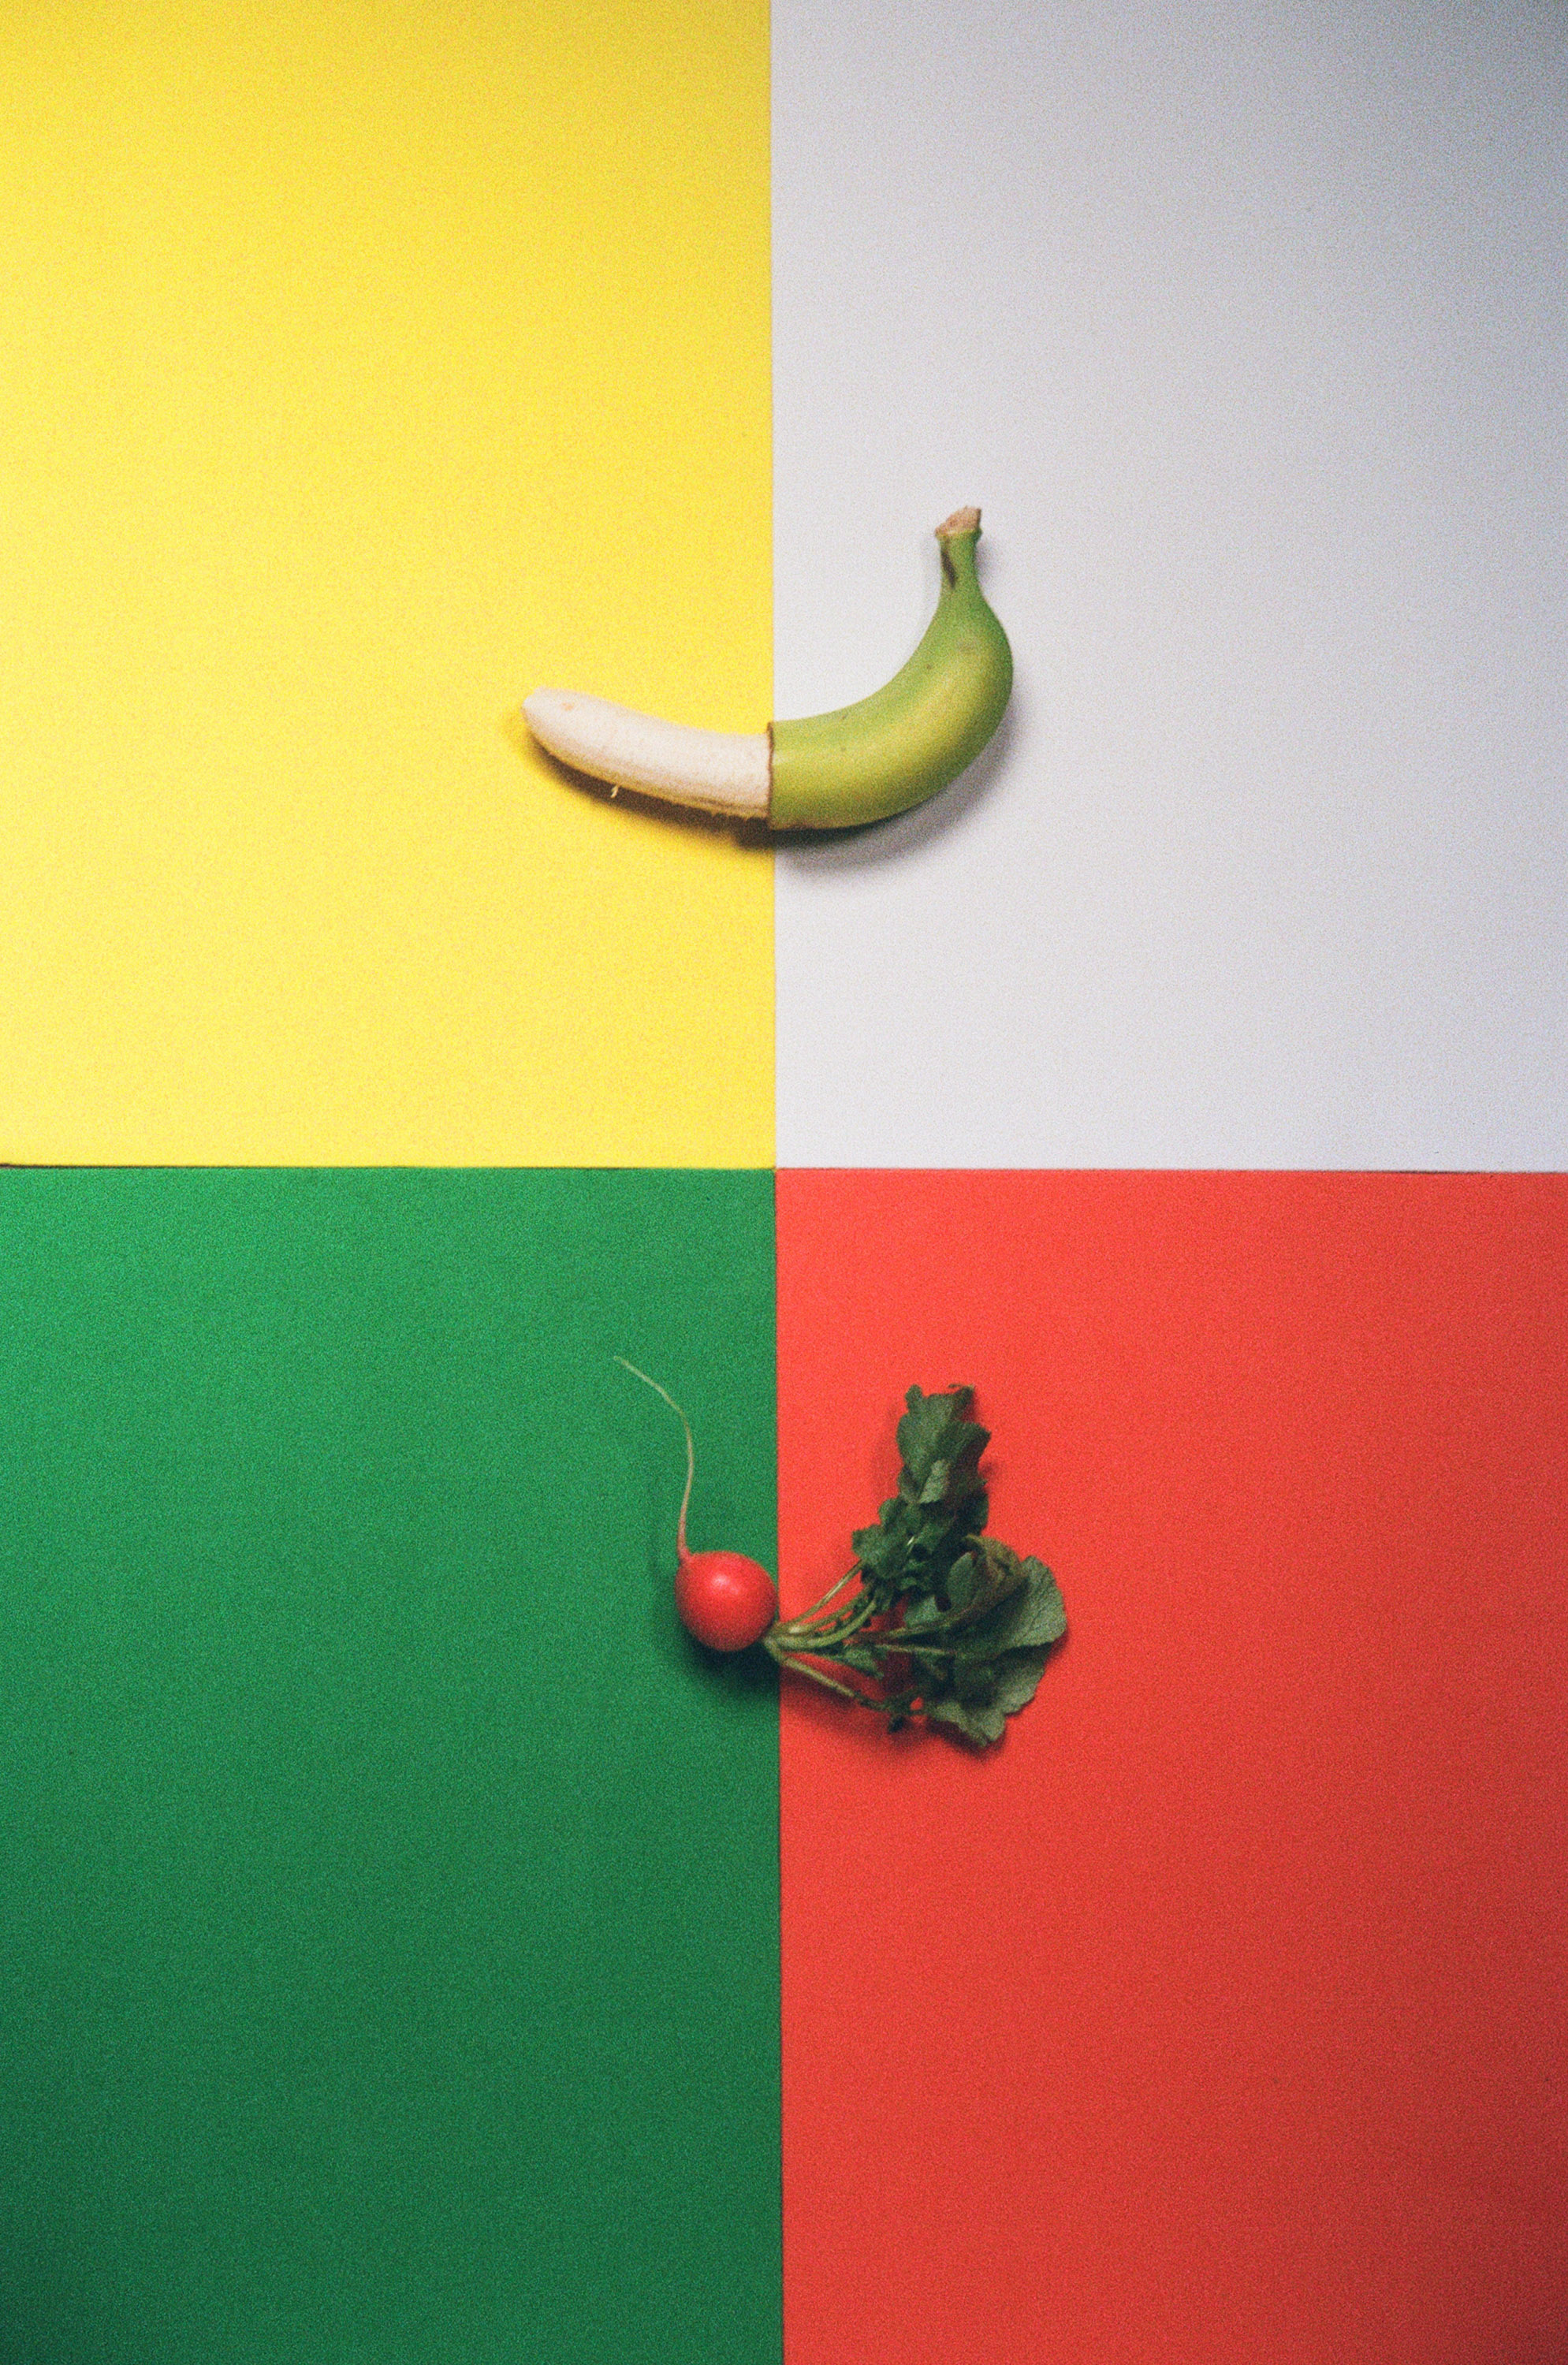
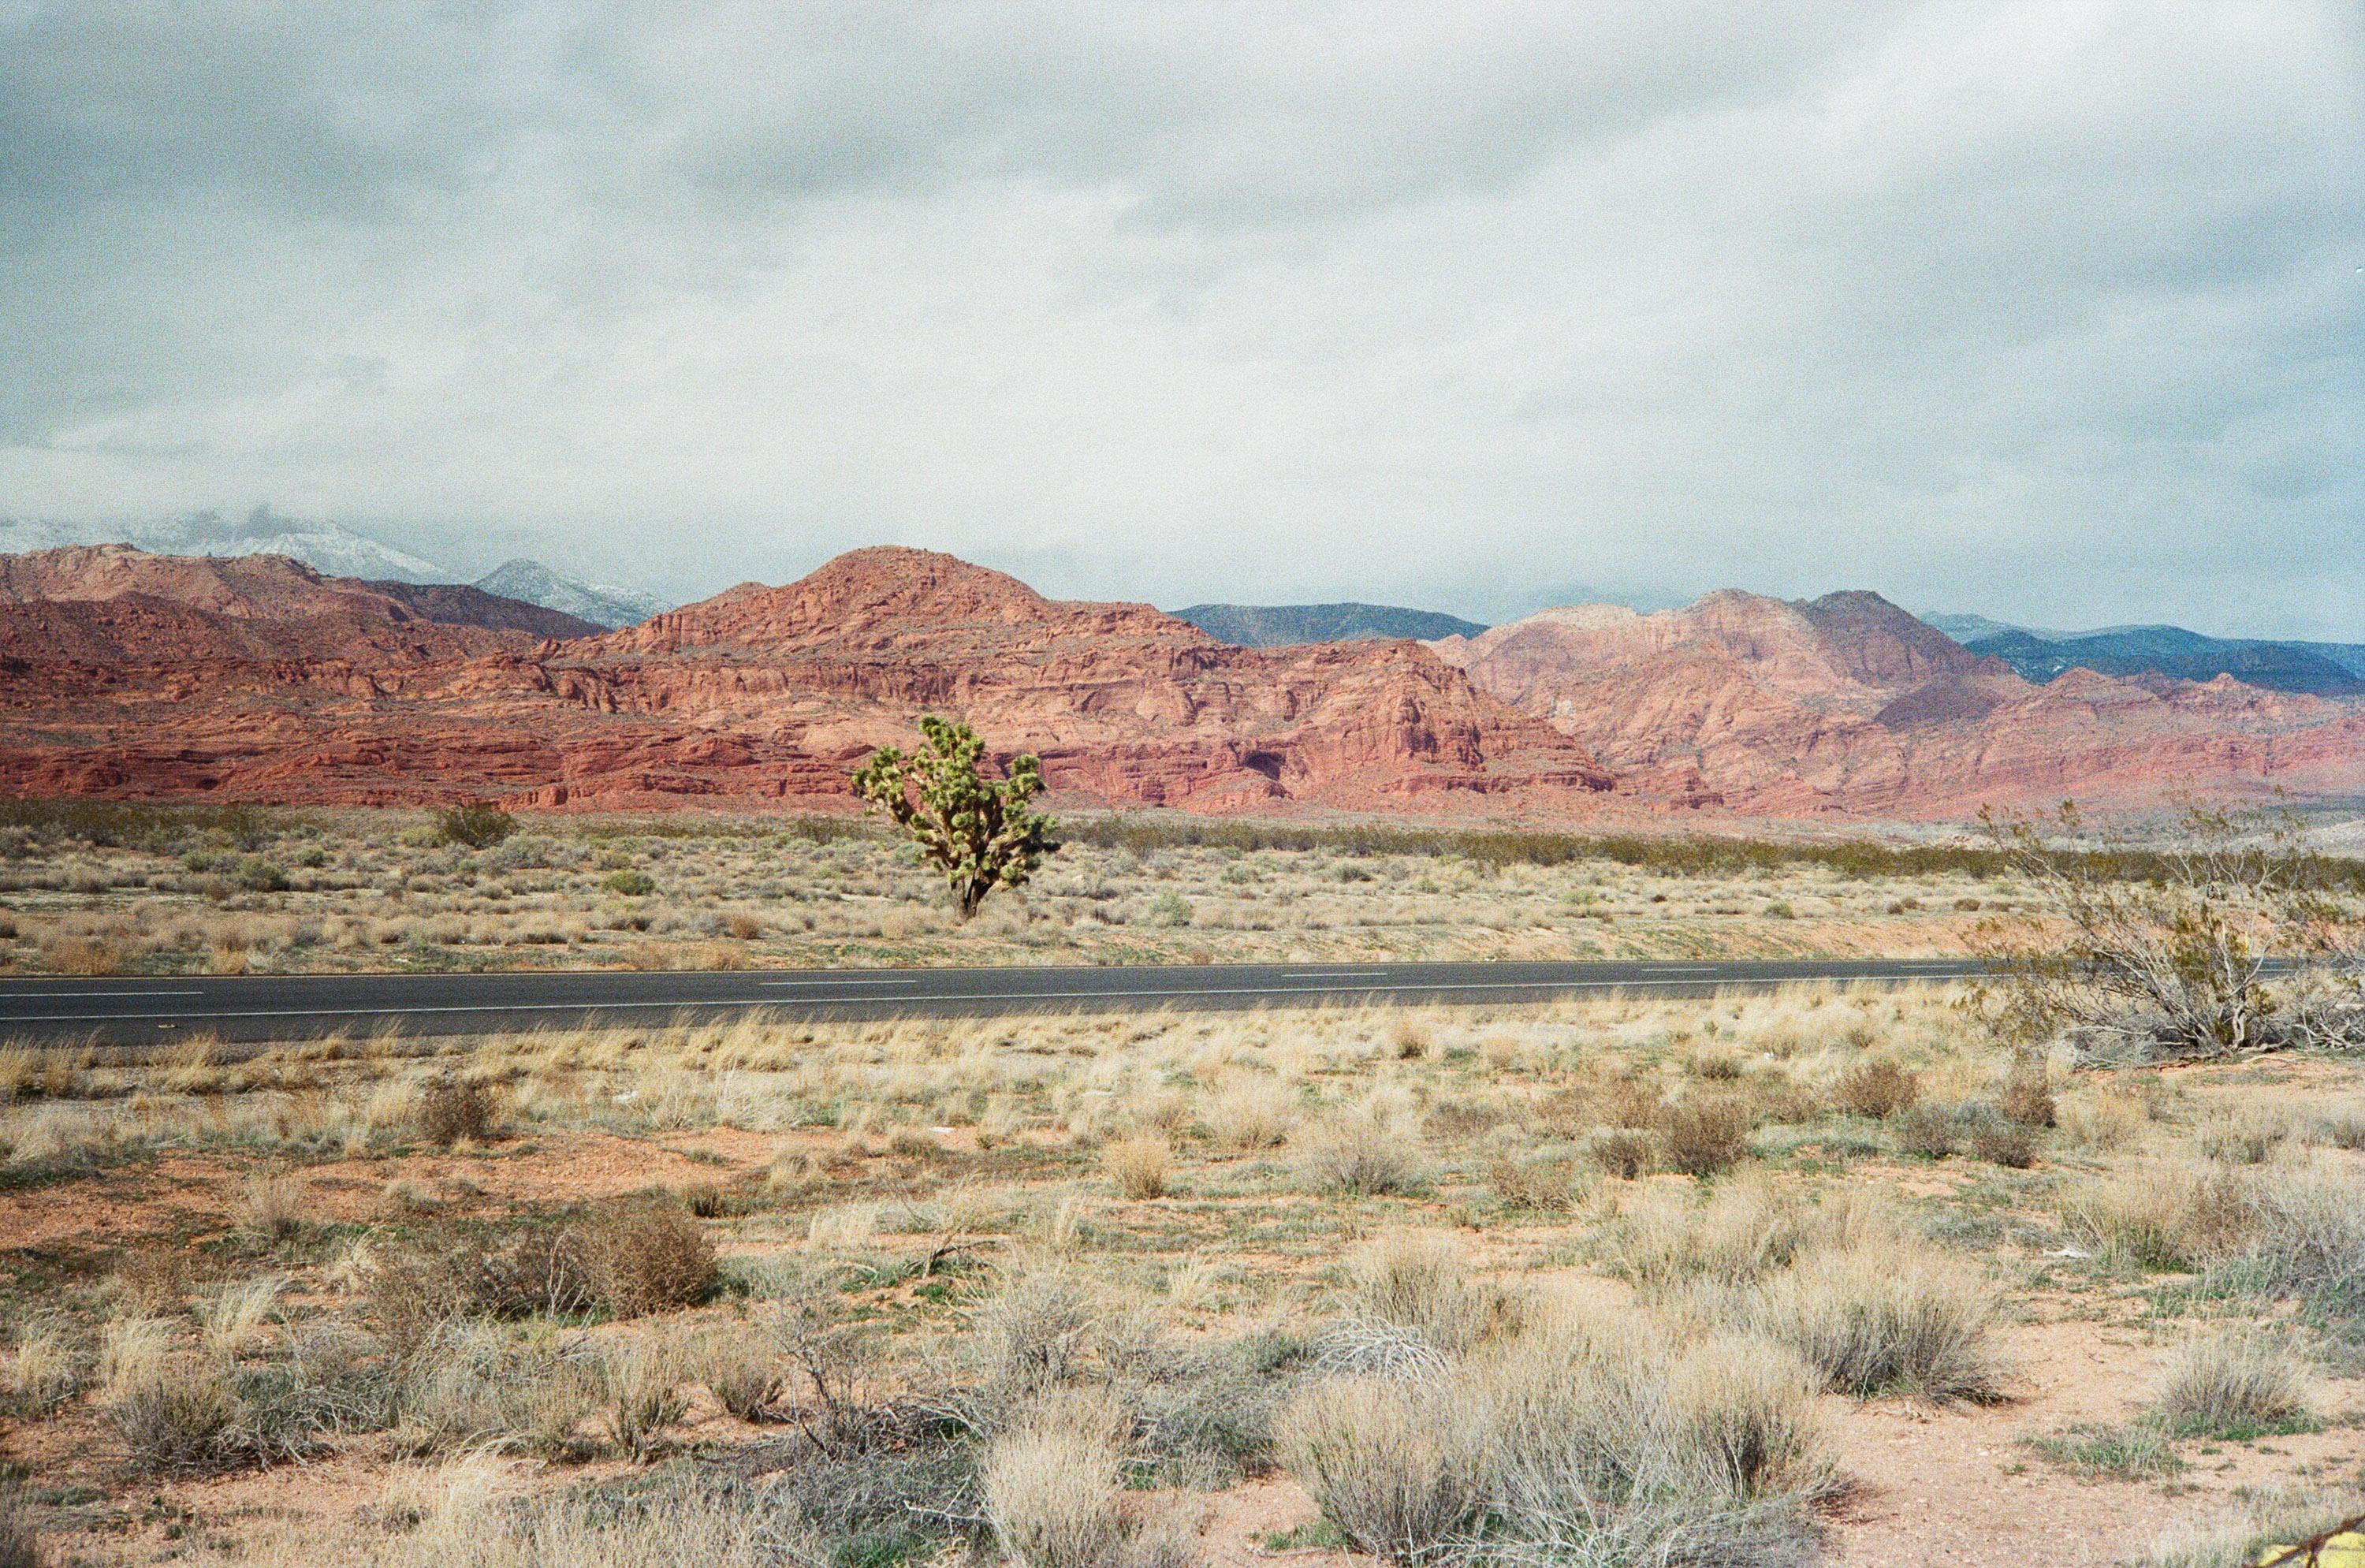
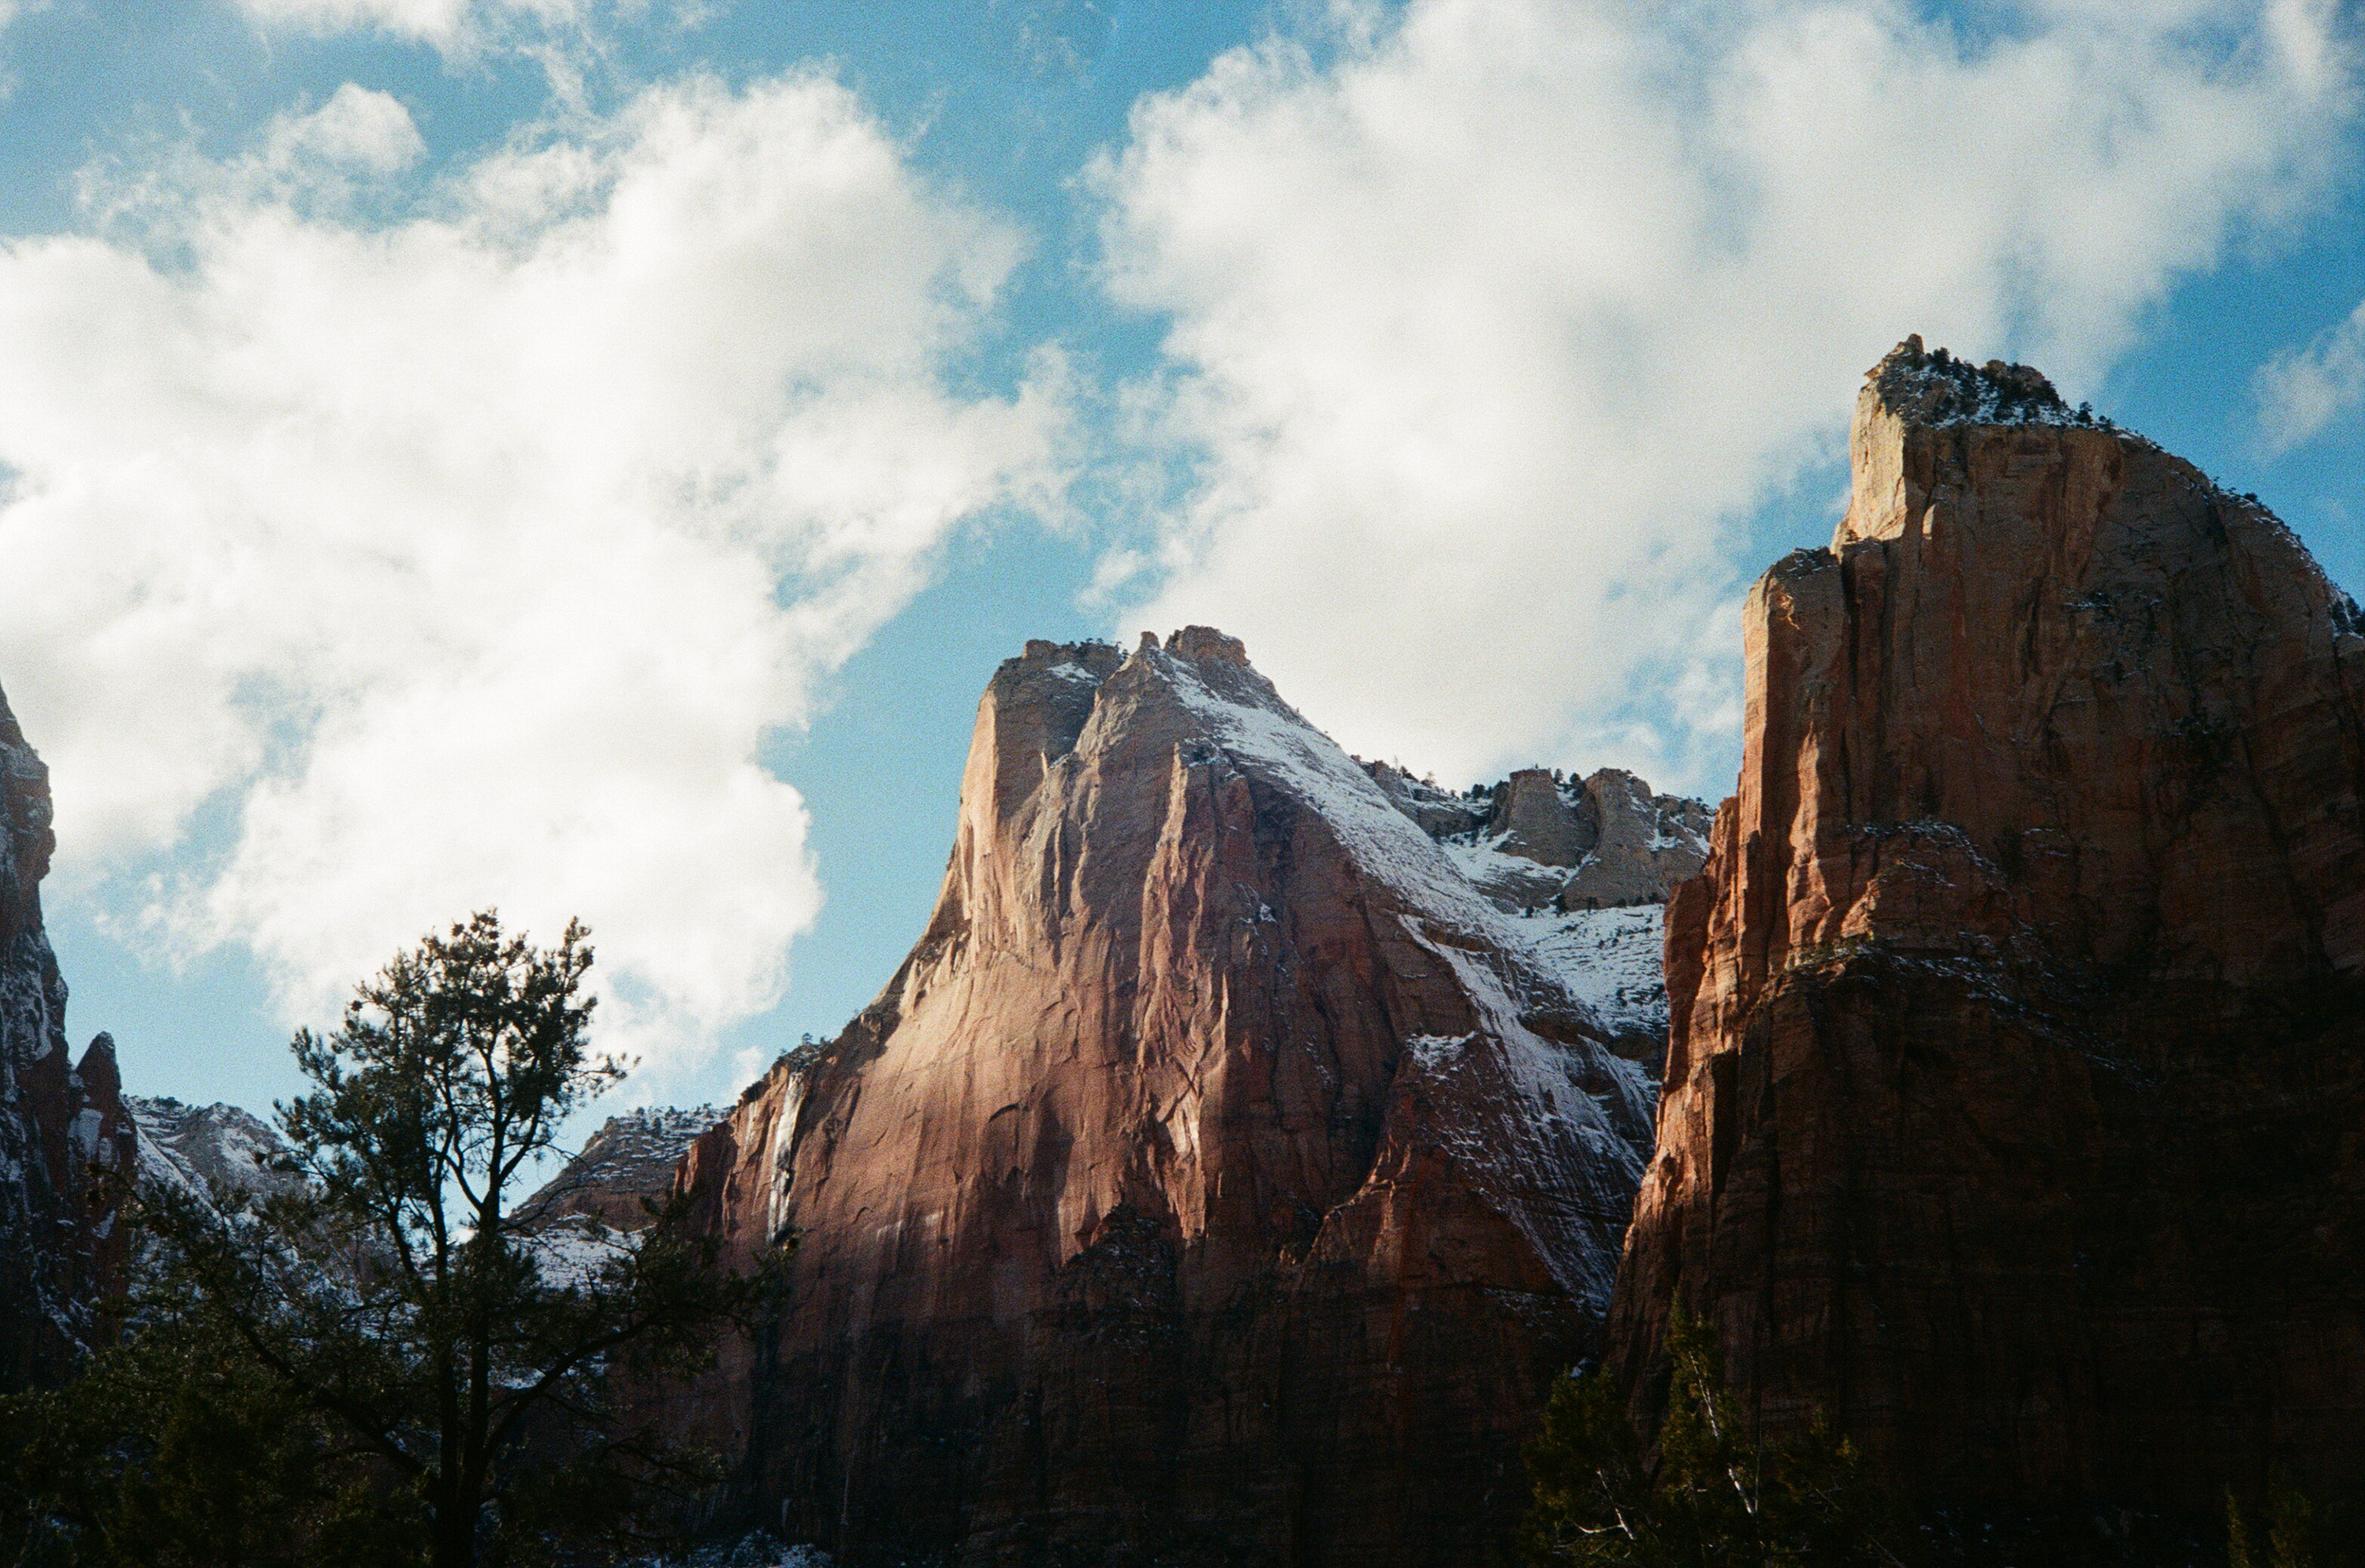
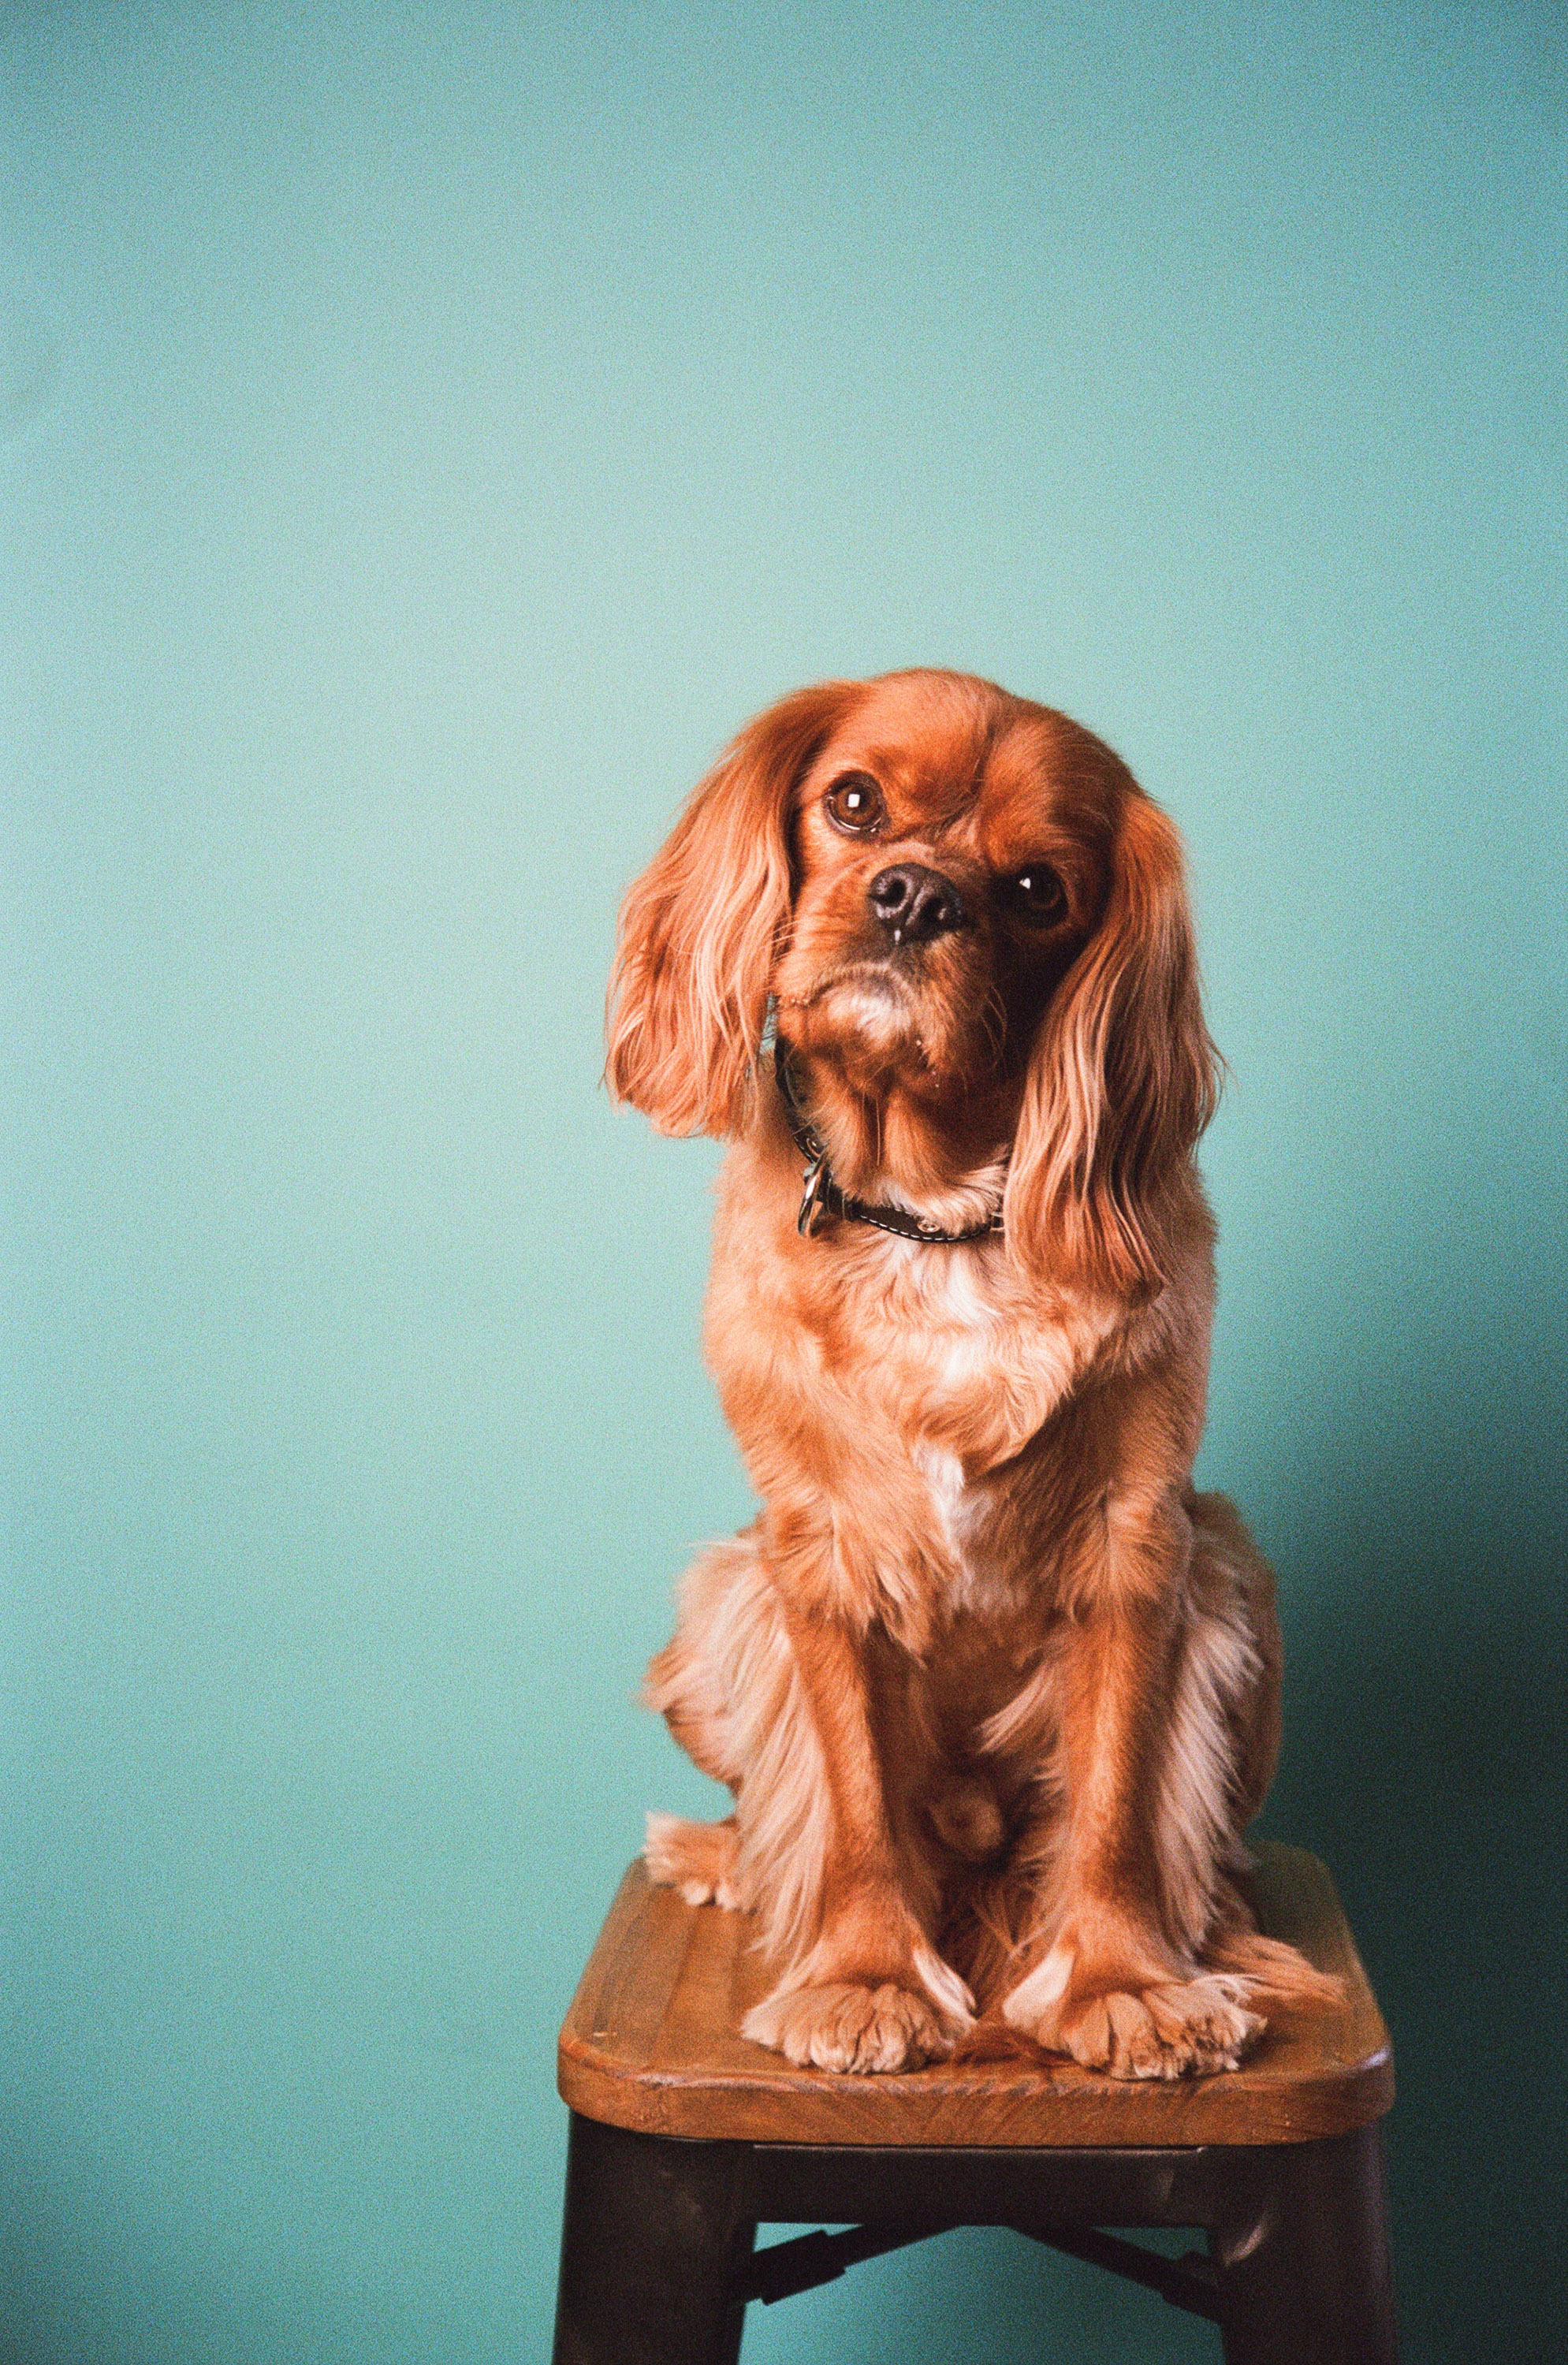
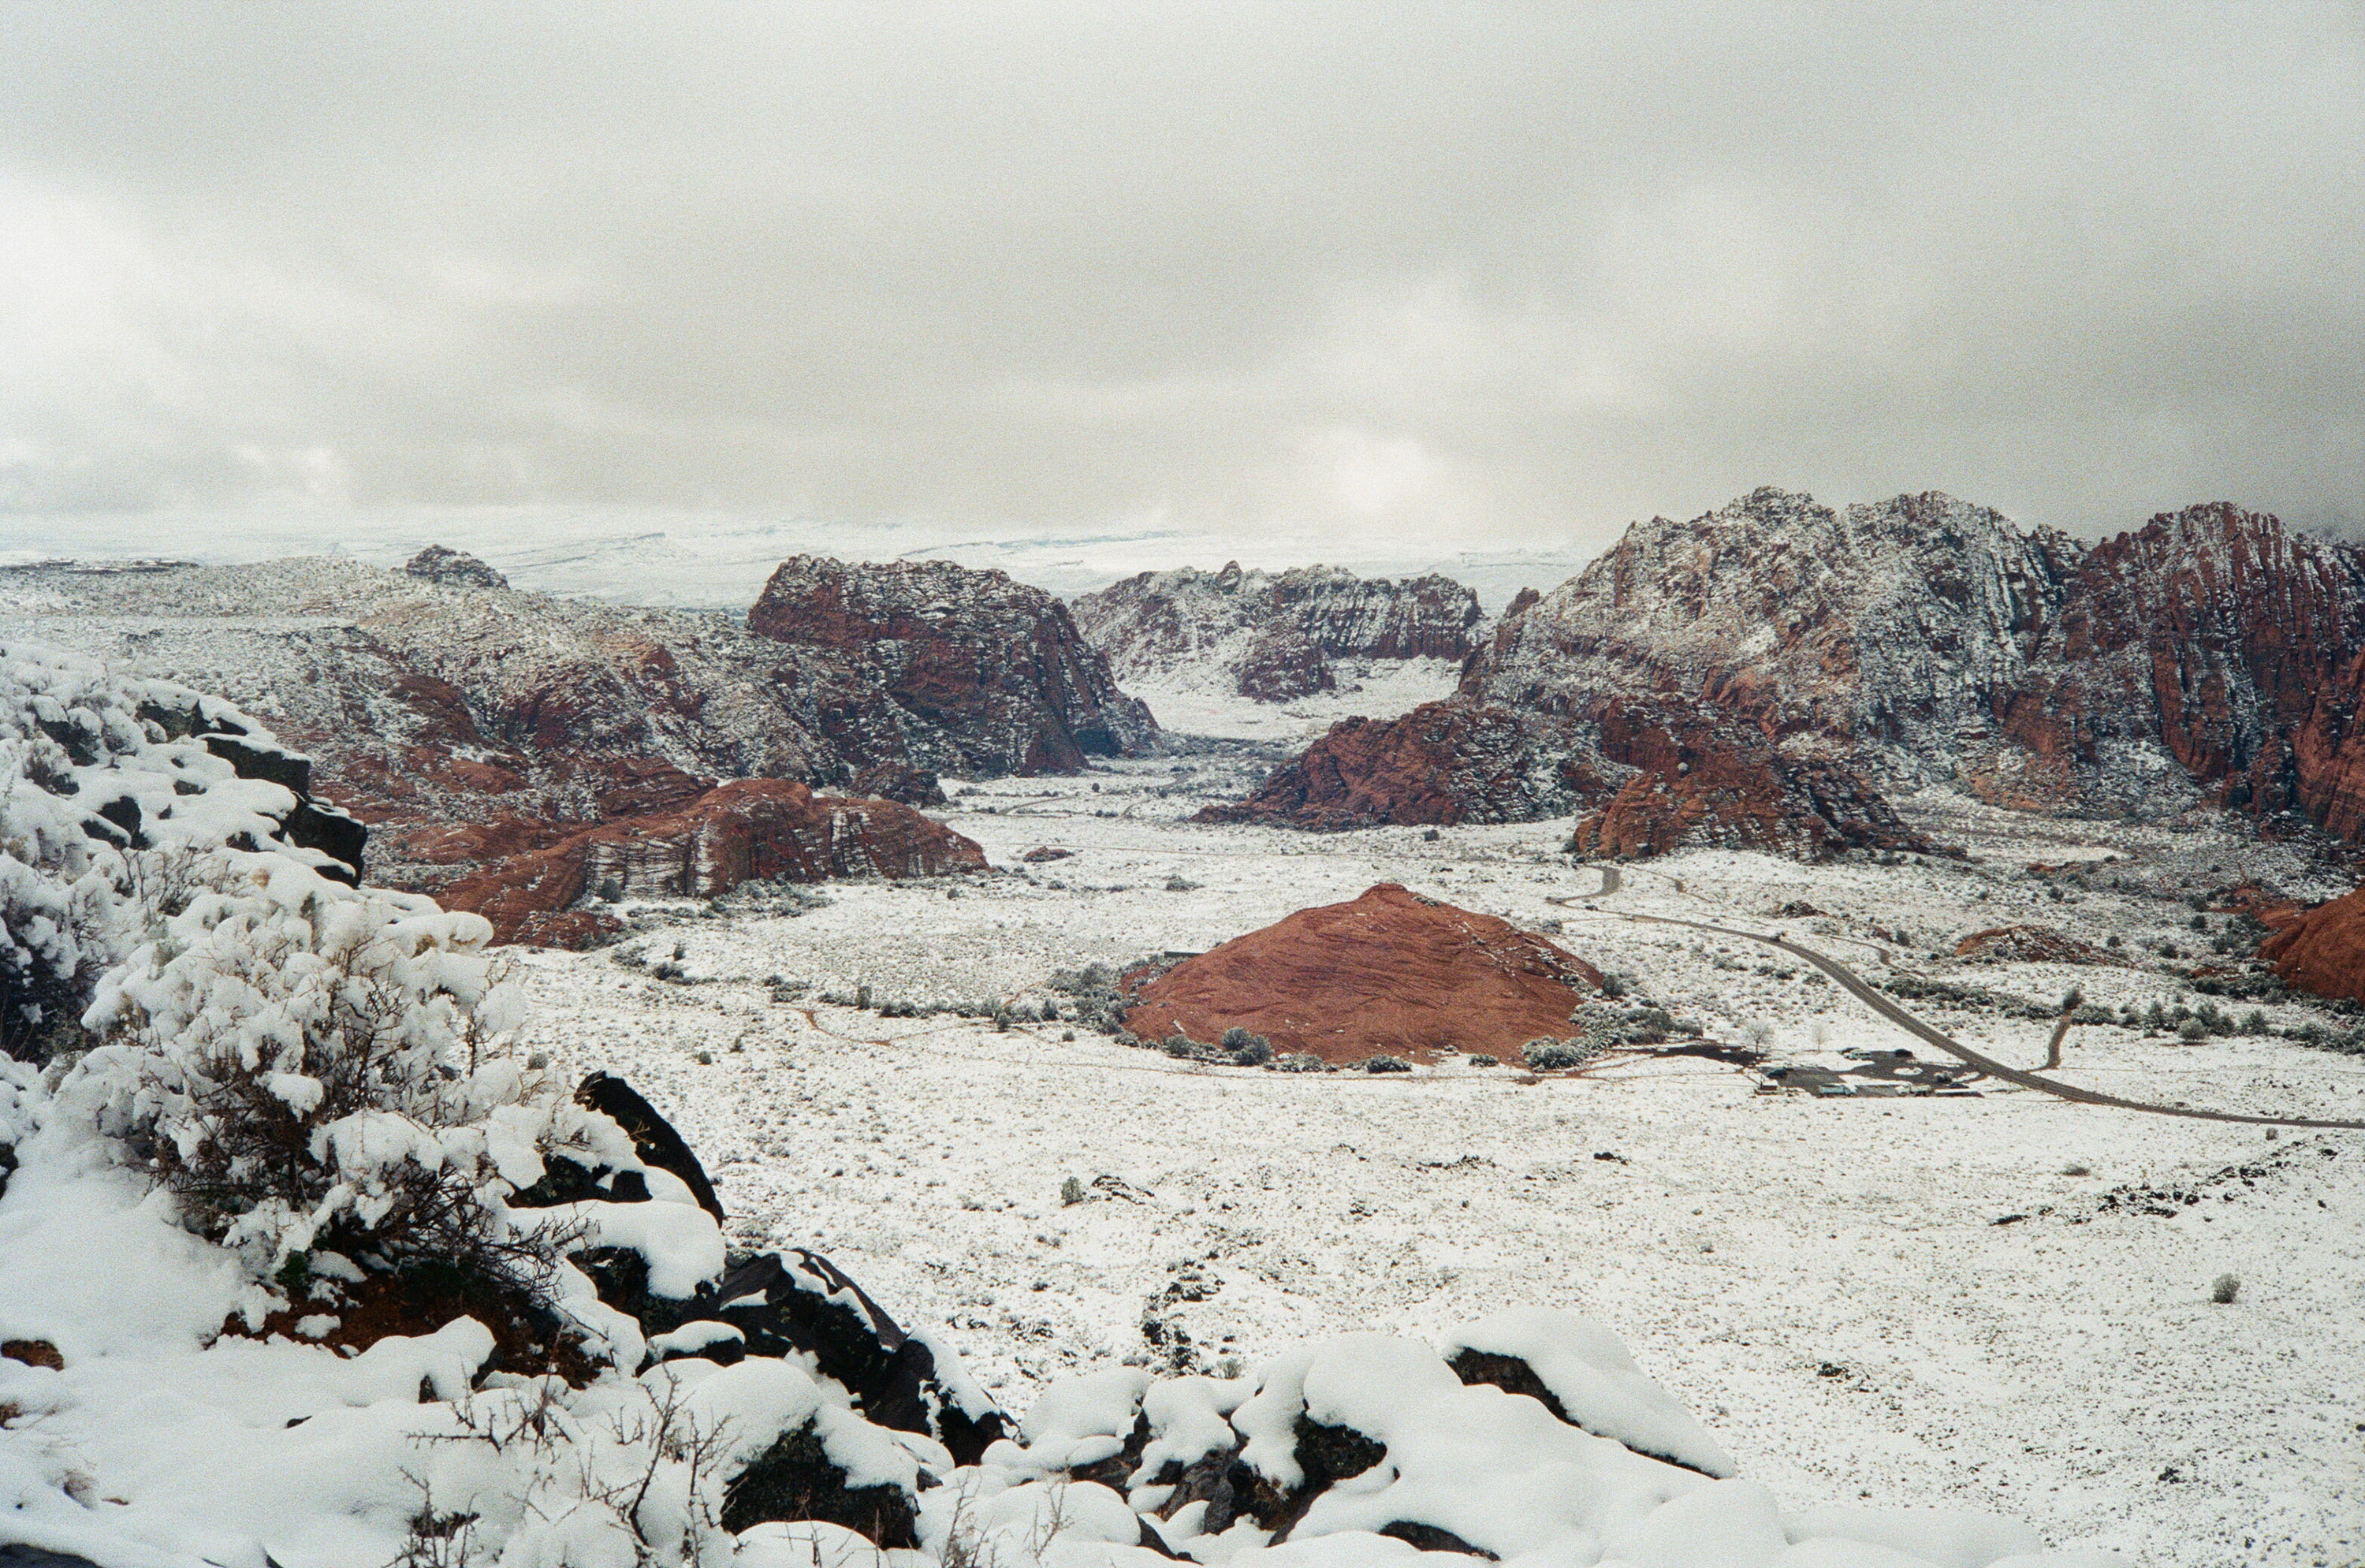
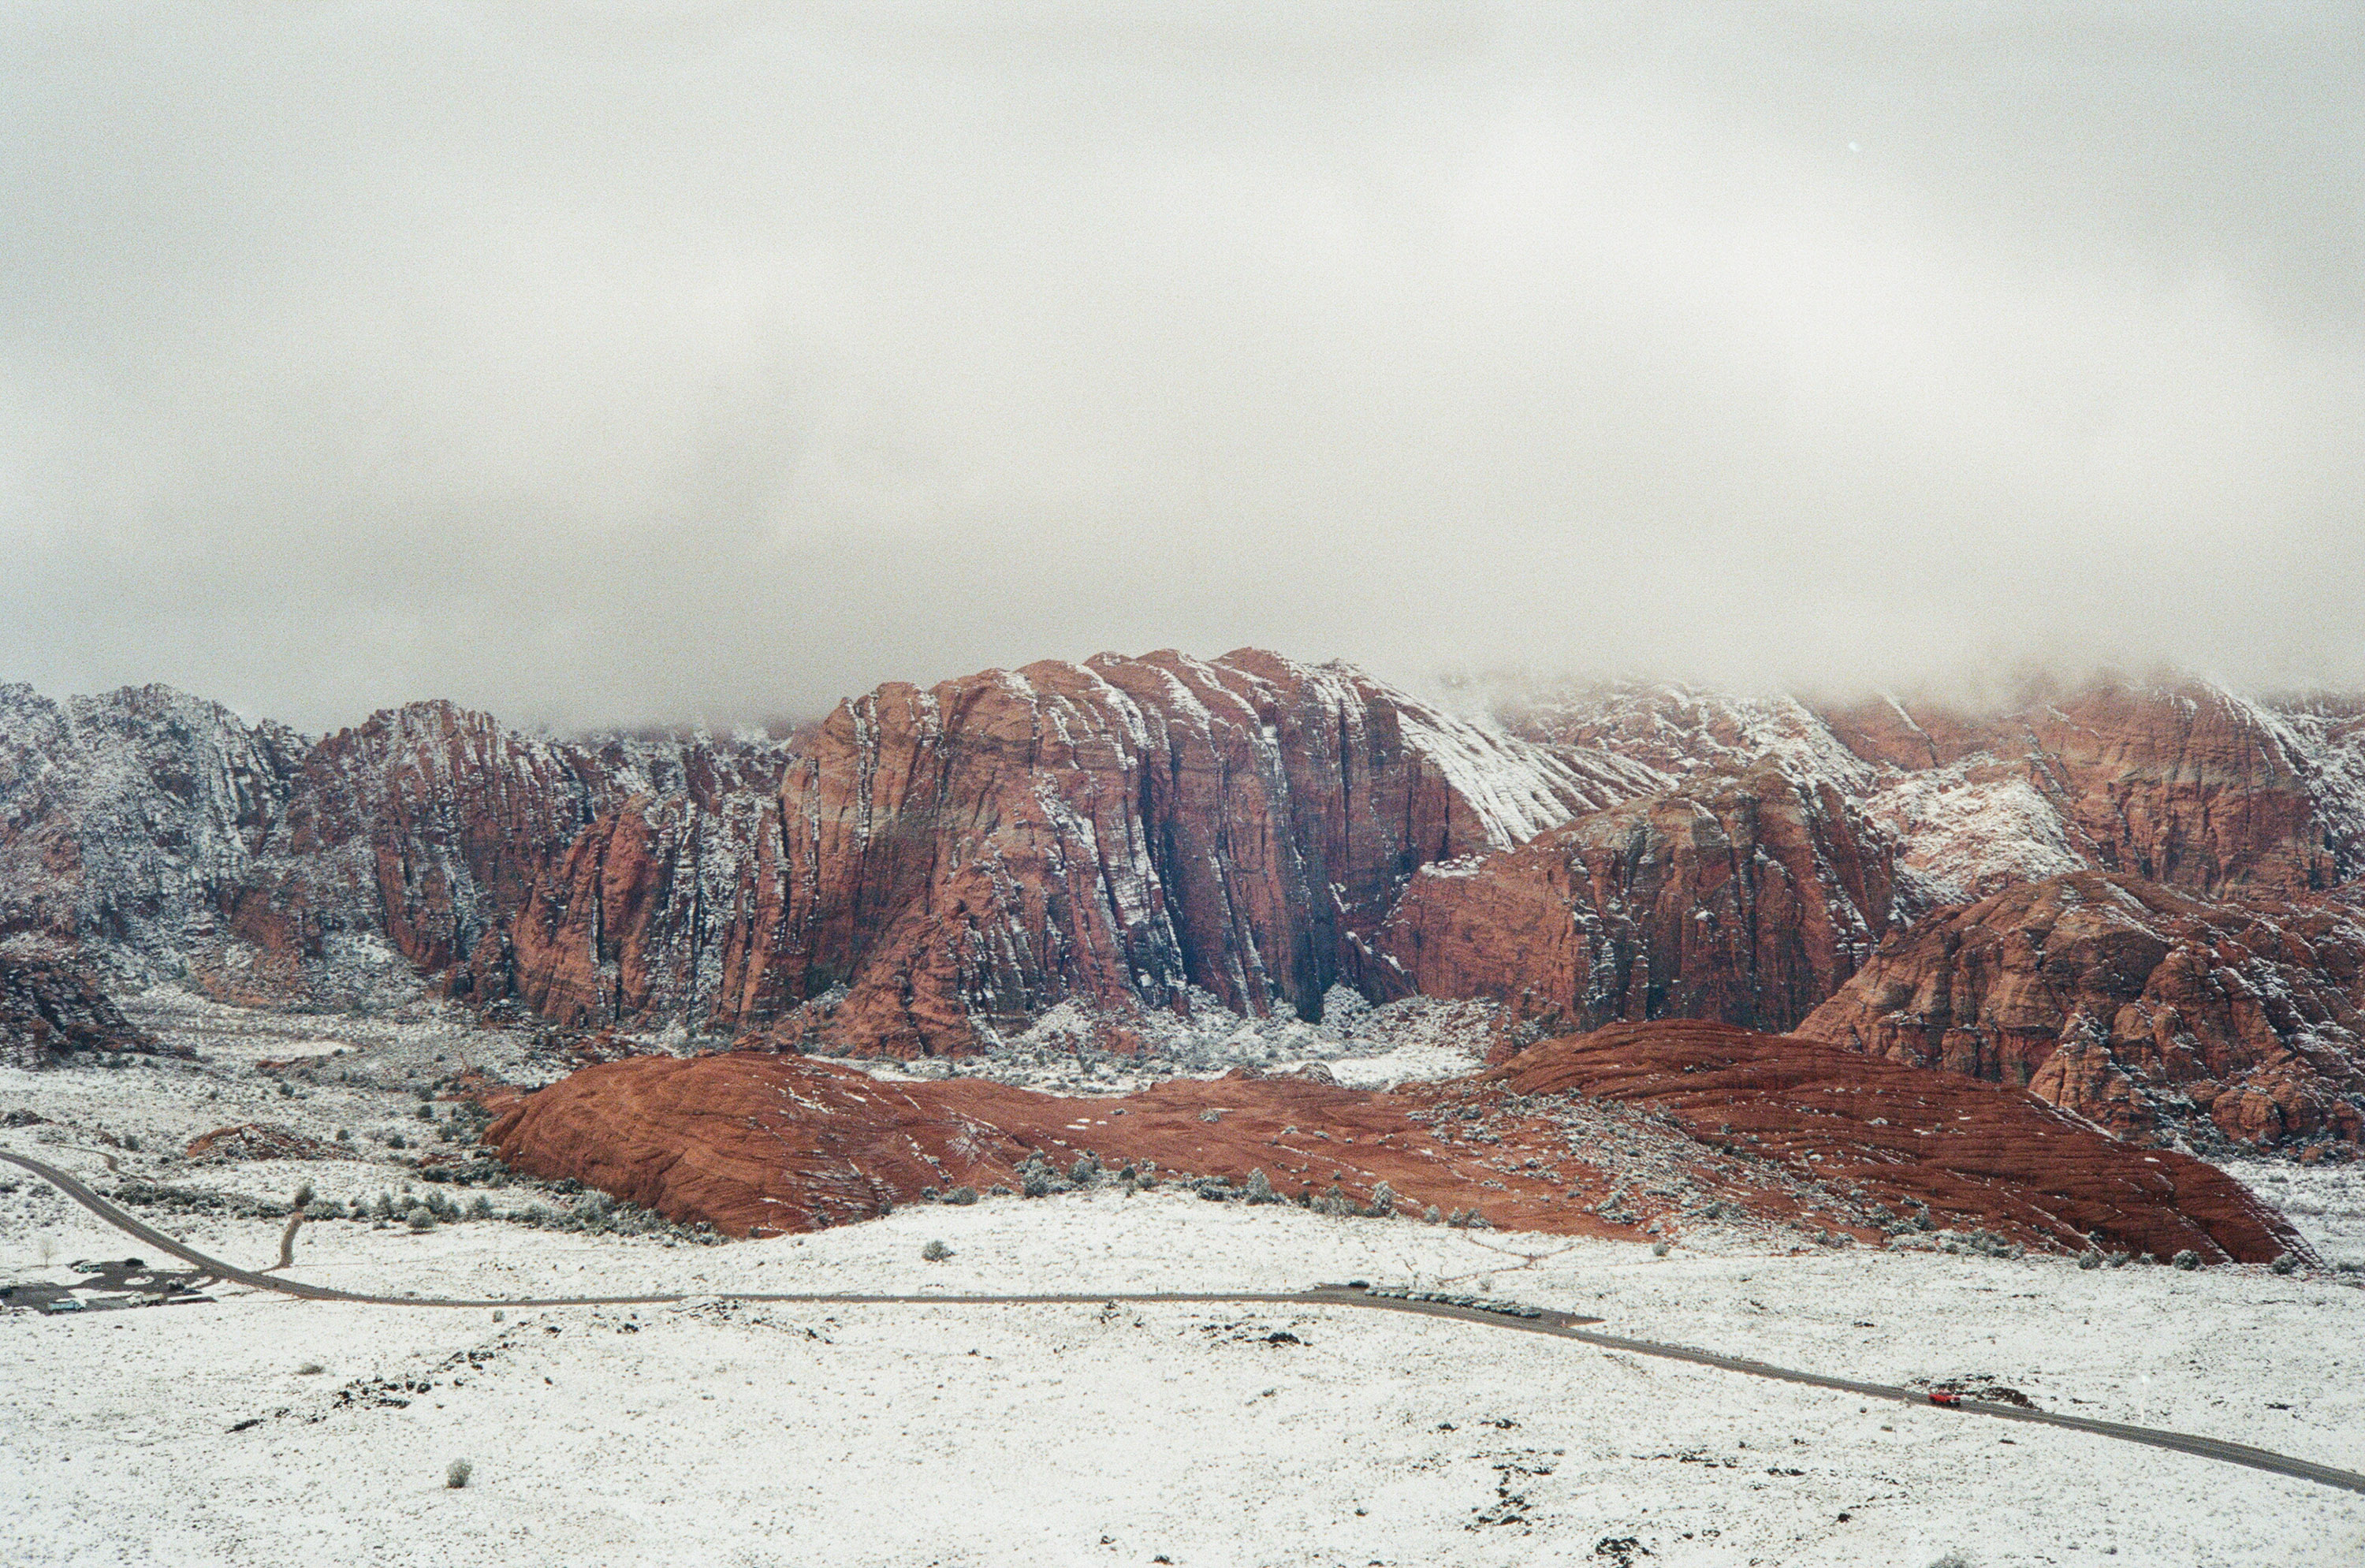
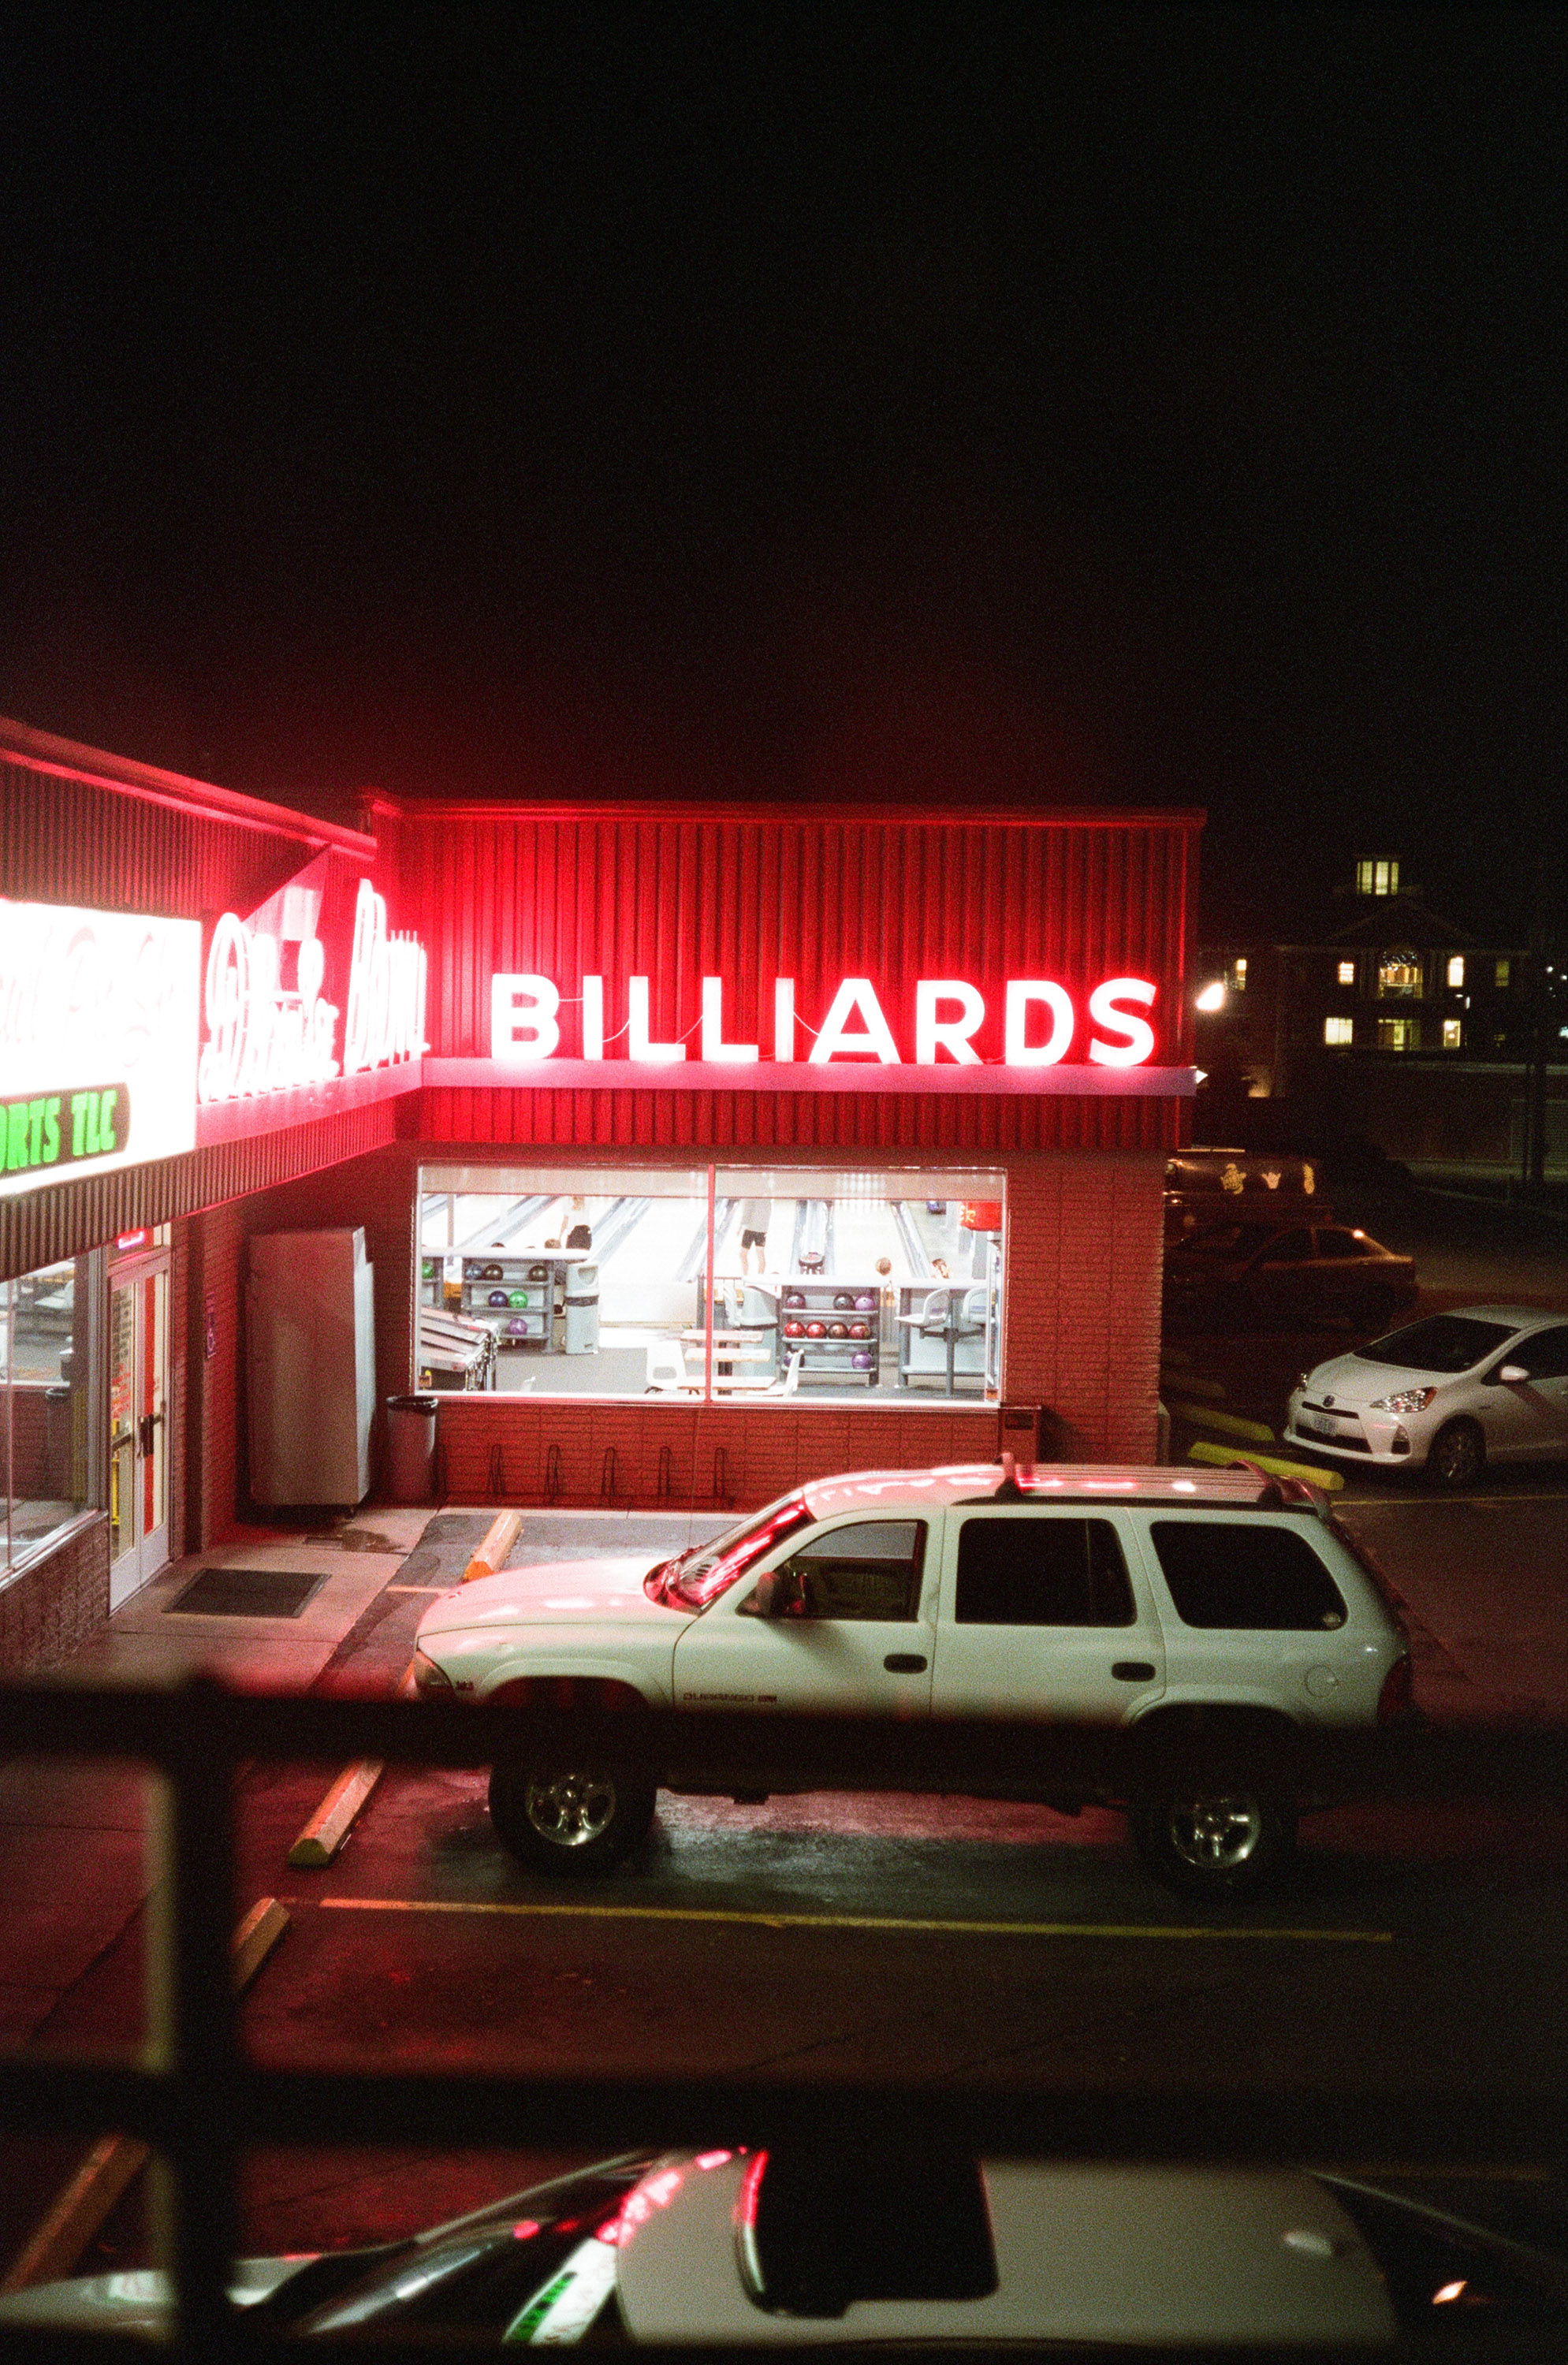
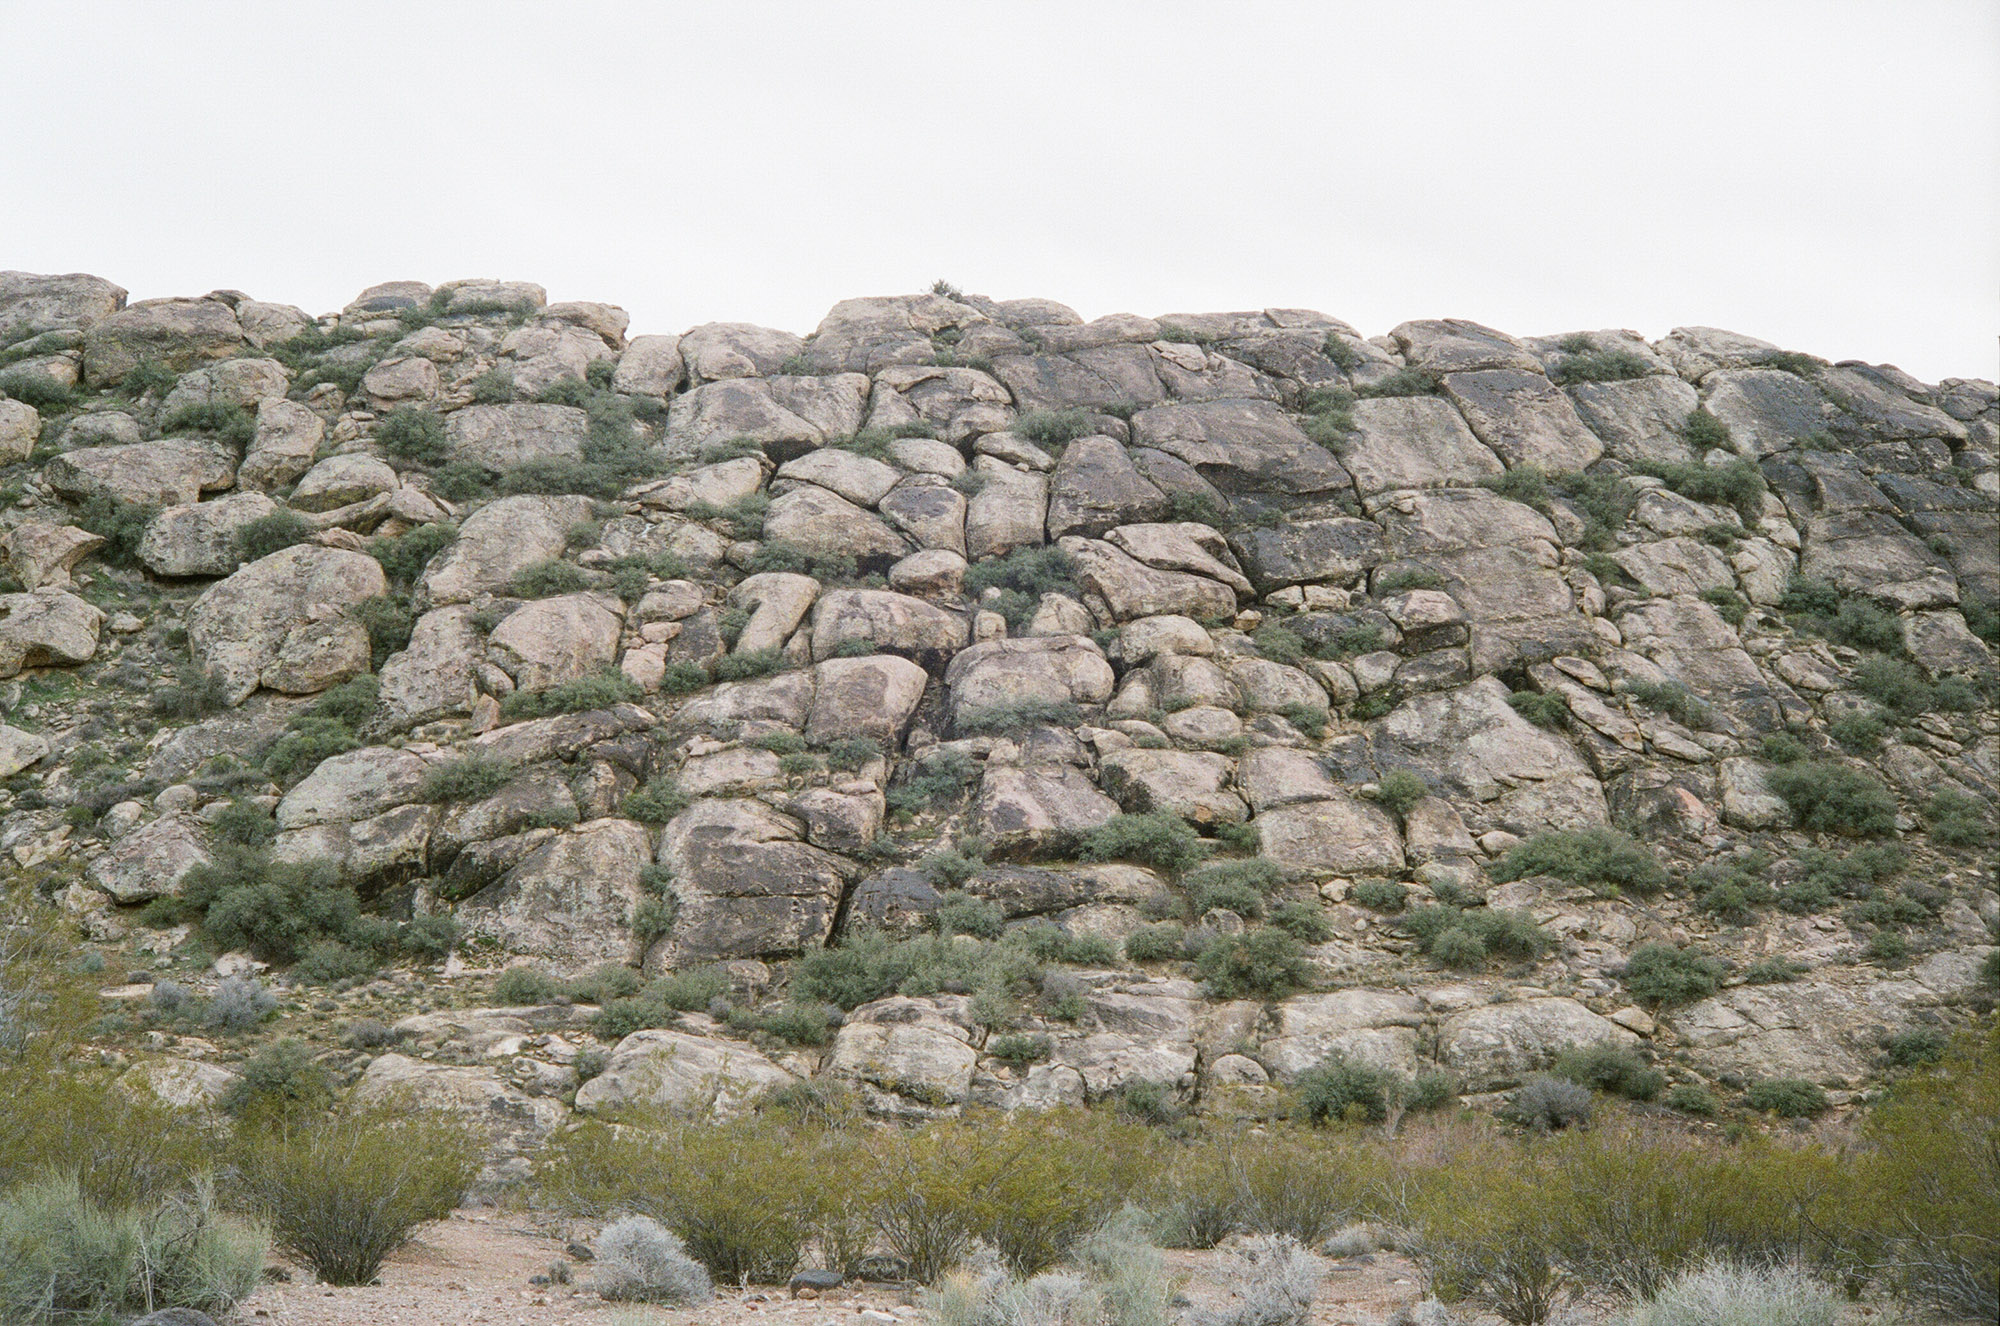
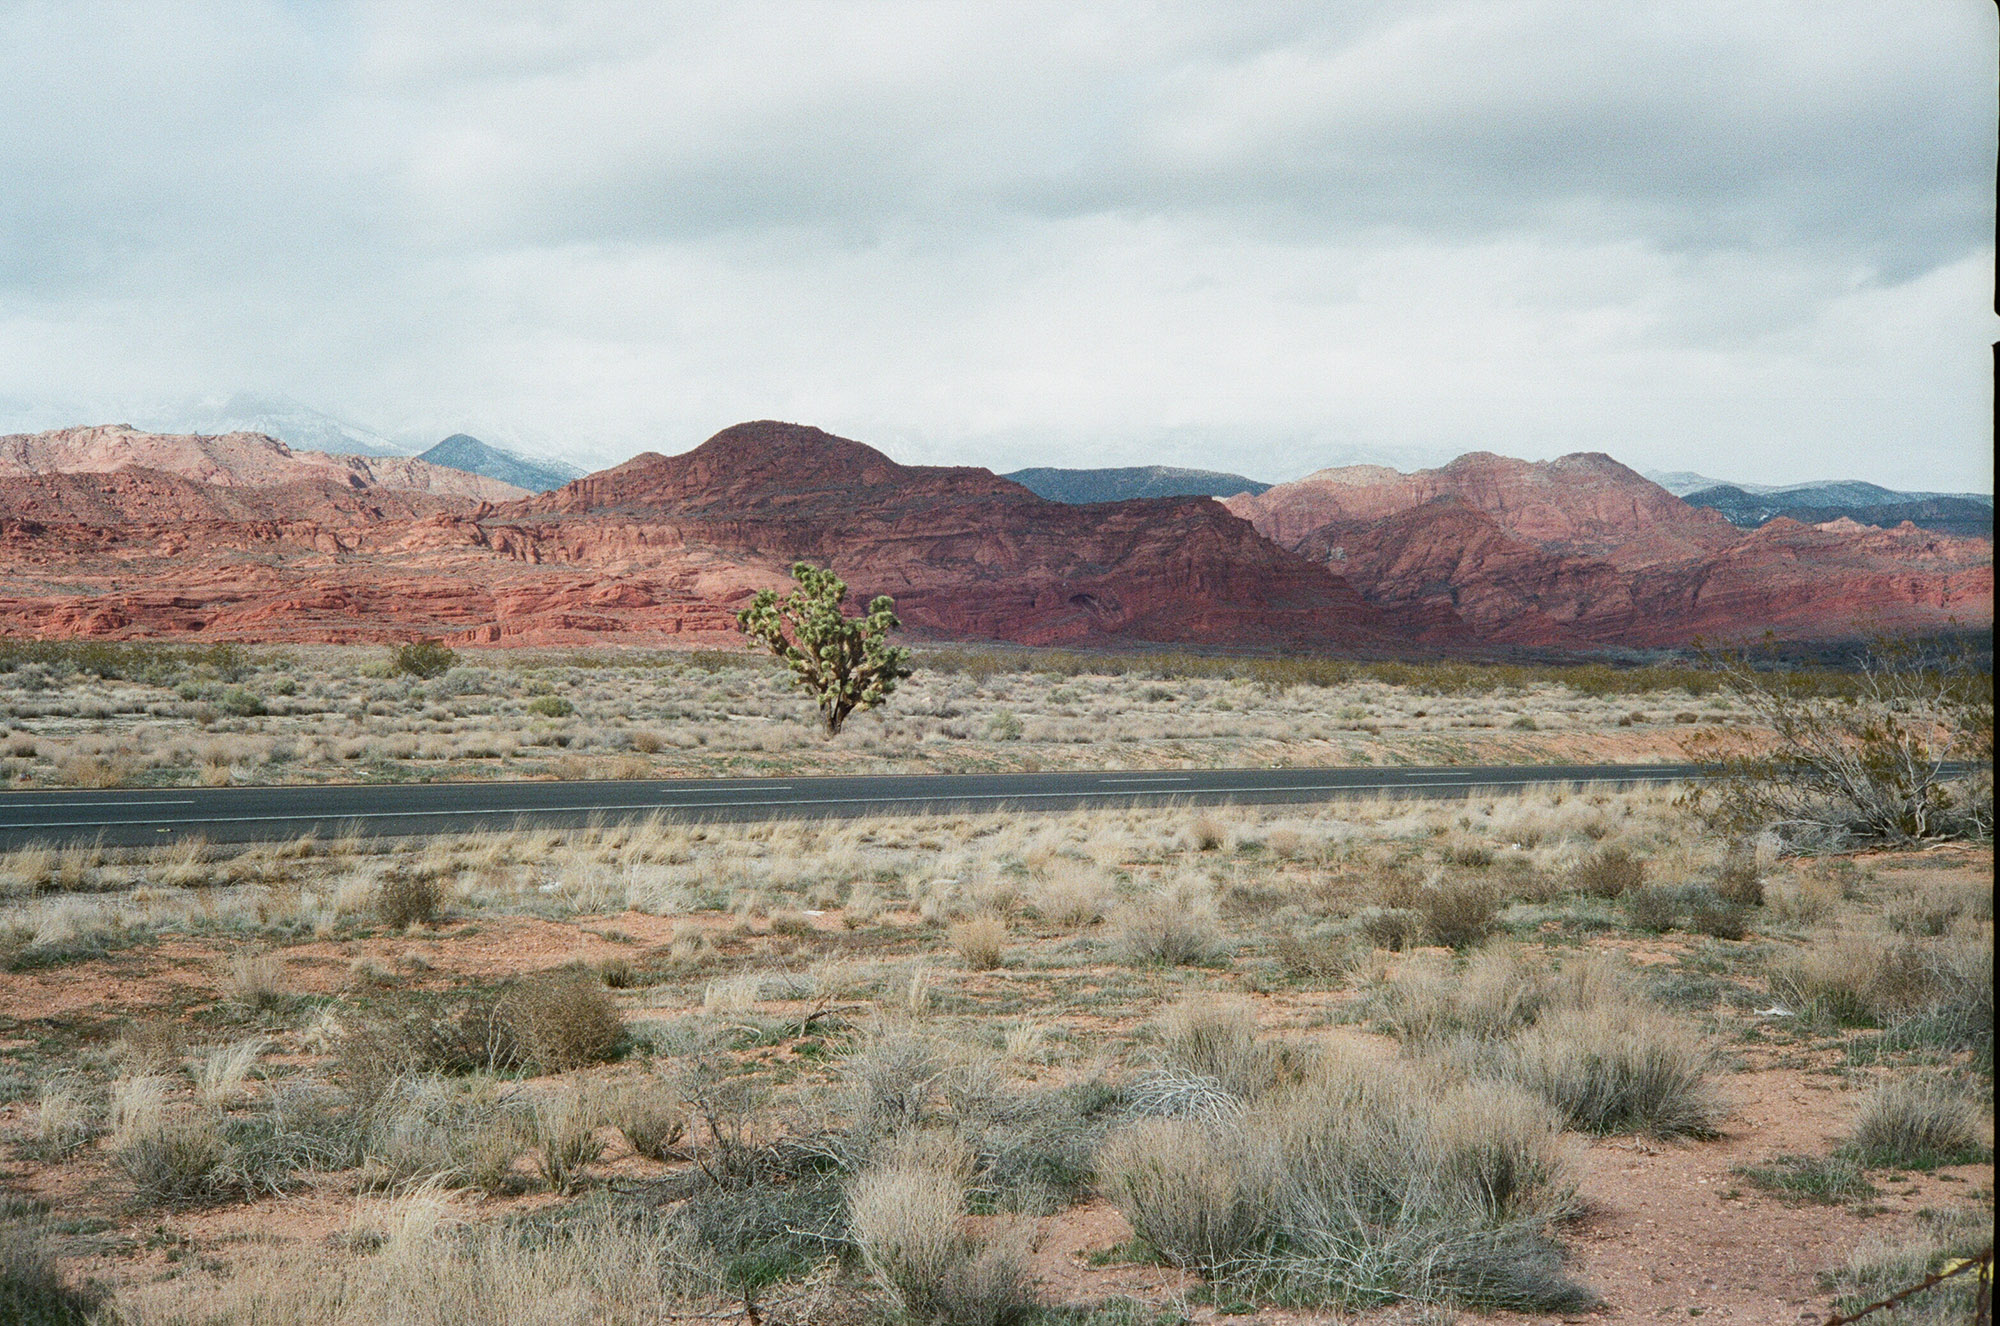
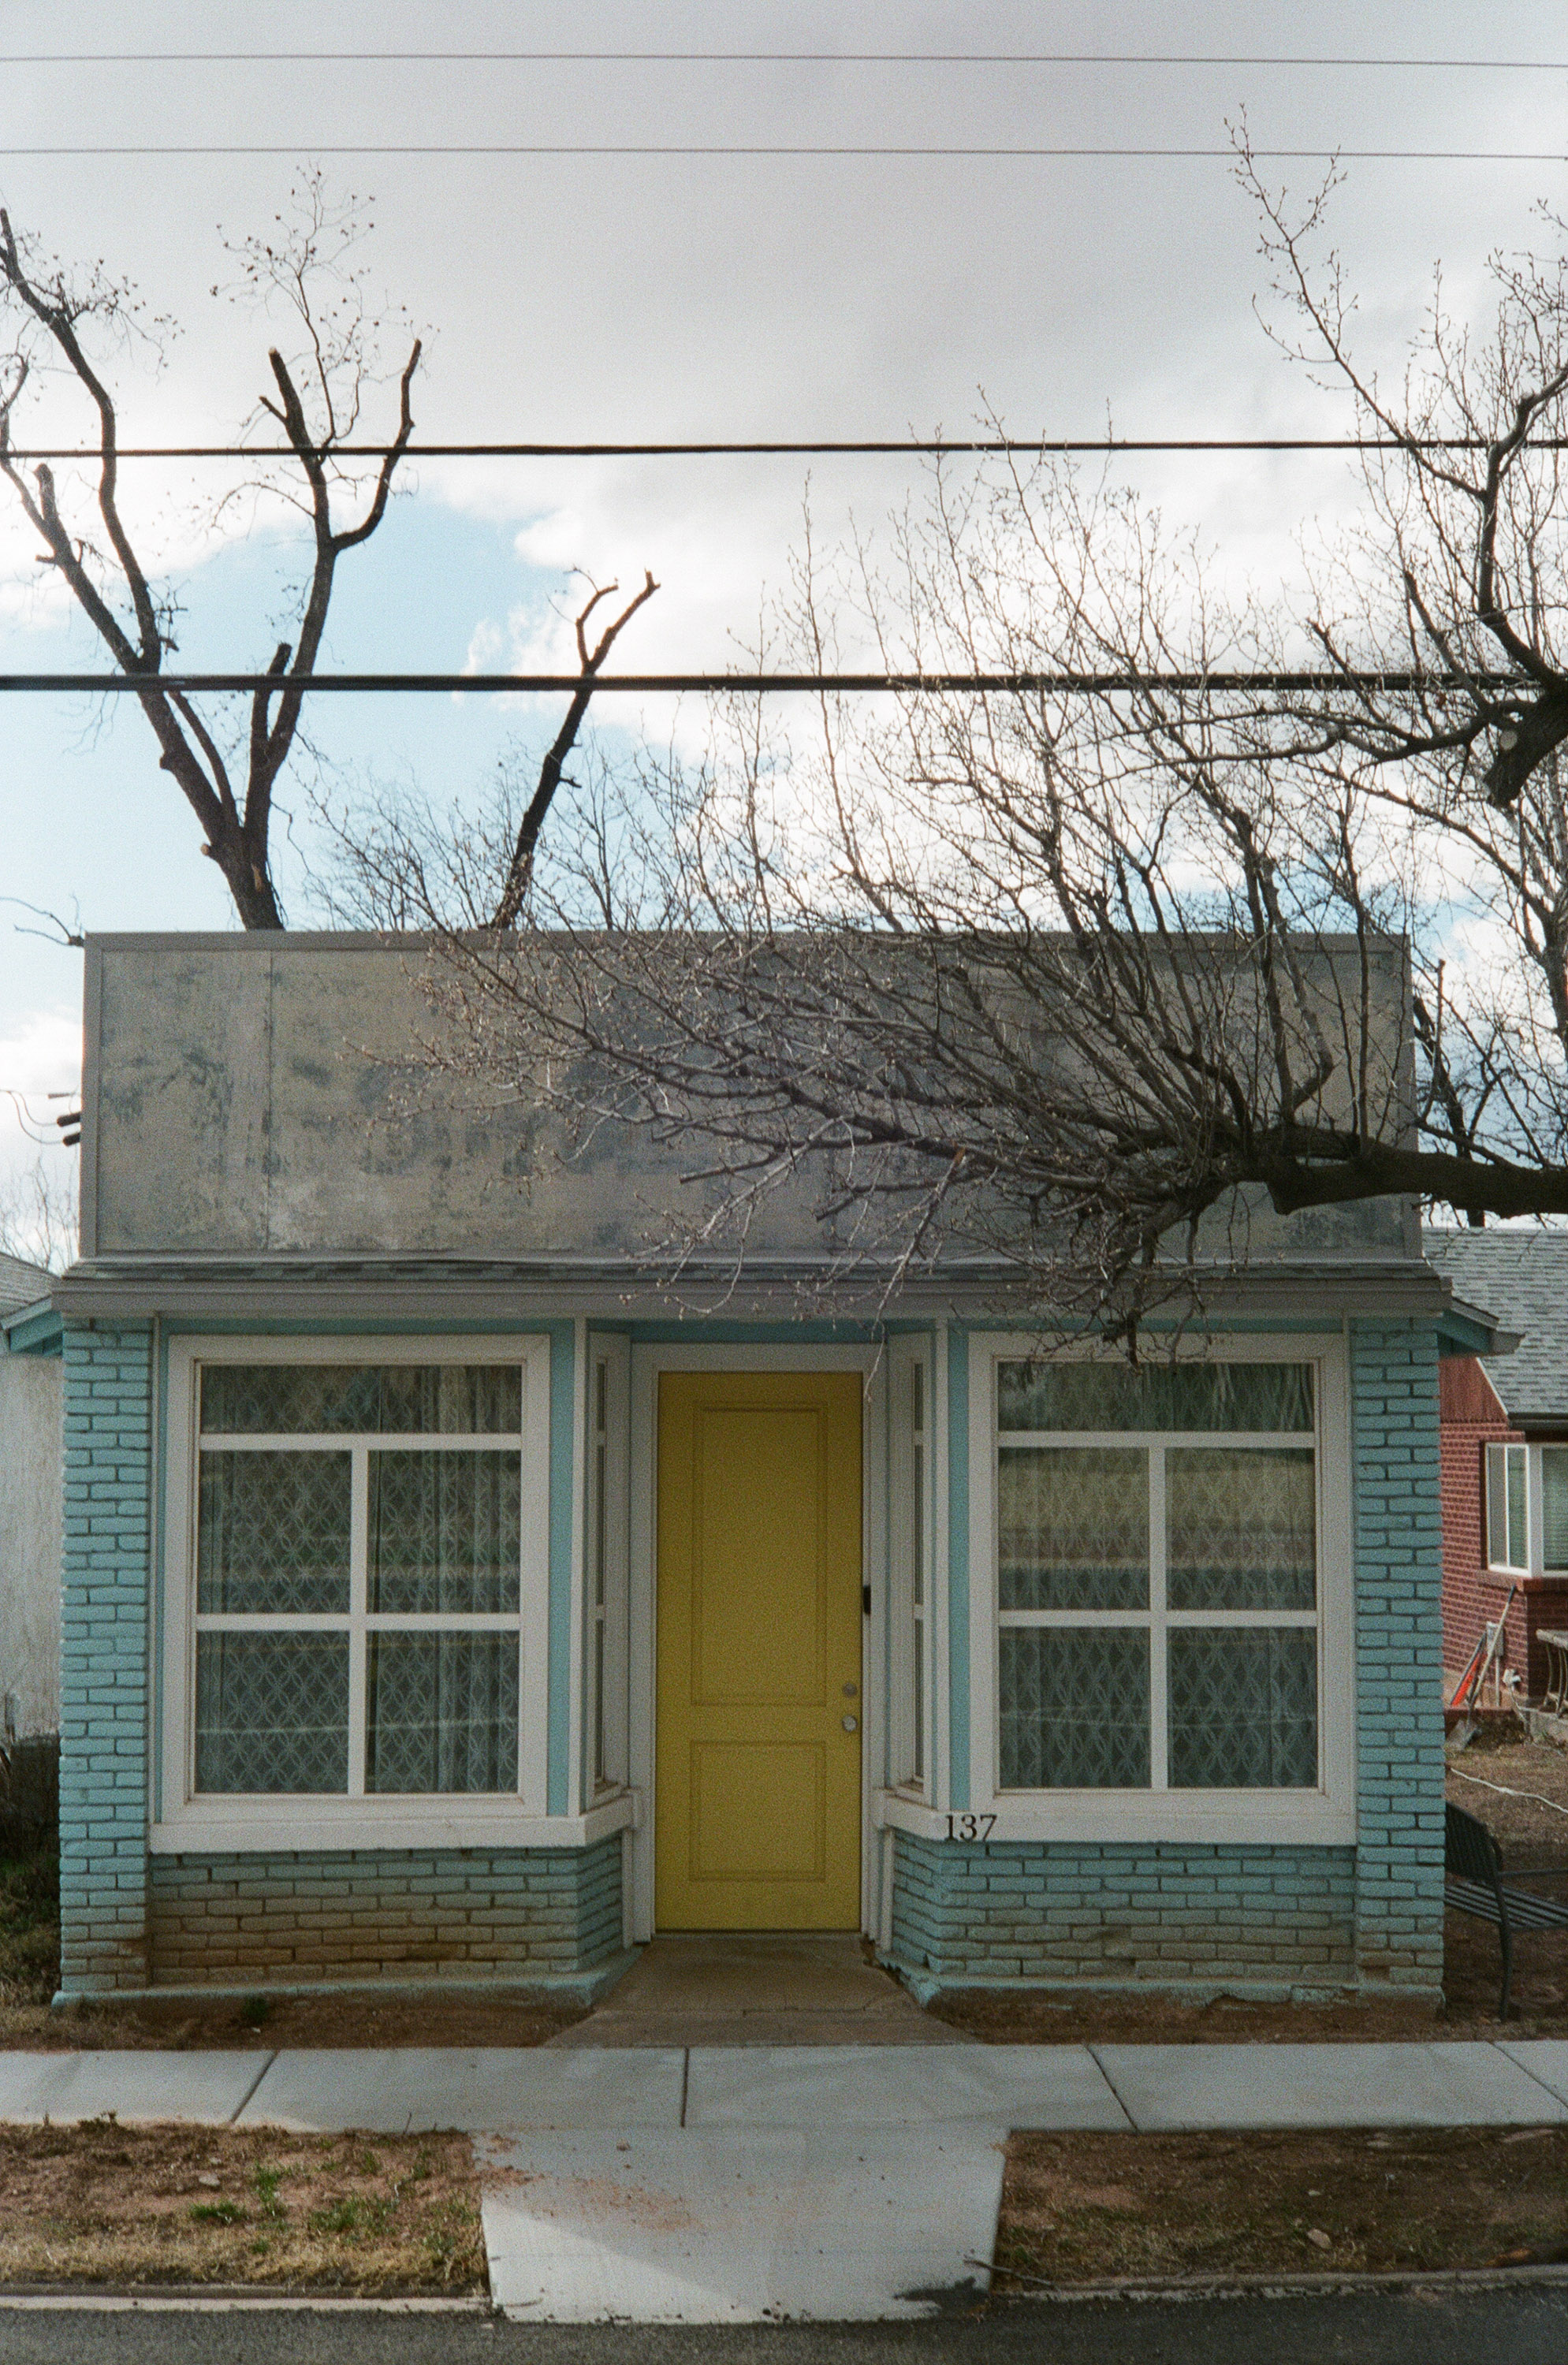
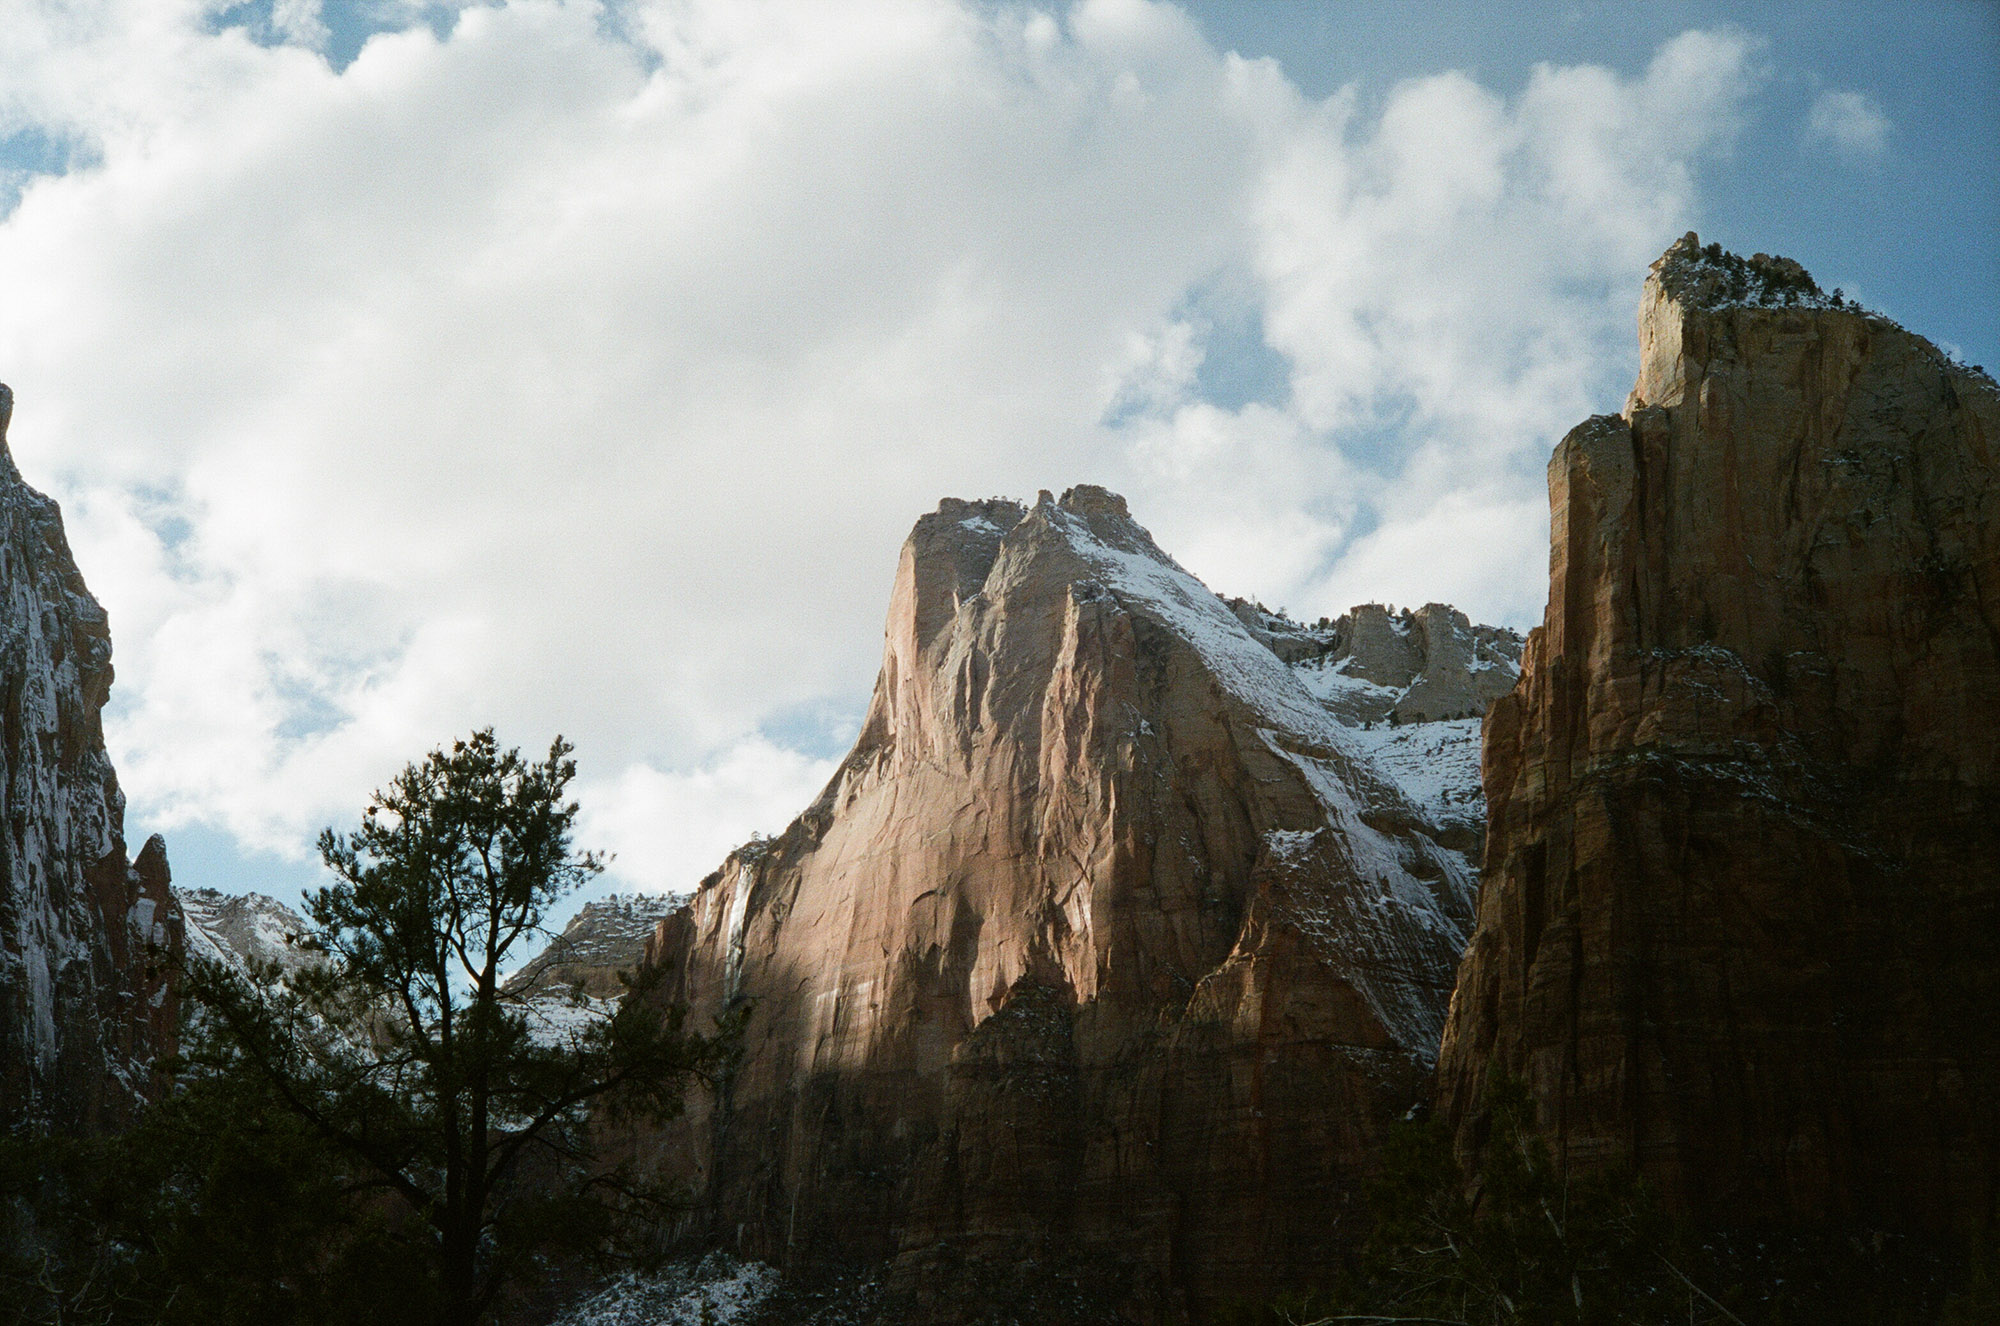
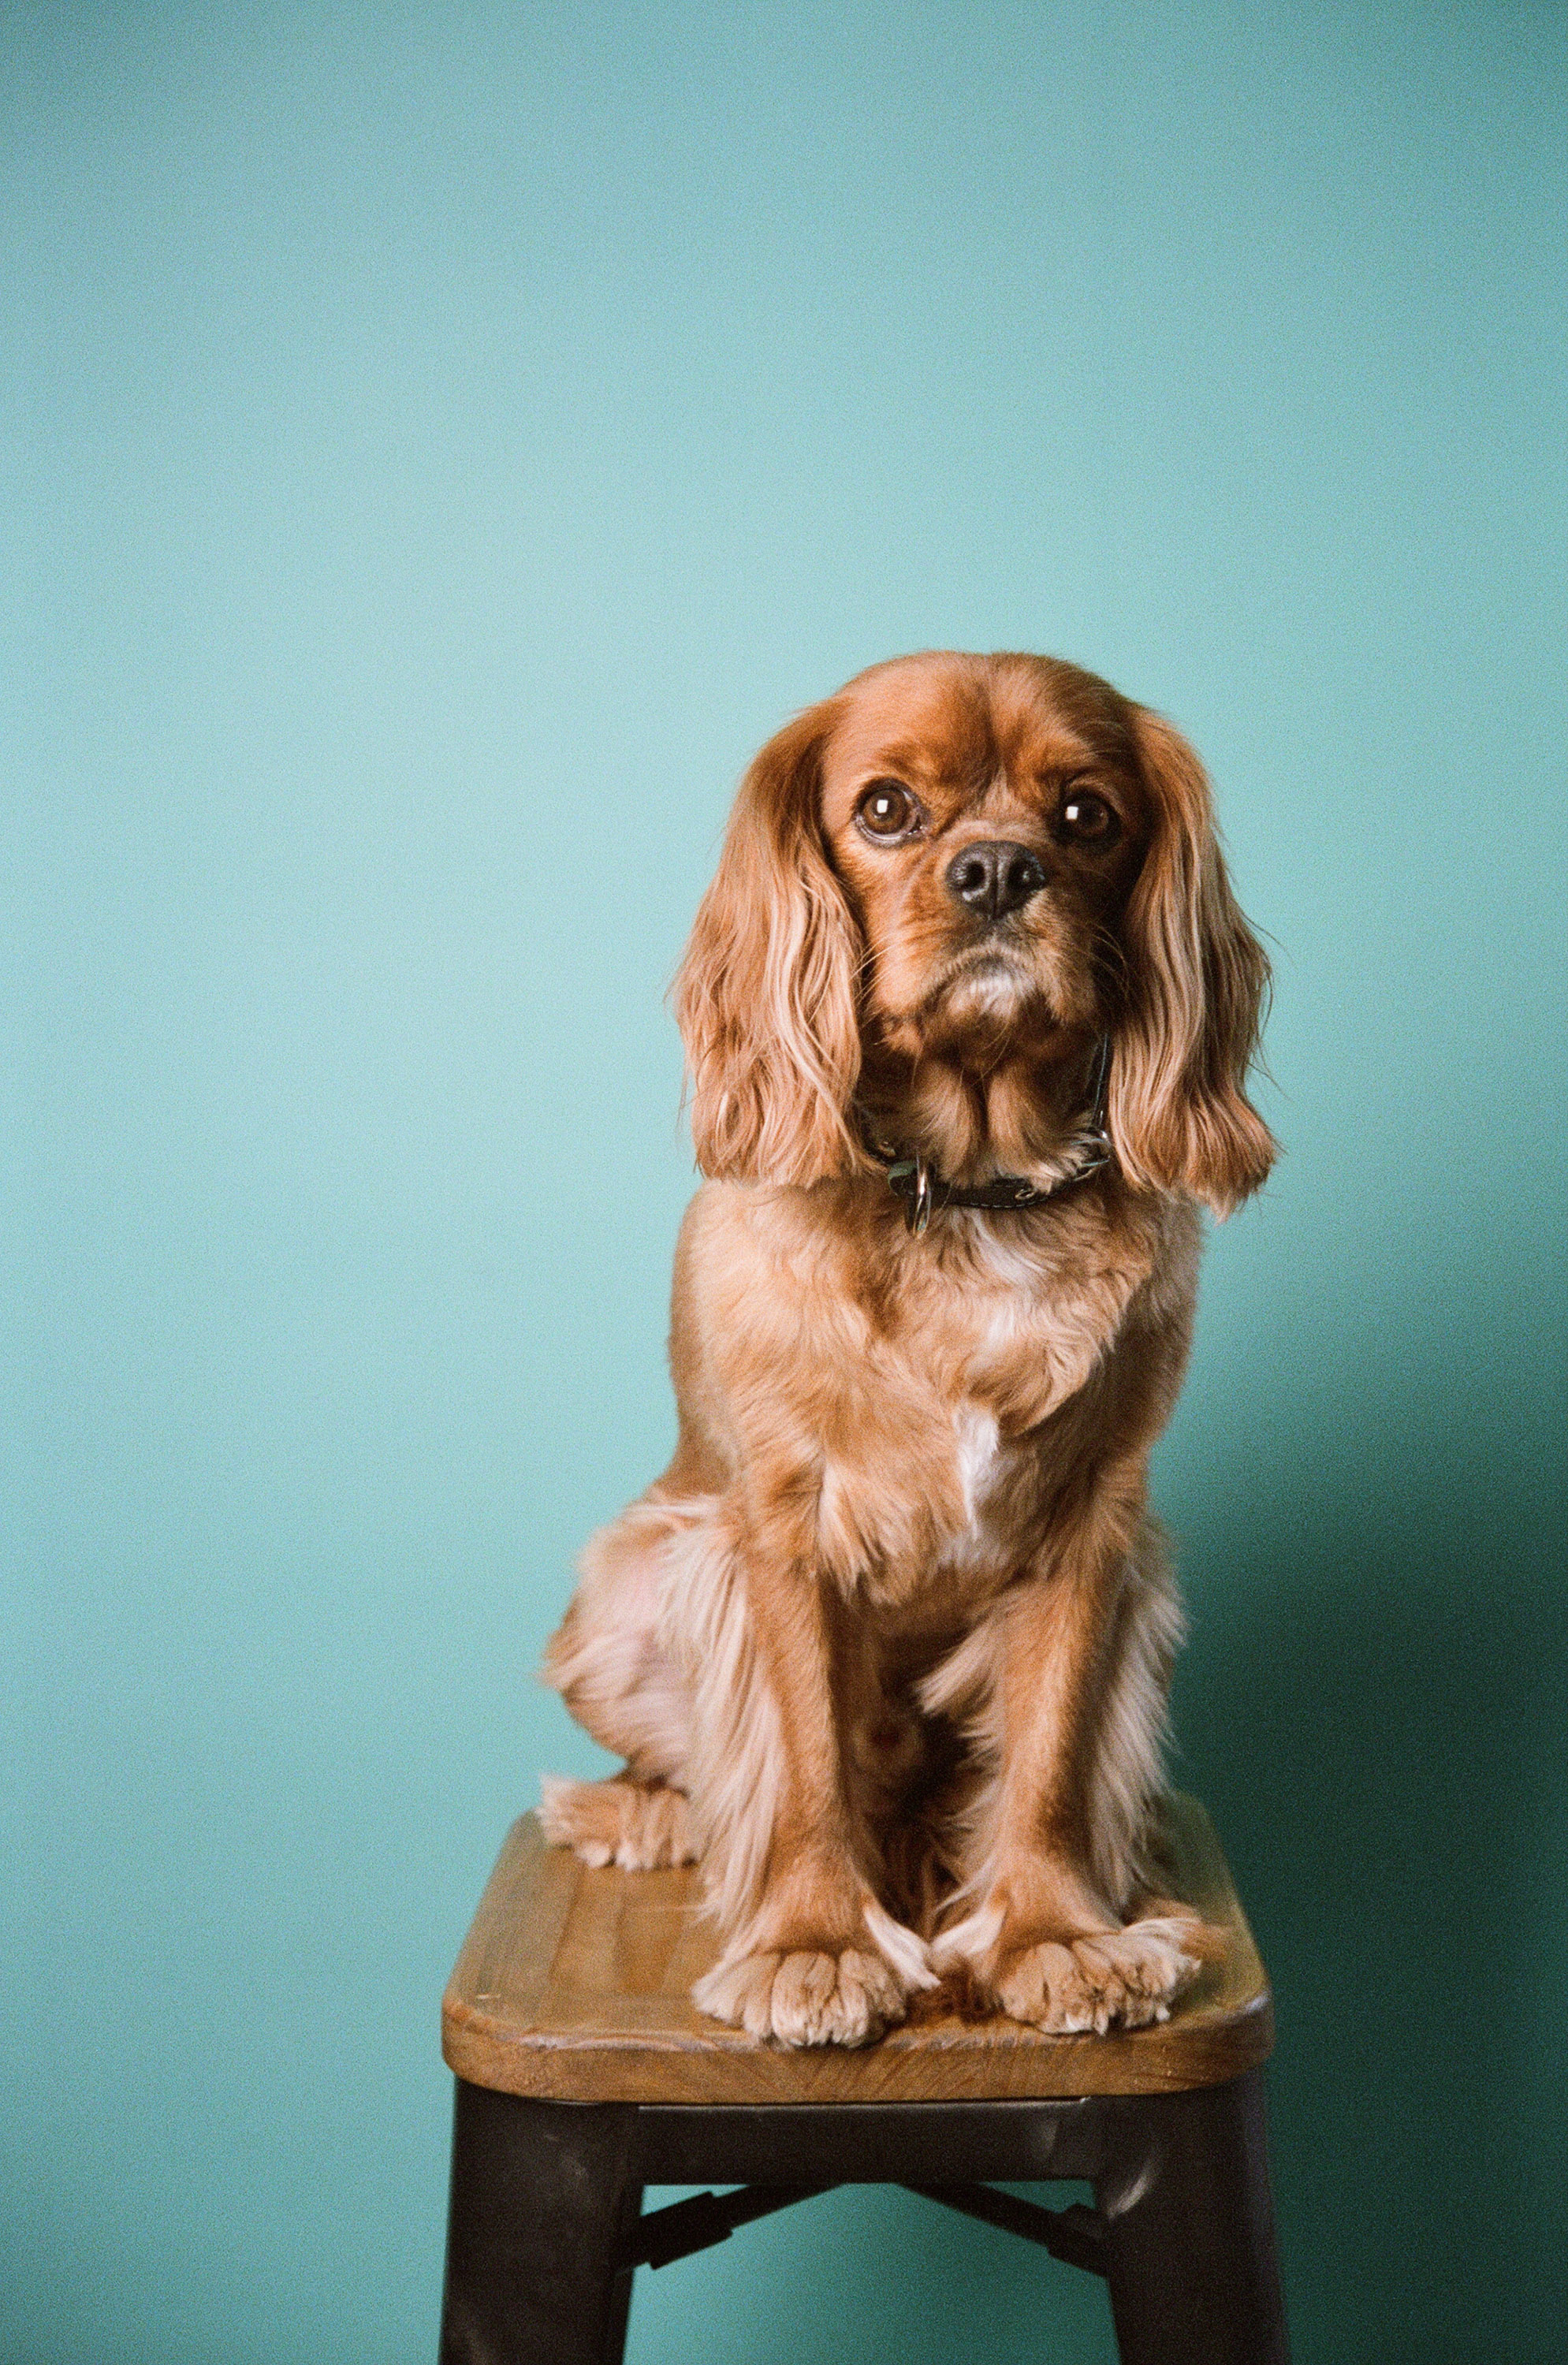
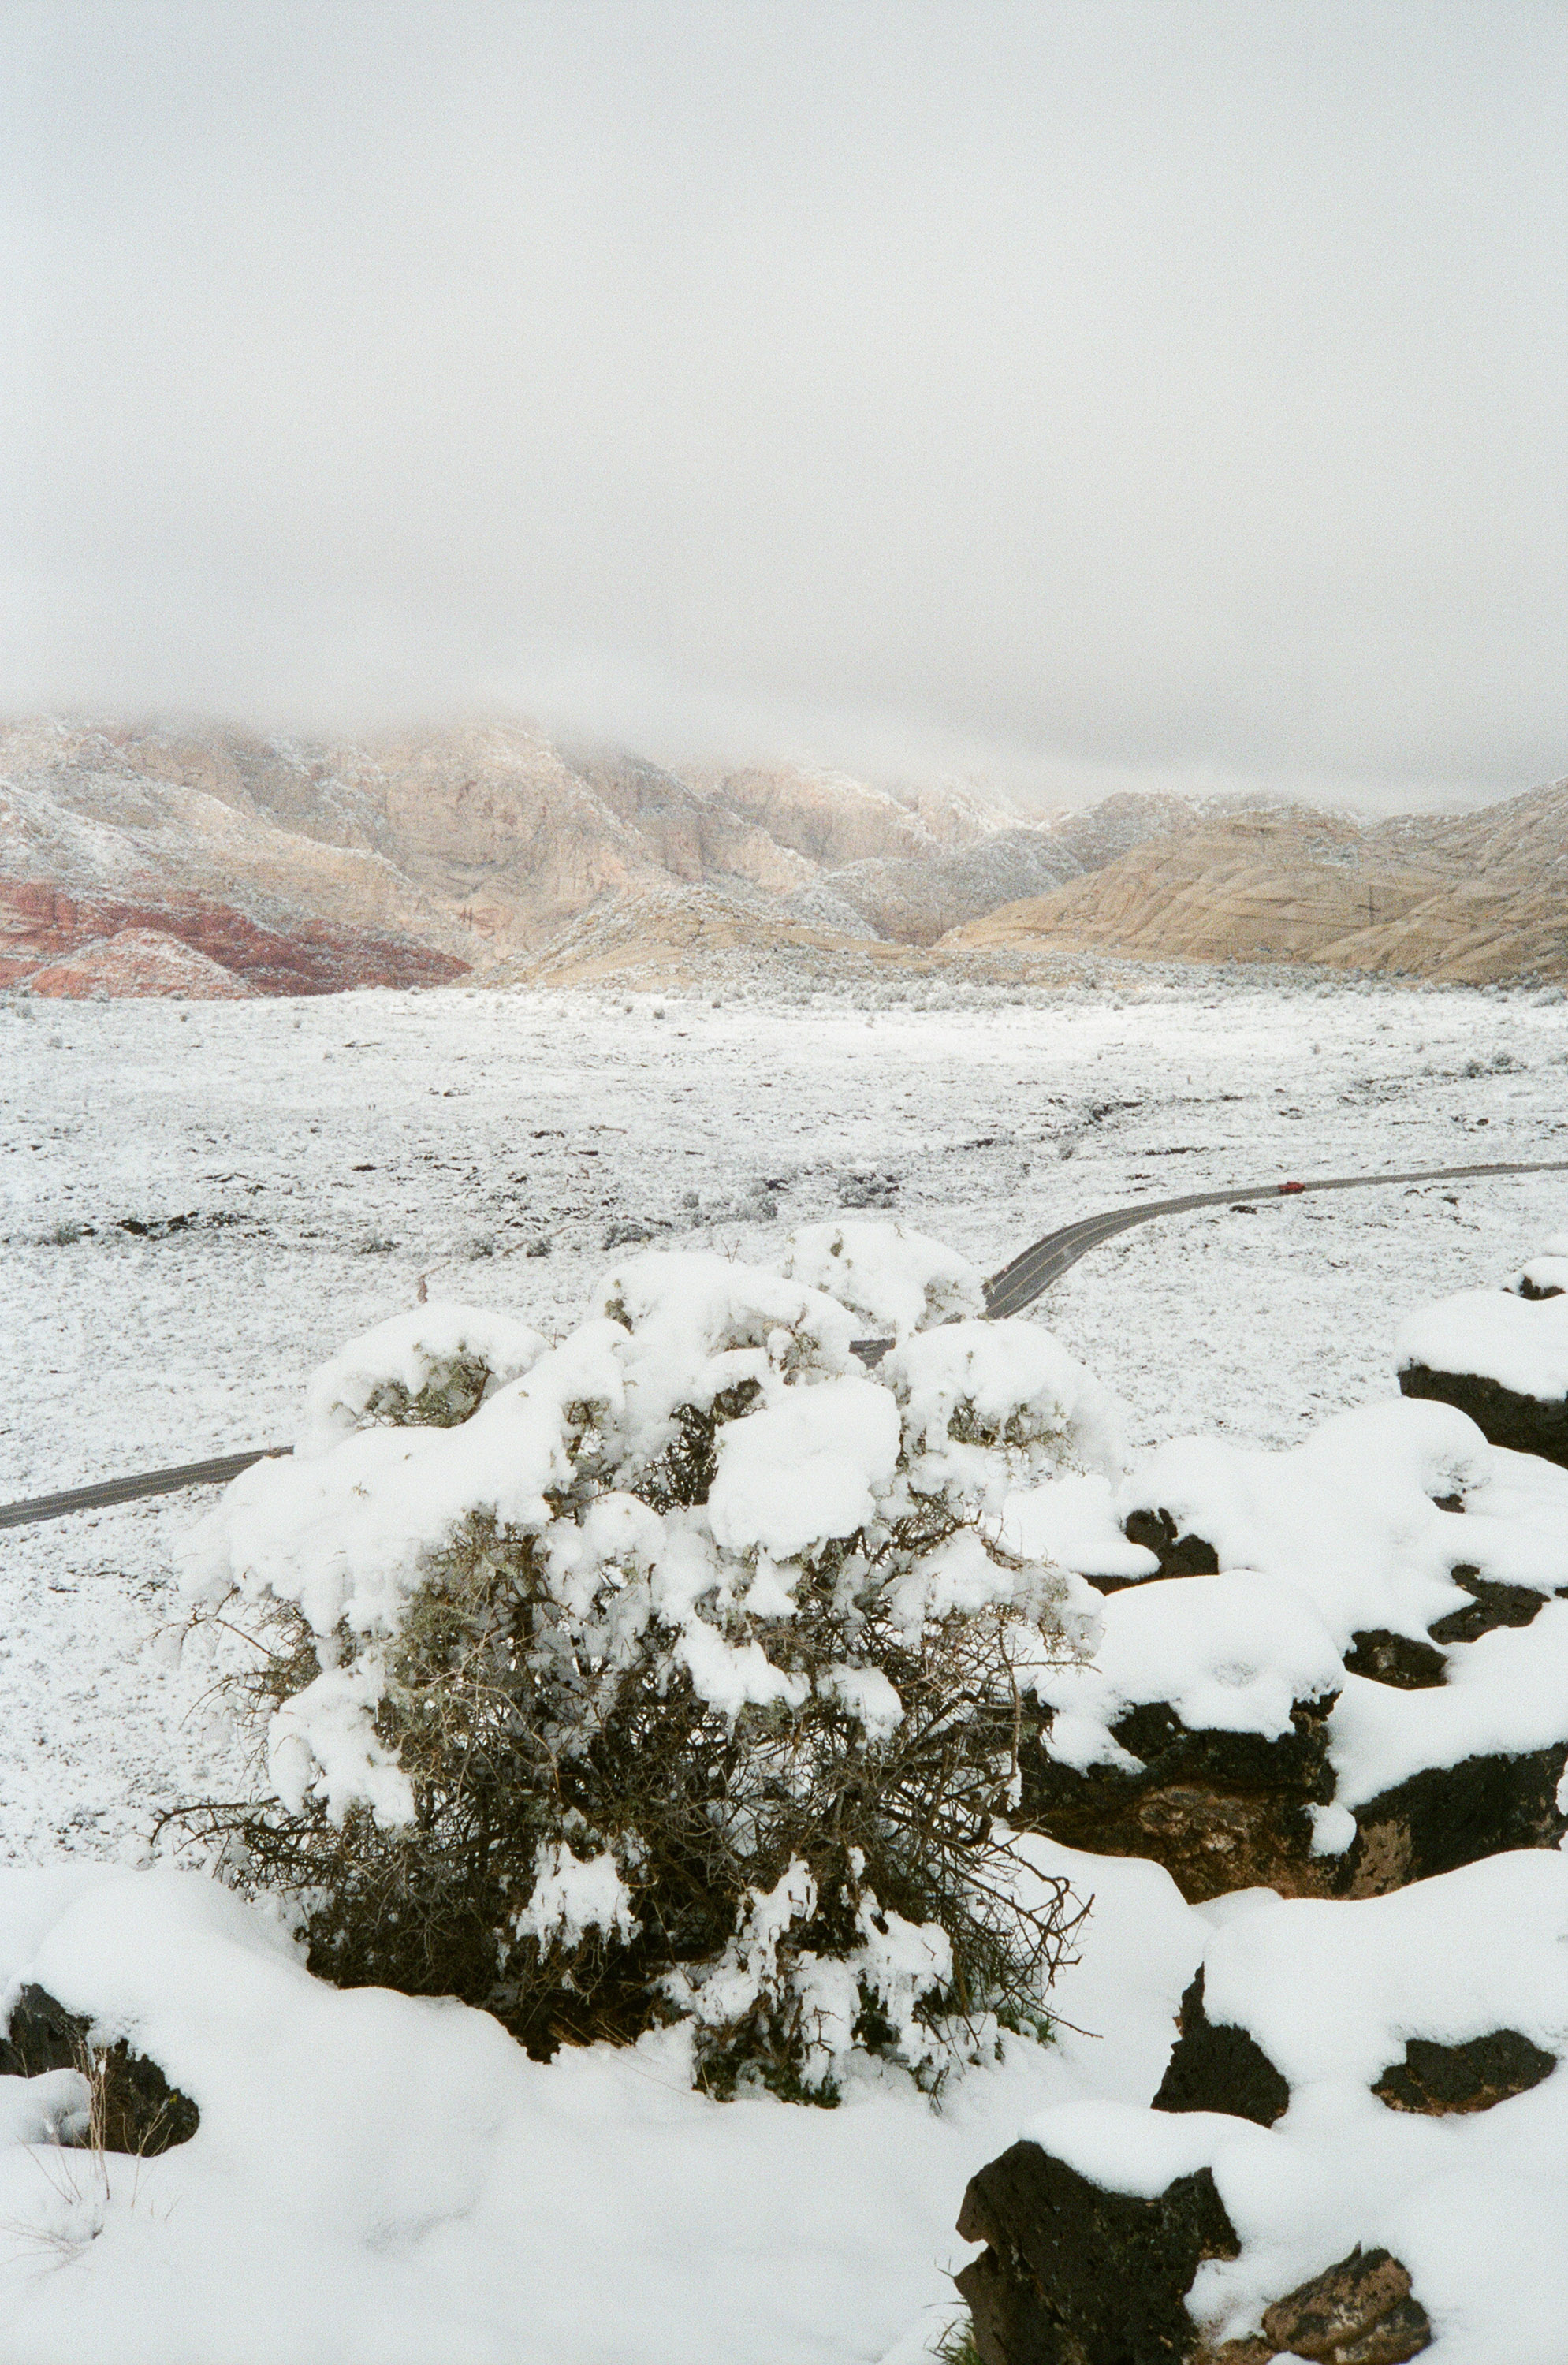
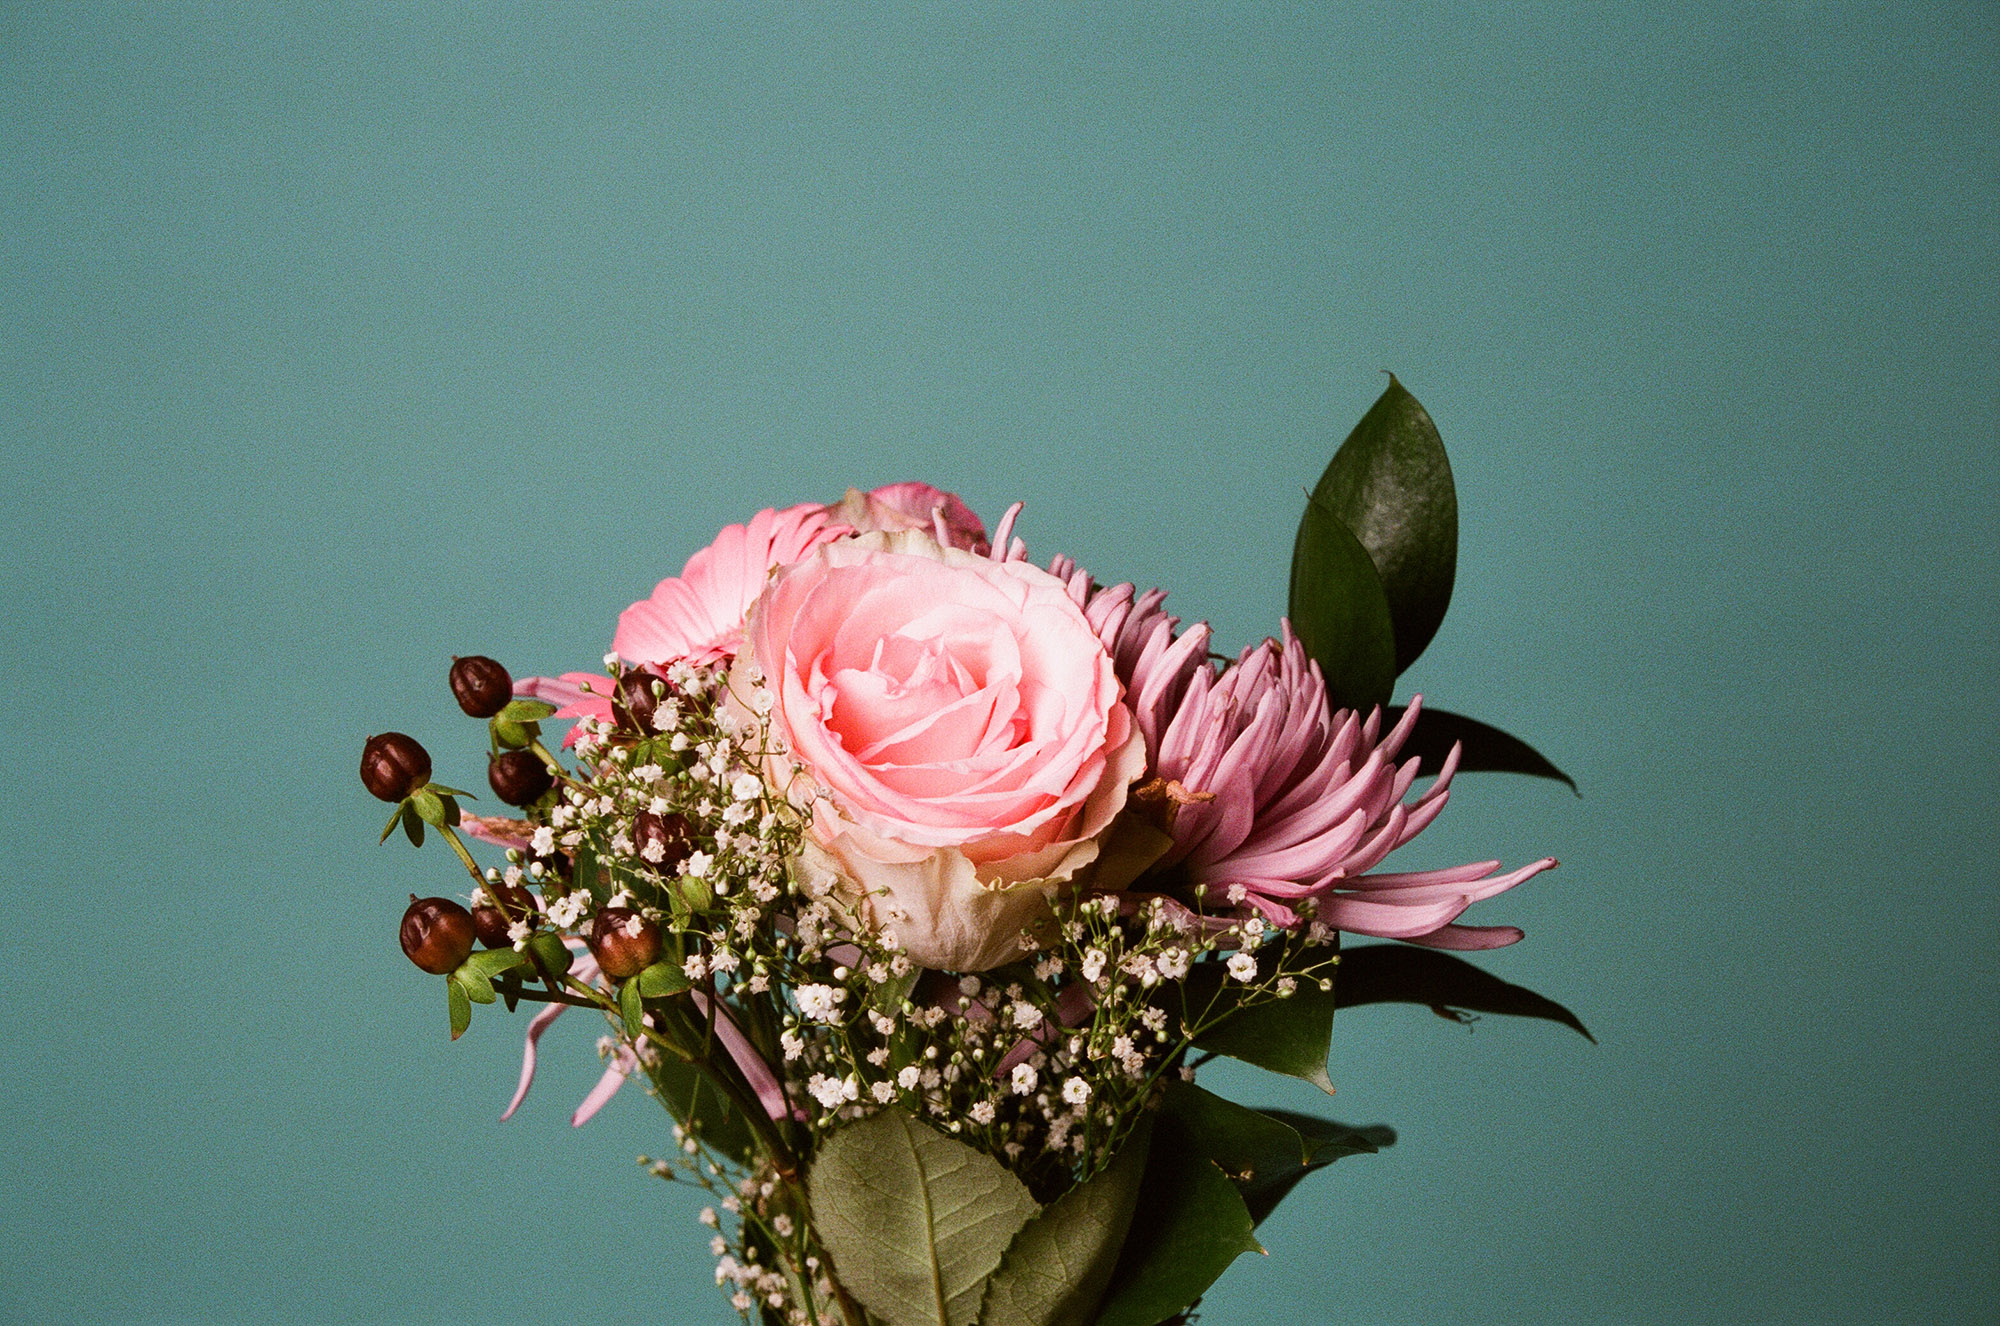
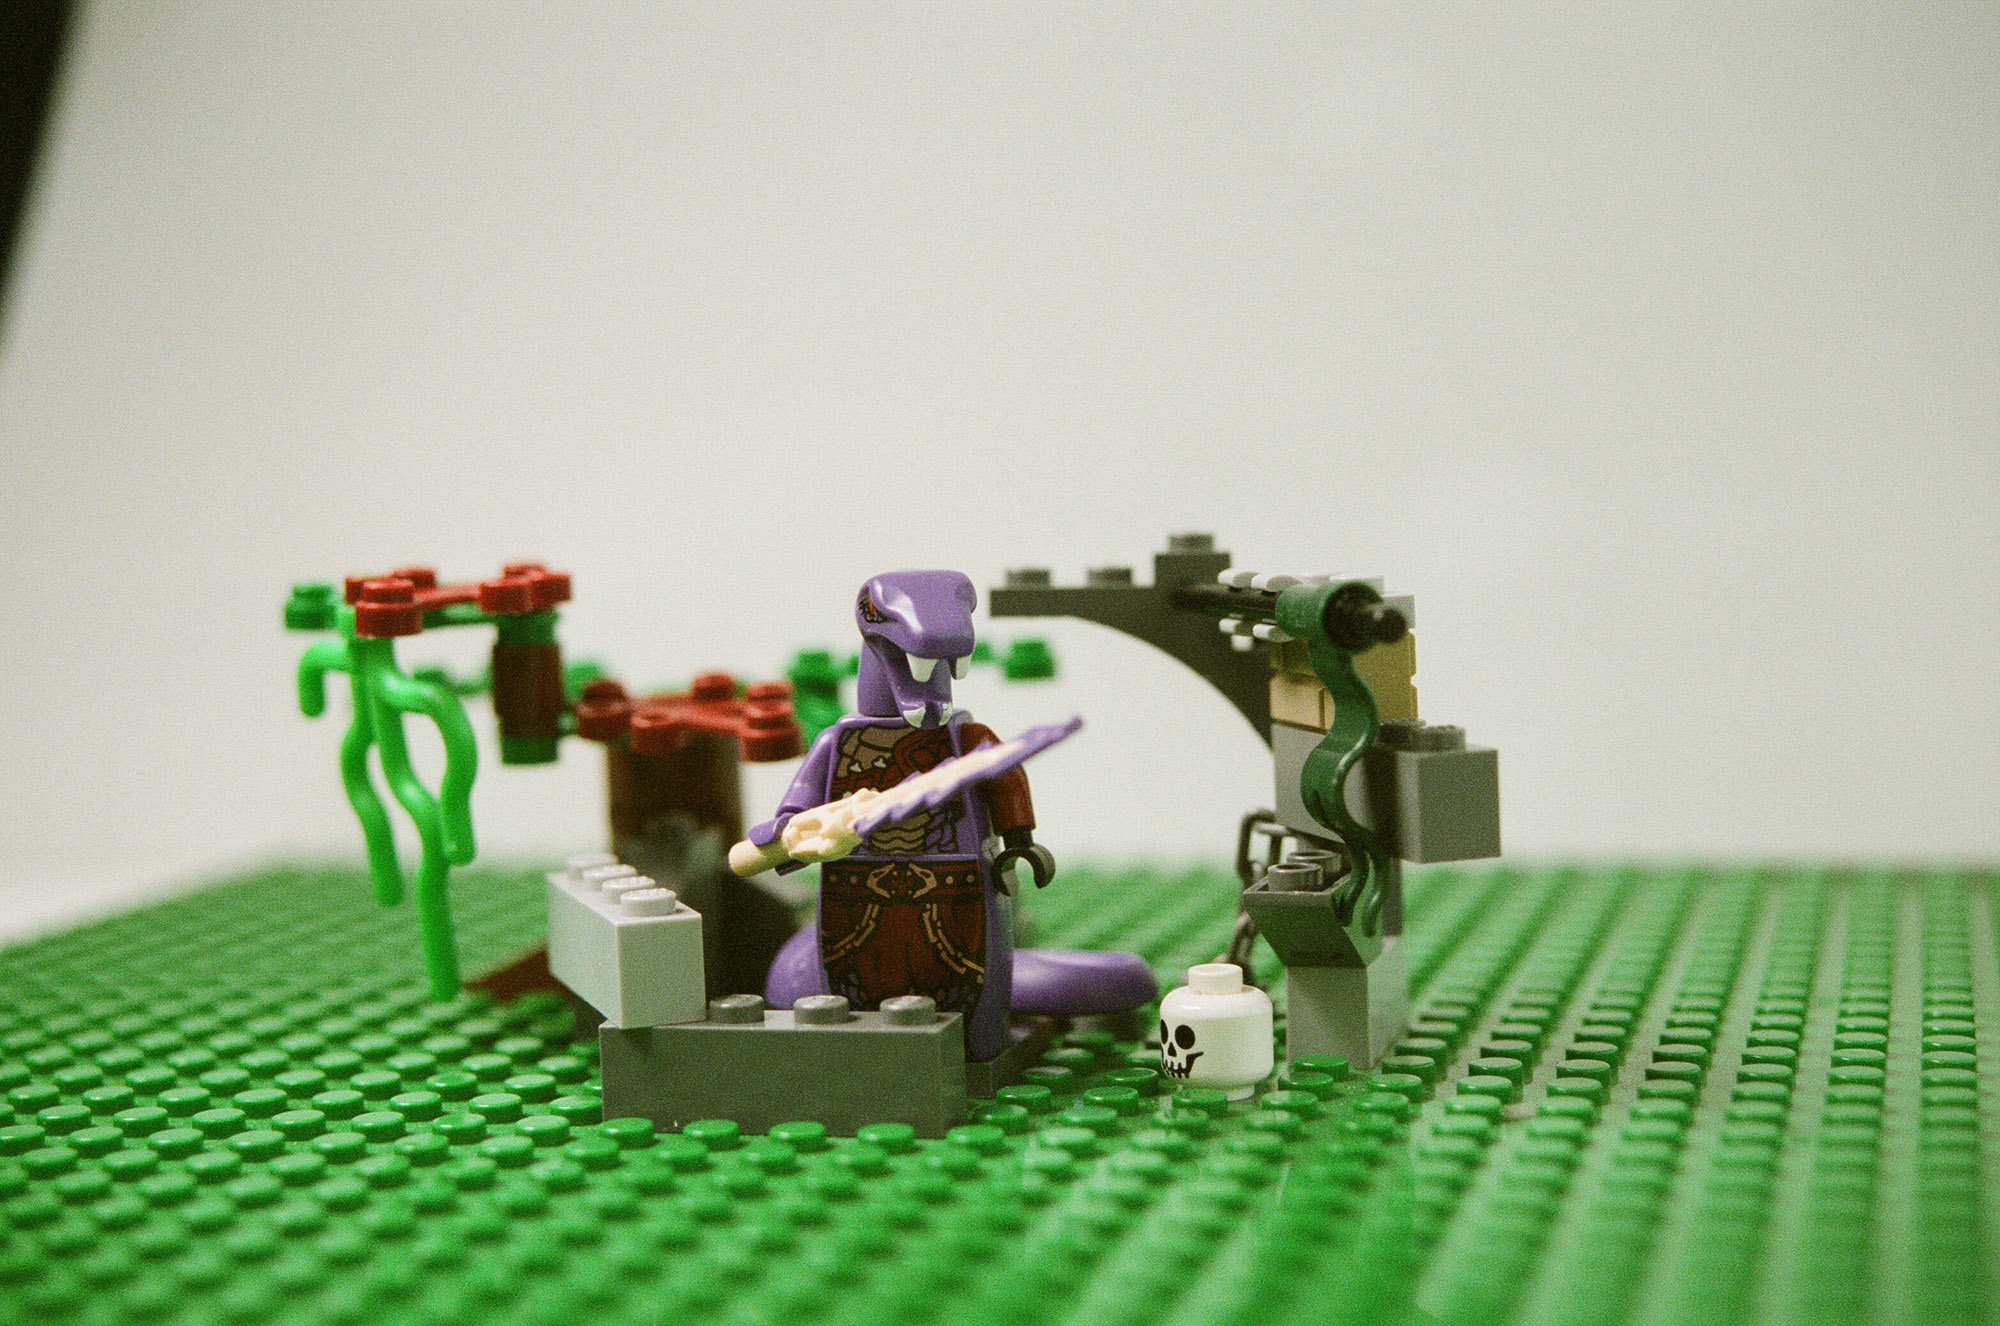
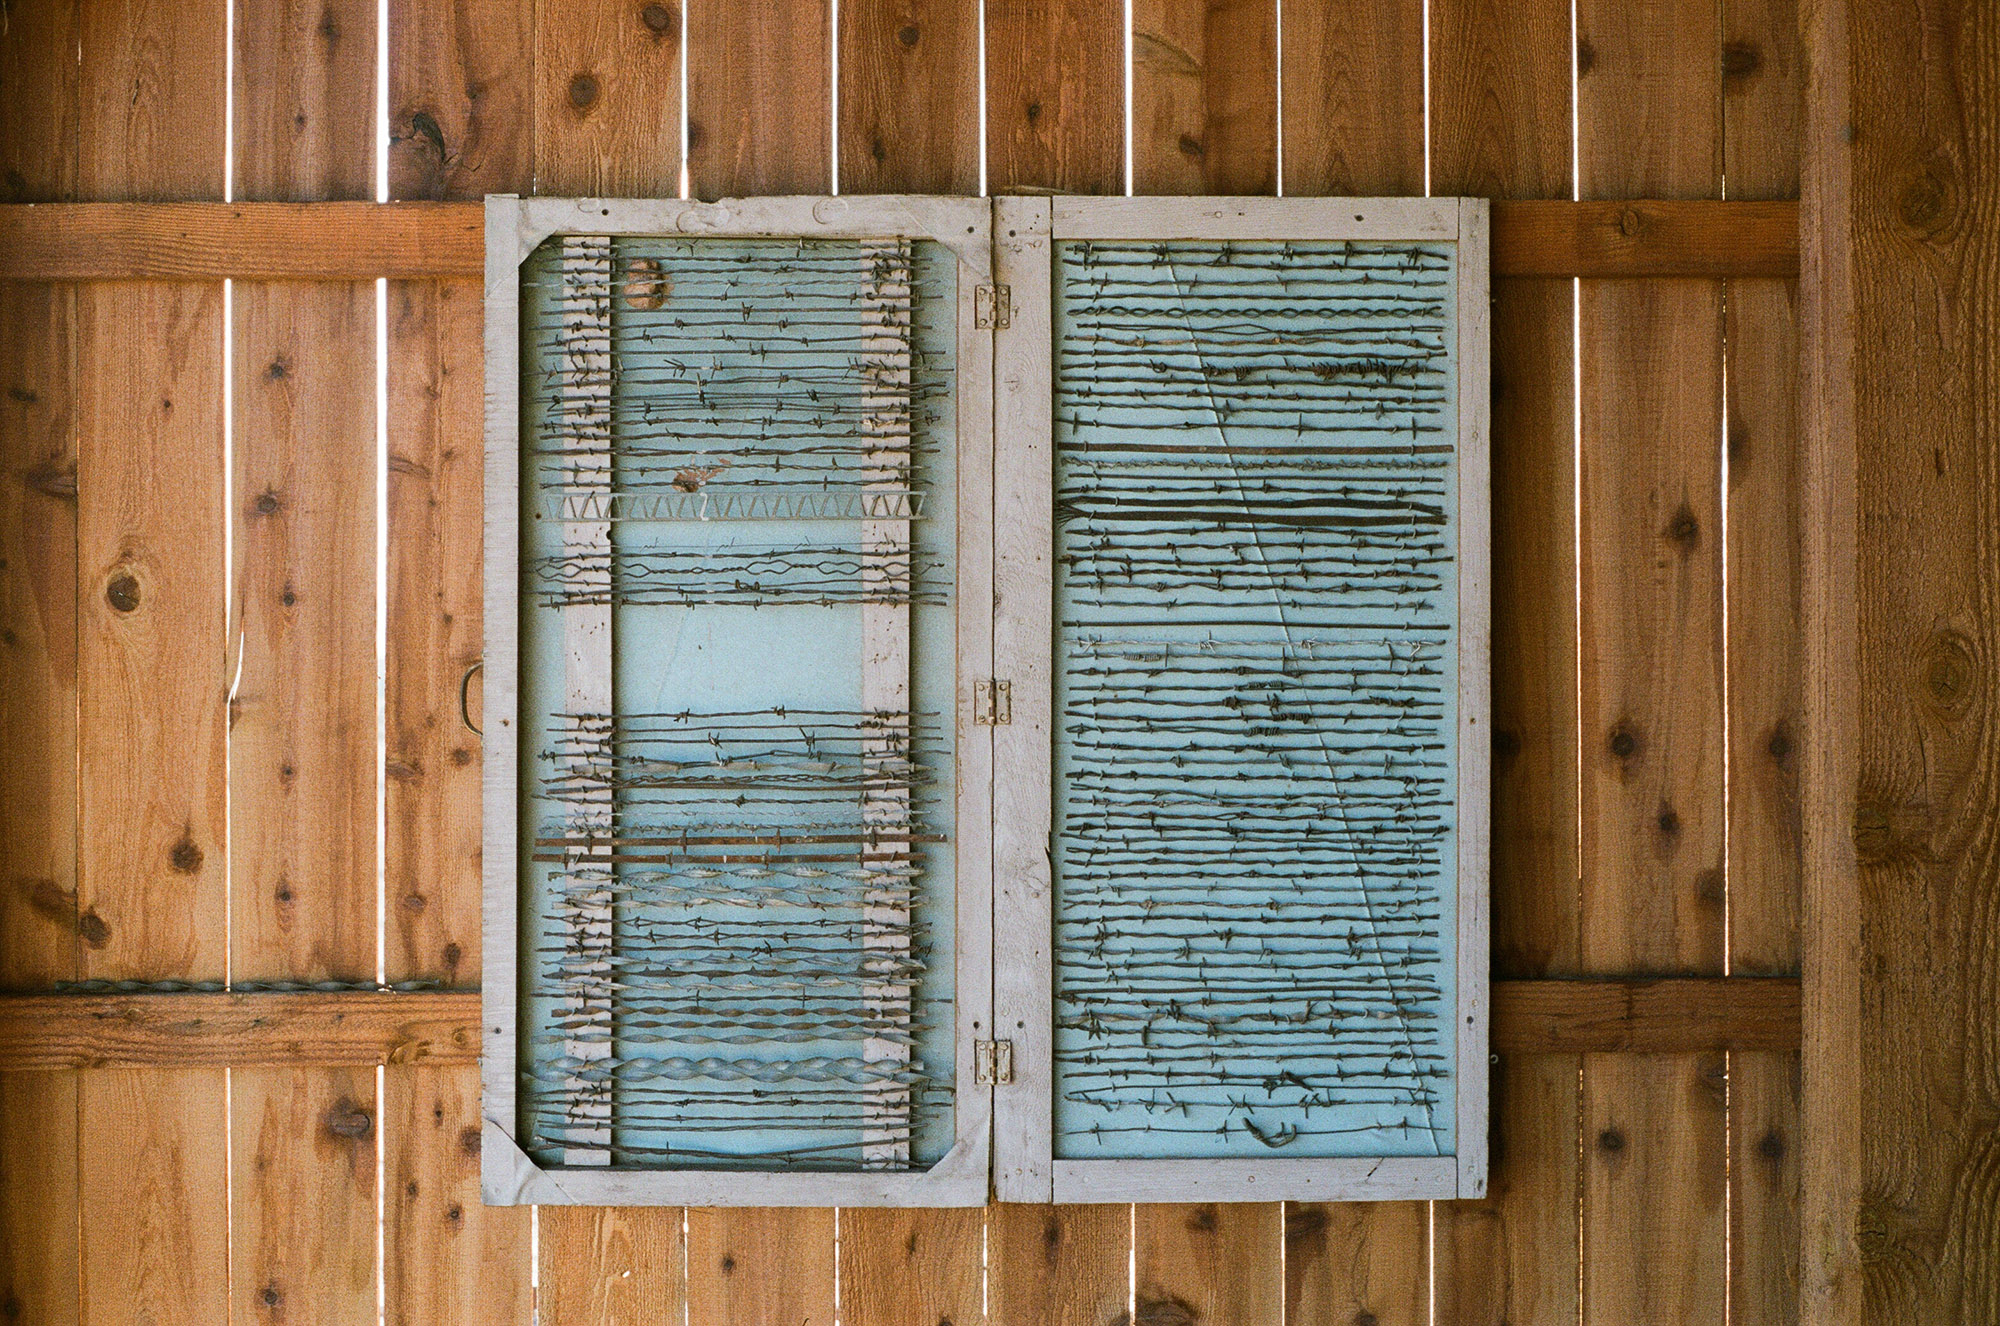
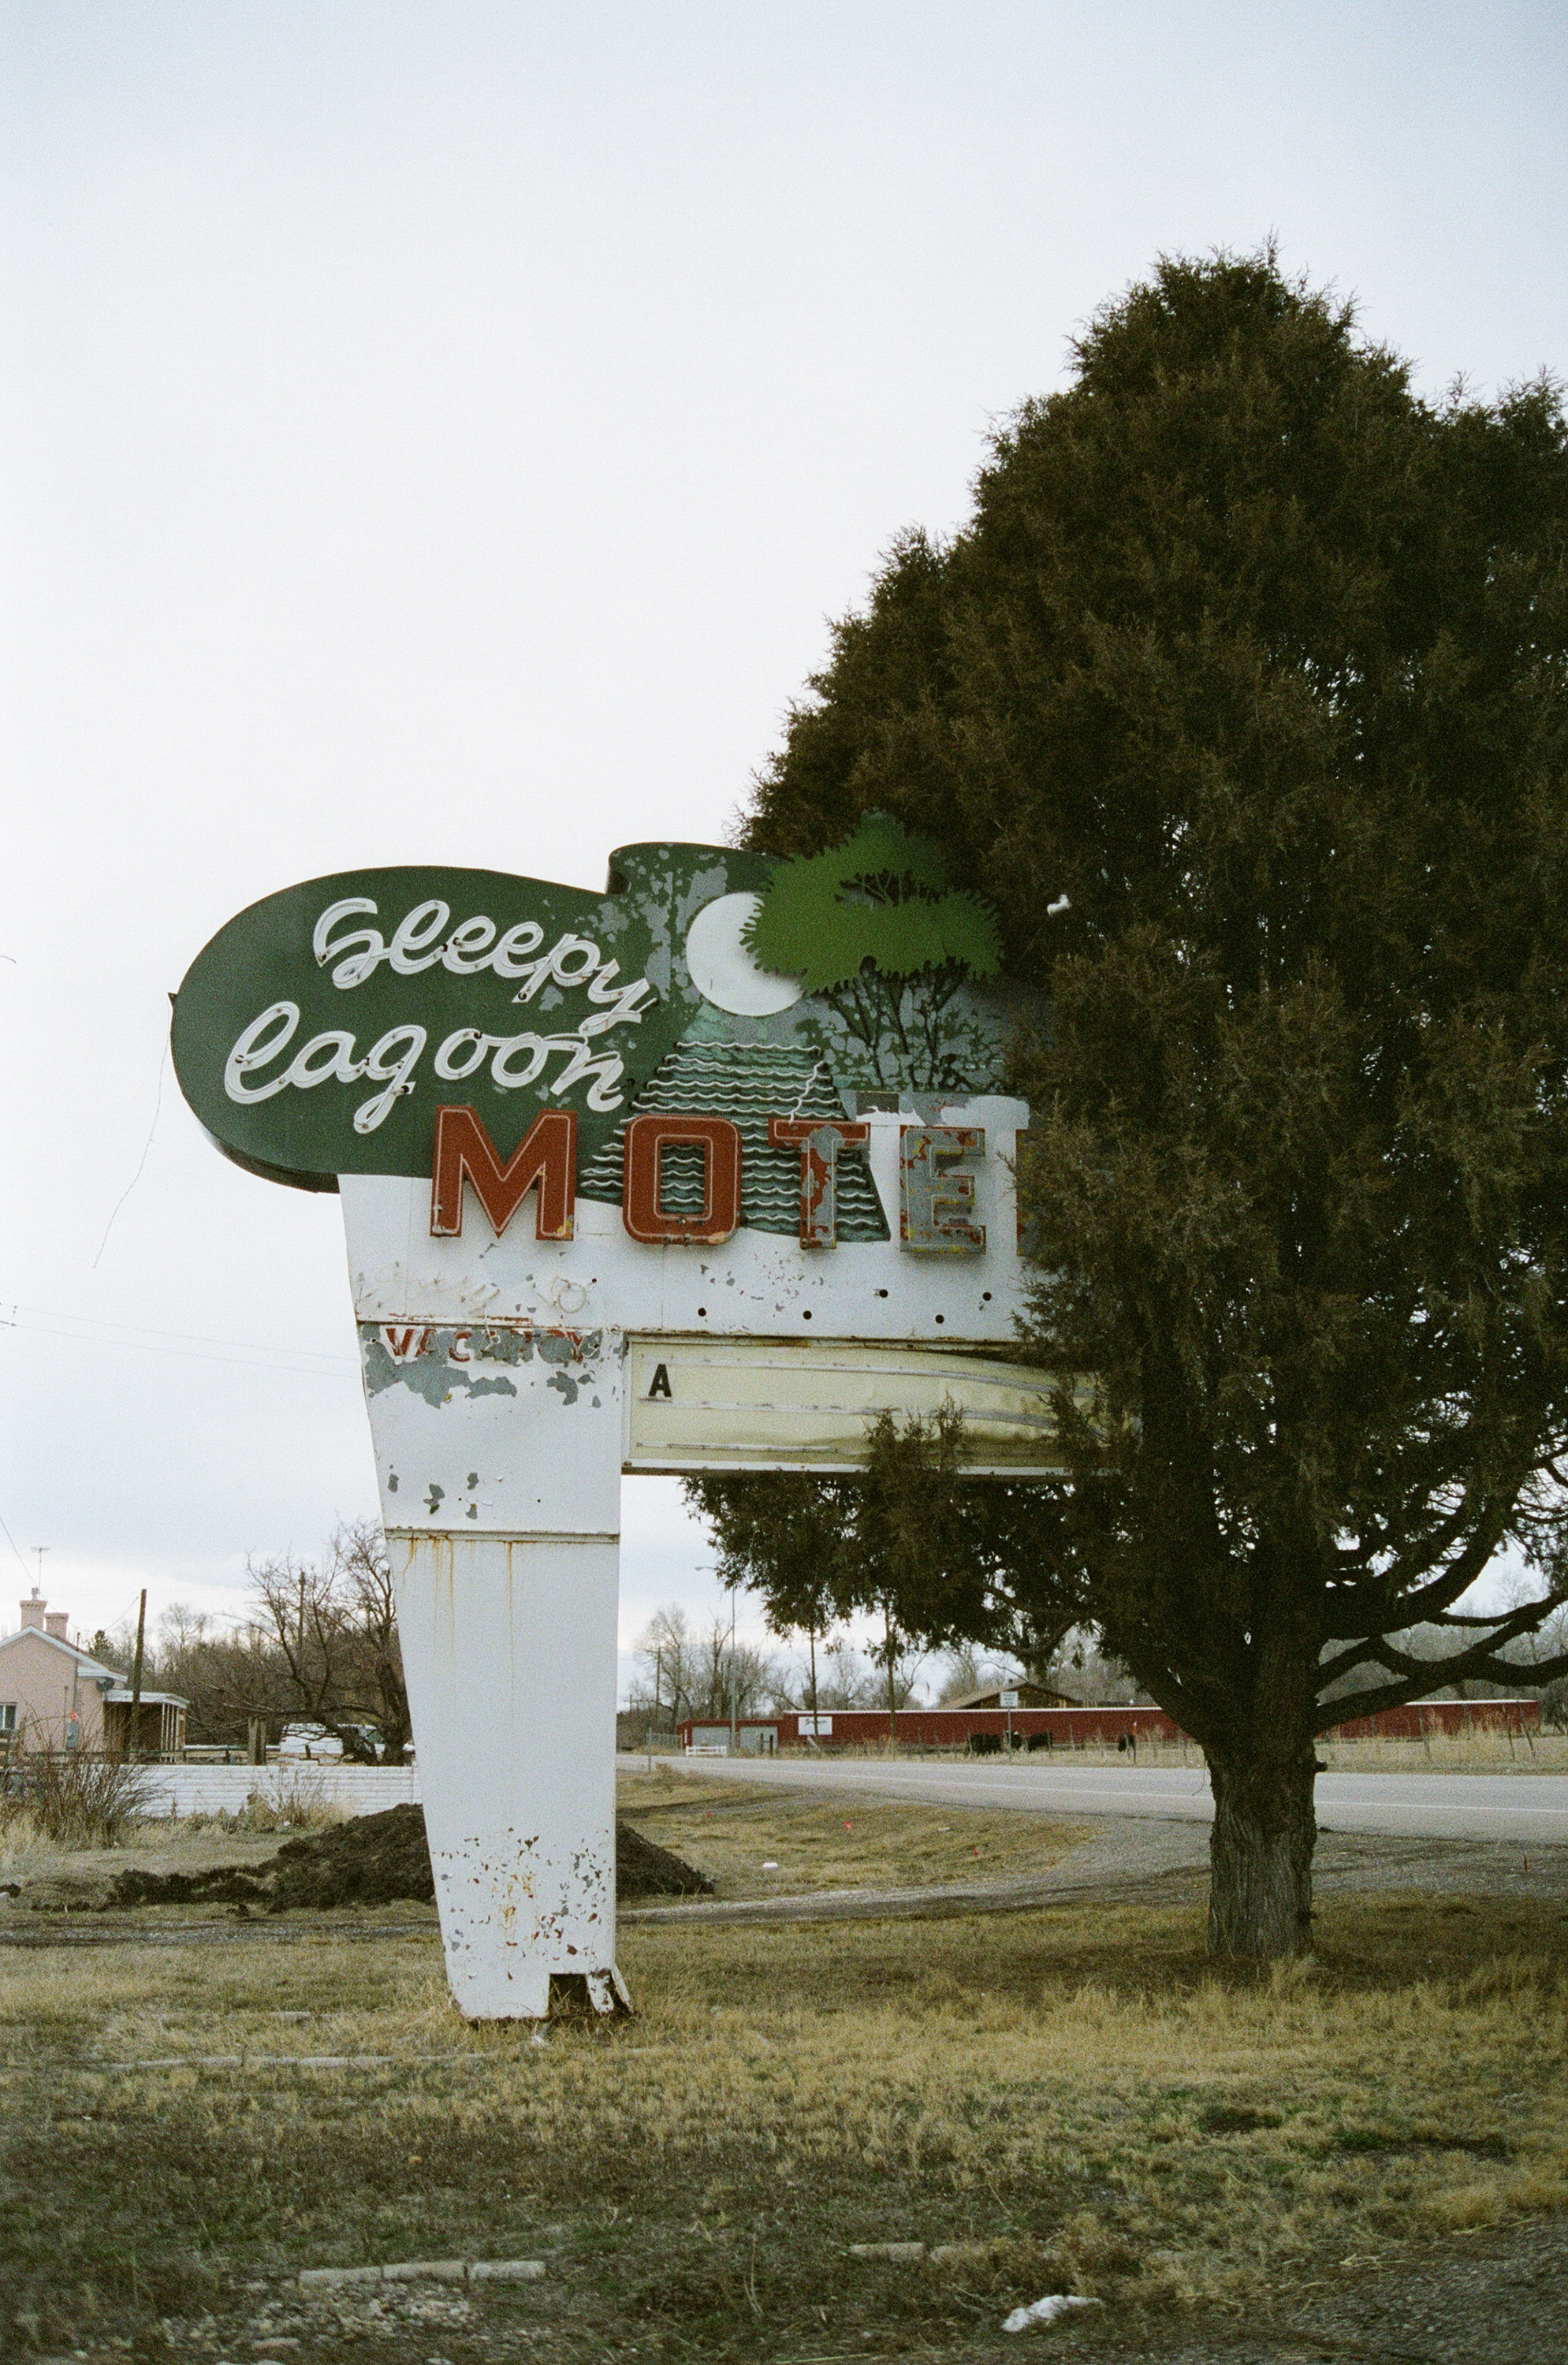
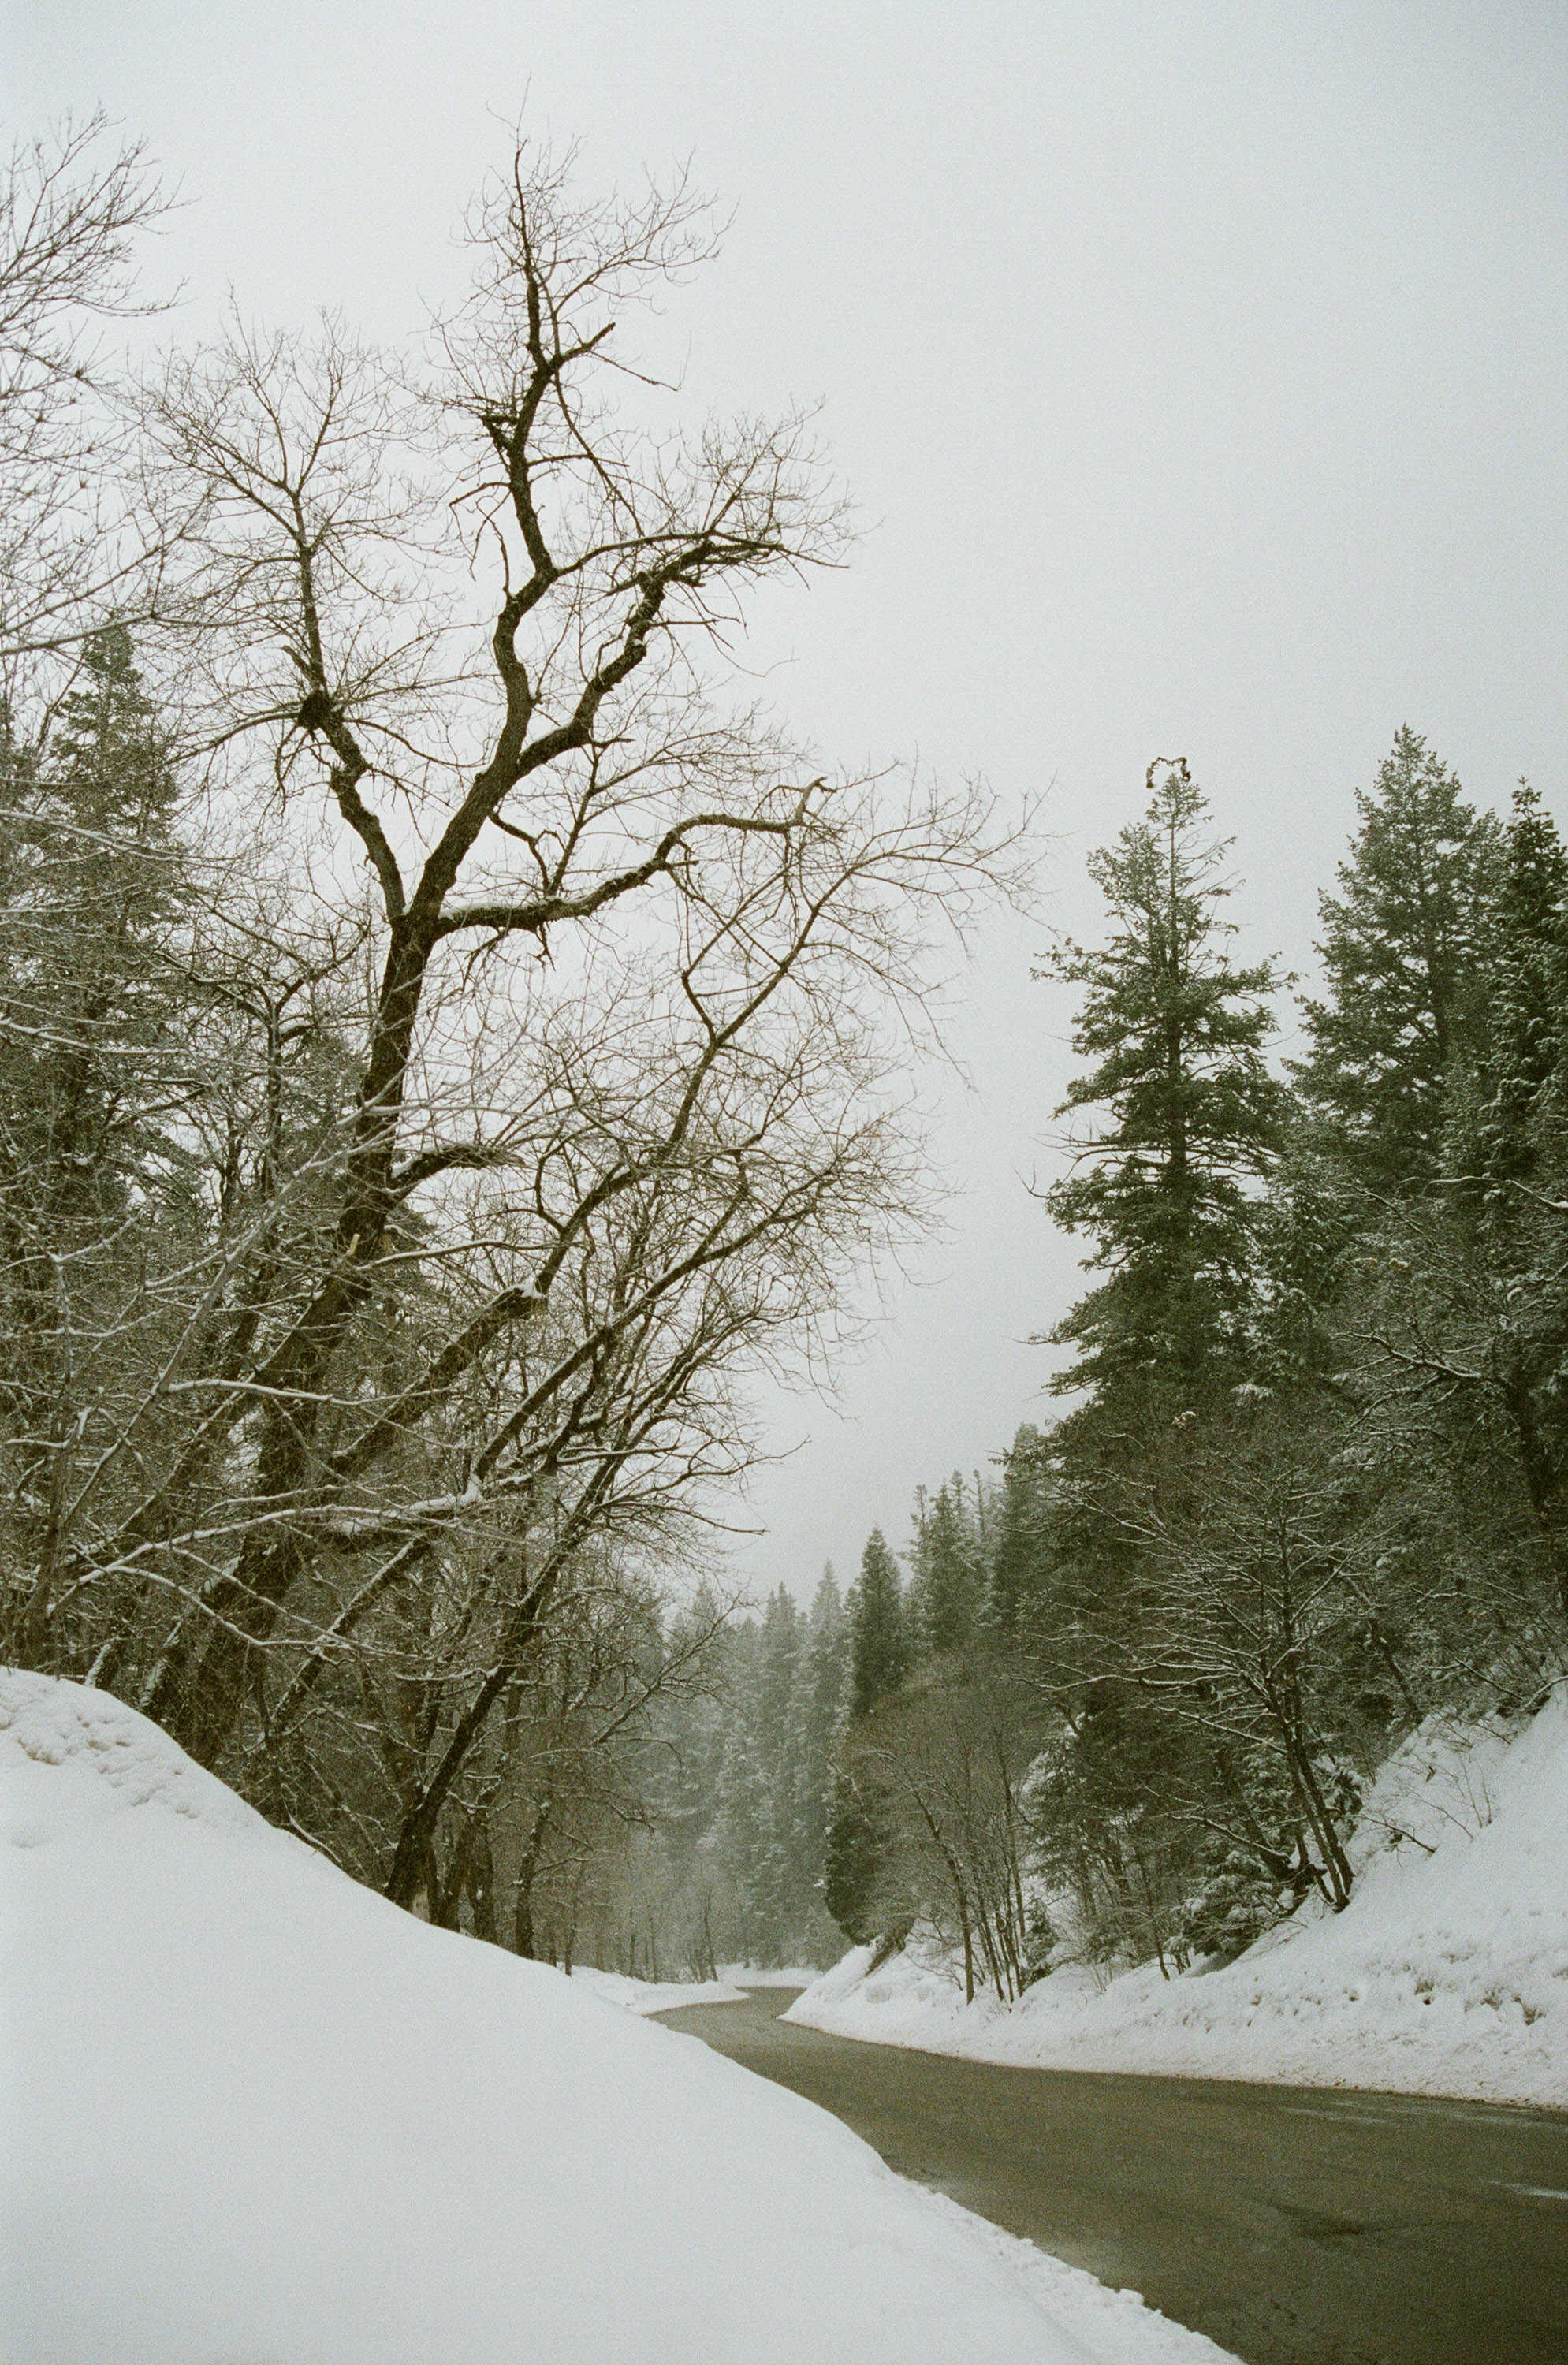
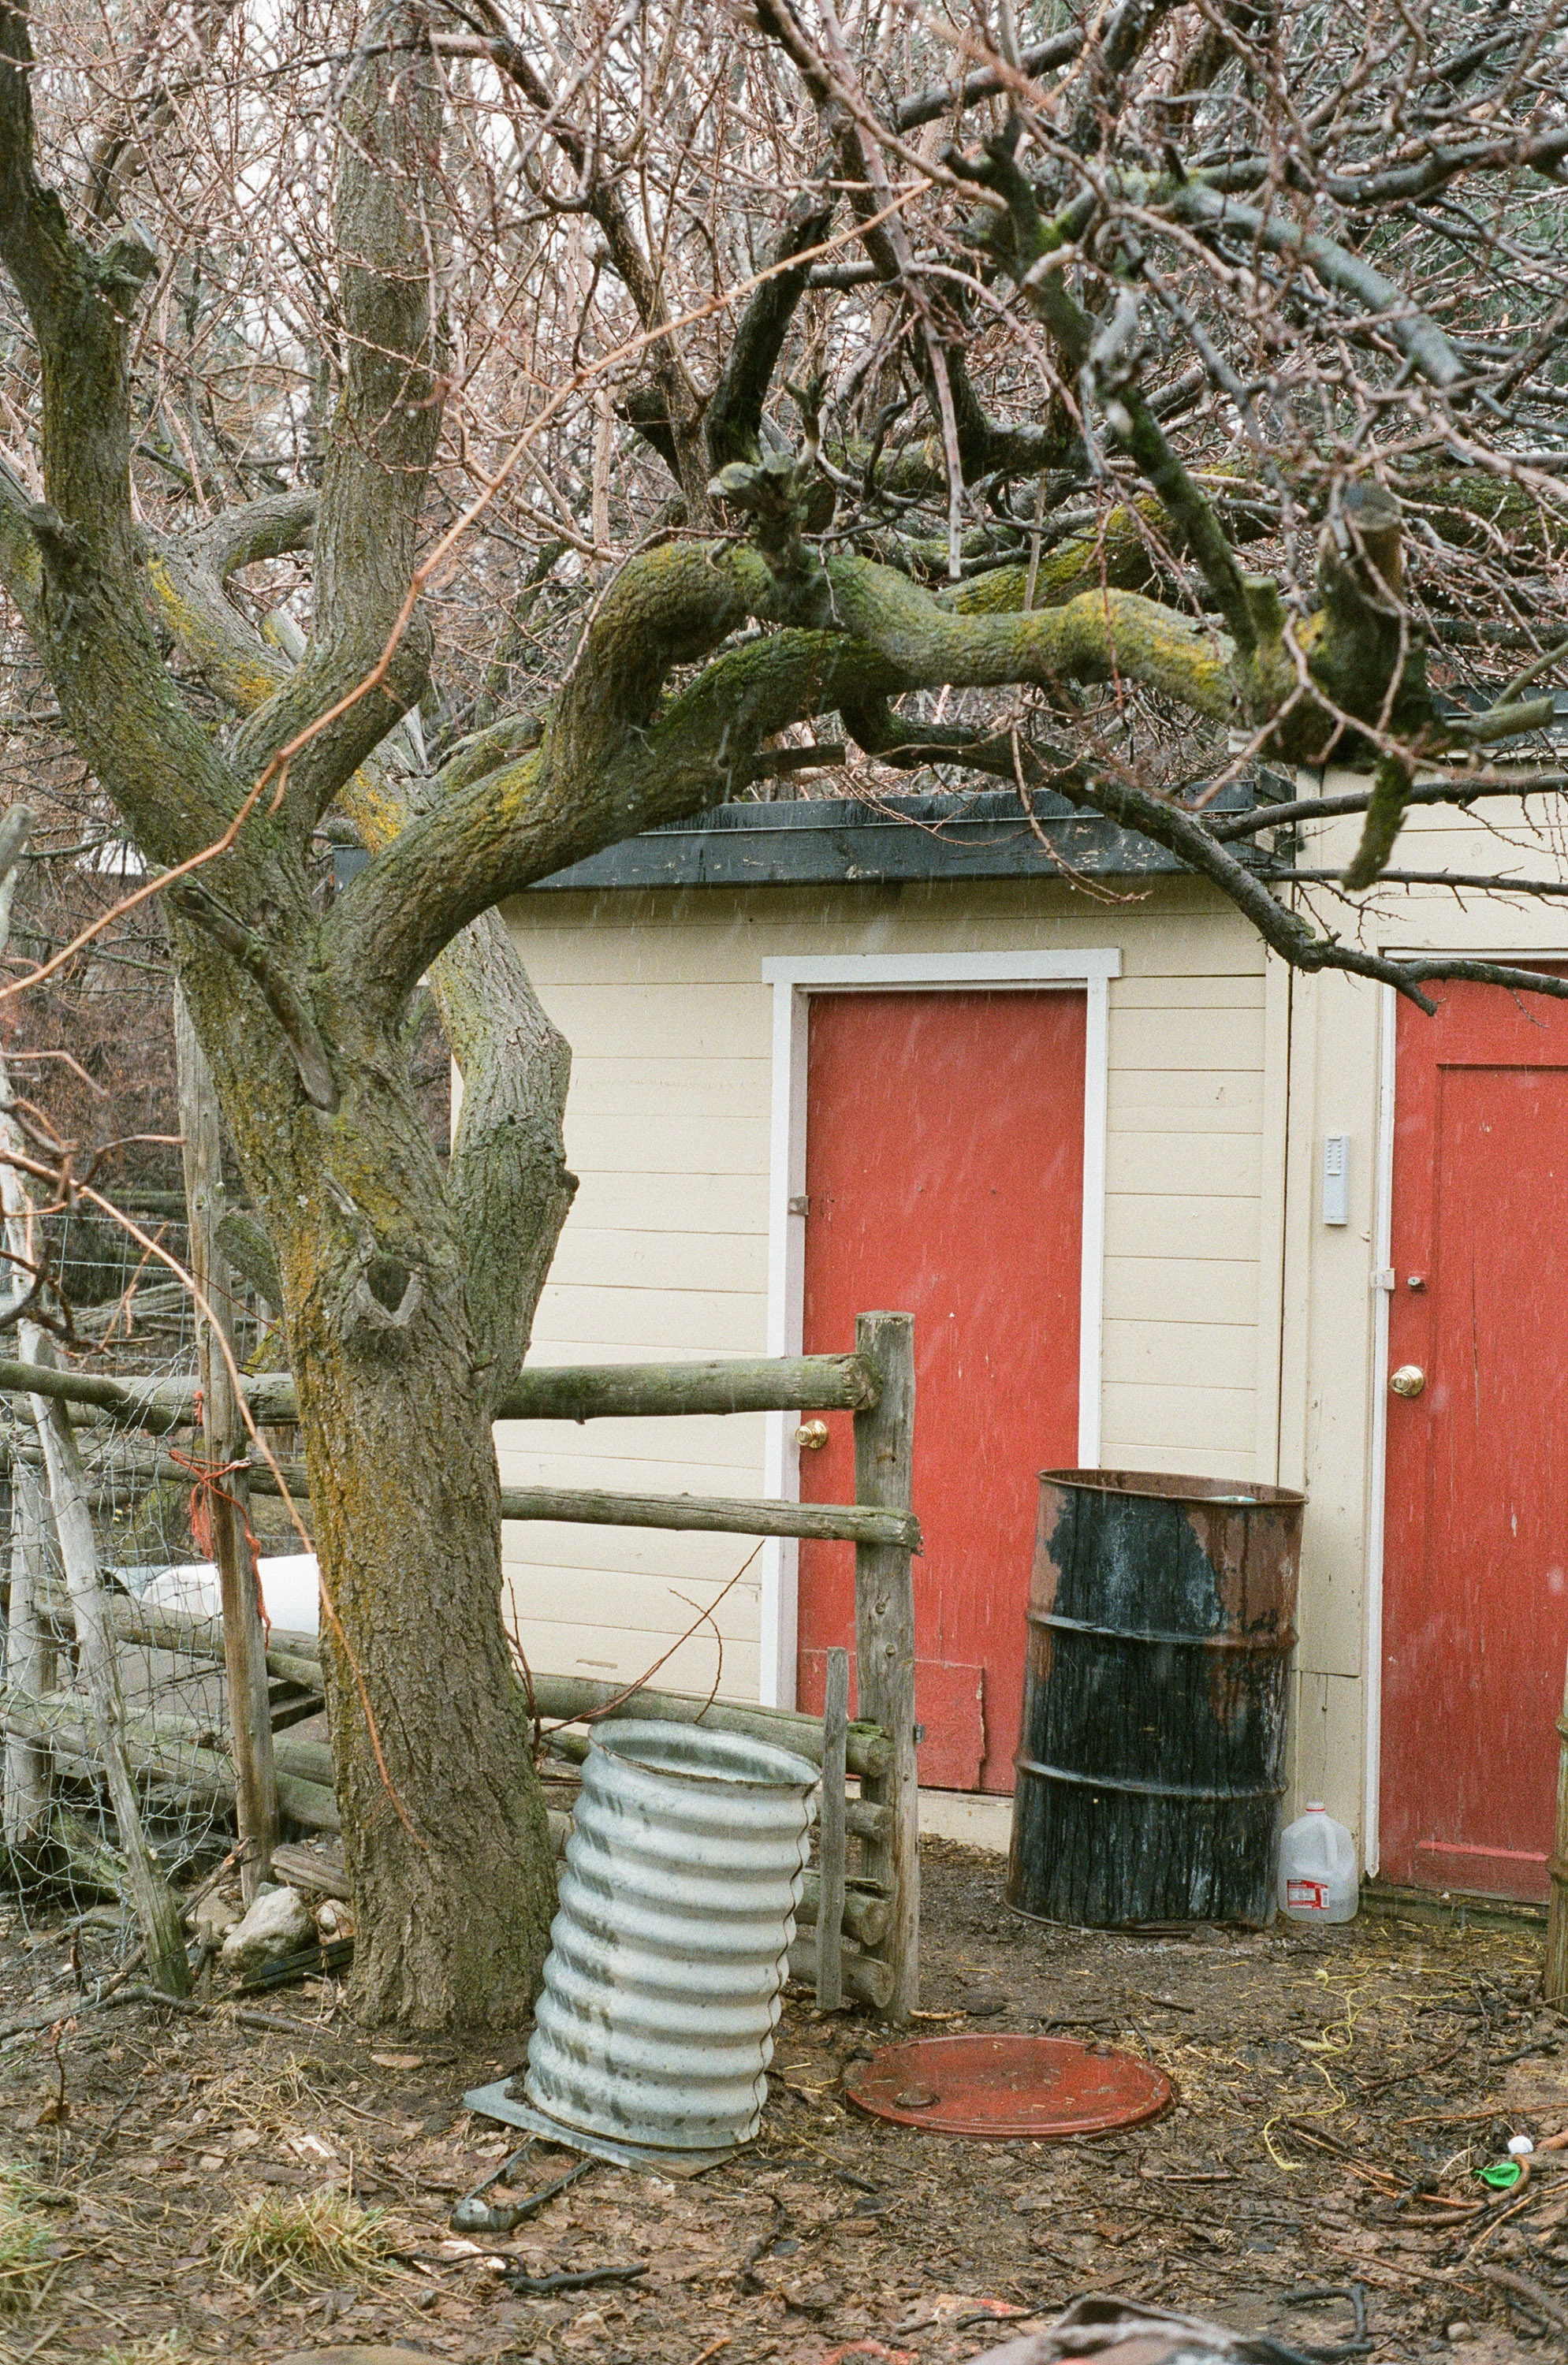
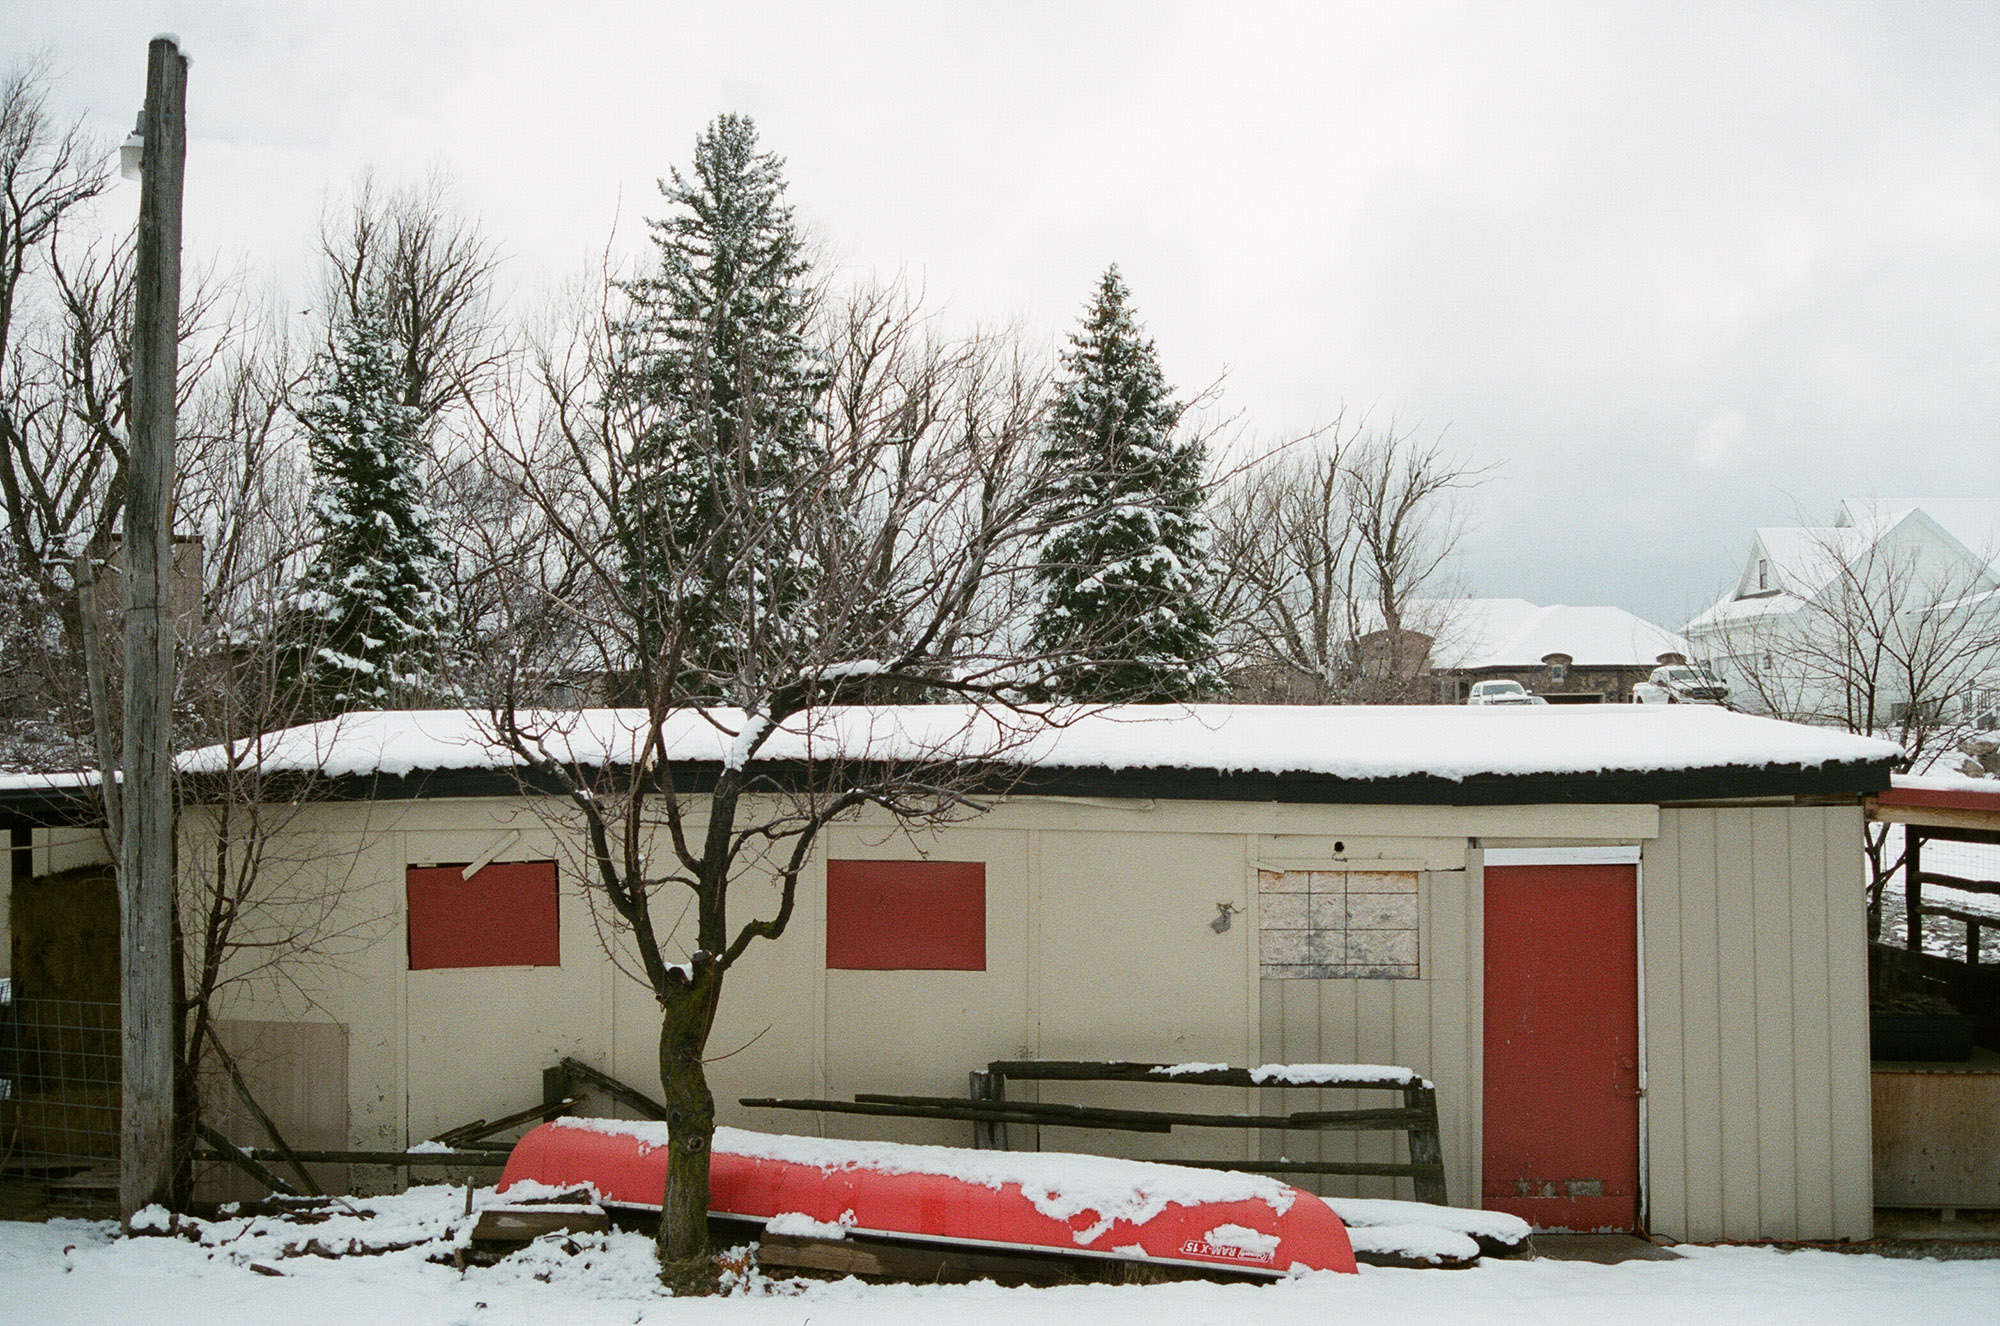
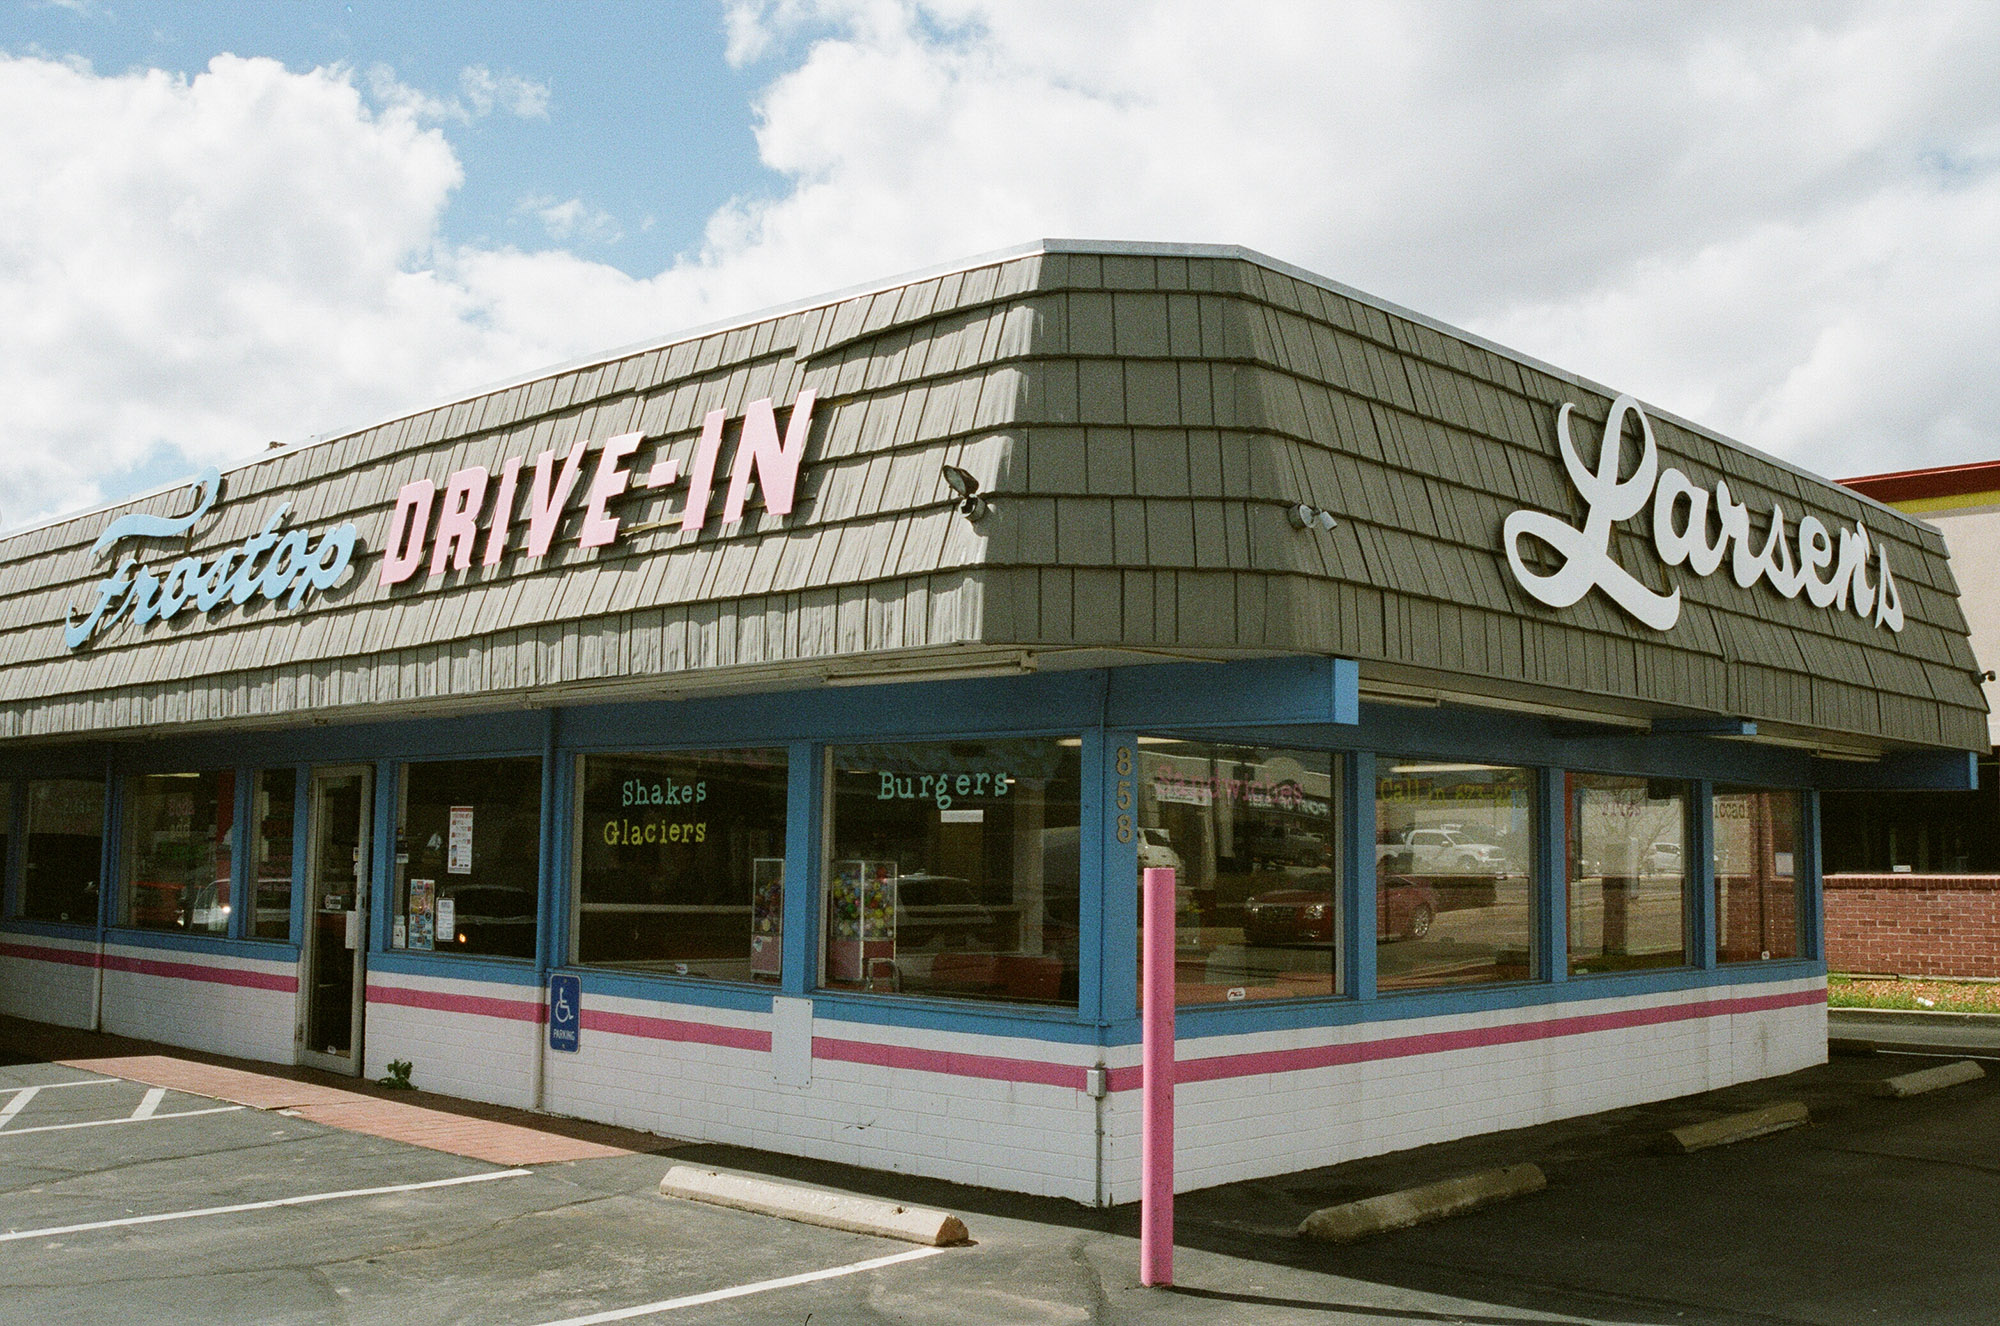
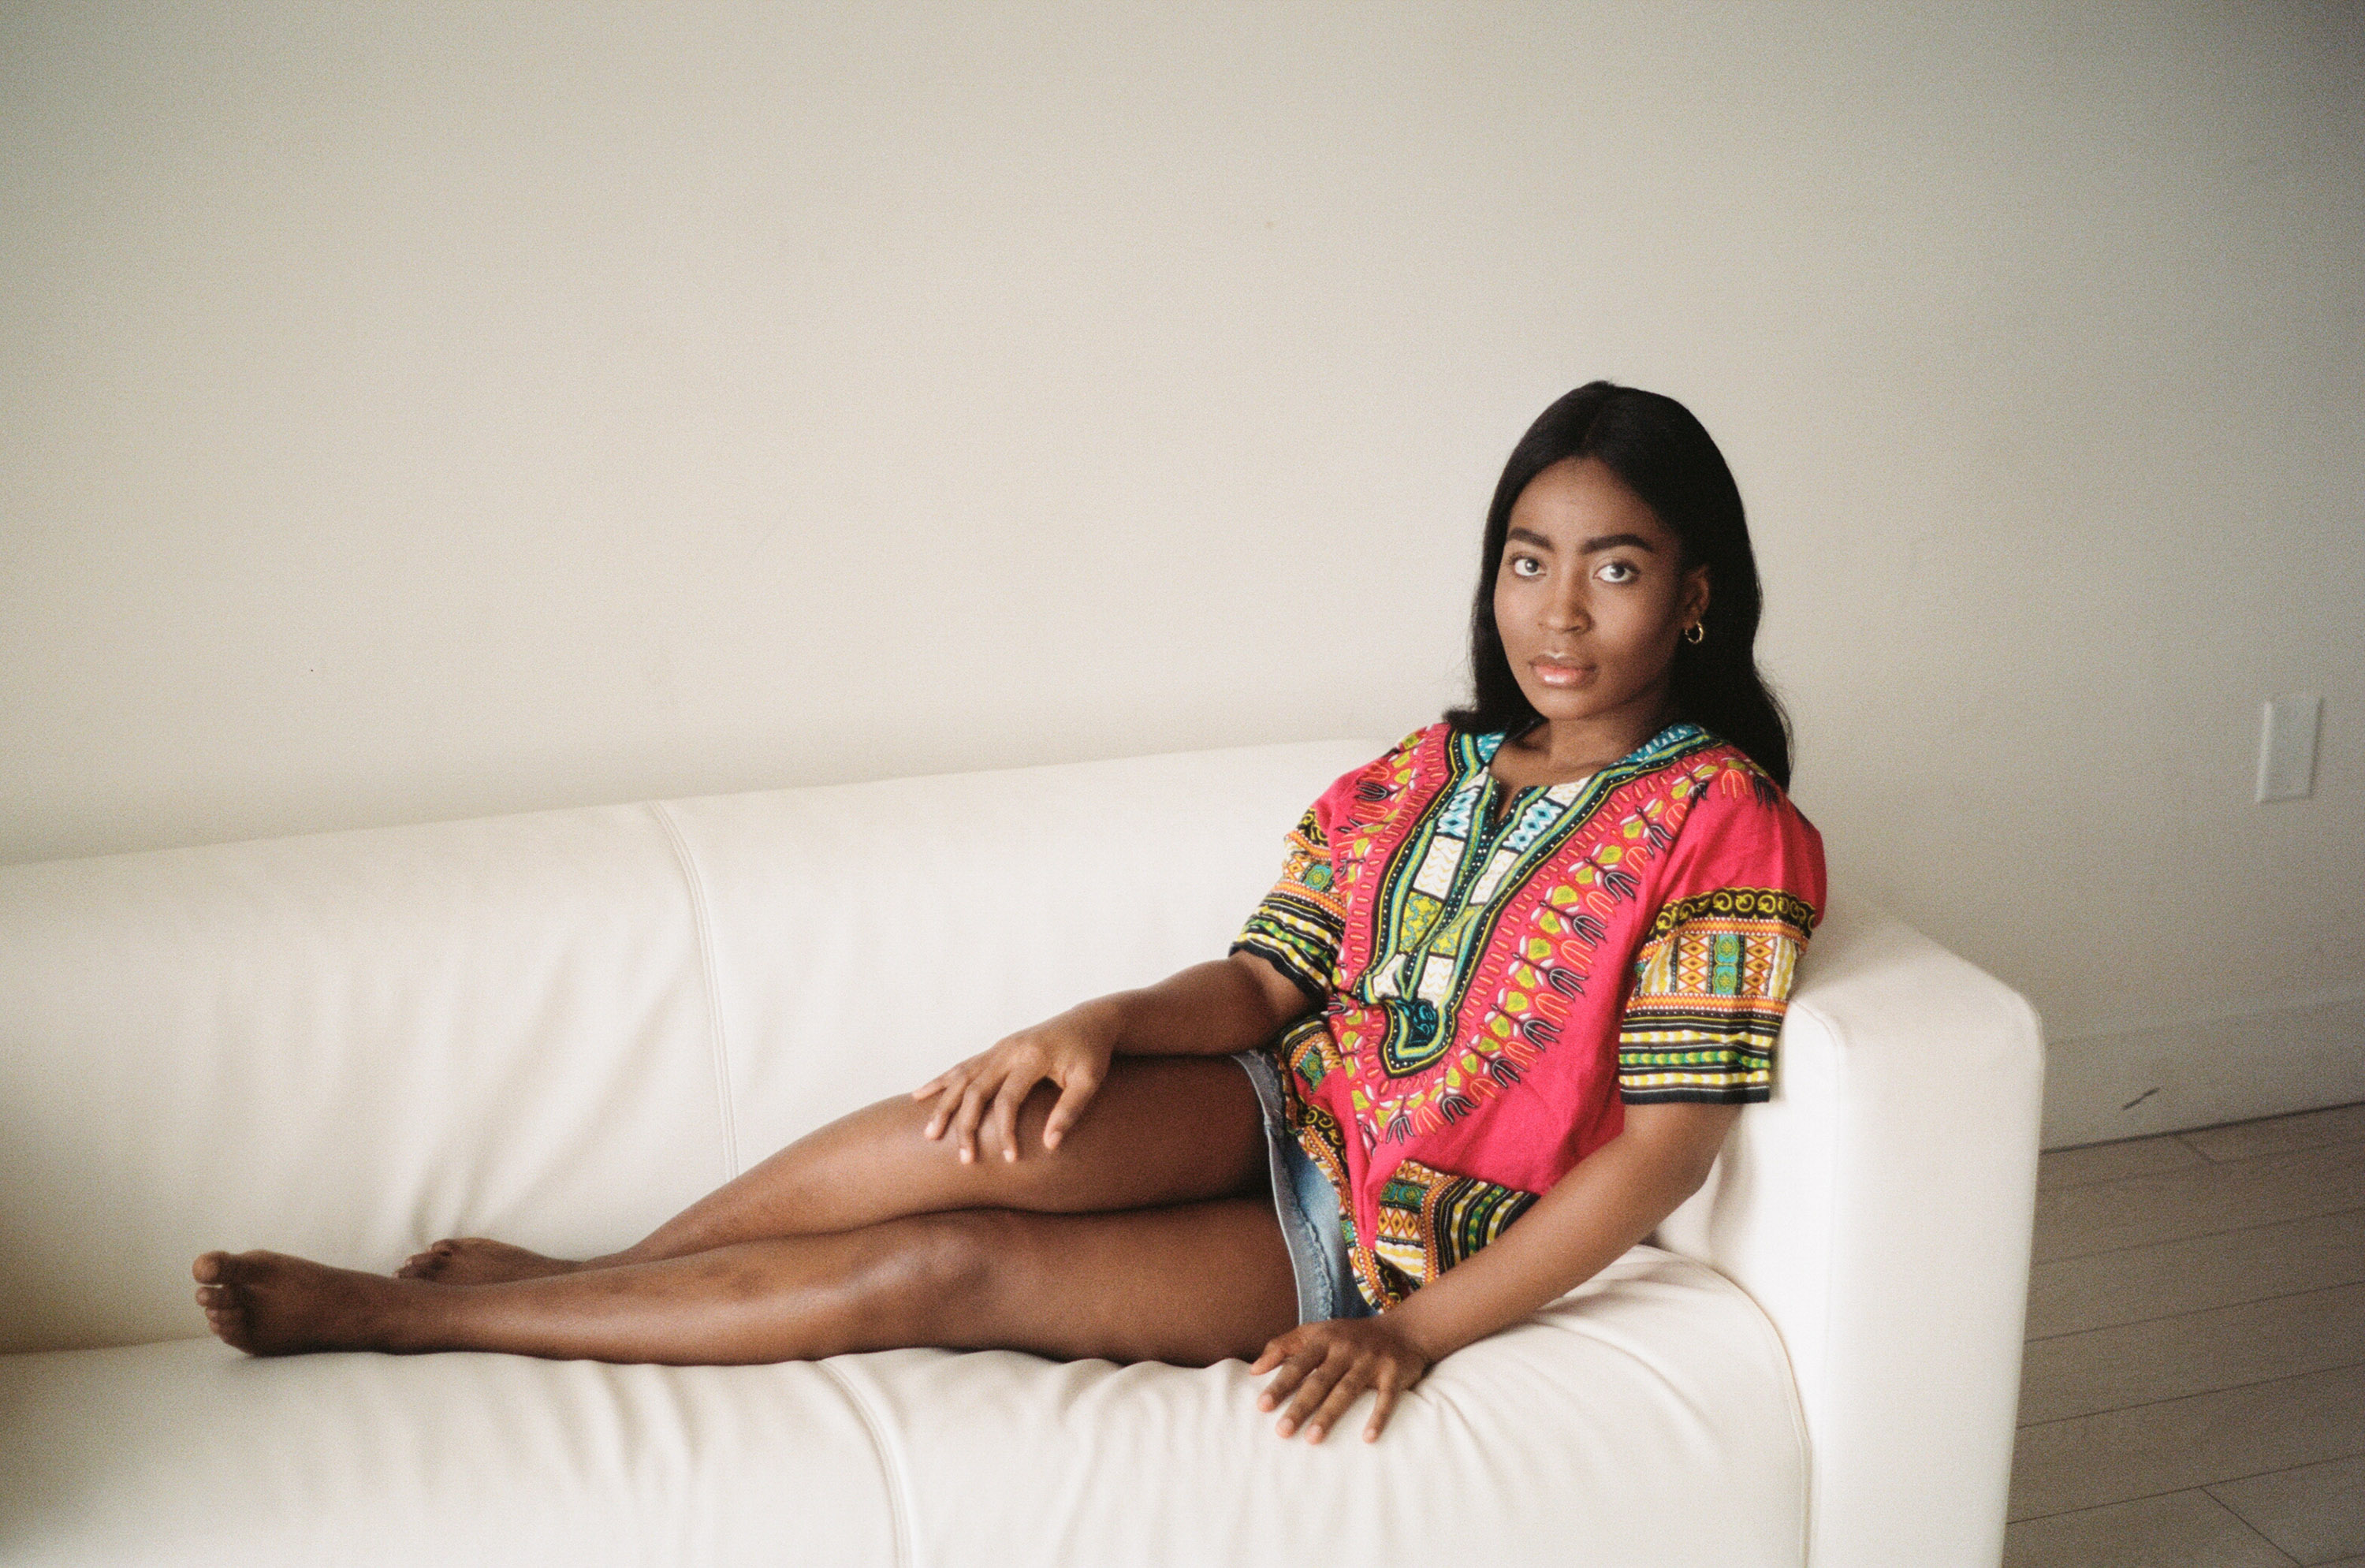
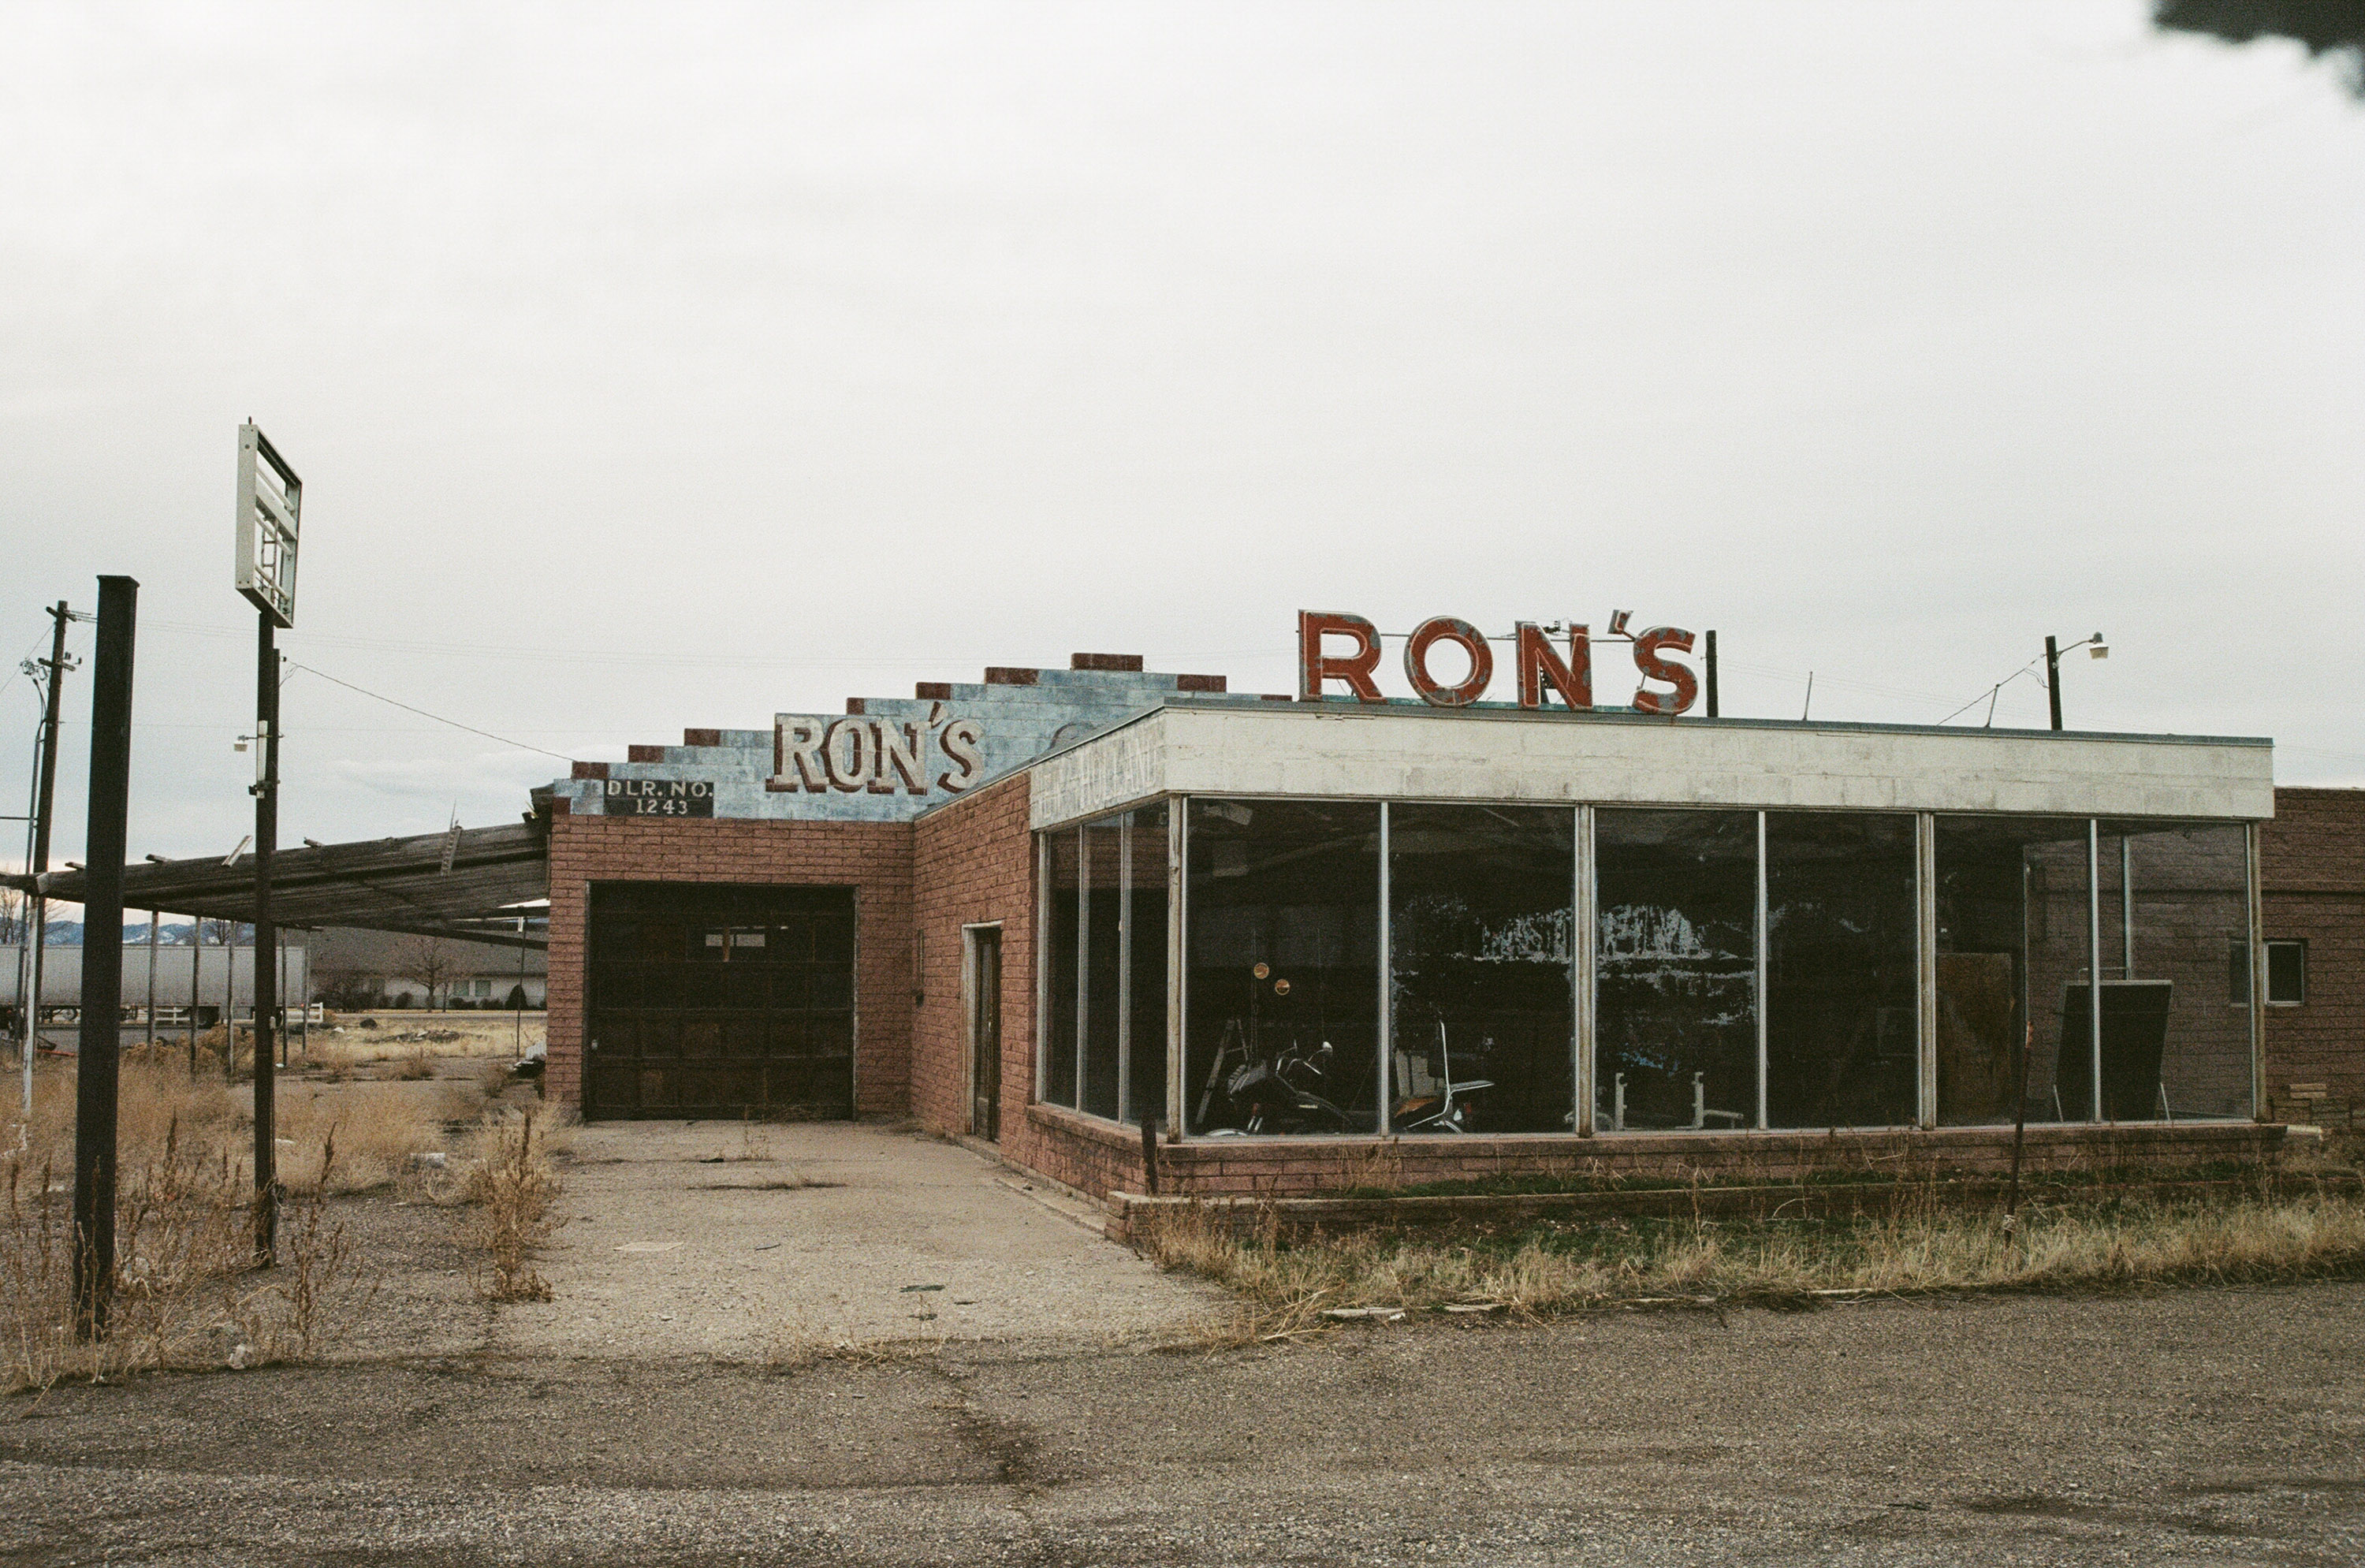
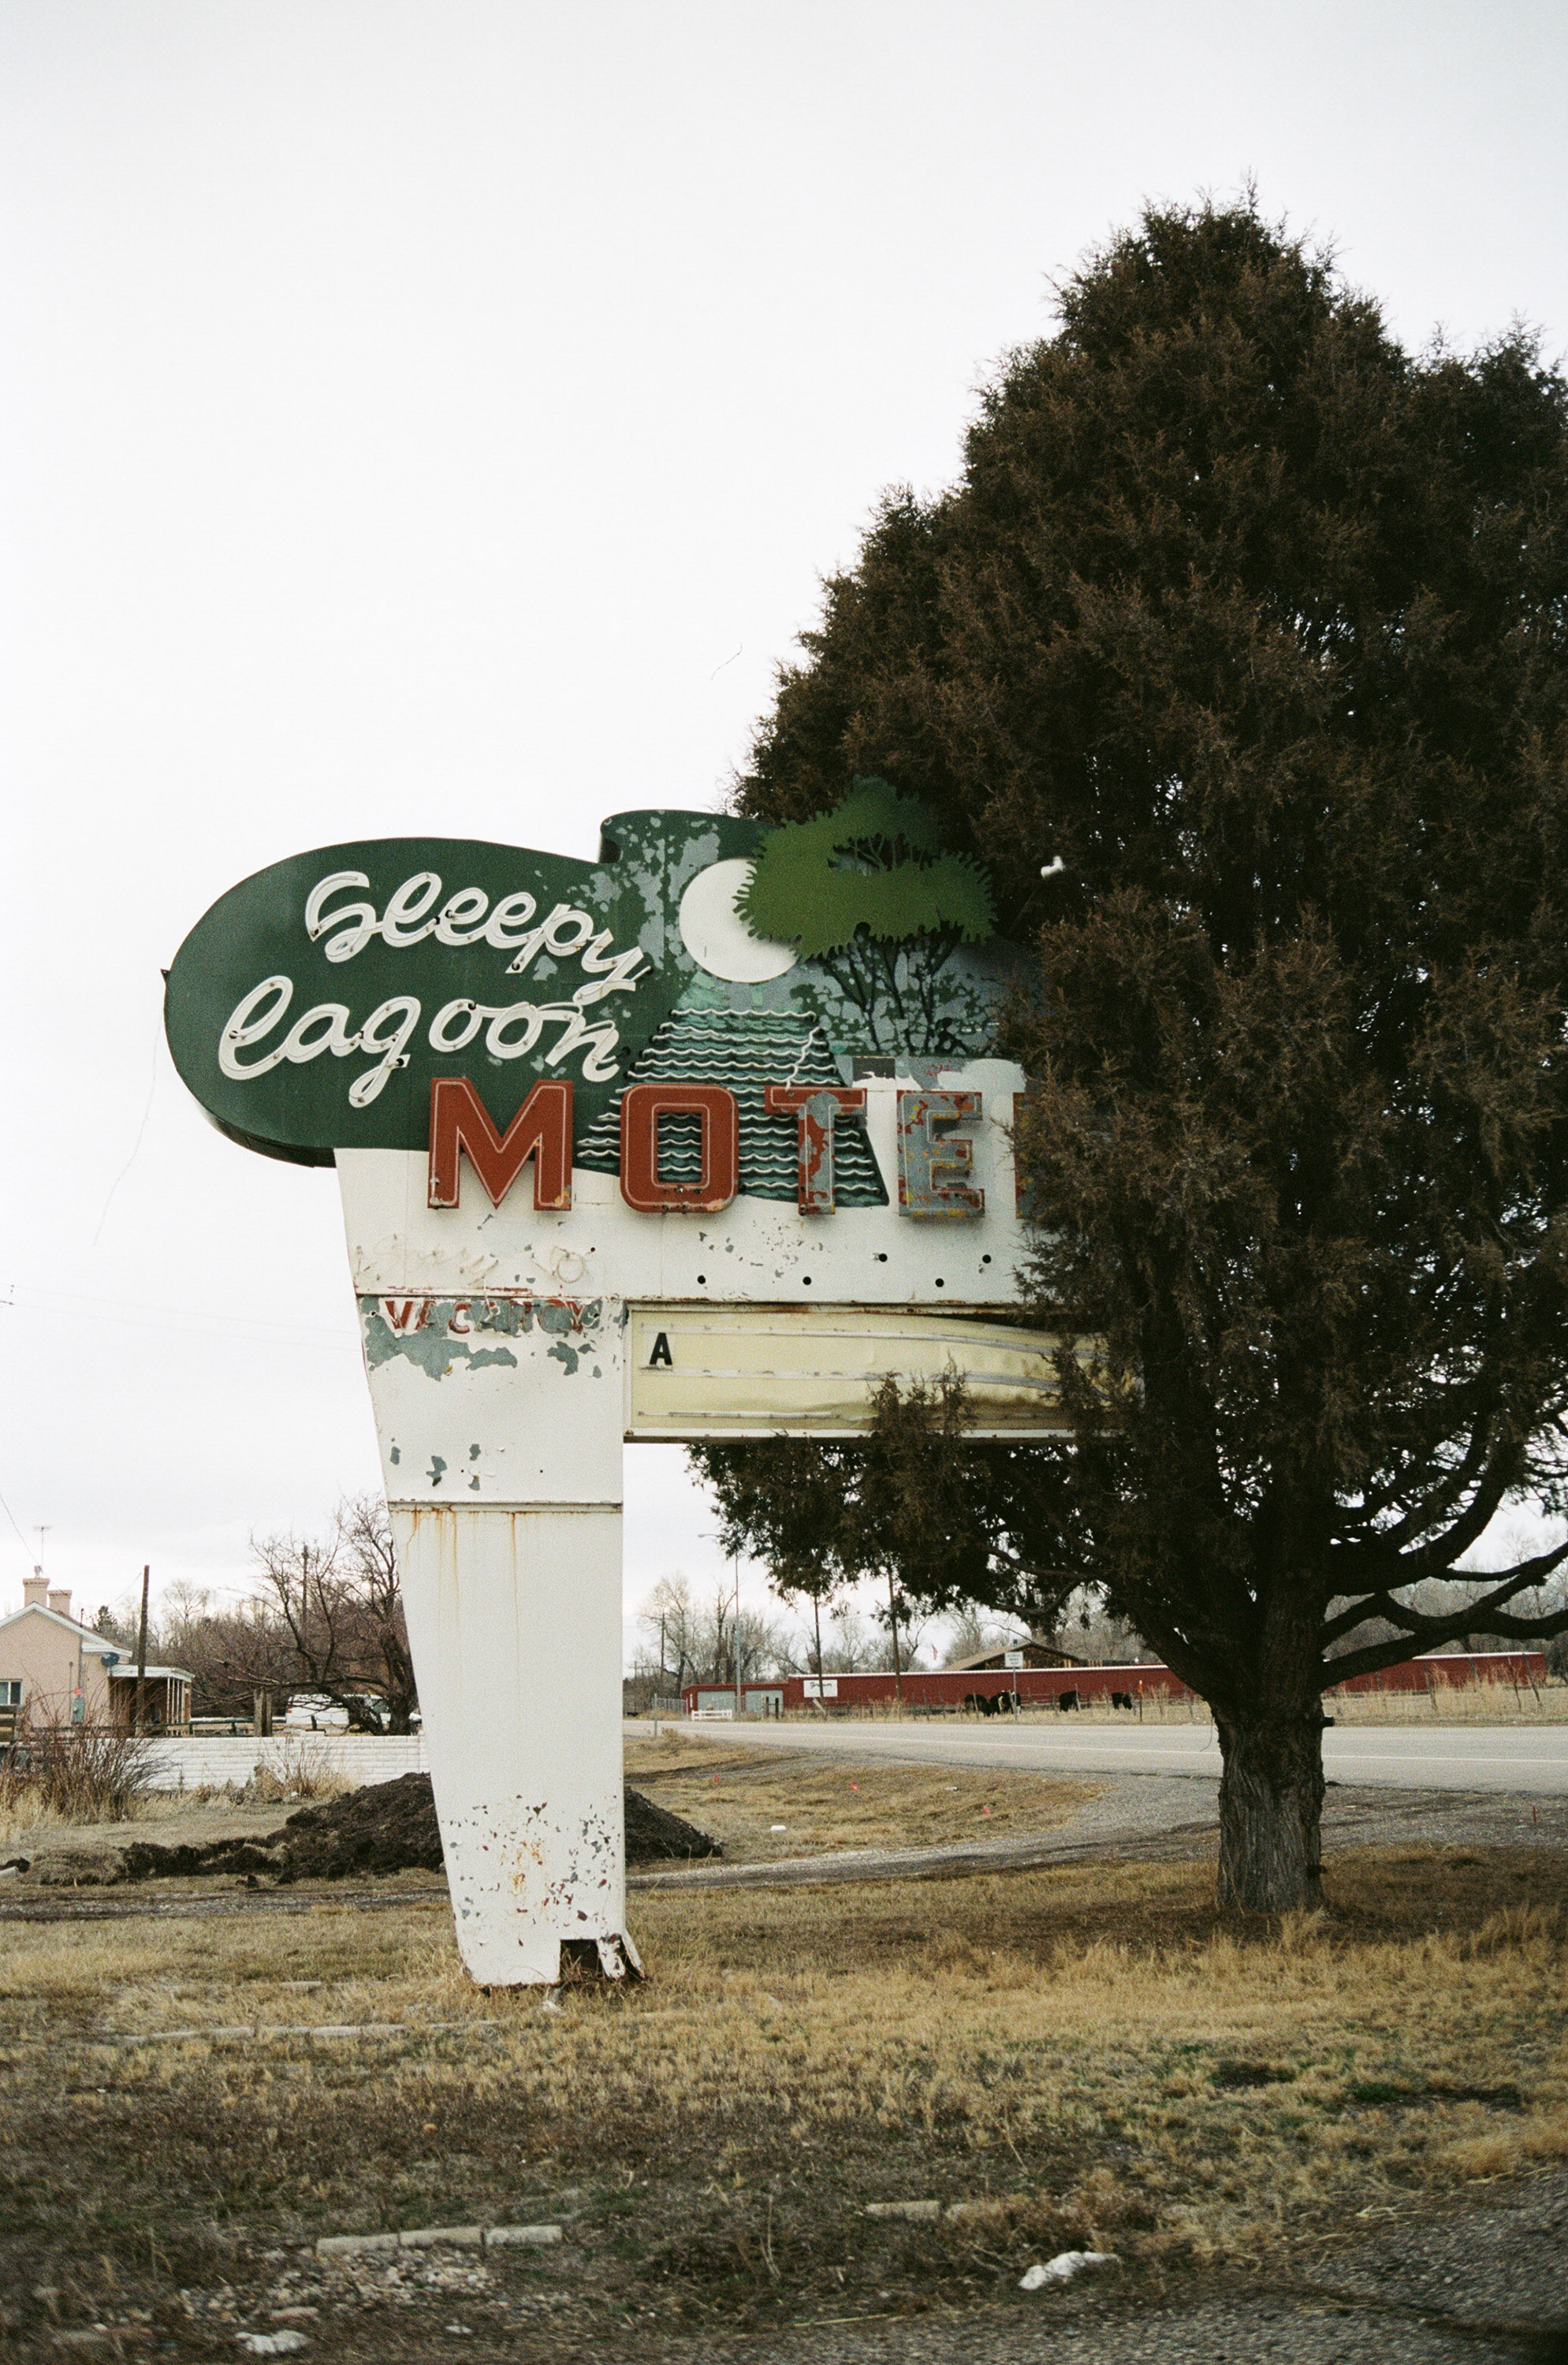
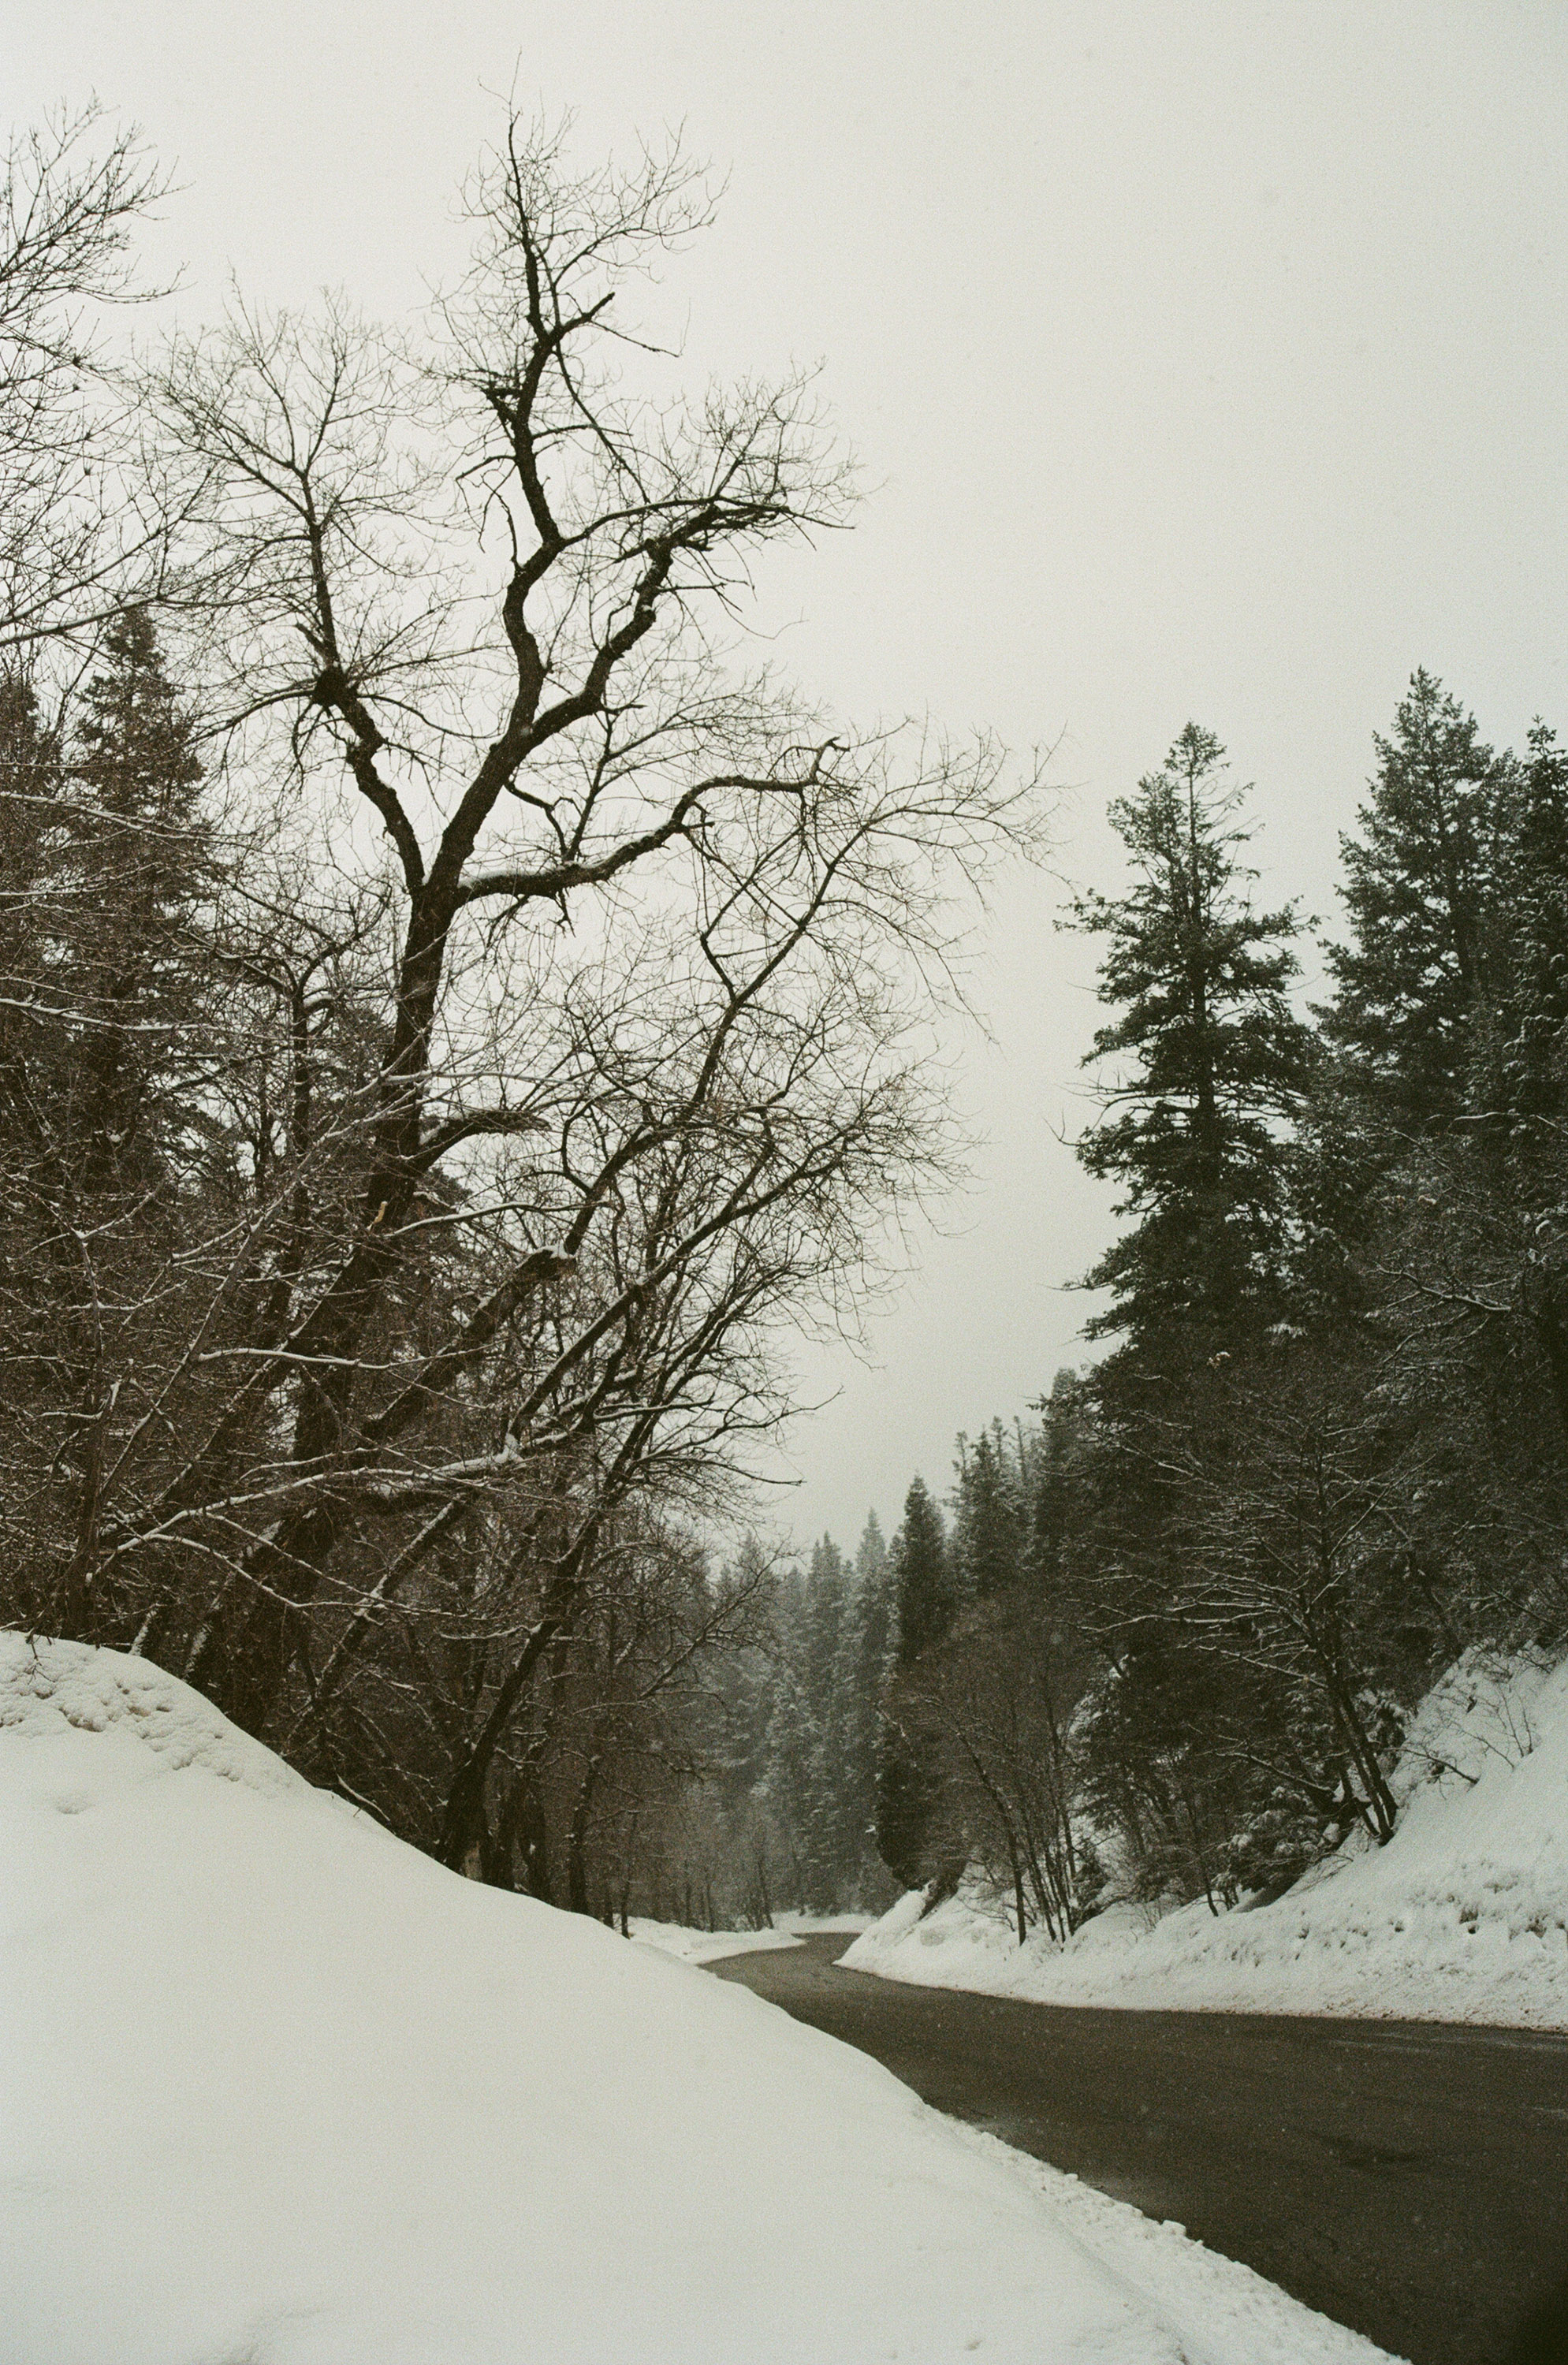
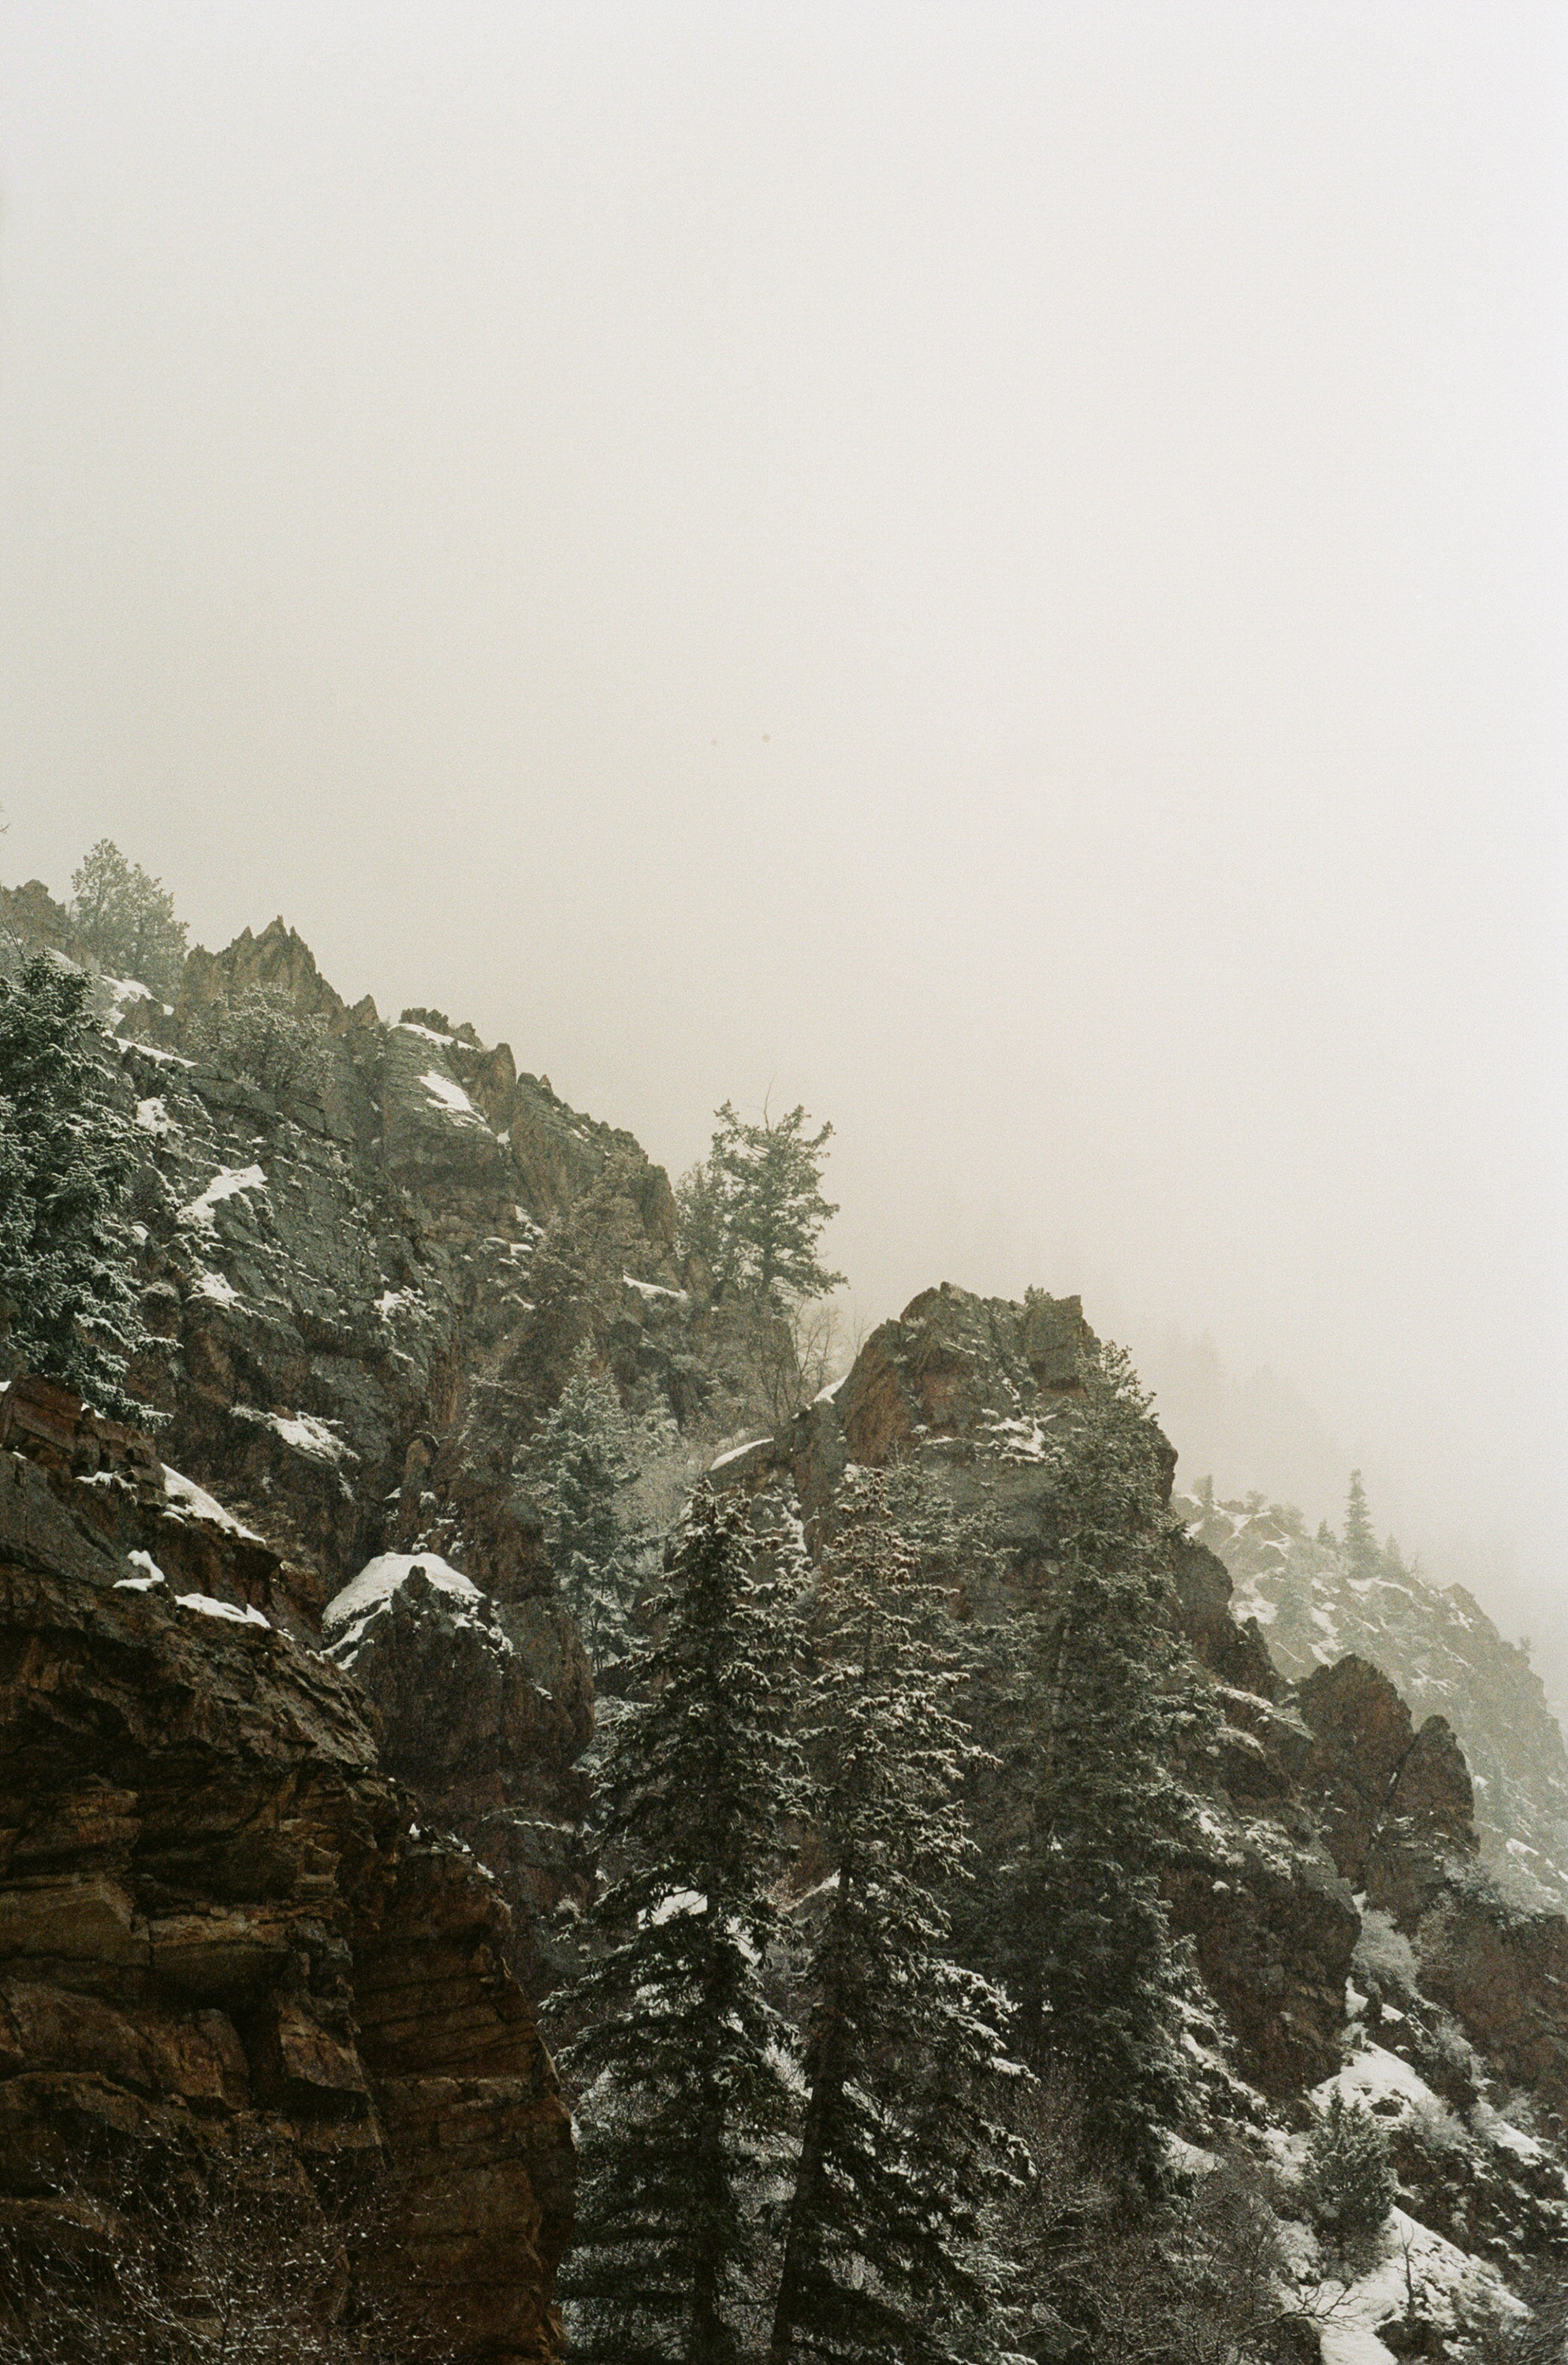
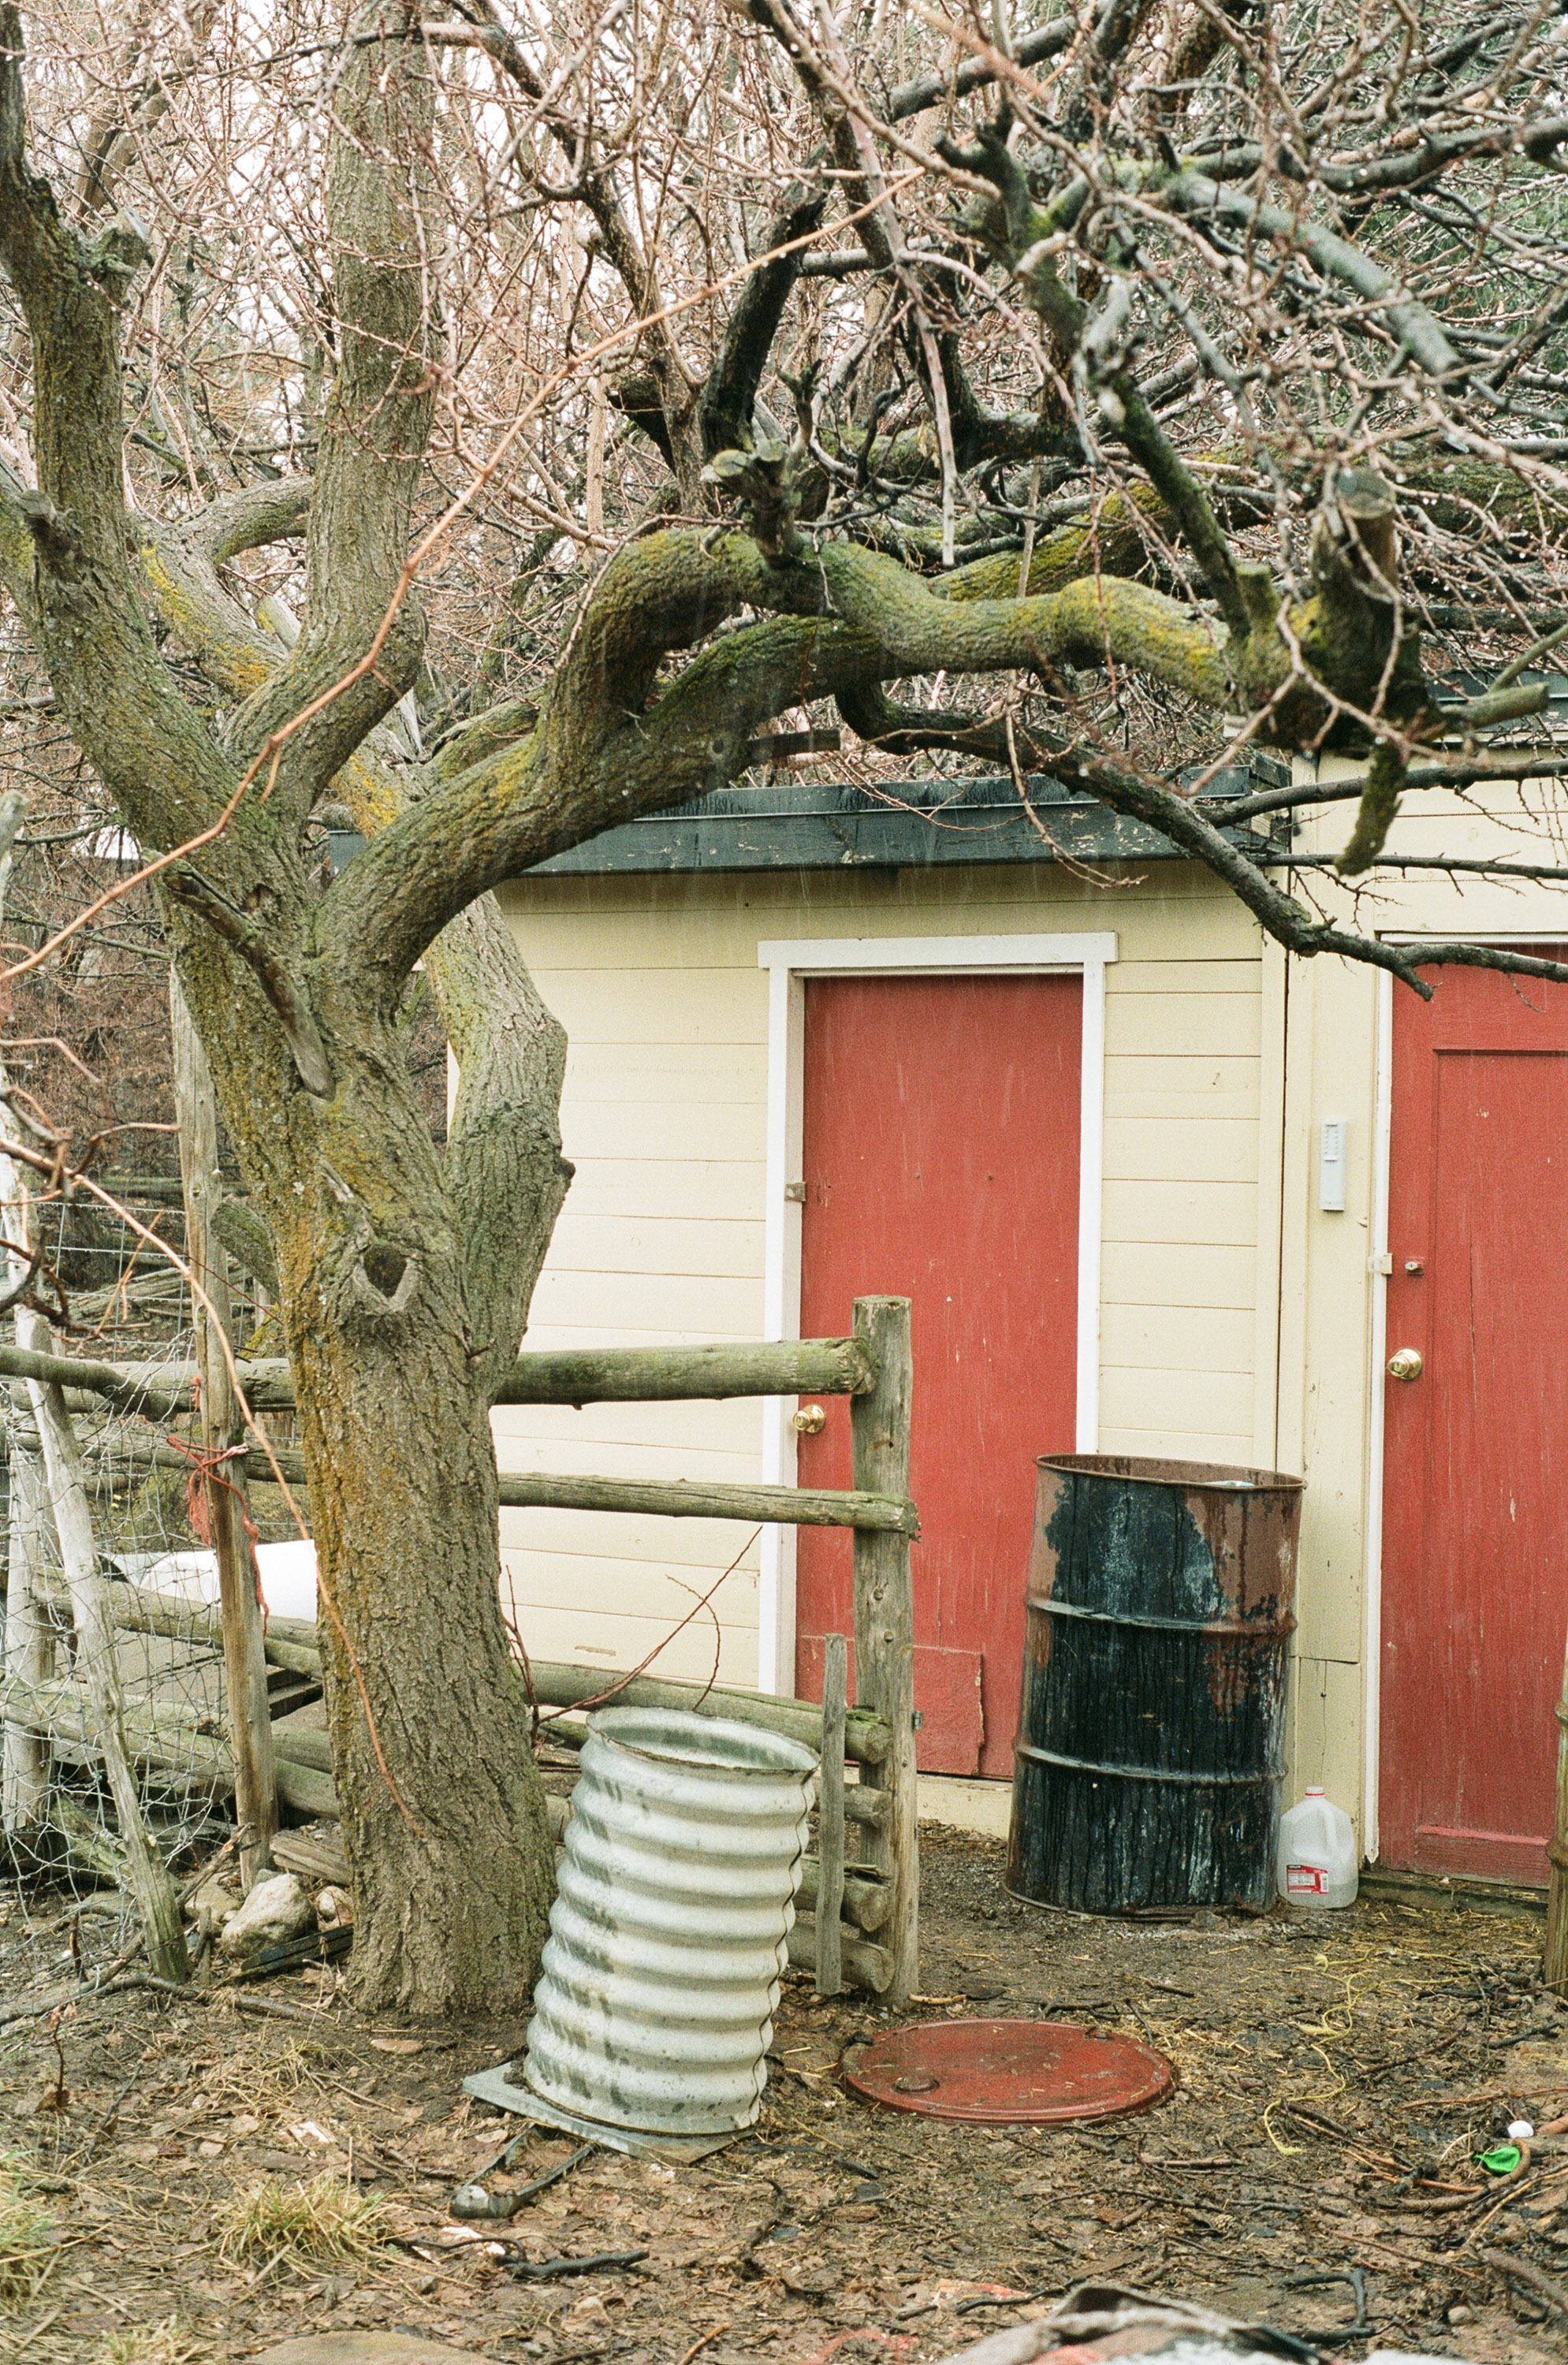
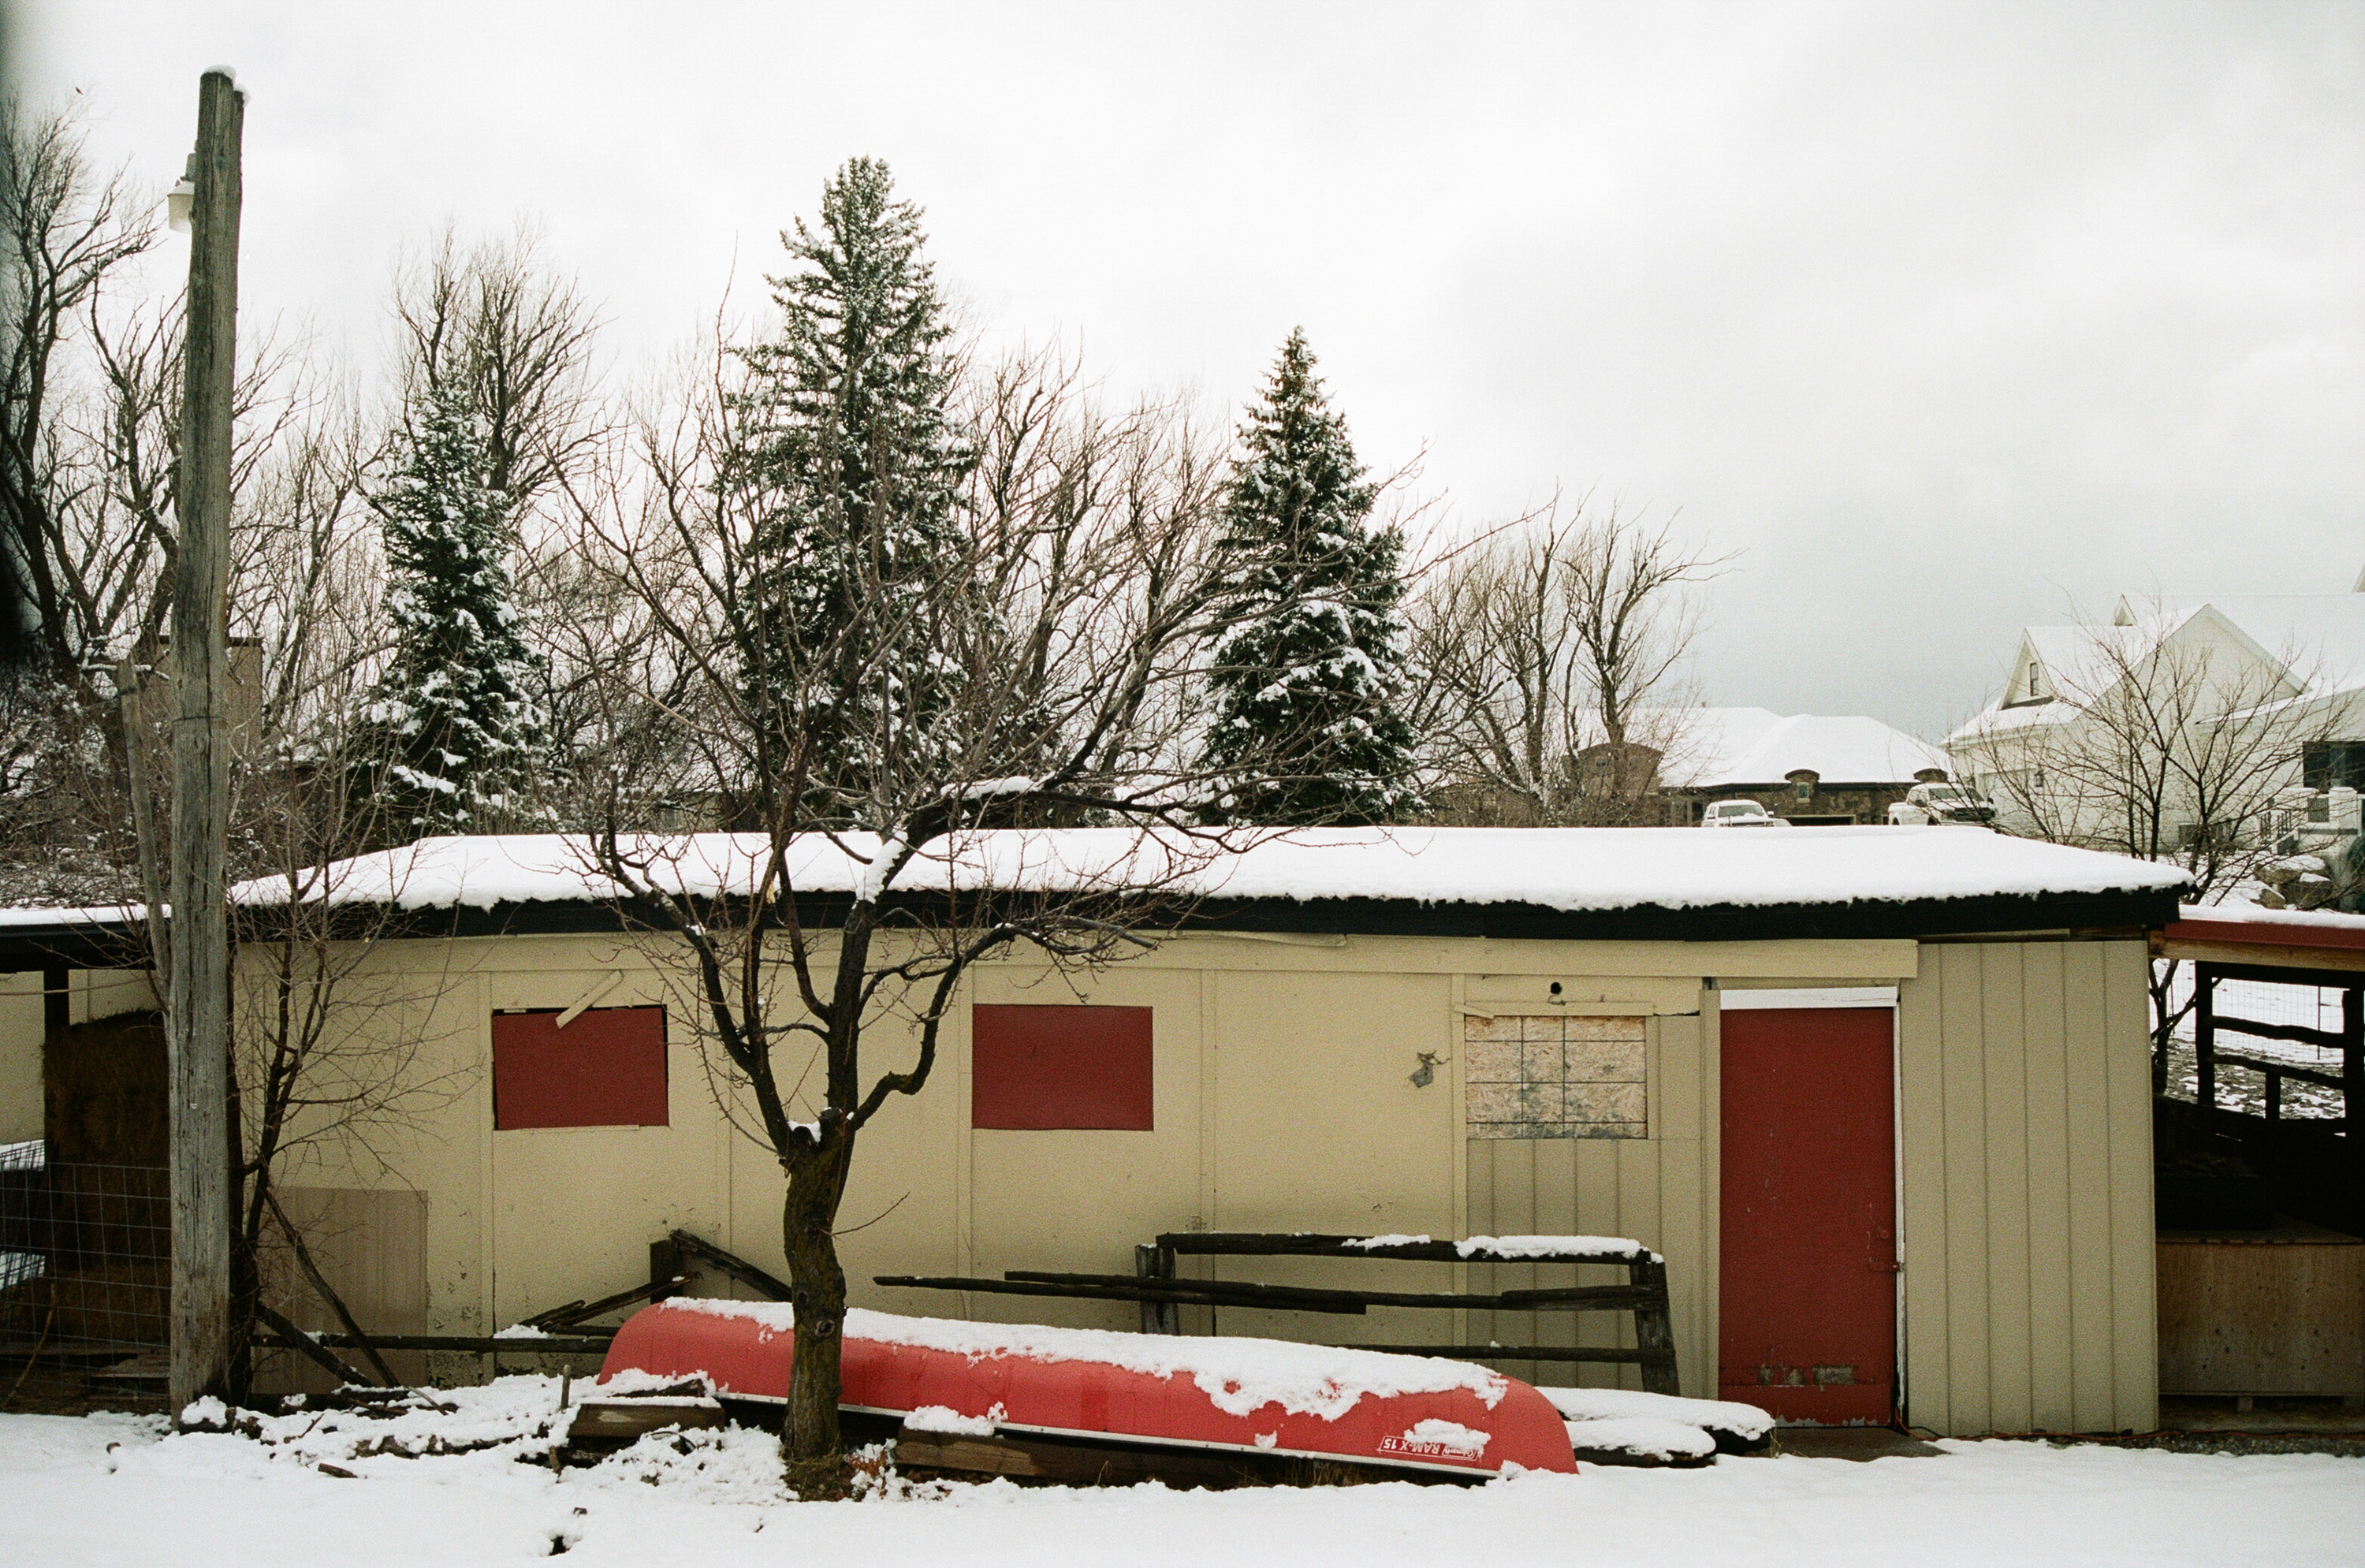
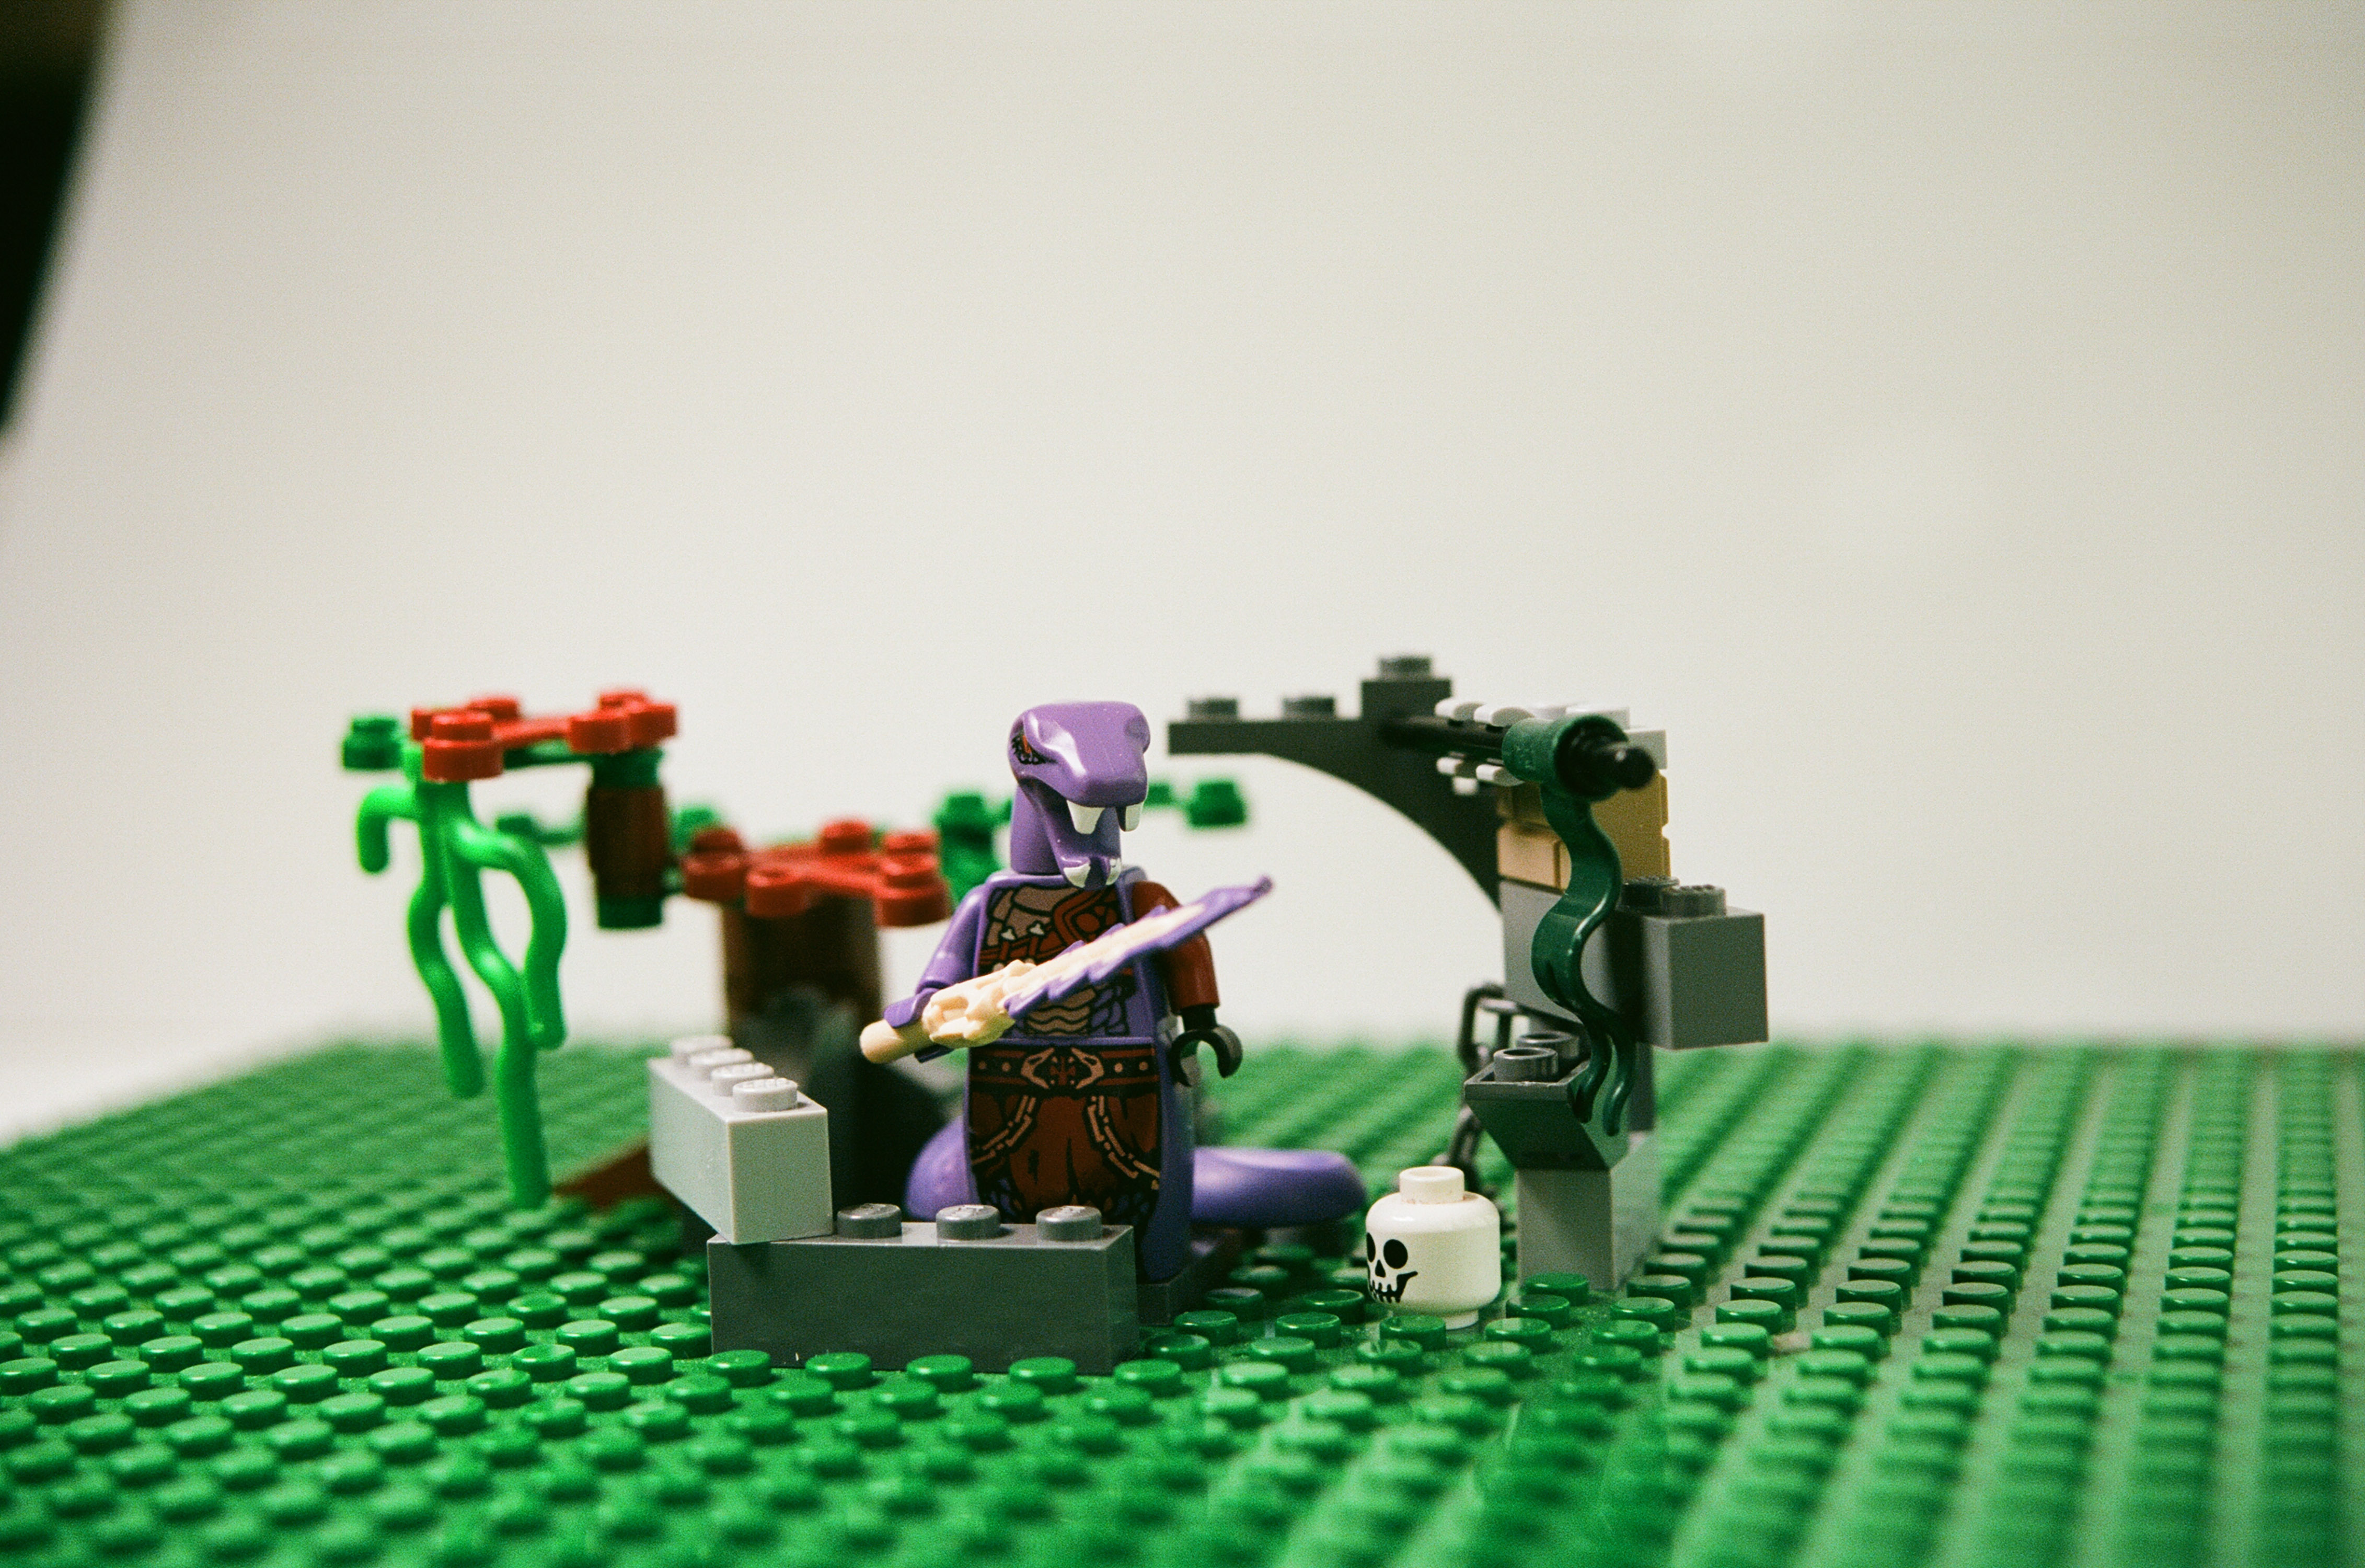
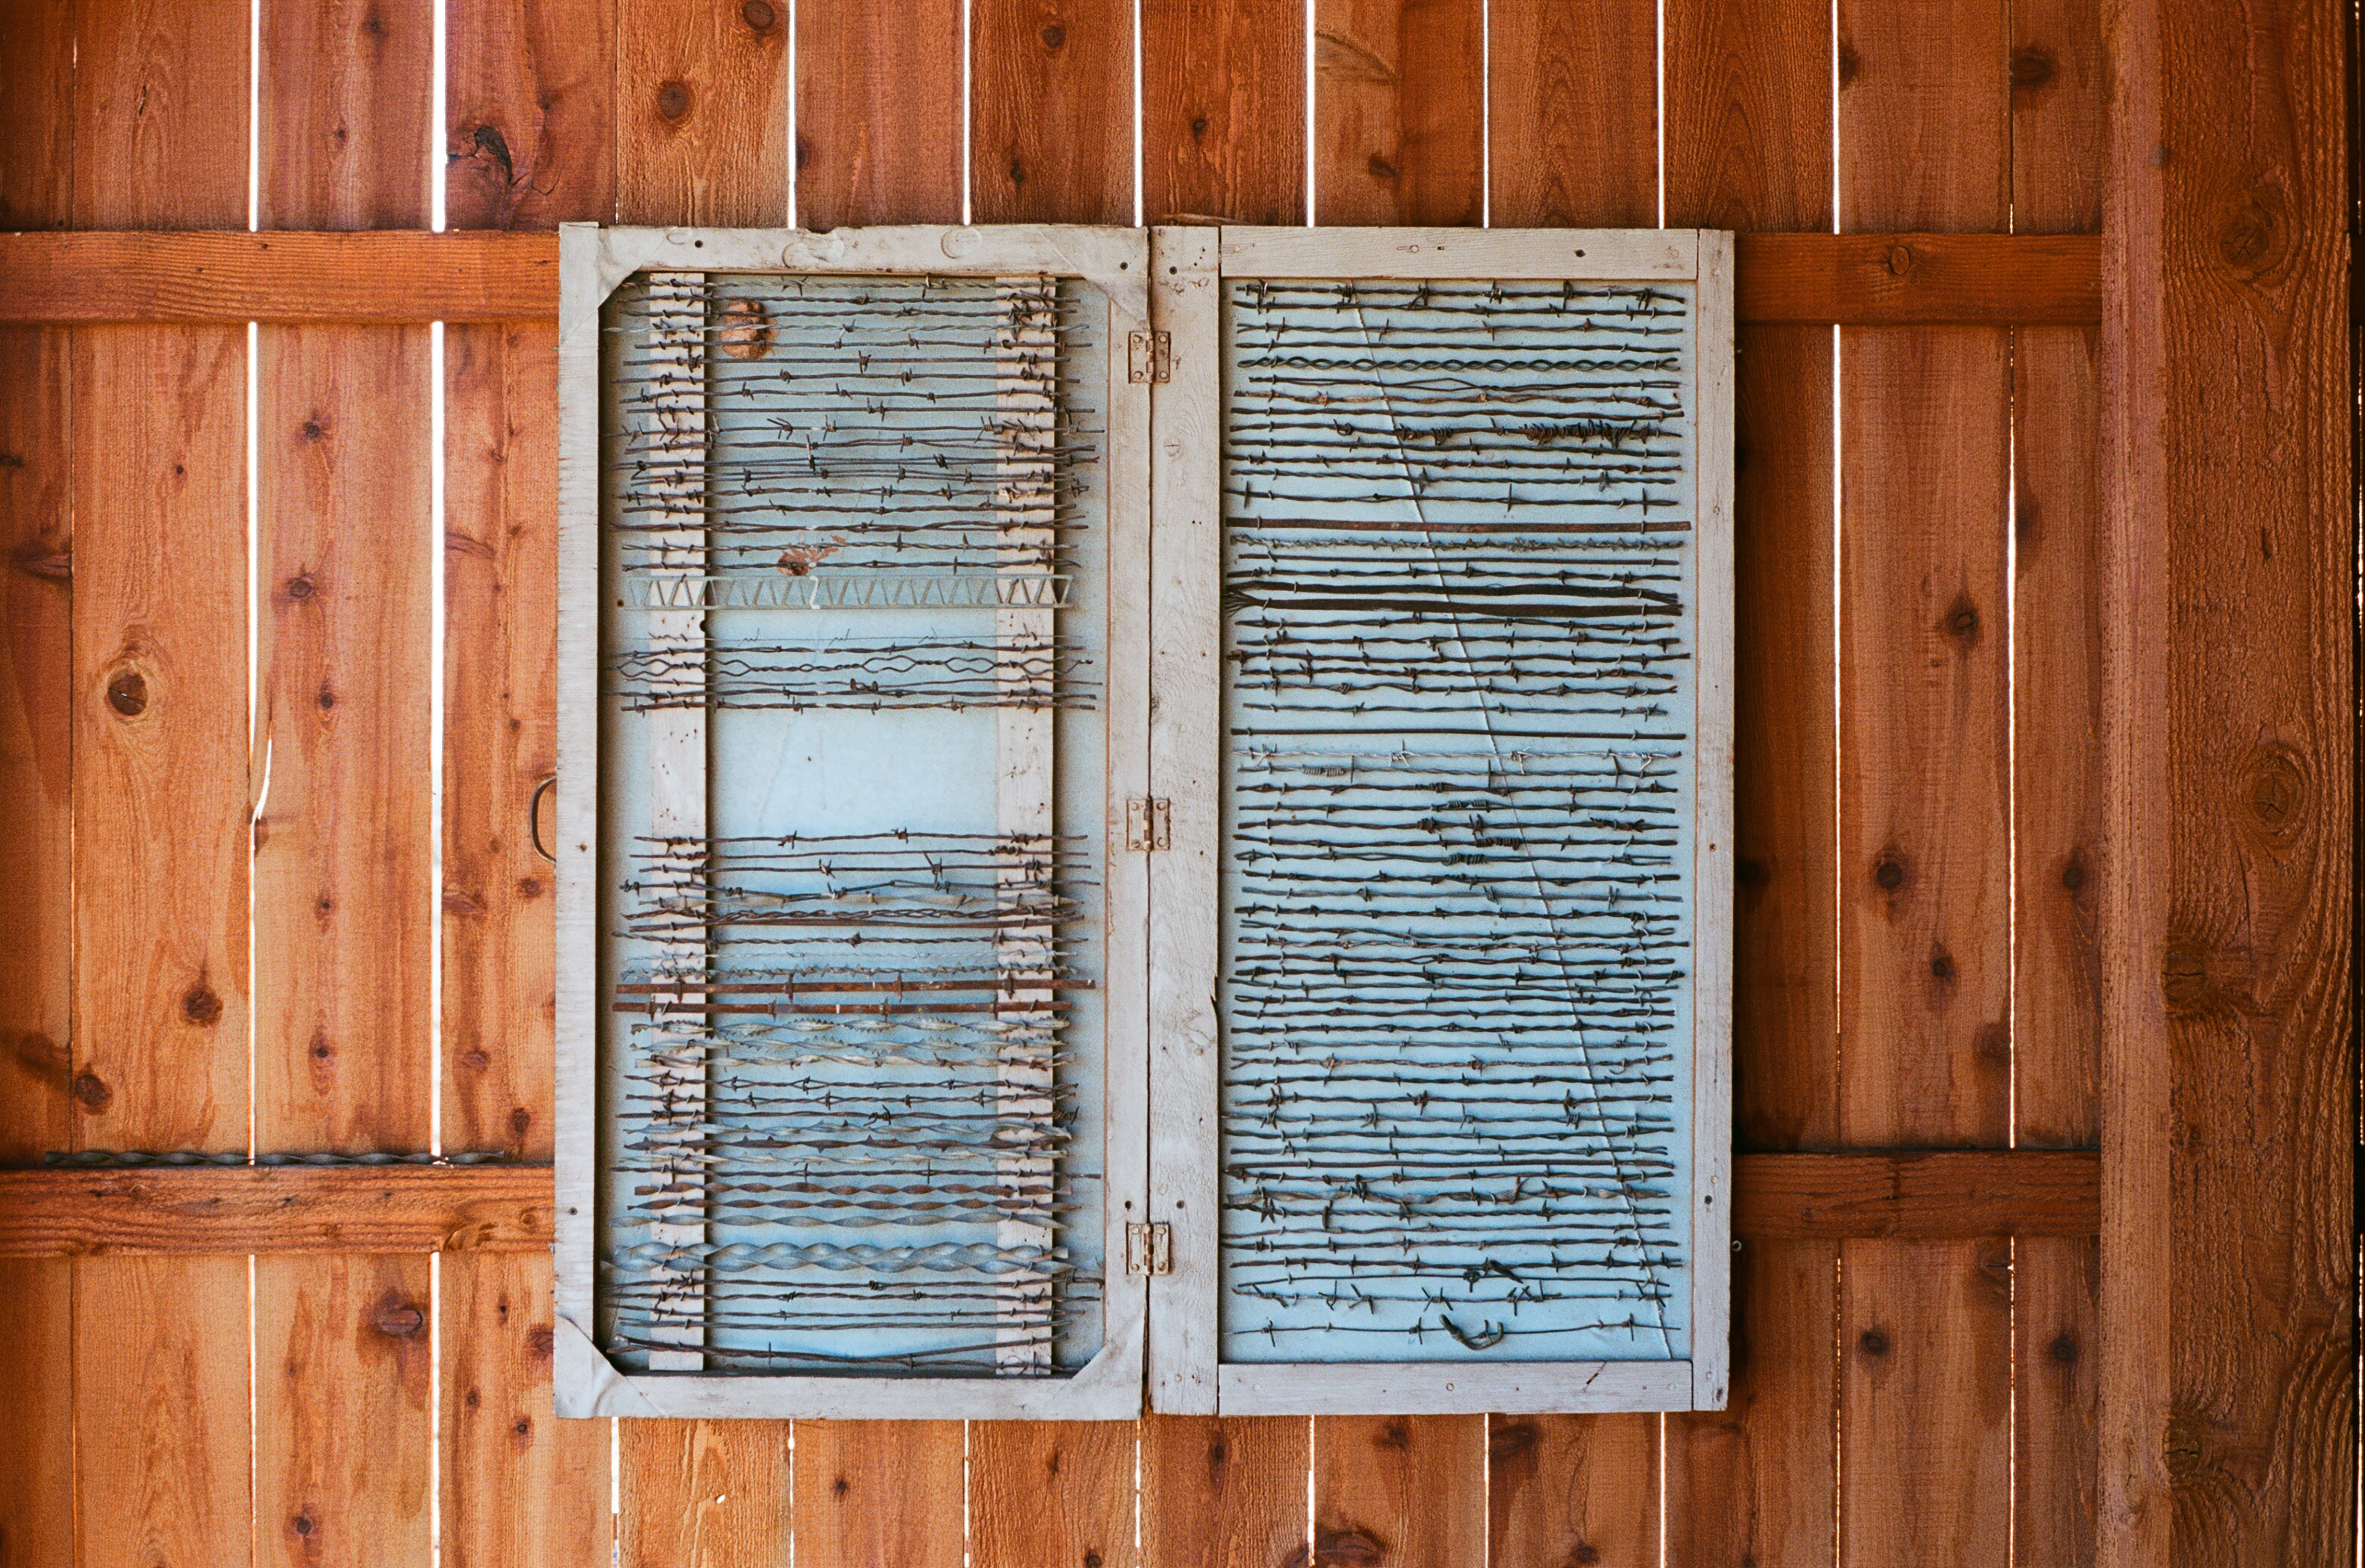
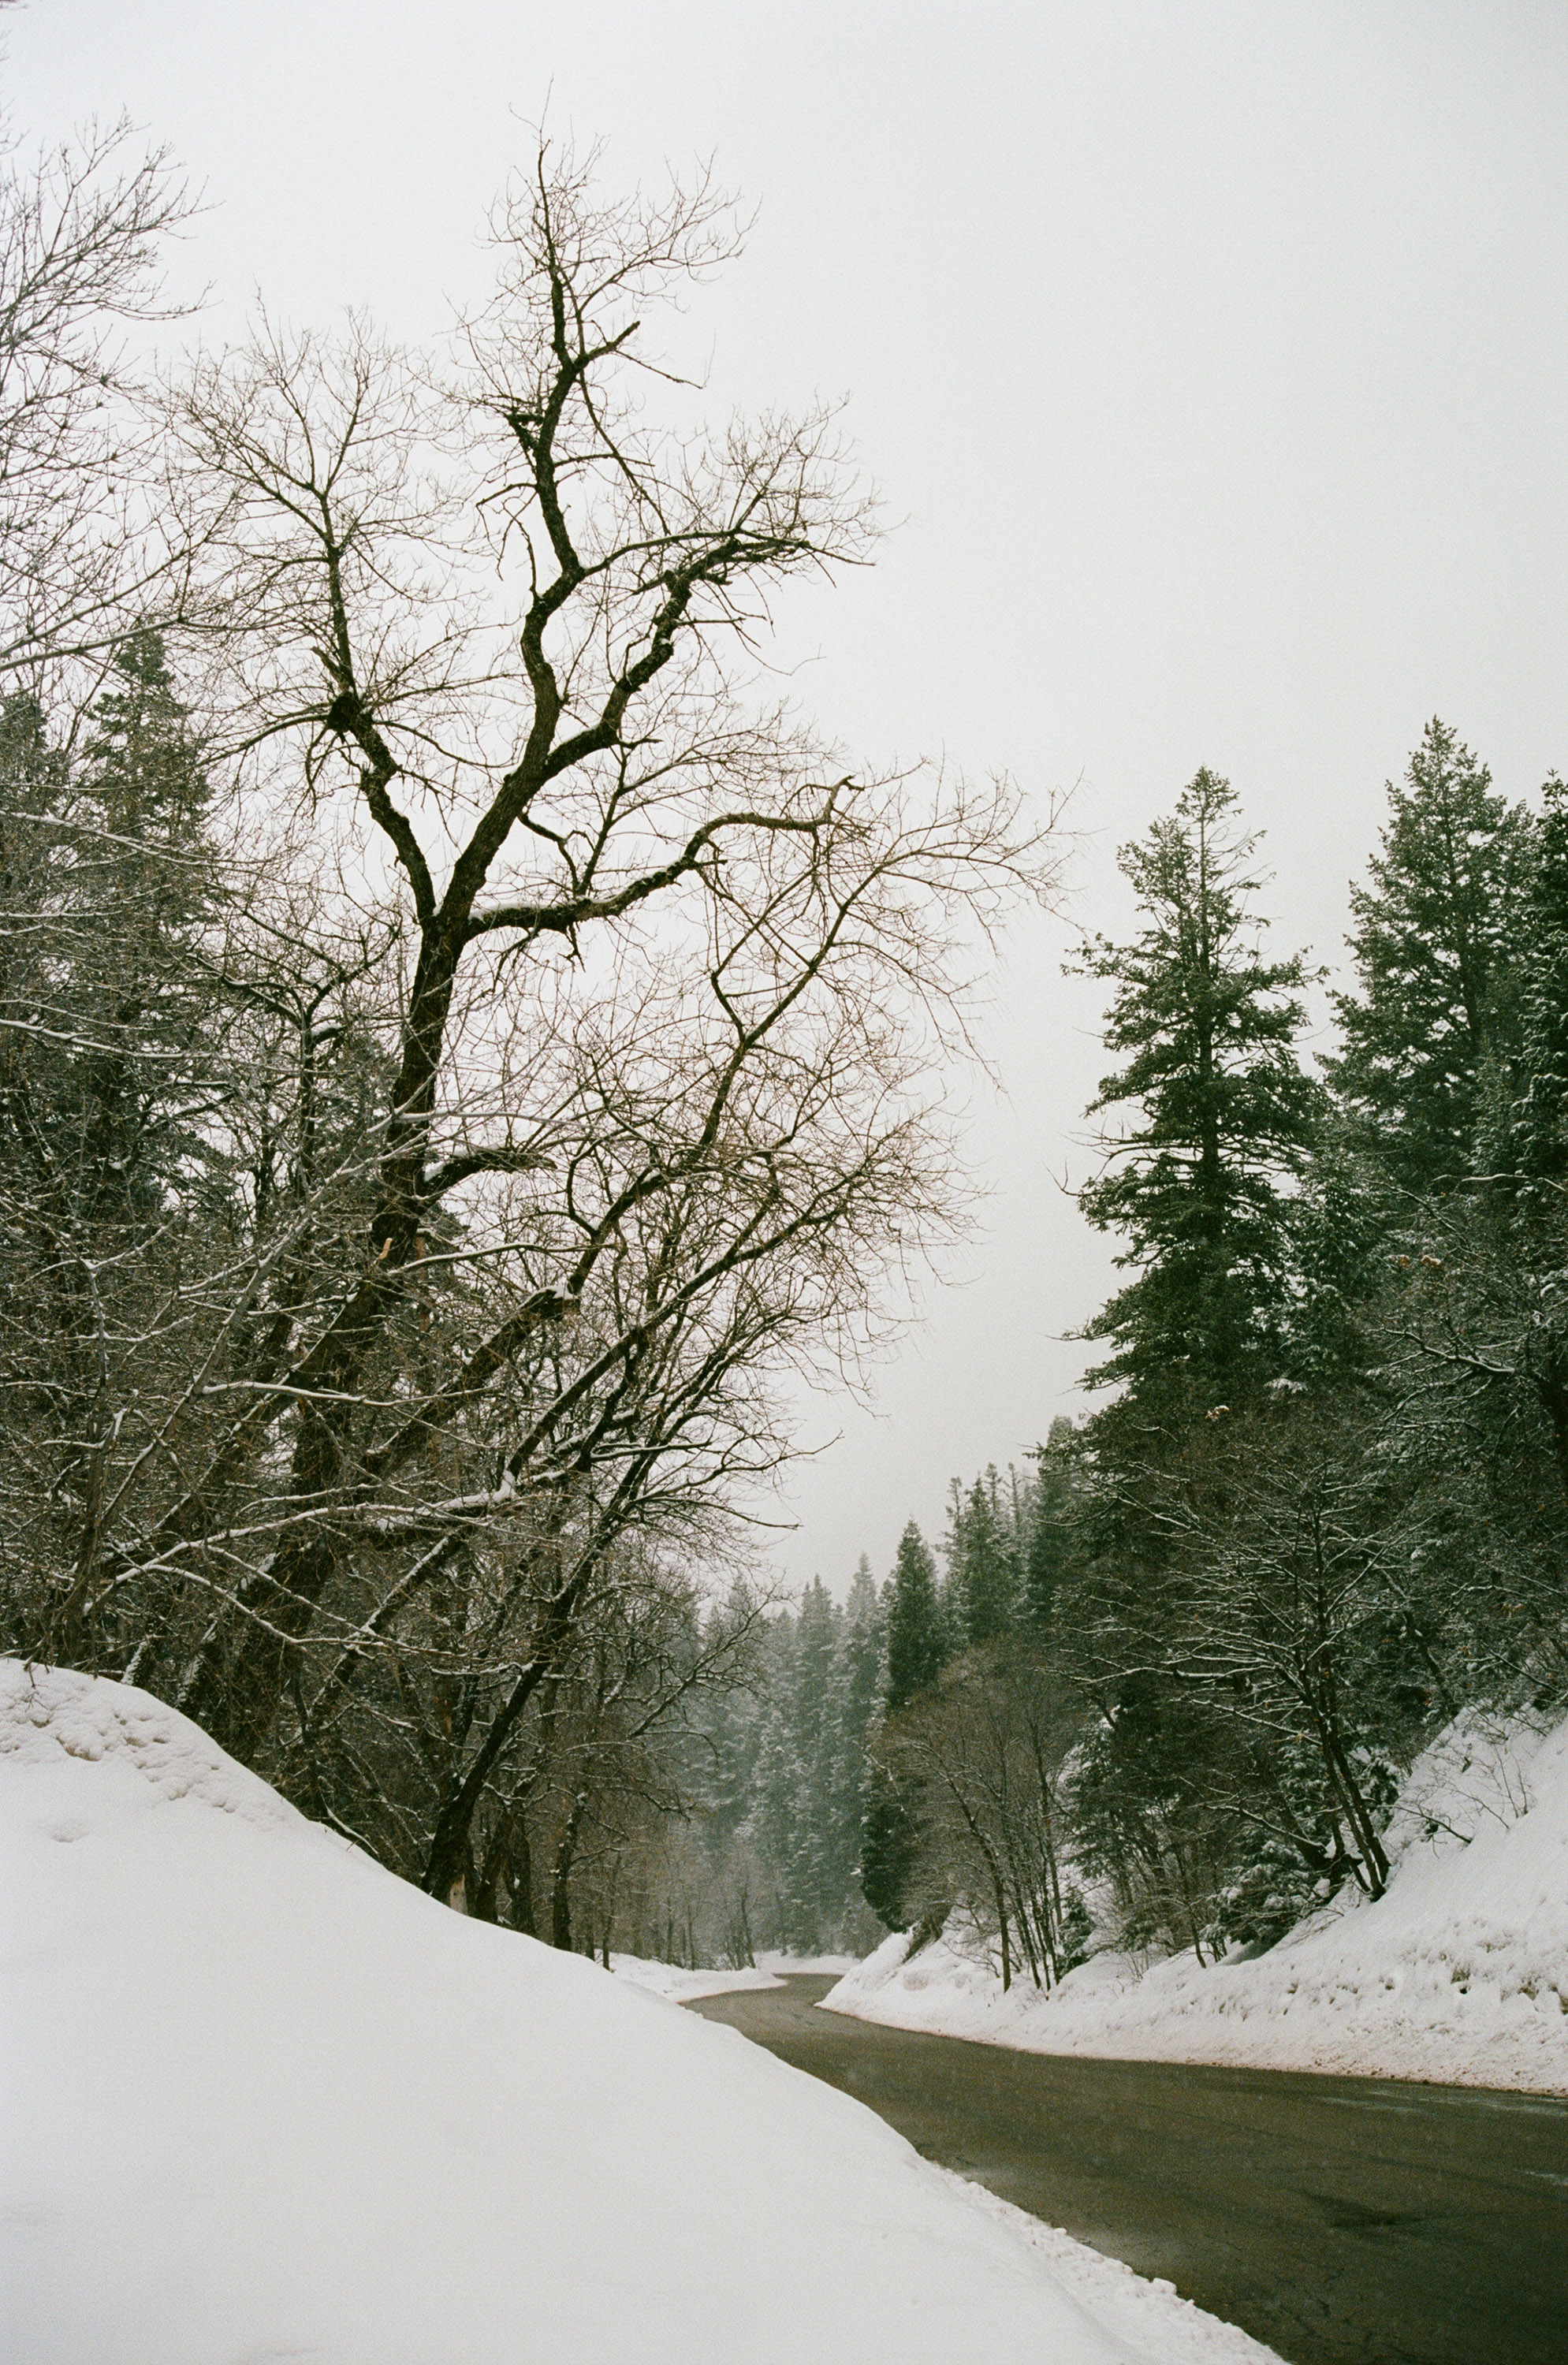
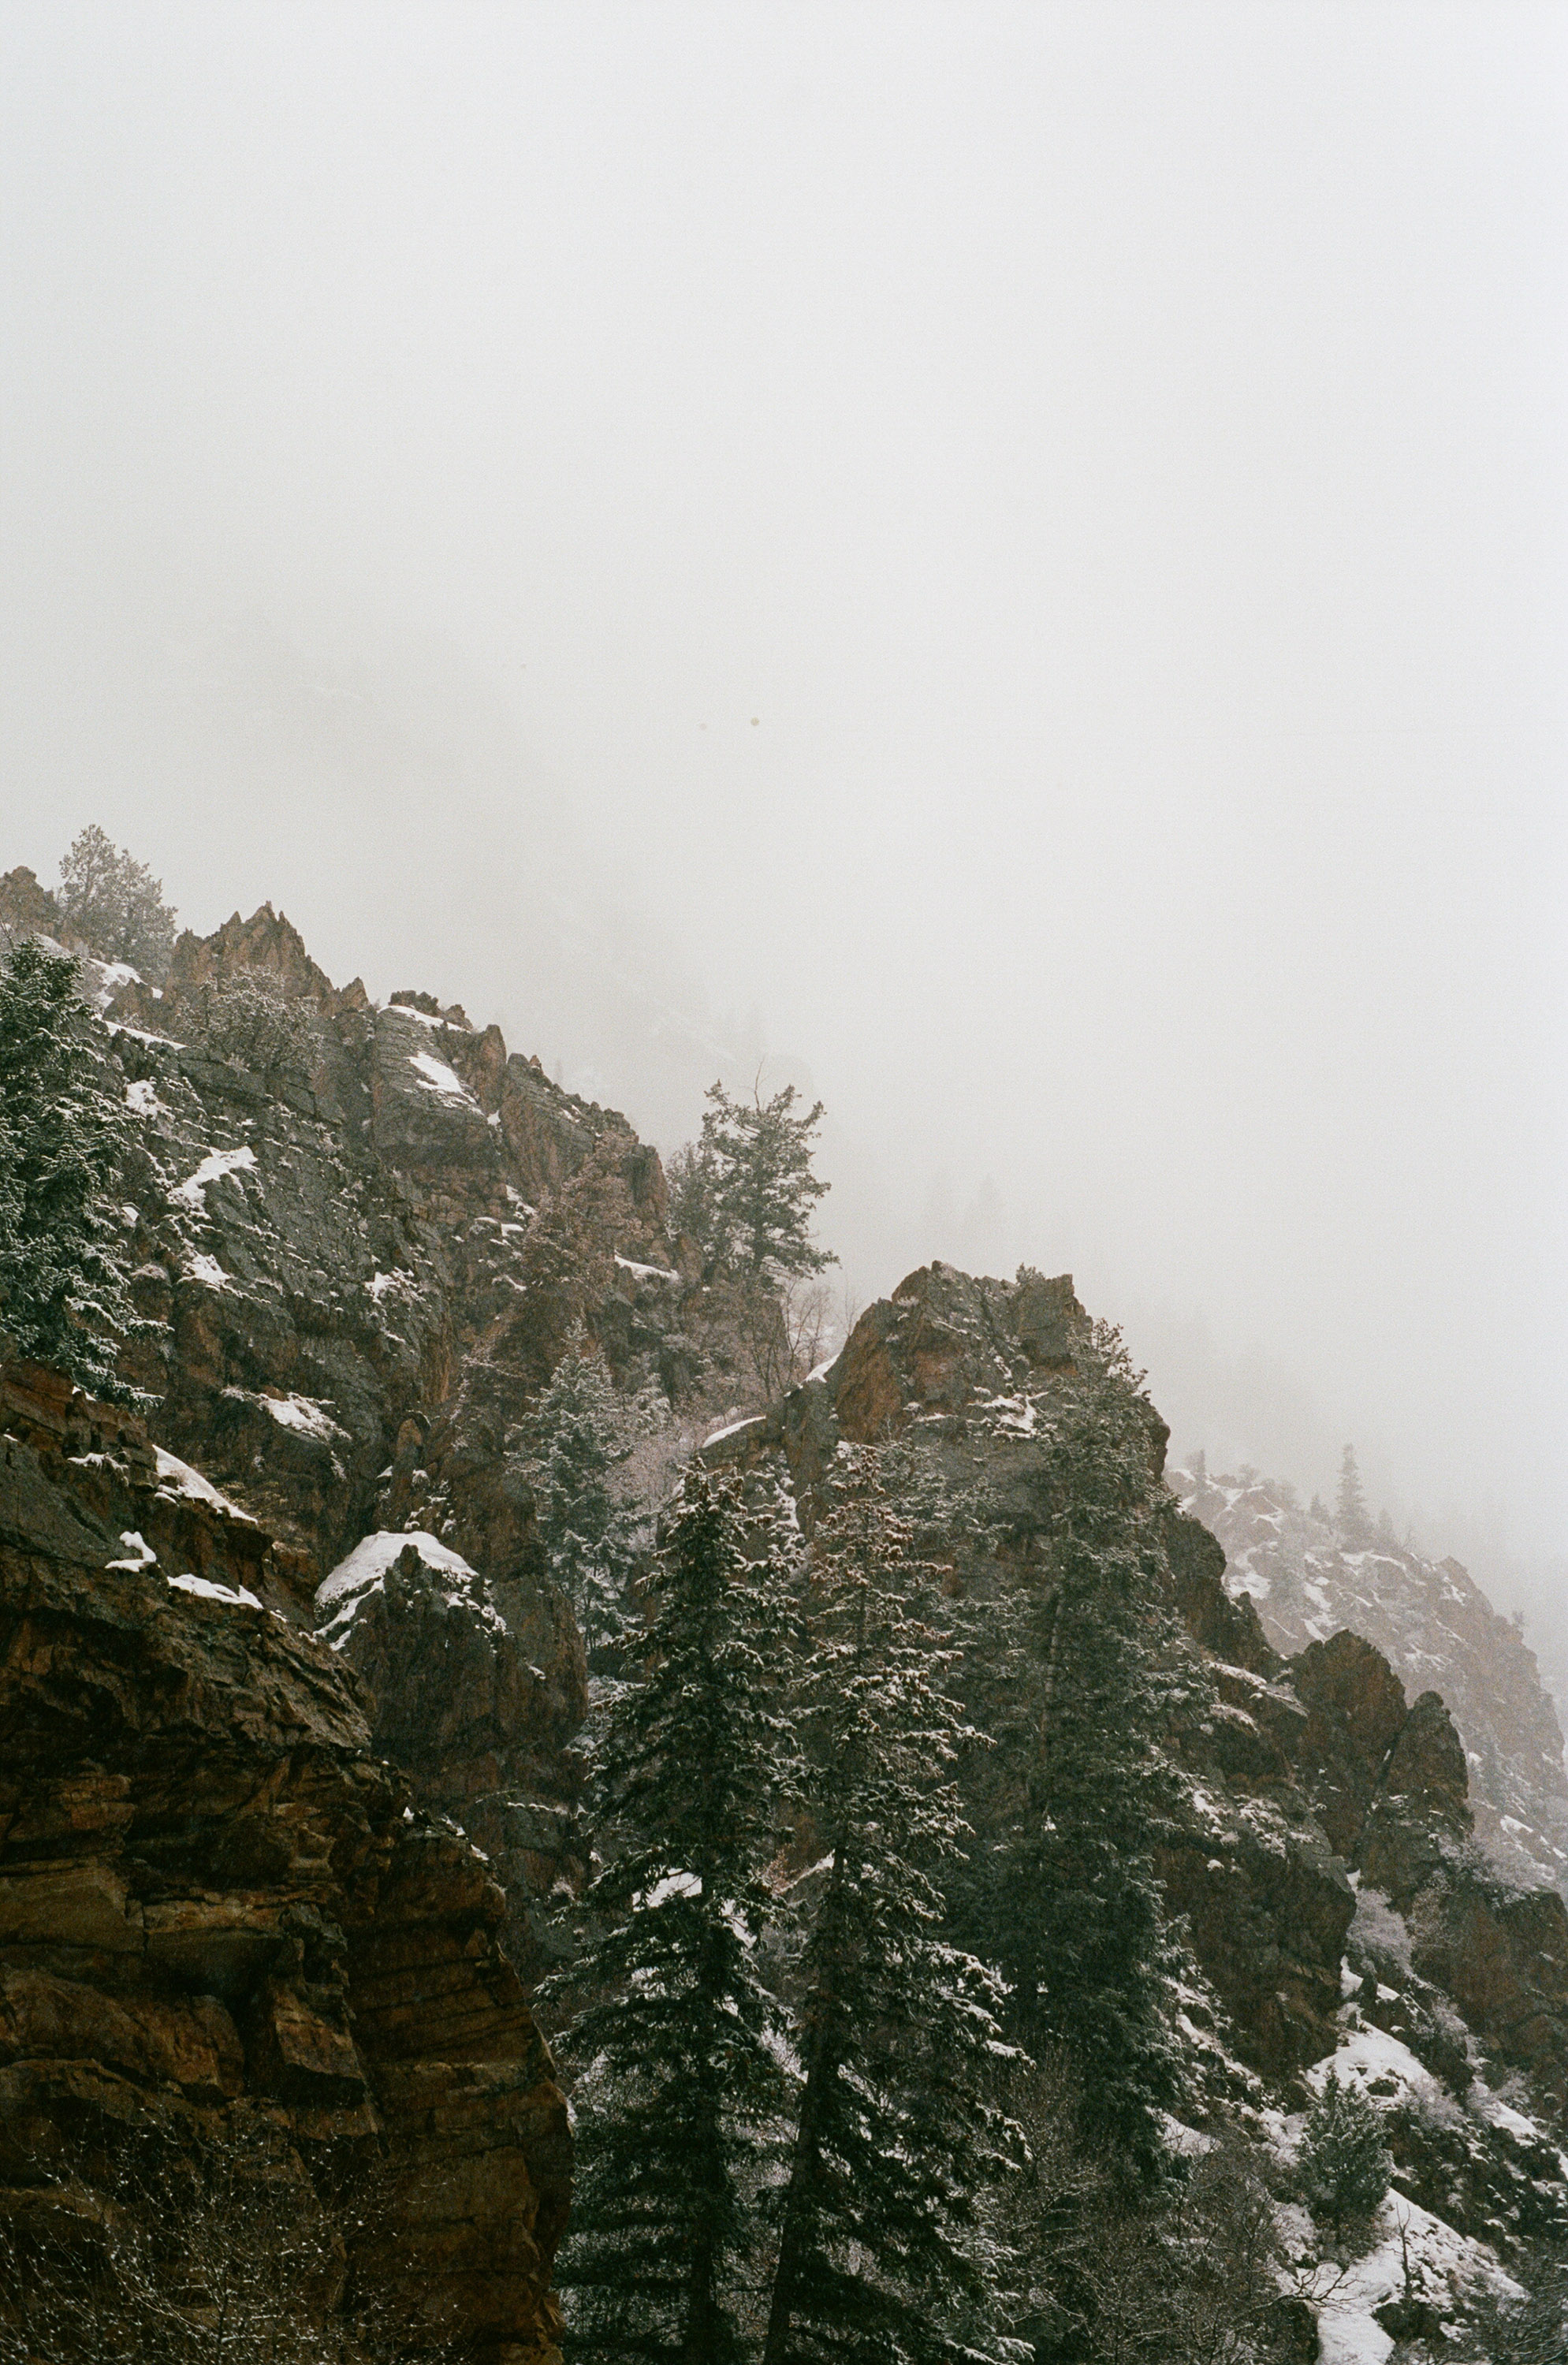
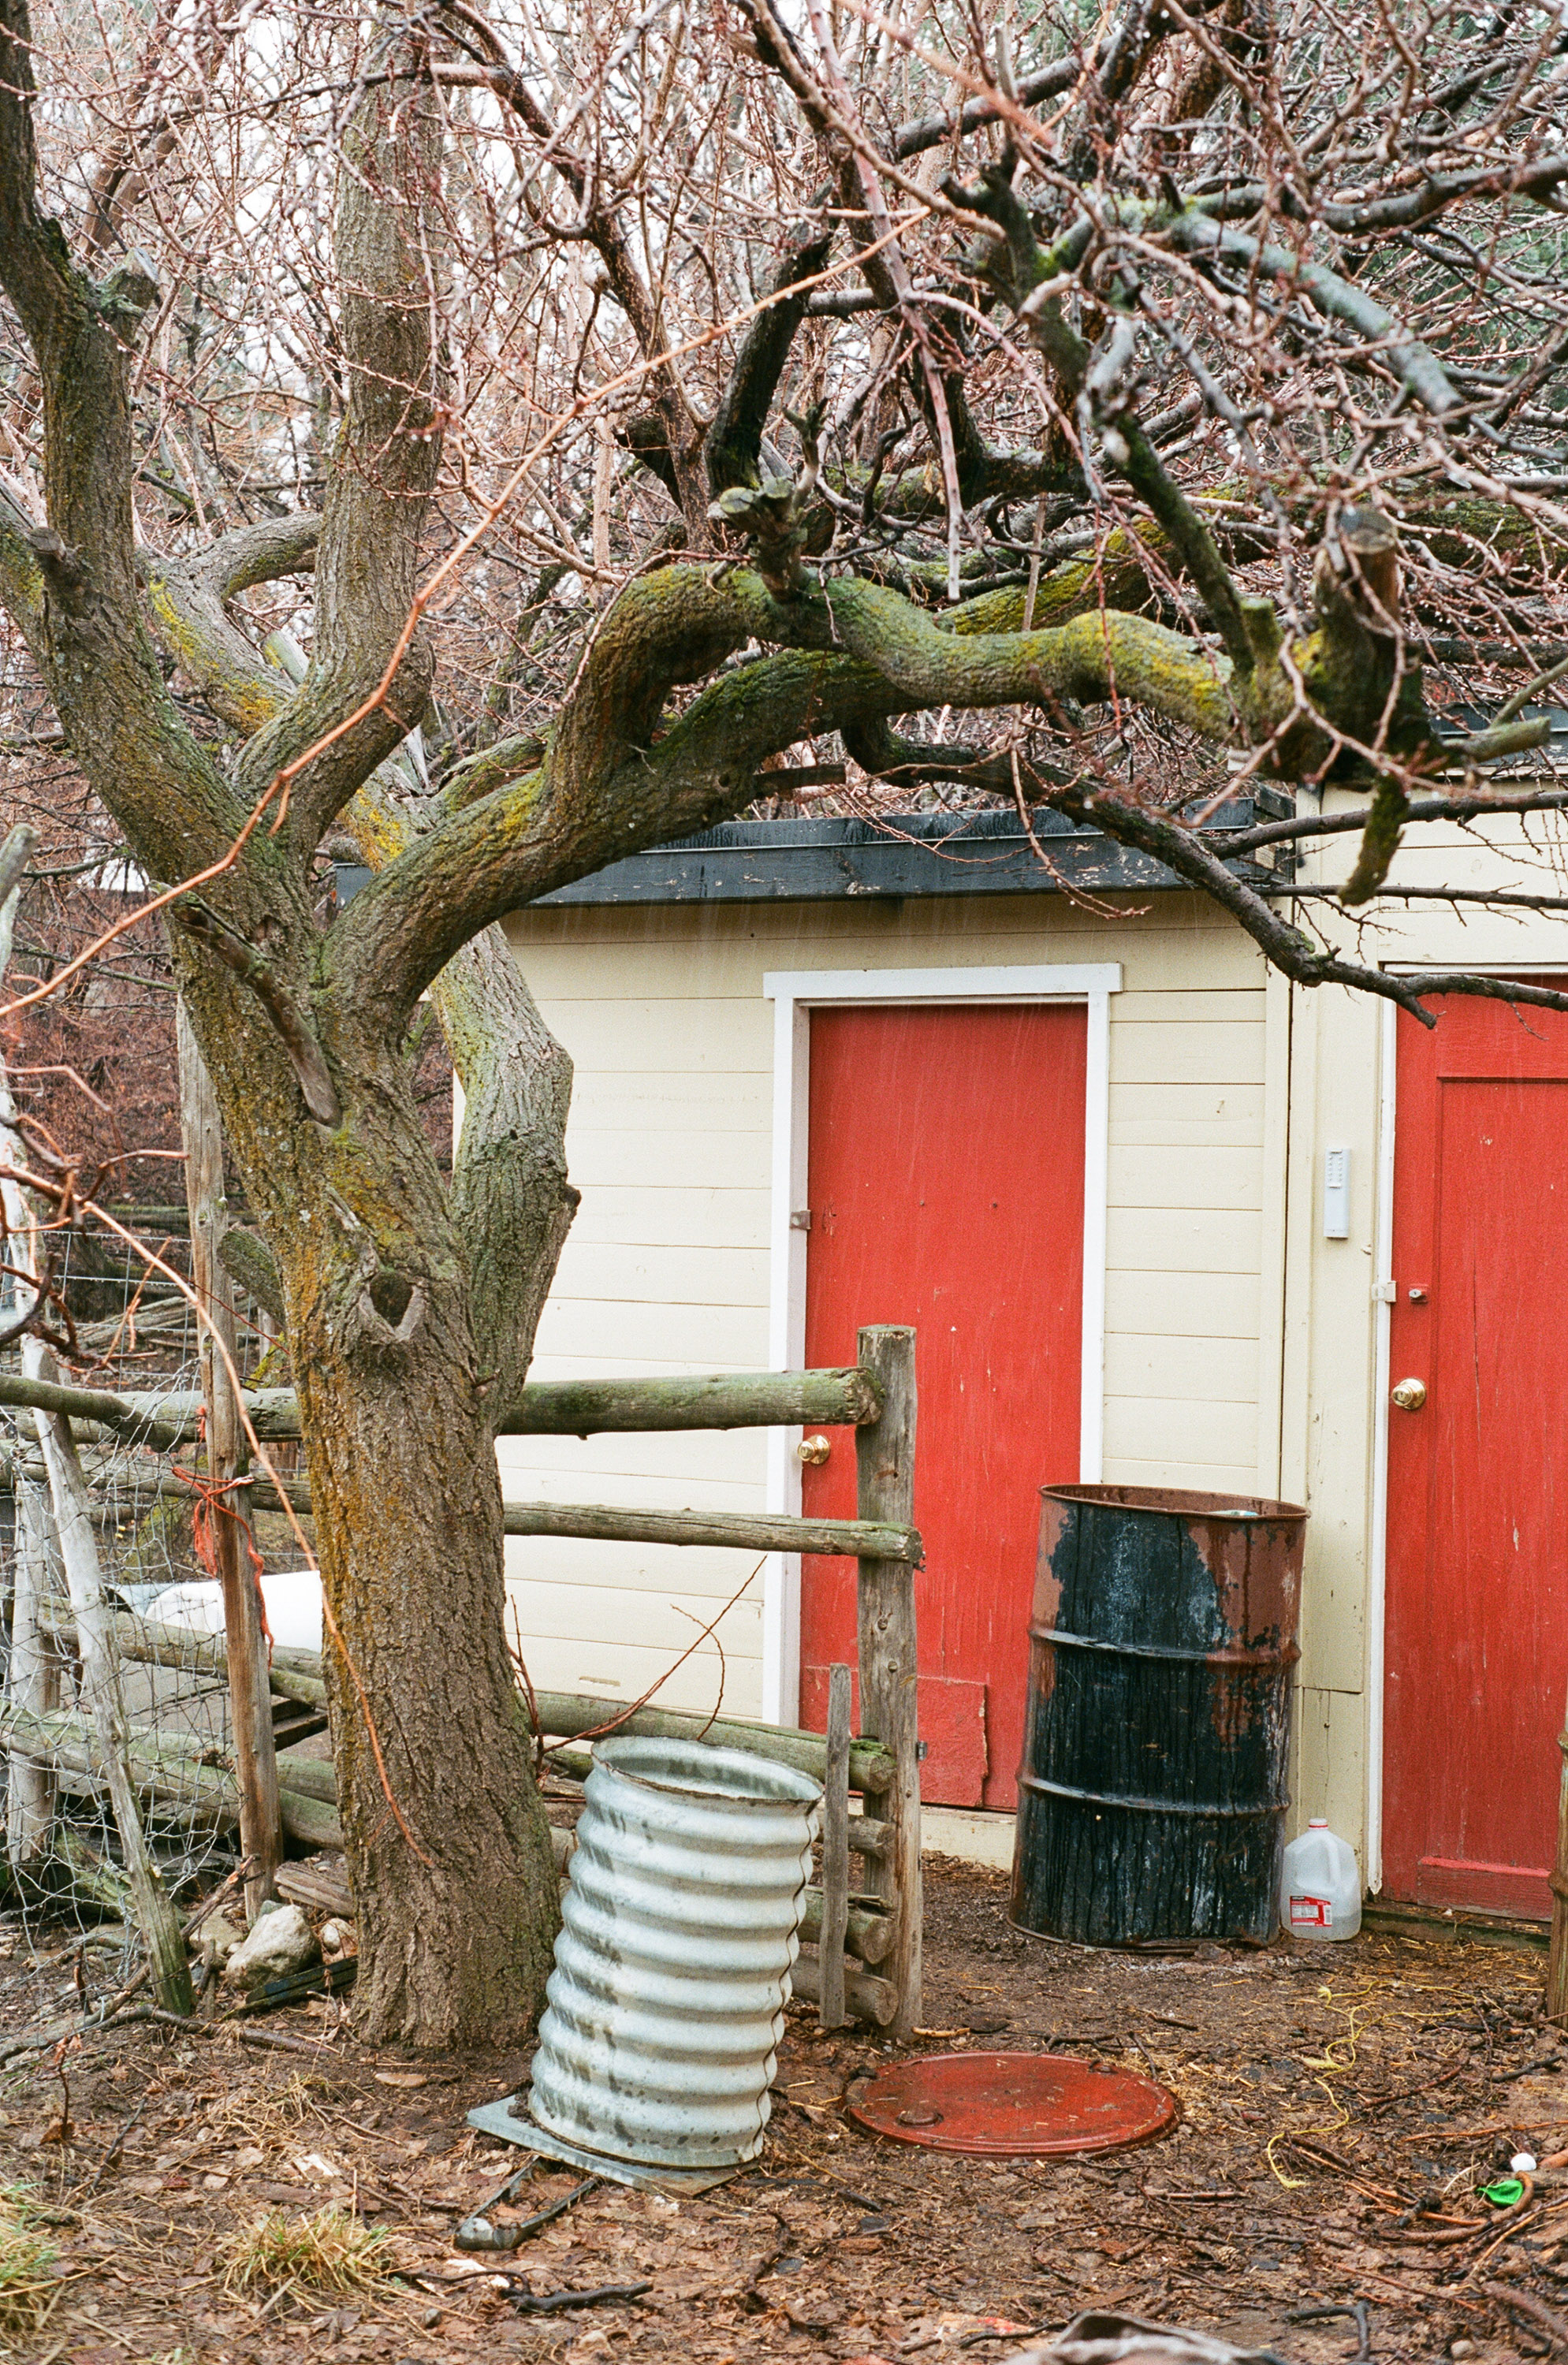
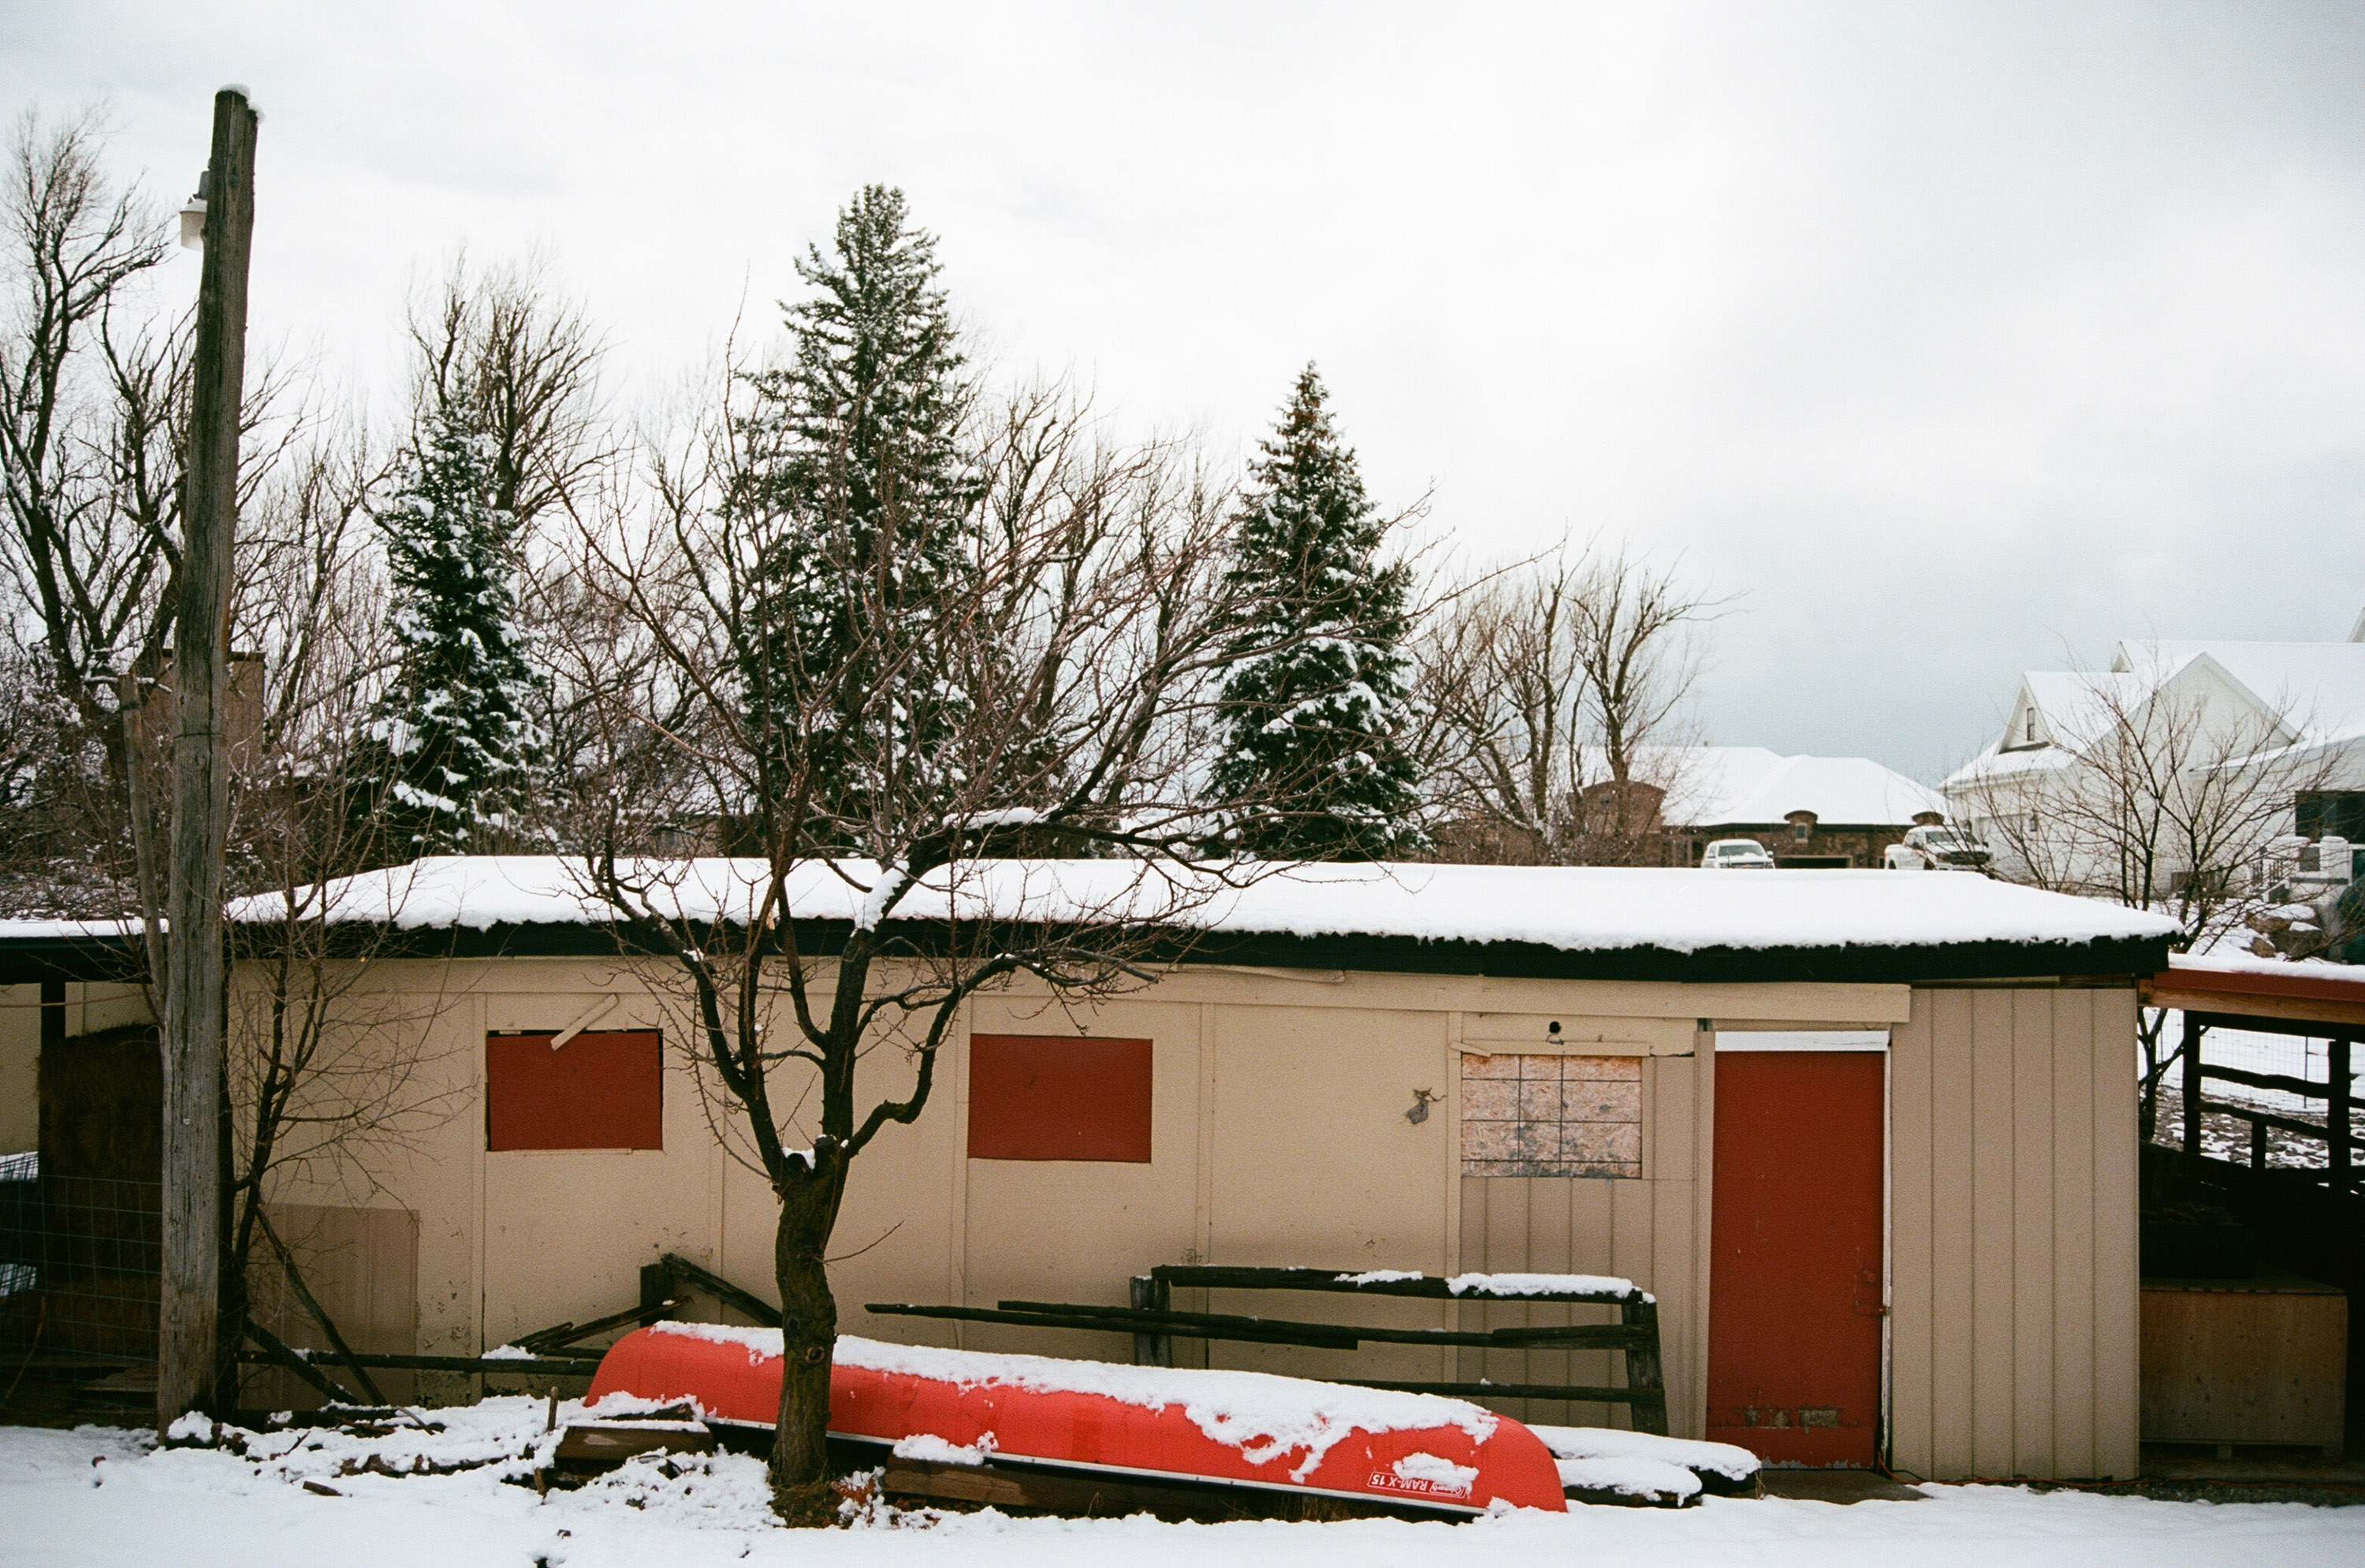
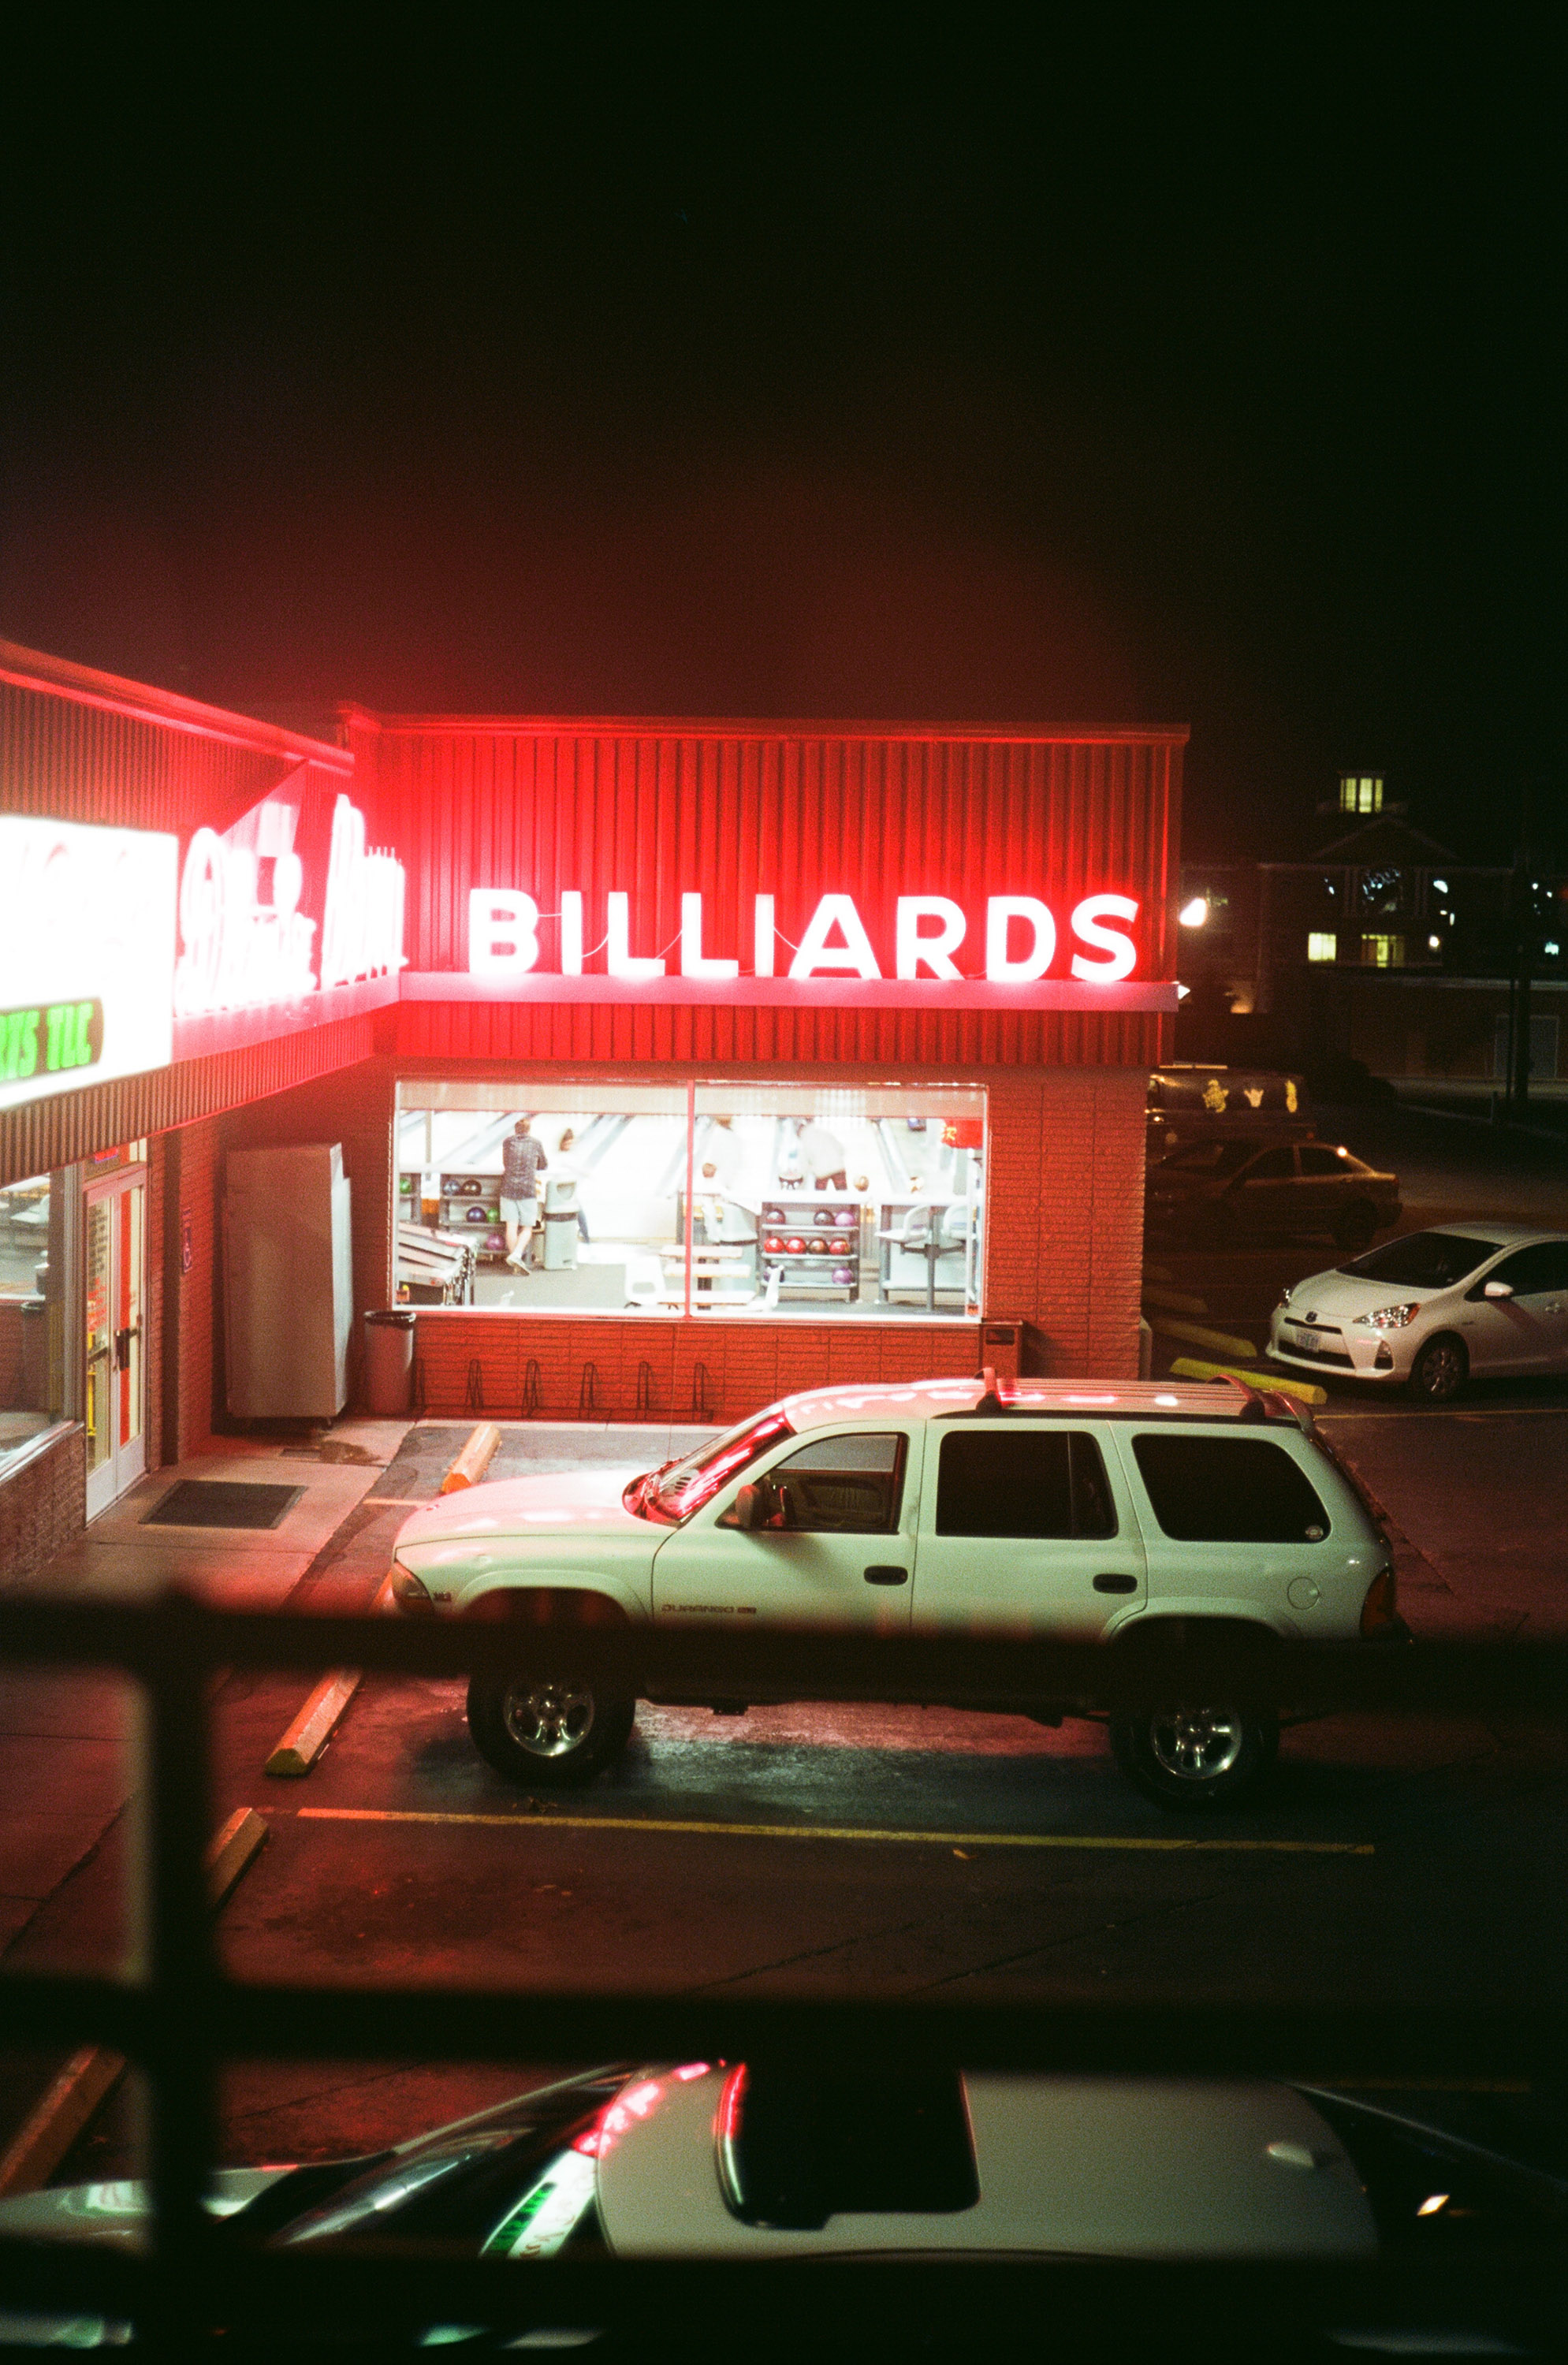
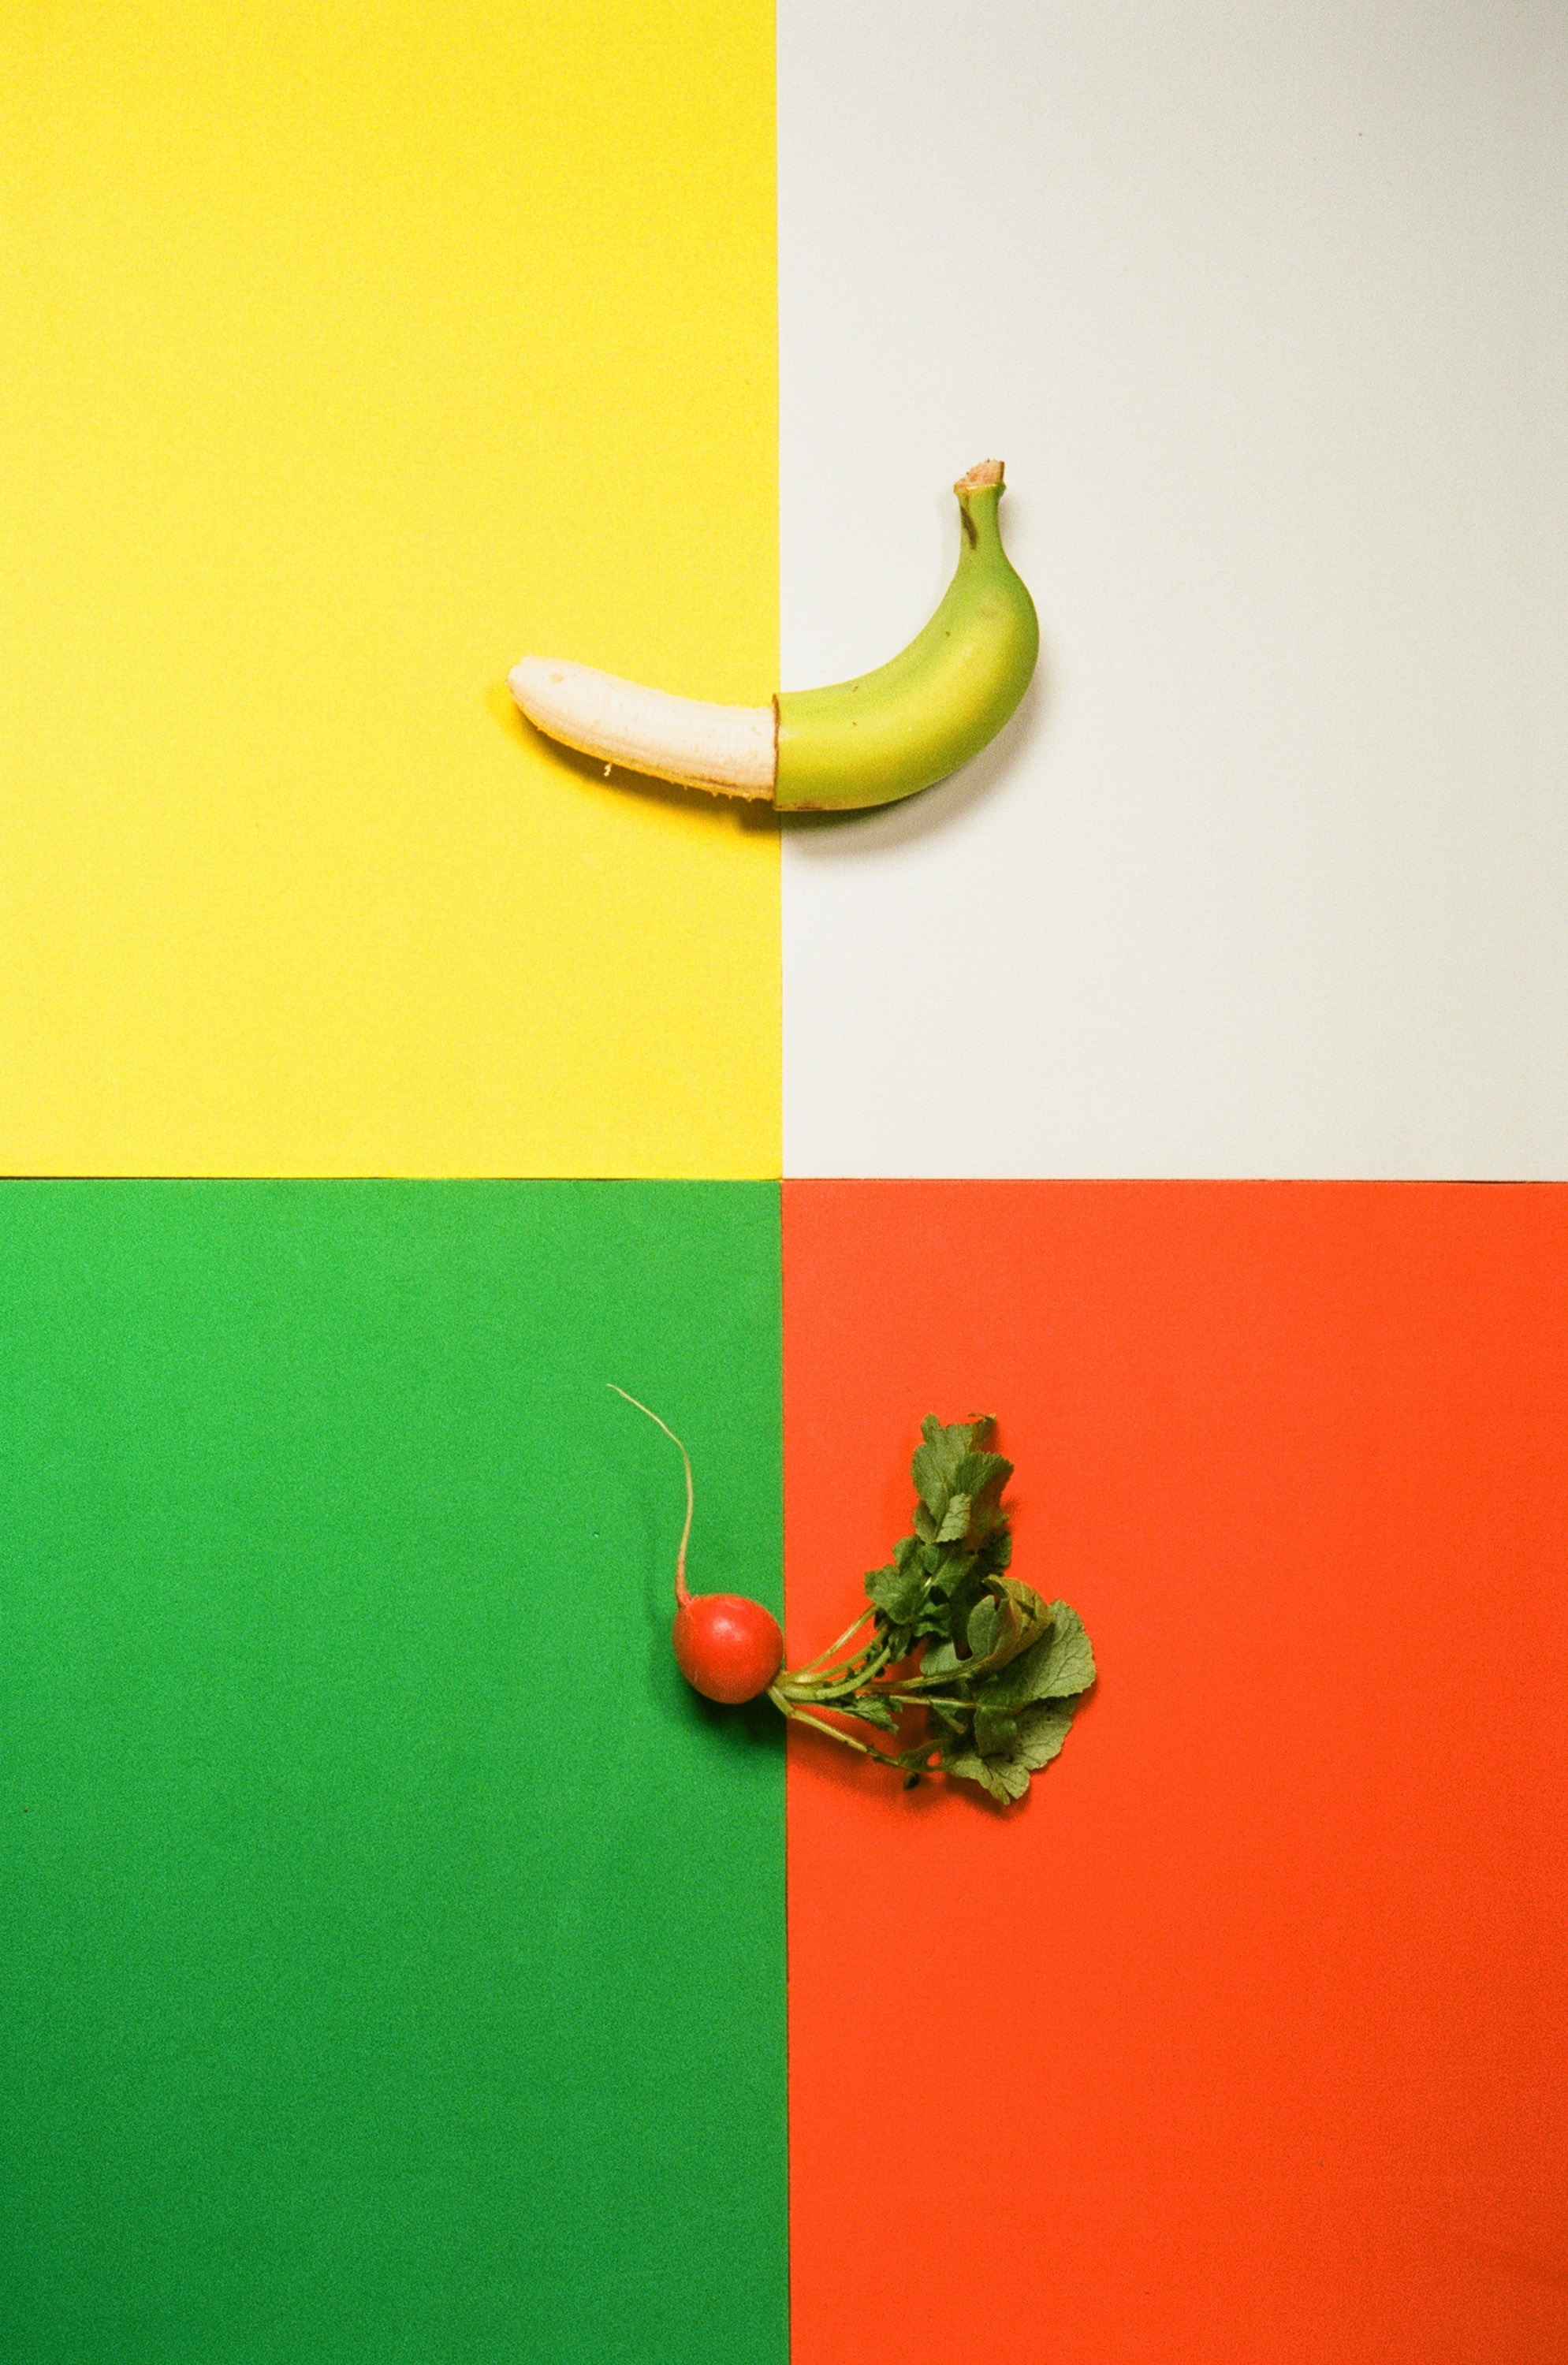
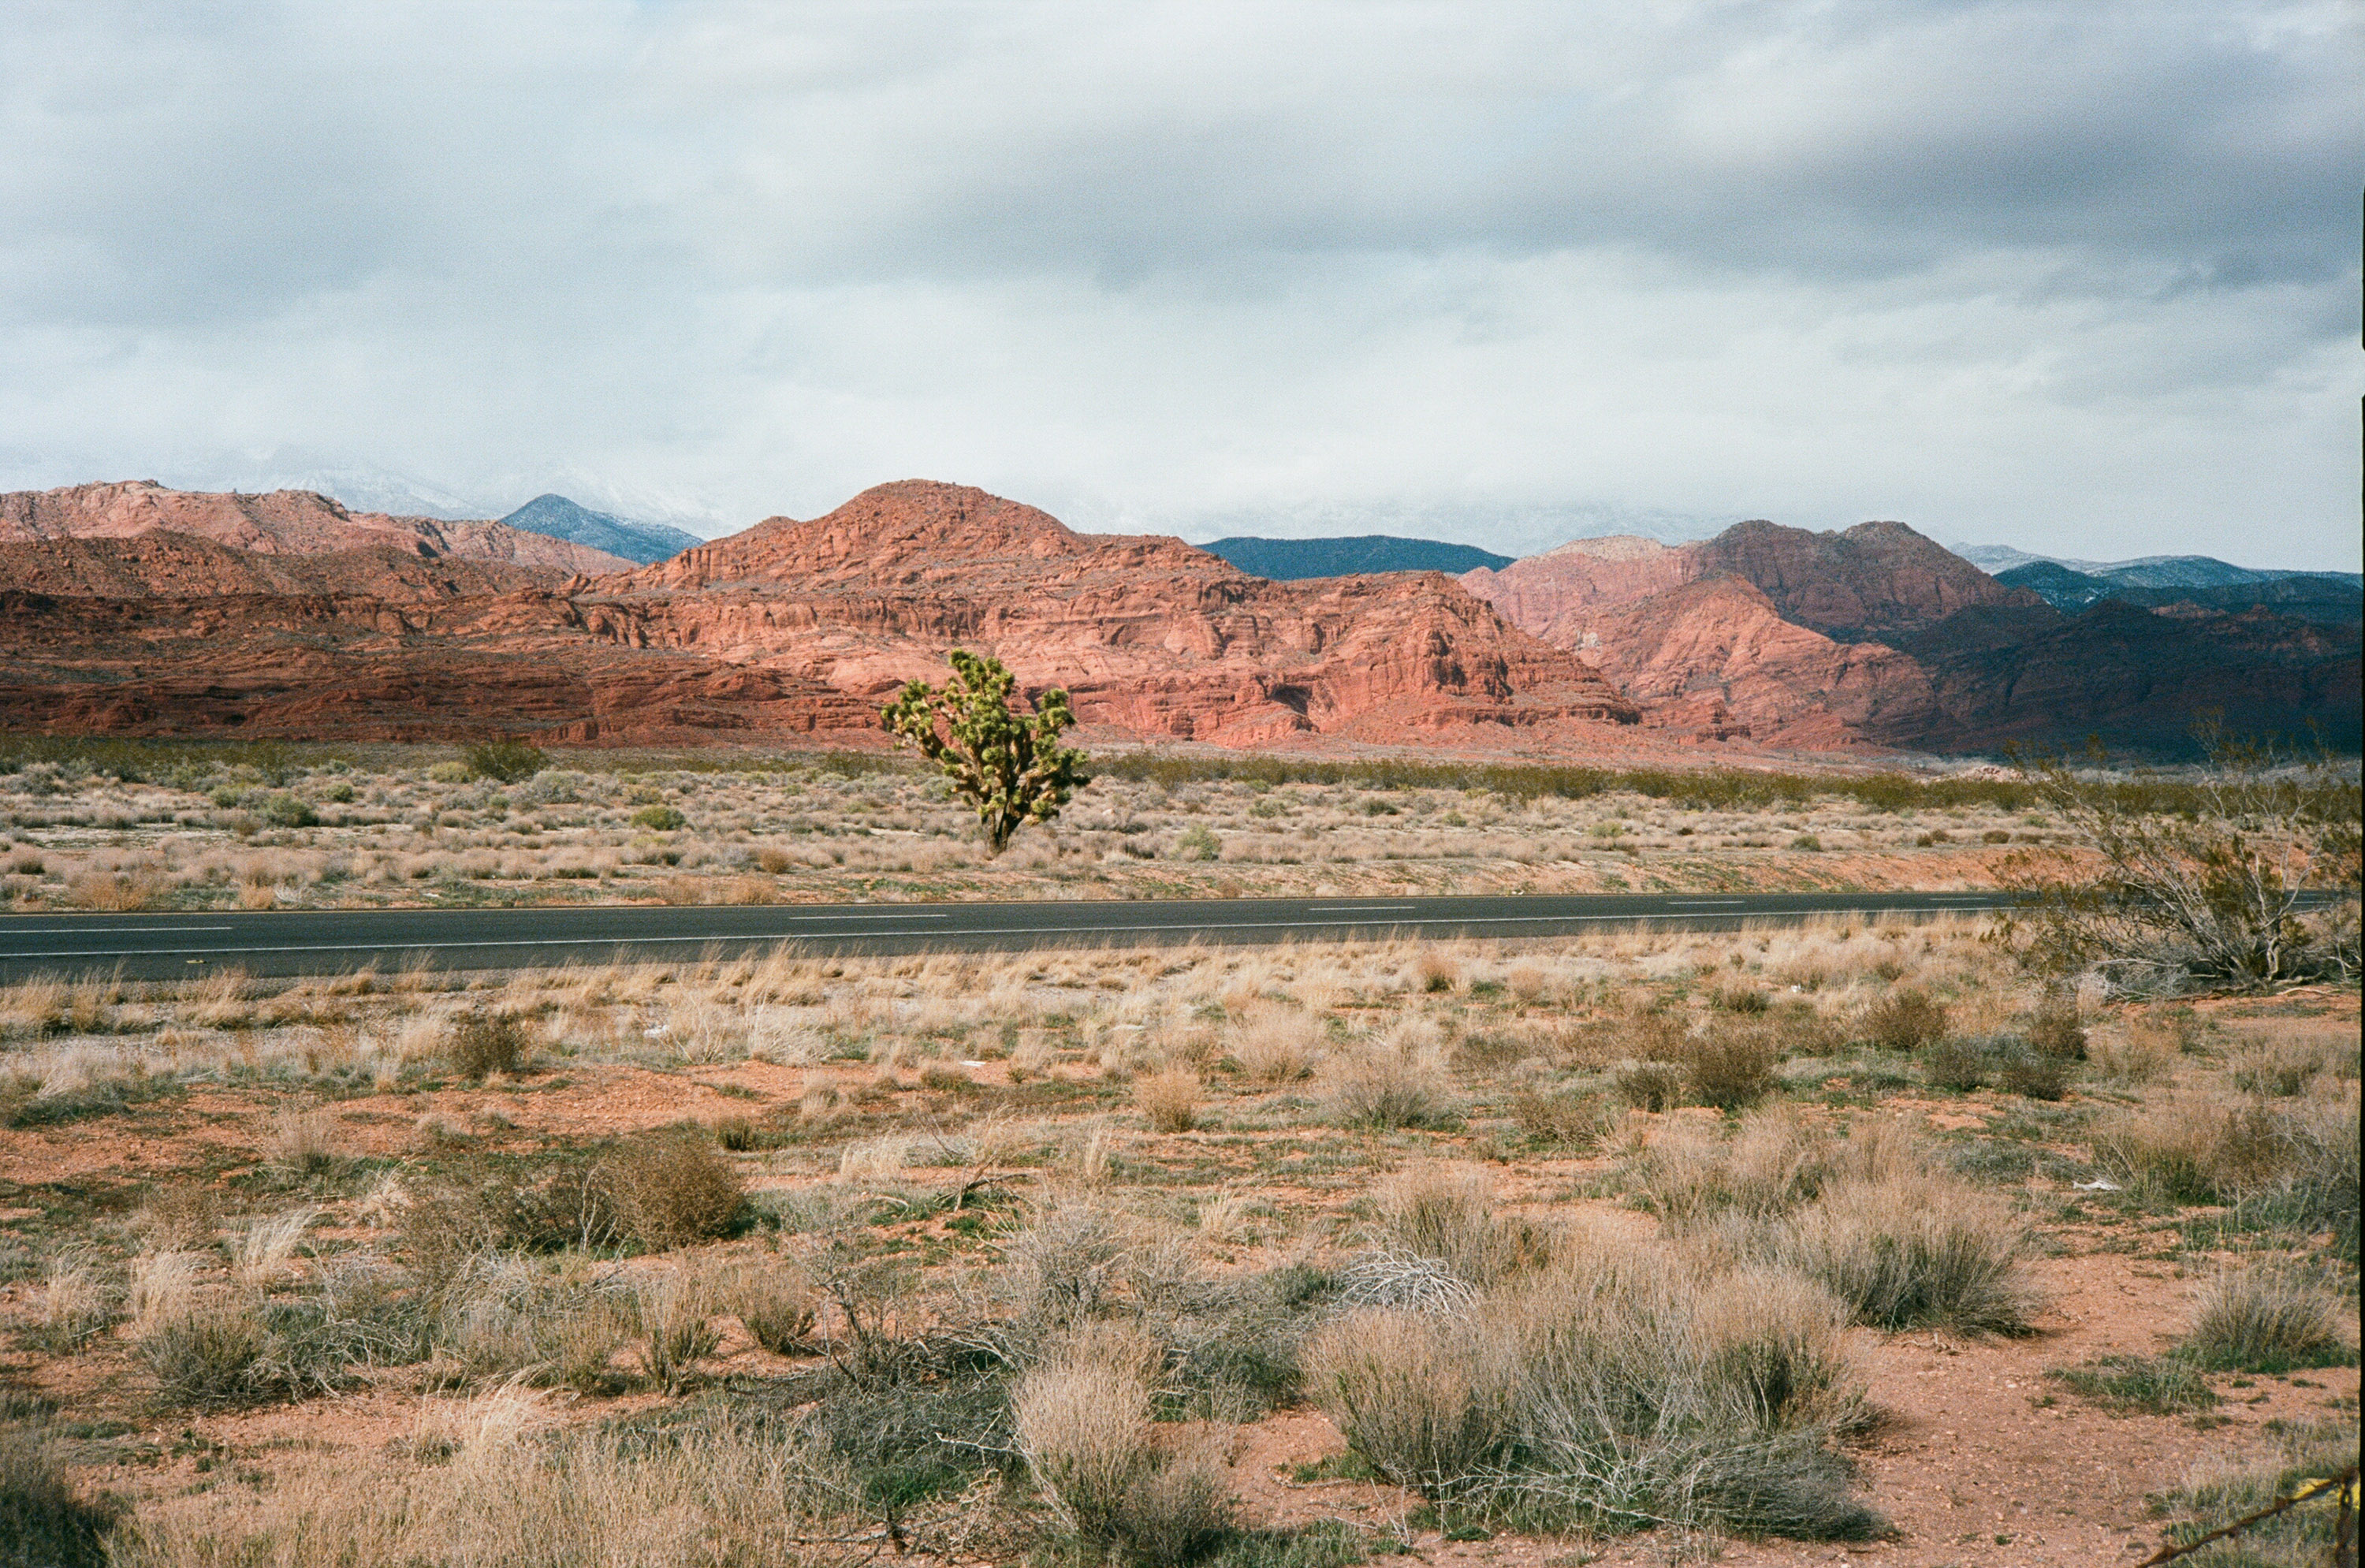
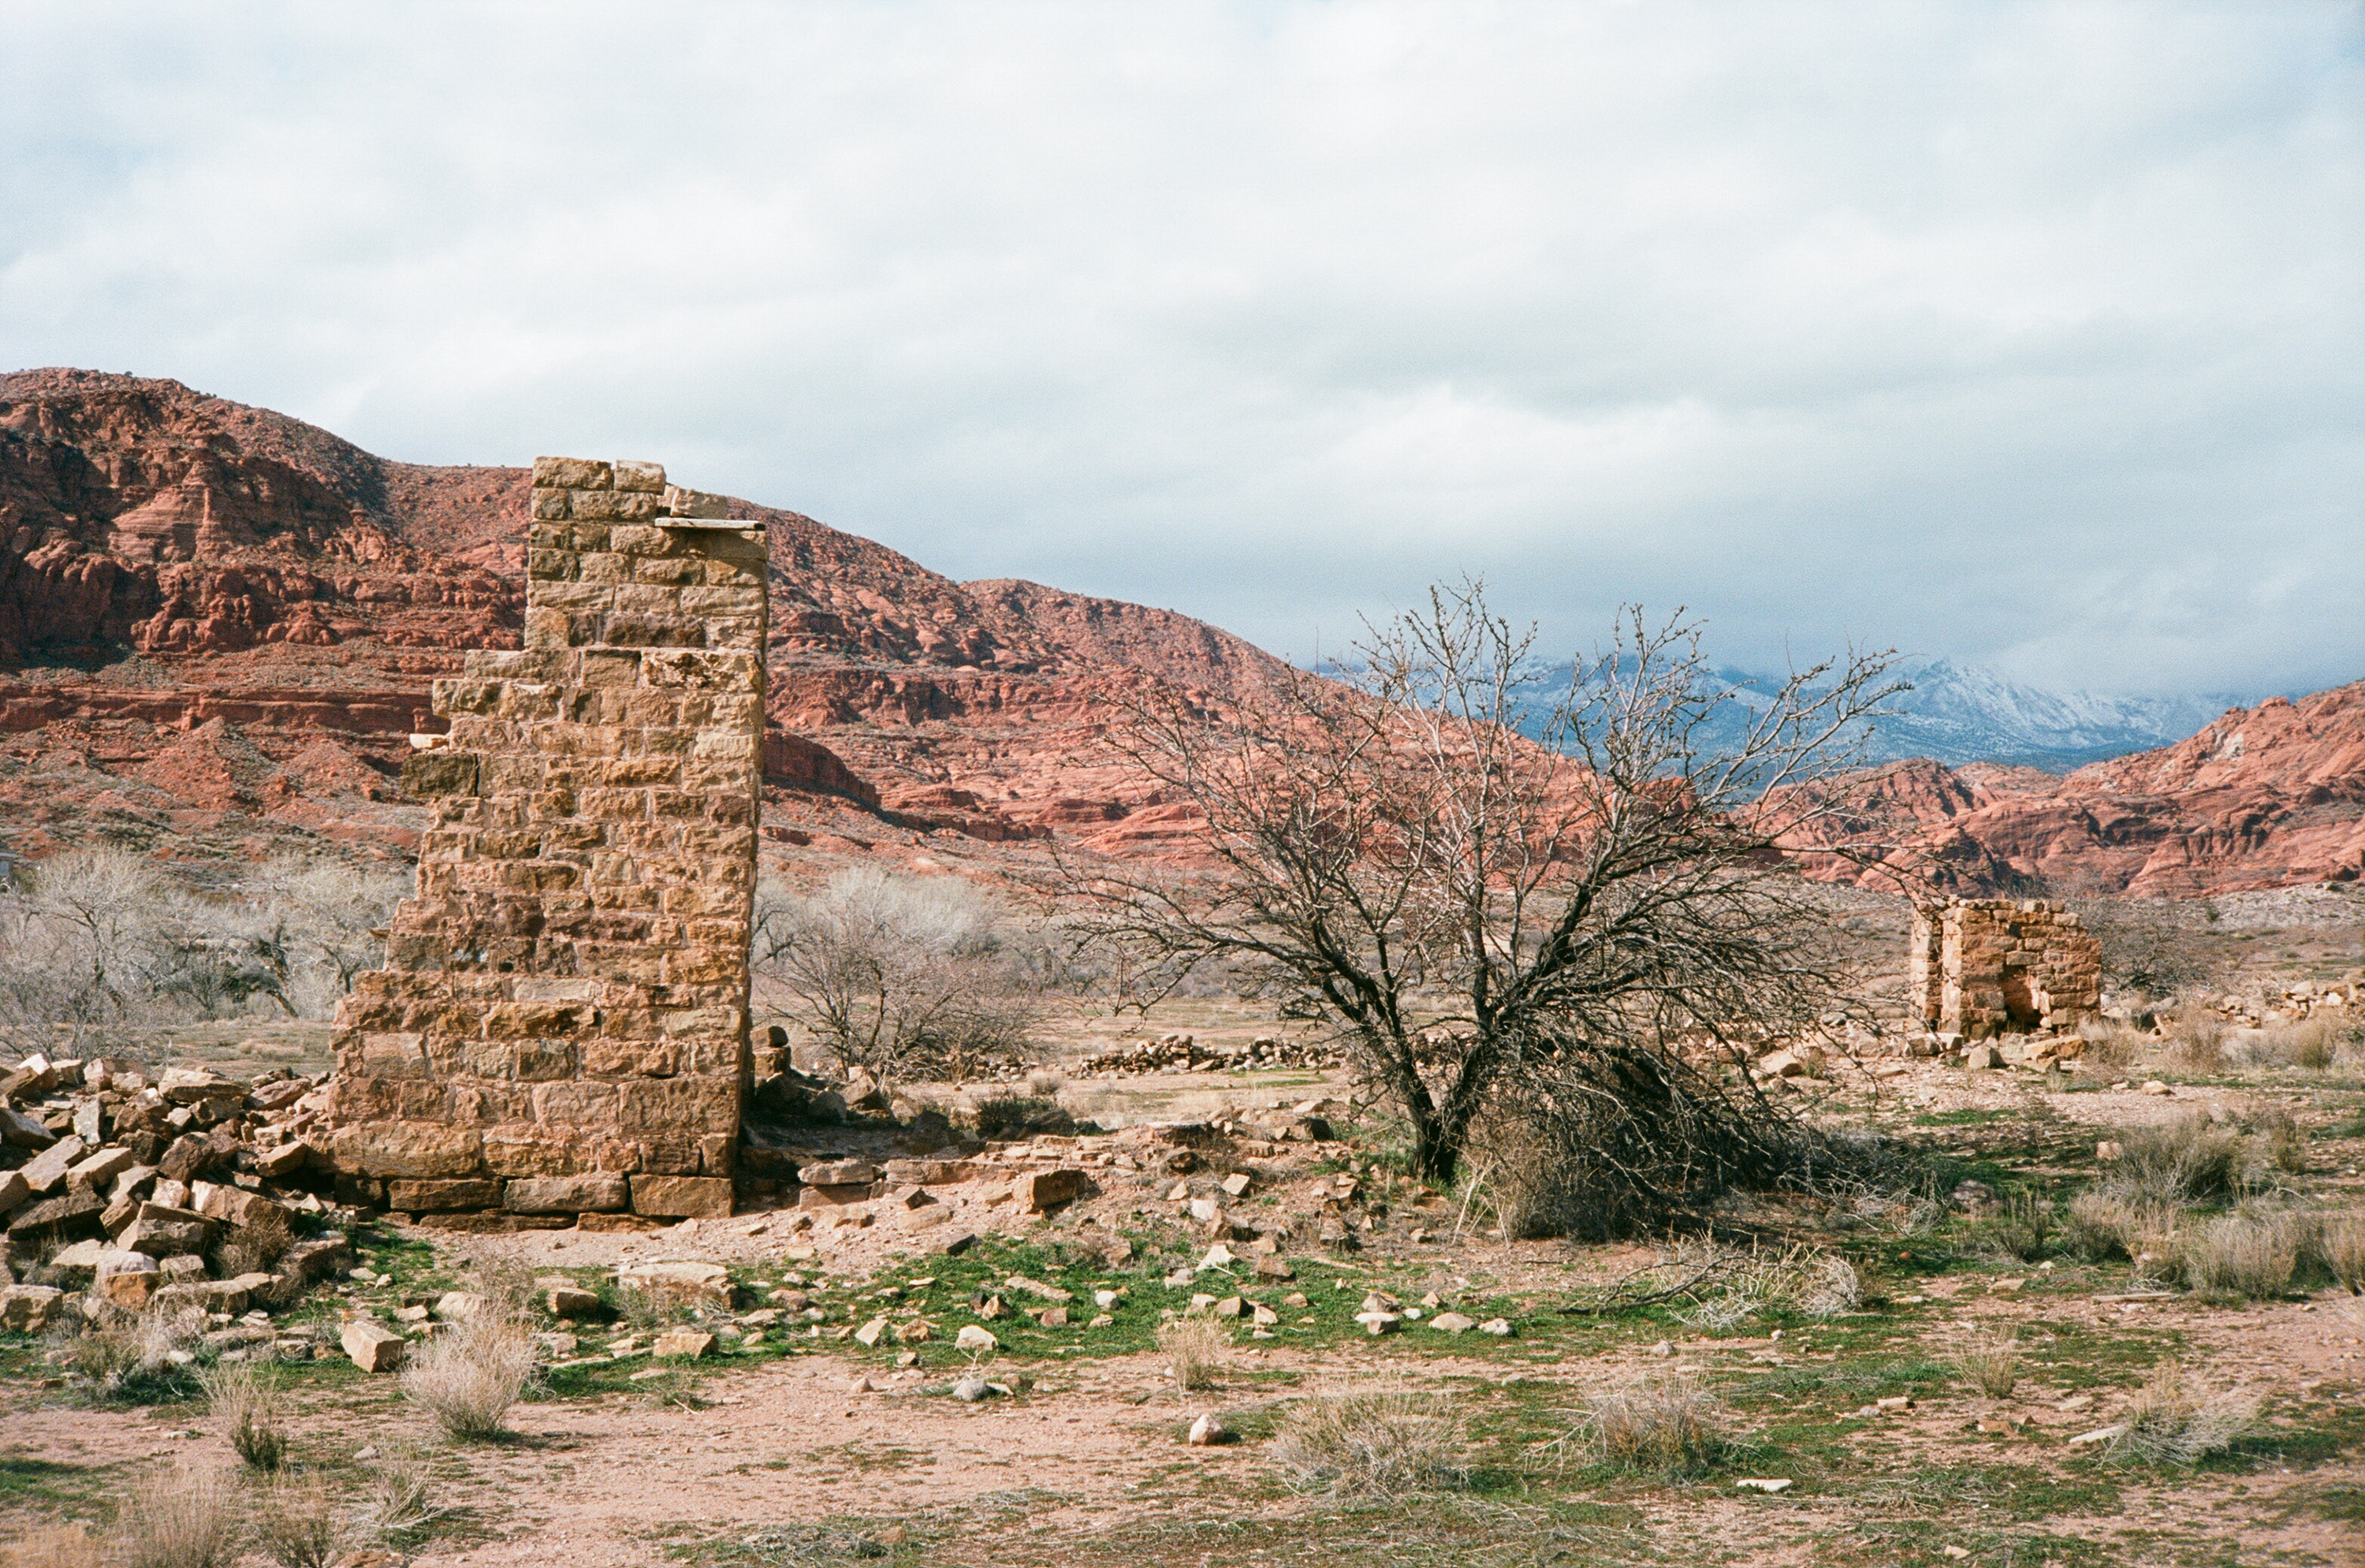
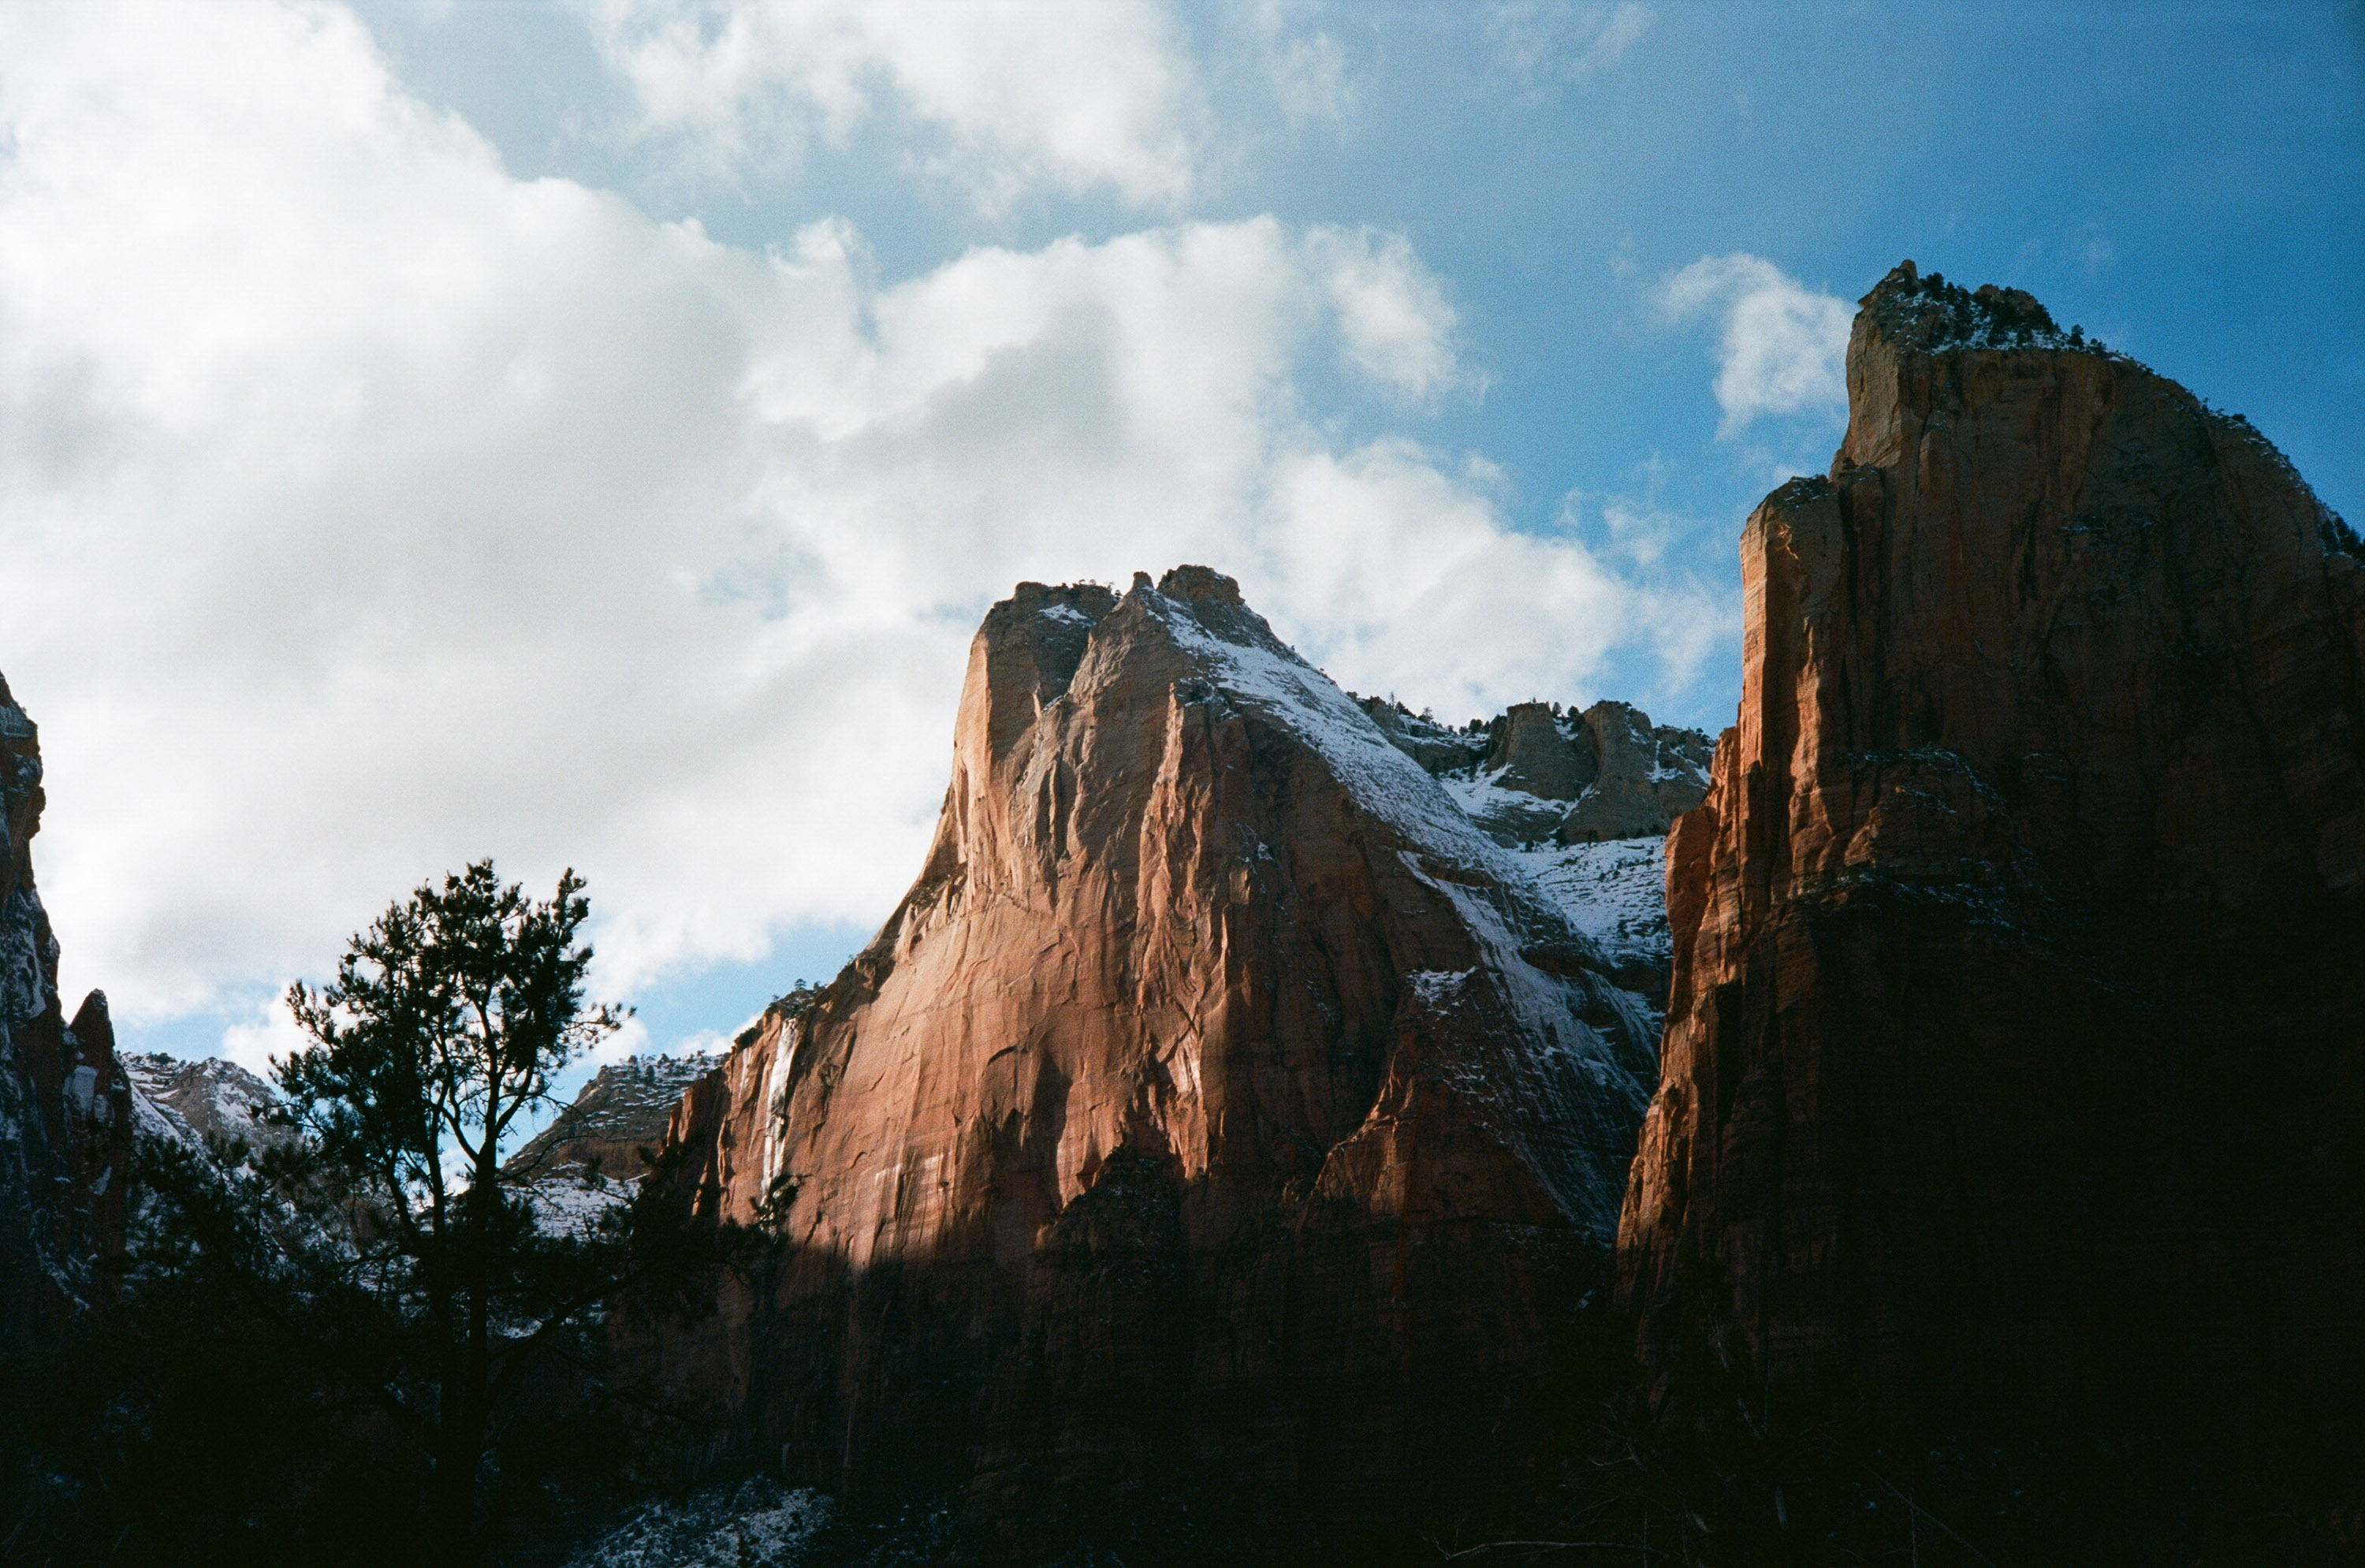
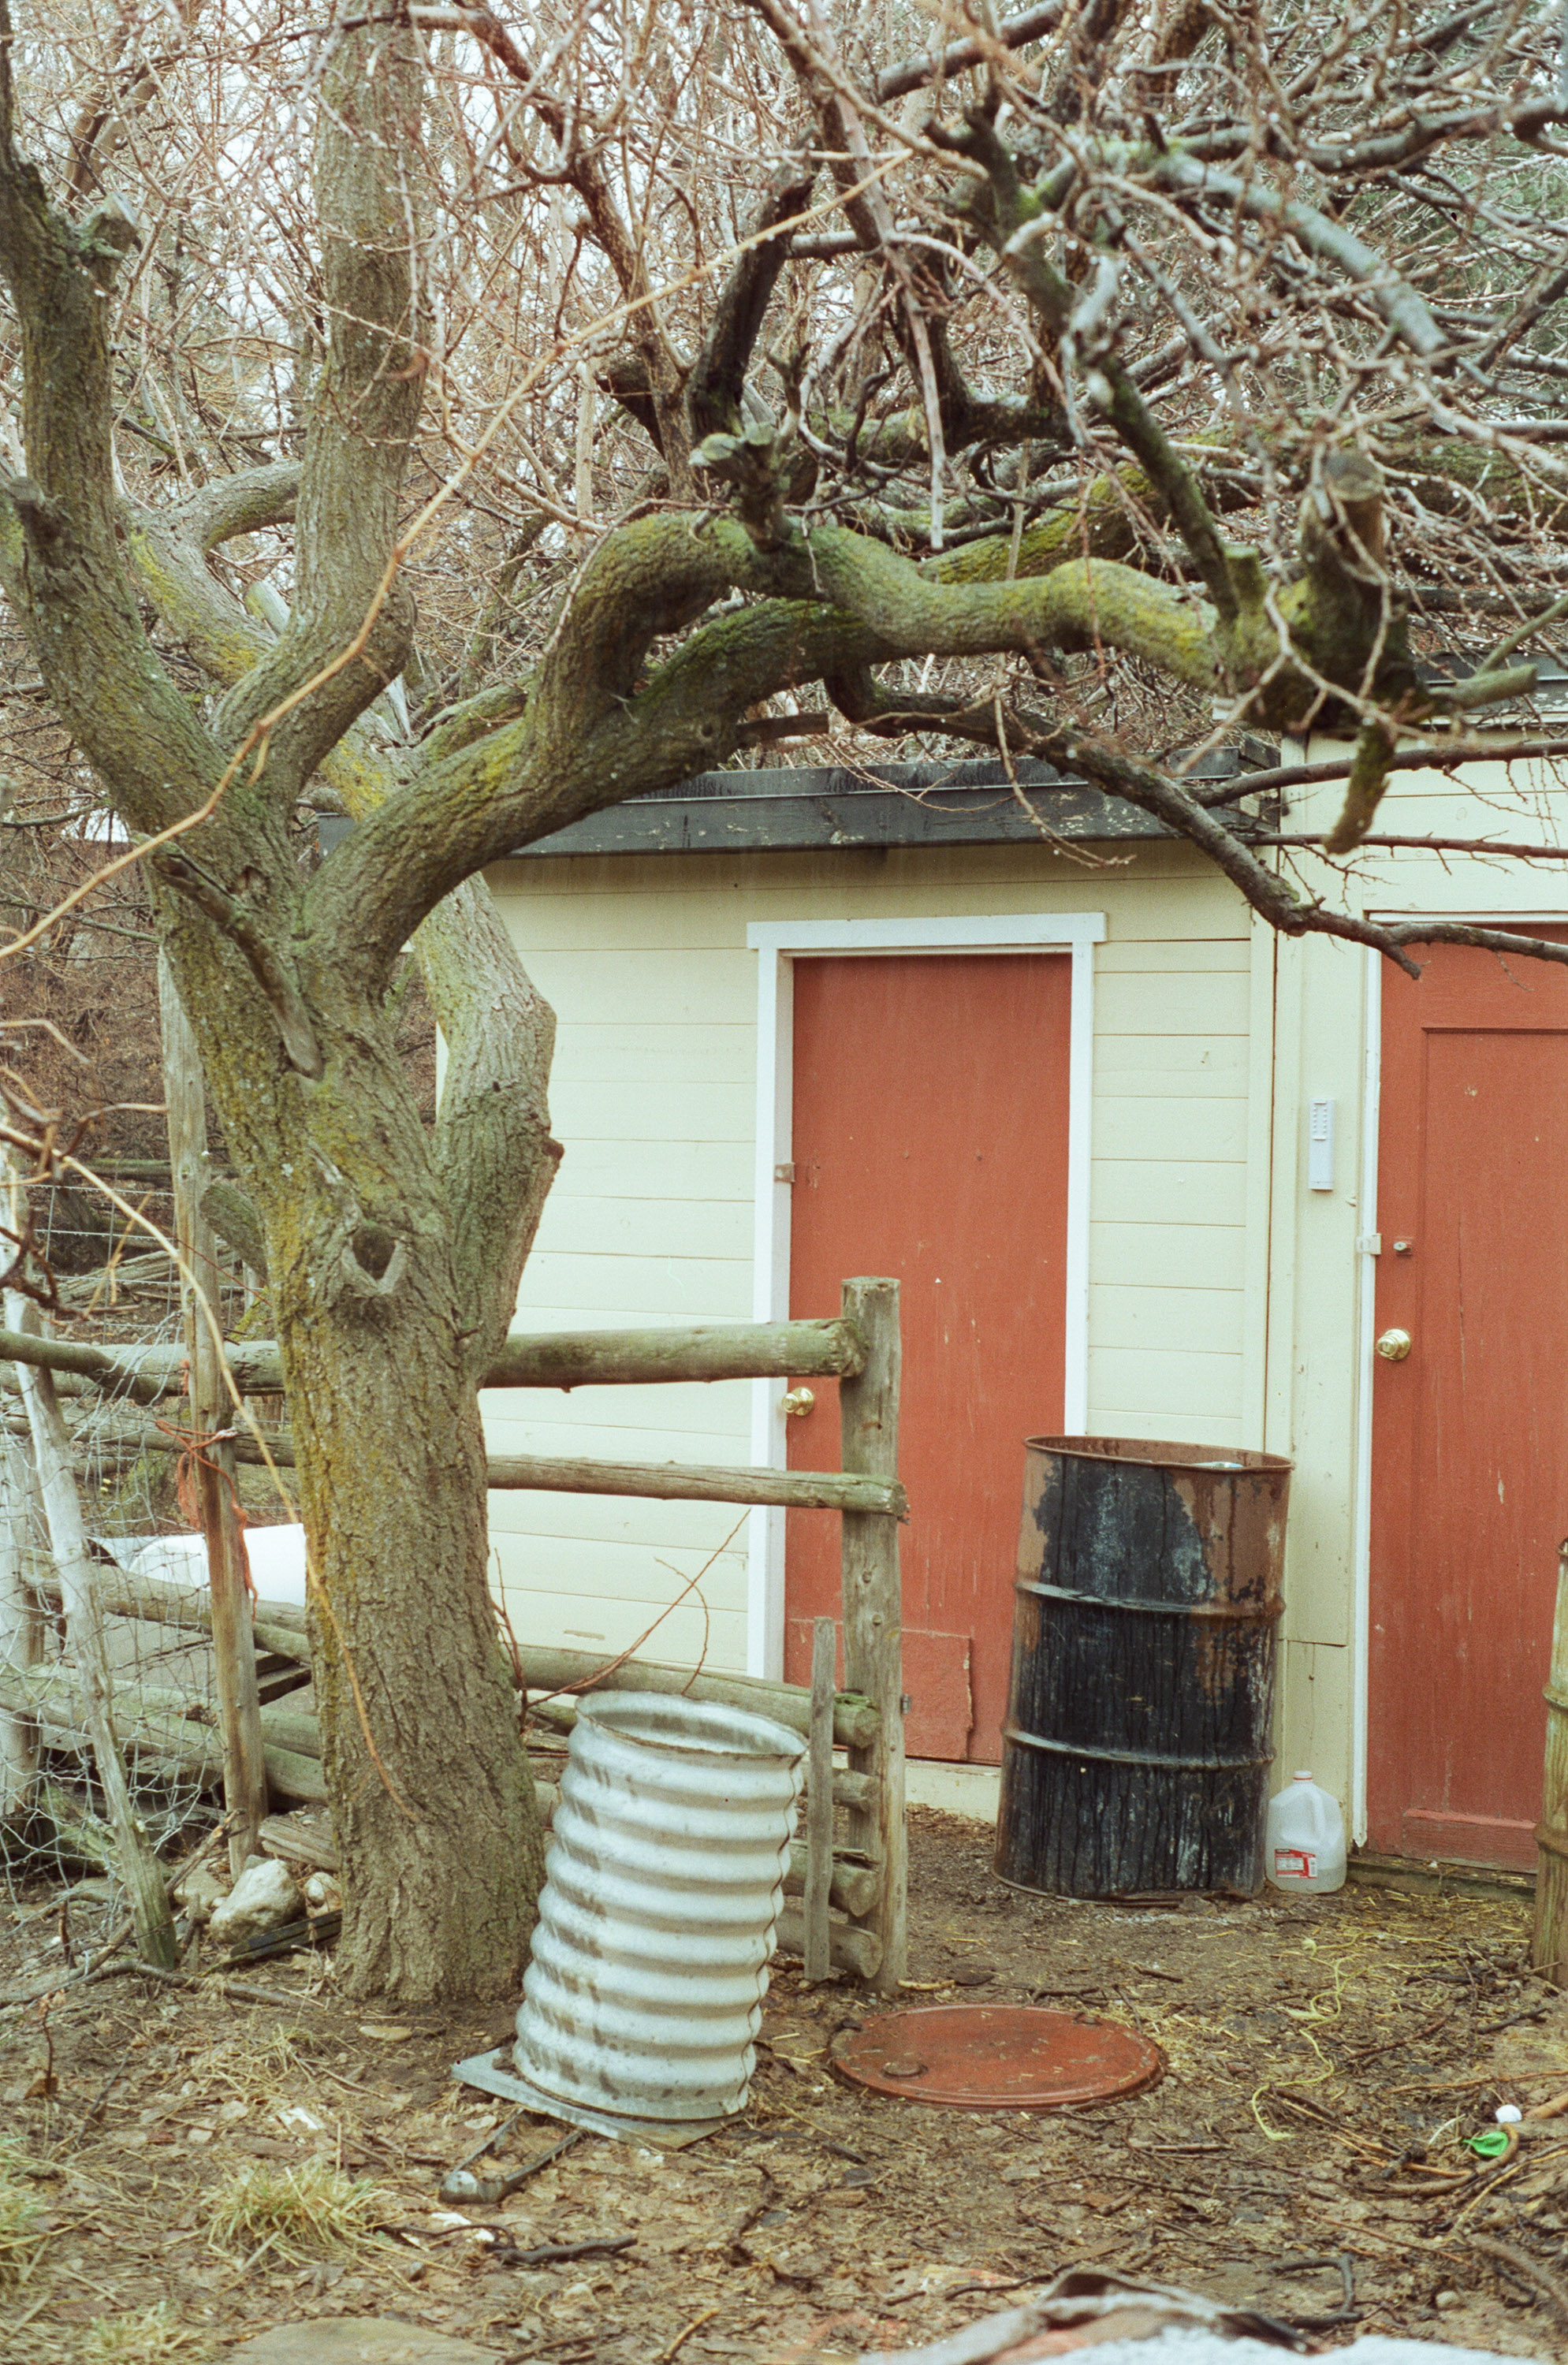
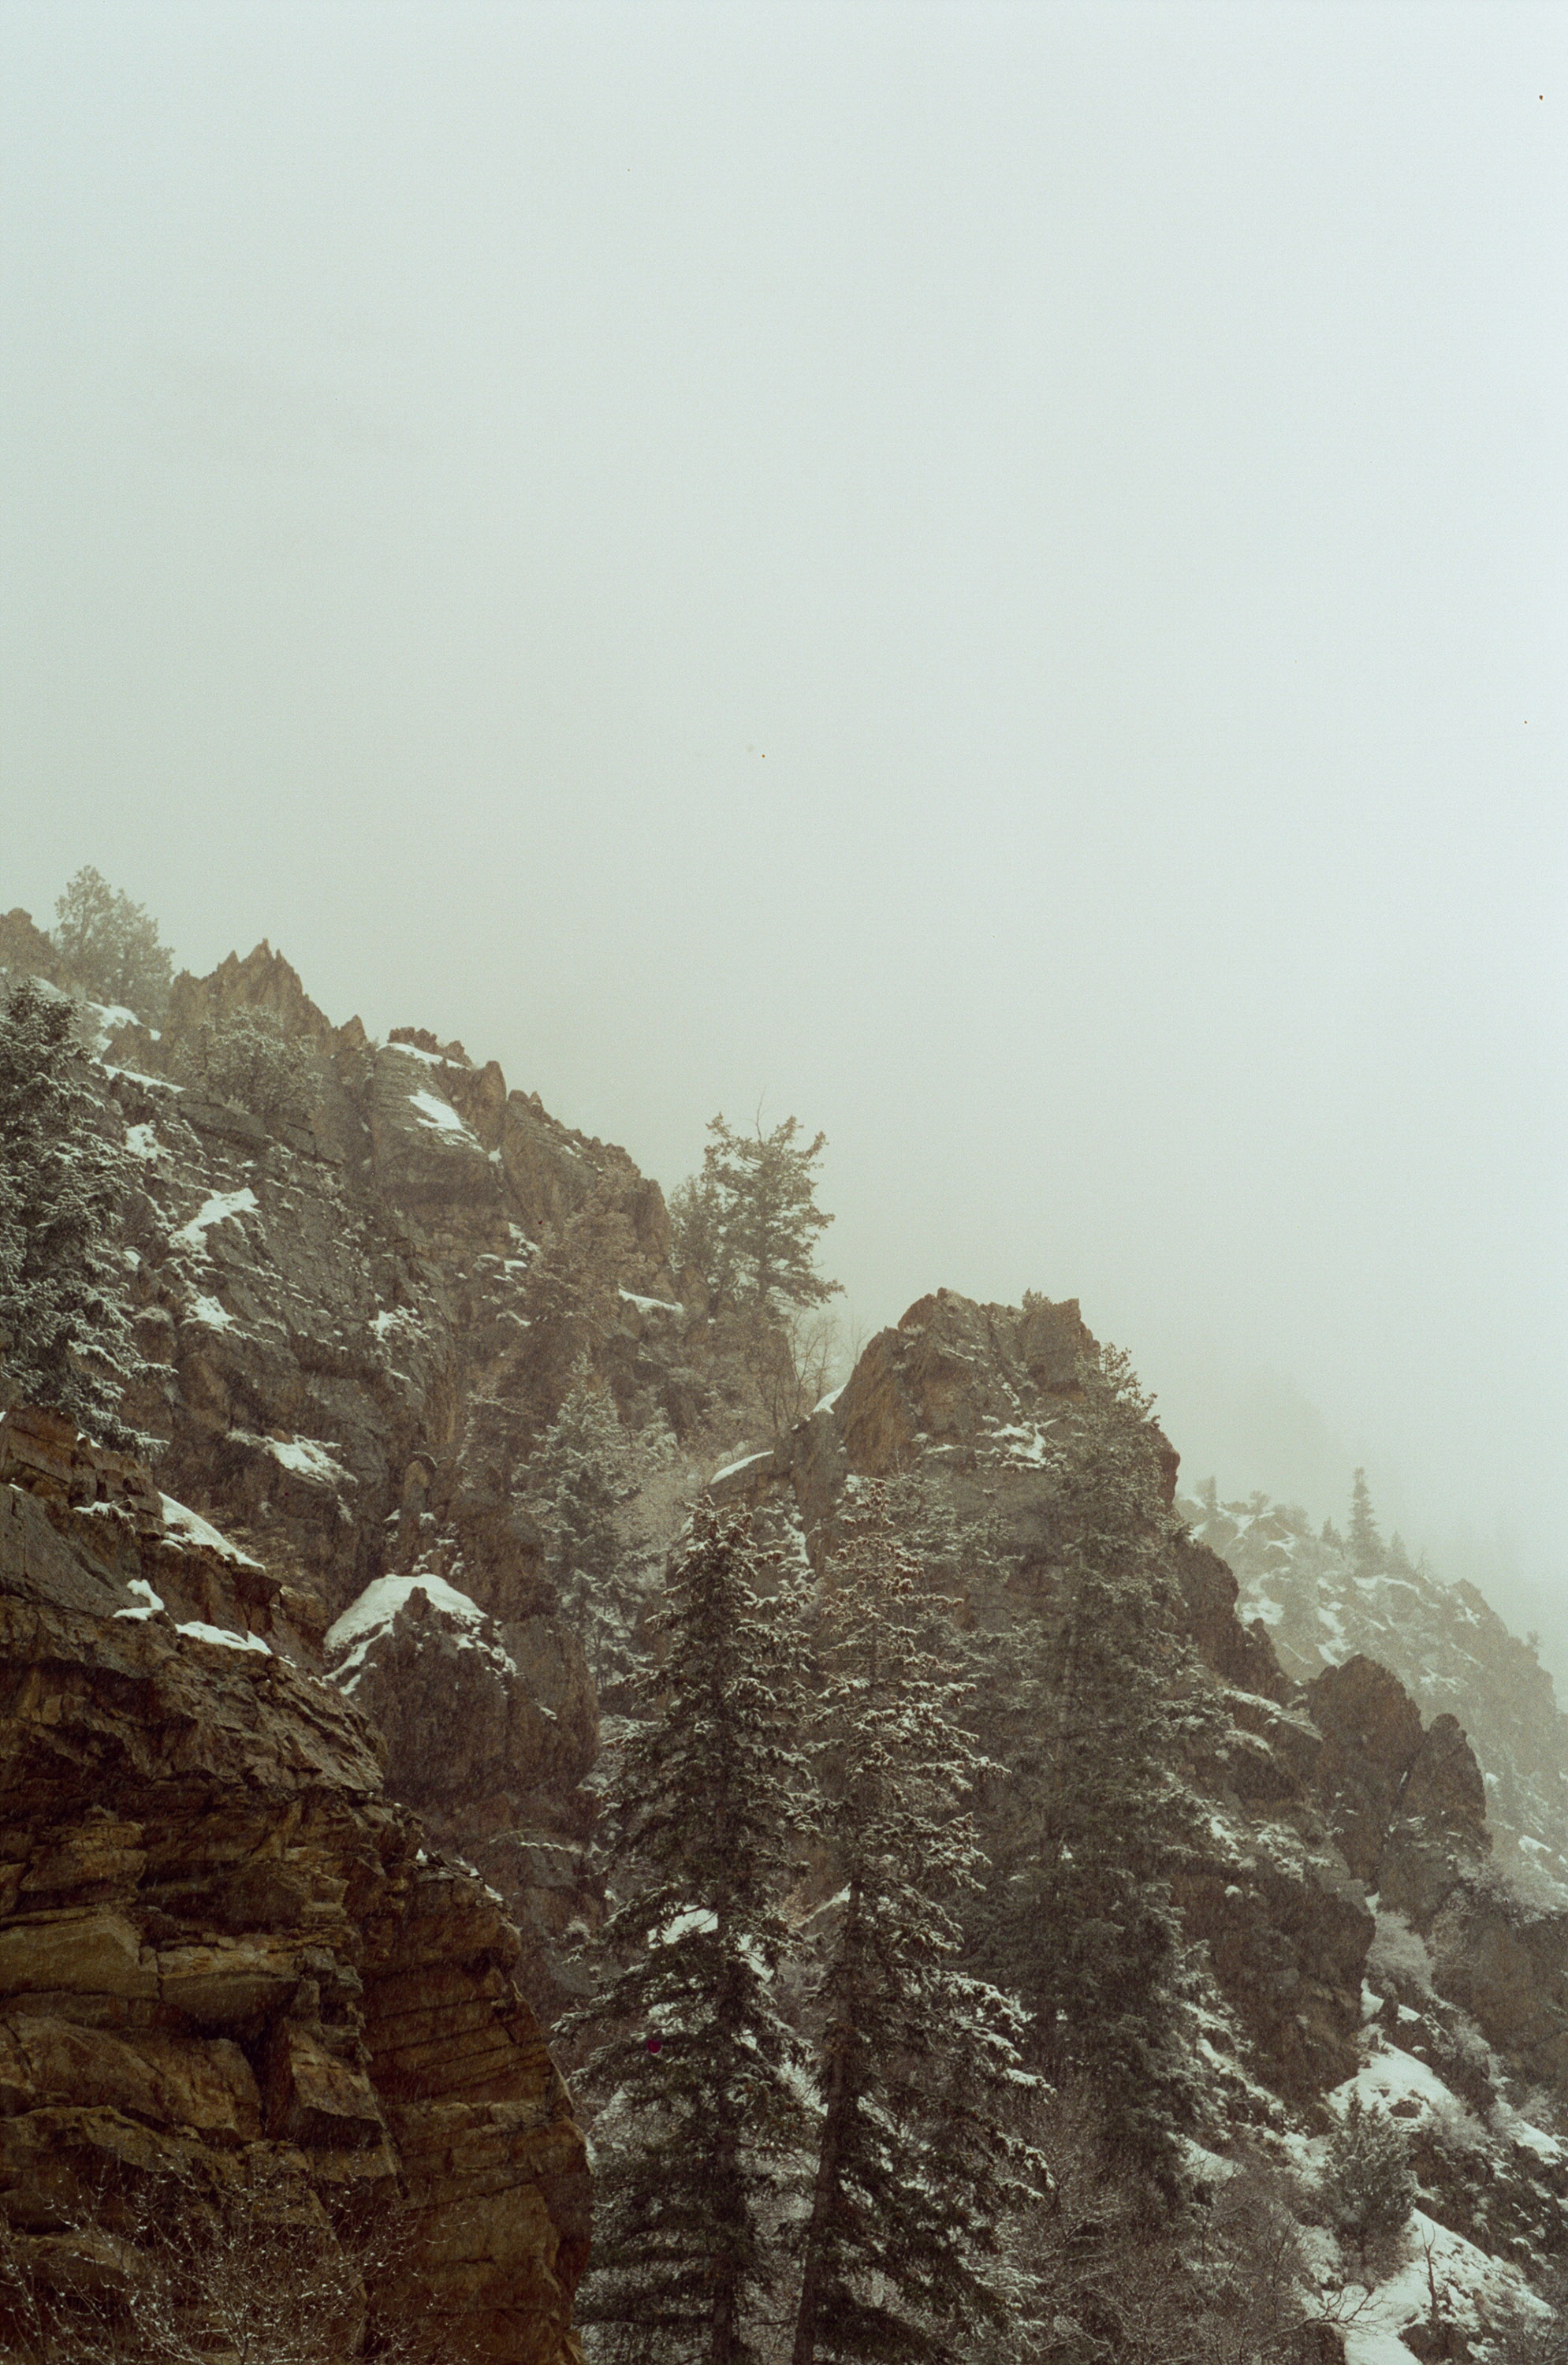
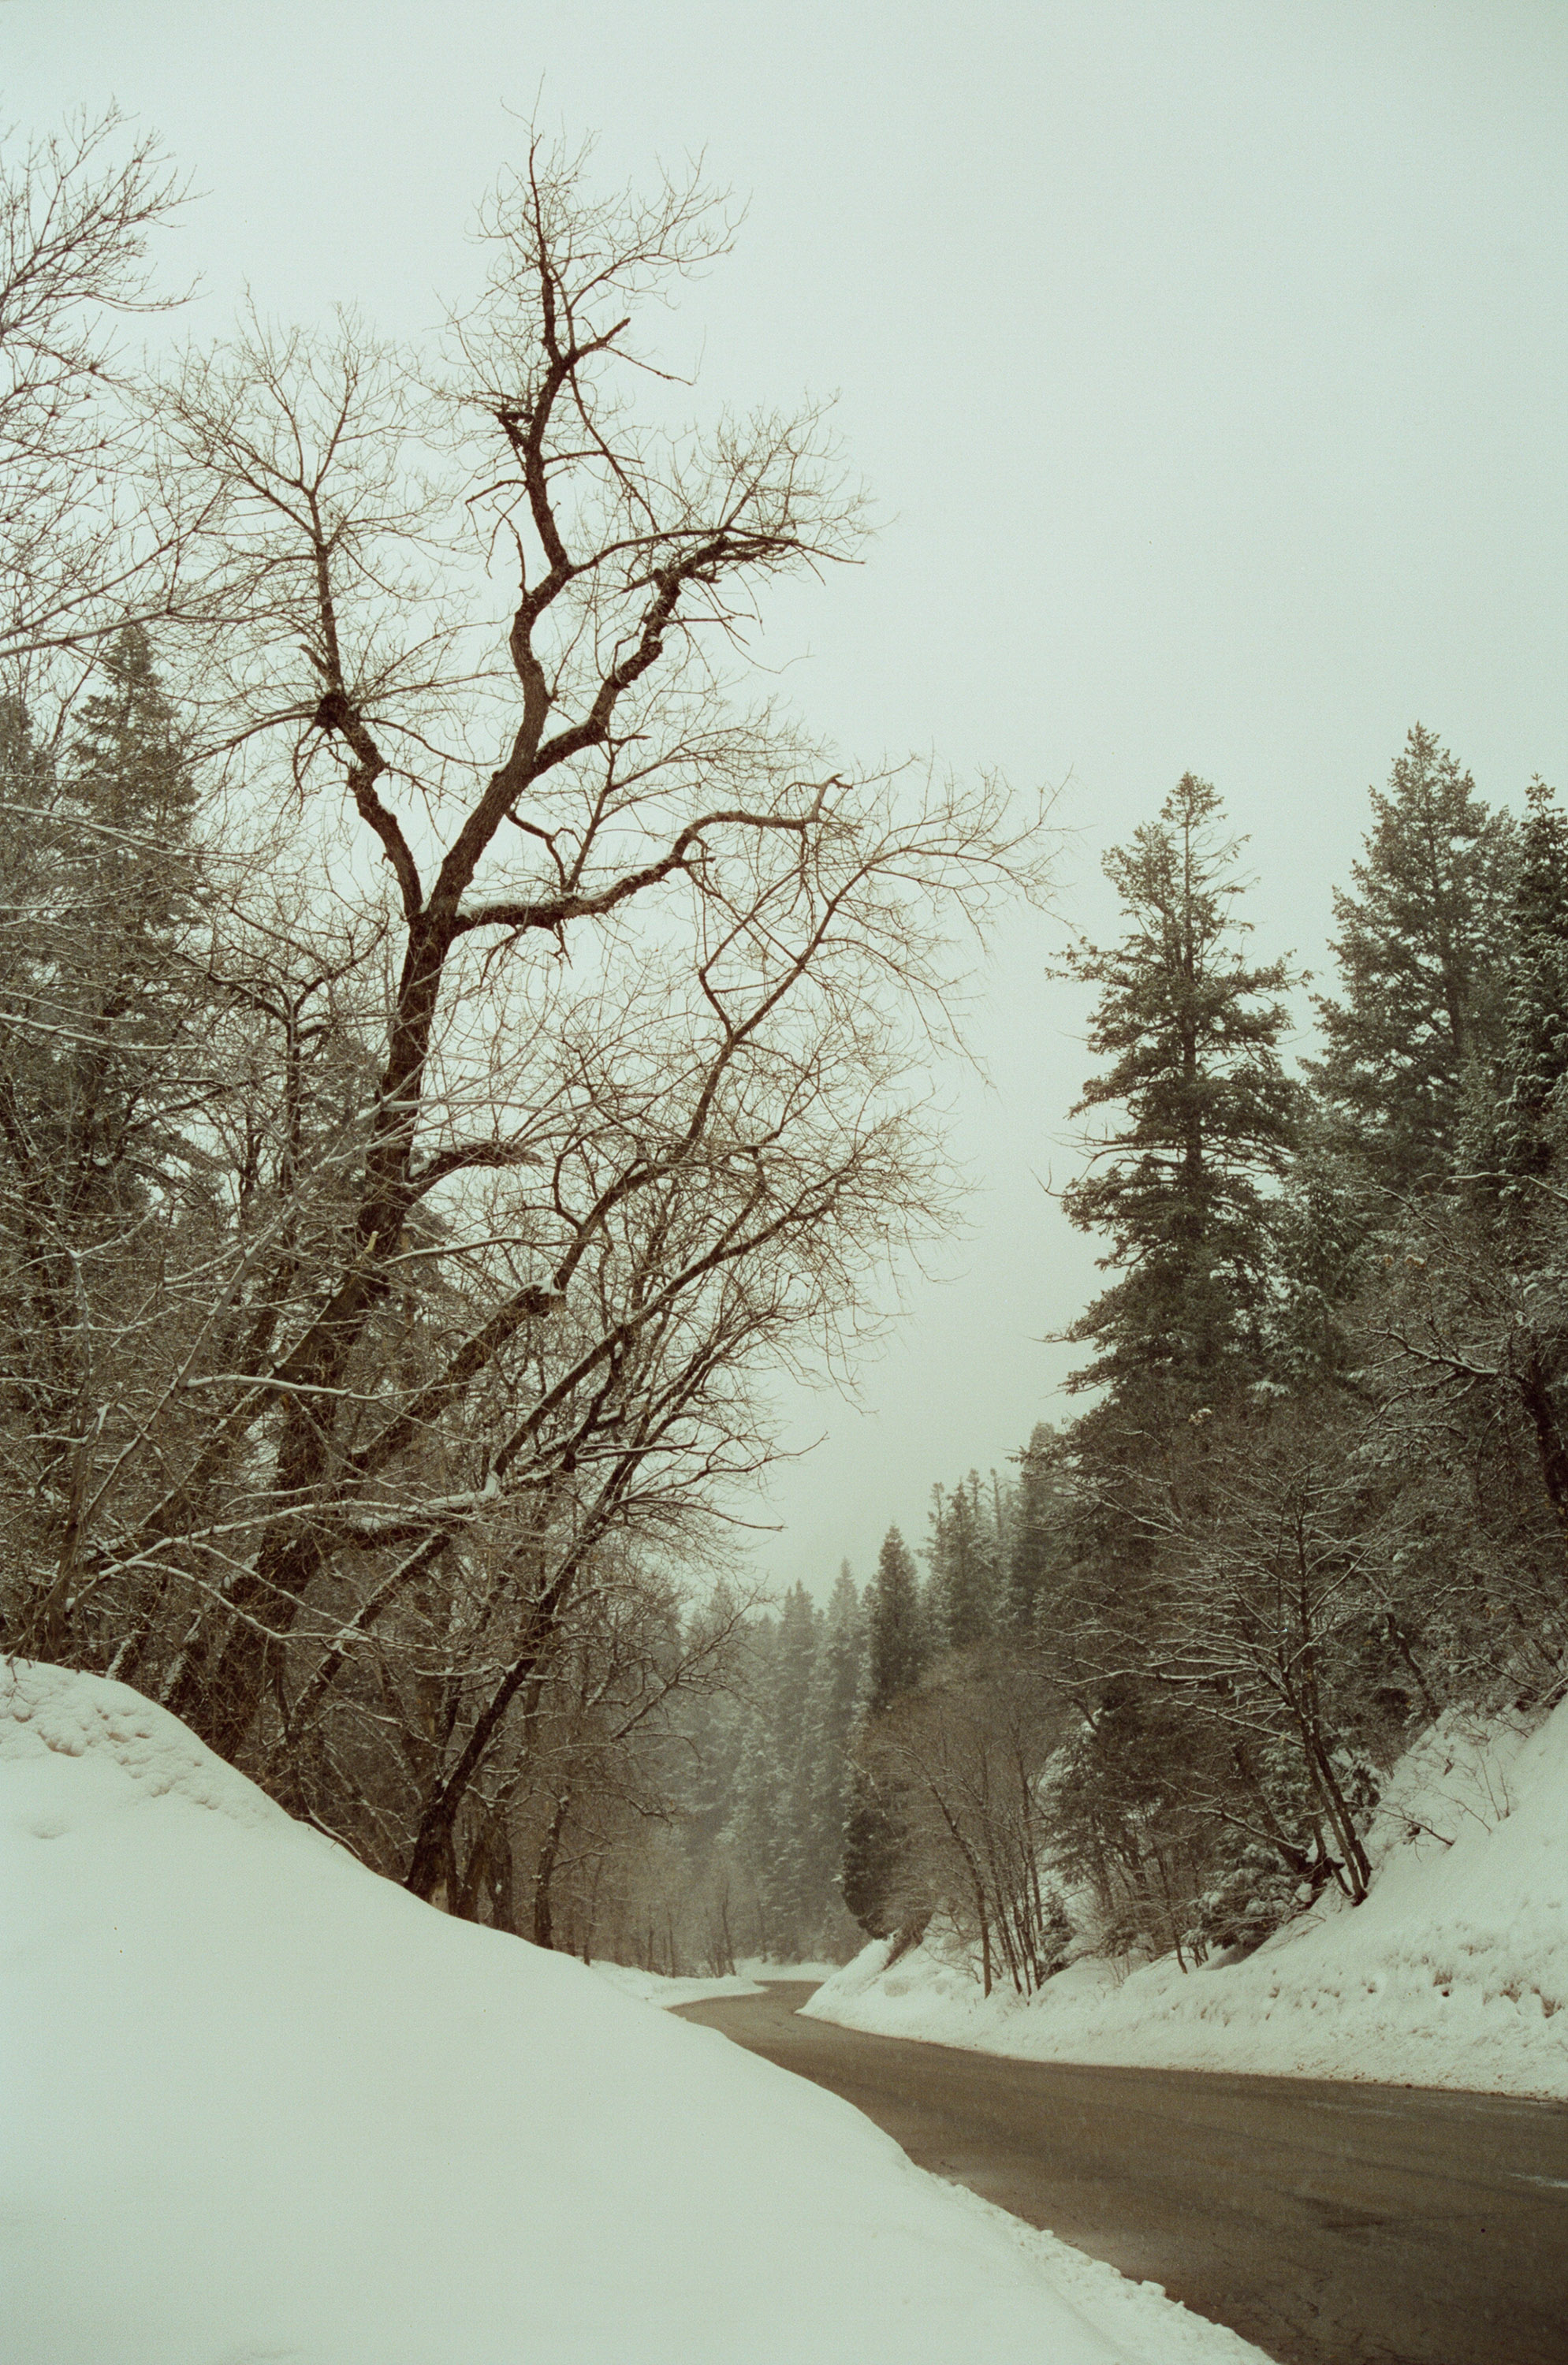
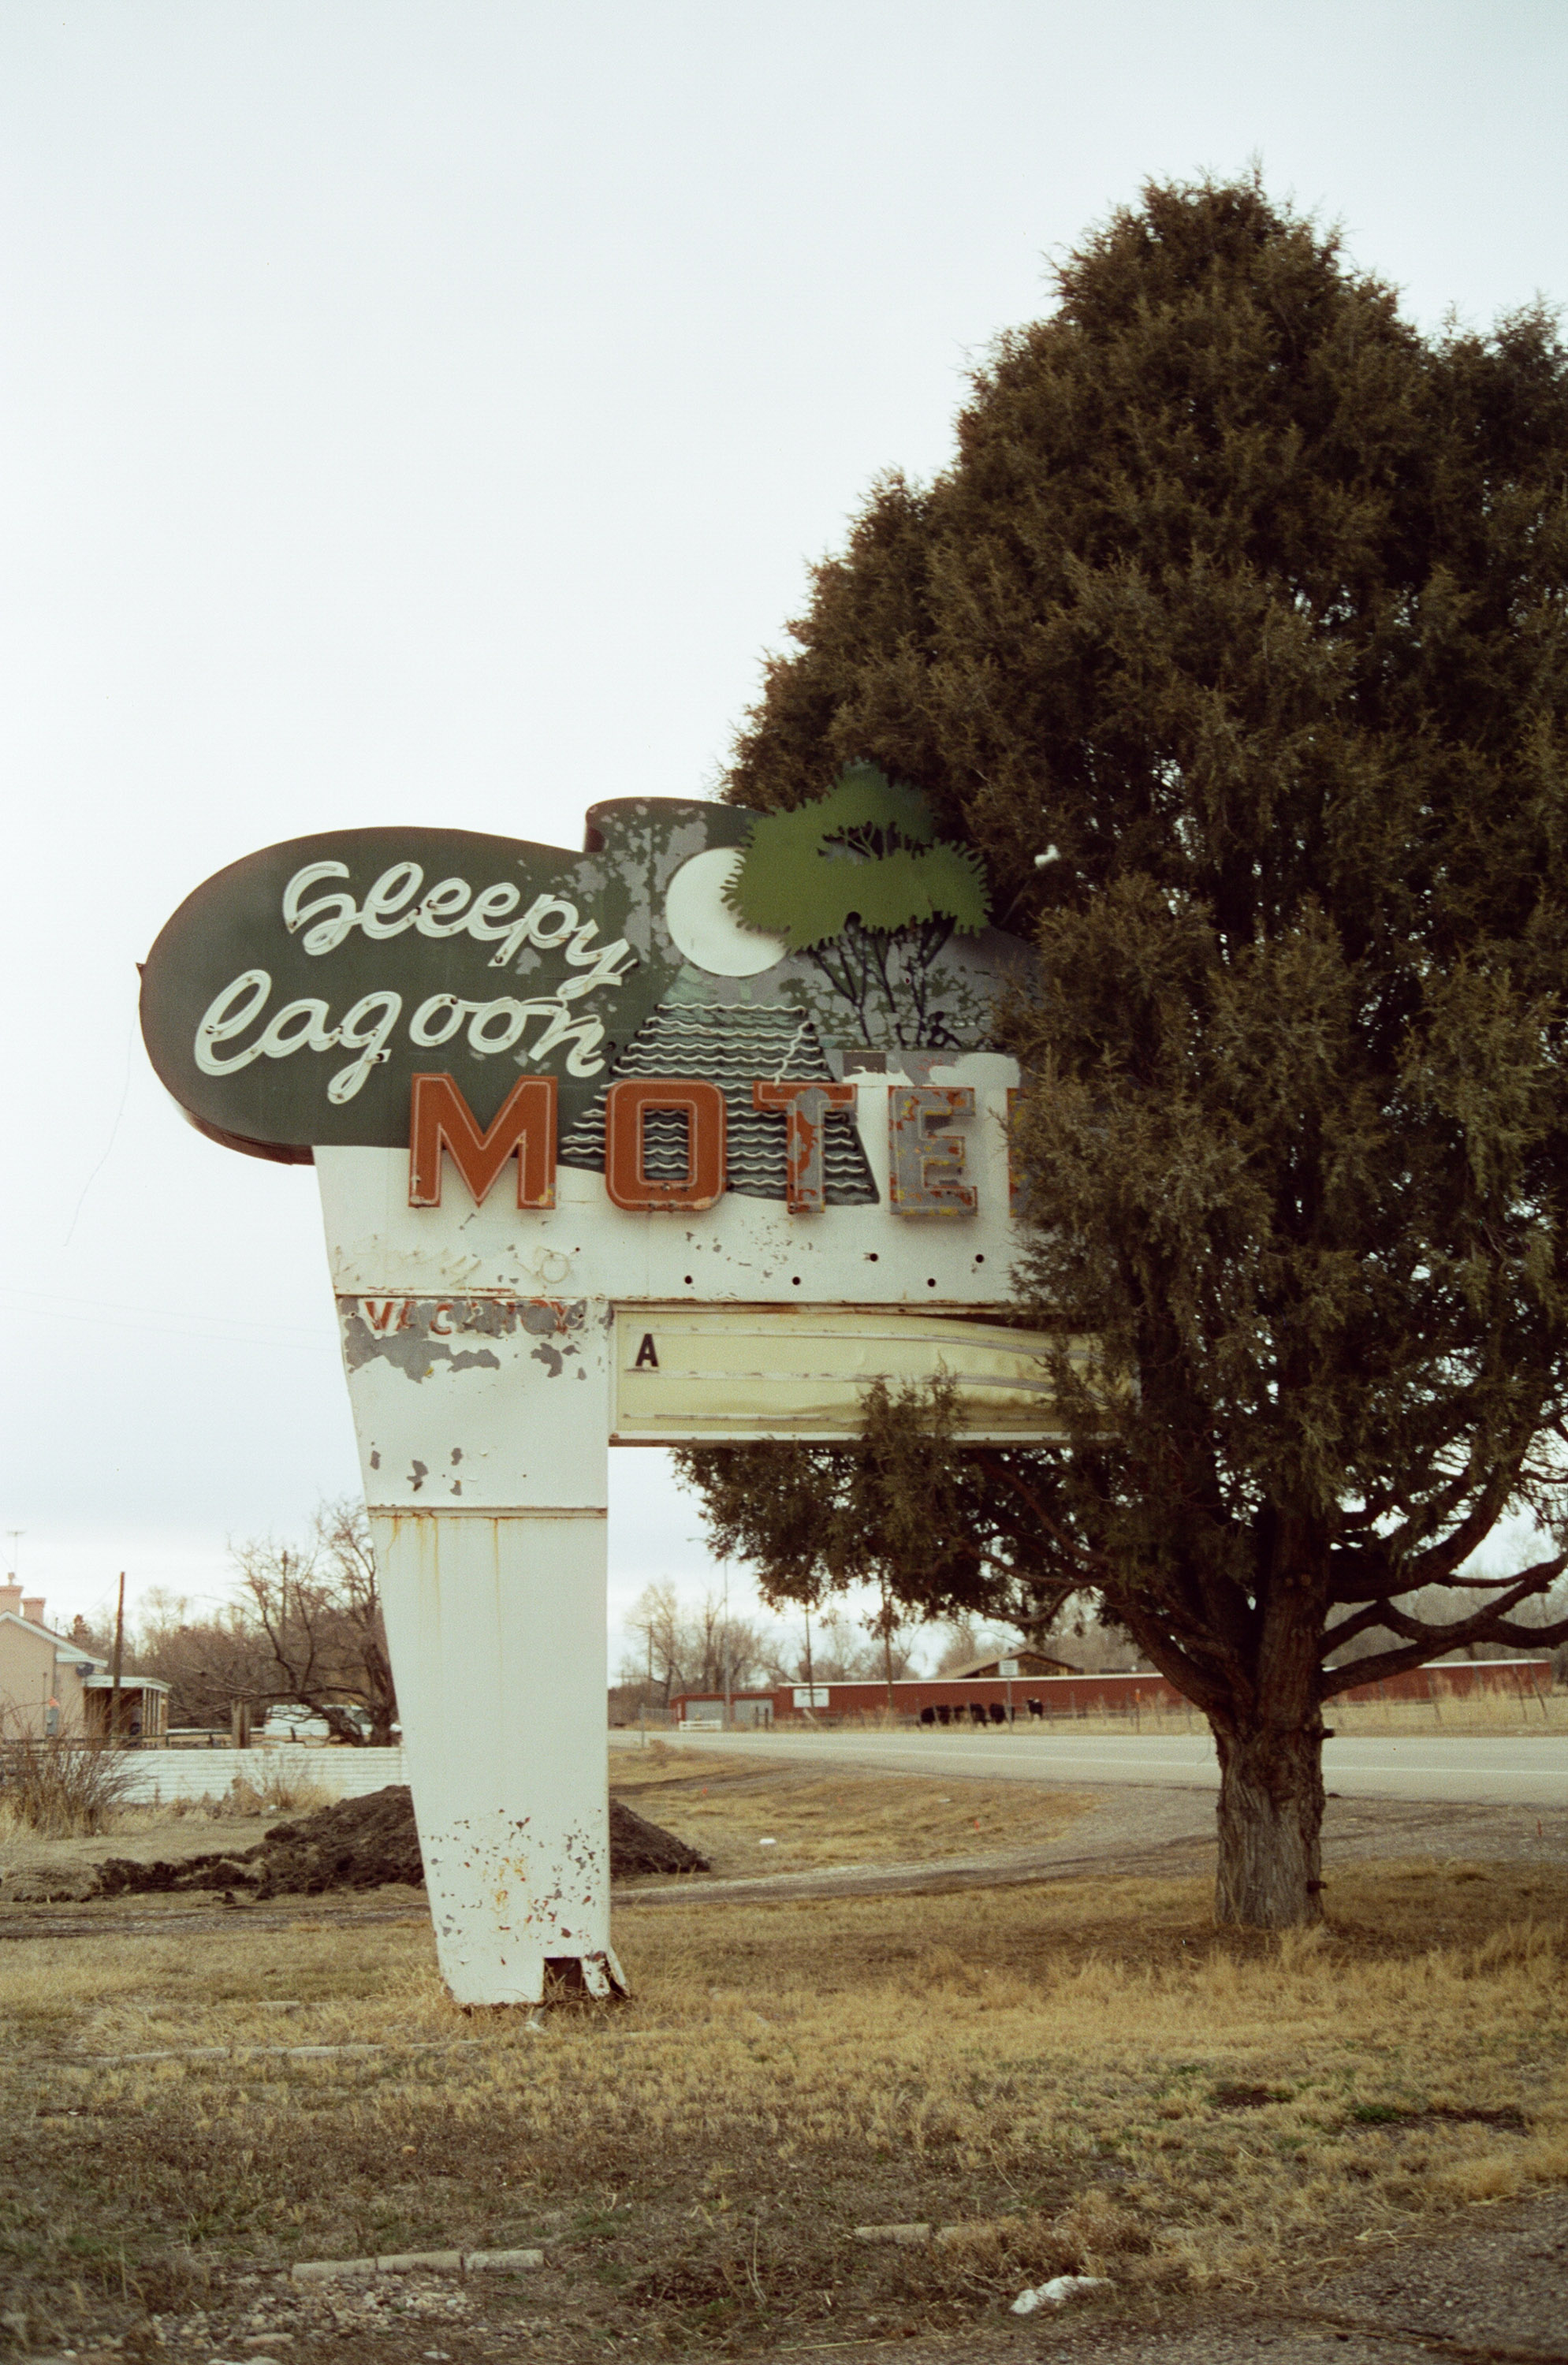
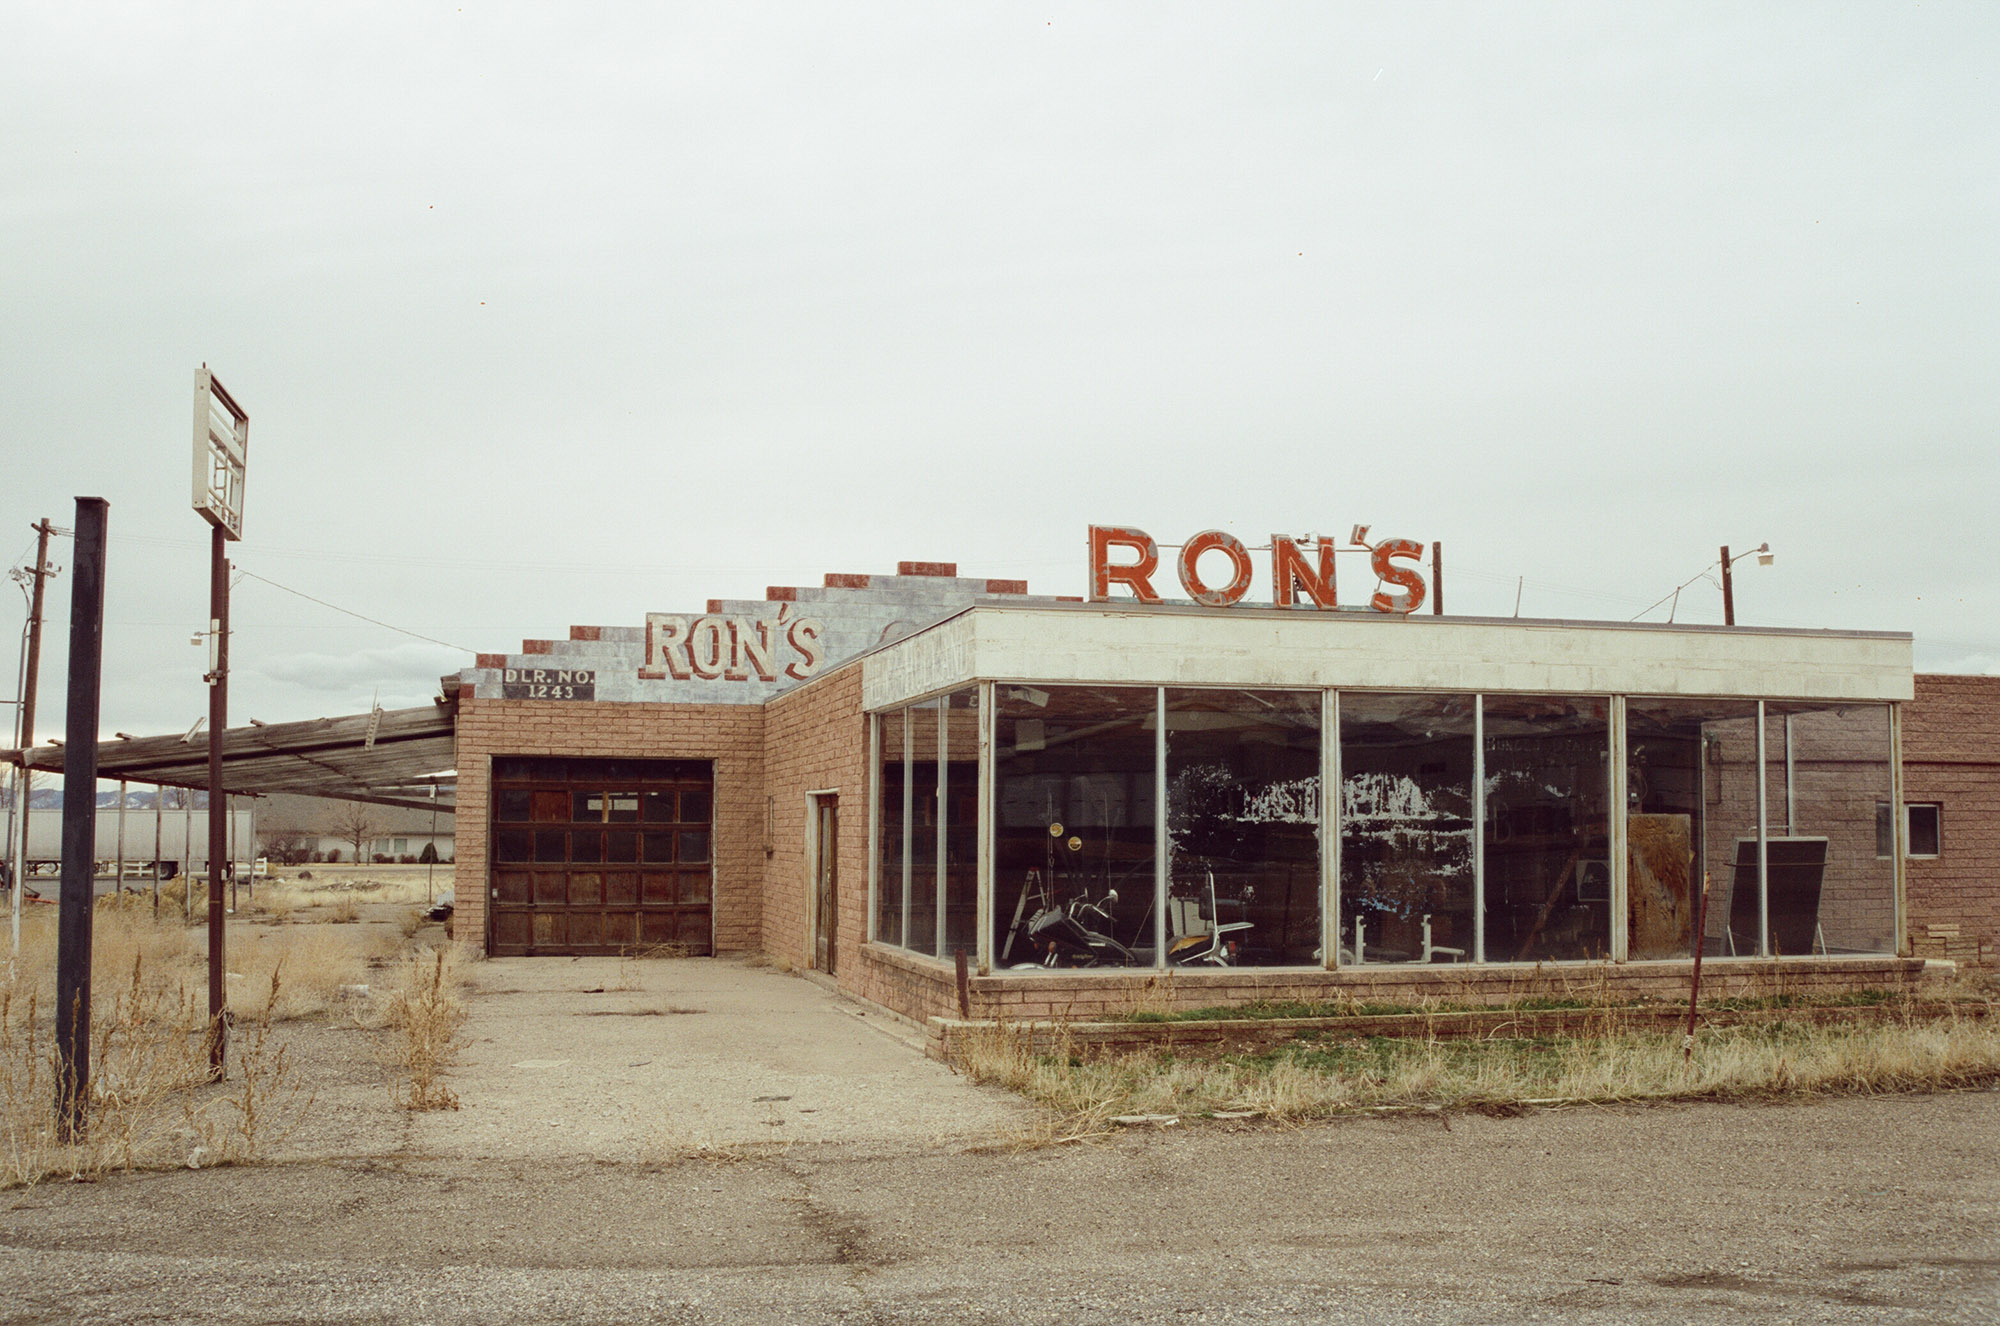
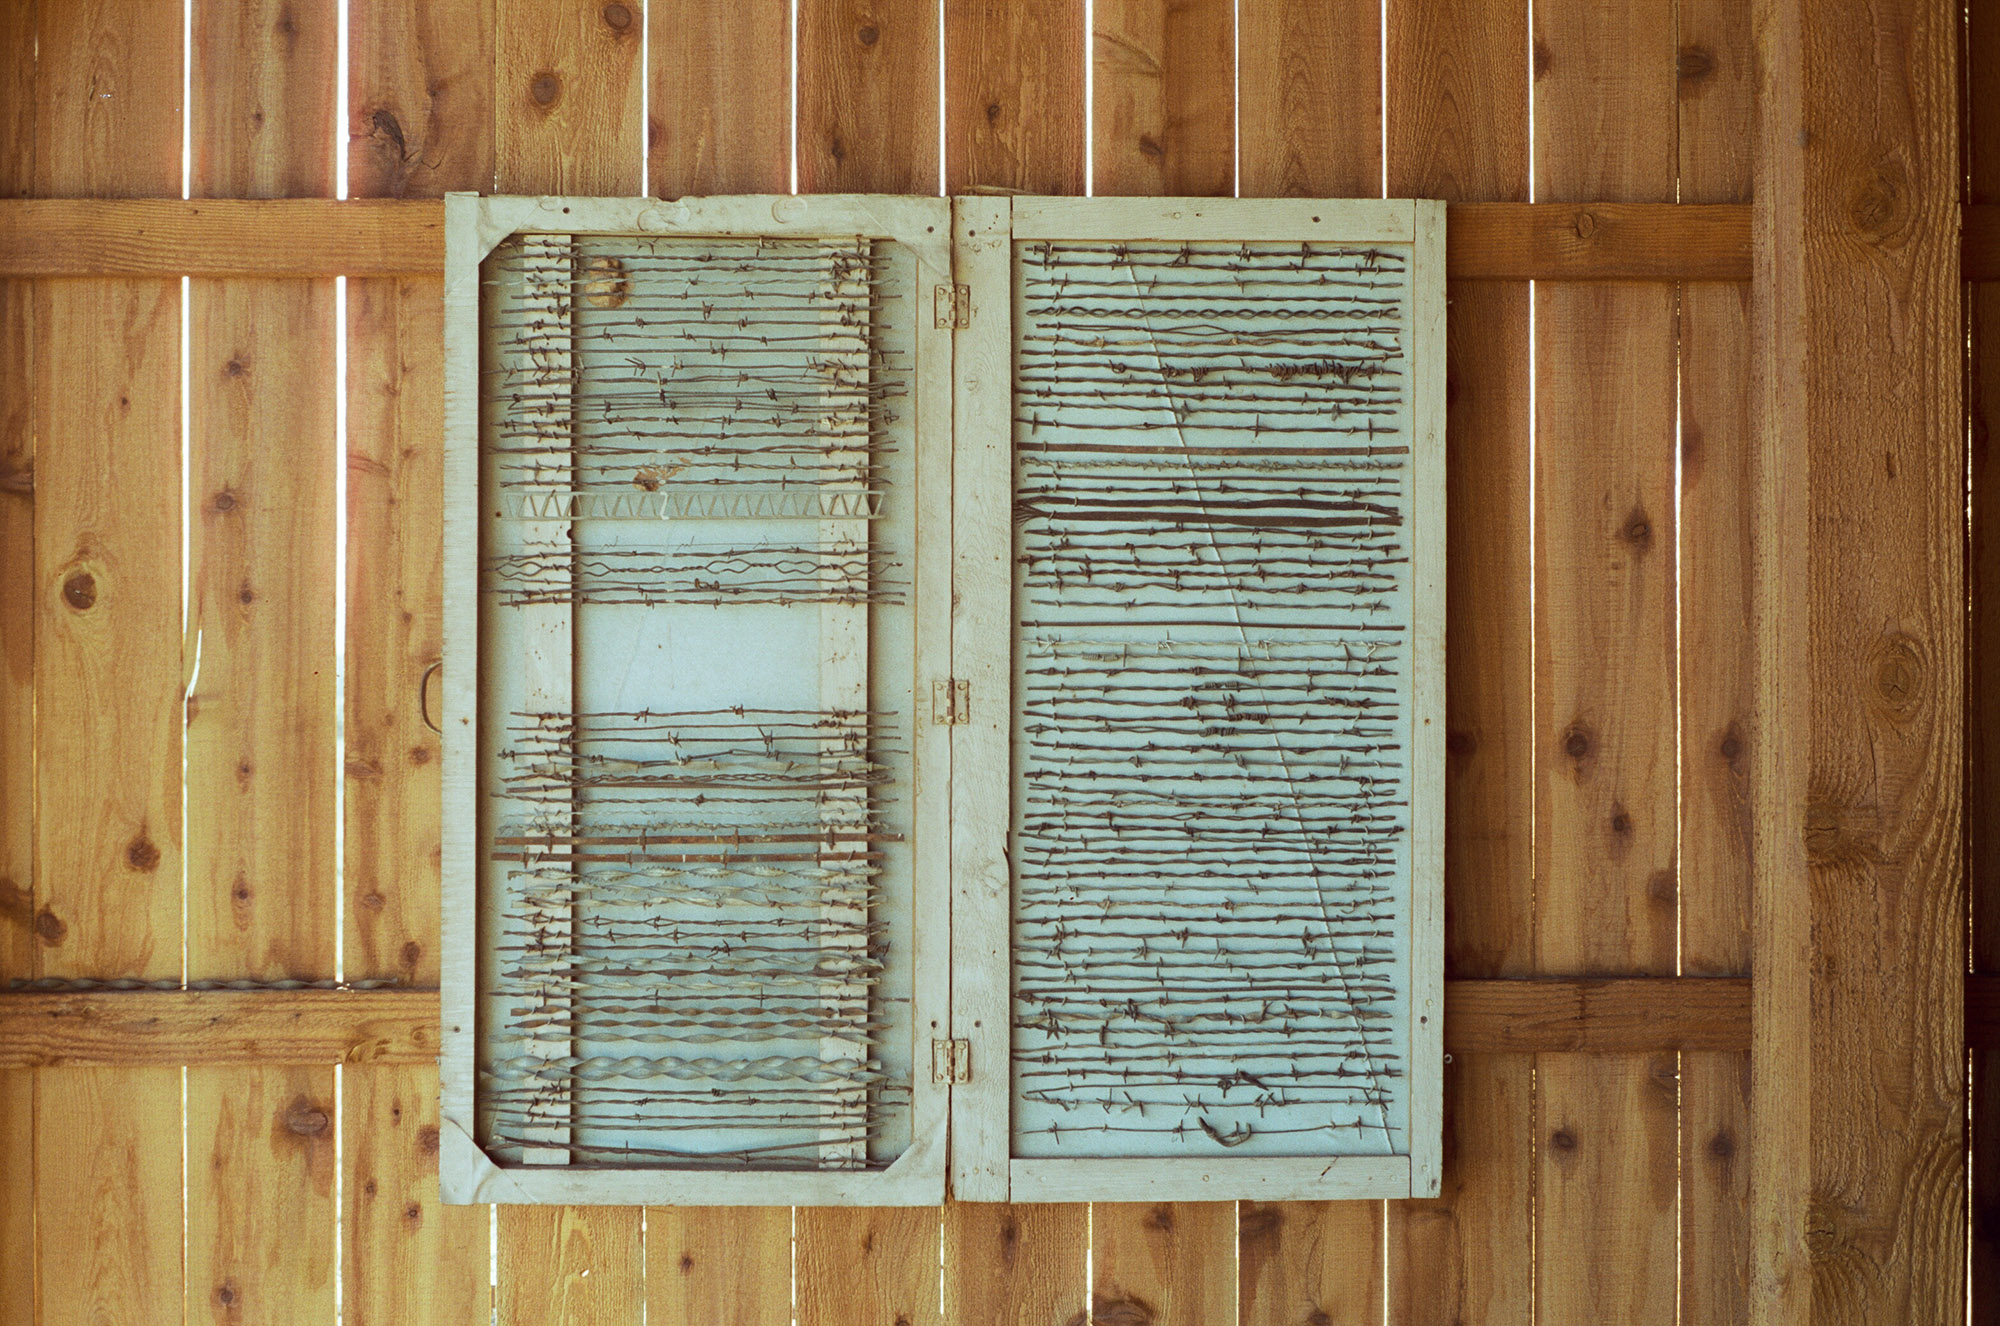
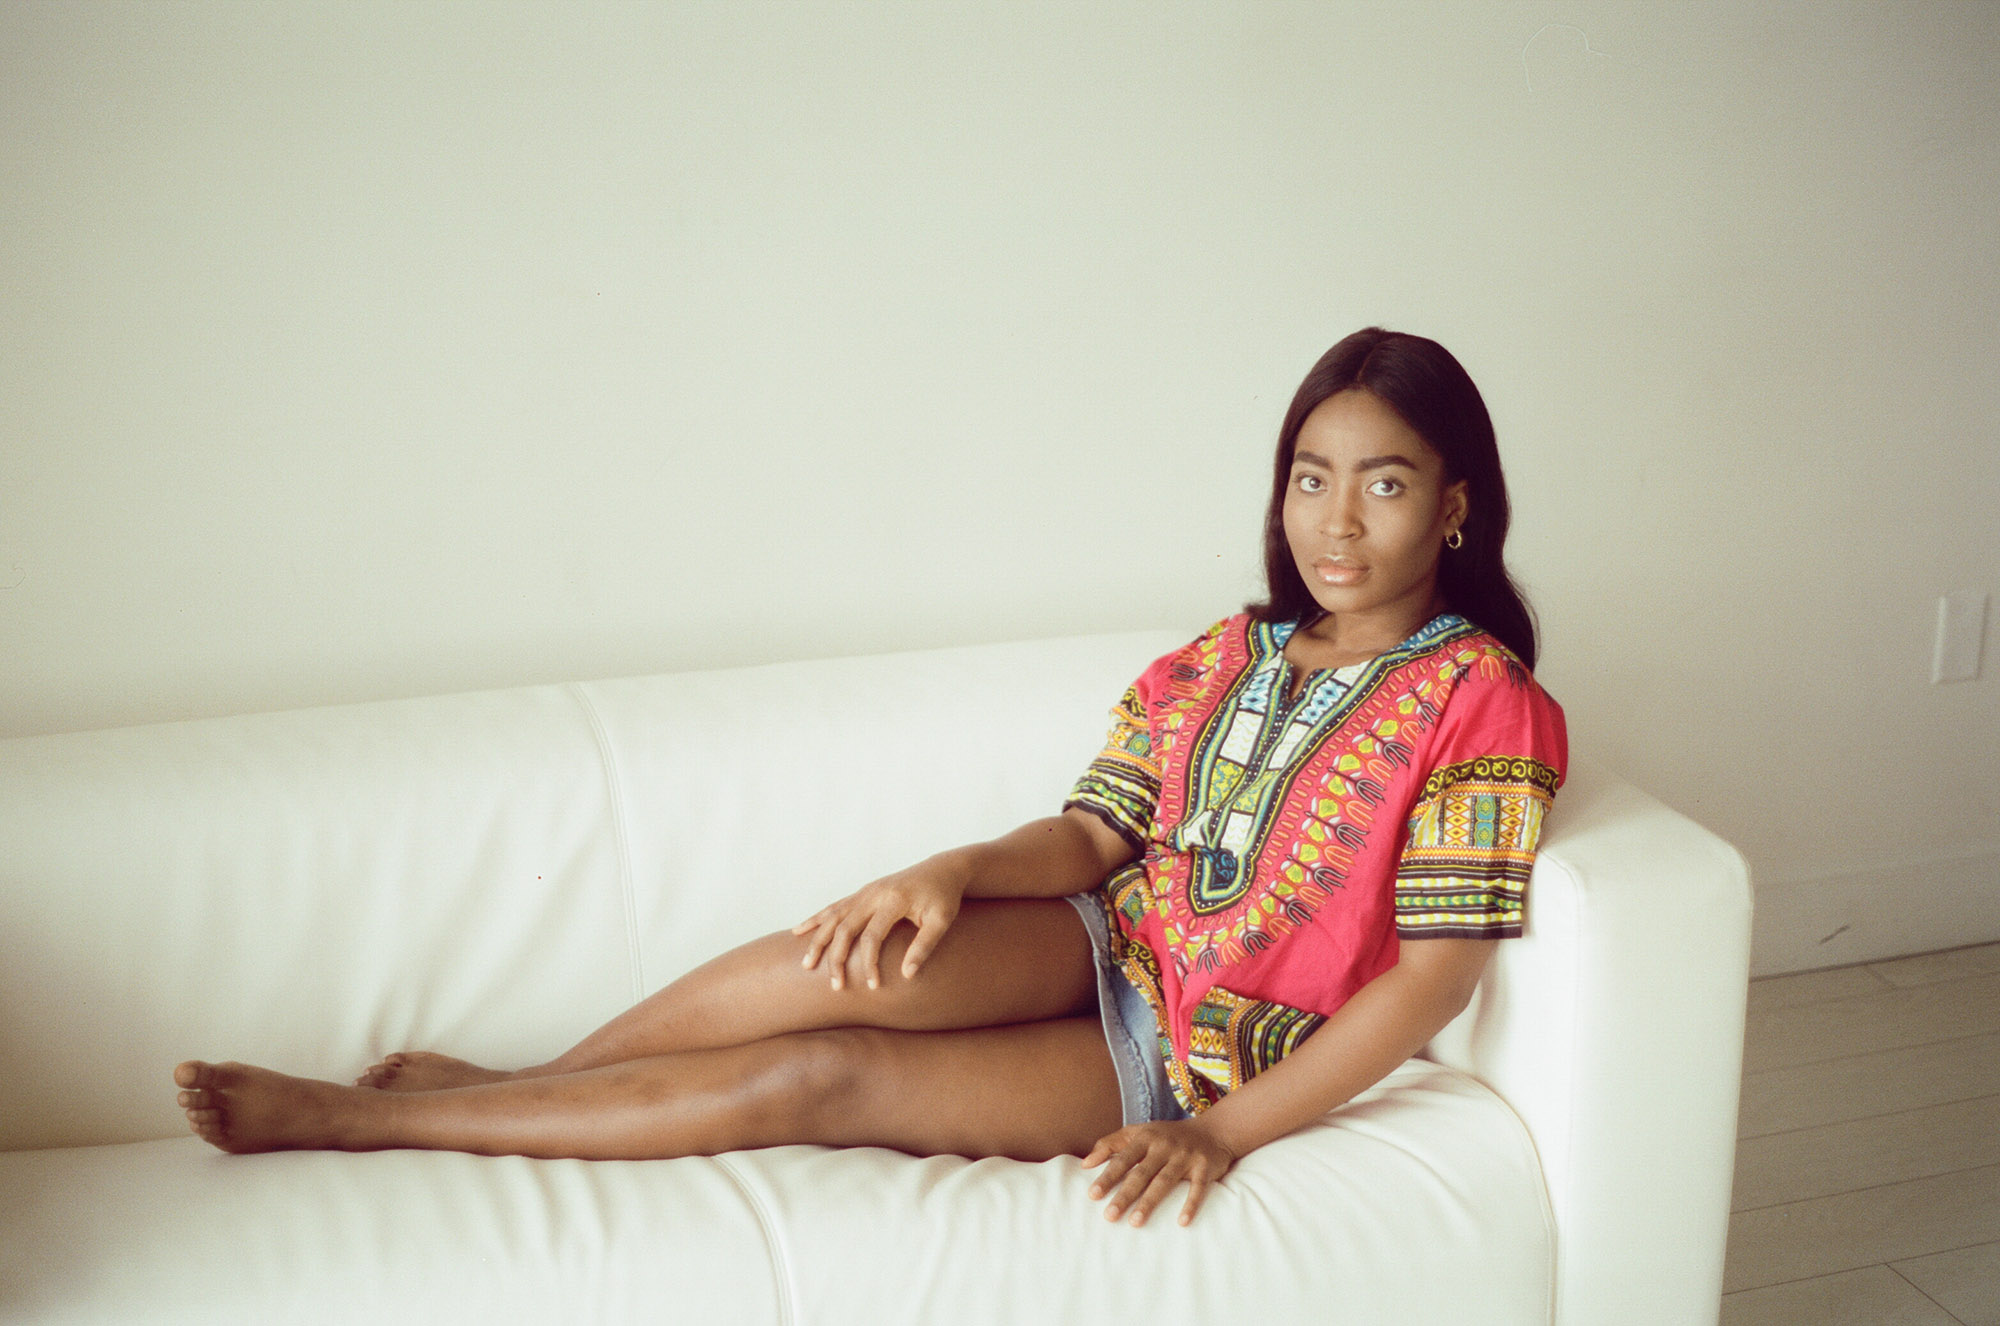
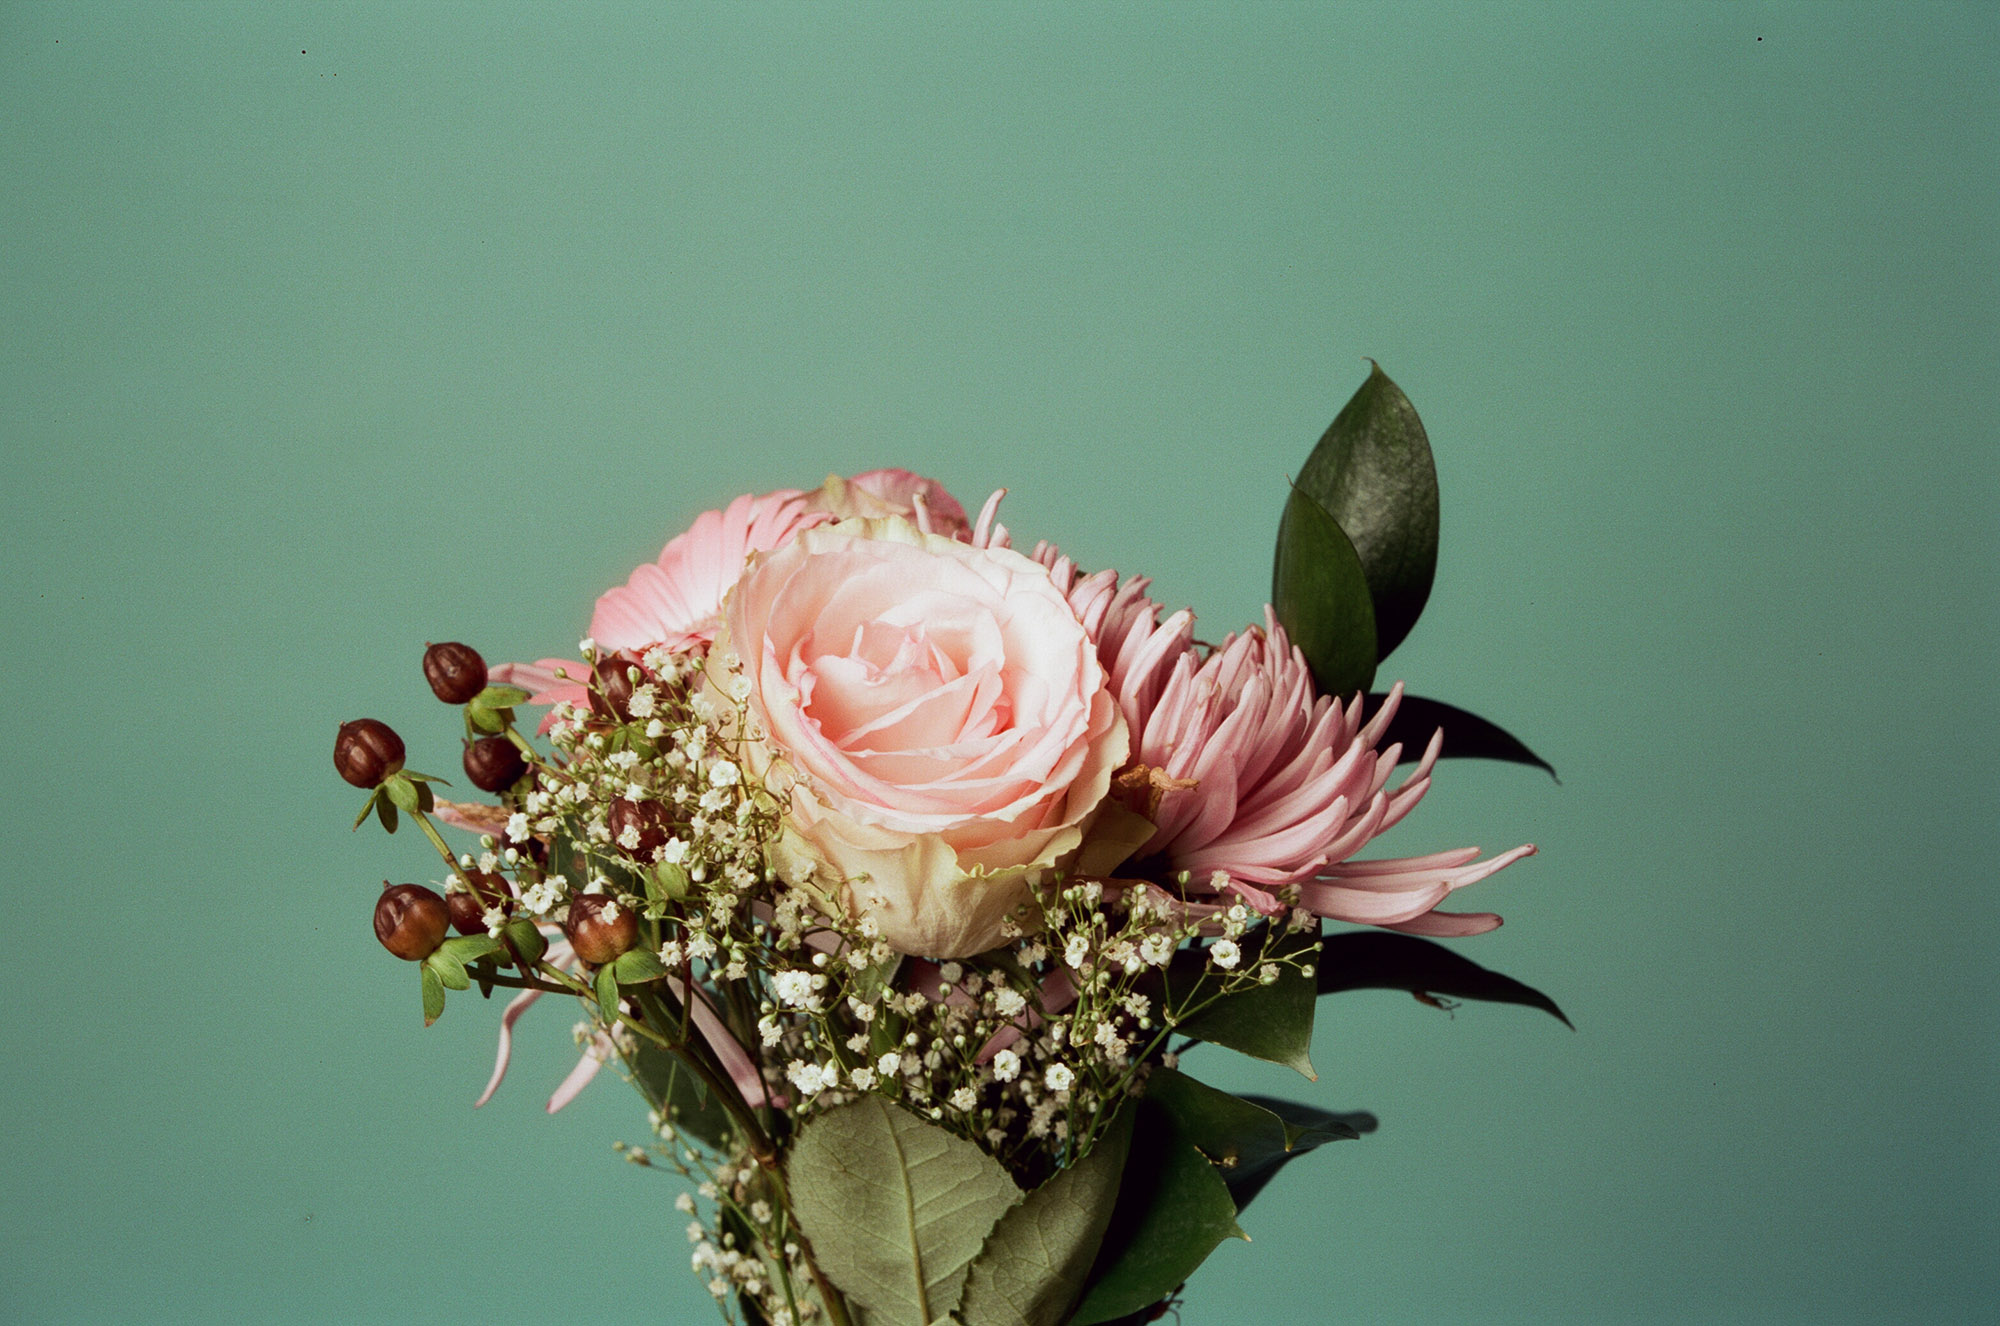
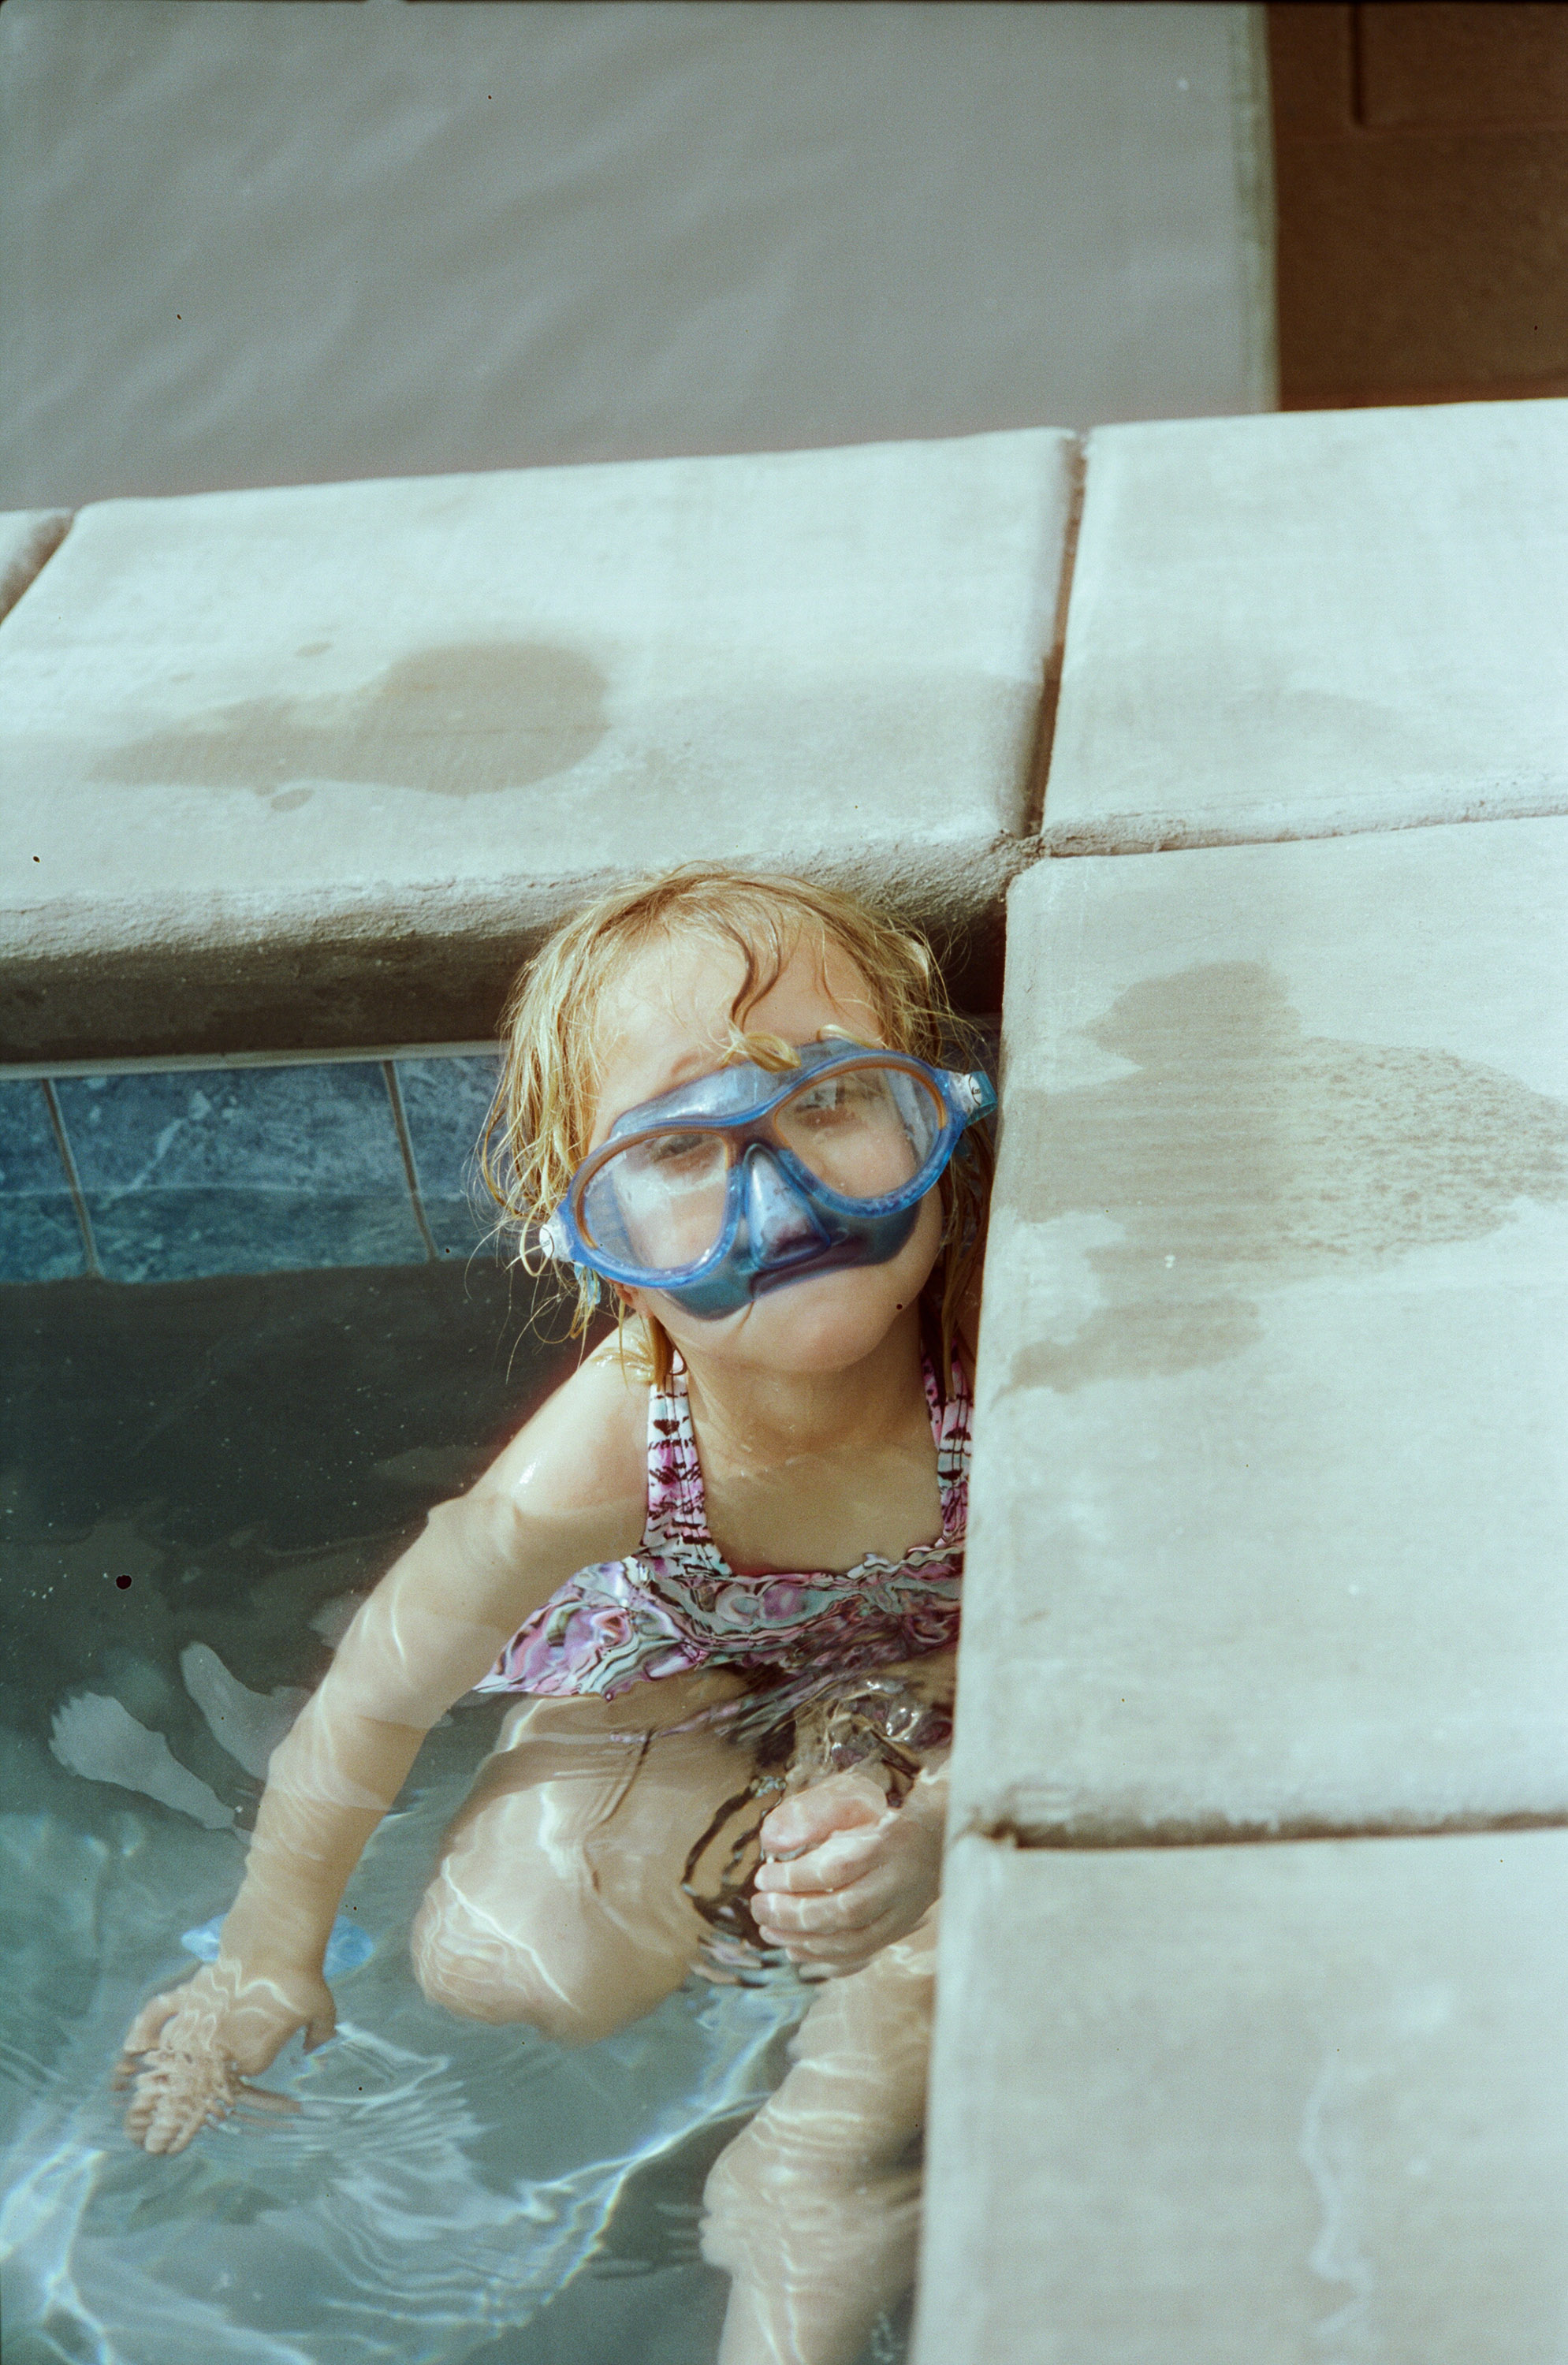
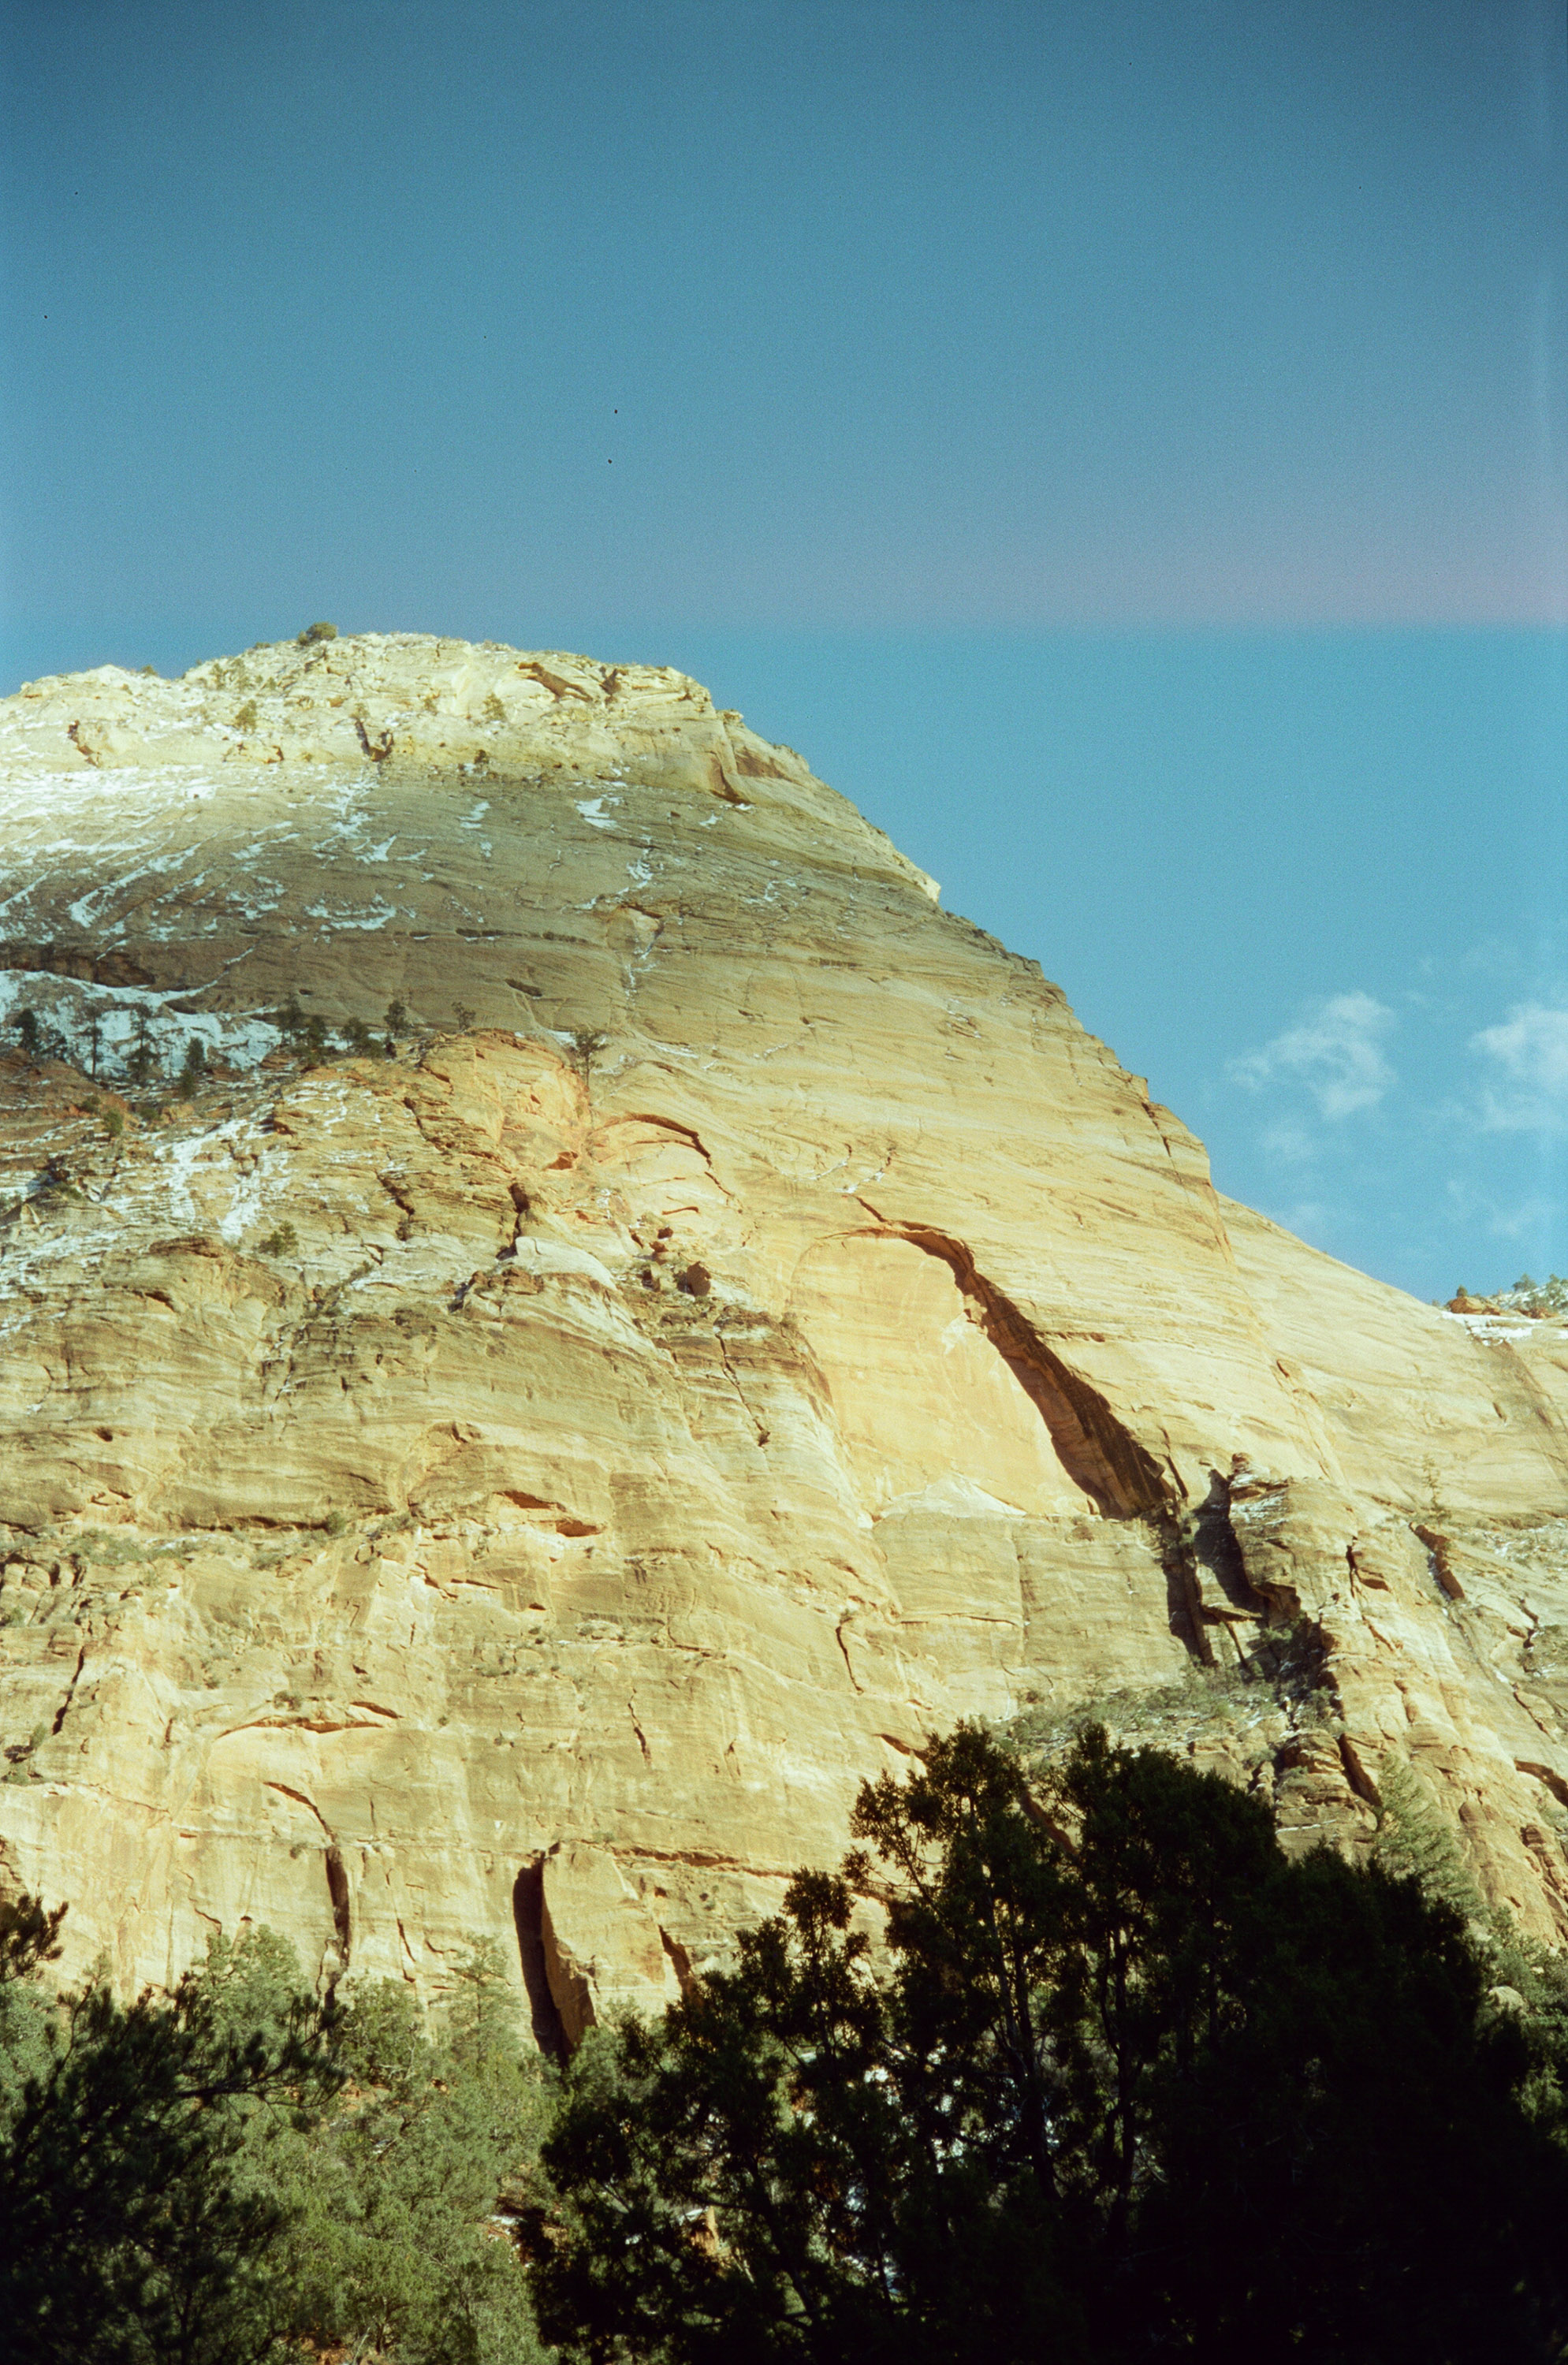
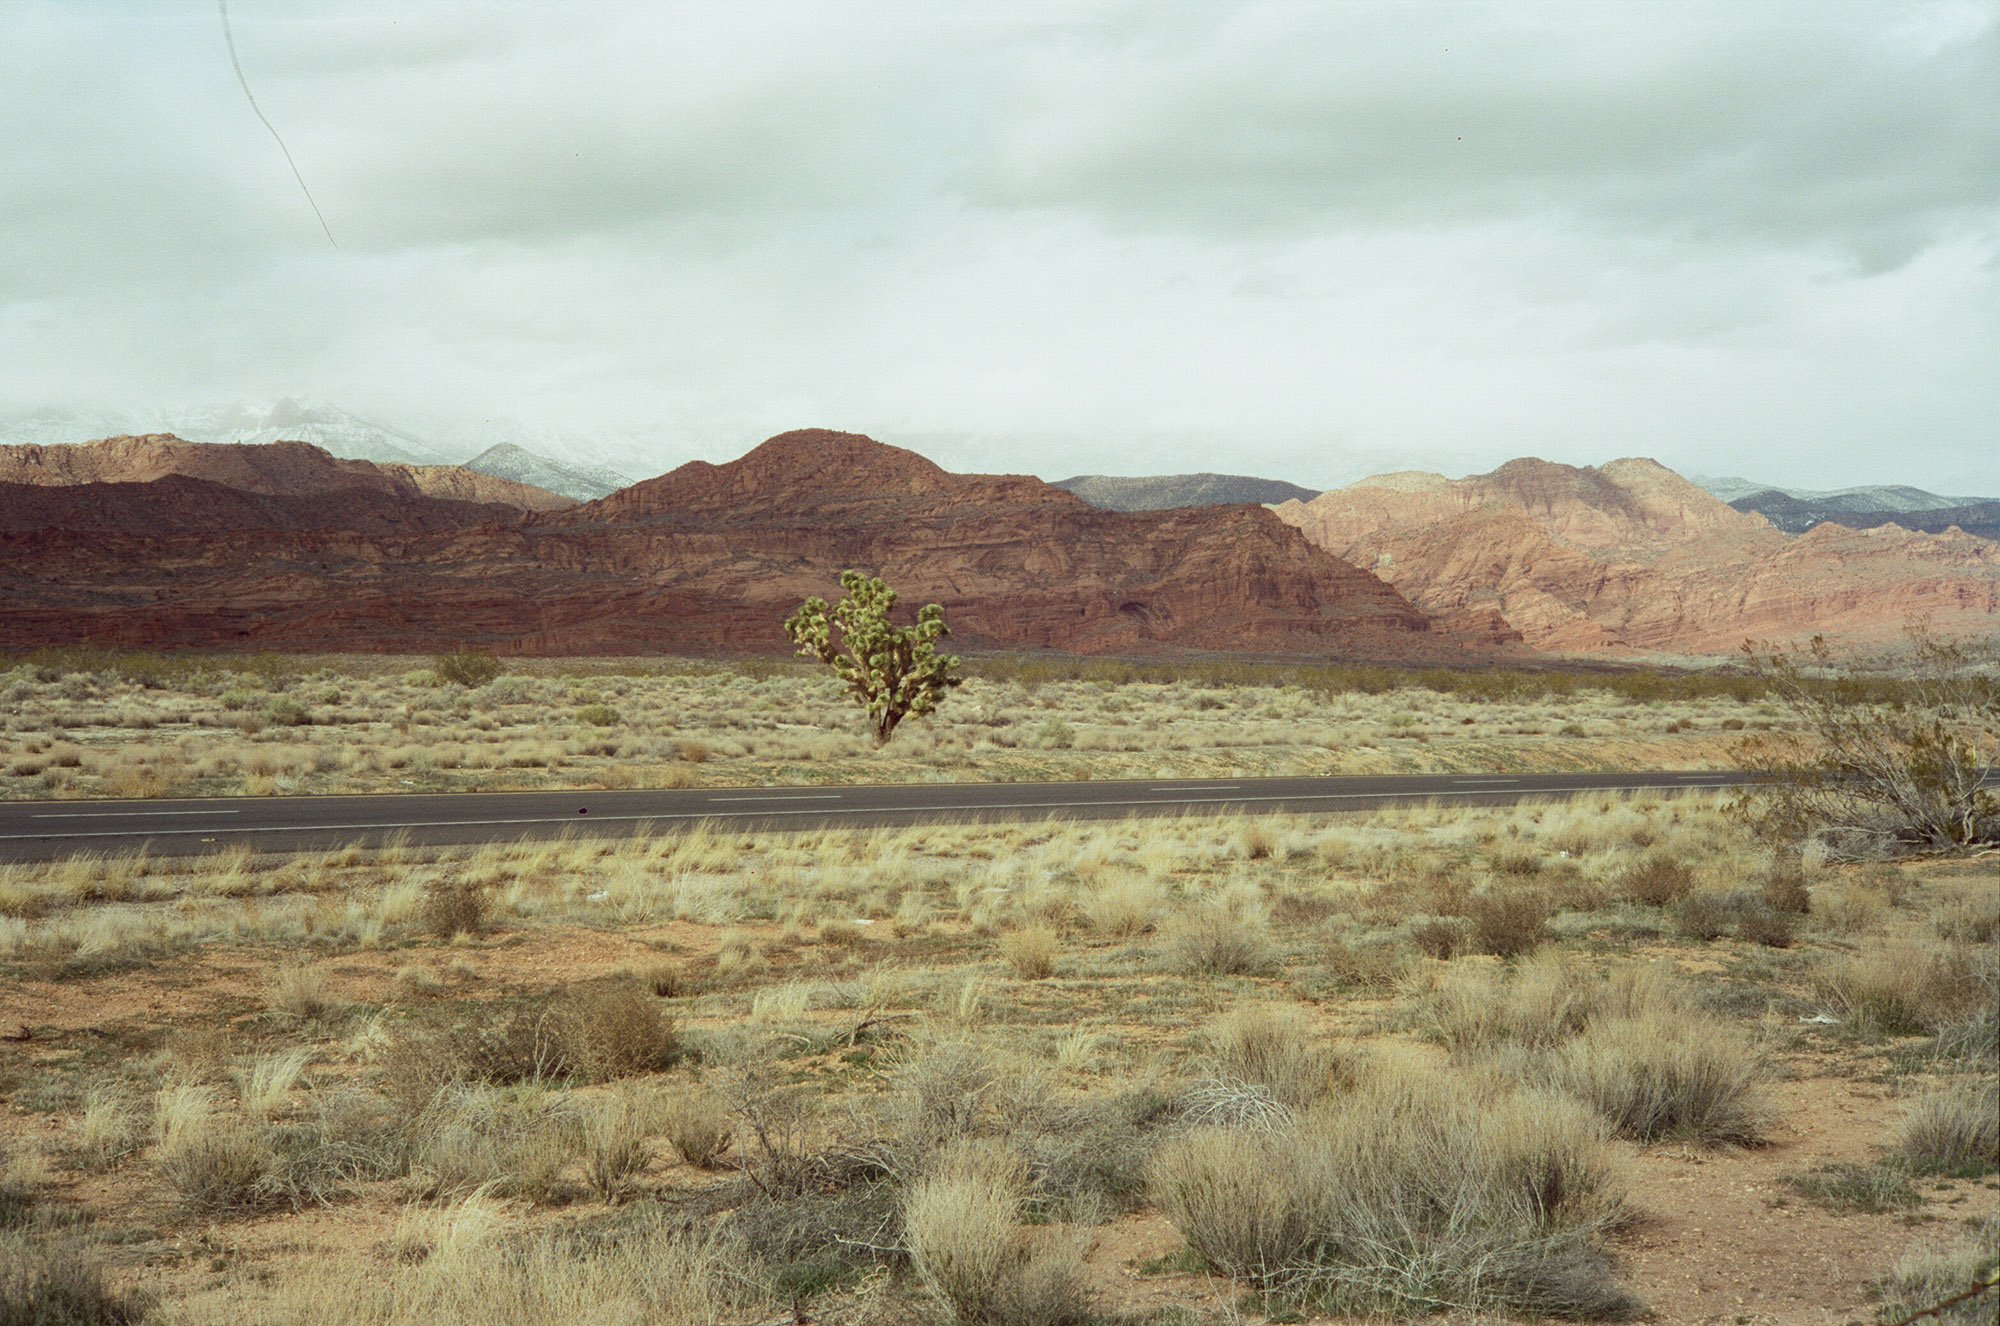
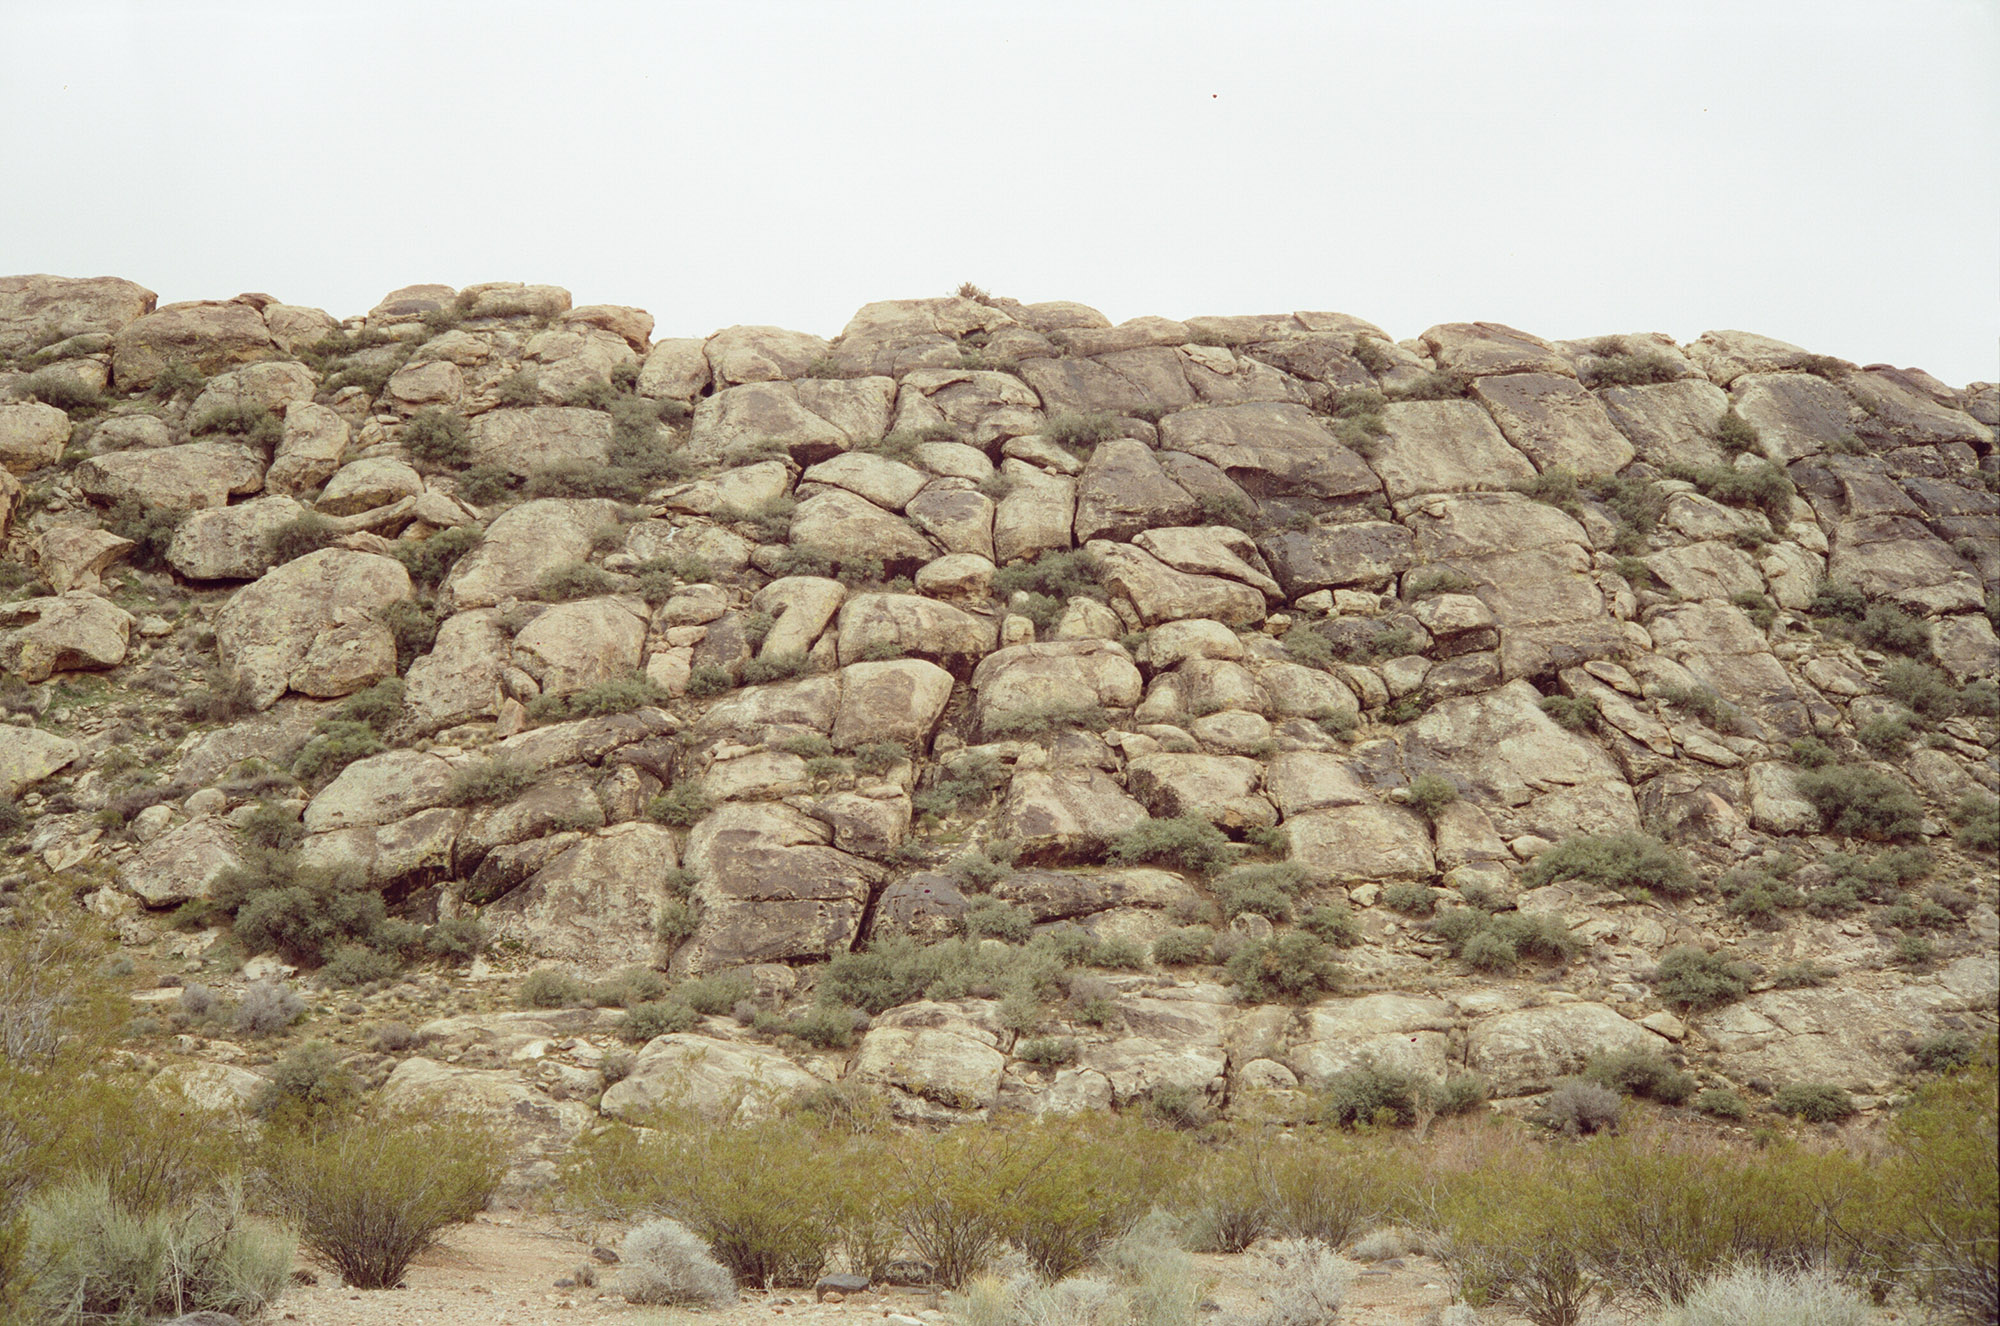
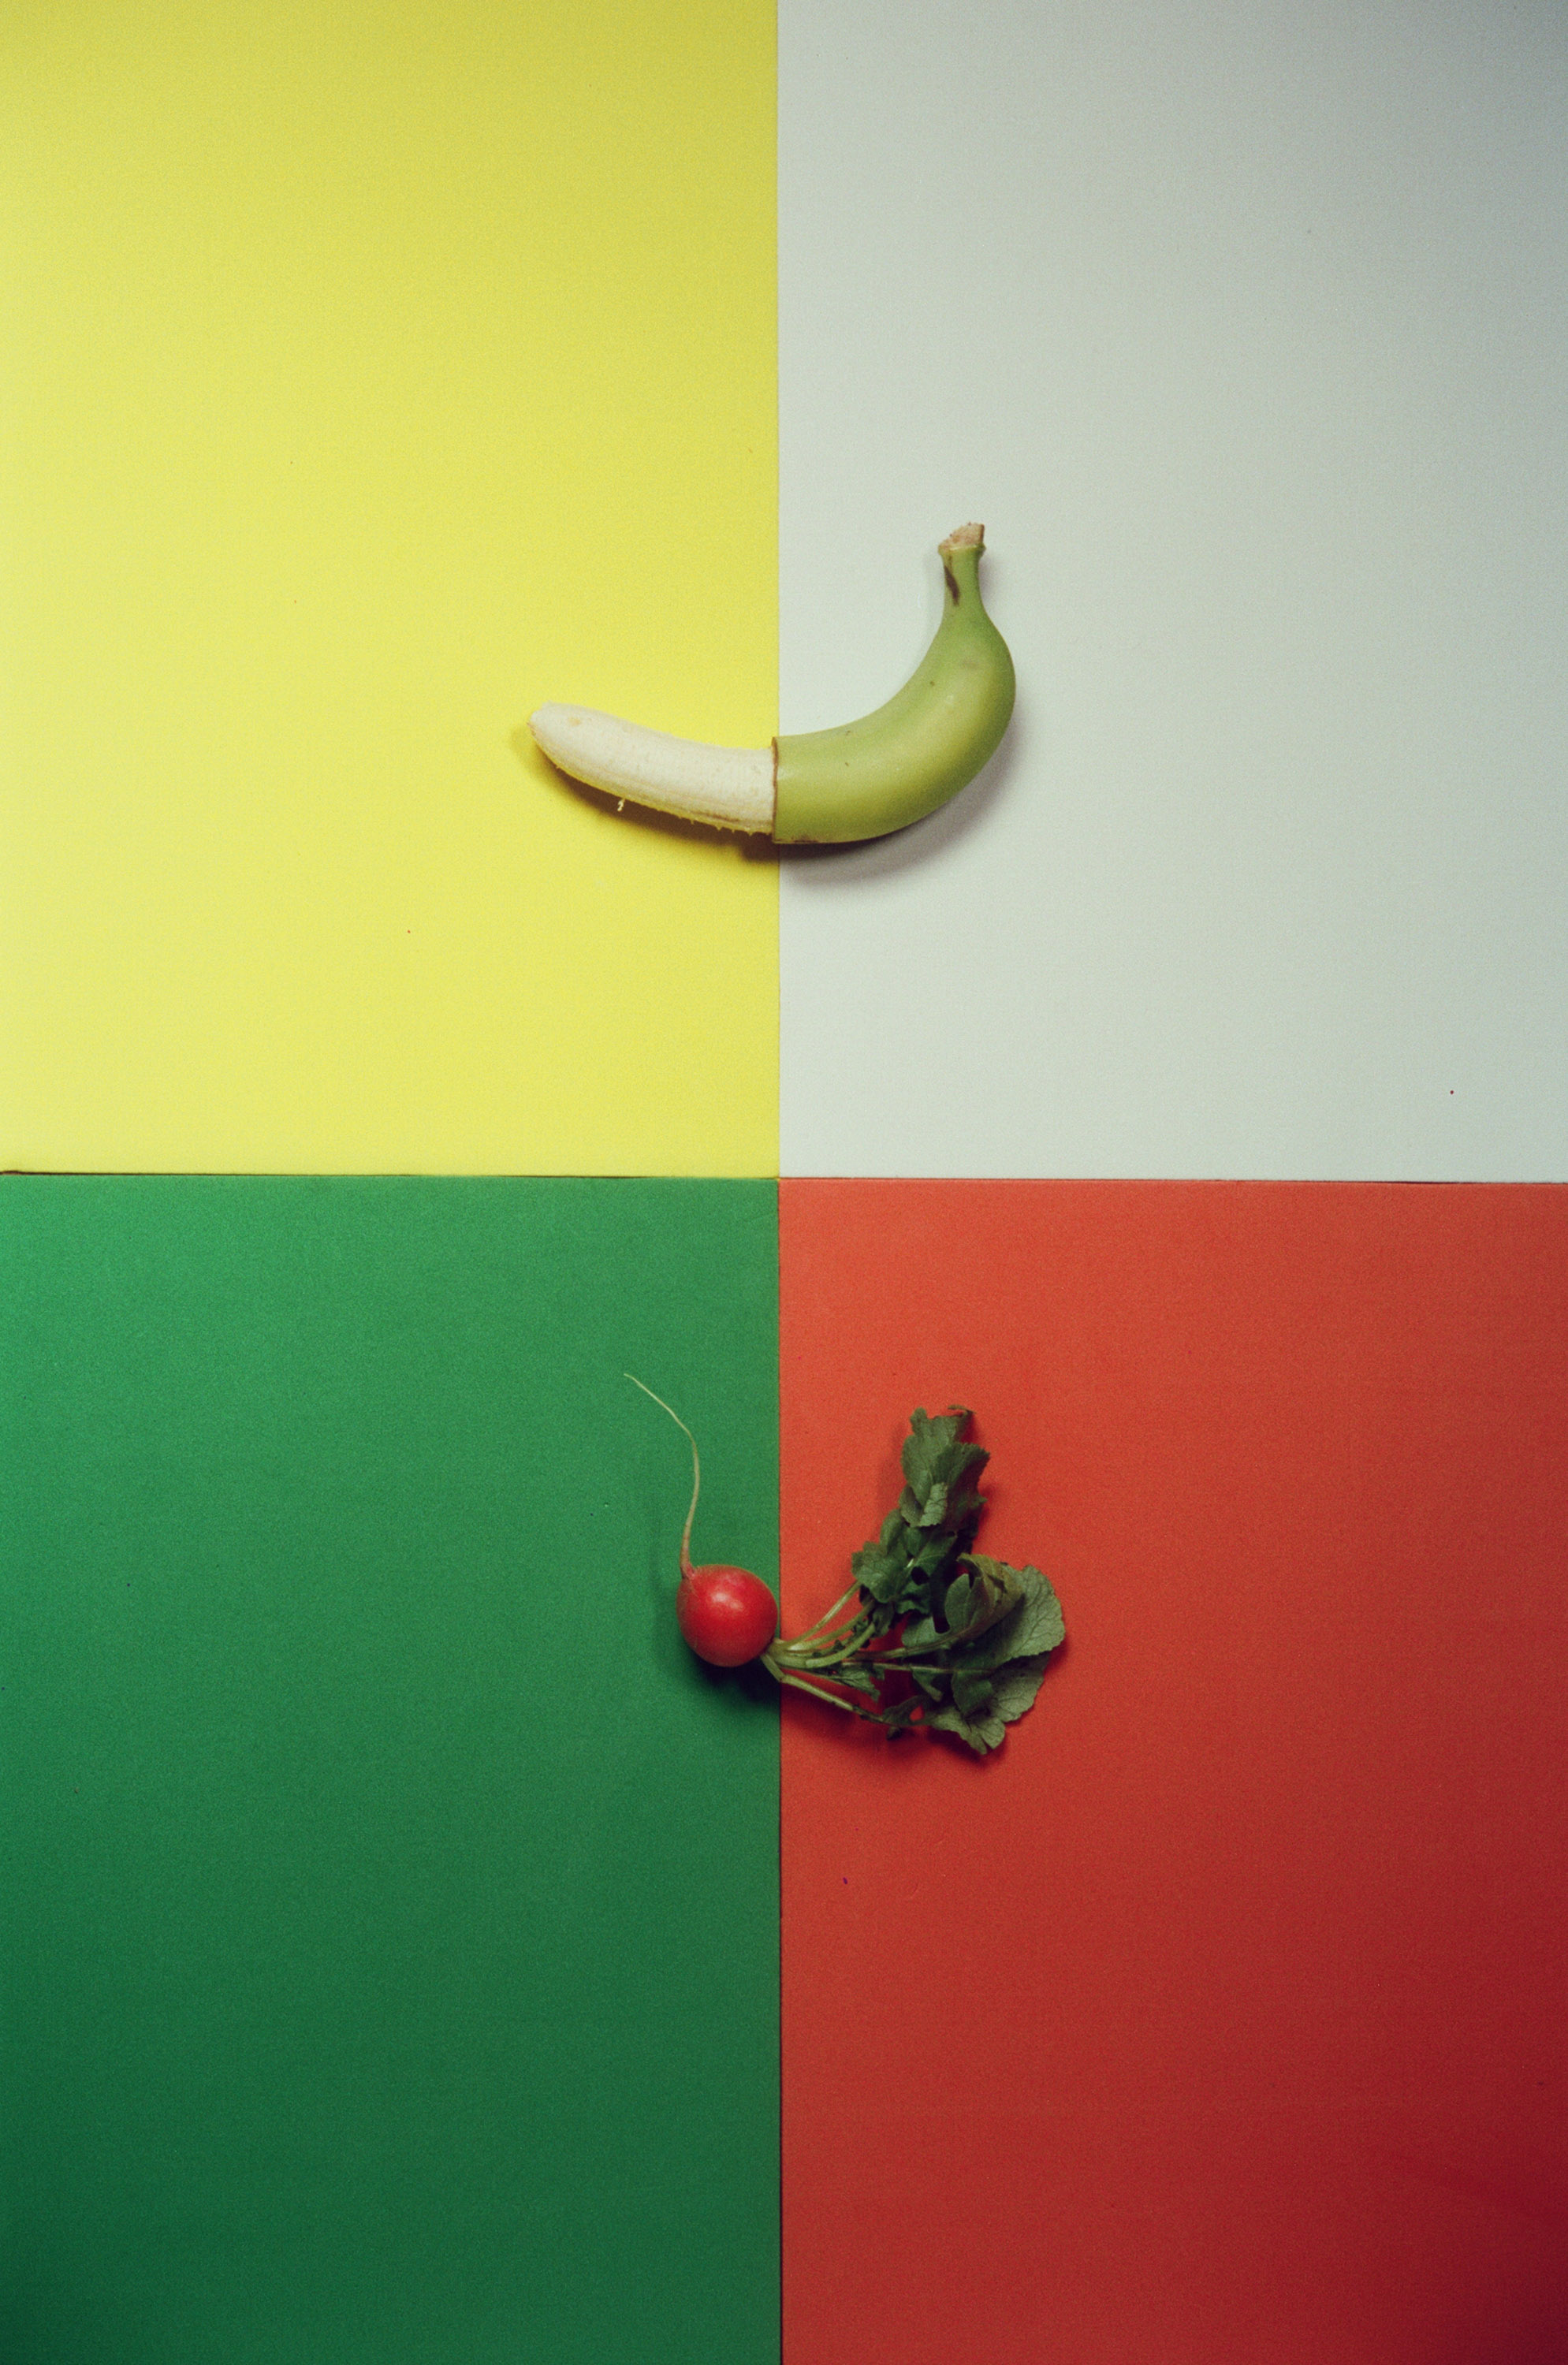
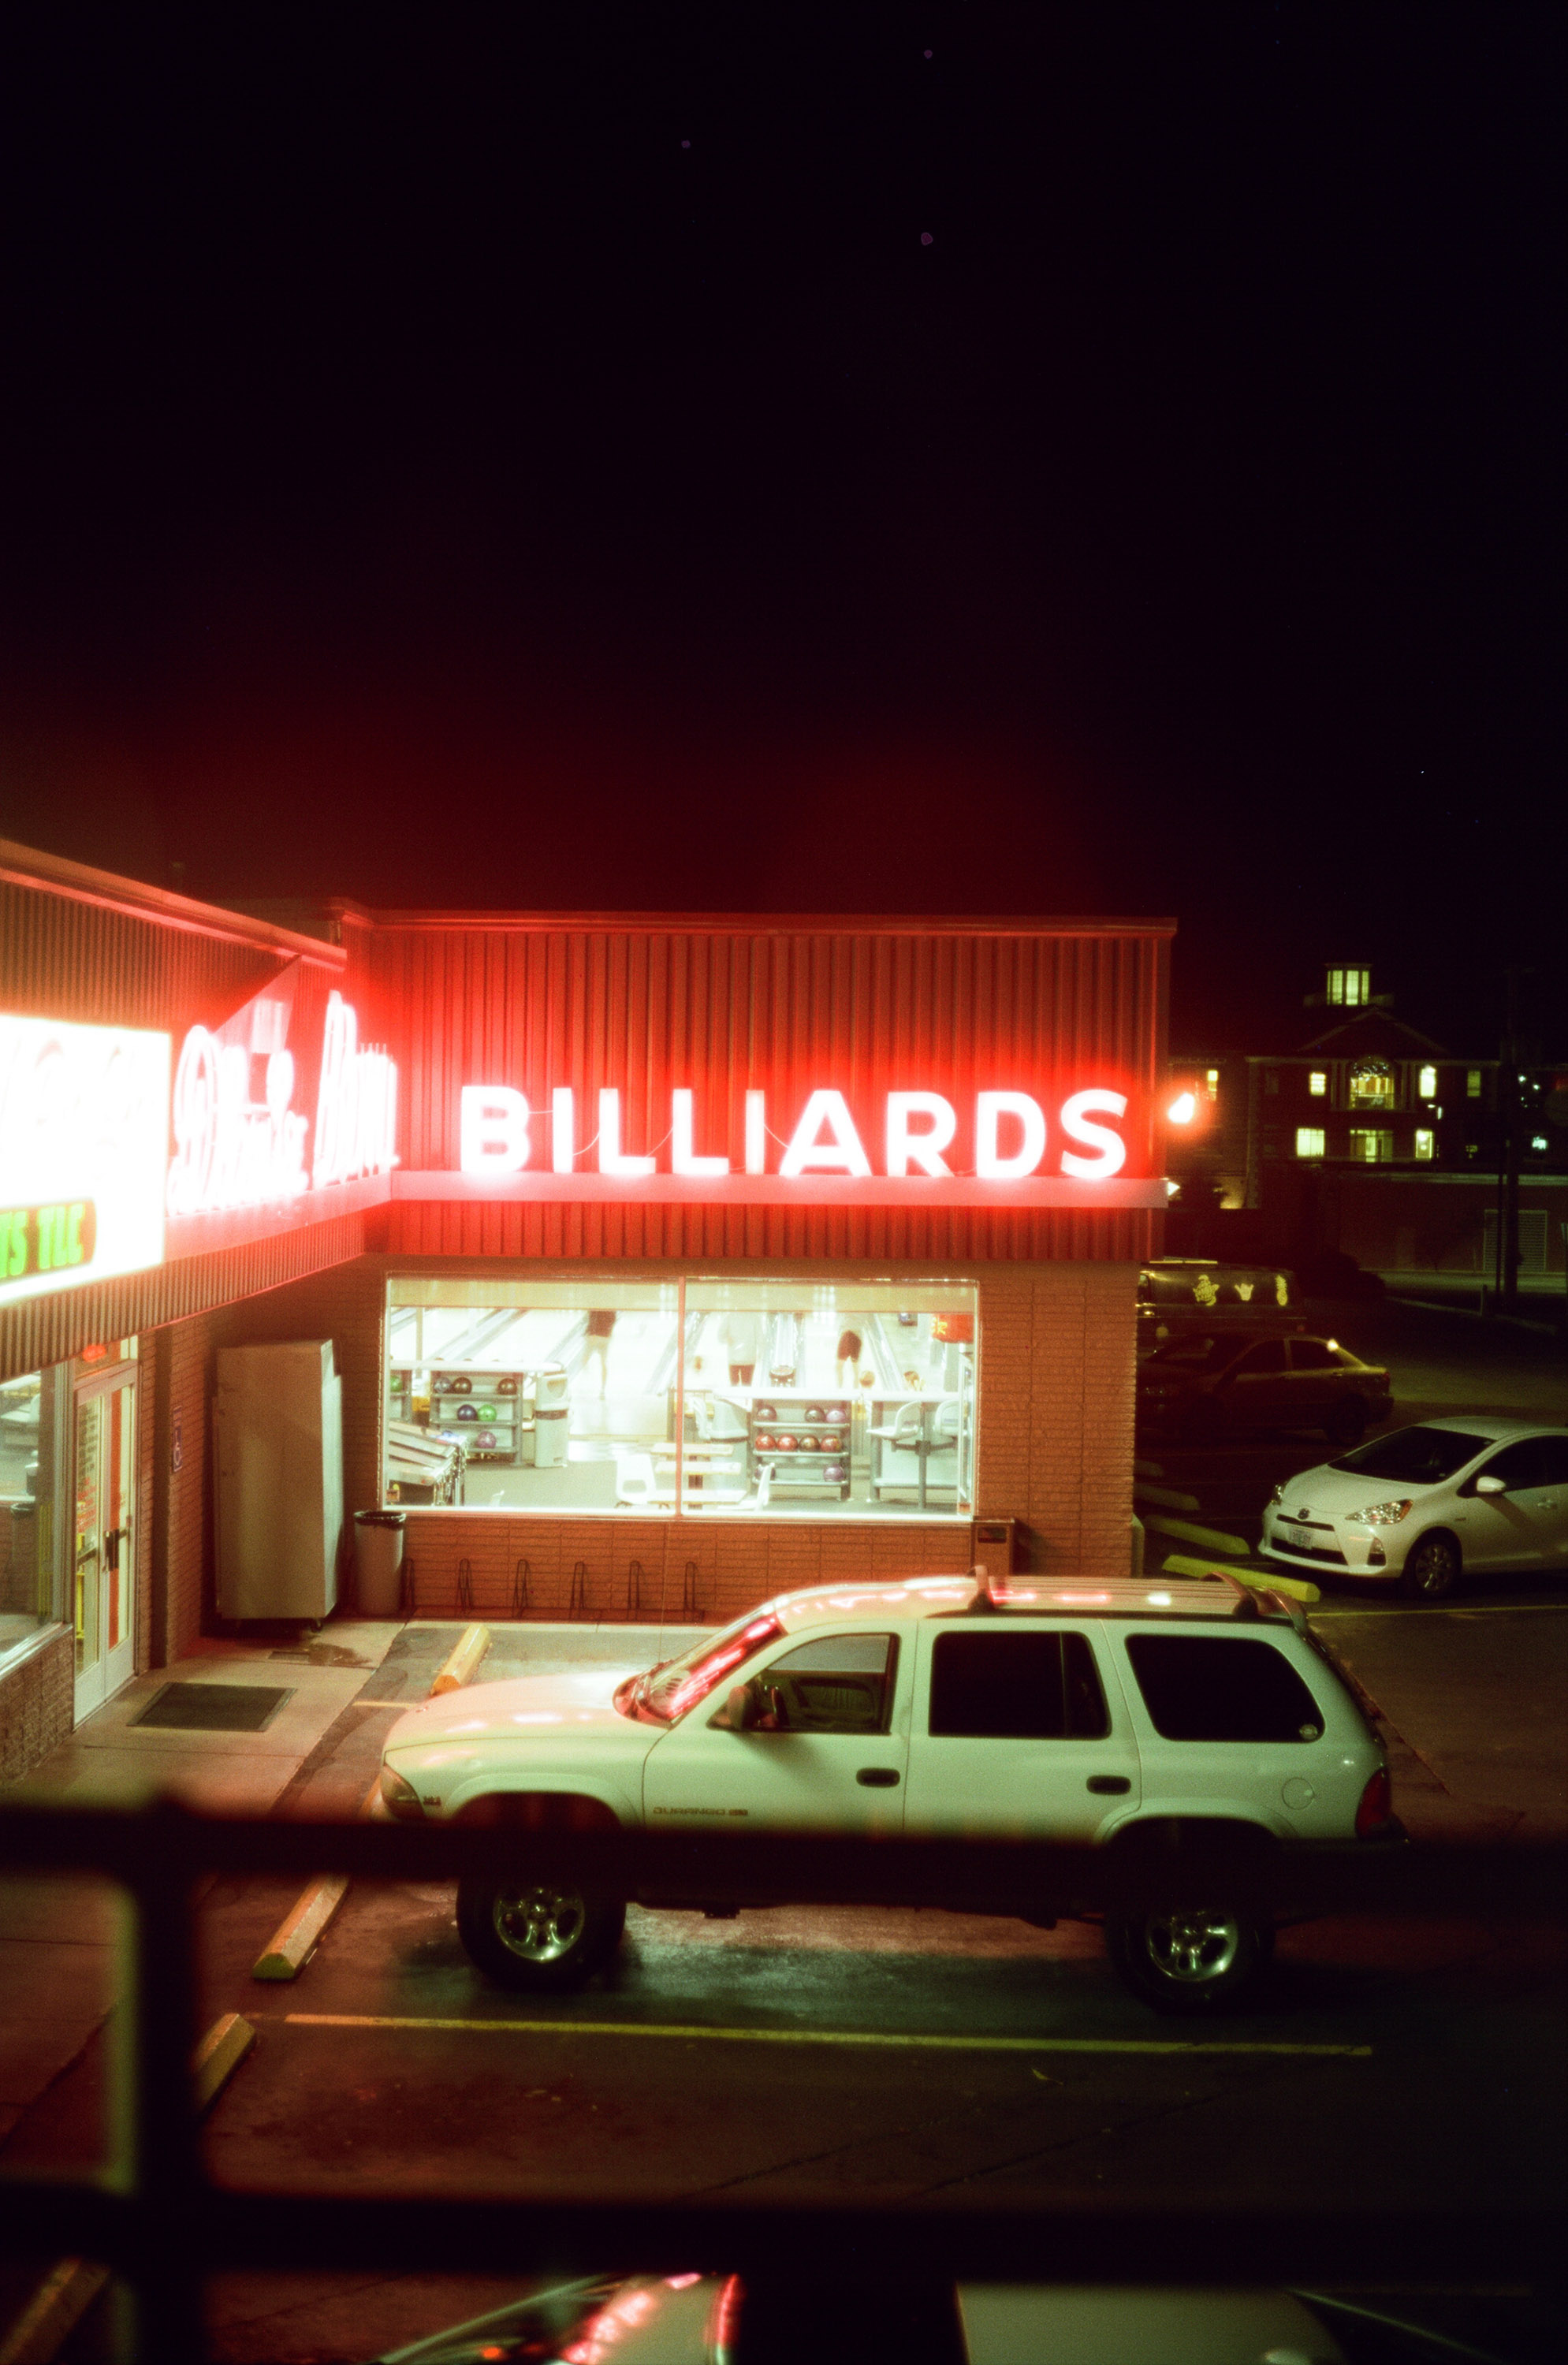
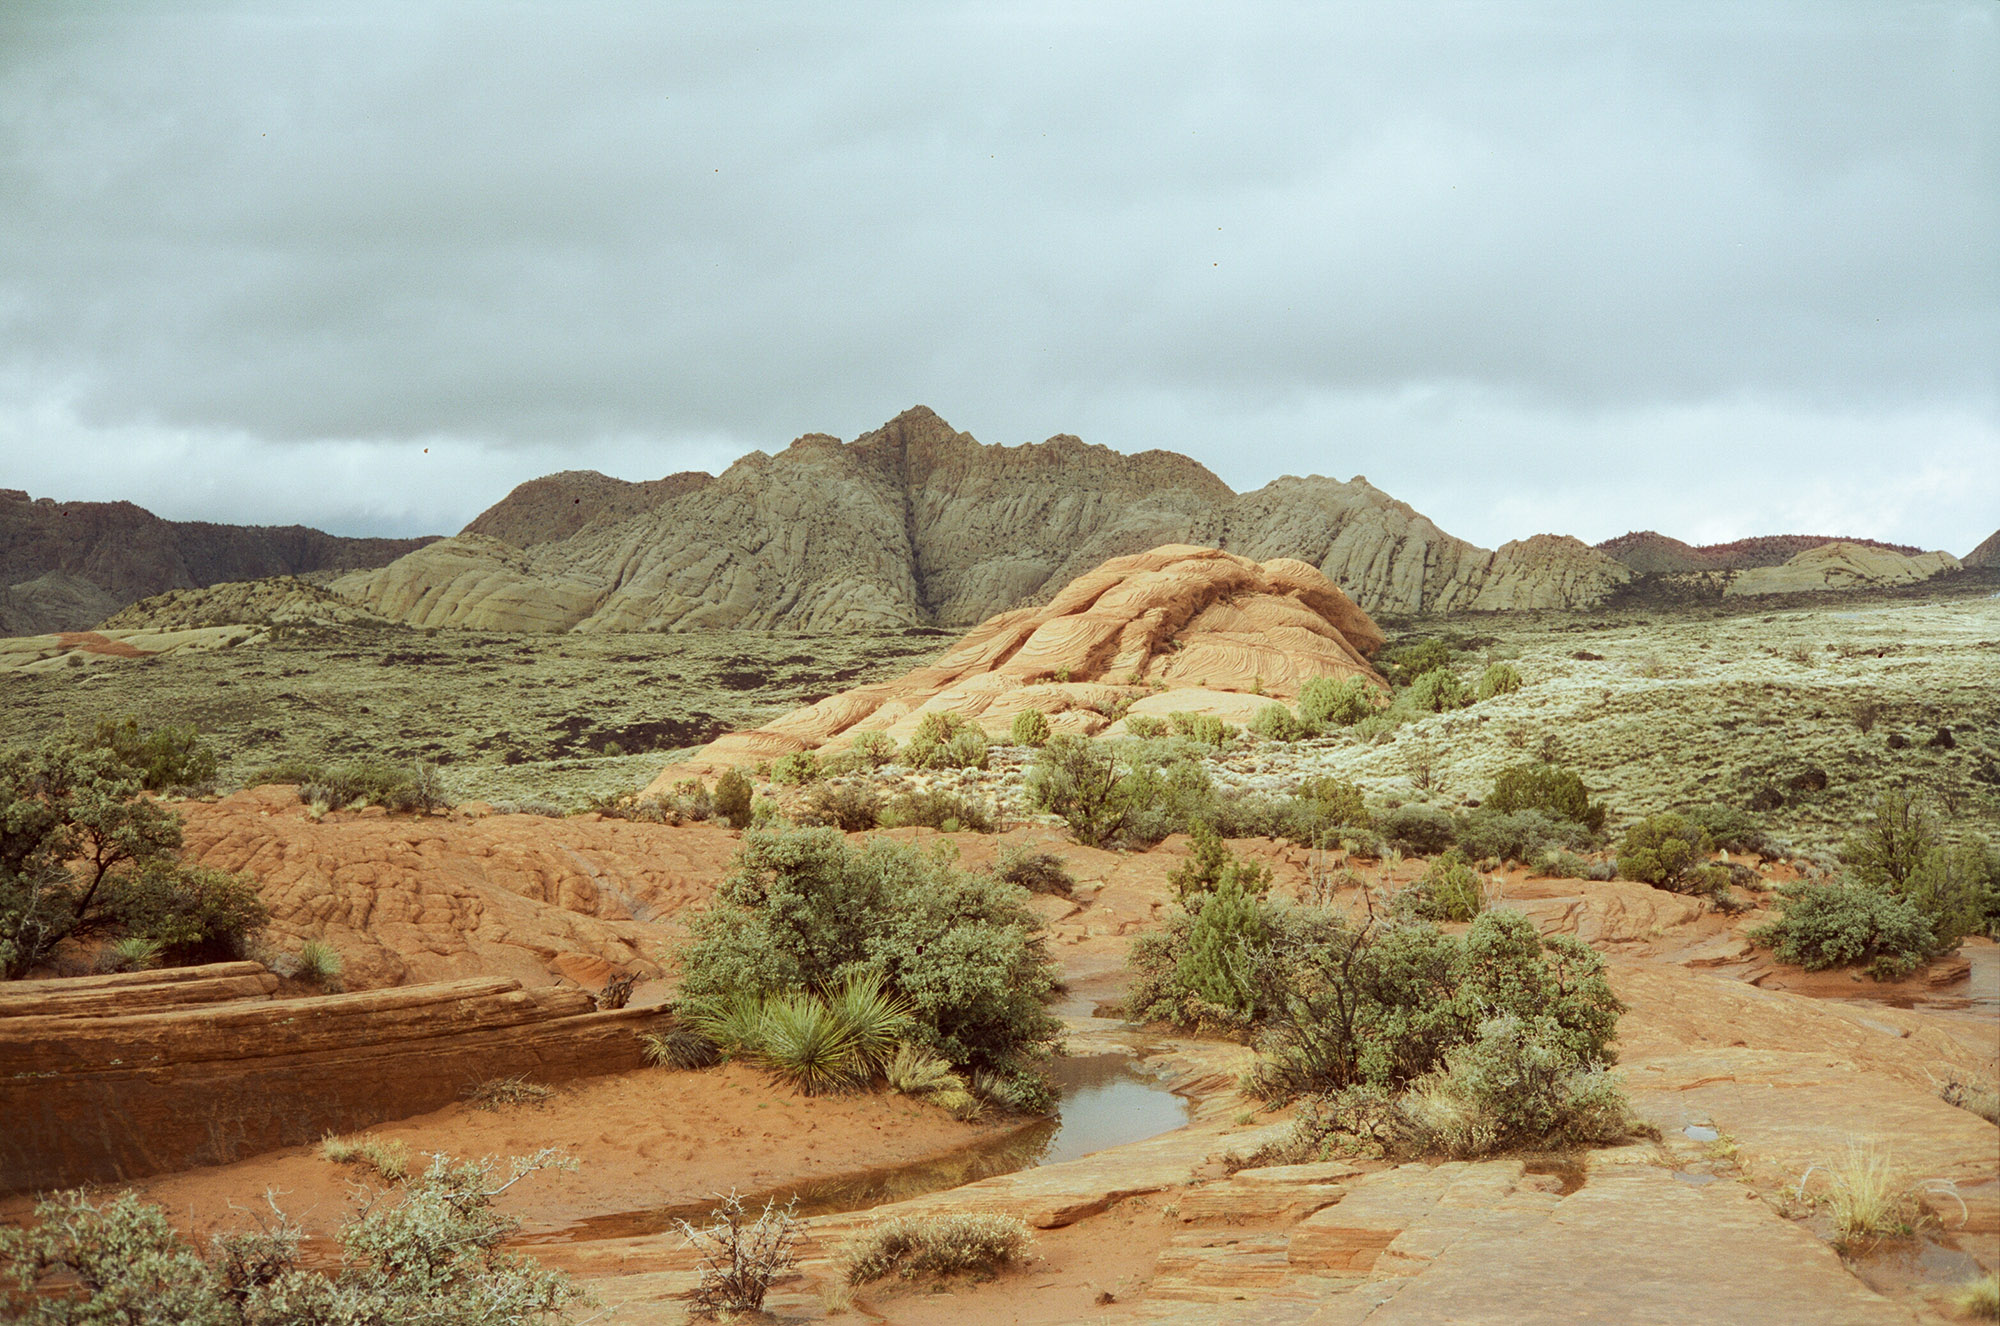
To make this blind comparison, I took, and will compare three identical shots, each taken on the nine emulsions discussed in this video. You’ll be able to compare these photos “blind”, meaning you won’t know which stock is which ahead of time. I’ll also talk through some of the differences from my perspective. This will be especially interesting to you newer film shooters looking to find a color film that fits best with your style of shooting, developing, and/or budget. But even if you’re a long-time film shooter, you may find it interesting.
To make things easier for you as you evaluate the photos, I’ve prepared a handy scoring sheet you can use to evaluate the films as we go through the blind test. To use it, and this is important, you’ll need to make a copy of my template. Please don’t send me a request to edit my copy. I can’t give you permission to edit the template. You need to make a copy of mine so you can edit it to your heart’s content. To do that, in Google Docs file menu, go to File -> Make a copy. The scoring sheet will help you prioritize the aspects of color film that are most important and unique to you and your shooting needs. So the first thing you’ll do is go along the top and rate how important each evaluation criteria are to you. First rate how important color is. Note that you’re not defining what is good color, only how important color is to you, in general.
Next you’ll do the same with contrast straight off a scan. For me, I actually prefer not very much contrast as I only scan, never enlarge, so I like fine tuning contrast in LR after I’ve scanned. Every time I do these comparisons I get traditionalists who are upset that I focus so much attention on scanning. To you folks, I would remind you that the same things that make a negative good for printmaking are also good things for scanning and just because I don’t go through the full enlarging process here doesn’t make this study less valid, even for folks who do.
Next you’ll rate acutance, the perceived sharpness of the film. Then you’ll want to rate how important the idea of grain is to you, though, here again, I would add here that you’re not necessarily stating what is good and bad for grain. Meaning some of you may like plenty of grain, others will prefer finely packed and smooth grain. Right now, that doesn’t matter. All you need to do is rate how important the idea of grain in your photos rates when you evaluate the film.
And finally, add a rating for price, latitude, and scannability. Those last three we’ll come back to. Feel free to leave the scores blank here for now, if you’re unsure how to score them. With each evaluation criteria evaluated, you’re now ready to begin the blind test. For this section we’ll go through three unique scenes, each film will be assigned a letter. You’ll evaluate each film for how well it does for each criteria, ignoring price and scannability for now.


If you’re still reading, I’ll assume you’ve gone through and rated the photos. And if that’s the case, it’s now time for the big reveal. Here are the names of the emulsions assigned to each letter:
A Fujifilm C200
B Fujifilm Superia Xtra 400
C Fujifilm Pro 400h
D Kodak Ektar 100
E Kodak GC/UltraMax 400
F Kodak Gold 200
G Kodak Portra 160
H Cinestill 50d
I Kodak ColorPlus 200
You’ll also find that in the scoring sheet I provided, if you expand the hidden column, column B, this will also reveal the names of the films for easier reference, going forward. And now that we know which film is which, we can look at the final three factors to consider on the scoring sheet. I’ve included some defaults here, but these may require some adjustment based on where you live and some of your own observations or research regarding these films. I don’t claim that my scoring is perfect here. If you live in the US and it’s still 2019, these are the current price of the film per frame. This doesn’t include the price of development or scanning:
| A – Fujifilm C200 | 8¢ |
| B – Fujifilm Superia Xtra 400 | 9¢ |
| C – Fujifilm Pro 400h | 27¢ |
| D – Kodak Ektar 100 | 22¢ |
| E – Kodak GC/UltraMax 400 | 12¢ |
| F – Kodak Gold 200 | 12¢ |
| G – Kodak Portra 160 | 19¢ |
| H – Cinestill 50d | 30¢ |
| I – Kodak ColorPlus 200 | 10¢ |
For the scoring sheet under price, I’ve included some default pricing scoring that are informed by these prices per frame in the US. For everyone else, you’ll want to do your own research.
For those who are new to film, latitude is a term we use when we’re discussing how over or under exposed a film can be and still be “pleasant”. Of course, this score is not perfect and a lot of it has to do with taste. Many of these films suffer from color shifting when over- or under-exposing, which some find more appealing than others with certain films. But these scores represent the average latitude values I’ve been able to research from other reviewers, or as reported by the film manufacturers. A higher score here means a film is more flexible and forgiving. Street photographers, for example, my prefer a more forgiving film as conditions are constantly changing while shooting. Whilst a landscape photographer who is taking their time might be ok with a film that requires more precise attention to appropriate exposure values.
Finally, I’ve got some numbers for you already on scannability. Not everyone will scan themselves, so this may not even be an issue for you. But if you plan to develop and scan yourself, this basically is just how flat a film will lay for you on a scanner. So you’ve got some scores and you have some idea if what you would like to shoot. But before you go out and buy a bunch of boxes, you may be interested in hearing a quick rundown on each film, their strengths and weaknesses, and who each was designed for.
First, let’s talk about the more budget or consumer films for Fuji. In many ways Fuji c200 and Fuji Superia Xtra 400 are very similar. A commonality among Fuji films is cooler tones than Kodak and propensity toward greens in the shadows and, in some cases green overtones in general. This is due to the fact that Fuji films have an extra layer in their emulsions which tends to be cyan-green.
Fuji C200


With Fuji c200 skin tones seem to be brighter or have more luminosity than other films. The magentas are quite saturated, and in the highlights and midtones the pallet leans magenta in general. This film is also very punchy or contrasty. As I mentioned, the shadows have a lot of green in them and, to my eye, they don’t look particularly good when underexposed or when you try to recover in post. This film seems to do best when exposed for the shadows and maybe even shot at 100 rather than 200. As far as grain goes, to me it’s surprisingly noisy for a 200 speed film. And as far as sharpness, it feels a bit muddy, not really a particularly crisp film. But the strength of c200 is in its latitude, which is very wide. It is able to be overexposed up to three stops and underexposed one stop before you’ll start to see problems.
Fuji Superia X-tra 400


Fuji Superia x-tra 400, as I said, is very much a sibling to c200 and shares its color philosophy. To me it is slightly more muted than c200, but like c200, there are a lot of greens in the shadows and everything seems quite yellow when underexposed, In general it’s probably a film you don’t want to underexpose if you don’t like the look. This film seems to do really well in lots of light and high dynamic range. The skin tones can be nice, but with particularly white skin in light that is even a shade warm, they tend to go quite pink. It’s definitely a grainy film, as to be expected for a 400 speed budget film. But it seems to have ok edge sharpness. Fuji’s official exposure latitude says it can be over-exposed by two stops. But most ardent Fuji Superia reviews agree it can be pushed even higher. But like most films, or maybe even more than most, under-exposing can do bad things to this film. Owing to its low price point and faster speed or increased light sensitivity, Superia is the film of choice for many street photographers.
Now let’s take a look at Kodak’s competing budget films and see how they differ from Fujifilm’s. In general, you can count on Kodak’s color science leaning much further into the warm tones than Fuji, and just in case you need a reminder, you can look to the tones in the packaging as they seem to reflect this differing color philosophy
Kodak Color Plus 200


Competing directly with Fuji’s c200, Kodak’s Color Plus 200 is Kodak’s cheapest color option. For a Kodak film, its tones are a bit cooler than what I remember seeing in reality. But the tones stay surprisingly true in indoor situations with less than ideal light. The highlights seem to have a red hue. The skin tones seem true to life, if not a bit more contrasty than some of Kodak’s other films. Color Plus is not a sharp film and, as expected for a budget film, very grainy. It’s latitude is wide, but maybe slightly less so than Kodak Gold 200. Since it’s extremely cheap, Color Plus is also a common film to see among street photographers.
Kodak Gold 200


While it’s also a 200 speed film, most photographers will agree Kodak Gold is a higher quality and more accurate film than Color Plus. While not considered a “professional” film, many photographers consider it the quintessential Kodak Film, the “gold” standard, if you will. To me it’s sort of like what Tri-x is to black and white film. There seems to be a strong trend amongst street photographers who use Kodak Gold to over-expose it a couple stops for a very warm look that no other film can quite create. It also can be underexposed maybe slightly more than the cheaper Fuji films. Though, some may disagree.
To me the colors do seem very accurate, though the shadows have a slight blue hint. Skin tones are natural and flat, not overly contrasty nor too much red in the highlights like some of the other, cheaper films. It doesn’t seem particularly sharp, and while it’s certainly a grainy film it feels tolerable to me.
Kodak Ultramax 400


Kodak Ultramax is Kodak’s 400 speed color film. The film is largely very true to color and will be less punchy than Fuji’s Superia 400 and exhibit less color shifting. The film is surprisingly true to color except the one area that, personally, I care about the most, which is skin tones. And here, we find that Ultramax adds some reds to the highlights. The biggest drawback of Ultramax though is the grain, which you can really see in even slightly underexposed photos. Now we turn to the more professional color films.
Fuji Pro 400H


And first up we turn back to Fuji for a quick look at Fujifilm Pro 400h. Typical of Fuji negative films, things that I expect to be magenta seem to push toward the cooler end and we do see less saturation out of this film. However, the cyans still have a tad more yellow in them than do the other Fuji films we’ve discussed so far. The skin tones seem cooler to me but they are smooth, without some of the abrupt transitions to the highlights you see from many of the budget films. It’s also a flatter film than other Fuji films, not nearly as punchy. If your process includes scanning negatives rather than enlarging, this might be very ideal as it gives you more options in post. But if not, you can expect much more muted tones, with maybe just a bit more pop out of the greens.
Fuji pro 400h is a very versatile film and easy to work with, with a latitude that can be pushed extremely far both over and under exposure. And in addition to that, with 400h you get a bit of a level up with sharpness and tightness of grain over the cheaper Fuji films.
Kodak Portra 160


Competing with Fuji’s 400h is Kodak’s Portra line of films. Kodak Portra comes in 160, 400, and 800 speed versions, though shooting with all three varieties of Portra would just have been not feasible for me in these comparisons. That shouldn’t matter too much as these films were designed to be extremely similar at different speeds. Though if I were to do it again, I might have chosen Portra 400 as that would make things more easy to directly compare with Fuji Pro 400h. But, as it is, there will be more commonalities than differences between the various Portra films.
Portra 160 was specifically designed as a portrait and wedding film. Its priorities are accuracy and pleasant treatment in the skin, and a relatively flat profile that is good for scanning and printing alike. And true to its goals, I notice the skin tones are very kind to the face and the colors in general very true to life, though I do see a bit of yellow in the cyans and the overall color pallet is definitely muted compared to other films. The film has strong latitude in the mids and highlights, but the blacks tend to get a little lost.
Although I only tested Portra 160 here and I have no experience with the other varieties, I have heard that Portra 400 has slightly more acutance since the priority of 160 was smoother tonality in skin tones over biting sharpness and microcontrast. While reports vary and it depends on the actual quality of light, not just light amount, when determining the latitude of this film, this film will generally provide maybe three stops over and one stop under exposing. If you need more flexibility but like the look, you may have better luck with the even more flexible Portra 400.
Ektar 100
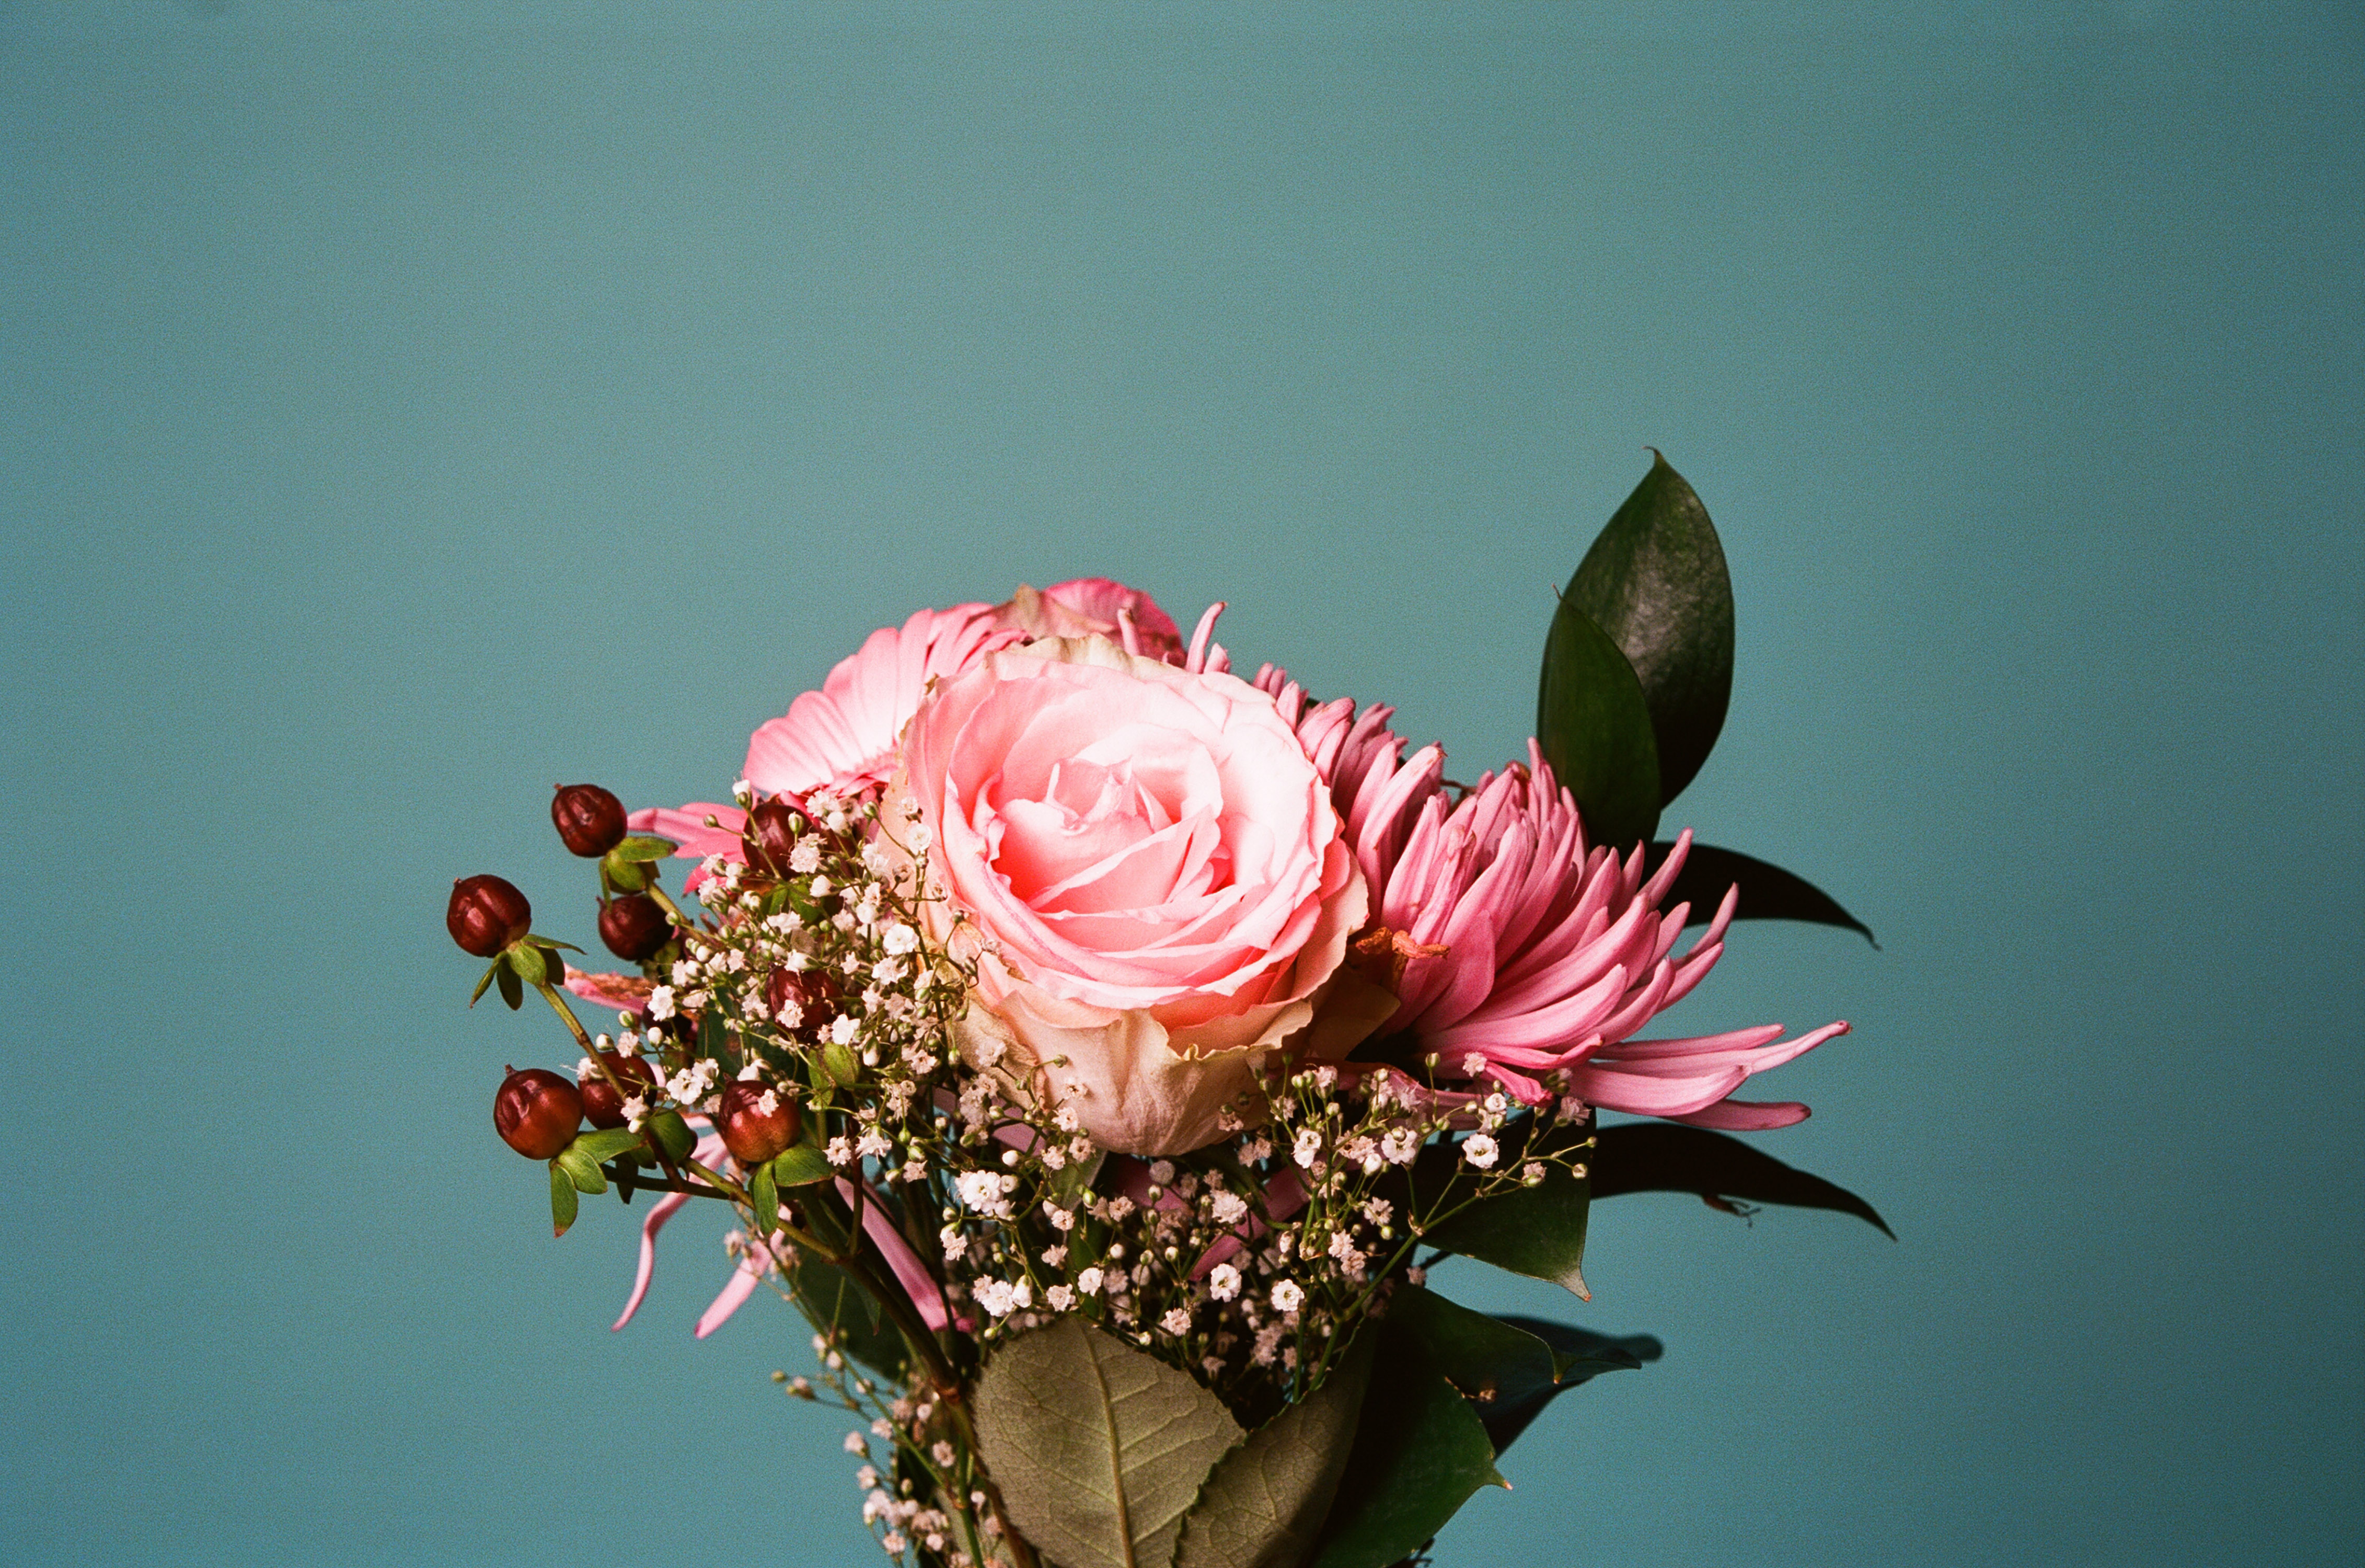


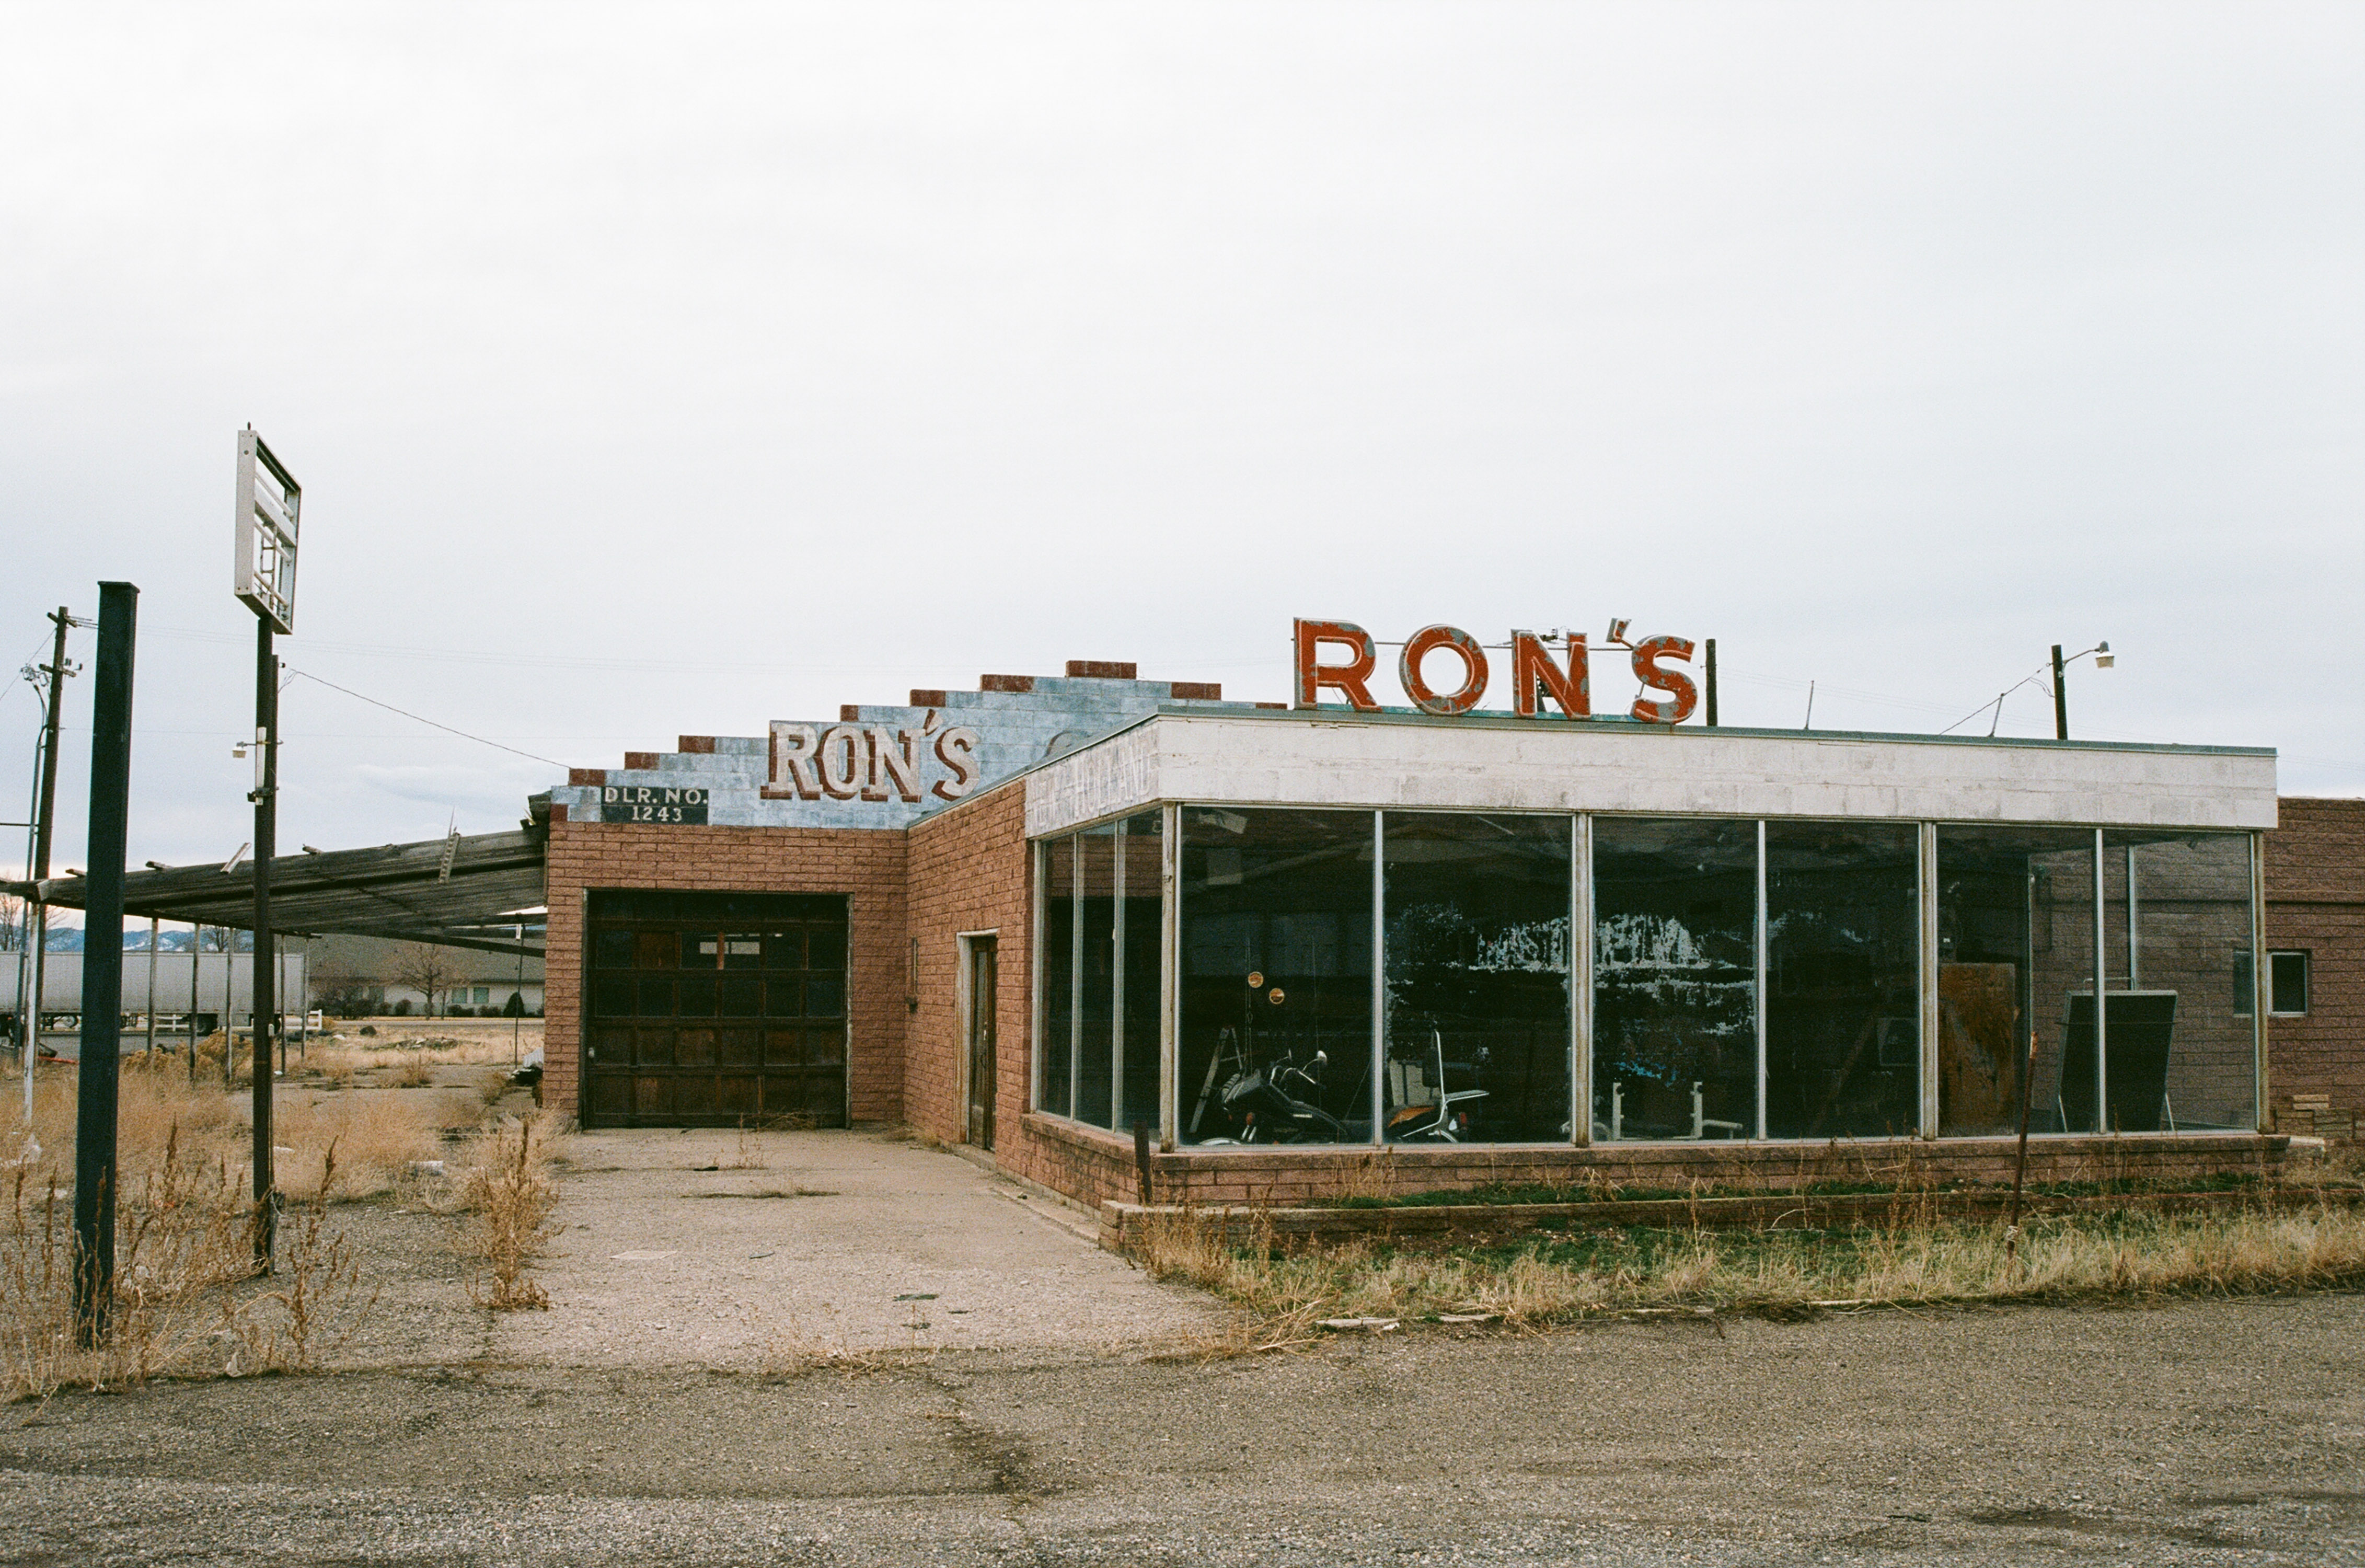
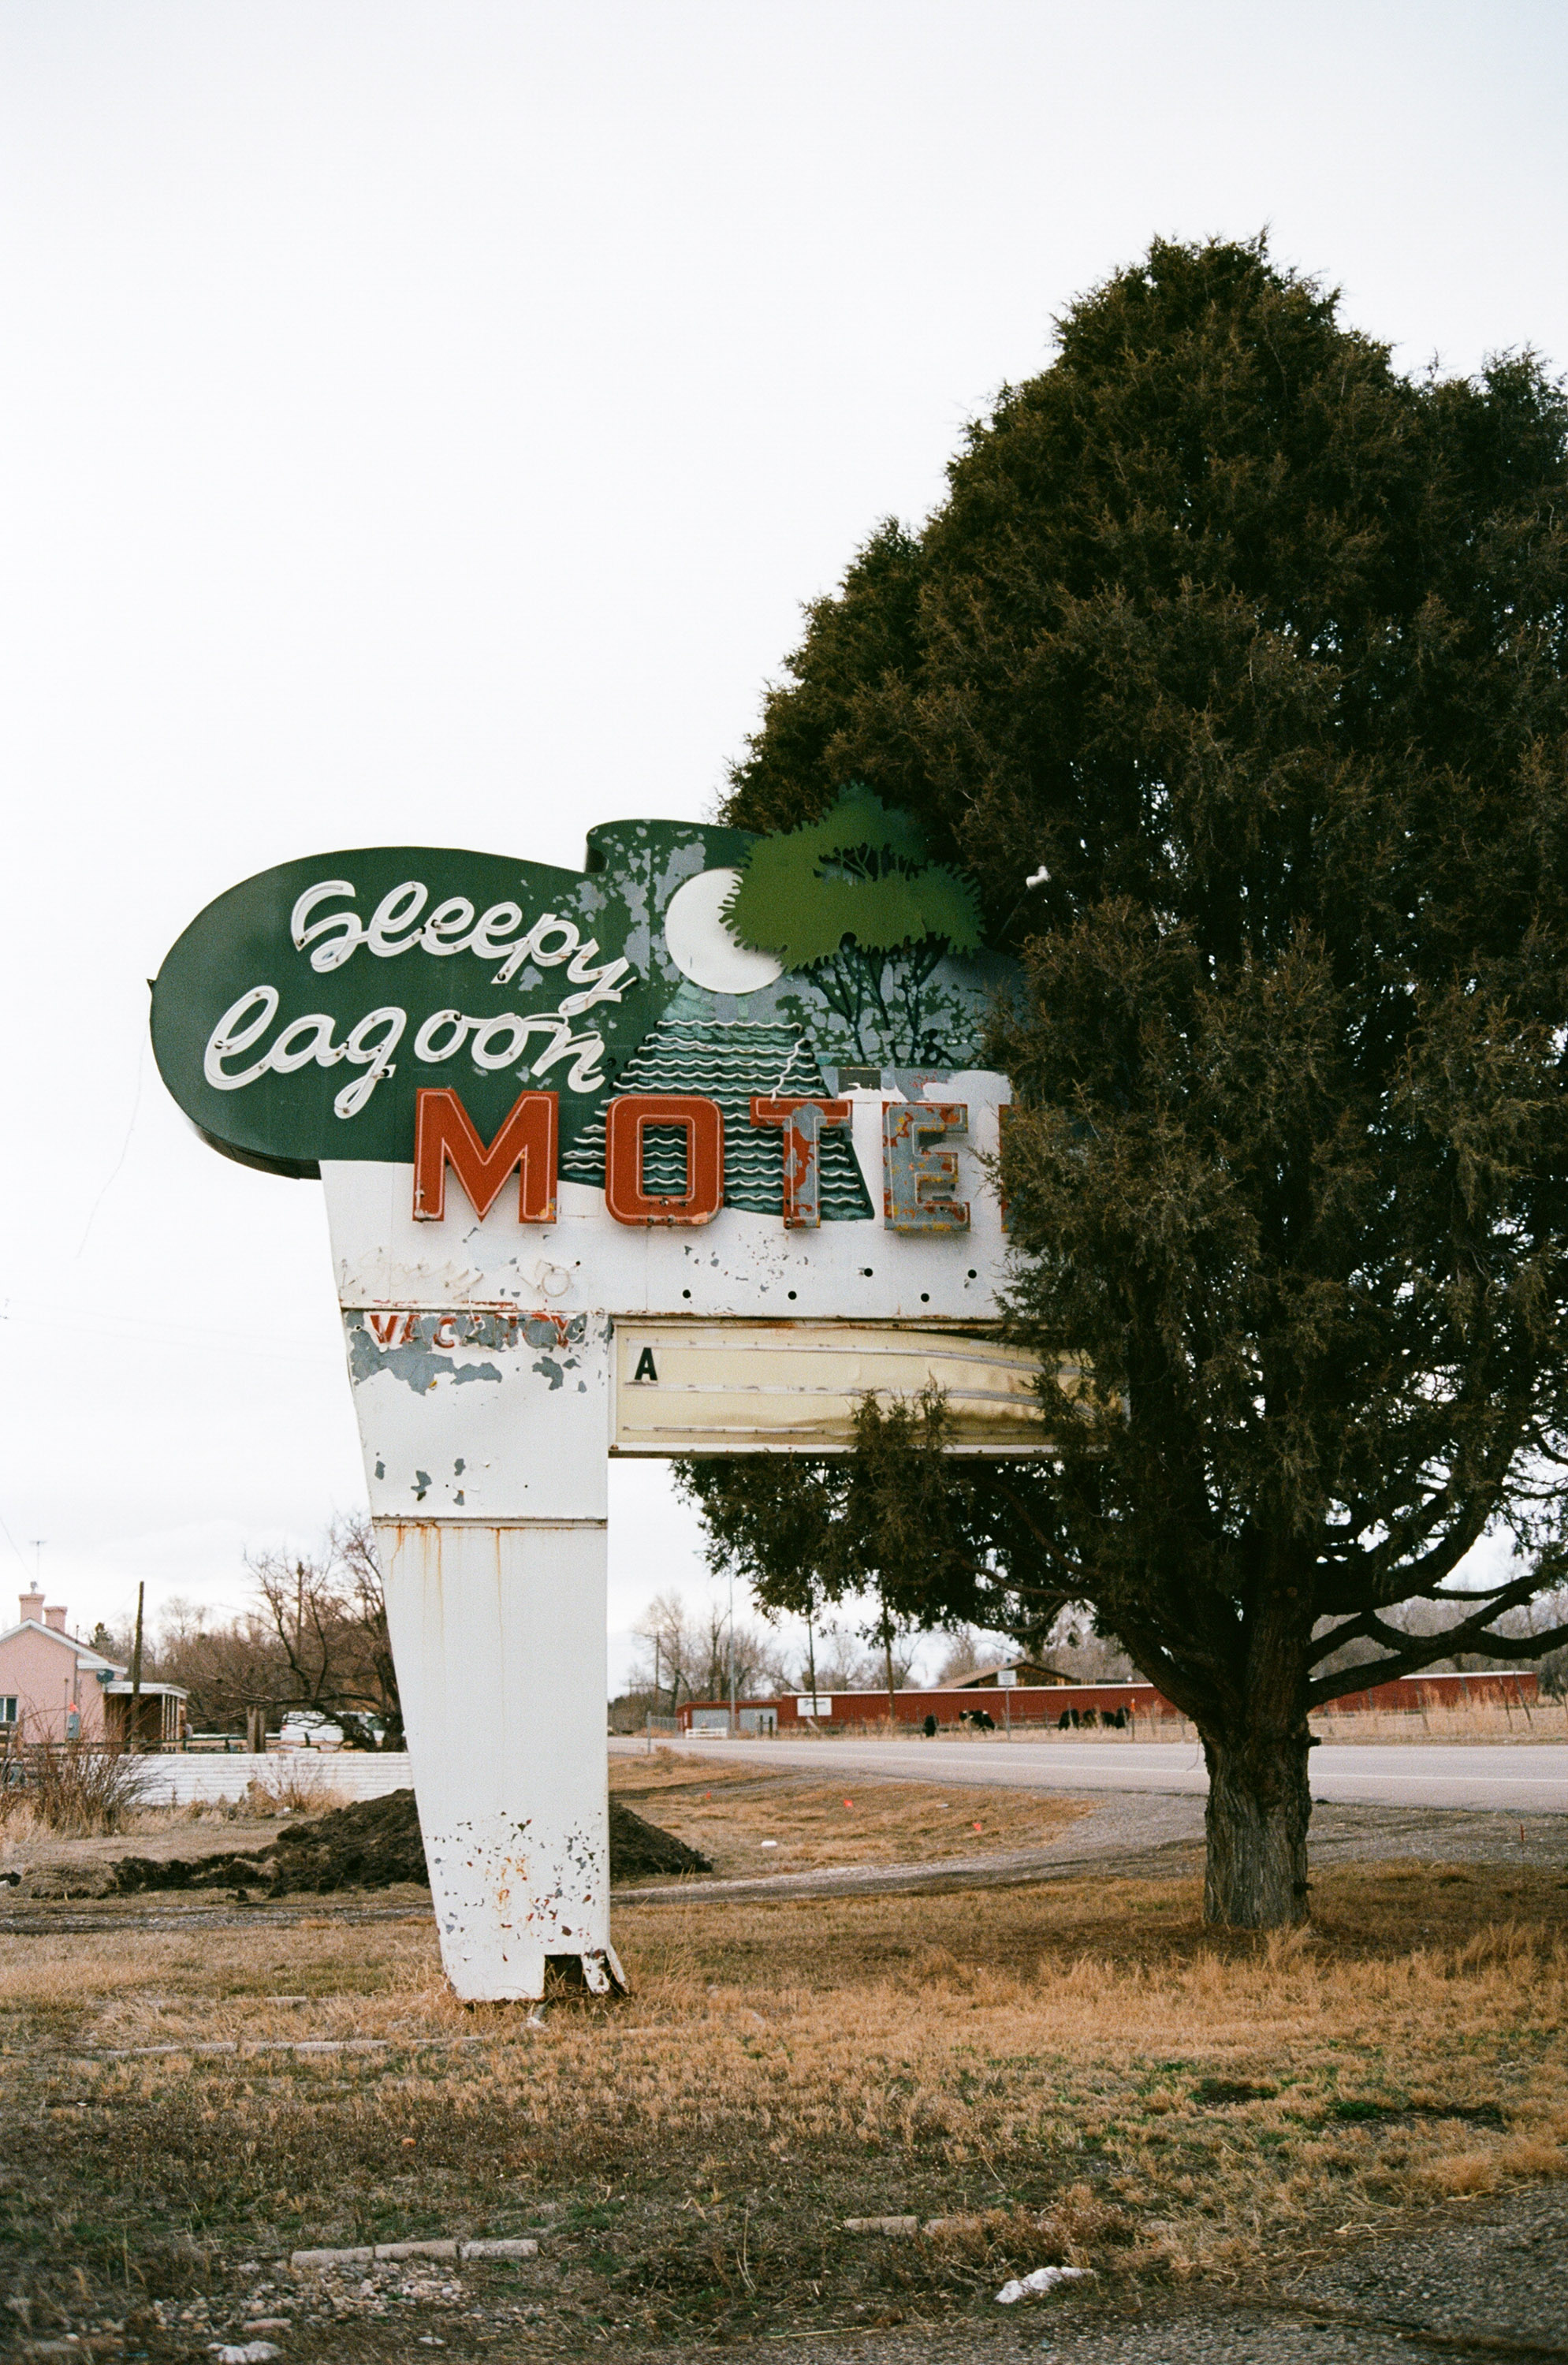


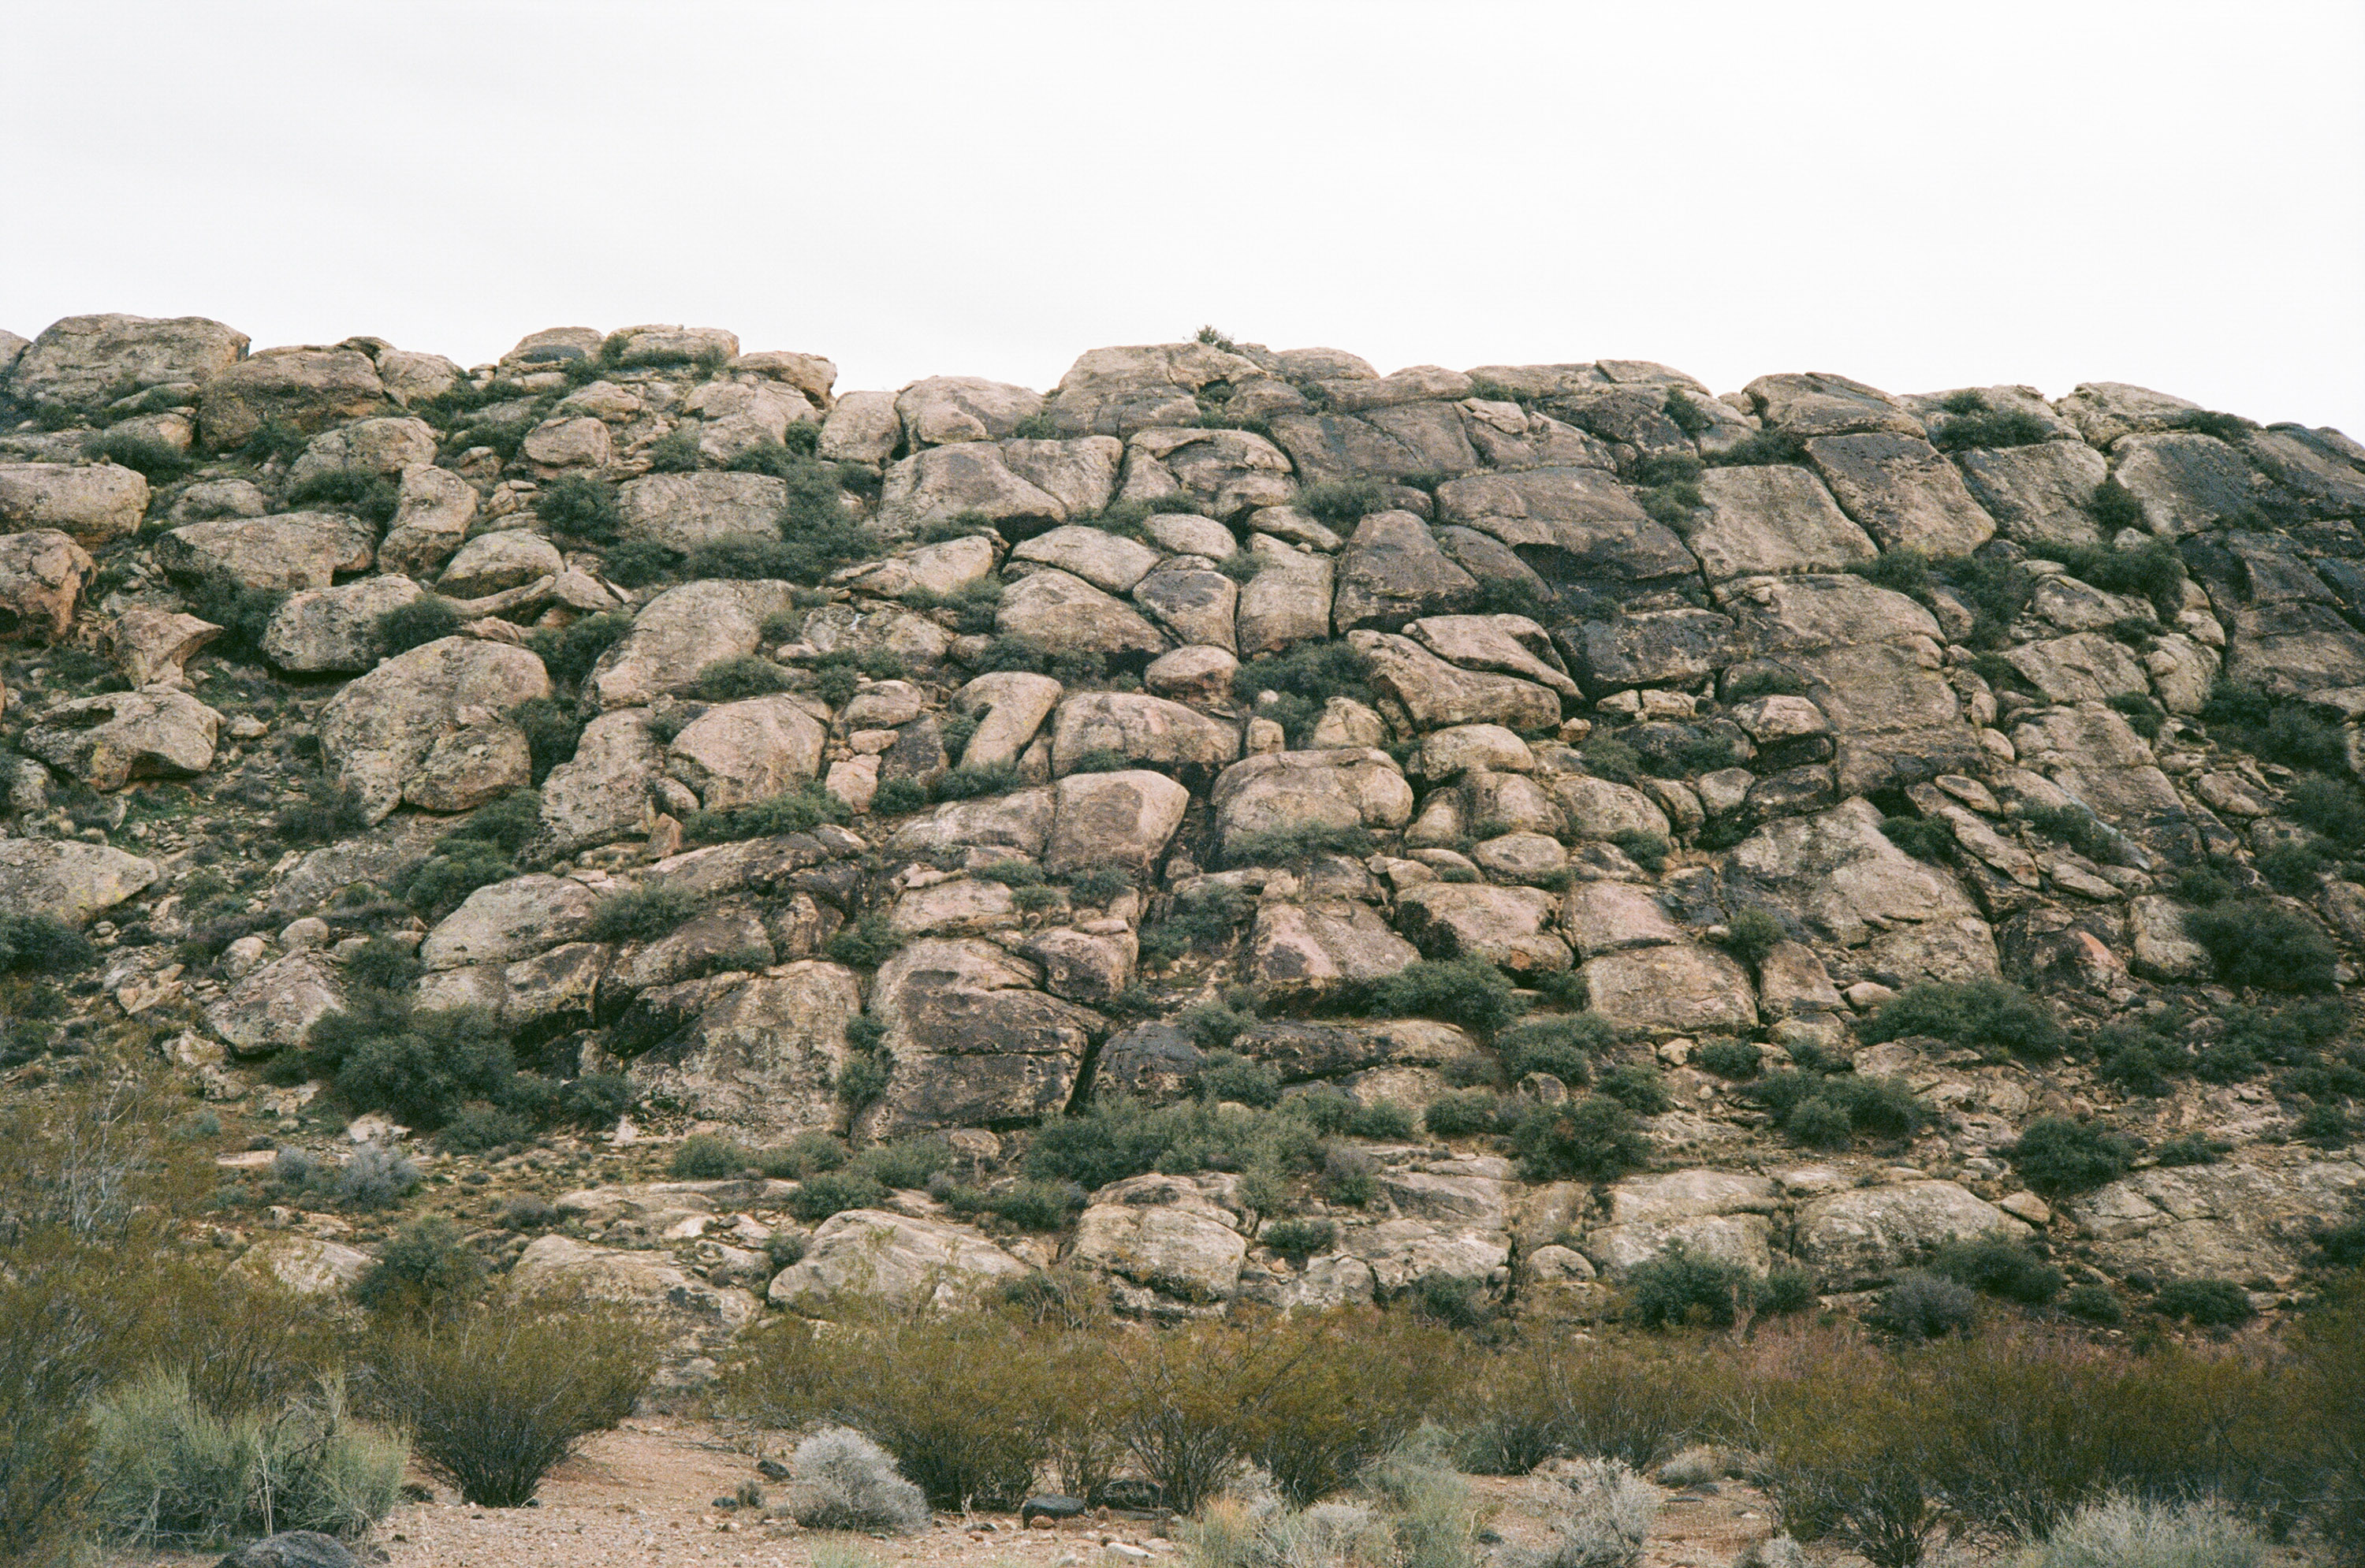
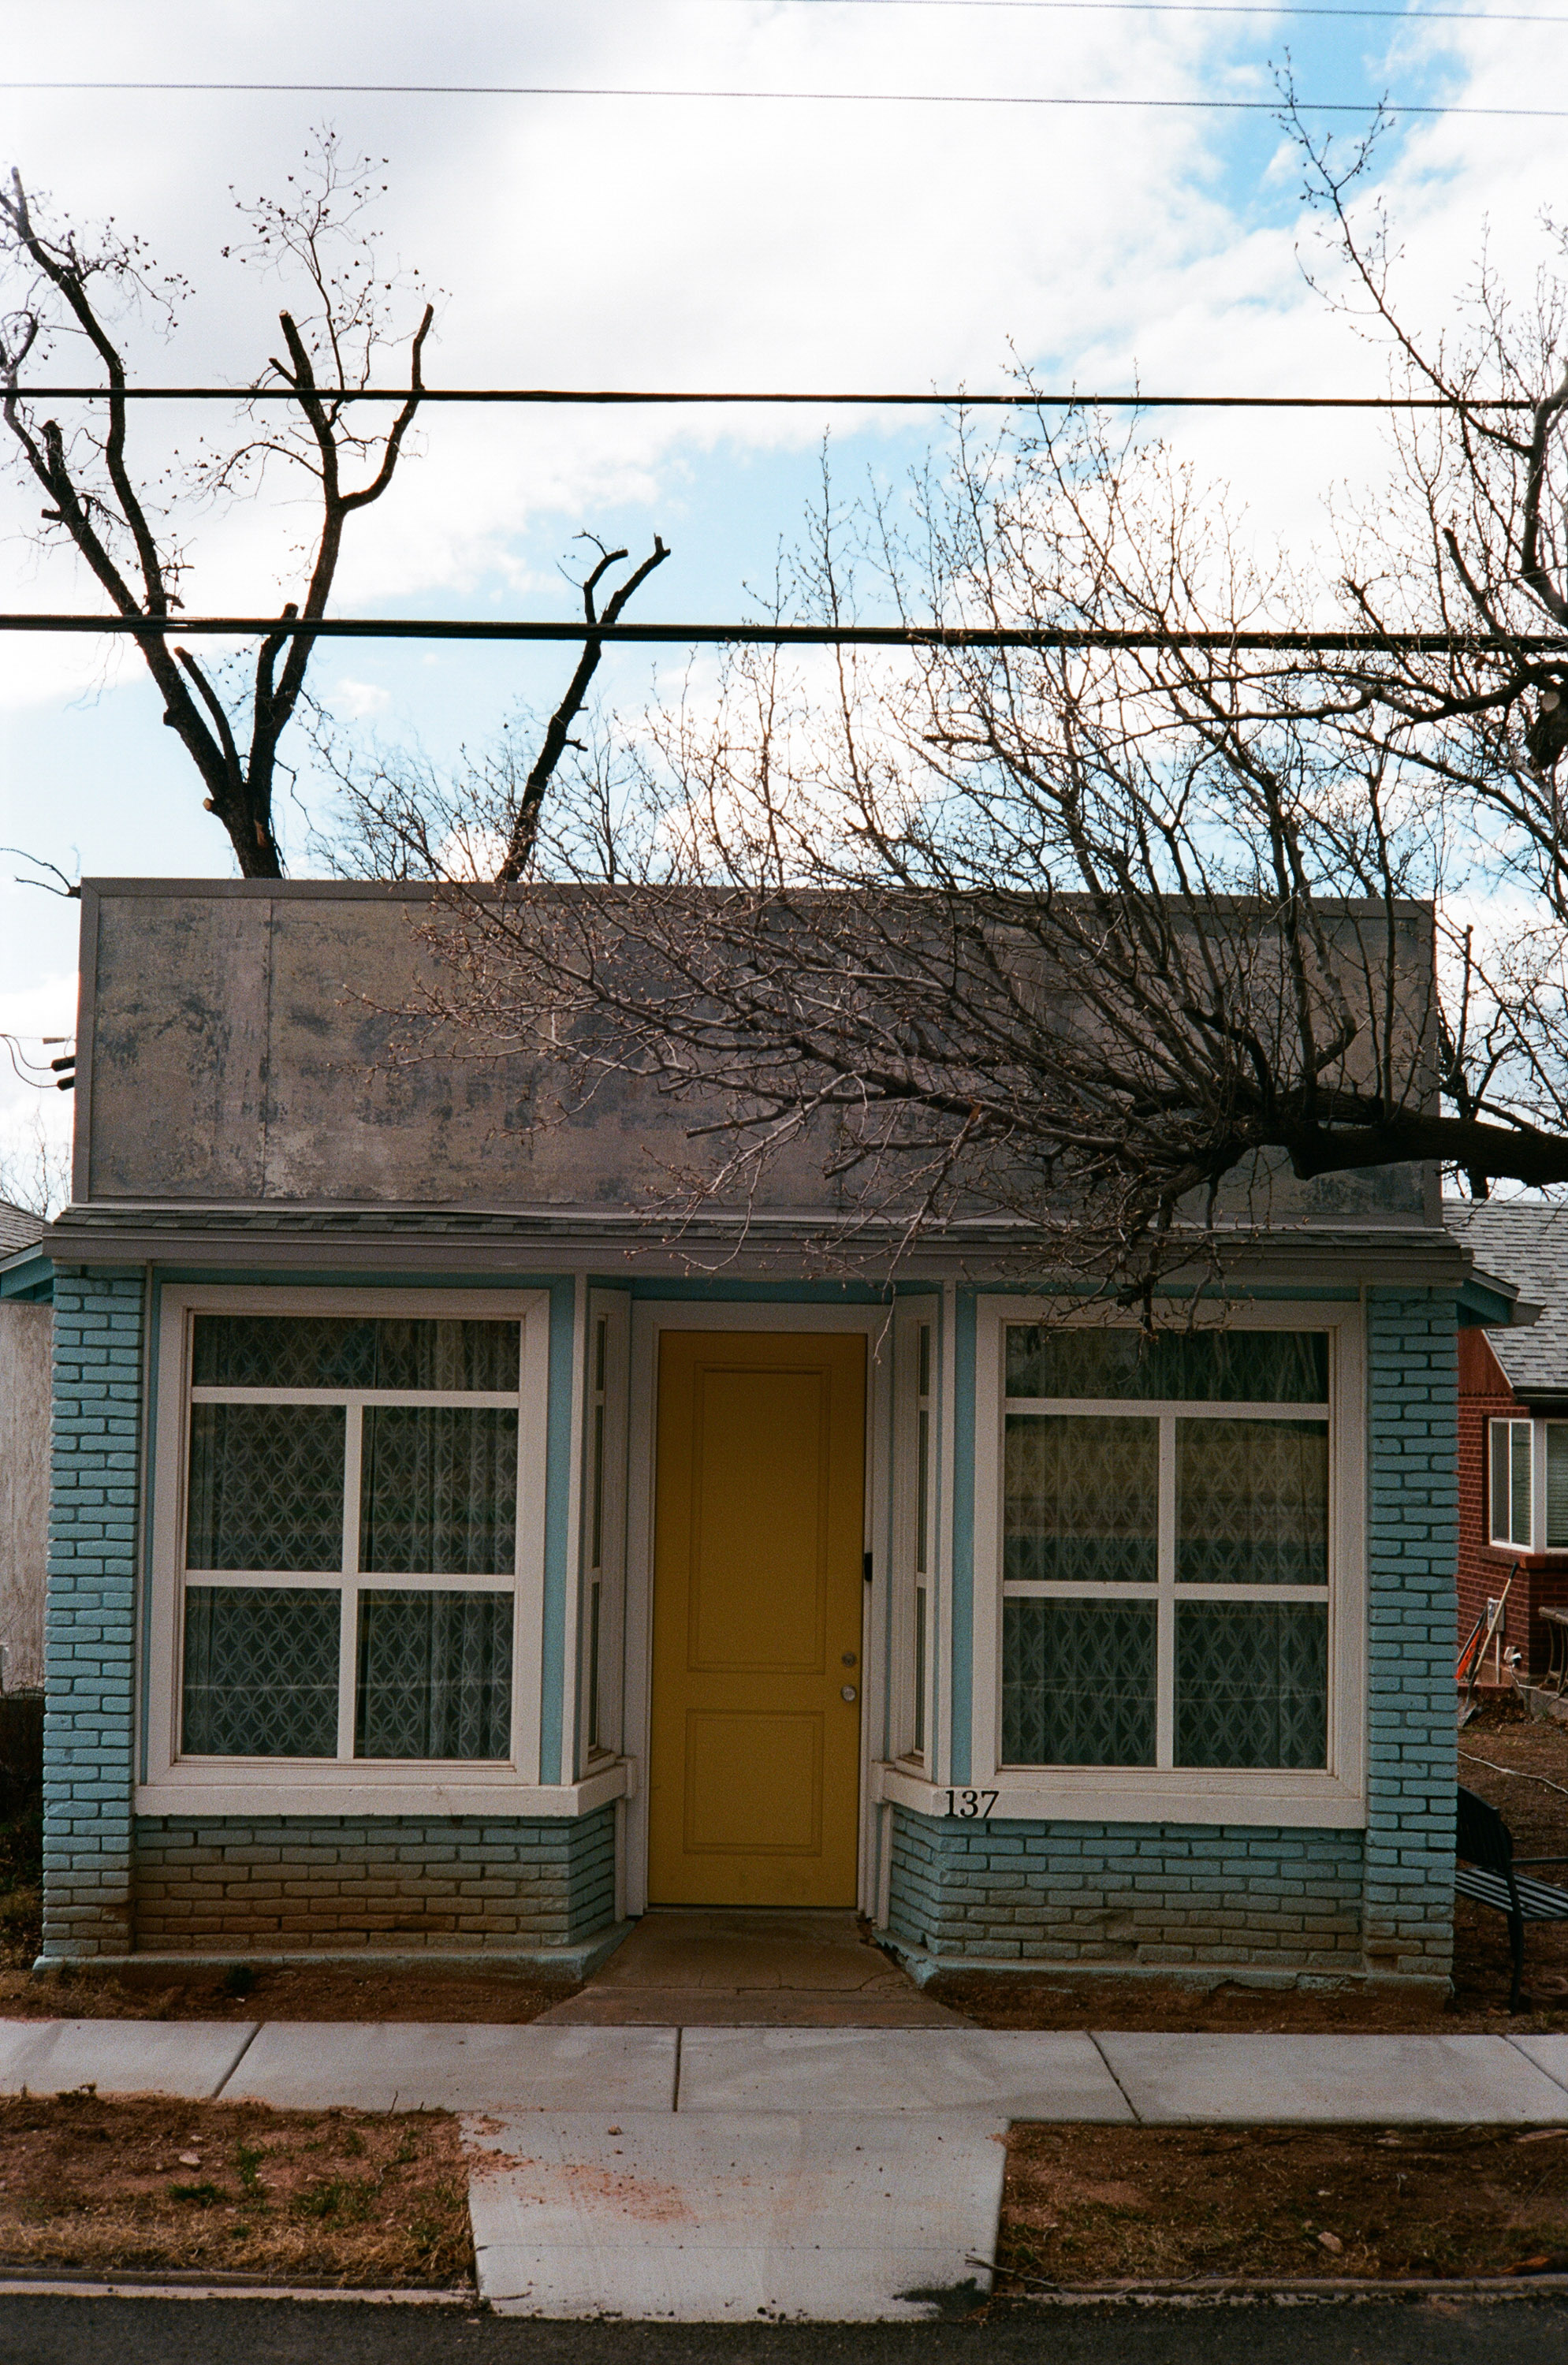

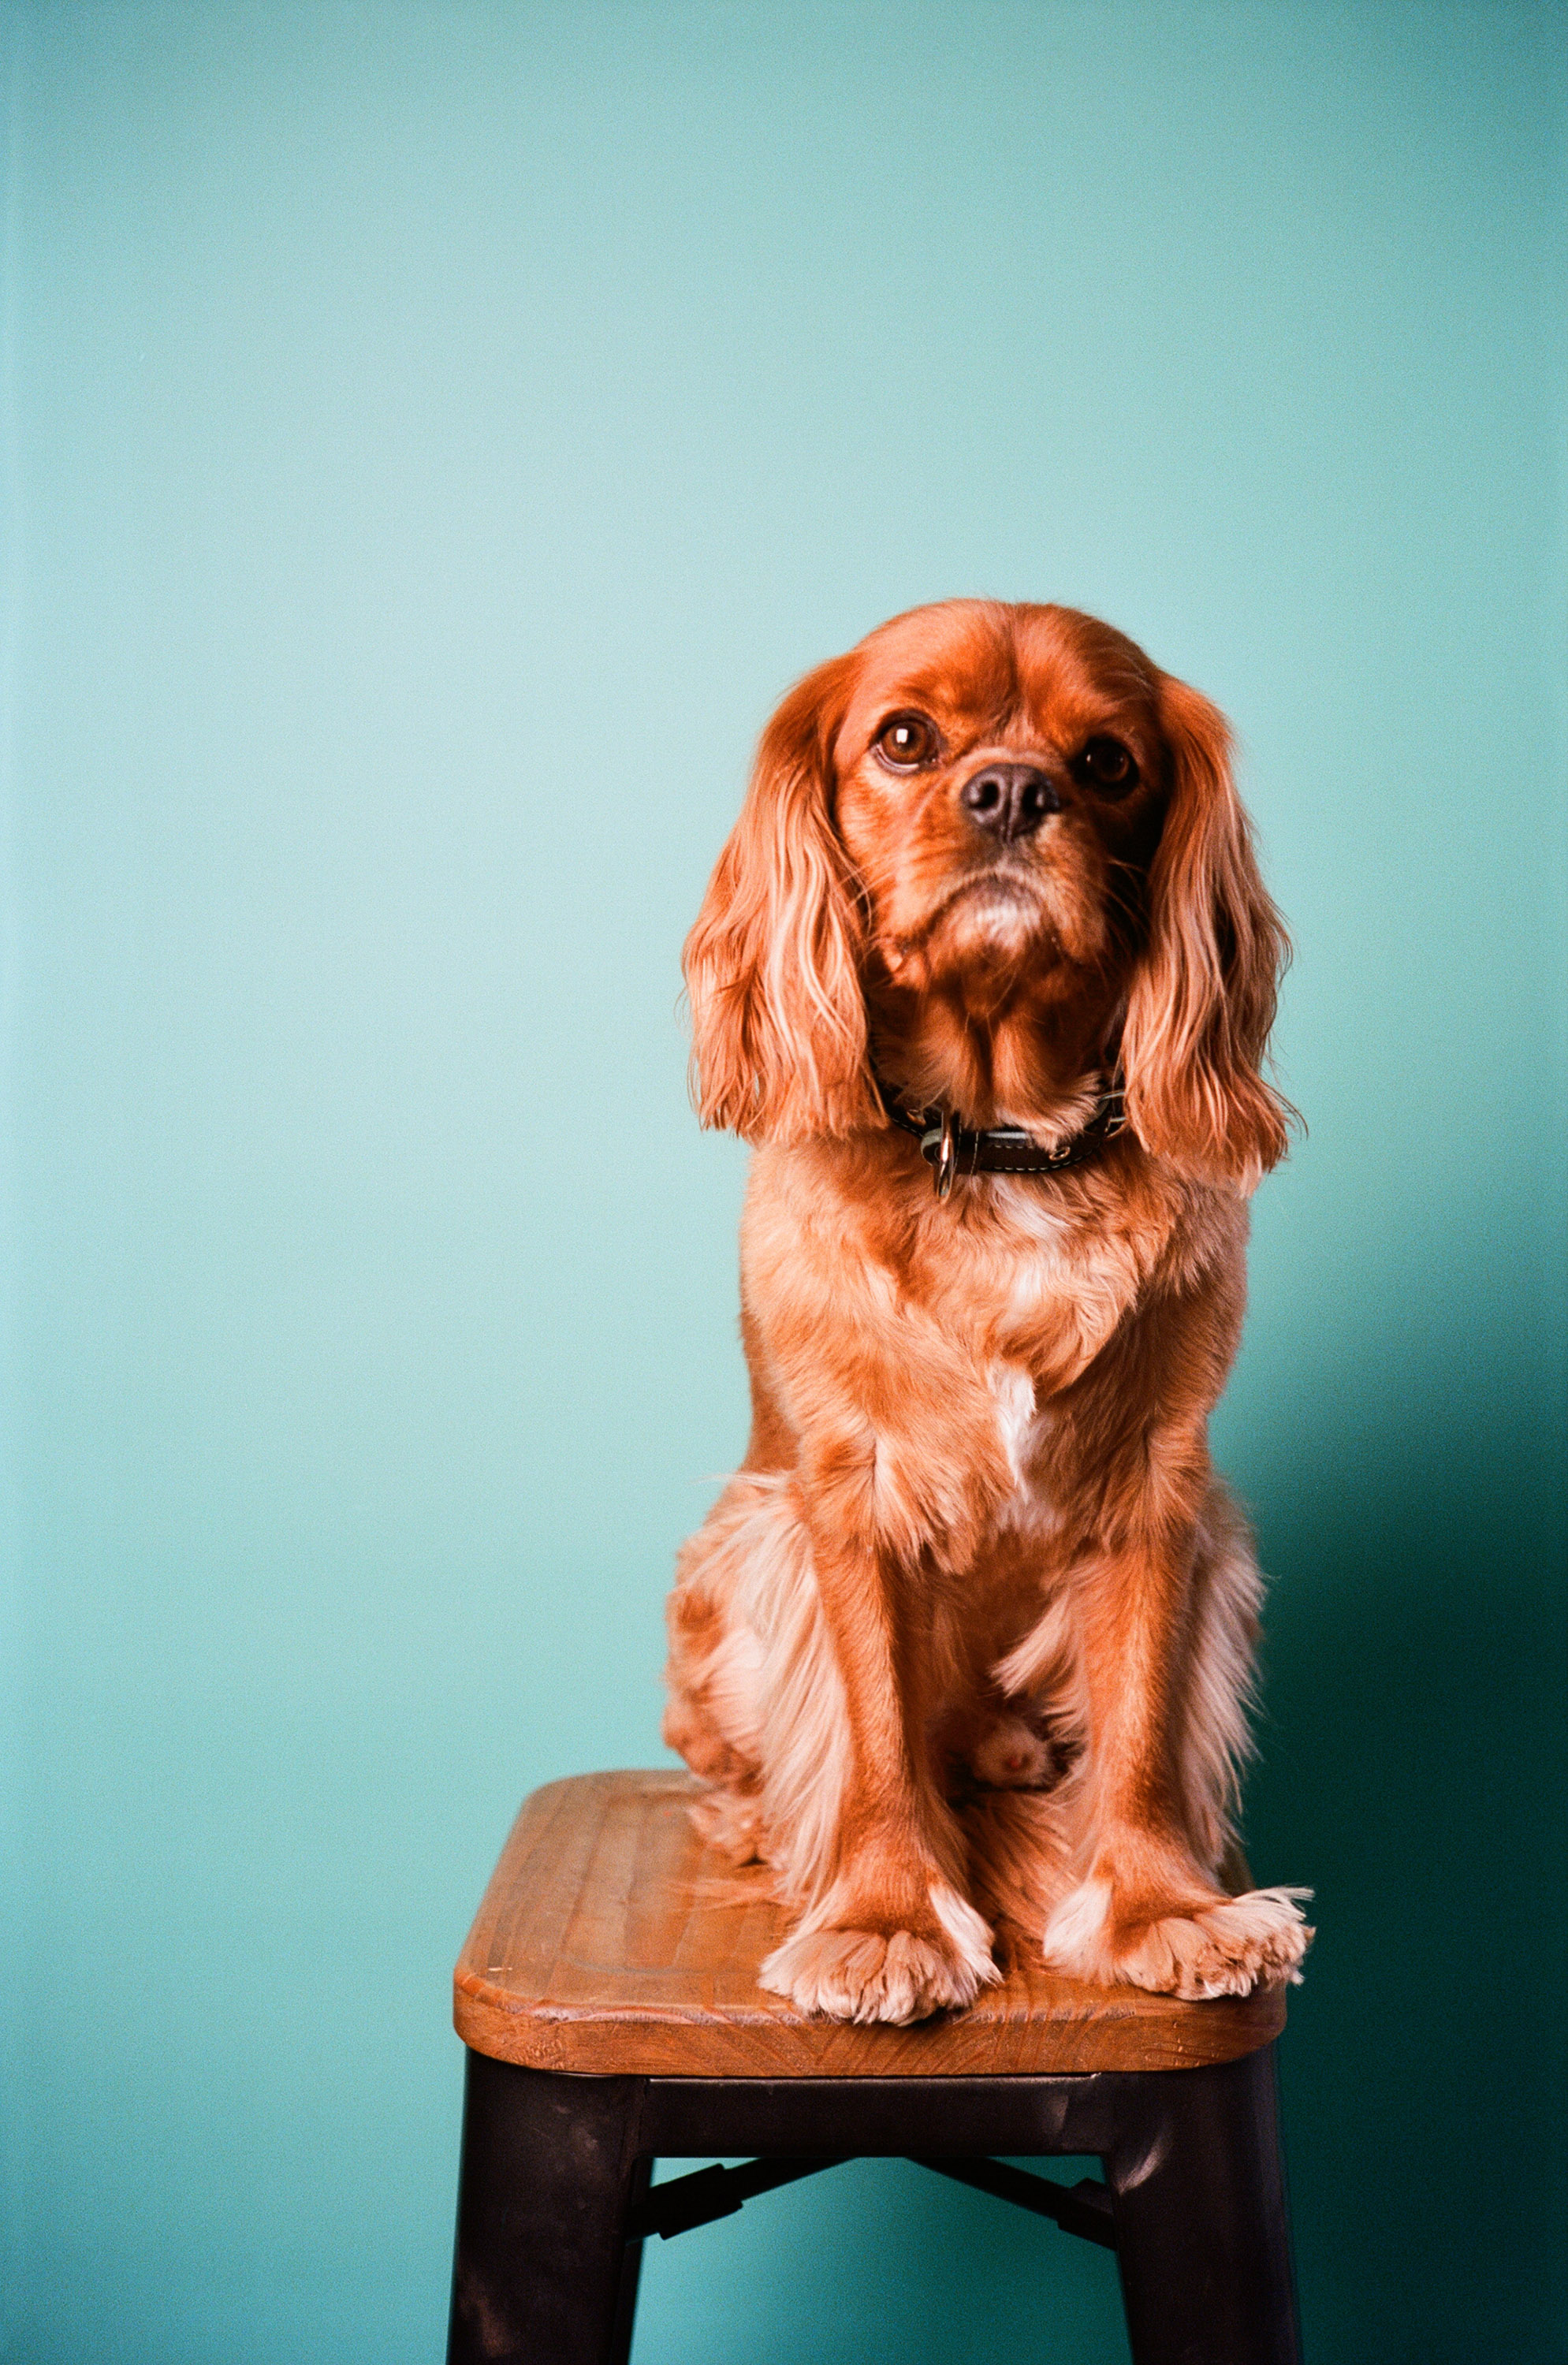

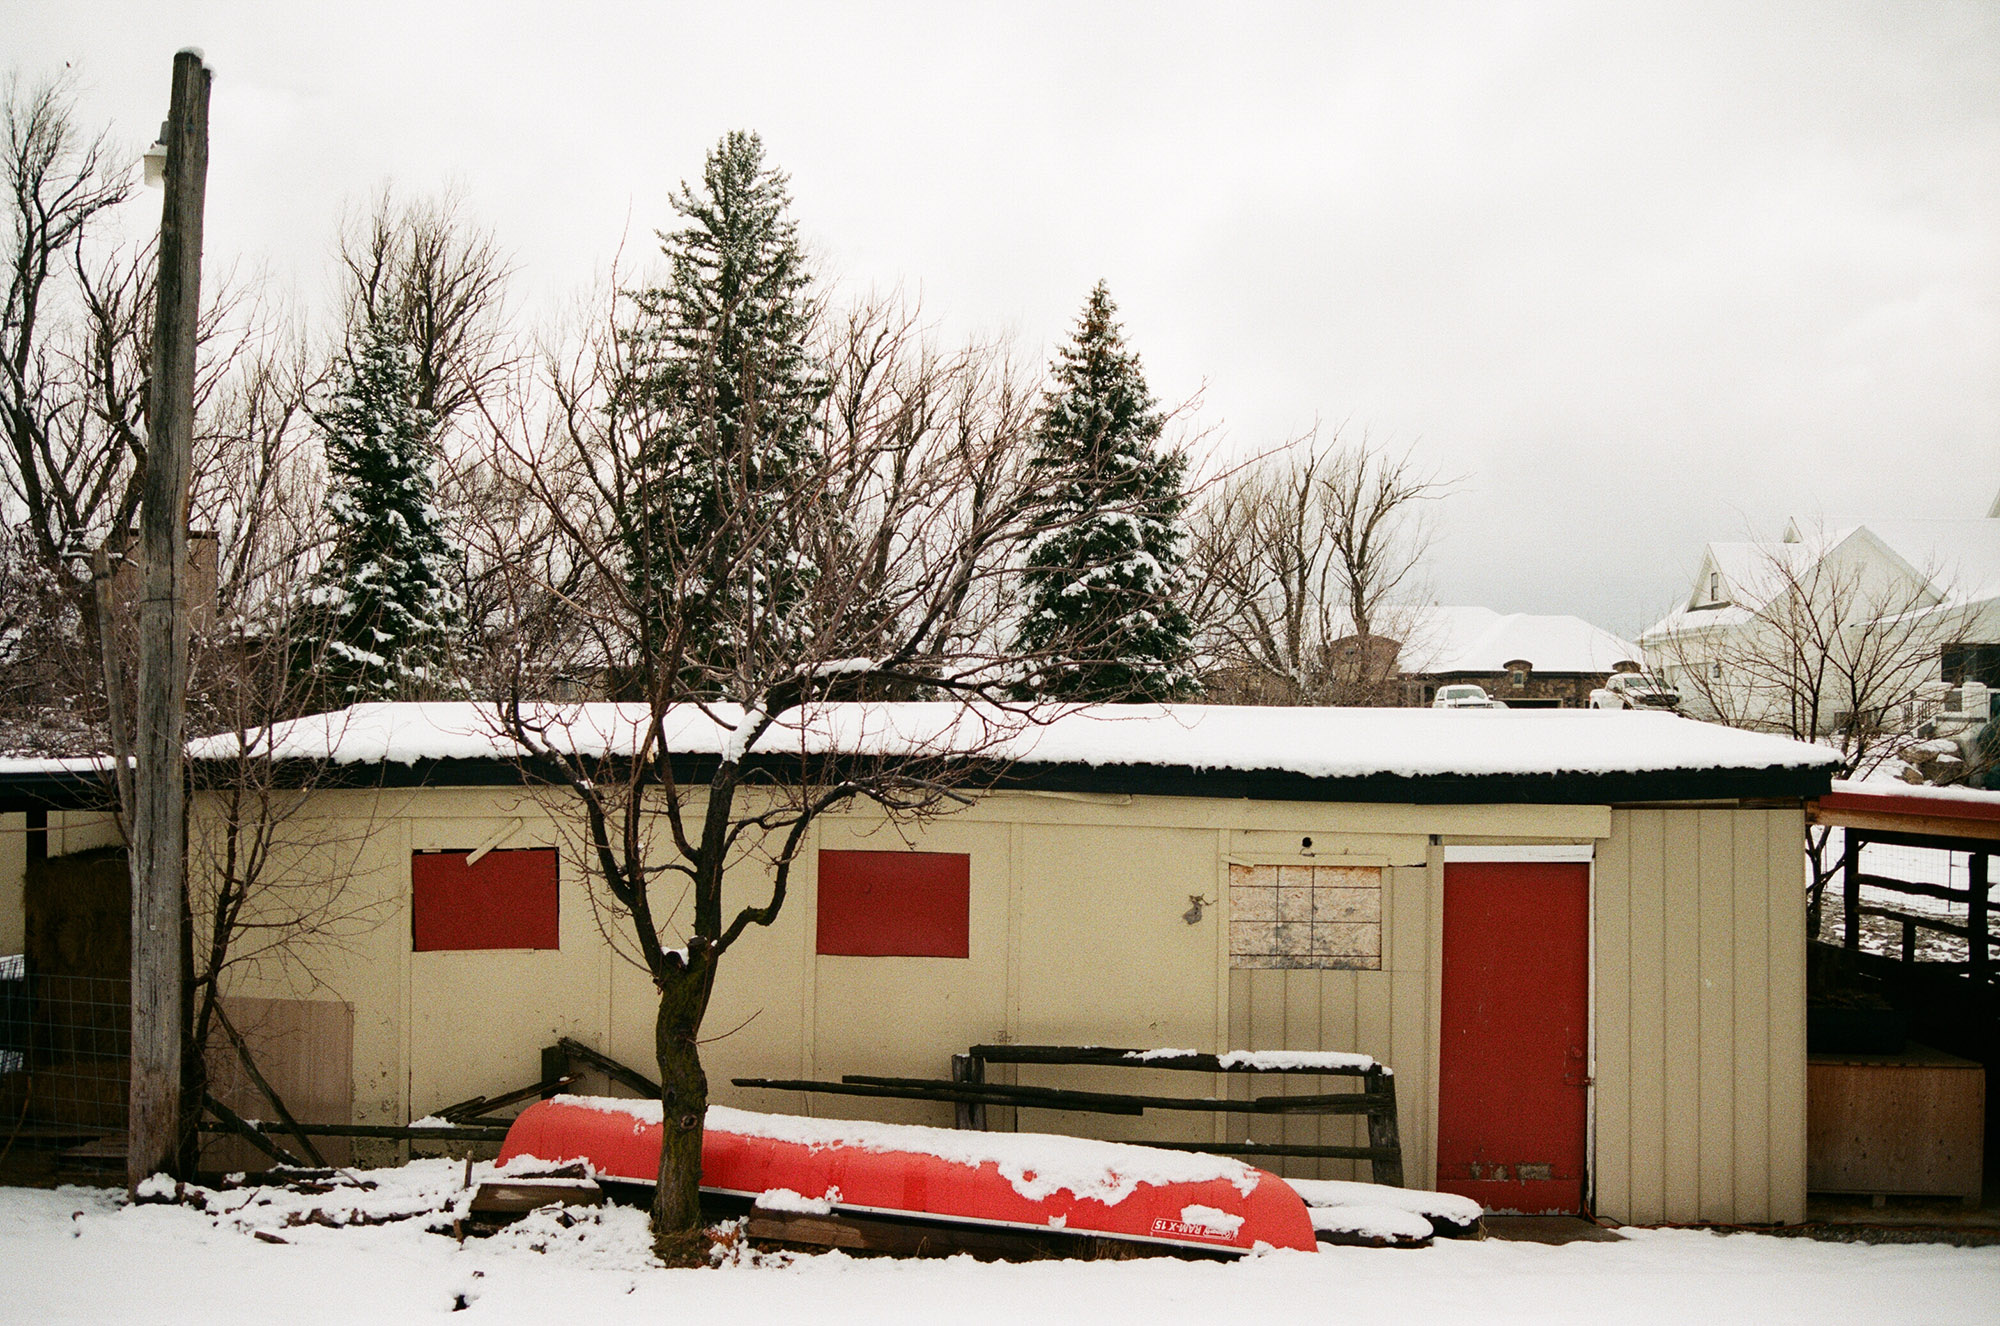
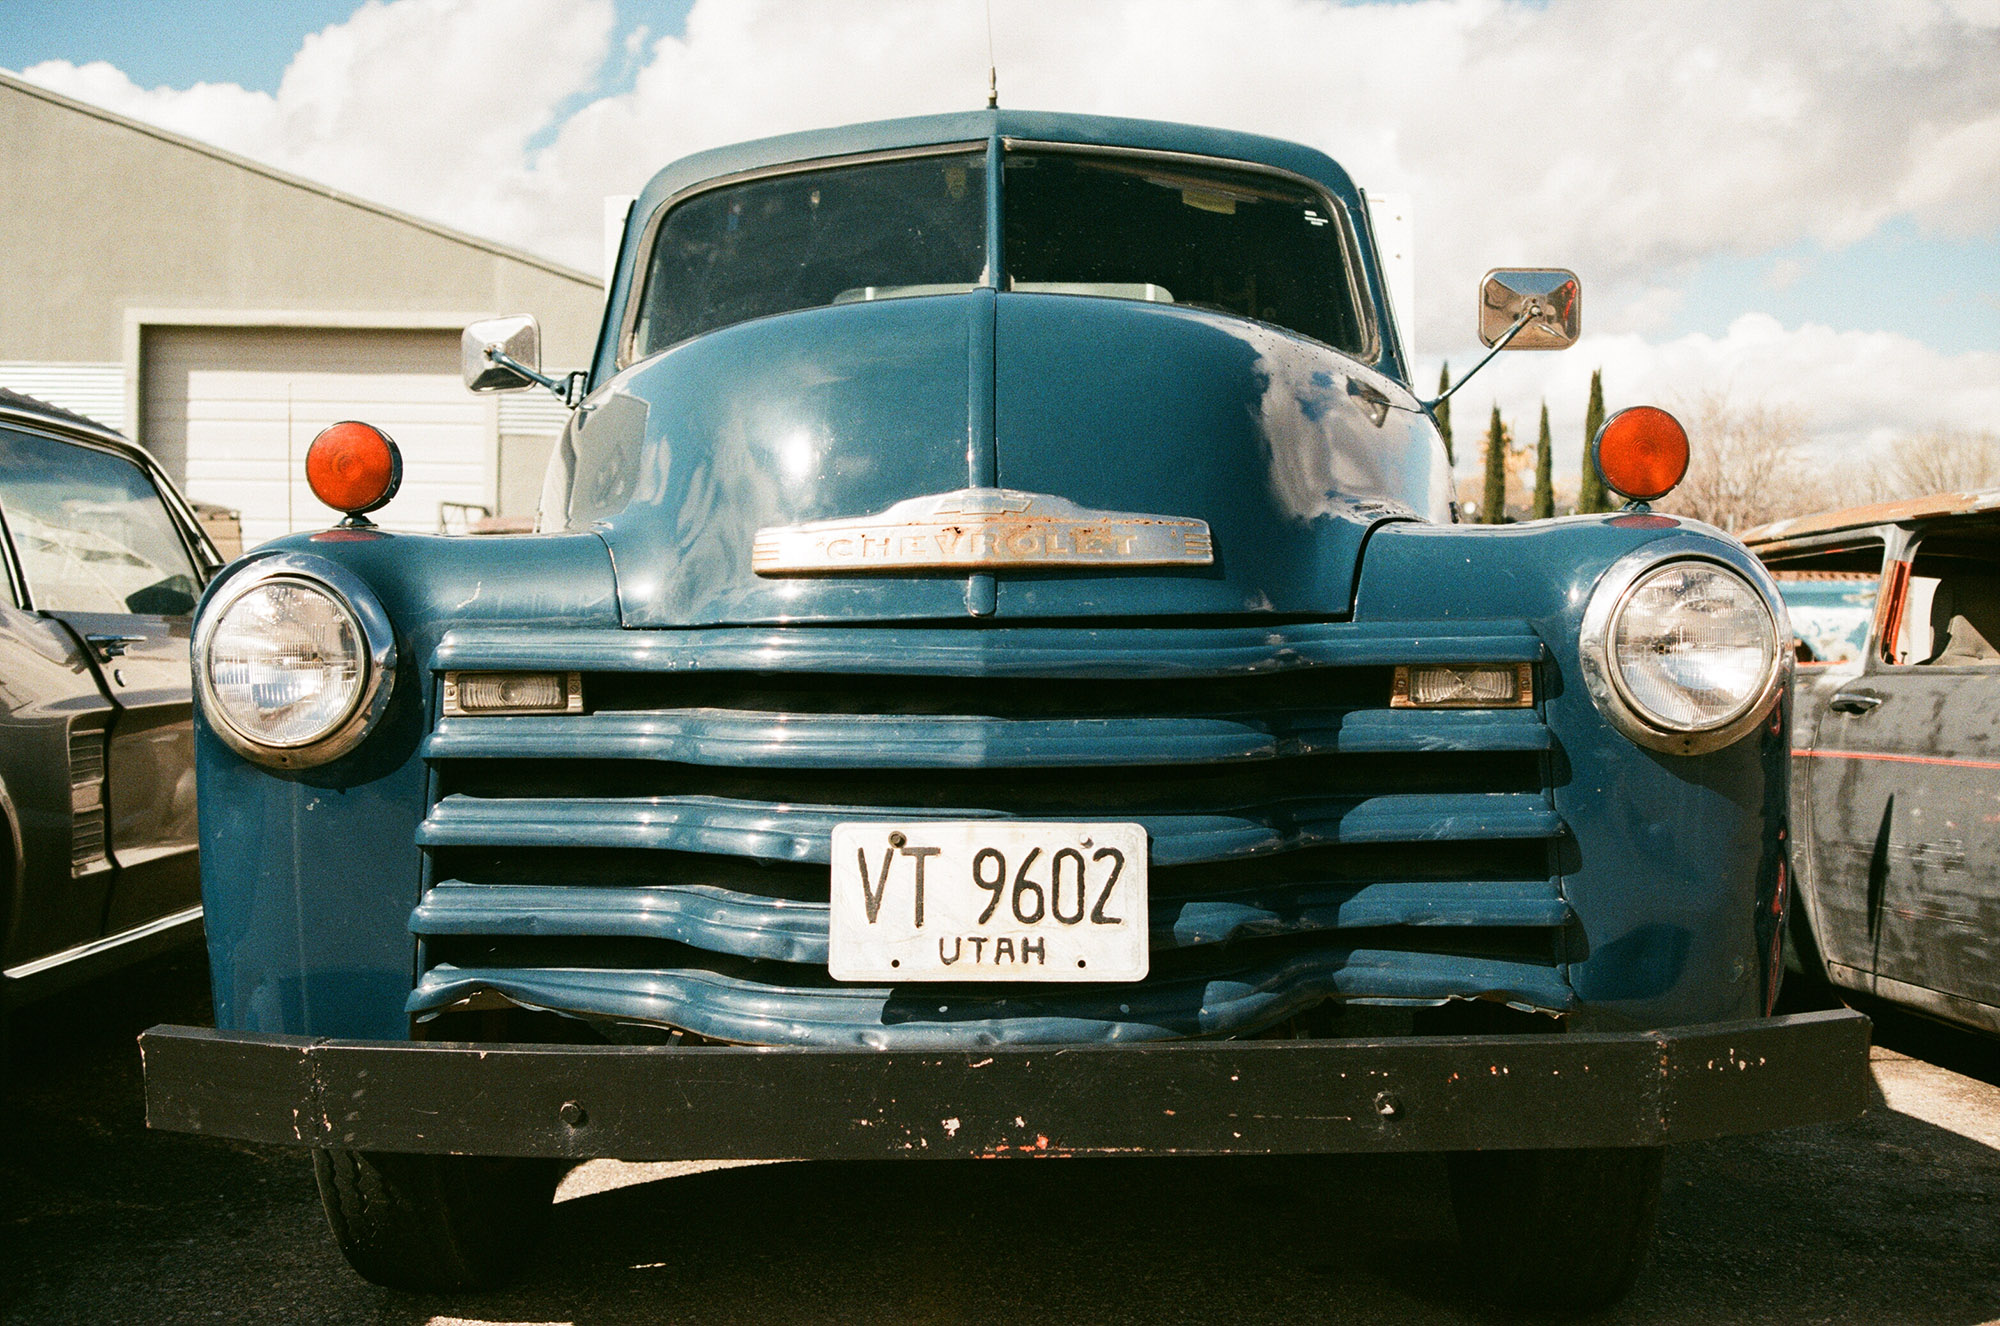
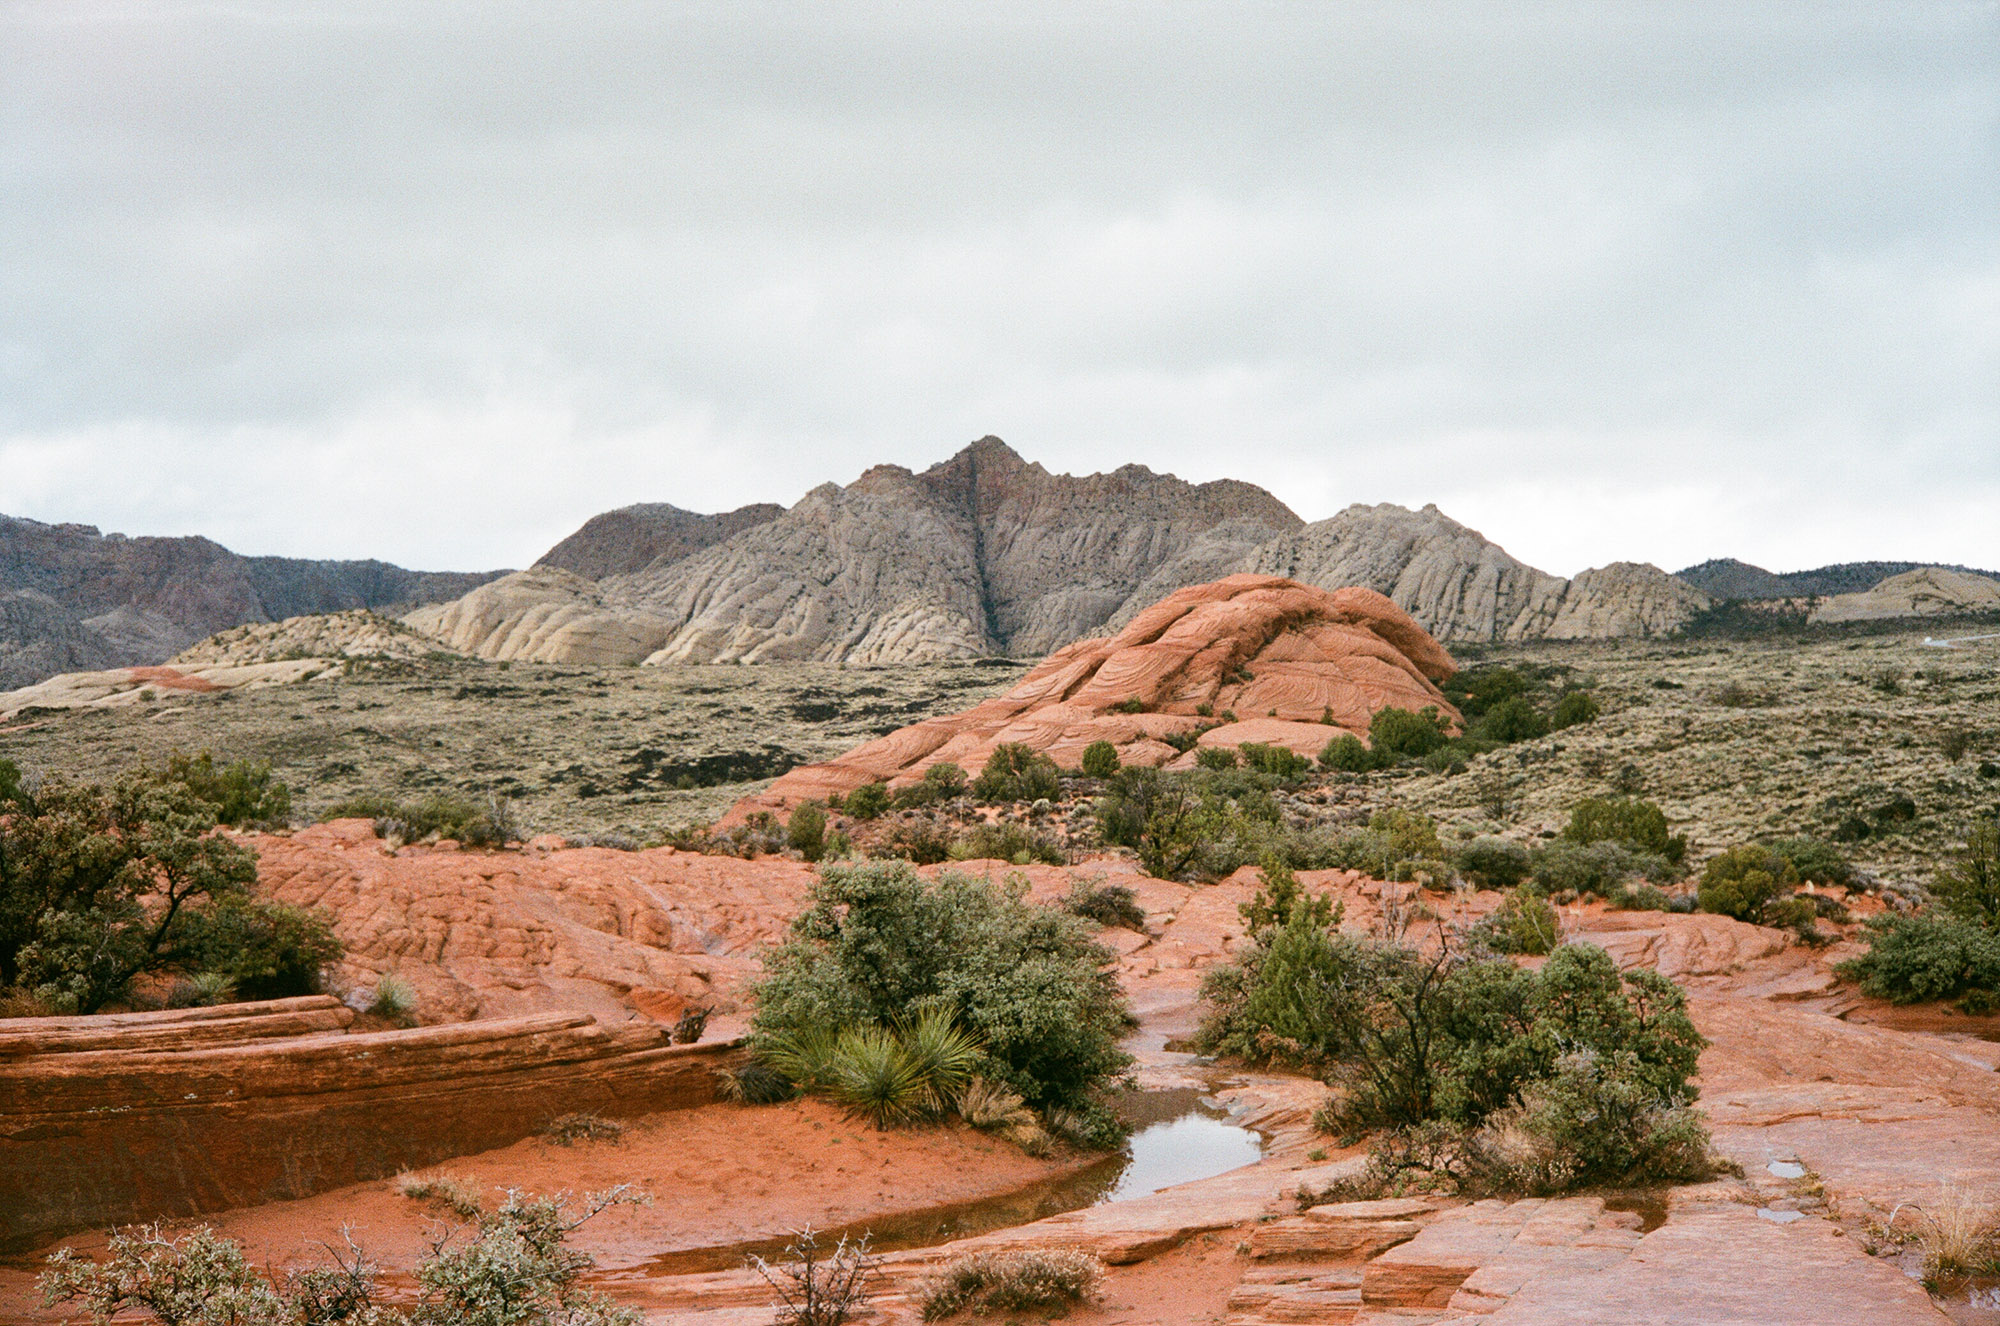
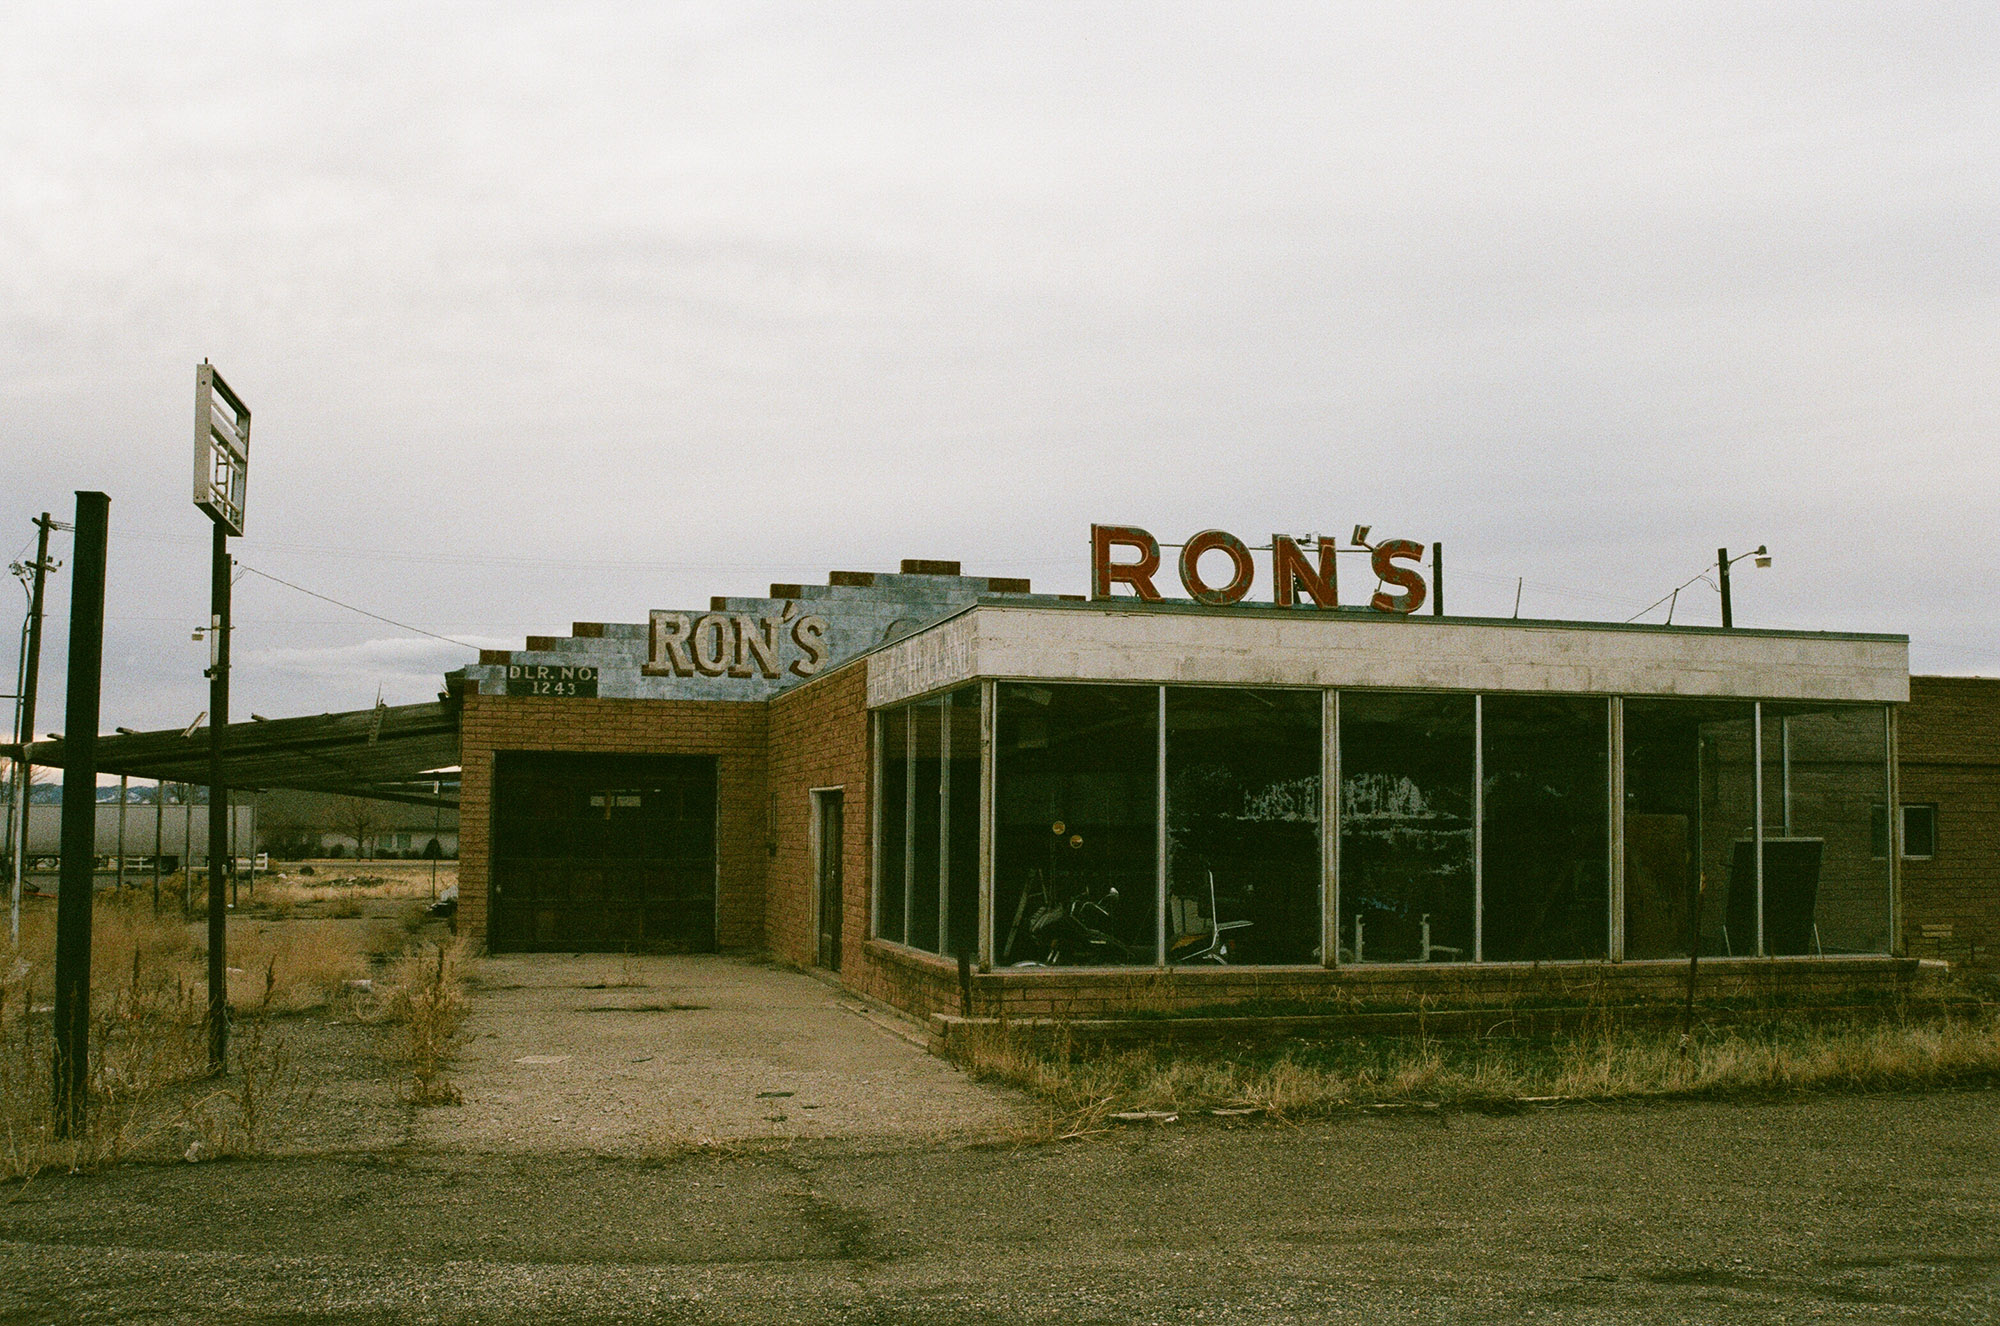
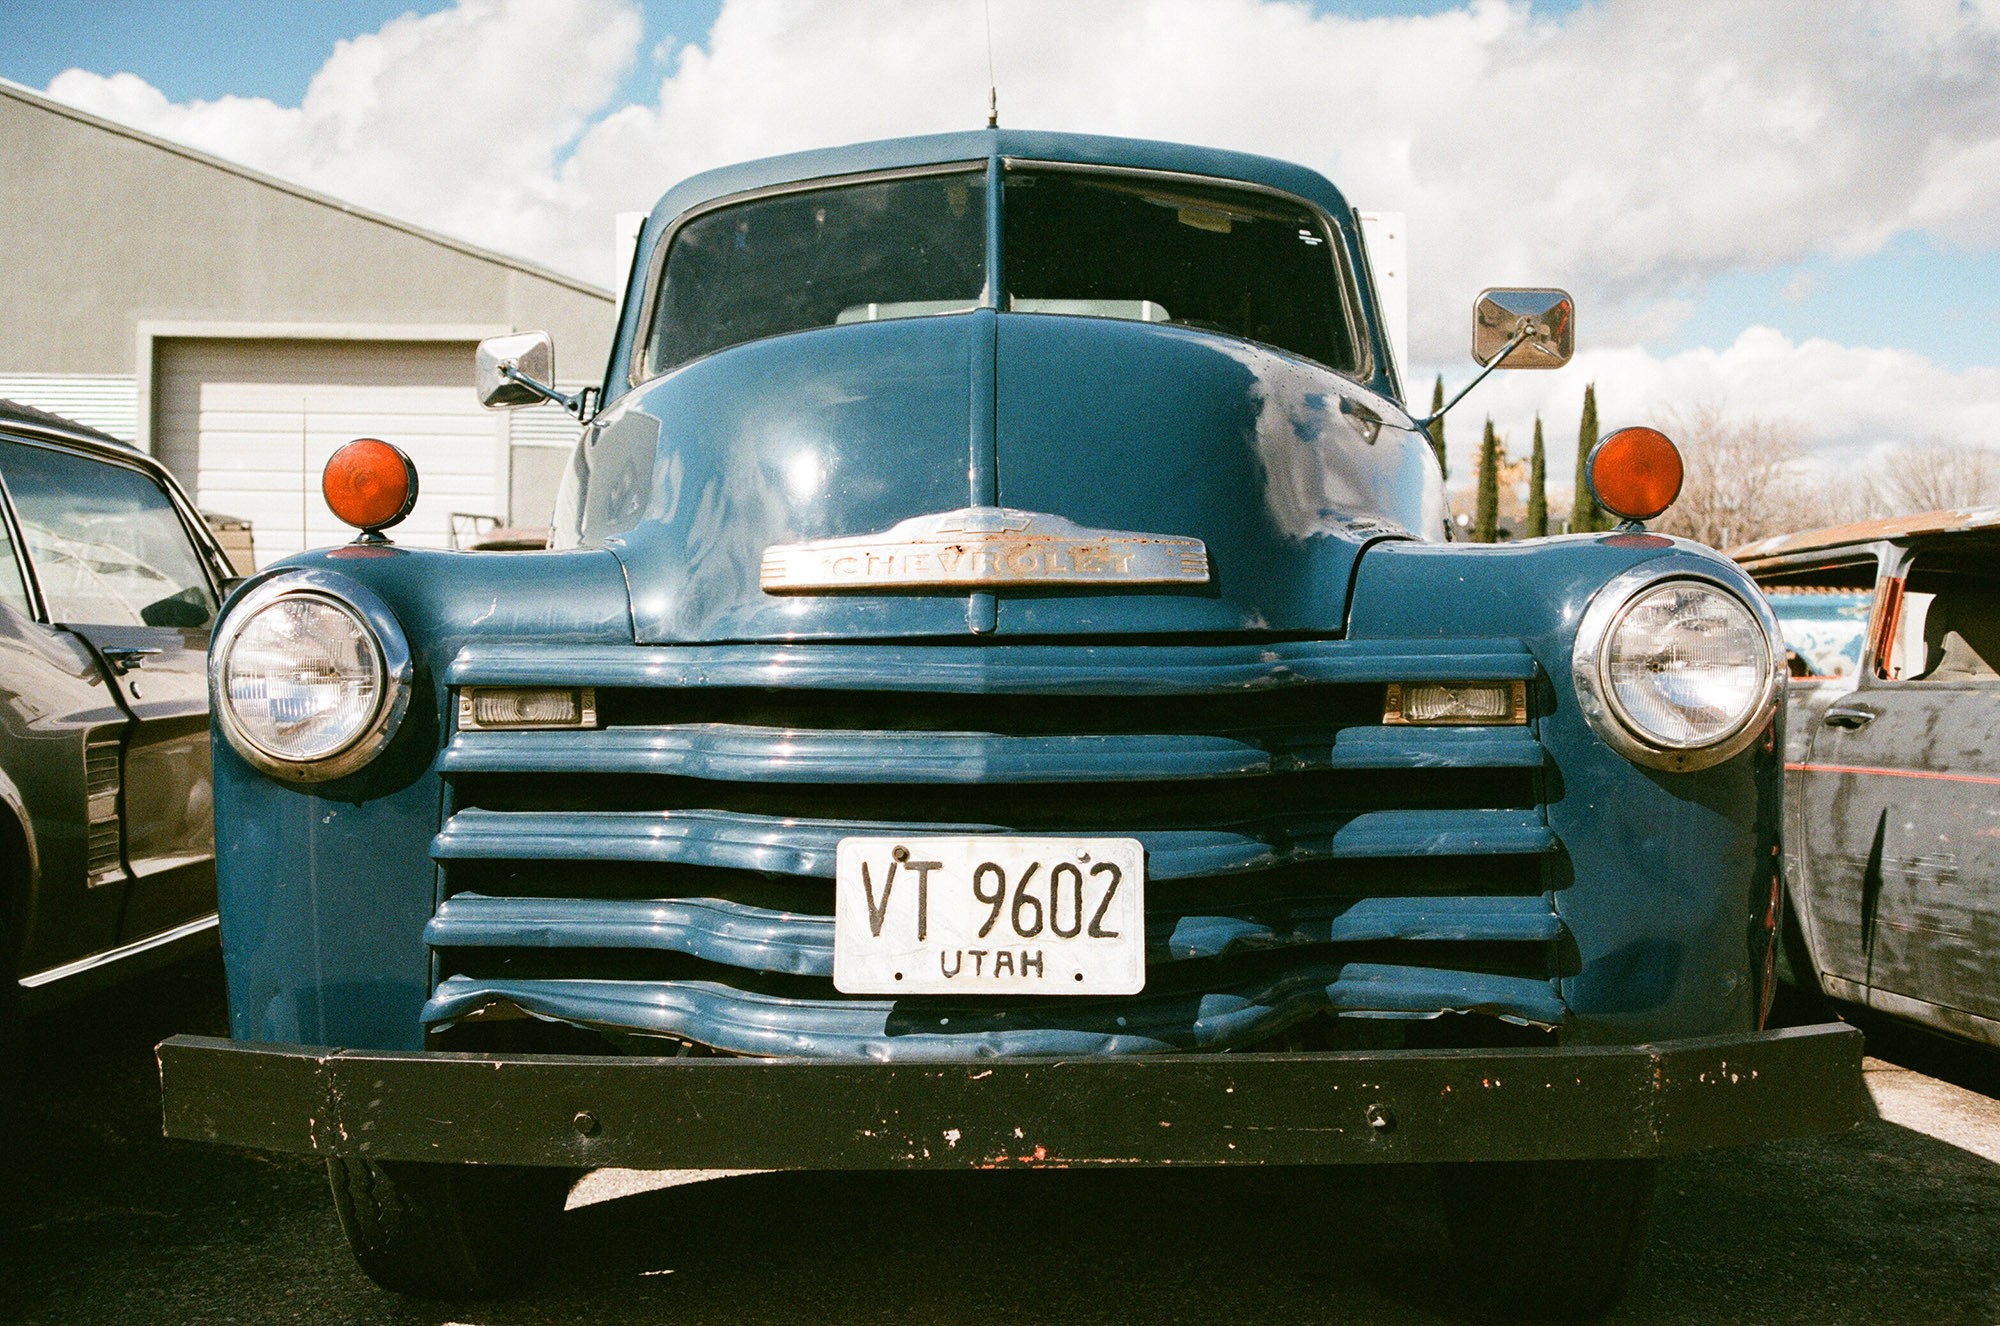
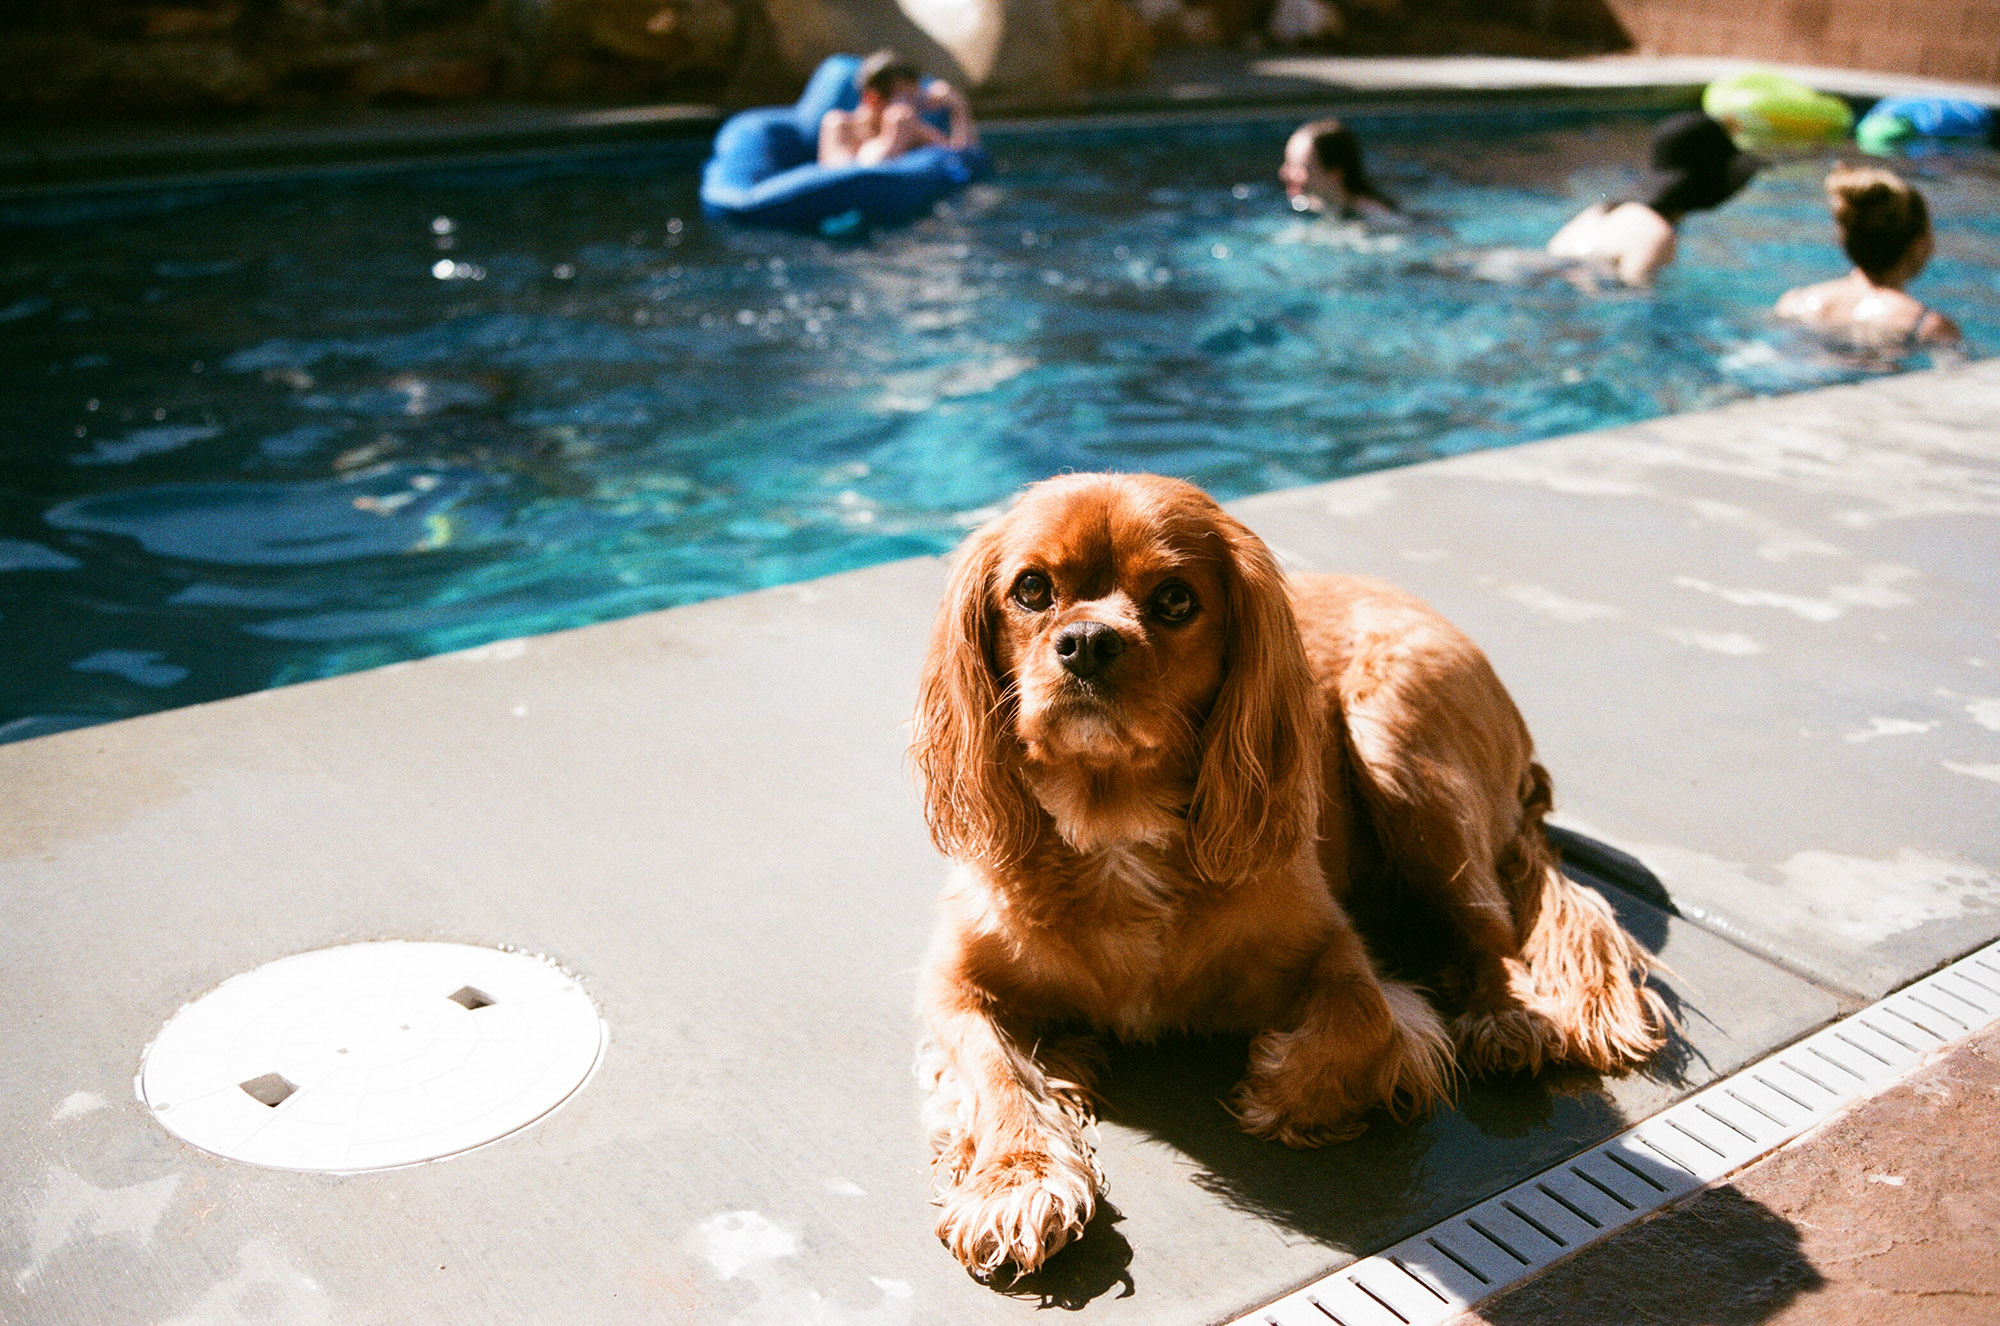
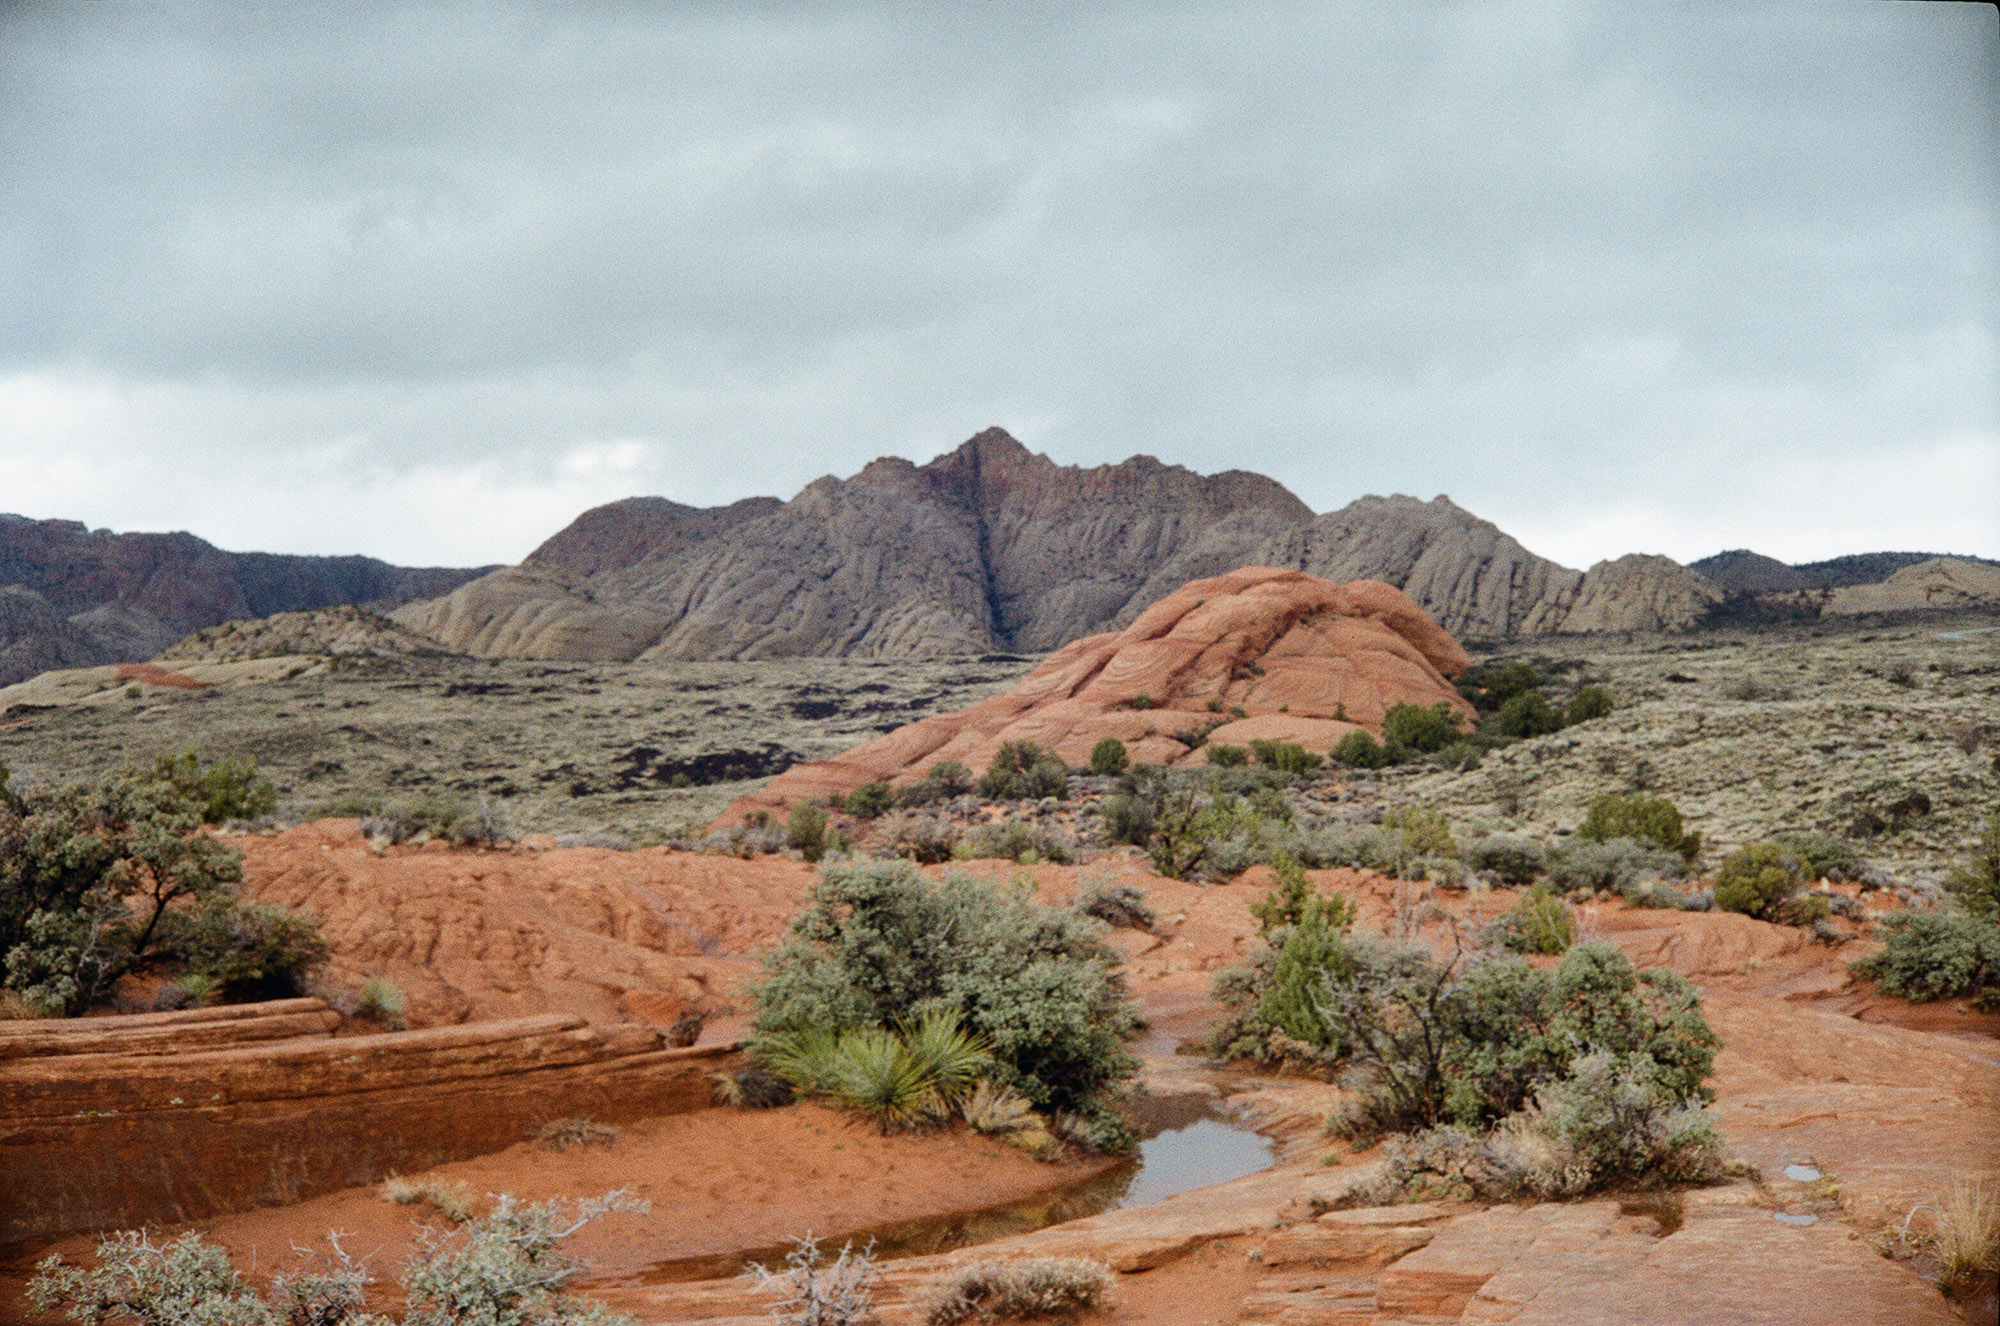
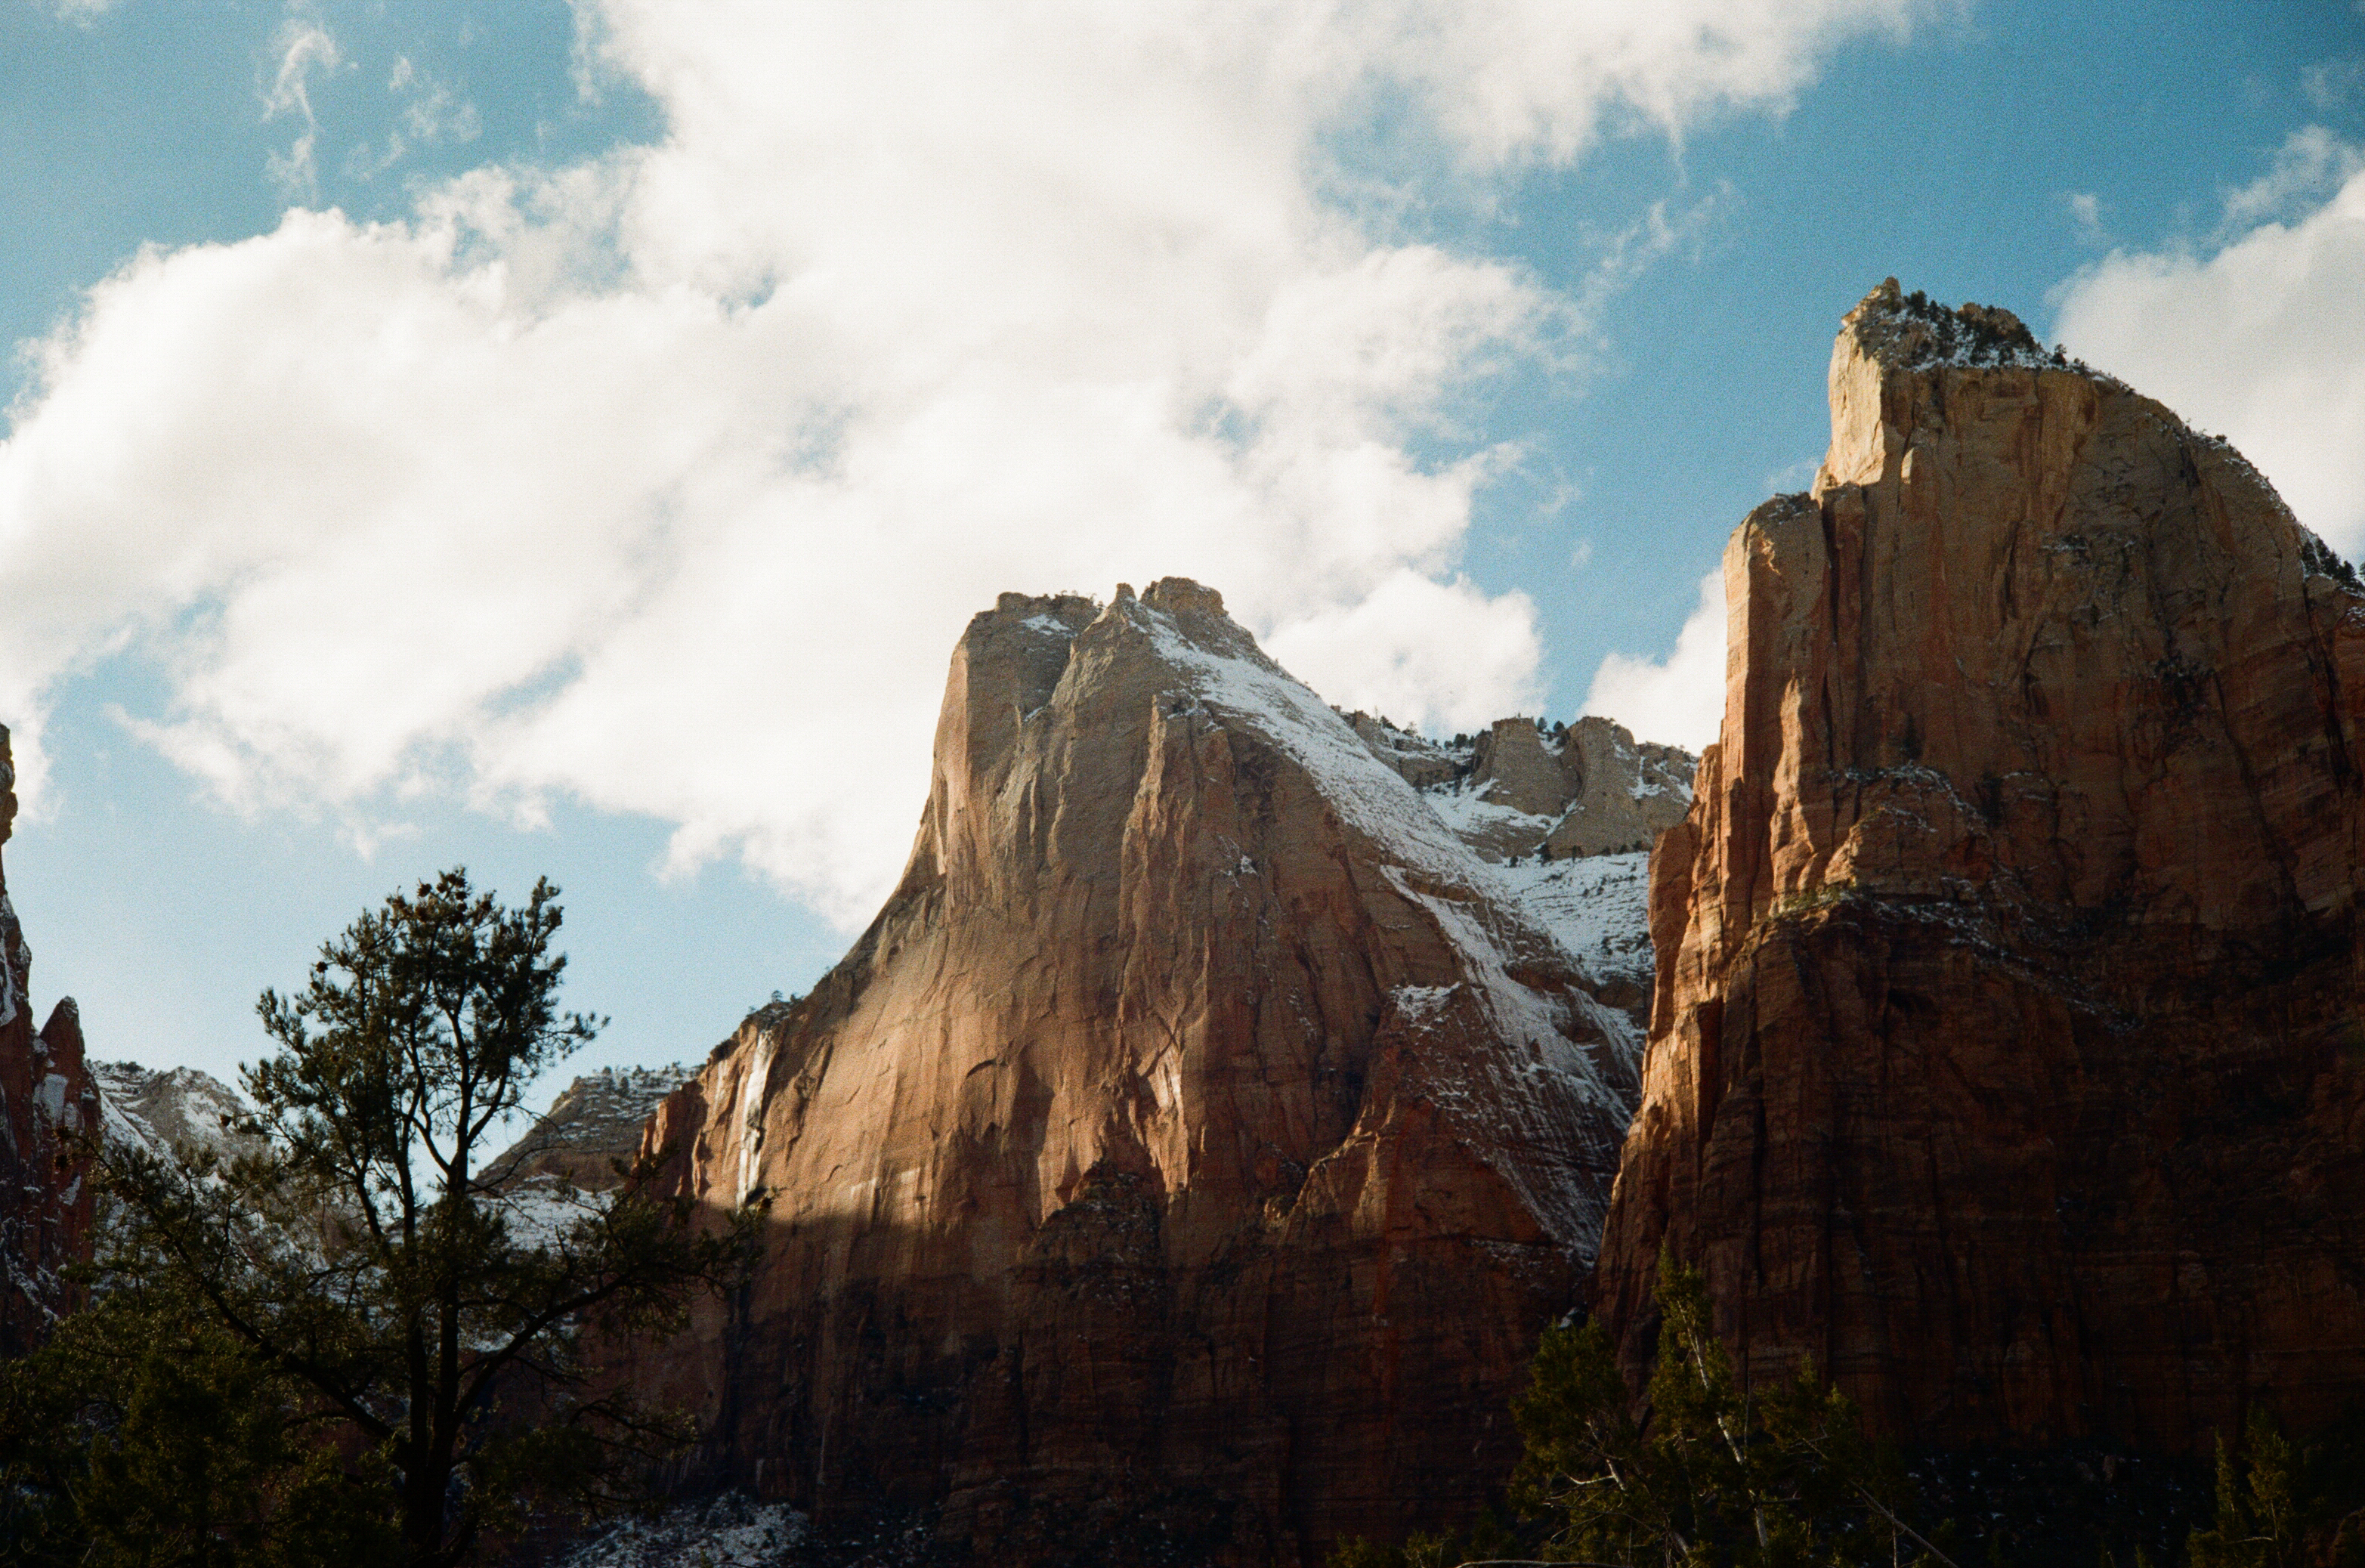
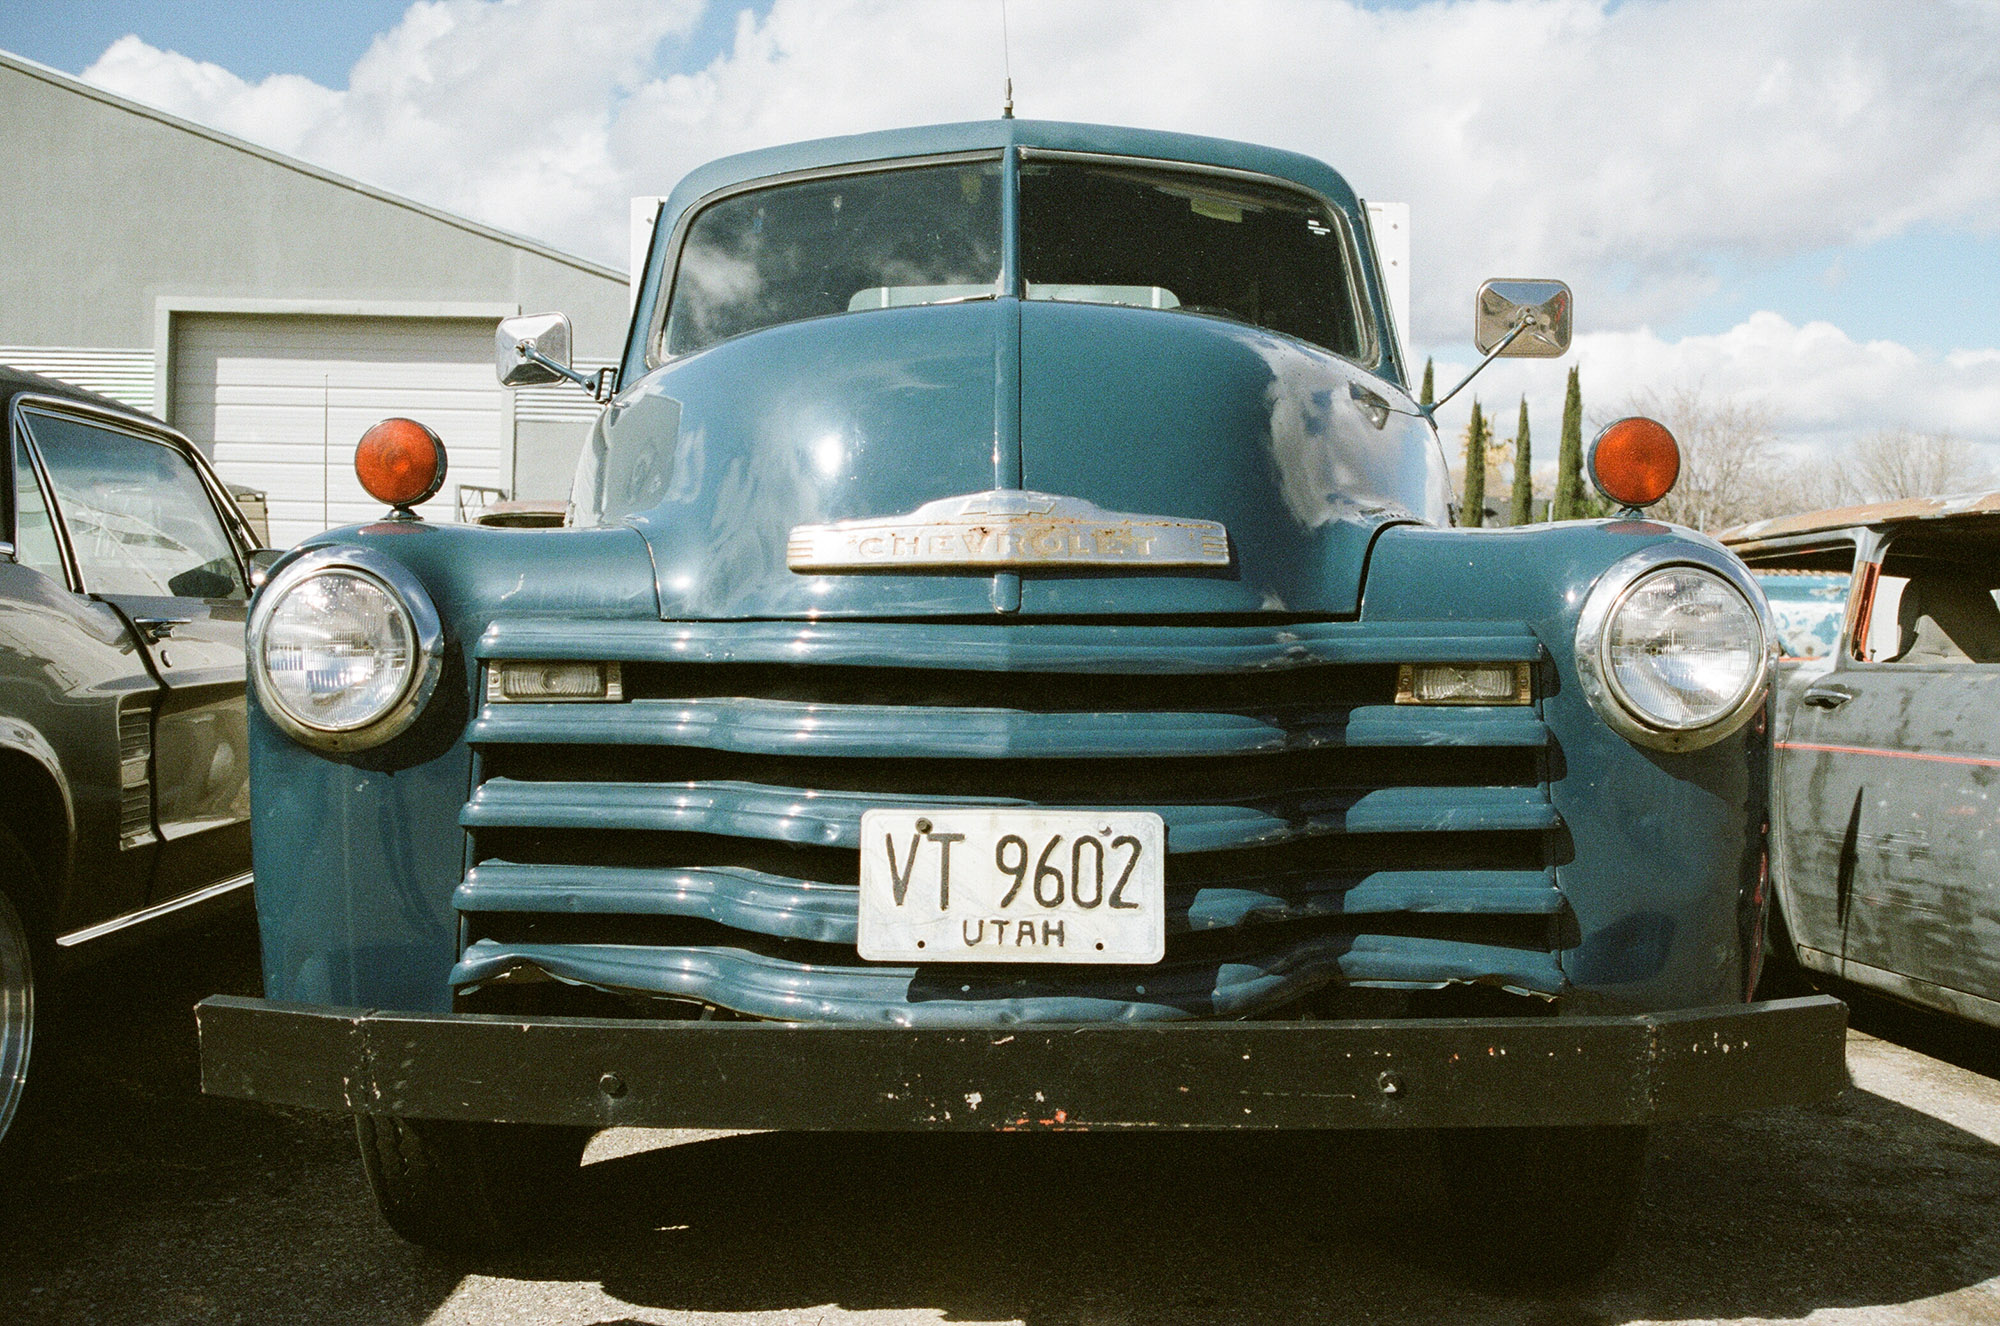
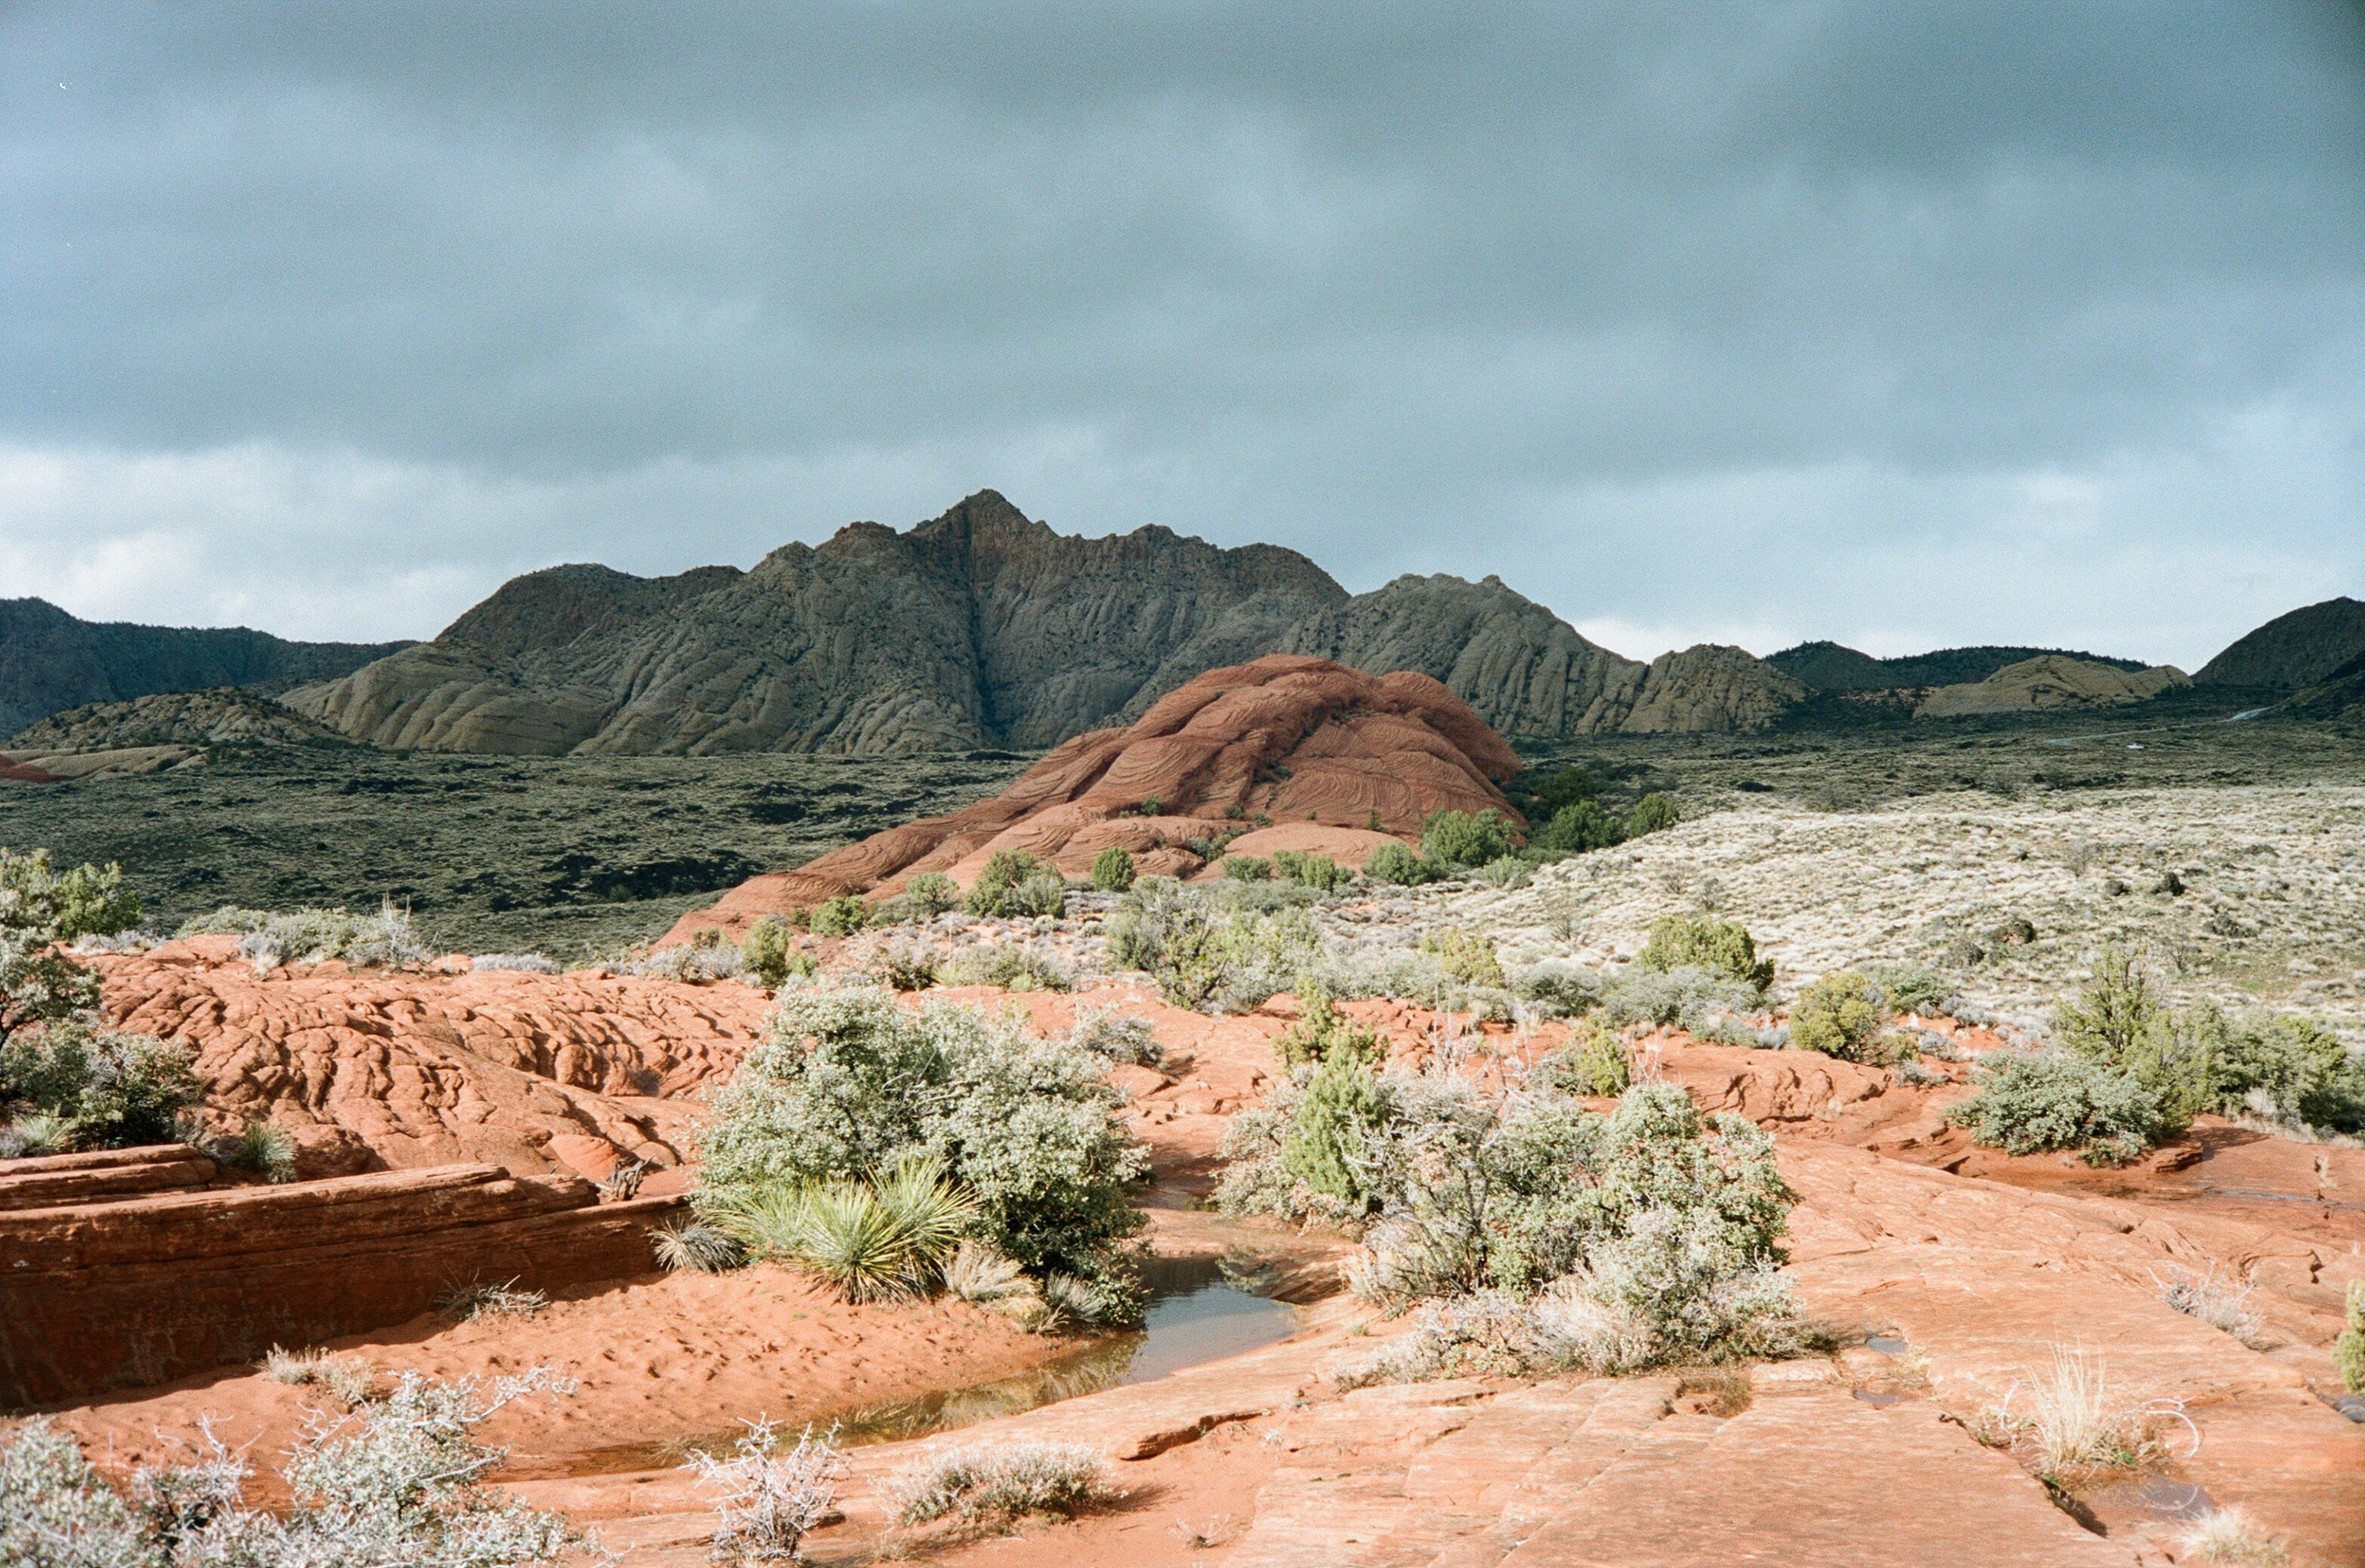
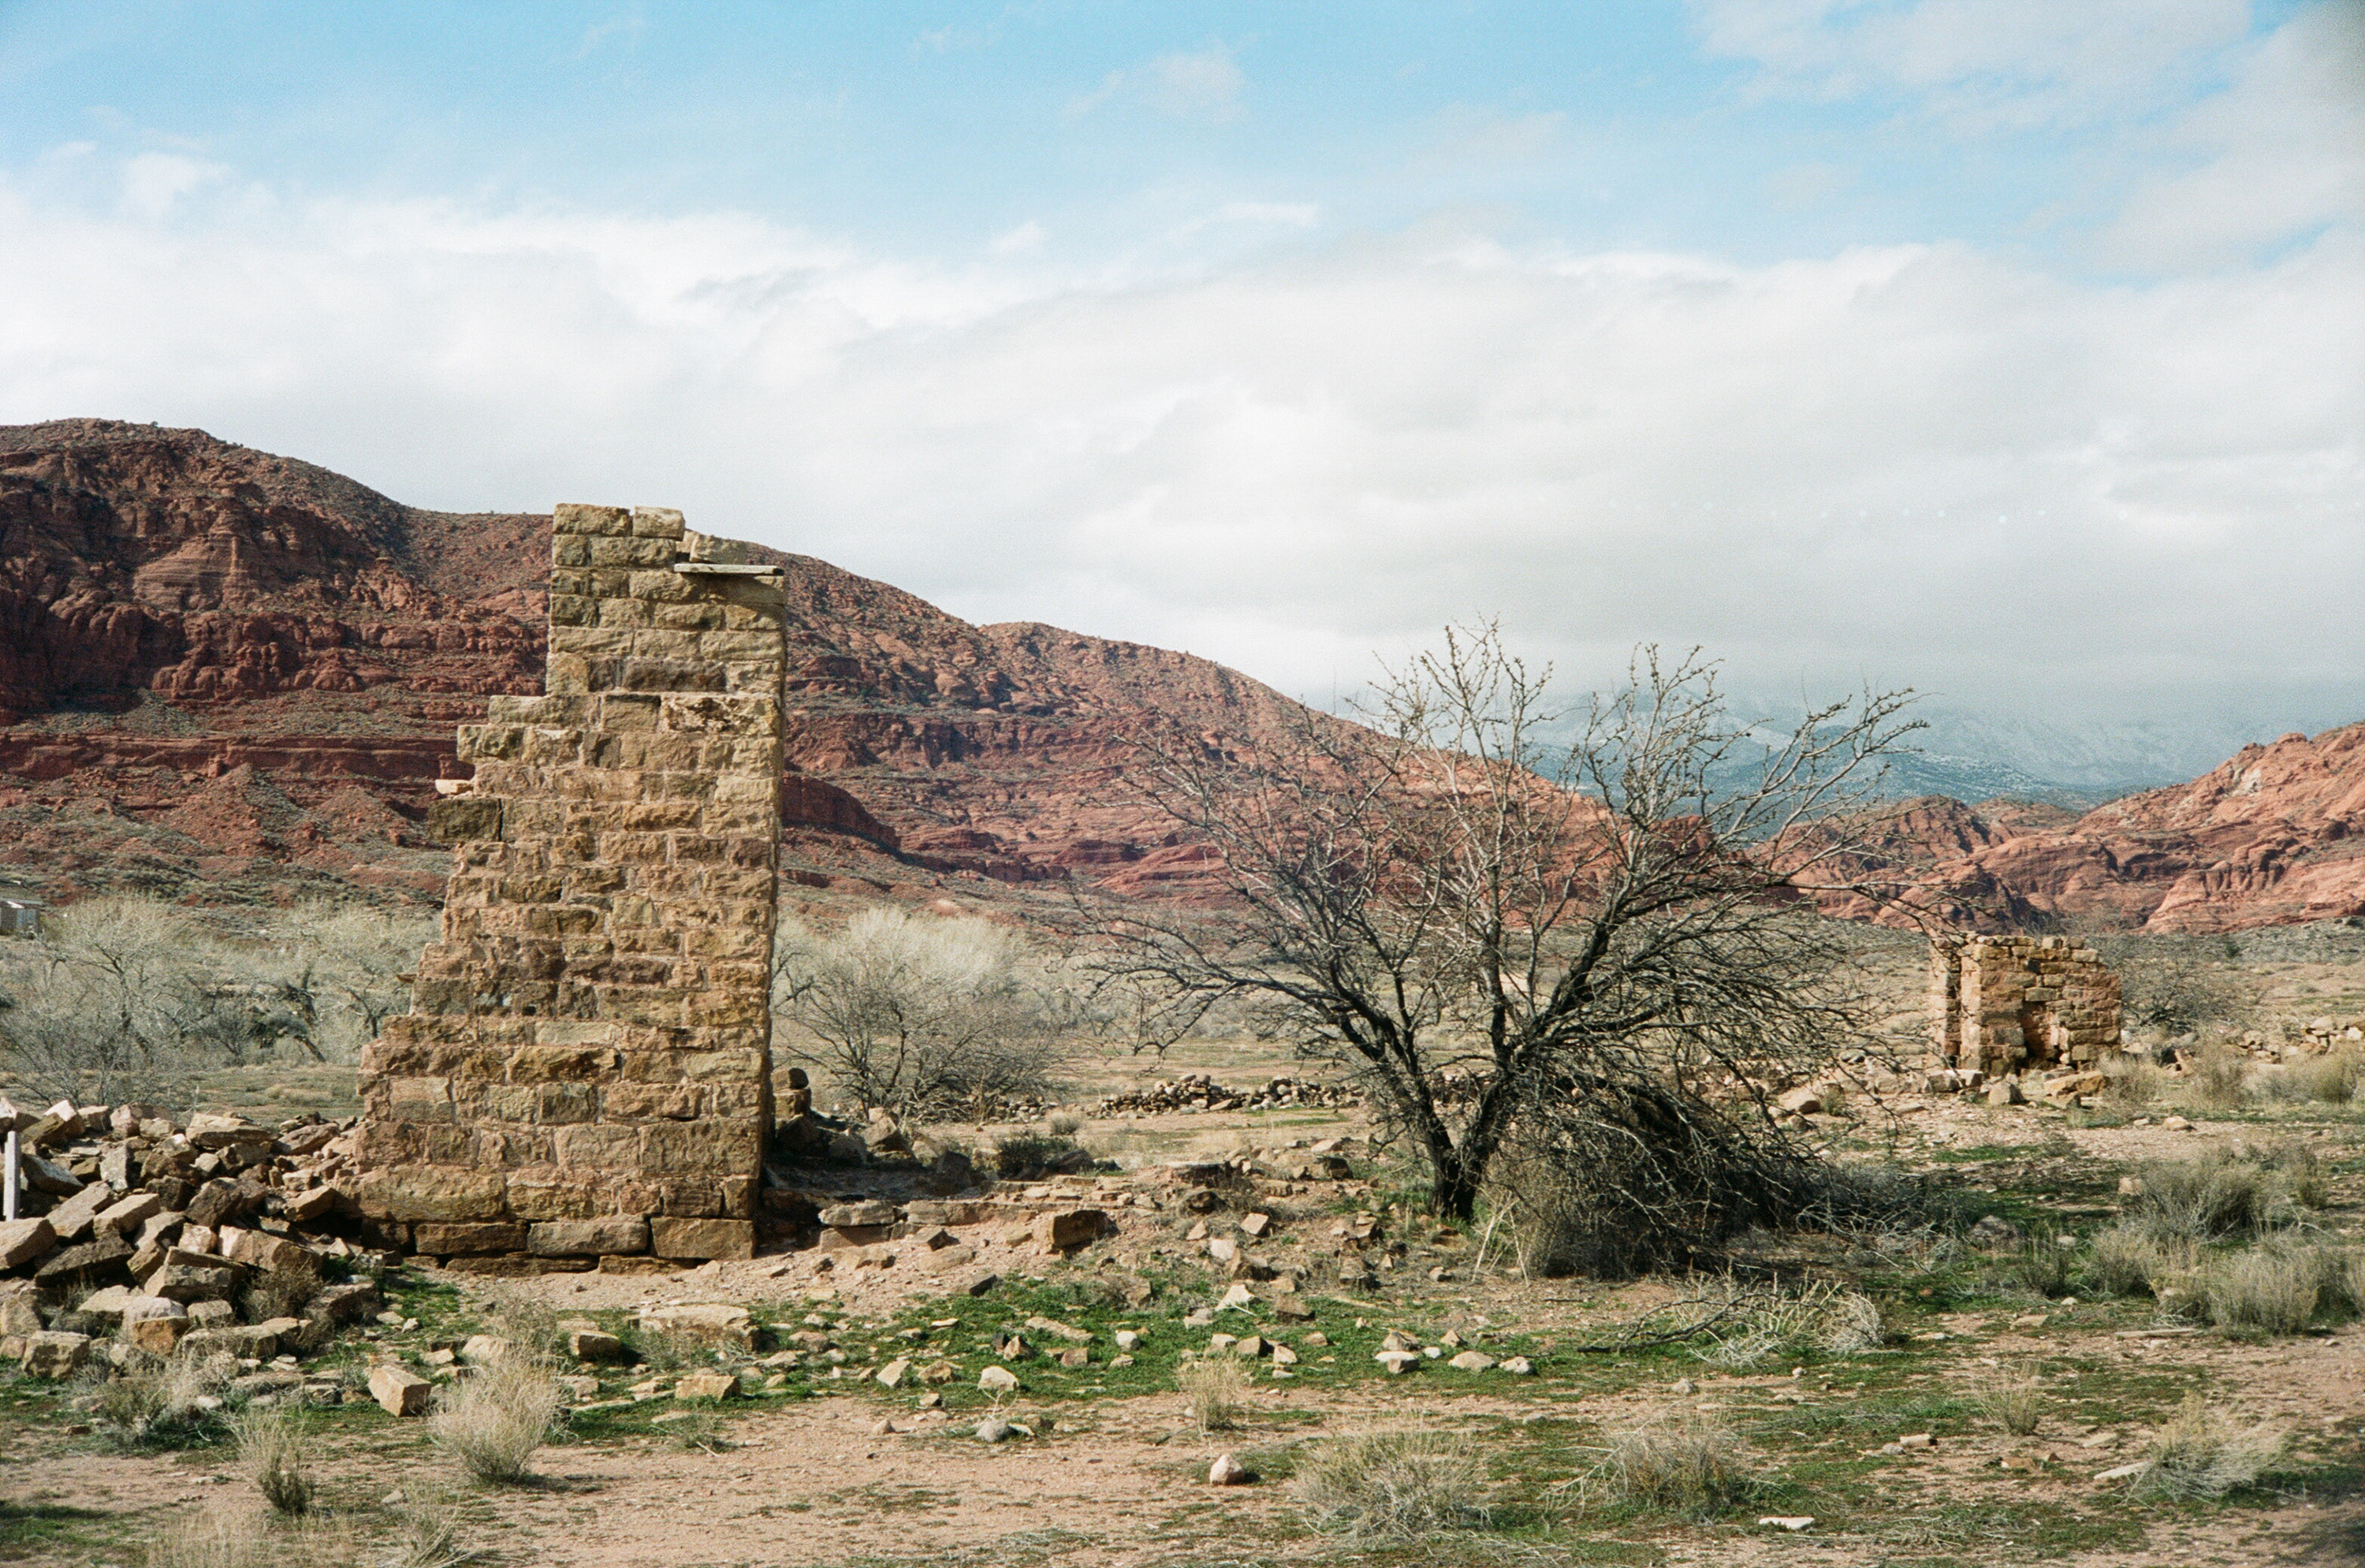
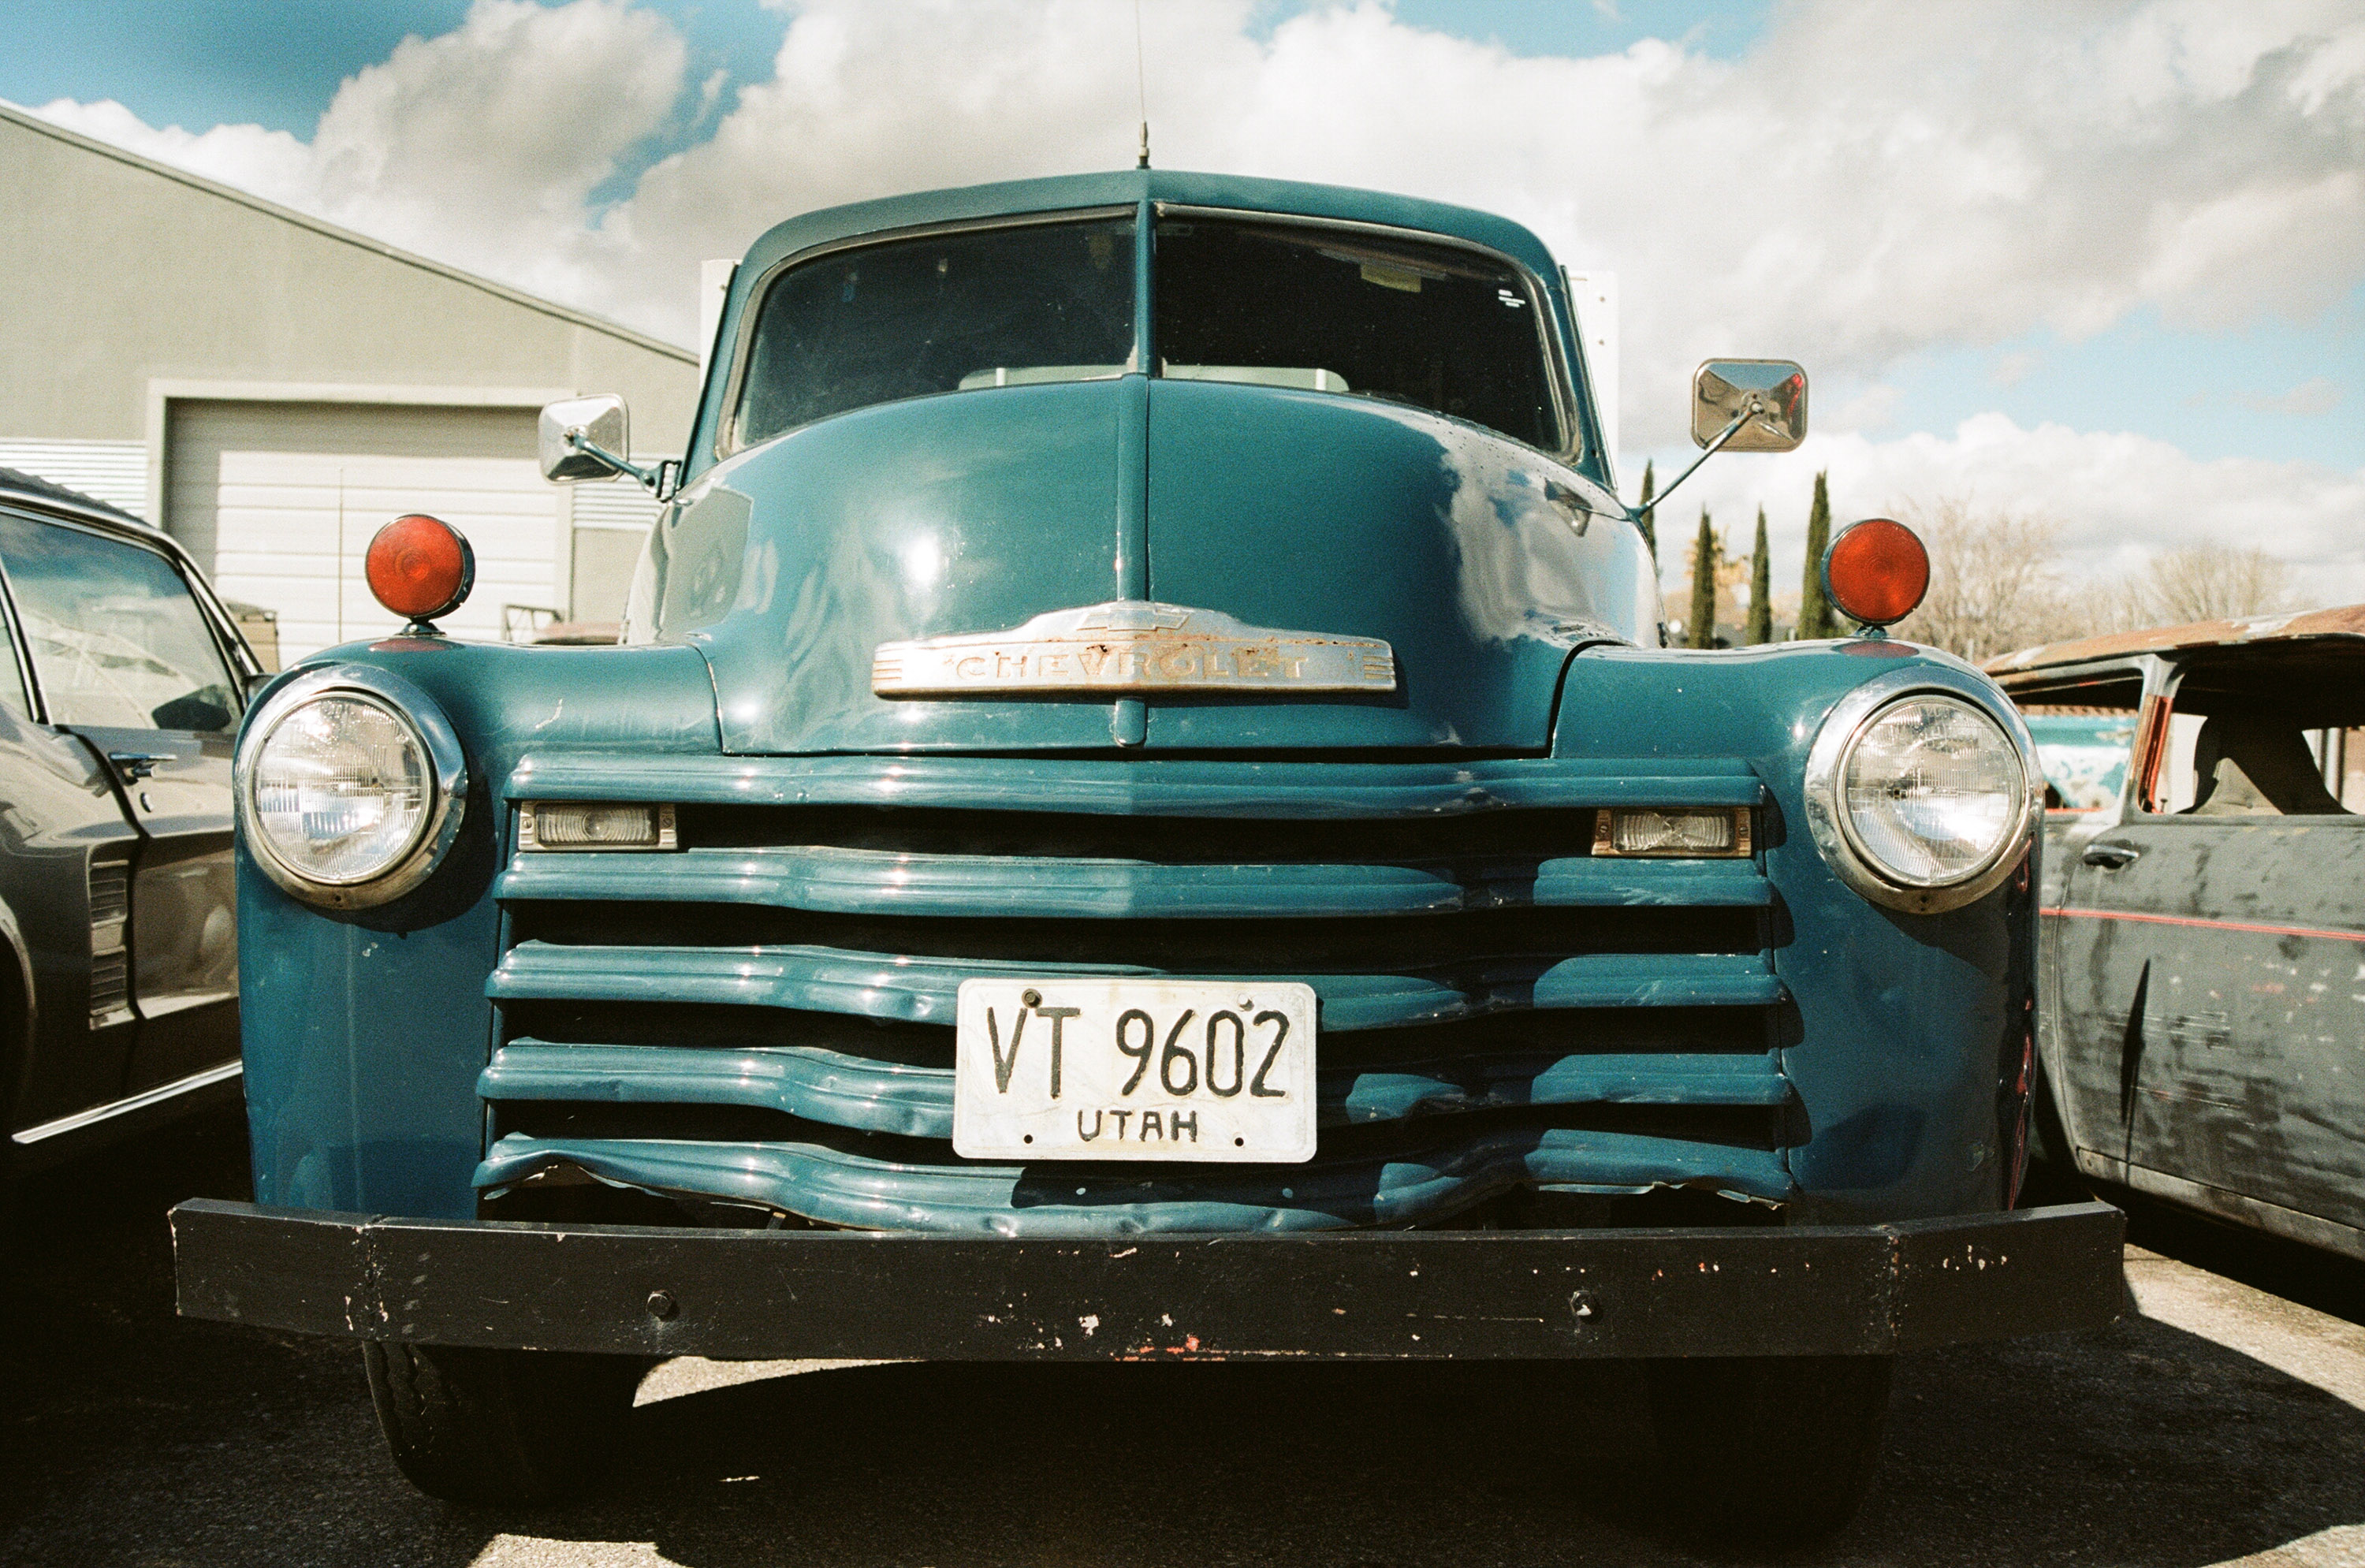
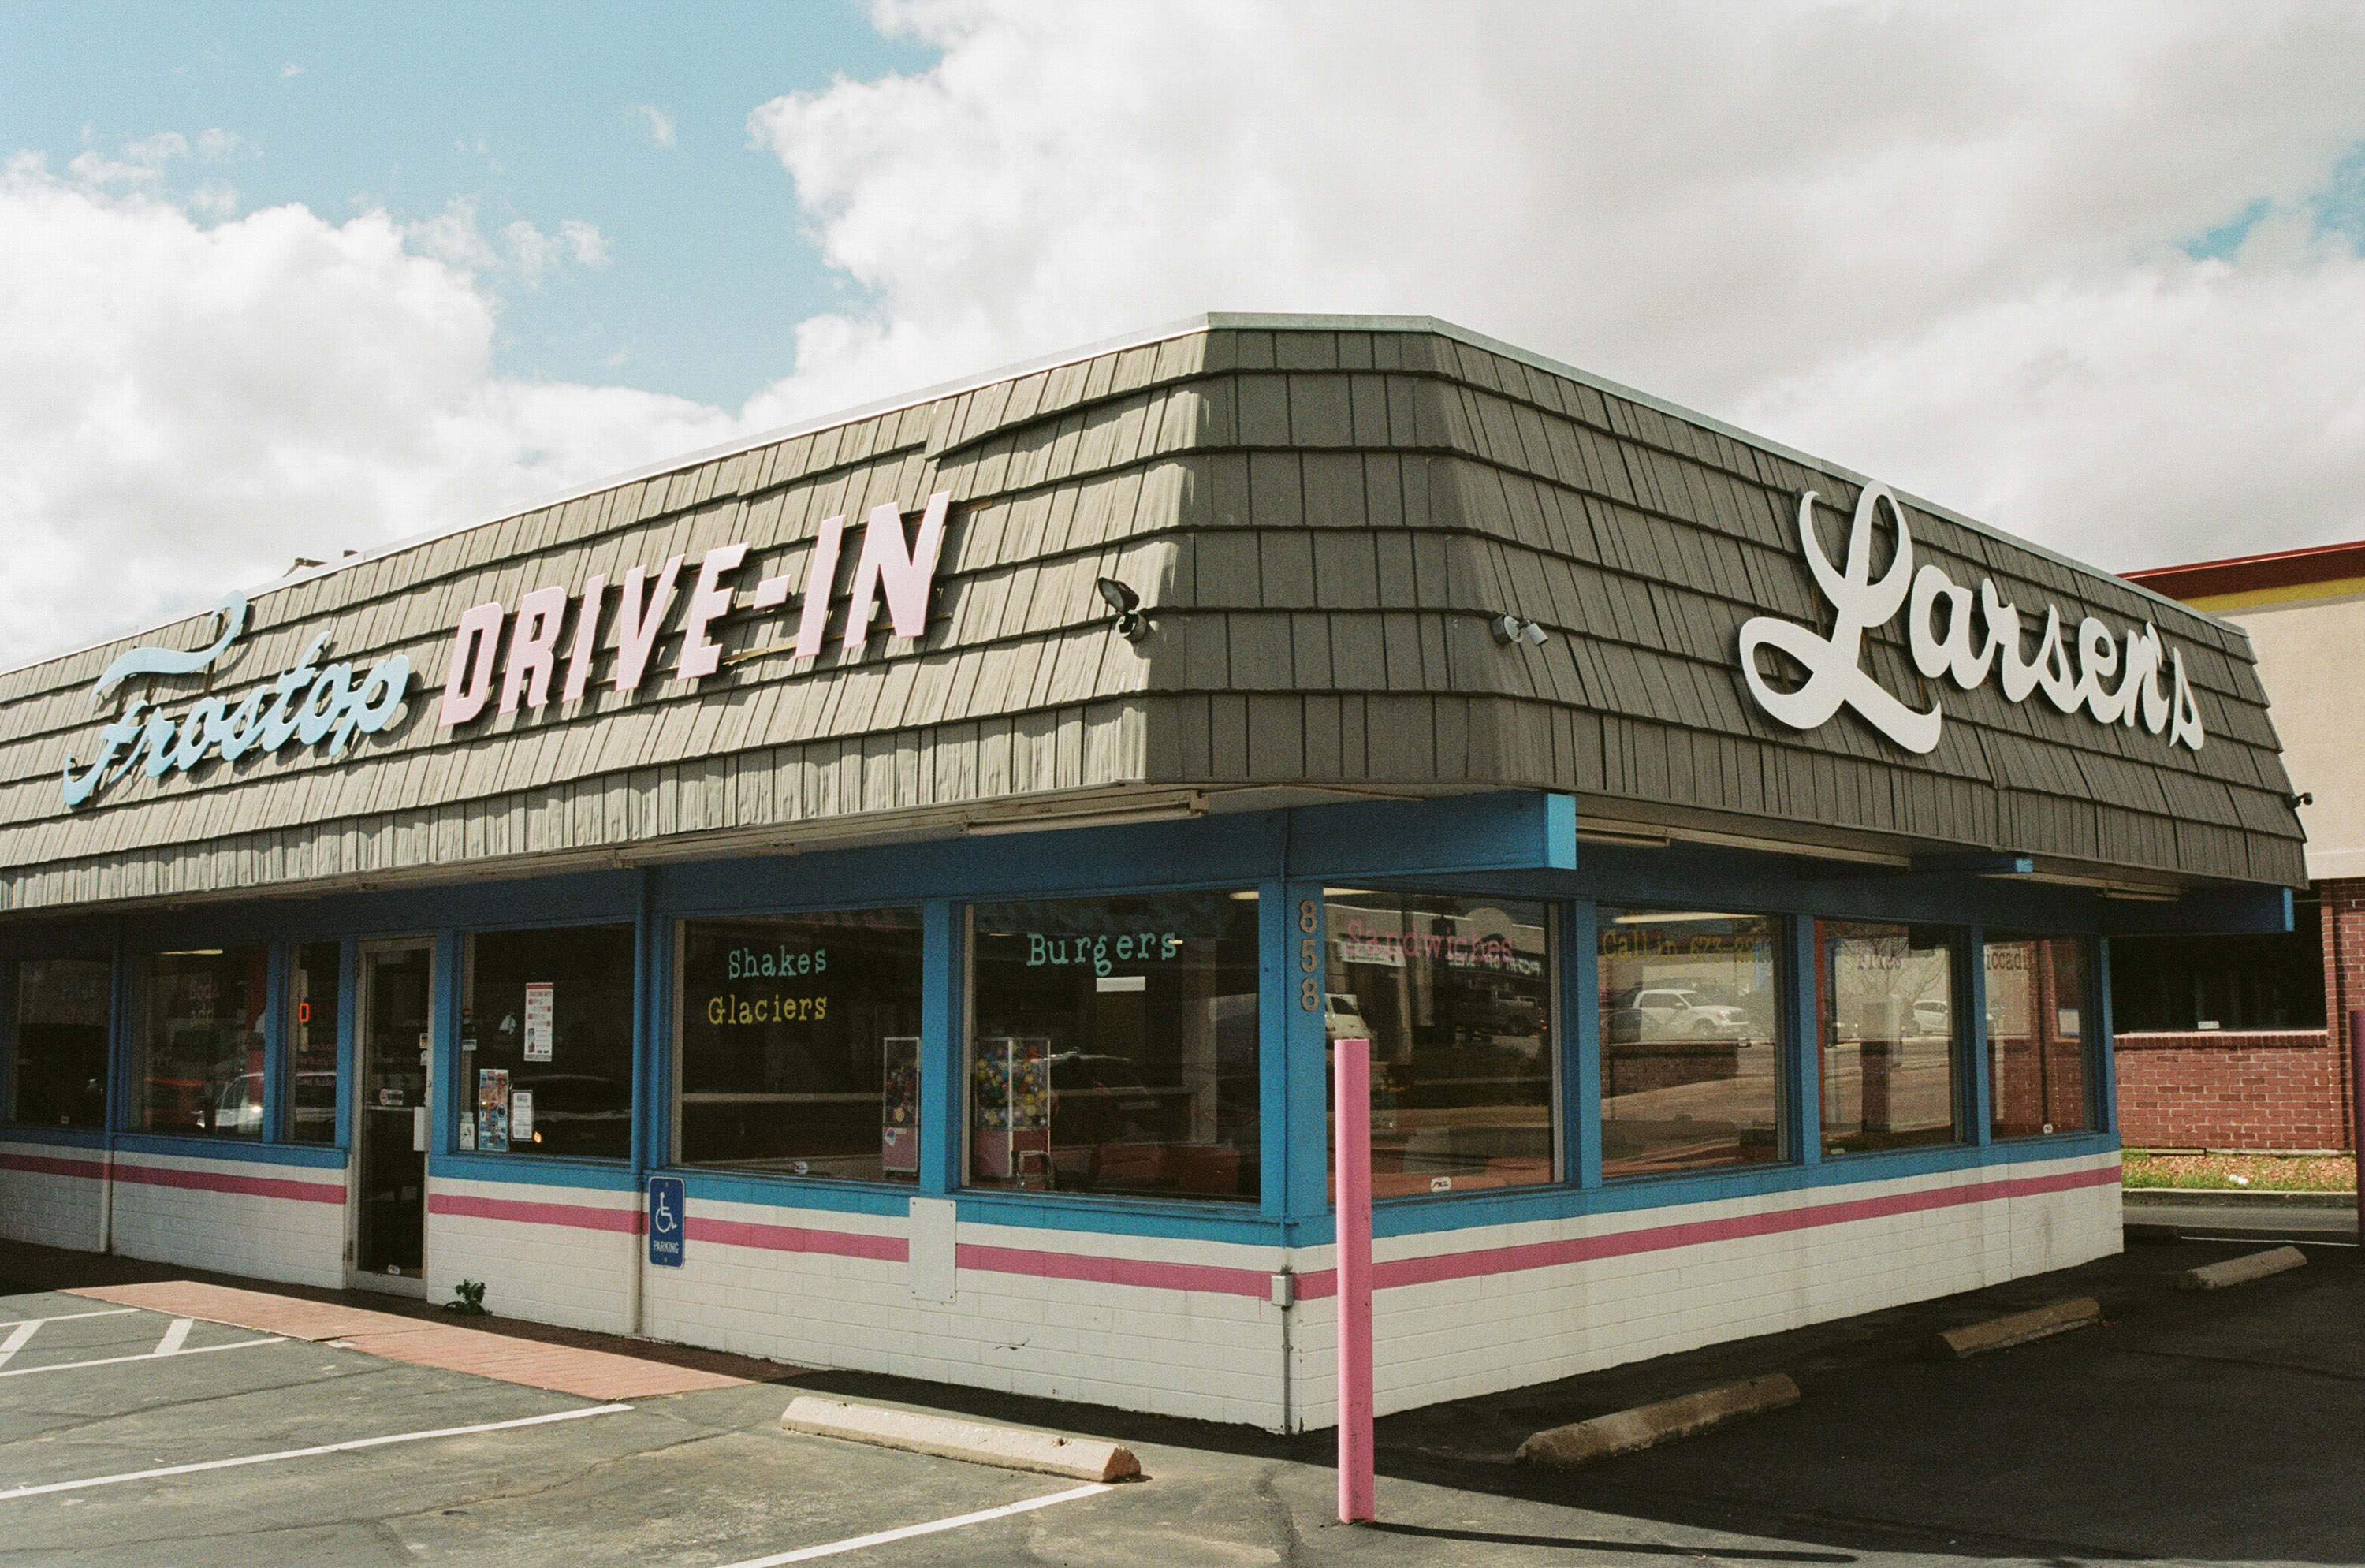
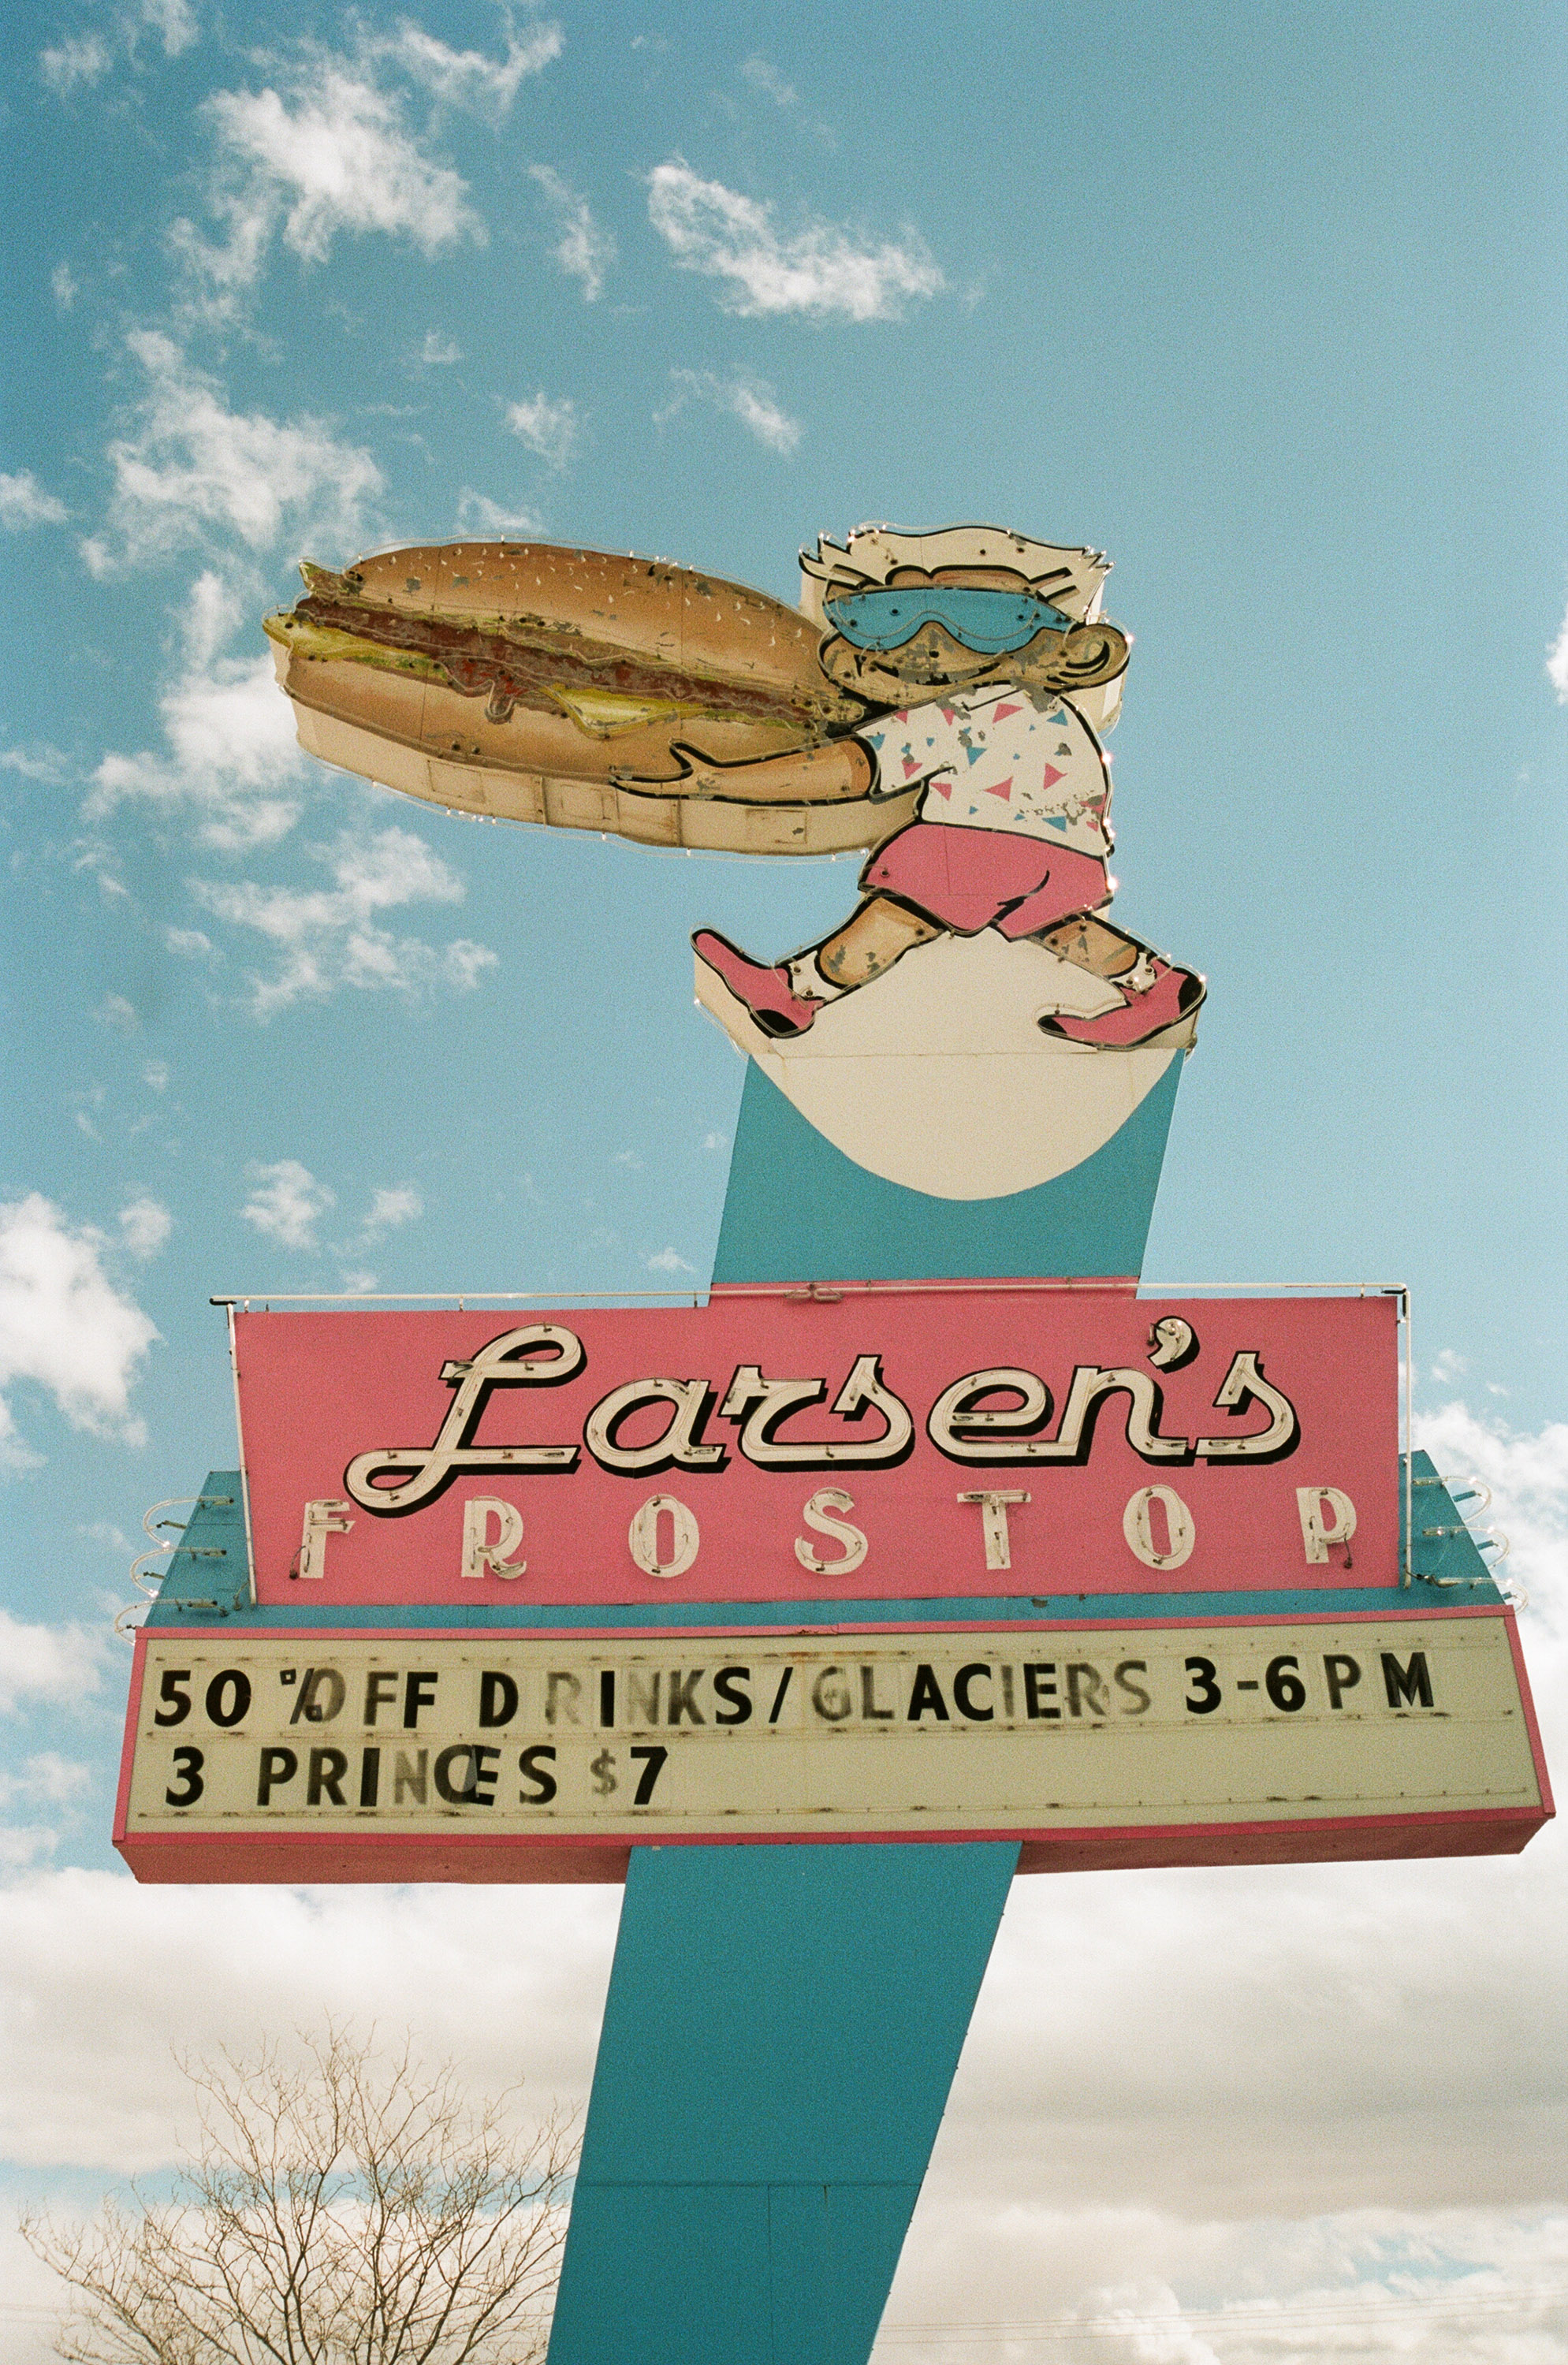
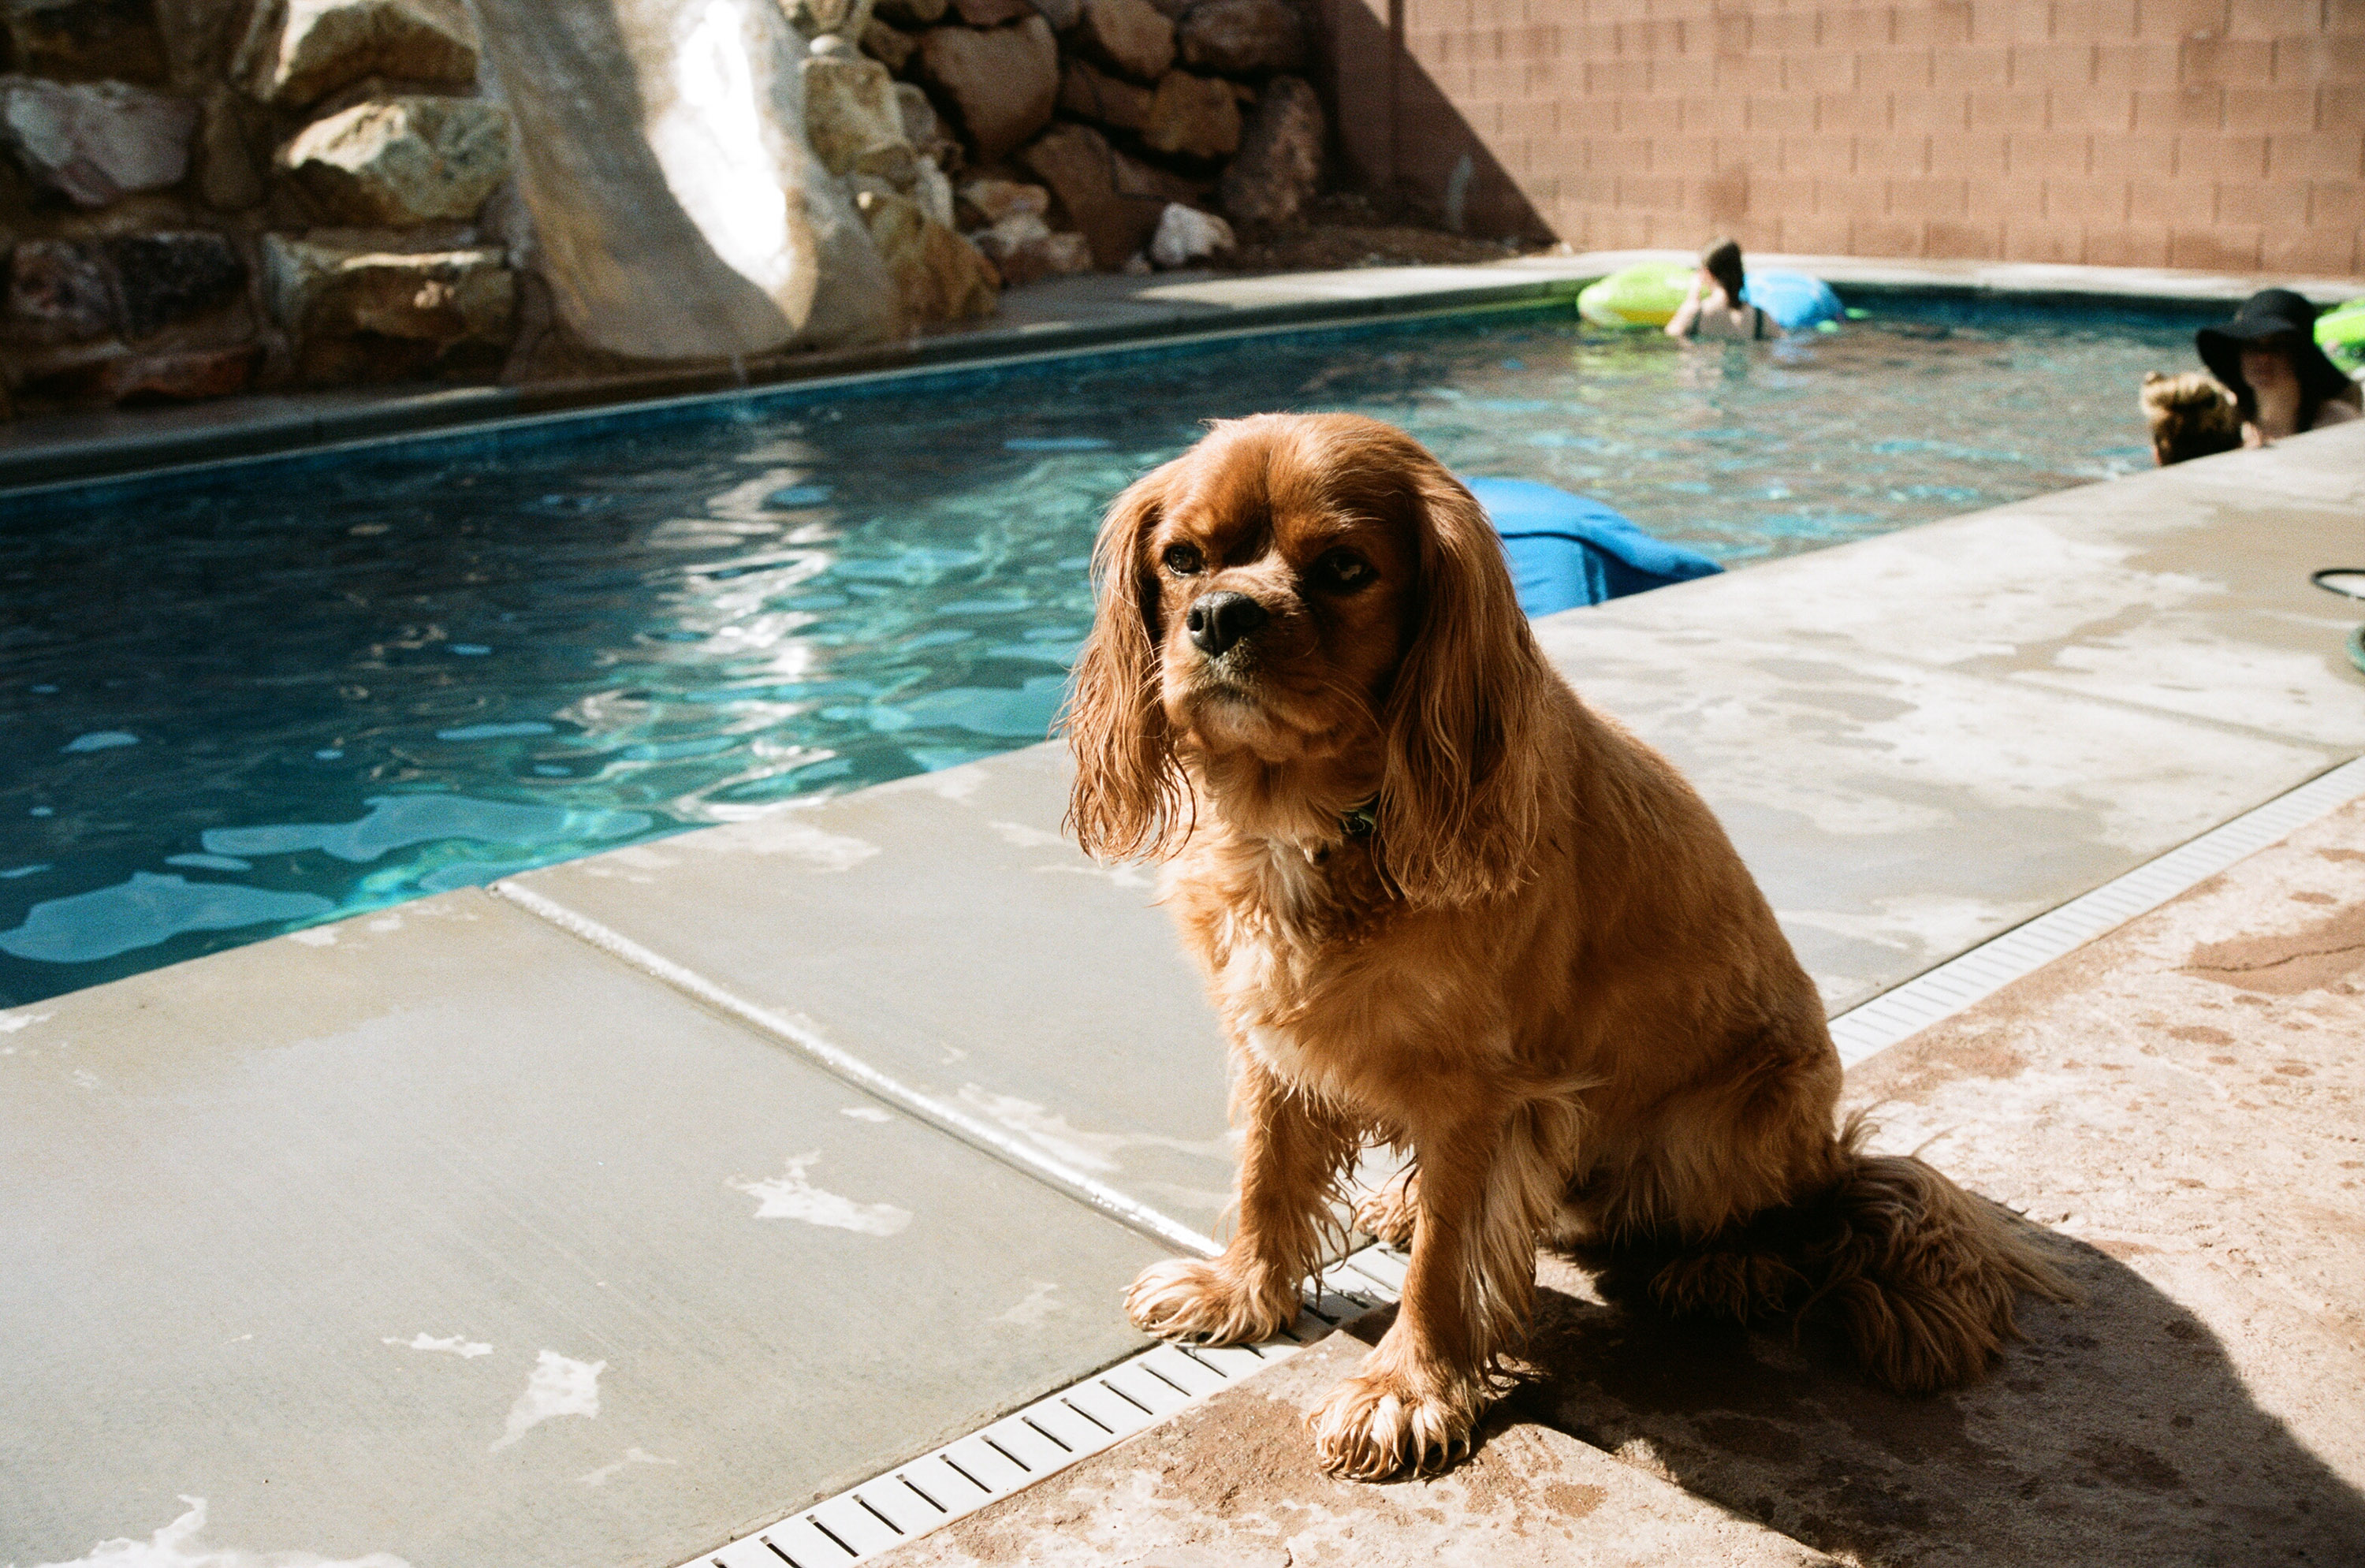
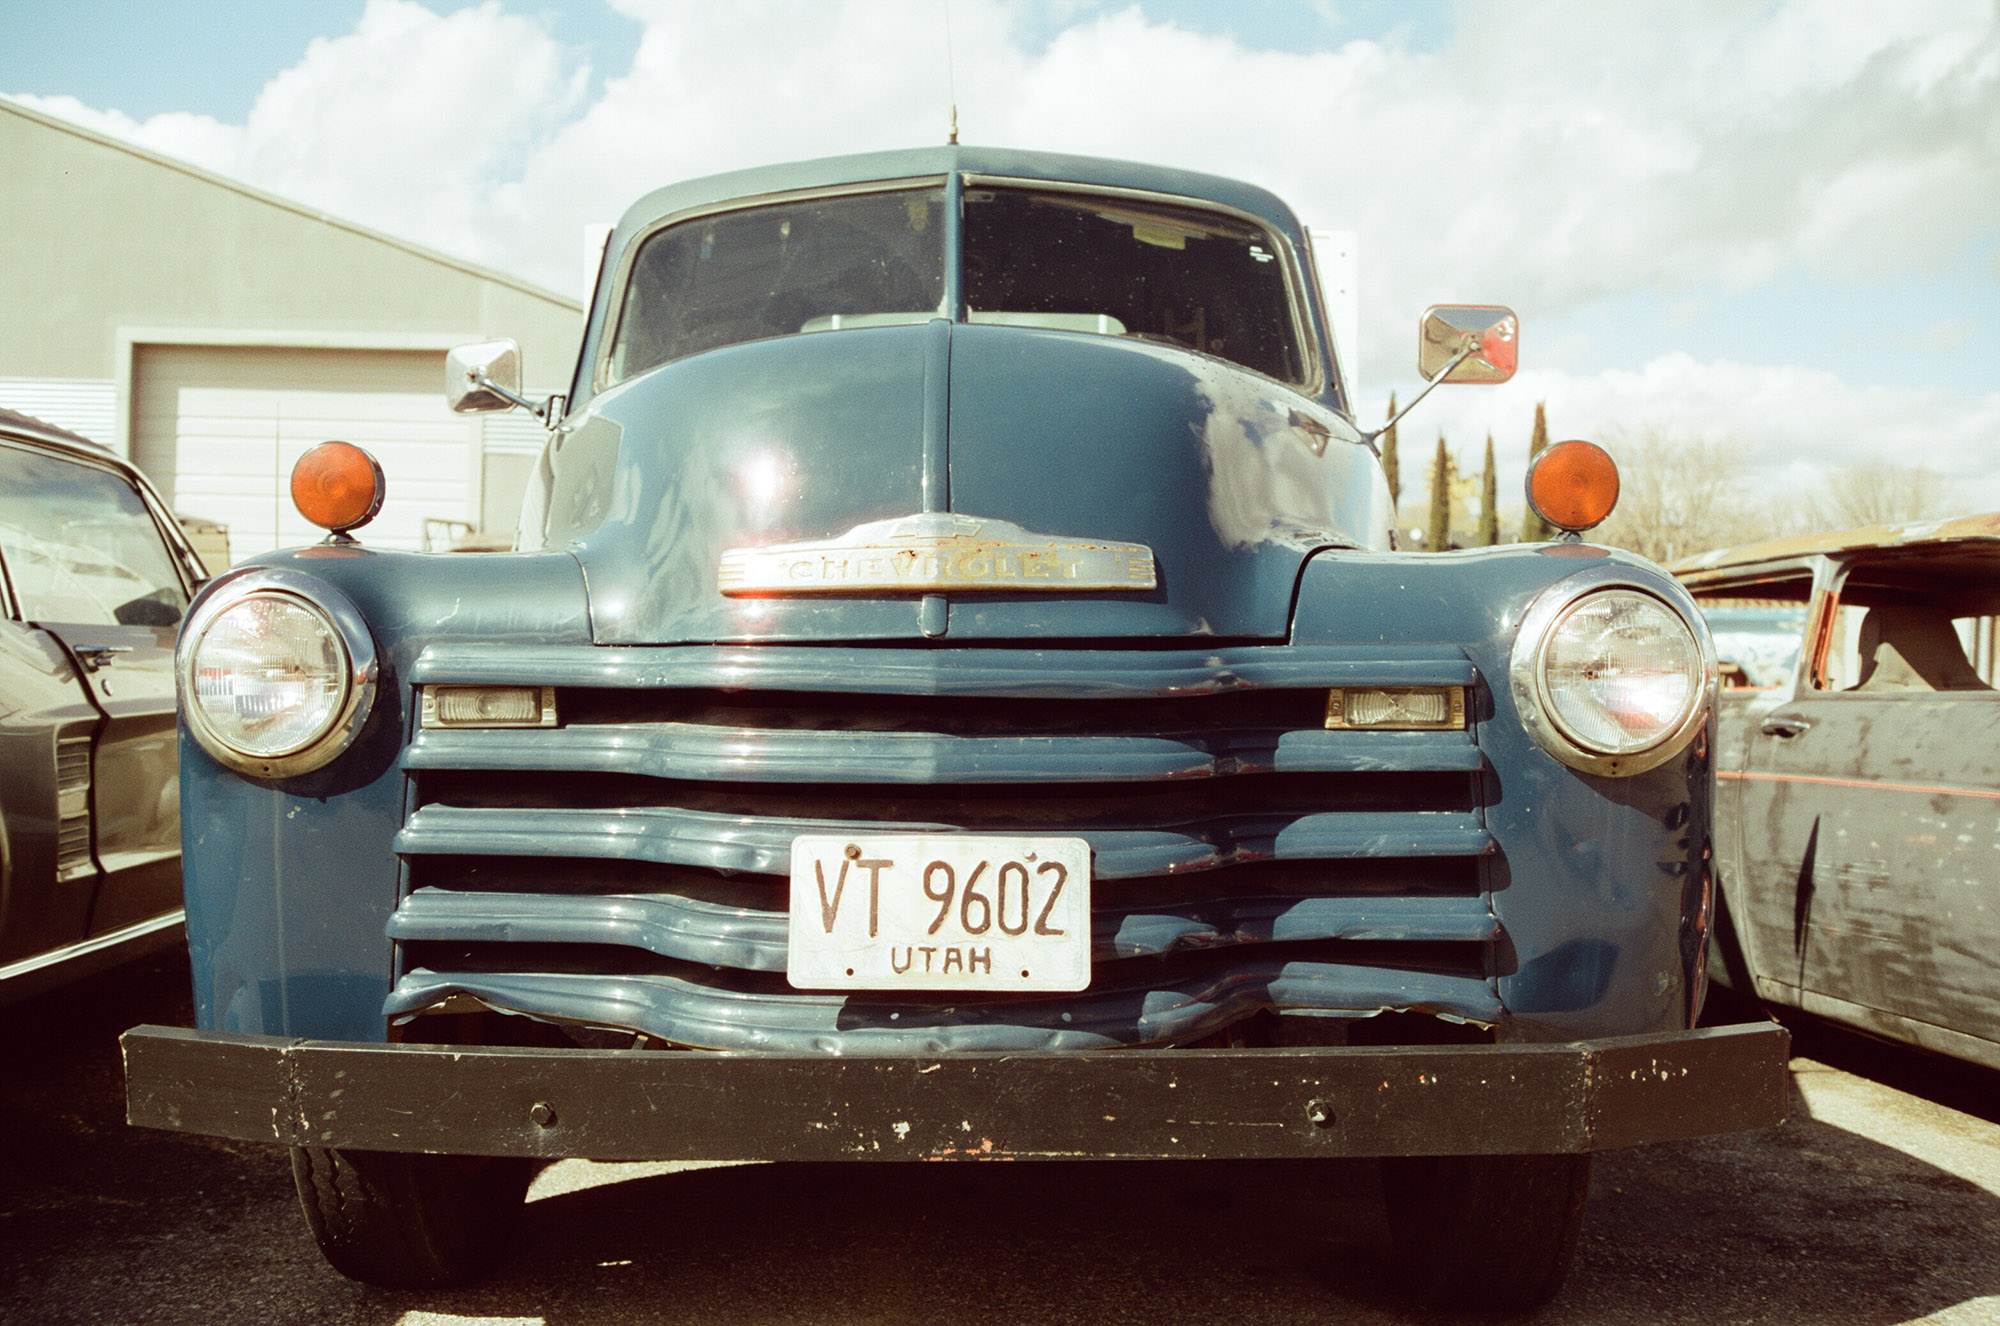
Now I’m not even going to attempt to hide my bias on this next one. Ektar 100 is my absolute favorite color negative film. In fact, in many ways it reminds me of Classic Chrome profile Fuji has created for it’s digital JPGs, which I also really enjoy. But, I’ll try to reign that in as I tell you about it. To my eye, Ektar creates the truest cyan of the films we’ve discussed, rendering the blue of this background, with this pool, and with this truck exactly as my eye remembers seeing them. When it comes to skin tones, in shaded or subdued light, skin tones look natural and smooth. However, in direct sunlight I do observe some more saturation in the reds in the shadows and even some in the midtones, and that will contribute to pale skinned subjects appearing more pink, although, not nearly as much as the cheaper Kodak films.
This film controls noise very well and is perhaps the smoothest of the films we’ve been comparing. It retains a lots of details in the shadows. Ektar has less exposure latitude than other color negative films, and when shot indoors it is better to shoot it as 32 ISO film.
Cinestill 50d


Finally, we have Cinestill 50d. In its original form, this film is Kodak Vision3, which is a daylight balanced motion picture film. Cinestill takes Vision3 in bulk and removes the remjet layer so it can be produced as a photographic film. There are several distinguishing factors about this film that set it apart, but the biggest is what happens to it as a result of losing that remjet layer. That layer acts as an anti-halation layer for the film, so with it gone, you will notice a pronounced tangerine-ish colored glow around highlights. This is the Cinestiill trademark and depending on who you are, is what makes it beloved or hated. And while the film does exhibit extremely fine grain, it also has very low edge sharpness which makes it appear soft, again, as a result of that halation.
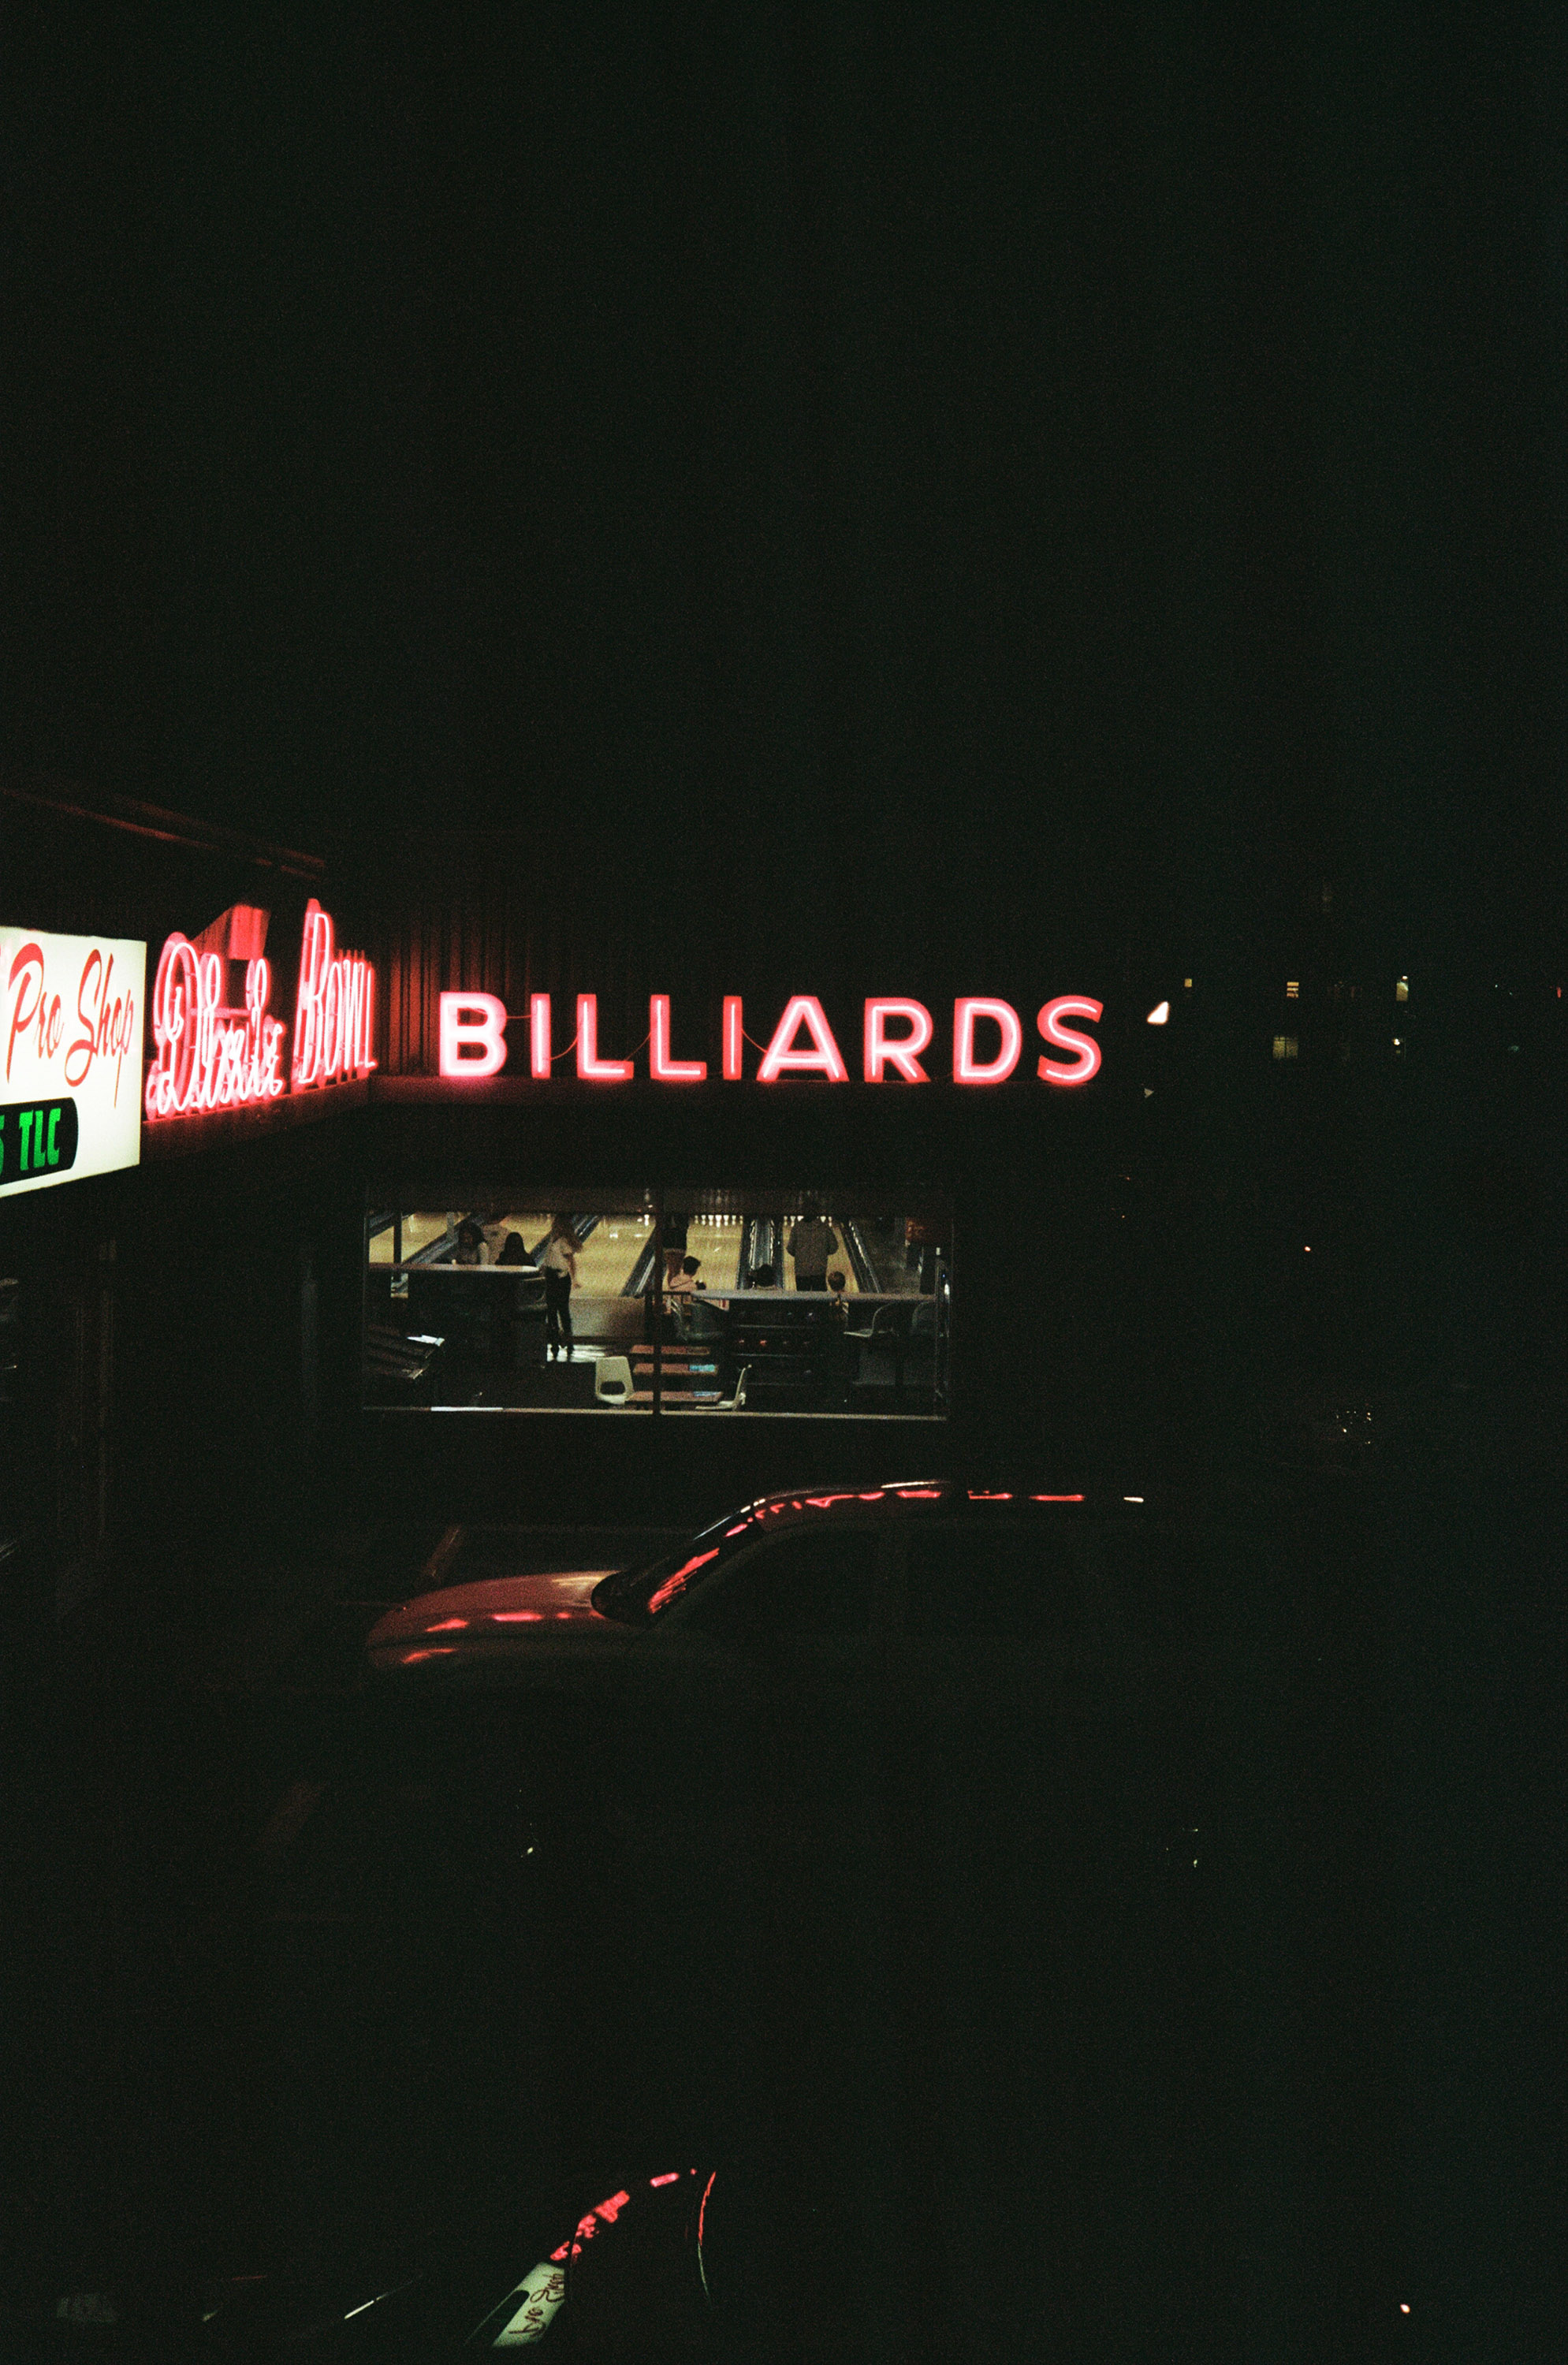
Taking a quick look at Cinestill’s brother 800T, which we are not reviewing here as it’s a more specialized tungsten balanced film, many street photographers shooting at night love it for how it treats bright lights. Cinestill 50d also exhibits this, but it is usually more subtle as it’s less common for folks to shoot a 50 speed film at night. But perhaps more distinctive than this glow is the distinctive yellow/greenish color cast and drab look that makes every shot seem like it belongs in my parent’s photo books from the 70s. While it’s an interesting look, it needs to be shot in the right light. For example, shot indoors, underexposed, or in just the wrong light, skin tends to appear jaundicy. When people are involved, I’ve heard it reported that it does better over-exposed. Moreover, be aware that many people who have reviewed this film report that it is unpredictable.
Conclusions
So that’s it as far as c-41 or color negative films. Now, keep in mind there are three other really amazing films that are available for shooting in color that we did not cover. These are e6 process slide films. For Fuji we have Velvia and Provia, and for Kodak we have the recently re-released Ektachrome. I did not evaluate these films here as these are not at all what I would call beginner films. Slide films are a bit of a different animal requiring much more precise exposure. Over expose or under expose even a little bit and these films end up being a very expensive waste of time. On the other hands, nailing exposure with these films can be quite rewarding as the colors are brilliant and are hard to duplicate even digitally. If you’re interested in separate video that explores these films, let me know. Maybe we’ll do that in the future.
But in the meantime, I truly hope you were able to find a film you like from these color negative films and I’d love to hear about it in the comments. Also, if you’re interested in a similar blind comparison for B&W films, checkout the videos I’ve done for those. Long live film.
This test was conducted by Andrew from Denae and Andrew. Be sure to subscribe to them on Youtube.
Get rid of the ads!
Did you enjoy reading this article as much as we enjoyed writing it? There's a way to support us and our reporting, getting ad-free navigation and more as a bonus. Subscribe to us for less than a coffee per month —just $3.99— or take advantage of our yearly subscription with a hefty discount for only $25.- An ad-free experience
- A free mystery box for Lightroom or Capture One
- All the books in our store
- 20% discount on Capture One
- 30% discount on Imalume Photo Theft Protection
- 20% off Herbs and Kettle Tea Company.
- 20% off your order from MPIX printing services.
- 5% off Viltrox Products via their eCommerce store.
- 10% off all film developing, printing and scanning services from Blue Moon Camera and Machine
- 15% off 7Artisans products: The lens and accessory maker is offering a sweet discount for Phoblographer's readers.