Last Updated on 11/15/2018 by Mark Beckenbach
This quick tutorial is perfect if you don’t have a diffuser on hand but want to get on with your macro shoot.
Diffusers are among the things that should never go missing in every photographer’s toolkit. If you’re just starting out, it’s understandable if you don’t have one yet. There are lots of choices out there, and it can also depend on what flash you’re using. But you certainly can shoot with one right now, if you realize that you’re in dire need of one. All you need are some everyday office materials to put together a basic DIY diffuser that works.
In the video tutorial below by Jen Sheidler, he demonstrates how easy and quickly it is to make your own flash diffuser. He himself uses this for his macro photography, so you can be sure that it works!
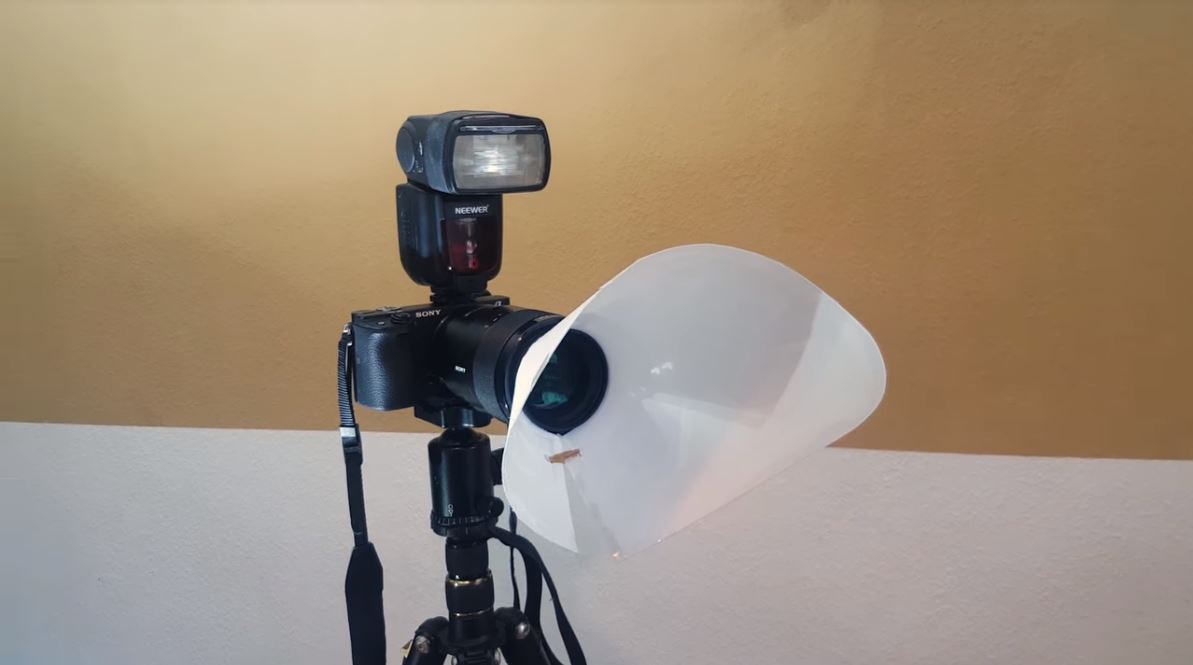
So, there you have it. You just need a translucent plastic folder, a sheet of white paper, a compass, some glue, rubber bands, and more or less five minutes to put everything together. Essentially, it’s a cone-shaped contraption that you place over your lens. Because it’s designed to be adjustable with the rubber band attachment, it can take whatever lens you’re using.
One thing to note though — Sheidler designed this DIY diffuser for macro photography, so it’s unlikely that it will be effective for other kinds of photography. But it’s possible to use the same materials to put together a basic version that you can put over your flash unit instead. If you do decide to try that out, do let us know how it goes!
In the meantime, you can also watch this other video showing how Jen’s DIY diffuser performed as compared with a number of flash and diffuser combinations. While you’re at it, check out more of his photography videos on his YouTube channel.
Screenshot image from the video by Jen Sheidler


