
Last Updated on 07/15/2018 by Mark Beckenbach
Is the TerraMaster D5-300C really a fantastic budget option for photographers?
Just as rent and transit fares are ever increasing, so too are the size of the raw files created by the latest cameras. This is a fact of life that we as content creators have to contend with on a daily basis. You can never have too much storage, but you may have some hard drives laying around collecting dust, and the TerraMaster D5-300C may just be the right DAS (Direct Attached Storage) device to put them to good use.
Pros and Cons
Pros
- Clean, minimalist design
- USB 3.0 Type-C interface allows for speedy data transfers
- Installation hardware included
- Compatible with 2.5” & 3.5” SATA hard drives and solid state drives, up to 12TB
- Affordable (MSRP US$249, excluding cost of hard drives)
Cons
- Only 2 of the 5 drive bays support RAID.
- Archaic mechanism required to change how the RAID capable drives bays operate
- Initial setup may be challenging for users that lack rudimentary knowledge of Windows or macOS.
- Exhaust fans noticeably audible, may not suit environments where silent operation is required
Gear Used
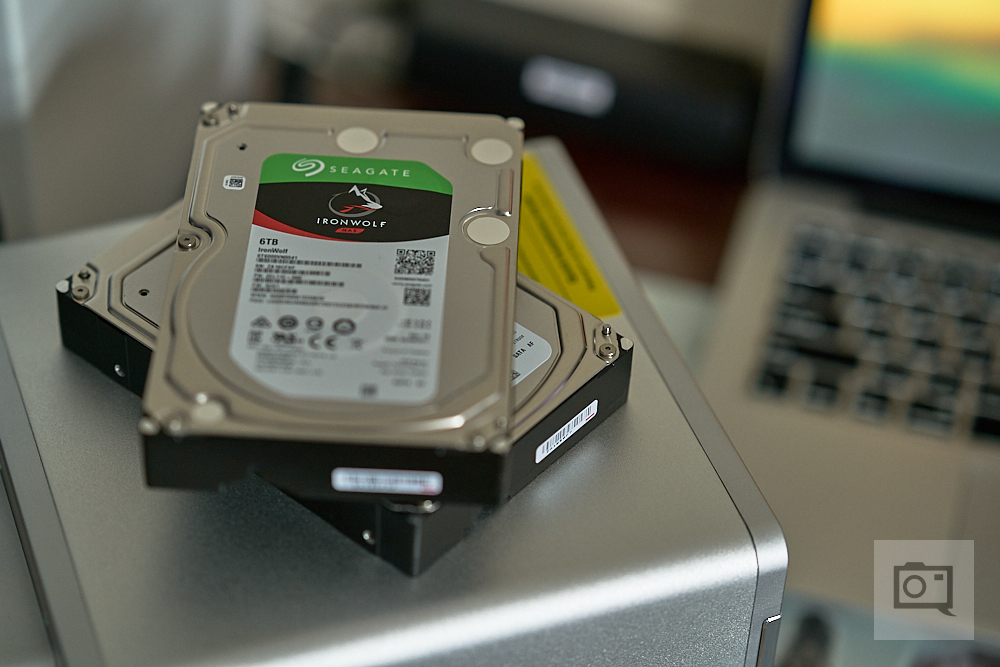
For this review, we tested the TerraMaster D5-300C with a custom built PC (running Windows 10 Professional, April 2018 Update), an Apple MacBook Pro (running macOS High Sierra), and a pair of 6tb Seagate IronWolf hard drives.
Tech Specs
(Taken from the TerraMaster D5-300C product page)
| Hardware Specifications | |
| Storage | |
| Drive Bay(s) | 5 |
| Compatible Drive Type | 5x 3.5” or 2.5” SATA 6Gb/s, SATA 3Gb/s Hard disk or SSD |
| supports hard disk group mode | RAID 0、RAID 1(For HDD1 AND HDD2 ) ;SingleDisk |
| Maximum Internal Raw Capacity | 60 TB (12 TB HDD * 5) (Capacity may vary by RAID types) |
| External Ports | |
| Data transmission interface | USB type-C x 1 |
| Data transmission cable | USB Type-A – USB Type-C;Length:1M |
| Power Port | 1(DC IN 12V) |
| File System | |
| Internal Drives | FAT 32/16、NTFS |
| Read/write speed(max) | Read:410MB/s,Write:400MB/s (2 SSHD RAID0 mode) |
| Supported OS | |
| Supported OS | Windows OS、Mac OS |
| Appearance | |
| Size | 227 x 225 x 136 mm |
| Housing material | aluminum |
| Weight | net weight: 2.16 Kg |
| Power | |
| AC Input Power Voltage | 100V to 240V AC |
| Power Frequency | 50/60 HZ, Single Phase |
| Power Consumption | 45.6W(Access) |
| Environment Temperature | |
| Operating Temperature | 5°C to 35°C (40°F to 95°F) |
| Storage Temperature | -10°C to 70°C (15°F to 155°F) |
| Certification | CCC、CE、FCC、UL |
| Warranty | 2 Years |
| Notes | Power consumption is measured when fully loaded with Western Digital 1TB WD10EFRX hard drive(s). |
| Environment & Packaging | |
| Environment | RoHS Compliant |
| Packaging Content | ·Main Unit X 1 |
| ·Welcome Note X 1 | |
| ·Accessory Pack X 1 | |
| ·AC Power Adapter X 1 | |
| ·Adapter Cable * 1 | |
| ·USB Type-Cable * 1 | |
Ergonomics
Coming in at 8.94in (227mm) long, 8.86in (225mm) wide, and 5.35in (136mm) tall, the TerraMaster D5-300C will take up a decent amount of desk space. If desk space is at a premium and you need to setup the TerraMaster D5-300C some distance away from your computer, you’ll want to purchase a longer USB Type-C cable as the included cable is only 3.3 feet (1 meter) in length. We can’t exactly fault TerraMaster for this however; the device is a DAS after all, and designed to be plugged directly into a computer in close proximity.
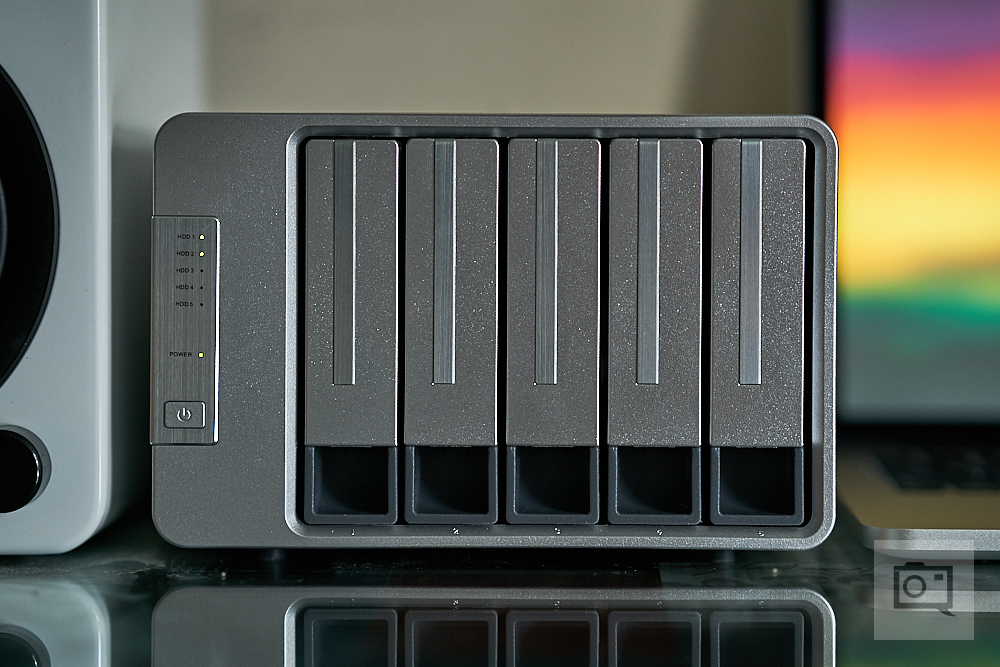
The front of the device is dominated by the five drive bays. To the left of the drive bays, you’ll find the power button, along with the unobtrusive LED indicator light for power, as well as activity and health indicator lights for each installed drive.
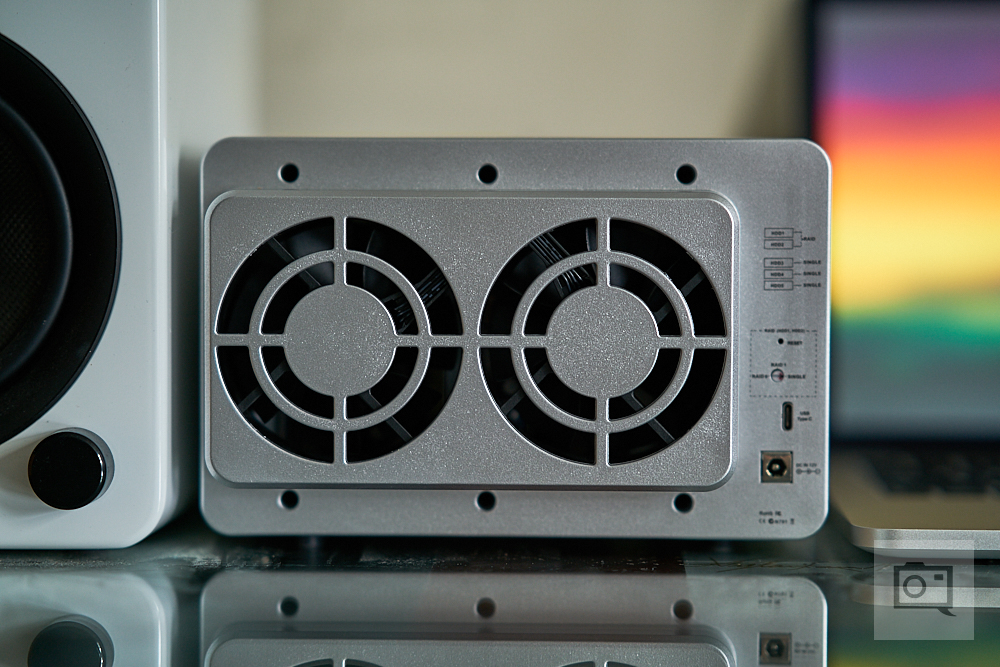
The rear of the device is sparse by comparison, featuring two exhaust fans, as well as the USB Type-C port and the power port. TerraMaster claims that the fans used are low noise, but during our testing the fans were noticeably audible among other ambient noises in our office. So anyone intending to deploy the TerraMaster D5-300C in environments that involve audio recording workflows may want to look for quieter alternatives.
Build Quality

The main chassis of the TerraMaster D5-300C is constructed from brushed aluminum, with plastic front and rear covers painted to emulate the look of the main body. The 5 drive trays are also made of plastic, the tray itself being dark grey while the latching front doors are painted in the same faux brushed aluminum finish as the front and rear covers. Despite being plastic, the drive trays are actually fairly sturdy and should last the life of the device itself, as long as you don’t over torque the screws when installing hard drives or forcibly jam the trays into the device. The included USB Type-A to Type-C cable seem to be sturdy enough as well.
Ease of Use
The only way to connect the TerraMaster D5-300C to your computer is via the rear USB Type-C port, but that’s actually a good move on TerraMaster’s part, as the storage industry is beginning to adapt USB Type-C as the new de facto standard. Users with older computers can still utilize the device using a USB Type-C to USB Type-A cable, as USB Type-C is backwards compatible with traditional USB 2.0 and USB 3.0. In fact, TerraMaster only includes a USB Type-A to USB Type-C cable in the box, the inclusion of a USB Type-C to USB Type-C cable would certainly have been appreciated for users with the latest computers featuring only USB Type-C ports, such as the latest generation MacBook Pros.
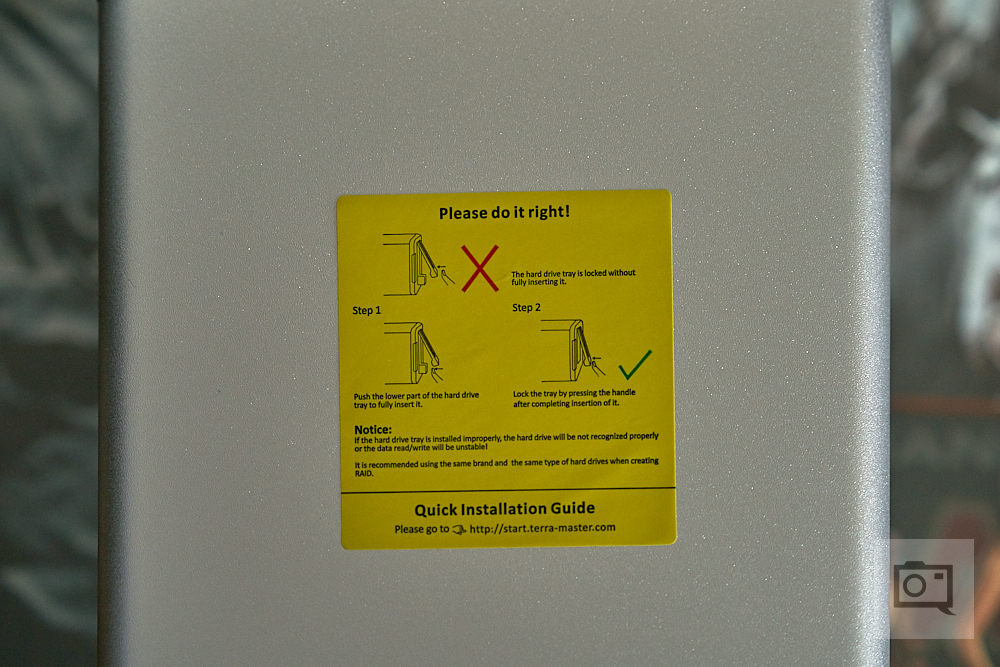
The TerraMaster D5-300C does not come with any hard drives preinstalled, so you’ll need to purchase them separately. You can use either 2.5” or 3.5” hard drives or solid disk drives, and up to 12TB drives are supported. Our friends at Seagate were kind enough to provide us with a pair of 6TB IronWolf hard drives to evaluate the TerraMaster D5-300C. To install the hard drives, simply remove the drive trays and fasten the drives with the included screws. The inclusion of integrated retention clips on the drive trays, a feature commonly found in competing DAS and NAS products, would have been welcomed. Once the hard drives are installed, plug in the power adapter and connect the unit to your computer, but don’t press the button just yet.

You’ll want to first determine how your hard drives operate by physically dialing in the setting on the rear of the unit with the included mini flathead screwdriver, something I’d never thought I’d have to do in 2018. You can pick between RAID 0, RAID 1, or have them operate independently as separate drives, but be advised that this only applies to hard drives installed in drive bays 1 and 2. The decision to have only 2 of the 5 drive bays of the TerraMaster D5-300C be RAID capable is certainly a peculiar one, and TerraMaster’s dubbed this unique configuration “2+3 RAID.” Curiously, TerraMaster also sells the D5-300 which is basically the same exact unit but with all 5 drive bays being RAID capable, for a $50 premium. Perhaps it would be useful if you’ve got a handful of old hard drives kicking around, but unless they were internal hard drives to begin with, you’d have to first remove them from their external enclosures before you can install them into the TerraMaster D5-300C.
If you activated the TerraMaster D5-300C at this point, you’ll notice that each of the installed hard drives will show up as separate drives by default. Since the TerraMaster D5-300C is a RAID enclosure, even if only the drives in bays 1 and 2 supported it, of course we were going to test that capability. When it comes to data, my policy is always redundancy over performance, so naturally I decided to go with RAID 1. Using the included mini screwdriver, I turned the adjustment dial on the rear of the device so that it’s pointed at RAID 1, and using what looked like a SIM removal tool (also included), held down the recessed reset button on the rear for 5 seconds until the unit beeped, signaling that the configuration of bays 1 and 2 have changed. Note that drives 1 and 2 will be formatted whenever you switch RAID configurations, erasing any data stored on said drives. Realistically, however, this is something that you’ll only ever need to worry about when first setting up the device, unless for whatever reason you decided to change how drives 1 and 2 operate some point down the line.
Now comes the time when you’ll need to do some work under the hood in either Windows or macOS. If you’re Team Windows, you’ll need to go into Disk Management to initialize the RAID. It’ll show up as an uninitialized disk under disk management, and unless you’re using 2TB or smaller hard drives, you’ll want to make sure that you select GPT as your partition style. Once the disk is initialized, you can then create a new volume and begin using it to store whatever data you may have. A slightly simpler process awaits you if you’re on Team Mac. Fire up Disk Utility, and locate the uninitialized RAID listed under “External.” Select the disk and press the “Erase” button, whereby you’ll be prompted to provide a name for the uninitialized RAID. Once the erase operation finishes, your RAID disk is initialized and ready to hold whatever data you want to store on it.
If your eyes glazed over from reading the last few sentences, it will probably be a good idea to get a tech savvy friend to lend you a hand.
Conclusion

Aside from the quirky RAID configuration and the mildly technical setup process, the TerraMaster D5-300C is a no-frills DAS device that for all intents and purposes behaves like other external hard drives on the market. If you’ve got a bunch of spare hard drives kicking around, or external hard drives with busted enclosures just gathering dust, this may very well be the solution for you to utilize storage that you already own. If you want to create a RAID array from drives installed in all 5 bays, or require more advance connectivity options like network access, you’ll want to look elsewhere.
The TerraMaster D5-300C earns 3 out of 5 stars. Want to add one to your setup? You can find it on Amazon.
Get rid of the ads!
Did you enjoy reading this article as much as we enjoyed writing it? There's a way to support us and our reporting, getting ad-free navigation and more as a bonus. Subscribe to us for less than a coffee per month —just $3.99— or take advantage of our yearly subscription with a hefty discount for only $25.- An ad-free experience
- A free mystery box for Lightroom or Capture One
- All the books in our store
- 20% discount on Capture One
- 30% discount on Imalume Photo Theft Protection
- 20% off Herbs and Kettle Tea Company.
- 20% off your order from MPIX printing services.
- 5% off Viltrox Products via their eCommerce store.
- 10% off all film developing, printing and scanning services from Blue Moon Camera and Machine
- 15% off 7Artisans products: The lens and accessory maker is offering a sweet discount for Phoblographer's readers.