
Last Updated on 06/08/2018 by Chris Gampat
In the past couple of years, film emulsions have been experiencing a bit of a revamp. Some have disappeared while others have been either resurrected or created. With that in mind, it’s time for a brand new guide to these emulsions.
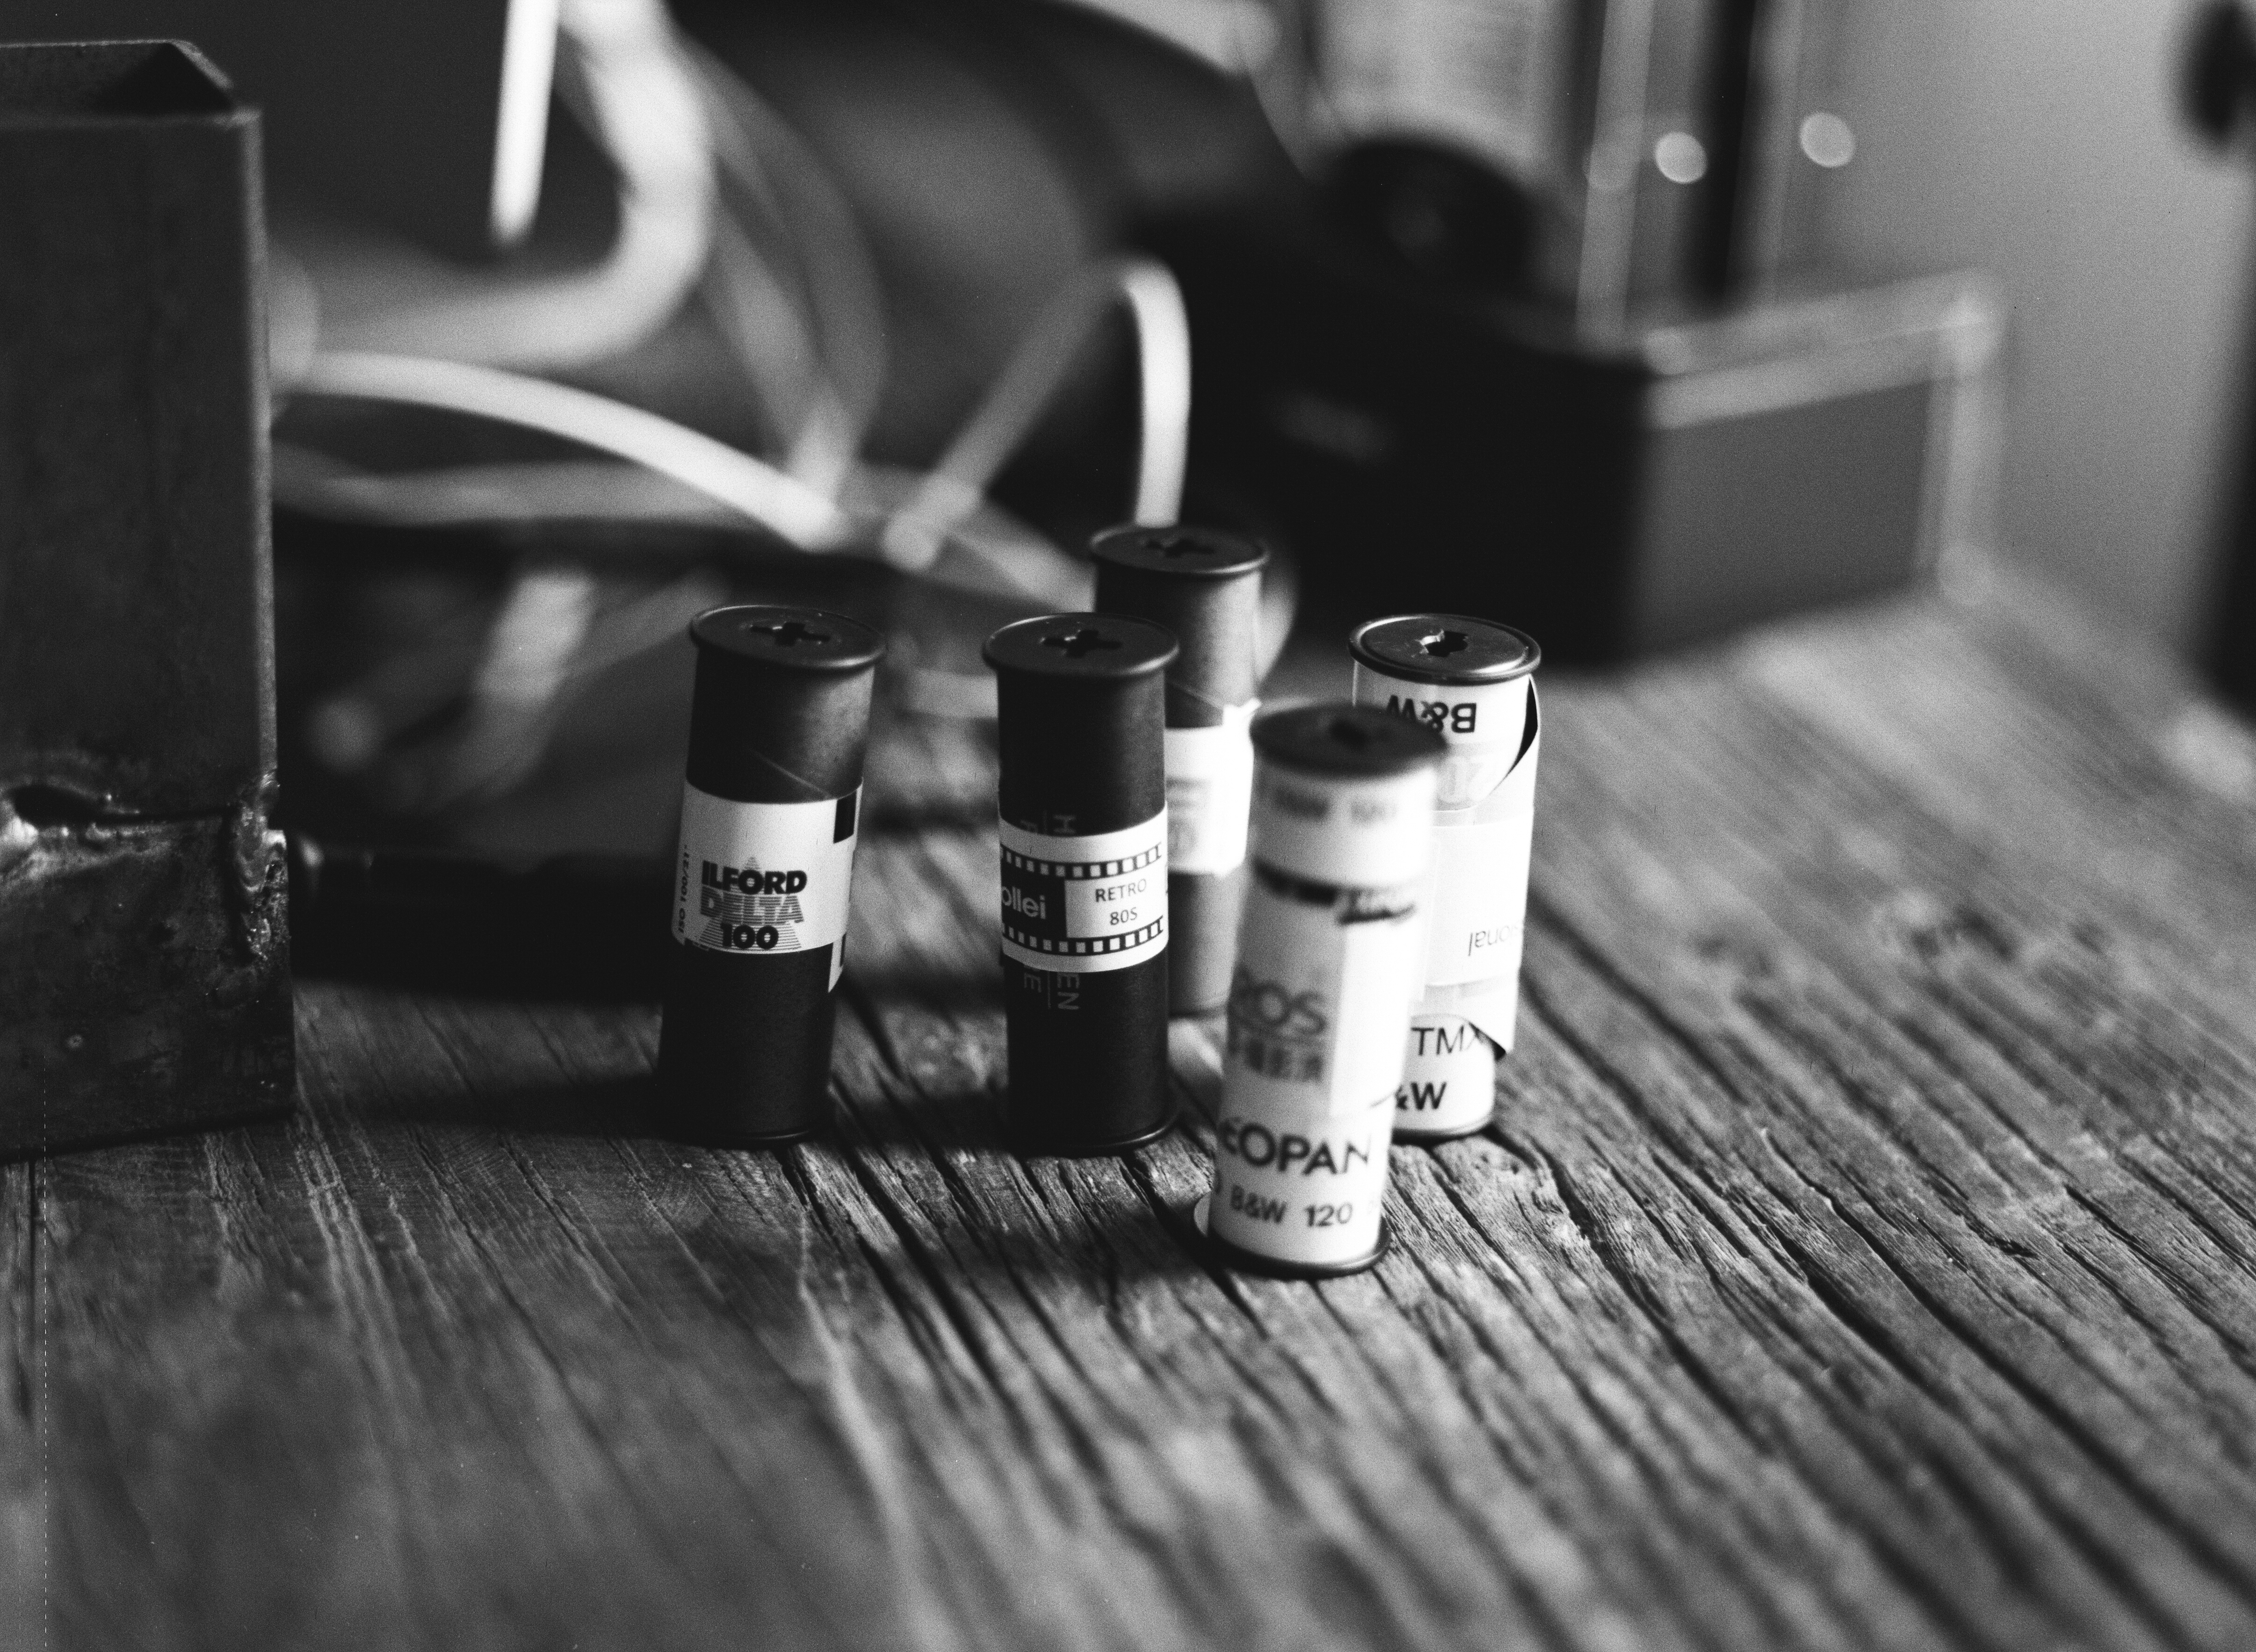
In this guide I will be comparing every 100 (ish) speed, black and white film which is actively being produced and readily available to the U.S. market in mid 2018, with the goal to help those of you who are new to film photography figure out a film which might be right fit for you.
While this guide is probably going to be most helpful for beginning film photographers, I’m hopeful that more experienced film shooters will also find this guide valuable and interesting. Due to the nature and scope of what we’re tackling here, this isn’t going to be a super short video. So here are some timestamps to help you navigate the portions you may find most interesting.
Timestamps
- Things you should know: 1:02
- Methodology: 2:34
- Blind Test Instructions: 4:08
- Blind Test: 5:37
- Film Analysis: 9:12
- Conclusions: 16:53
Methodology
As I get into this, you should know that I’m a film enthusiast but not an expert. There are probably people more qualified to do this, but no one has. Or at least not in a back to back comparison like I am doing. With that in mind, I’ll do the best I can and appreciate patience from those who are more experienced.
This is as scientific a study as I can possibly make given limited time, experience, knowledge, and resources. But it’s still not super scientific. With any blind test or study like this there are these things called compounding variables. And in my comparison there are just an untenable number of compounding variables which can skew the results. For instance, the way any of these films look, both grain, contrast, sharpness, tonality, etc can all be drastically affected by your choice of developer, your development technique, and your scanning technique. The good news here is that, within reason, you can use combinations of films, developer, scanning, and post processing techniques to get you results you’re very pleased with, if you experiment long enough. And any experienced film photographer would tell you that that’s exactly what you should do. Pick a film and a developer that works for your budget and workflow, and start experimenting.
But, we all need a place to start. I’m hoping this guide will give you a point of departure. If it sparks your interest in a specific film or introduces you to a film you’ve never tried but decide you’d like to try, to me that makes the whole thing worth it.

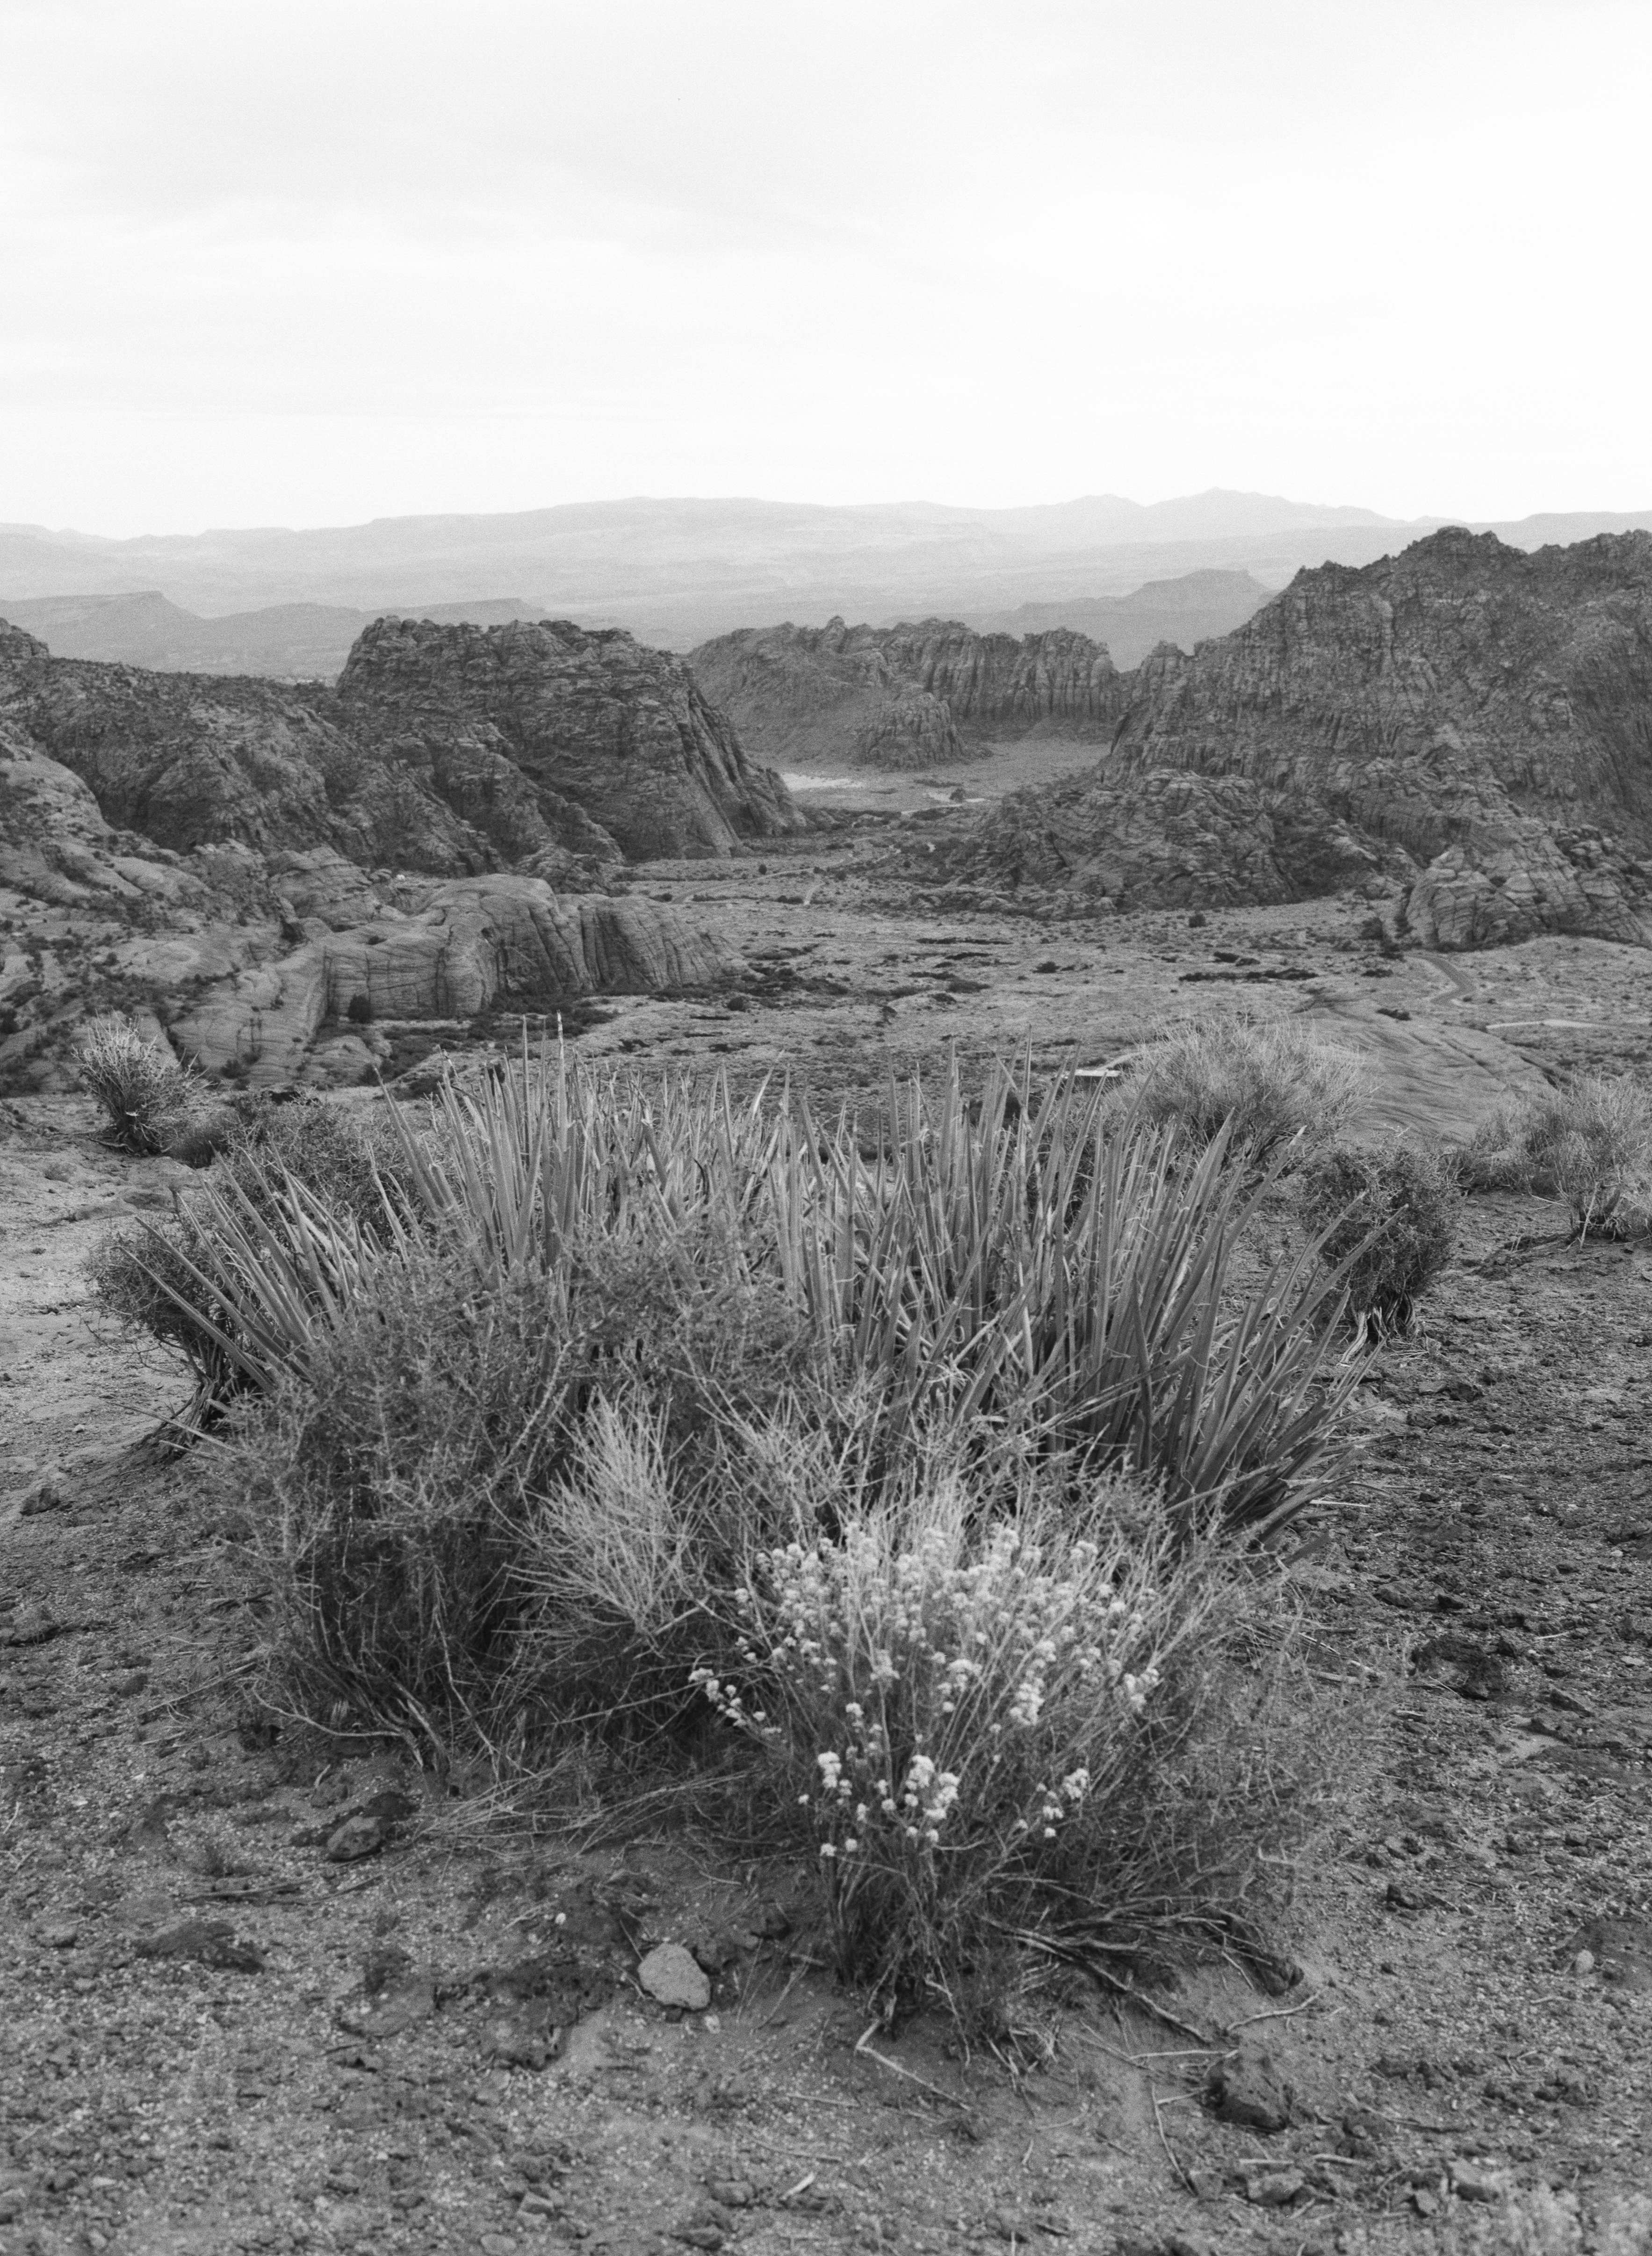
Now, the question will definitely come up, for 35mm shooters, can you expect similar results from 35mm film equivalent as you can 120 or medium format film? In general, I would say, yes you can surely get similar results from 35mm and 120. Though, across the board, when viewing medium format scans at the same effective size as a 35mm film scan, since we’re dealing with a lot more resolution with a 120 scan, the film is going to be more dense. As a result, the 120 shots will appear more sharp and grain that is more tightly packed than on the 35mm side of things.
So let’s talk about how I did this. For the blind test, and just to compare the quality of films in general, I wanted to take as many identical or similar shots as possible with each of the seven emulsions we’ll be looking at. Shooting with a medium format camera like the Bronica ETRSi works out amazingly well for this as it’s just a matter of loading each film into a different film cartridge or “back” and swap them out at each location and each unique shot. The reason I chose the Bronica ETRSi was because backs for these guys plentiful on eBay and are the cheapest backs you can get for medium format devices.
To develop this film I partnered with the awesome folks at Indie Film Lab. Now, as I mentioned before about compounding variables, film developer choice is a huge decision when it comes to the end resulting look of a film, not to mention mixtures and developing times. For this study Indie Film Labs stuck with one developer, Kodak Tmax developer and use Tri-x development times from the Massive Dev Chart and they process using a Refrema dip and dunk processor.
For many of these films, people will argue that other developers or times would be better to start out with. I’m not disagreeing with that, but again, we had to start somewhere and we certainly can’t test all of them.
As far as scanning, Indie Film Labs used their Fuji Norutsu scanner with a very flat and consistent profile to ensure the scans were as true to the film rendering as possible.
I just want to say again how appreciative I am for these guys helping out with this. A study like this is not cheap for me to make and their partnership made this possible. You’ll find a link to them below and they are, awesomely, offering us a 20% discount code. Thanks guys! (longlivefilm20)
Alright, I think that about covers the methodology I used. Let’s move on now to the funnest part of this guide, the blind test.
Blind Test
For the blind test, and just to compare the quality of films in general, I wanted to take as many identical or similar shots as possible with each of the seven emulsions we’ll be looking at. Shooting with a medium format camera like the Bronica ETRSi works out amazingly well for this as it’s just a matter of loading each film into a different film cartridge or “back” and swap them out at each location and each unique shot. The reason I chose the Bronica ETRSi was because backs for these guys plentiful on eBay and are the cheapest backs you can get for medium format devices.
Again, as I mentioned before, attempting to do a more exhaustive study with multiple development solutions would result in a staggering amount of work both for me to shoot and develop and for you to evaluate in a blind testing situation. For many of these films, people will argue that other developers or times would be better to start out with. I’m not disagreeing with that, but again, we had to start somewhere and we certainly can’t test all of them.
From those, I’ve chosen four different scenes which I feel like give a decent indication of how each film performs in different situations. This includes shots which are slightly underexposed, those that are slightly overexposed, a scene with high dynamic range and a shot which includes skin tones.
The way we’ll proceed is this:
I’ve grouped the film stocks together into four different scenes. The films will have a letter assigned and will be randomized. I’ll show you all the shots in a particular scene together and then we’ll zoom in and scan the shots, side by side, so you have a chance to study them in relation to each other. You can either just watch the video as I go through them all, one at a time, or you can download the scans and study them yourself, at your own leisure.
But before we dive into the photos, I want to give you a tool which will help you in your analysis. I’ve created a black and white film score card you can use to help make a decision on on the films. If you choose to use this scorecard (and this is important) I’m not actually going to give you access to my spreadsheet here to edit. If you want to use it you’re going to need to make a copy of it before you can edit it. It’s amazing how many people missed that in my 400 speed, 35mm guide. With that disclaimer out of the way, please navigate to this URL to grab that document and make a copy of it.
Scene 1


Scene 2


Scene 3


Scene 4


Analysis
So with the blind test out of the way, now comes the big reveal. Here are the film names associated to their letters:
- A Ultrafine Xtreme
- B Tmax
- C Rollie RPX
- D Rollei Retro 80s
- E FP4
- F Fomapan
- G Delta 100
Now, based on the data that I’ve collected here, I definitely have some recommendations for you on which film might work best for different styles of photography and different experience levels of shooters. With that in mind, I’m going to go through and analyze each film. I’m going to briefly mention a bit about the history of the emulsion, it’s unique and defining characteristics, and who might benefit from shooting with it. And at the very end I’ll conclude by telling you what my own personal film of choice is.
Ultrafine Xtreme

We’ll start with the cheaper or what I would call the budget films. These are films typically used by students or the budget conscious photographer. And, weighing in at a pretty $3.59 per roll, the cheapest of all of the films and only available in North America, is Ultrafine Xtreme. Ultrafine Xtreme films are retailed by Photo Wharehouse, out of Oxnard California. But as to who produces this film and what its history is, Photo Wharehouse isn’t saying anything and all I have been able to find are rumors and speculations in photo forums. There is a lot of speculation on the origin of this film. Many believe it’s a rebadged film from China (Lucky or Shanghai film). Others believe that this 100 speed variety is rebadged Ilford FP4. In fact, it does seems safe to assume that Harmon (maker of Ilford Delta and FP4 100 films) does the coating/finishing of this film based on packaging and labeling. And, when developed in the same solutions at the same development times, it looks nearly identical to FP4+, to my eye. But when I study the emulsion after development, although, yes, similar numbering system and font is used, the Ultrafine film is thicker and heavier, and has a smoother texture on the emulsion side, whereas FP4+ is more dull and rough in texture, and also seems clearer. But if the emulsion is an Ilford rebadge or something else, no one at Photo Wharehouse or at Harmon are talking. But more on that later.

Regardless, this film, to me, is surprisingly high quality for one so cheap. It has medium contrast with good latitude, and I’d say a medium to fine grain which seems consistent, smooth and pleasant. The film is sharp and retains great shadow detail, even when underexposed. It is a flexible film and allows for a range of development errors and also great for pushing. I have nothing to complain about with this film.
Fomapan
Next up is Fomapan, which, is also Arista EDU Ultra, which, is also Lomography Earl Gray, and who knows how many others. Fomapan has been produced for by Foma, Czech company, for almost a hundred years. It is Europe’s popular budget-friendly brand, and it gets repackaged by various and sundry brands on a regular basis. I’ve found that prices vary between its various brands, so I’ll usually watch and compare these prices and get the version which happens to be the cheapest at any given time. Currently, In the U.S. Foma can be purchased at $4.59 per roll, which is much cheaper currently than buying a three-pack of Earl Gray. However, one of its other incarnations, Arista EDU Ultra, can be purchased for 30 cents cheaper. But it’s something to compare before ordering, because those prices seem to fluctuate.
Fomapan has a lot higher contrast than the other films we’re comparing. It has high edge detail, but conversely, seems a bit more prone to halation than the others. I have two complaints about Fomapan: the first is the grain structure, which is very pronounced and is very chaotic or messy. The grain is not consistent from roll to roll, and even on the same frame, leading to results you can’t depend on. Additionally, Fomapan seems to be less flexible when underexposed and seems to struggle retaining shadow detail.

For those in N America, I can’t recommend Fomapan and its various incarnations since Ultrafine is cheaper and seems to me to be a much more consistent and higher quality film. For Europeans or elsewhere, it’s most likely the best option for budget or educational photography. But even then, I would never recommend relying on this film for professional or work that you care a lot about. But it’s probably great for practice or experimentation when you’re learning.
Having said all that, the group I can handily recommend this film to are Lomographers or photographers who are after that iconic film look, who want as little mistake as possible that they are hipstering it up old school style without any need for VSCO, Hipstomatic or Instagram filters.
FP4+

The next film I want to discuss is Harman/Ilford’s FP4. While not exactly a 100 speed film (it’s box speed is 125), this guide would certainly not be complete without it in the mix. This film is also extremely old, having been through four major iterations (hens the 4) since its creation in 1935. This film is known for being crazy versatile, able to be underexposed by two stops or overexposed by six. It makes it one of the most forgiving black and white films and comparable to another extremely popular and versatile 400 speed film, Kodak Tri-x.
At a current US price of $5.29 per roll, this film is renders strikingly similarly to Ultrafine Xtreme (medium to high contrast, great sharpness, pleasant grain structure, great shadow detail). And, in spite of the apparent physical differences in the emulsion that I mentioned earlier, it still makes me wonder if there is any substantiation to the rumors that the 400 speed variety if Ultrafine Xtreme is HP5 or Kentmere, while the 400 speed is actually FP4, and that the Ilford rebadge suspicions are true. If that is the case, for U.S. film photographers, this is great news. We get the quality and flexibility of FP4 100, but in a cheaper package. But even if it’s not, since I cannot see a substantial quality difference between the two, Ultrafine Xtreme is the one I recommend. But, again, for those across the pond, I highly recommend FP4 due to its versatility, palatable cost, and excellent rendering.
The next two films I want to talk about are, from what I understand, affordable in Europe, but are quite expensive in the US.
Rollei RPX 100

At a not-inconsequential, $8.39 per roll in the U.S., the polyester-based, Rollei RPX 100 brings a low contrast with a broad tonal range, flat tone curve, and wide latitude option to the table. It does have slightly more pronounced and slightly chaotic grain structure, but it’s sharp and retains good shadow detail. But with that flat tonal curve, RPX is an excellent choice for modern film photographers who want as much flexibility as possible in post. With this film you’ll get the optimal amount of control over the final tonal curve.
Rollei Retro 80s

Our next film, isn’t a 100 speed film either, but it’s close enough that I felt I should include it. At a whopping $8.59 USD per roll, this is the most expensive of the films we’re looking at in this guide. This is a very unique film that exhibits higher than normal contrast and has extremely high spectral sensitivity (ultra-violet included), and which has extremely subtle grain, which I would almost call glossy. This film has a very unique look that reminds me of the look you can get with the C-41 or color processed Ilford XP2 400, except with the addition of more tonal range. That glossy look you’ll either love or hate, as a film photographer.
But the big “gotcha” with this film is that it is not flexible. If you mess up and underexpose it or you don’t nail your the development, it will make you pay. Since I believe, for this test, this film was developed as a 100 speed, you can see that the shadow get clipped. However, when properly exposed and developed, as this photo was, you’ll see how this film really does shine, with creamy grain and excellent s-curve style contrast. This film is considered an excellent portrait photographer’s film and renders skin tones beautifully well.
There is one other thing about Rollei 80s that is important to note if you happen to be one who does development and scanning yourself. While most of the other films we’re discussing dry fairly flat and are not hard to scan (especially as medium format), Rollei 80s is extremely curly and unruly. But to those who send film off to the lab to scan, this will matter not at all.
T-Grain Films

We’ll conclude with two films which are called T-grain films. Up until this point we’ve been talking about classic or cubic grain structure. But a more modern development in film photography has been the t-grain emulsions. Without getting very technical, which, you know, I couldn’t even if I wanted to, I’ll just say that T-grain film is uniform in its grain characteristics. It allows for grain which is more predictable, more even, and also a lot less obvious than the classic or cubic grains of the other films we’ve been discussing, so far. T-grain is often compared to digital. It’s preferred by those who don’t like the grainy characteristics of most film. T-grain films are also more sensitive to variations in developer temperature, time, dilution, agitation etc. They are going to be less forgiving than classic films.
Kodak Tmax
The first t-grain film we’ll discuss is Kodak Tmax 100. This film is very linear, tonally, and has low contrast. It has very fine t-grained style grain and is a good choice if you don’t like grain. Tmax is supposed to exhibit high-edged detail, but from my tests I felt like it was, at best, middle of the pack when it comes to sharpness. As I mentioned, the film is not forgiving, and unless exposing for the shadows, it’s likely that less shadow detail will be retained than some of the other films we’ve been discussing.
Delta 100
Many compare Delta 100 to Tmax. And, while many will say, it’s not technically a t-grain like Tmax, it uses a similar technology, and most just group them together as a t-grain emulsion anyway. It is characterized by high sharpness, T-grain characteristics, wide latitude, linear tonality with medium to low contrast, depending on development. The results you’ll get with Delta 400 are absolutely predictable, but it also commands a higher price at $6.09 USD currently.
Conclusion

For me myself, this guide has only solidified my favorite film, and that’s Ultrafine Xtreme. While nothing will ever replace the beauty of the now discontinued Acros 100, at that extraordinary price and surprising quality, I find it very difficult to reach for anything else. Unless the shoot is something I can’t skimp on (like studio work or wedding, where I might choose something with exact reproducibility and time-tested quality, like Delta 100), Ultrafine Xtreme is my first pick.
Well that was a lot of work and a lot of information. As I mentioned before, please take these results with a t-grain of salt since results can vary immensely depending on how you develop and scan. But hopefully I’ve given you enough of a cursory view of these films to feel you have a place to start shooting and experimenting.
I would LOVE to hear what the results were for you. Did you find a film you like? Let me know in the comments.
In the meantime, keep on smashing that shutter button. Long live film!
Get rid of the ads!
Did you enjoy reading this article as much as we enjoyed writing it? There's a way to support us and our reporting, getting ad-free navigation and more as a bonus. Subscribe to us for less than a coffee per month —just $3.99— or take advantage of our yearly subscription with a hefty discount for only $25.- An ad-free experience
- A free mystery box for Lightroom or Capture One
- All the books in our store
- 20% discount on Capture One
- 30% discount on Imalume Photo Theft Protection
- 20% off Herbs and Kettle Tea Company.
- 20% off your order from MPIX printing services.
- 5% off Viltrox Products via their eCommerce store.
- 10% off all film developing, printing and scanning services from Blue Moon Camera and Machine
- 15% off 7Artisans products: The lens and accessory maker is offering a sweet discount for Phoblographer's readers.