Last Updated on 09/04/2017 by Joy Celine Asto
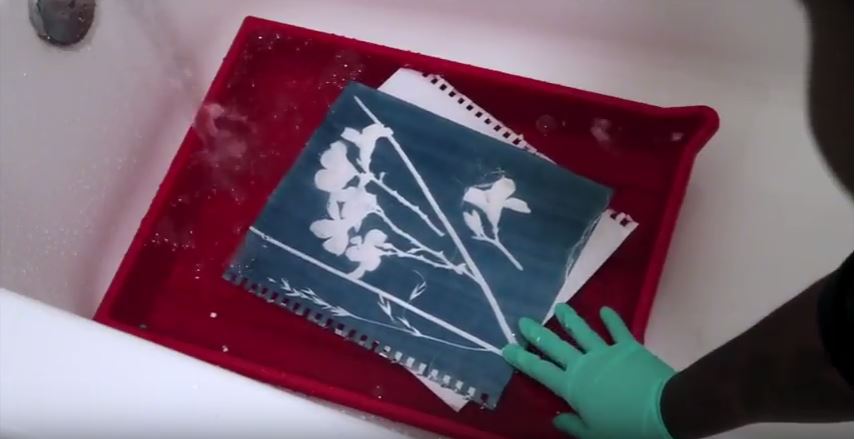
Feeling experimental with your images today? You might want to play around with making cyanotype prints, one of the oldest forms of photography which dates all the way back to the 1840s. It’s a really fascinating alternative printing method that produces a beautiful blue image from which it gets its name. The process is actually easy enough for you to try at home.
On a more technical note, cyanotype is a UV light-sensitive photographic process, which means you’ll have to do your exposures in full sunlight or with the help of a UV light box. You also need to prepare your materials in a darkroom or a dimly lit room. Making the exposure is actually as simple as putting an object over a taking medium coated with the UV-sensitive cyanotype chemicals. How long you should expose it depends on the intensity of the sunlight you’re working with.
If you’ve got that sunny day plotted out for printing, here’s what you’ll need to make your prints:
- A liquid cyanotype printing kit
- A medium that can take or handle liquids, such as watercolor paper or canvas
- Protective gloves
- Measuring cylinder
- Developing tray
- Sponge brush
- Felt Fabric
- Objects you want to expose
- Optional: Hydrogen peroxide to make the print more vibrant, a blow dryer (set to cool)
If you got that covered, here’s an easy tutorial to show you how it’s done:
Now, wasn’t that easy enough to make you want to try? After making cyanotypes of leaves, flowers, or any other objects you want to practice with, you can move on to making prints of your photos using negatives. You can make these by printing inverted photos over a transparency film. Contrasty photos work best. If you want to amp the challenge and get even more experimental, you can even make your cyanotypes on glass. Be sure to check out the full video on YouTube.
Ready to make your first cyanotypes? We’re curious about how it goes, so remember to share your work with us!


