
All images by Steve Lloyd. Used with permission.
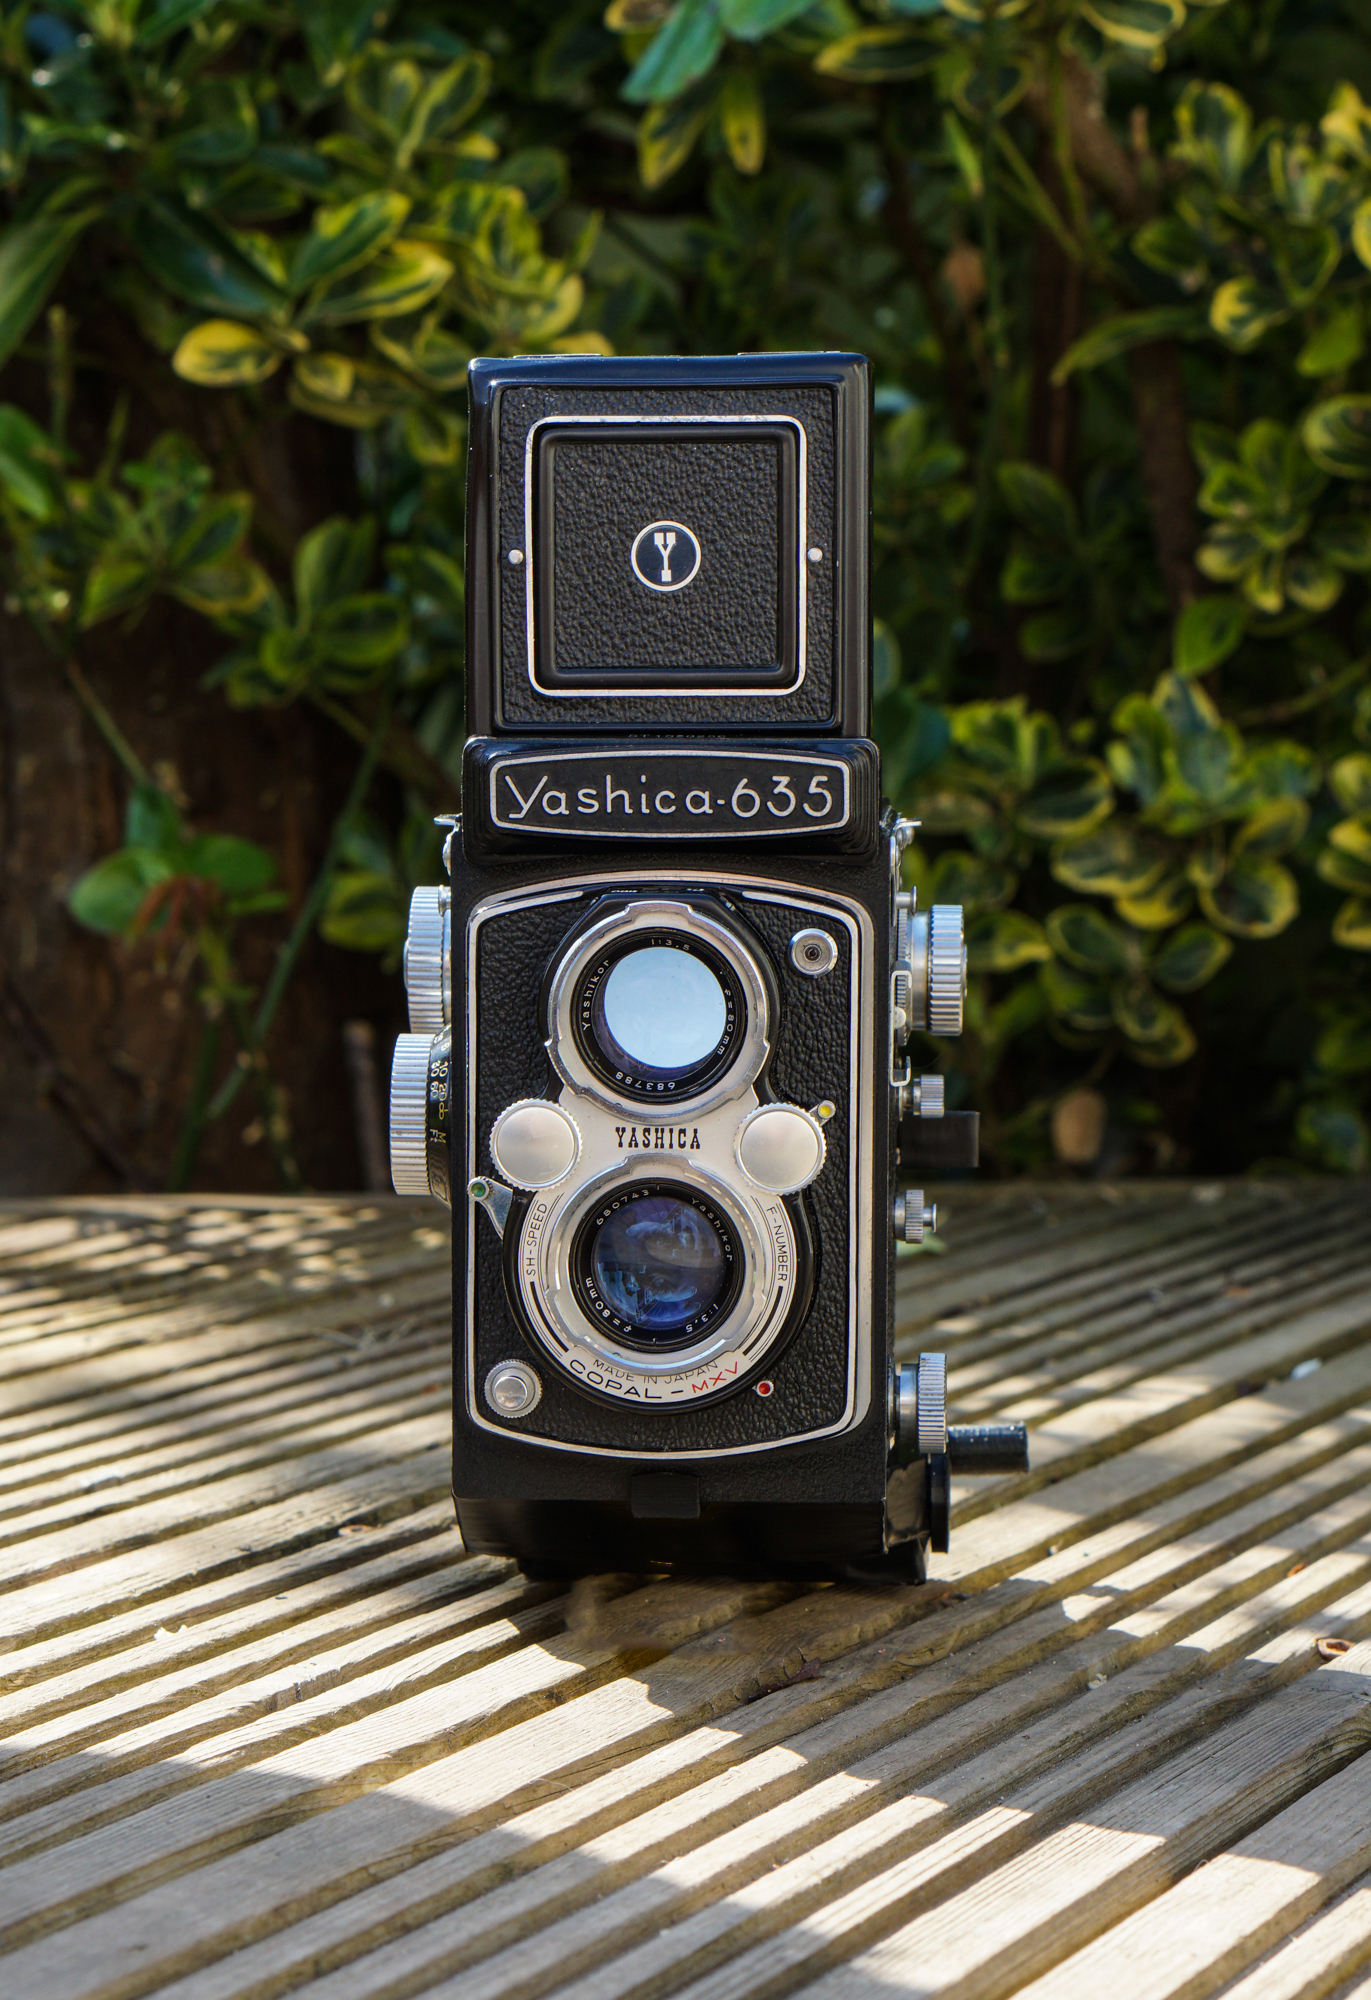
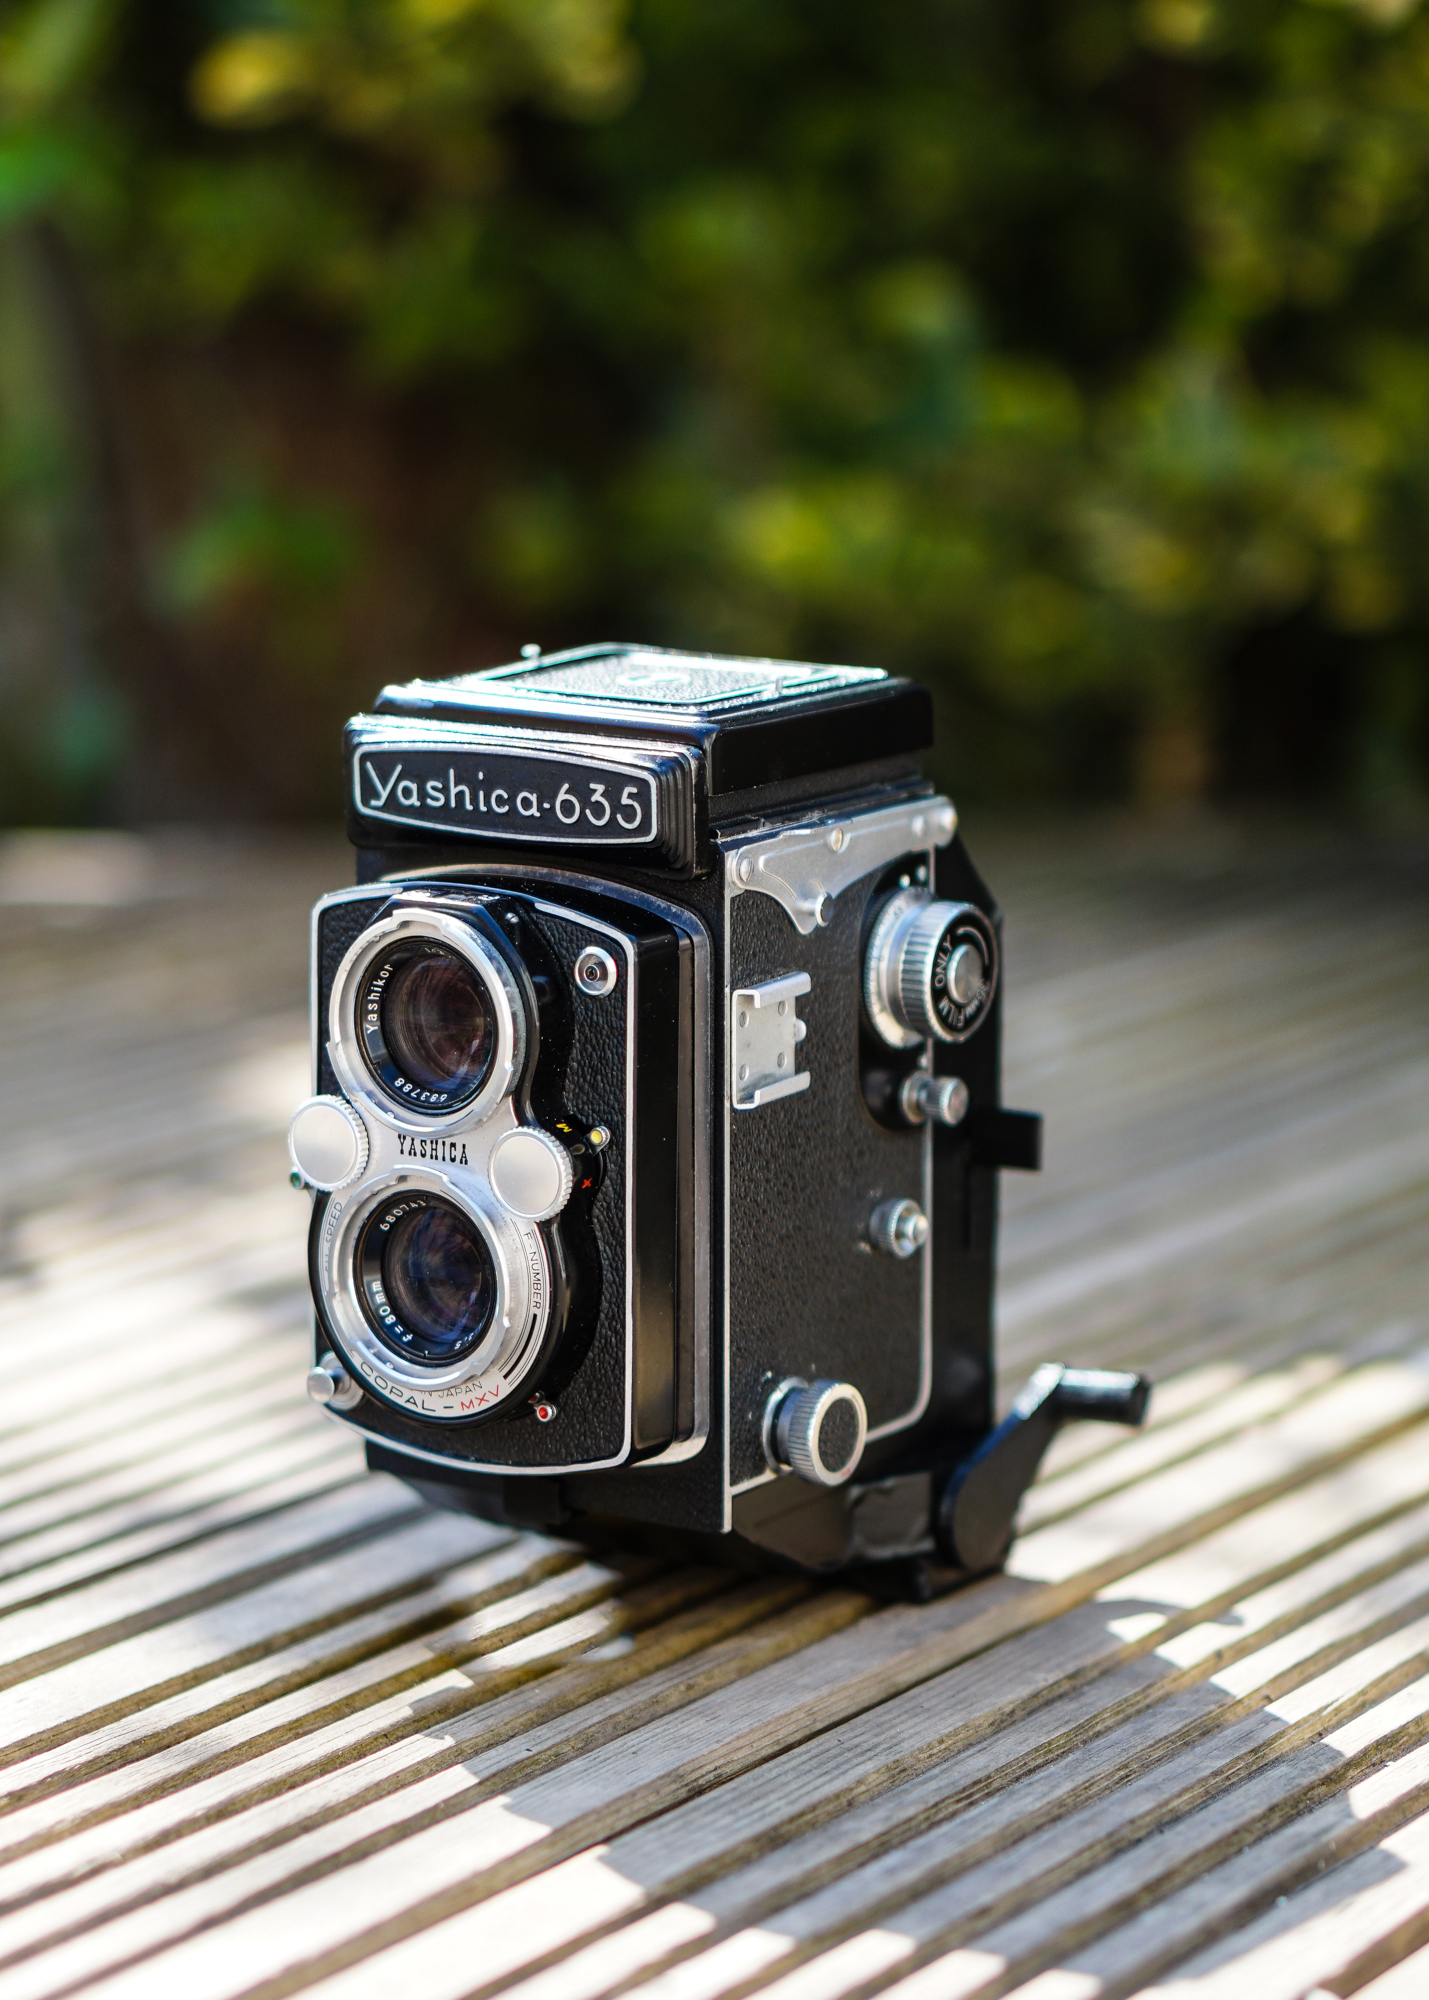
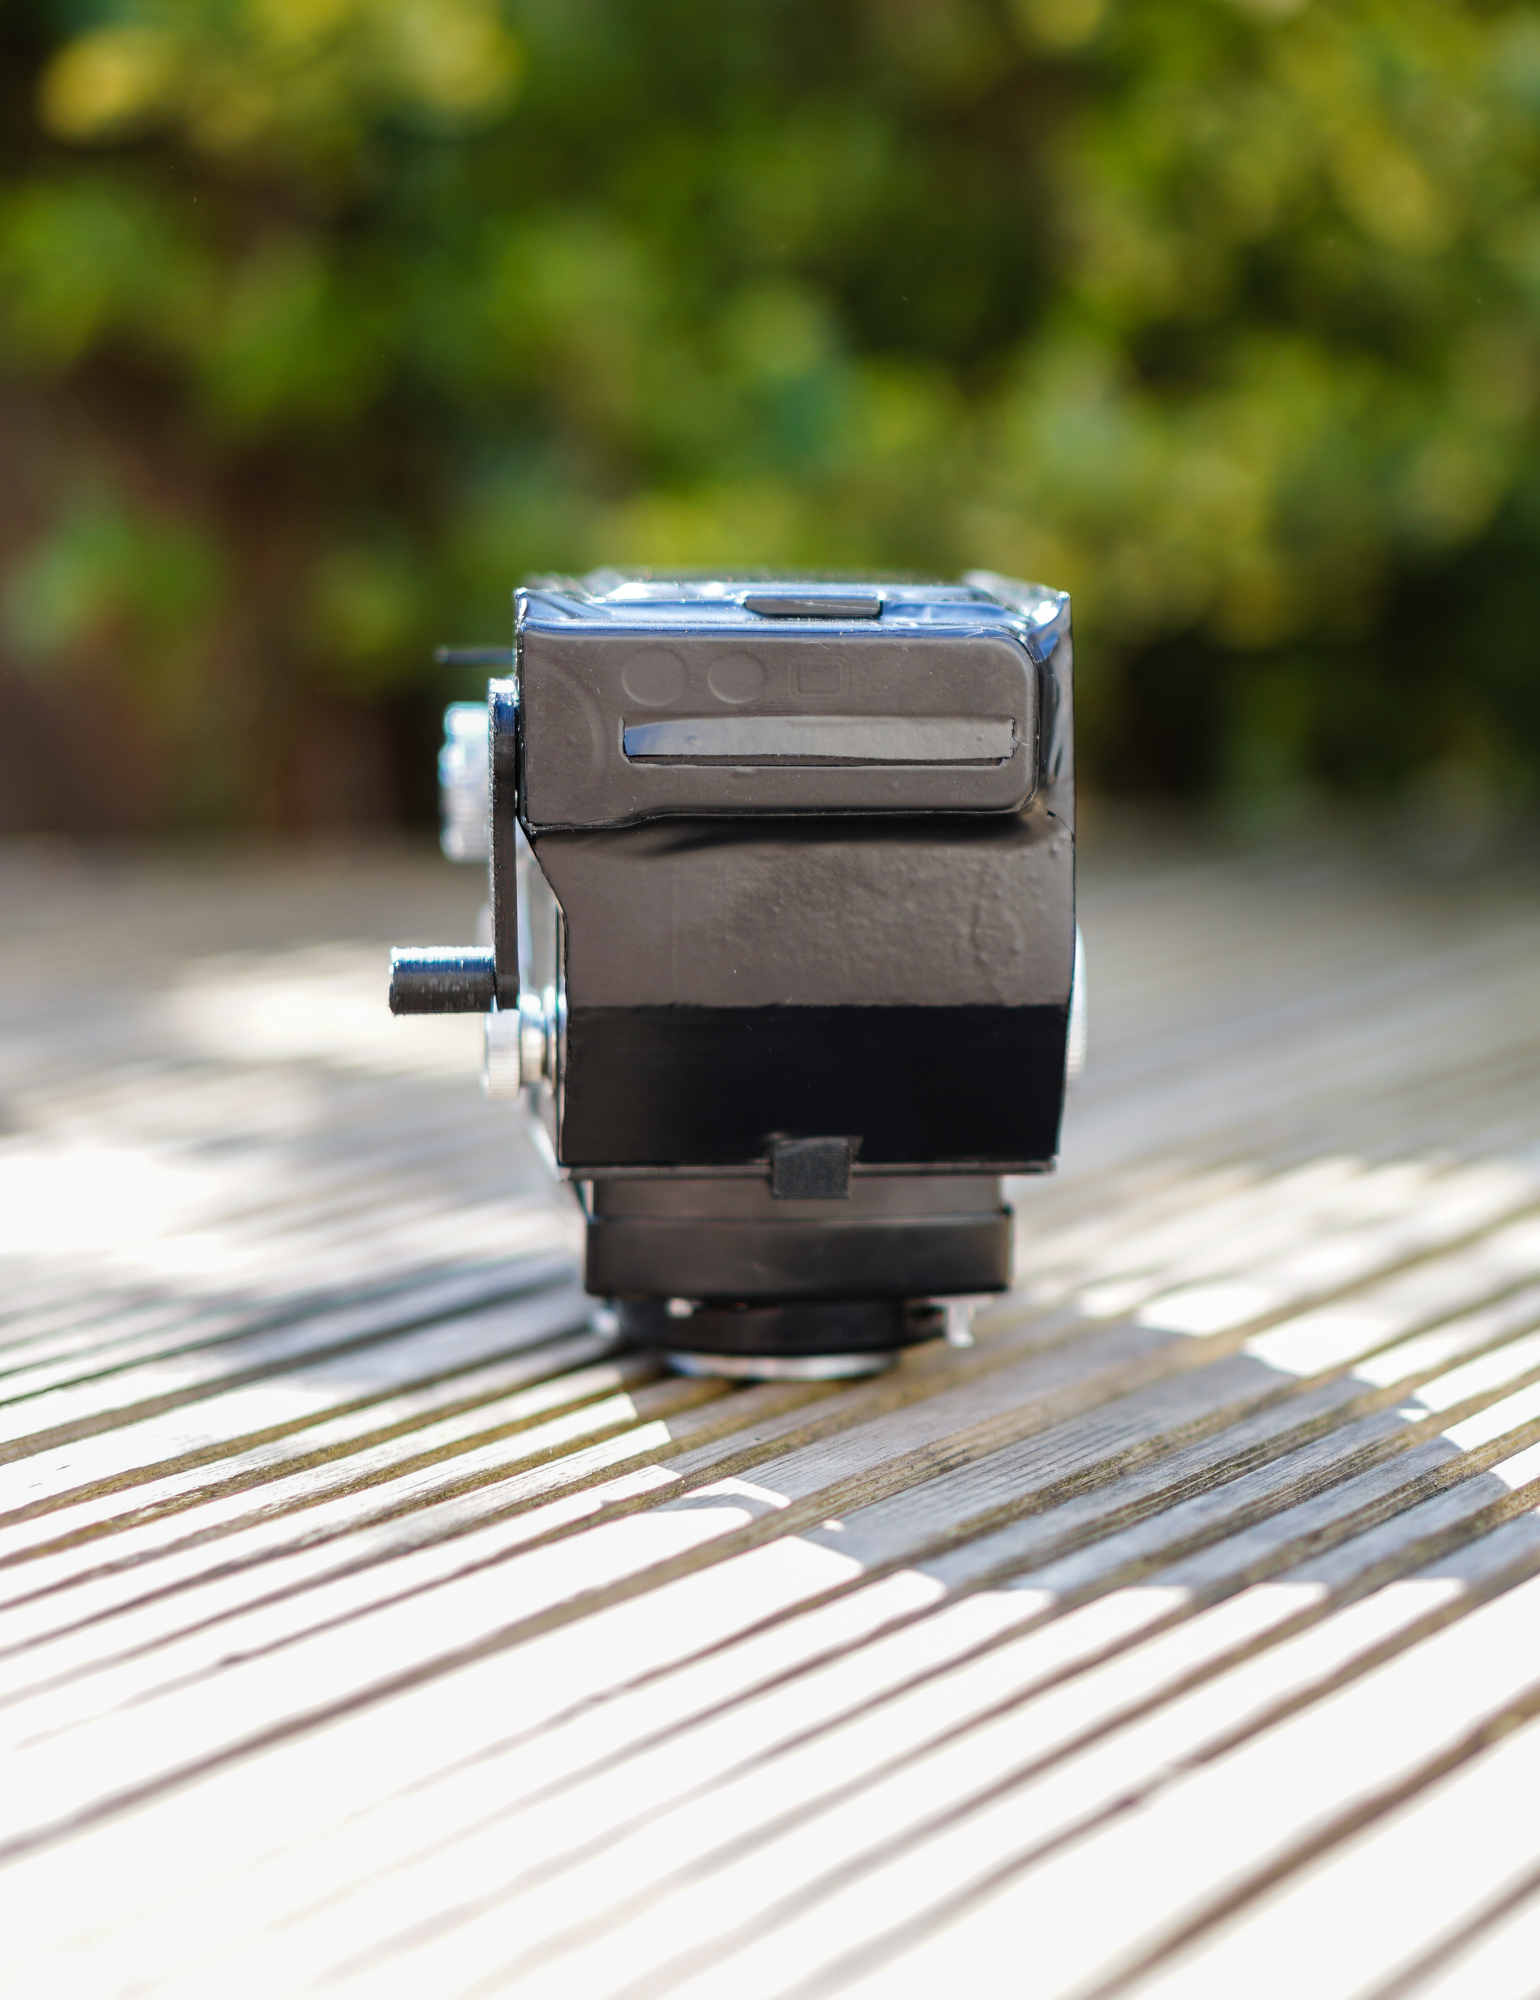
Photographer Steve Lloyd has been featured here before, he’s quite the tinkerer and I’d even go so far as to call him an analogue engineer. Steve went about messing with his Yashica 635 TLR camera after reading about the TL70. When he realized it wasn’t as versatile as he’d hoped, he went about trying to find a way to make an Instax back with the camera. this one isn’t motorized and instead uses a hand crank to spit the film out after it’s been shot.
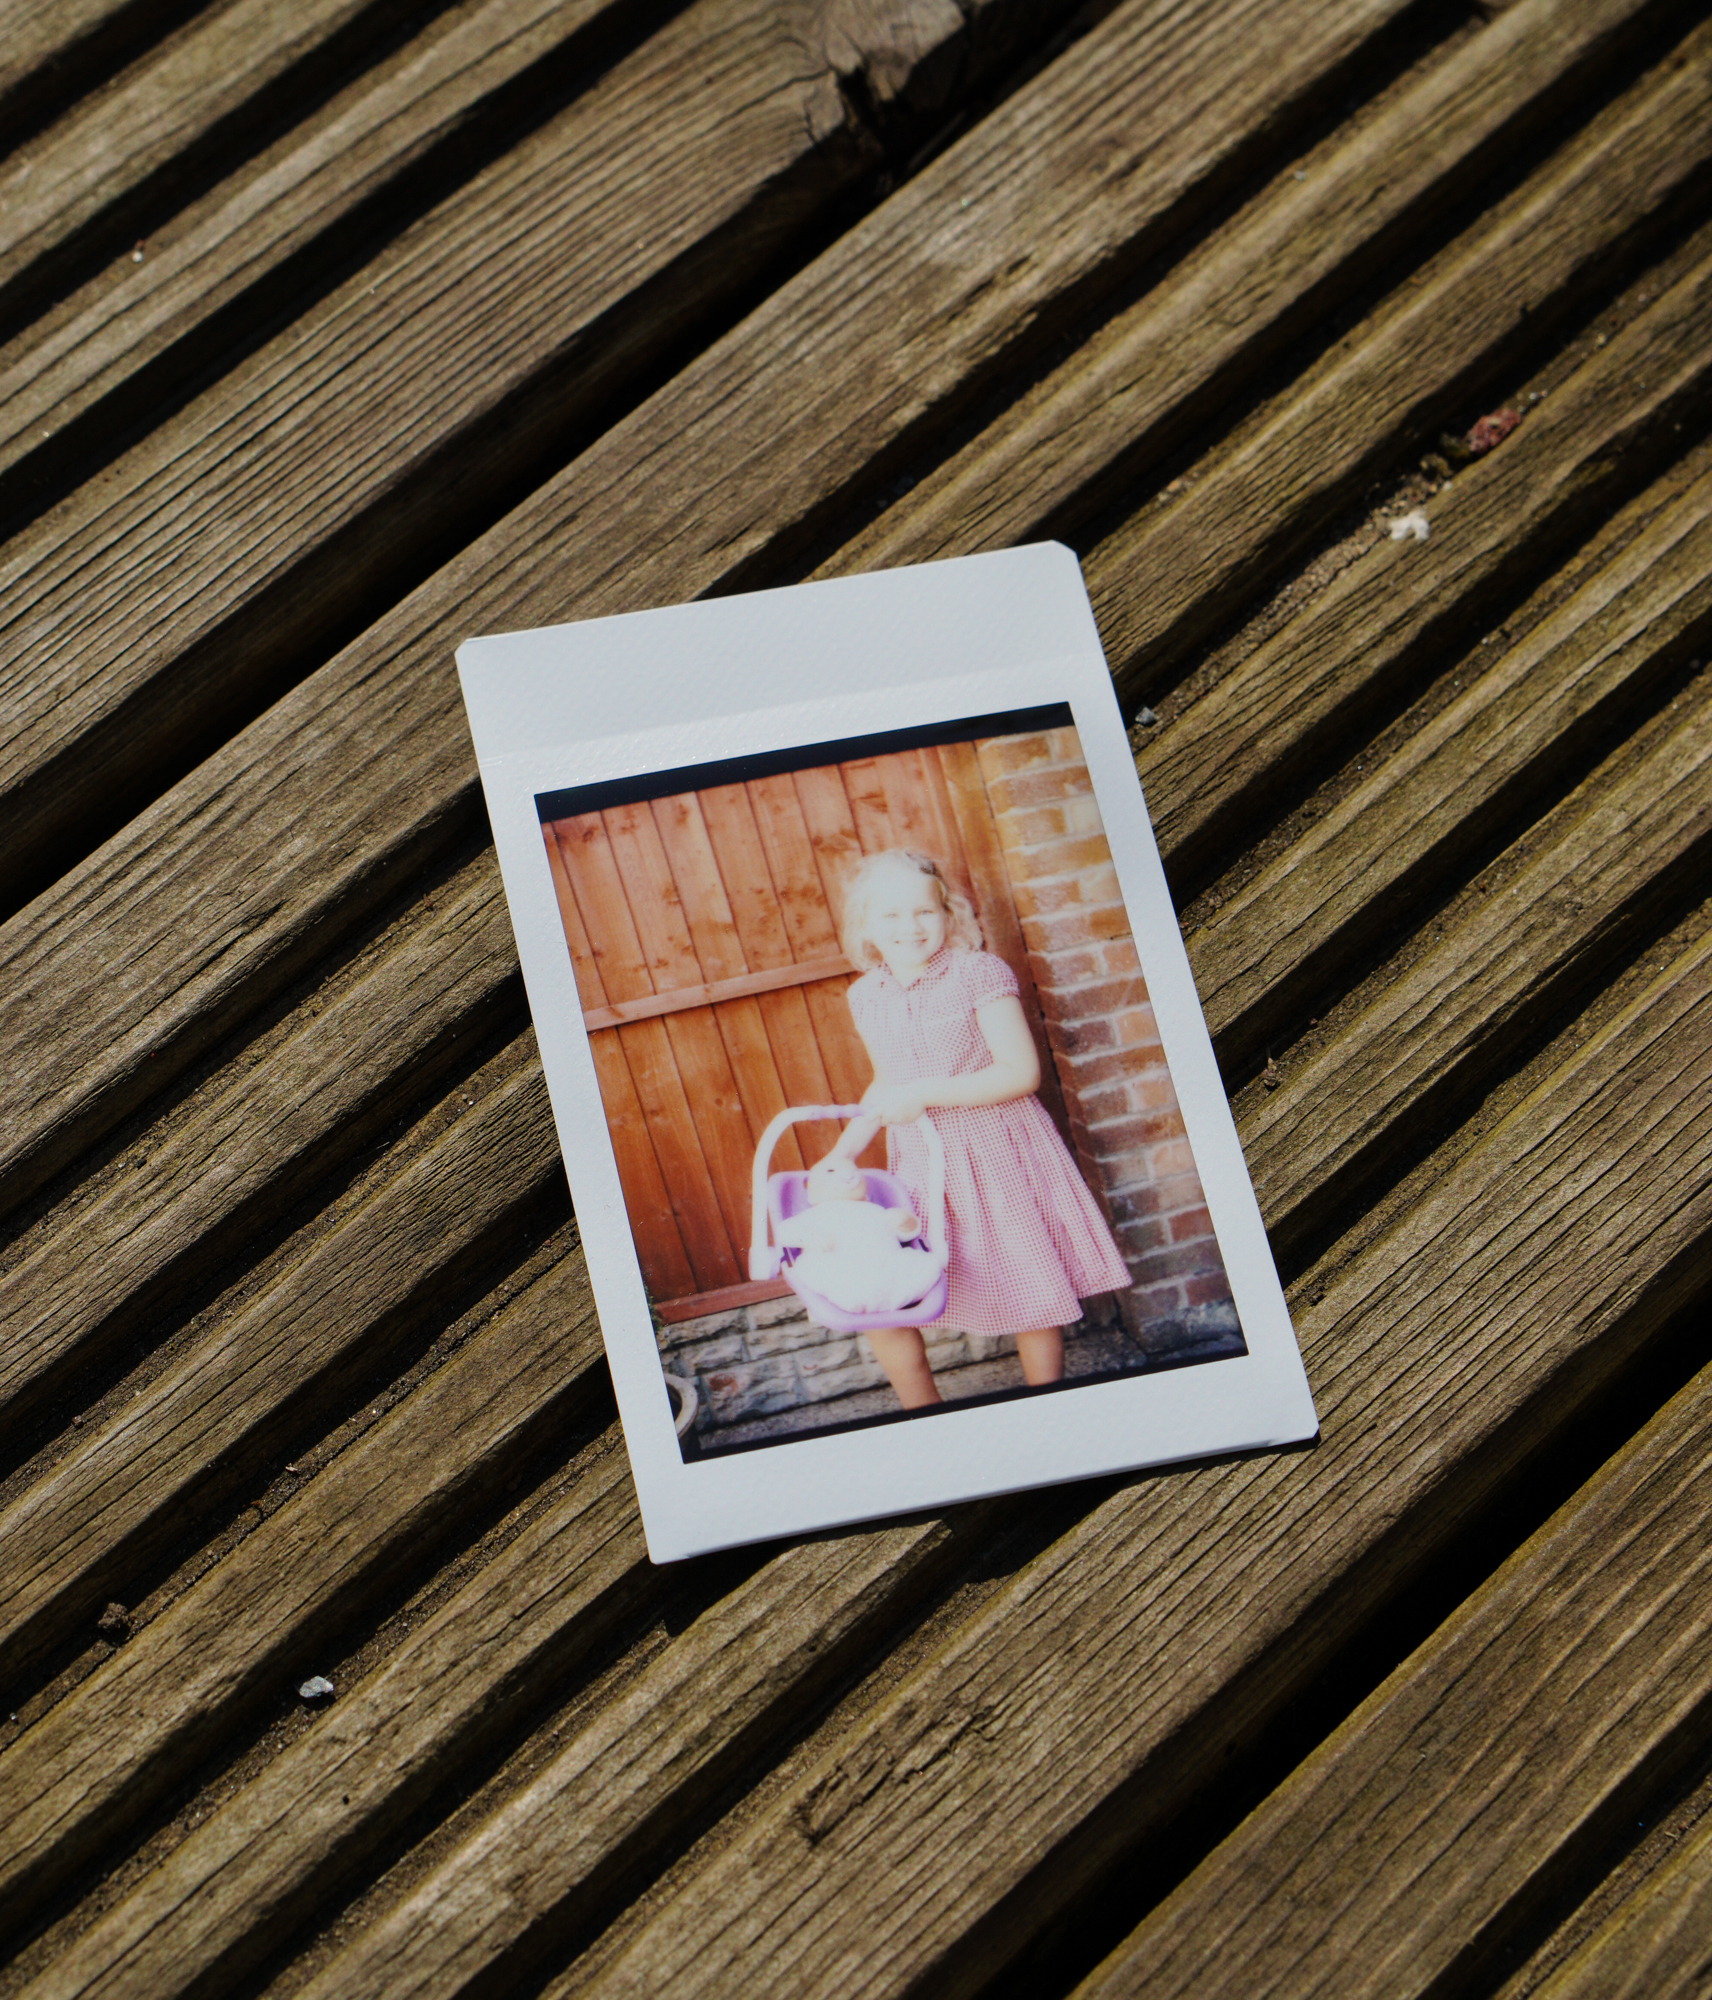
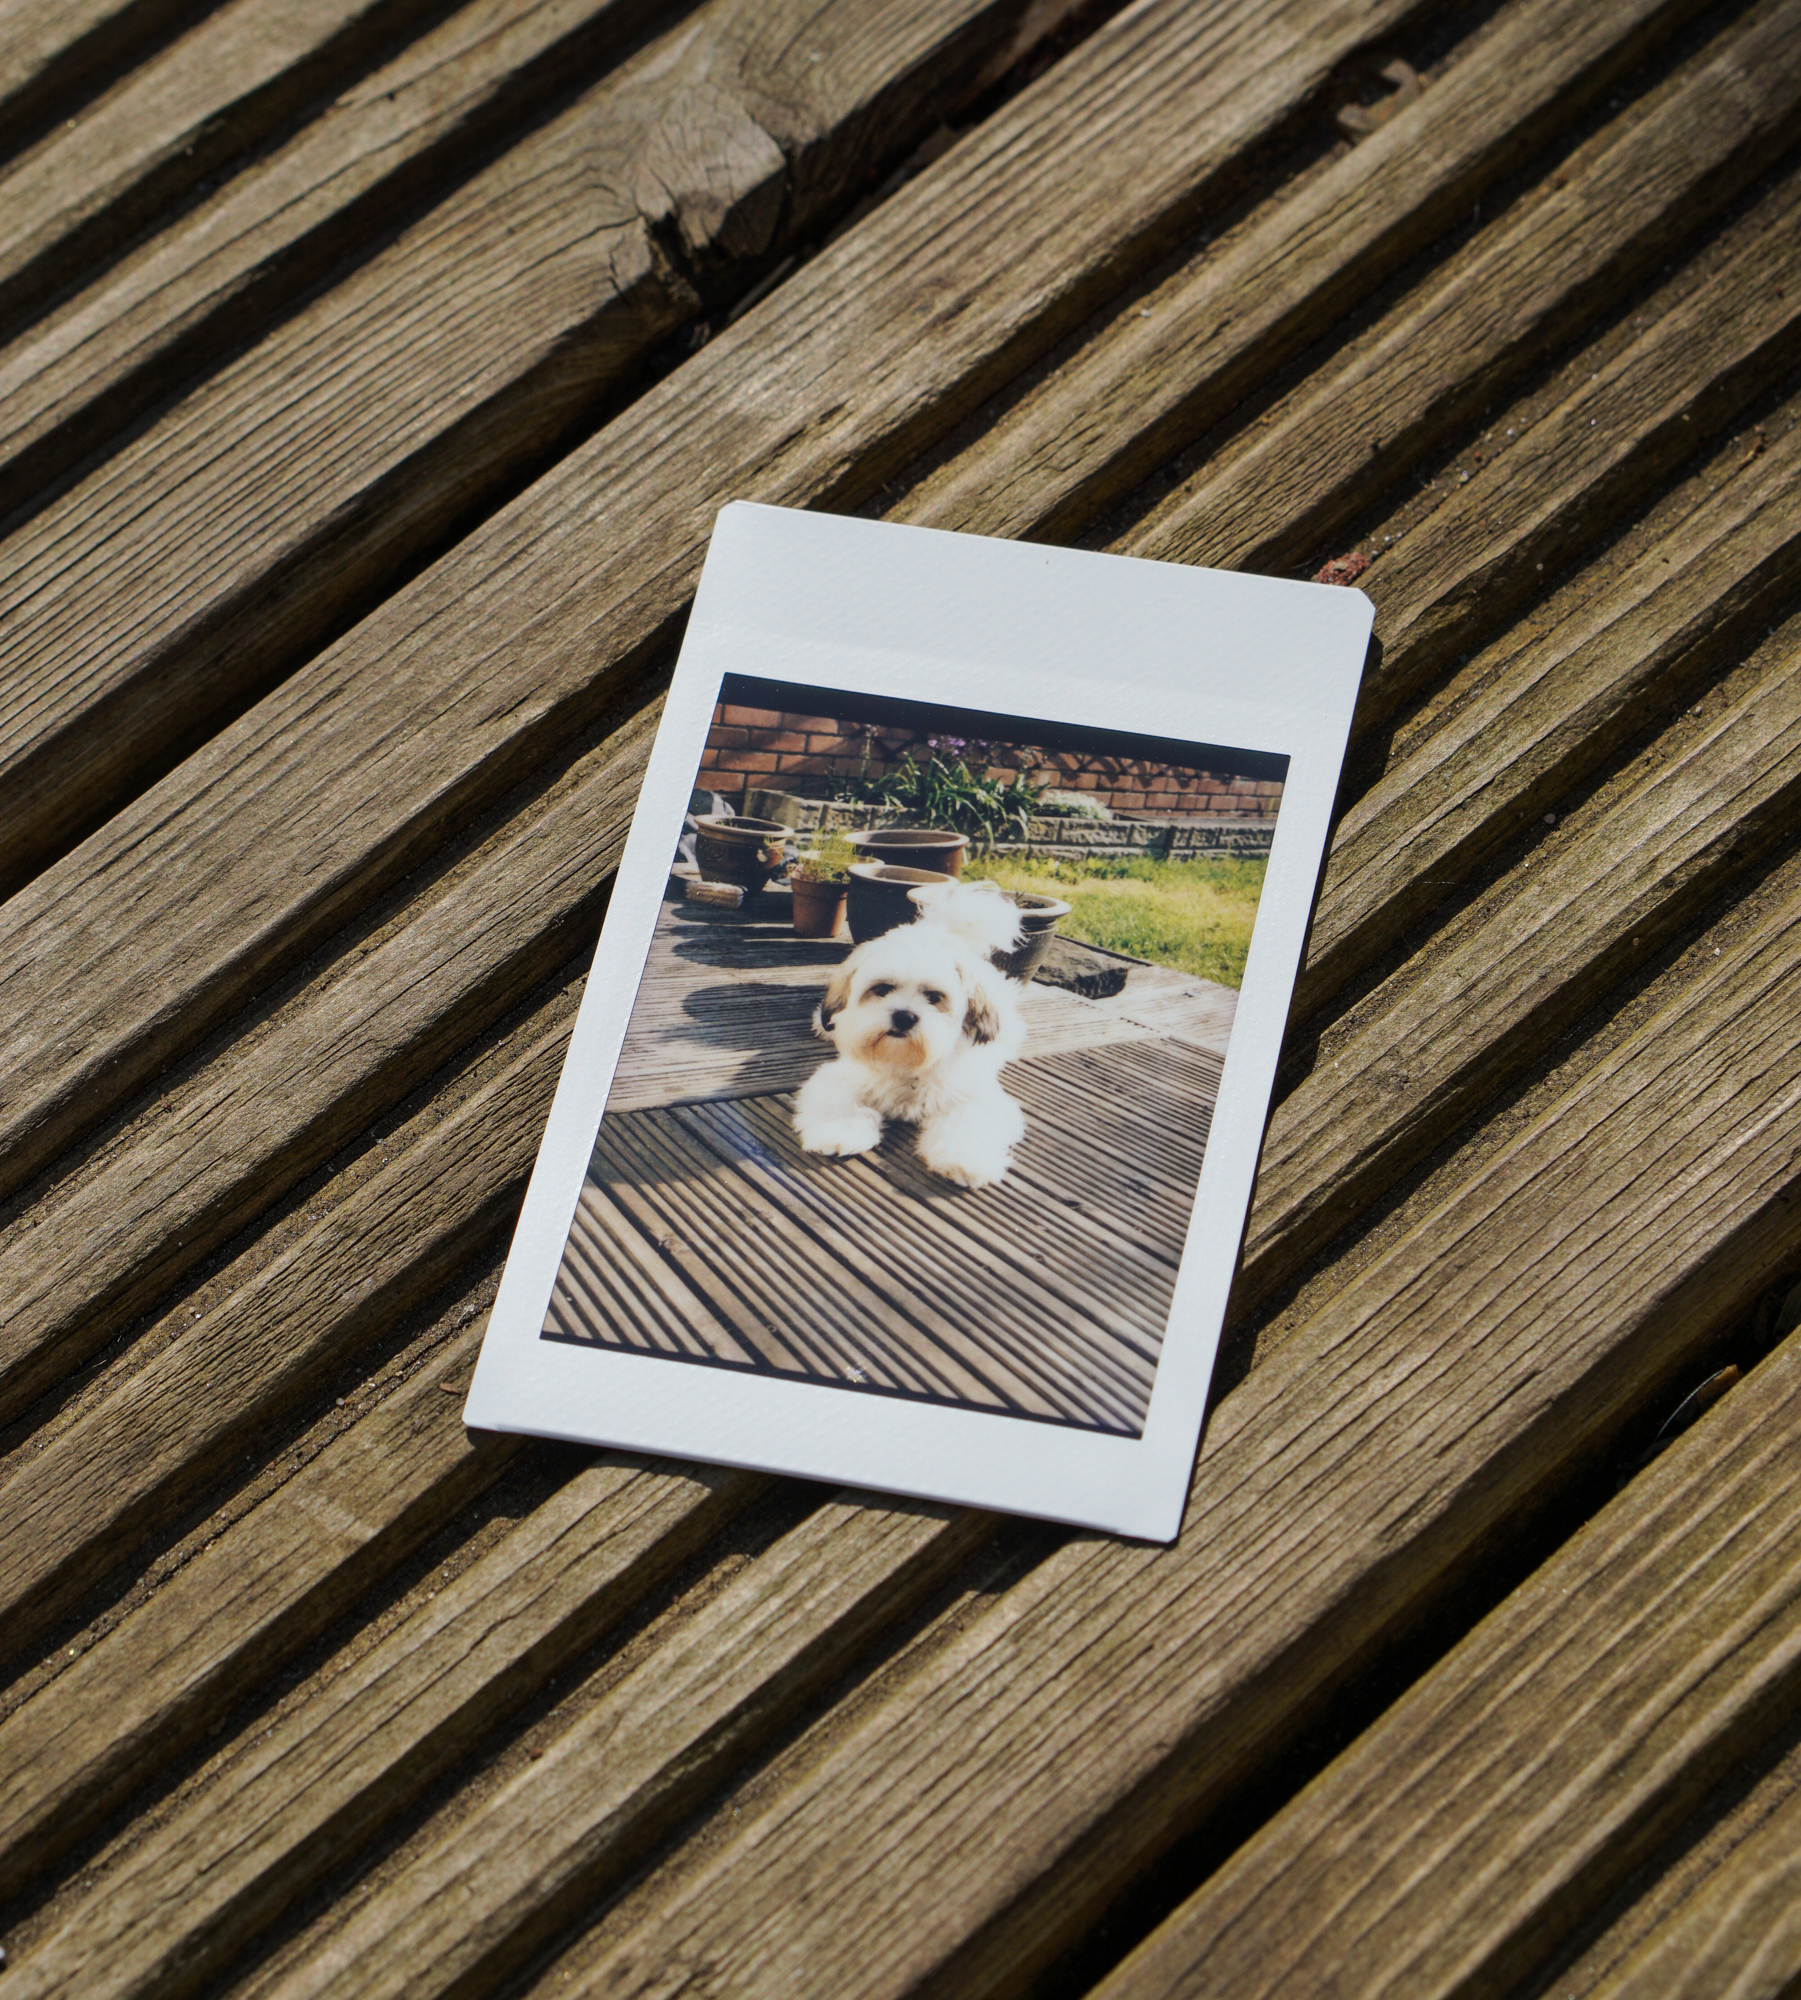
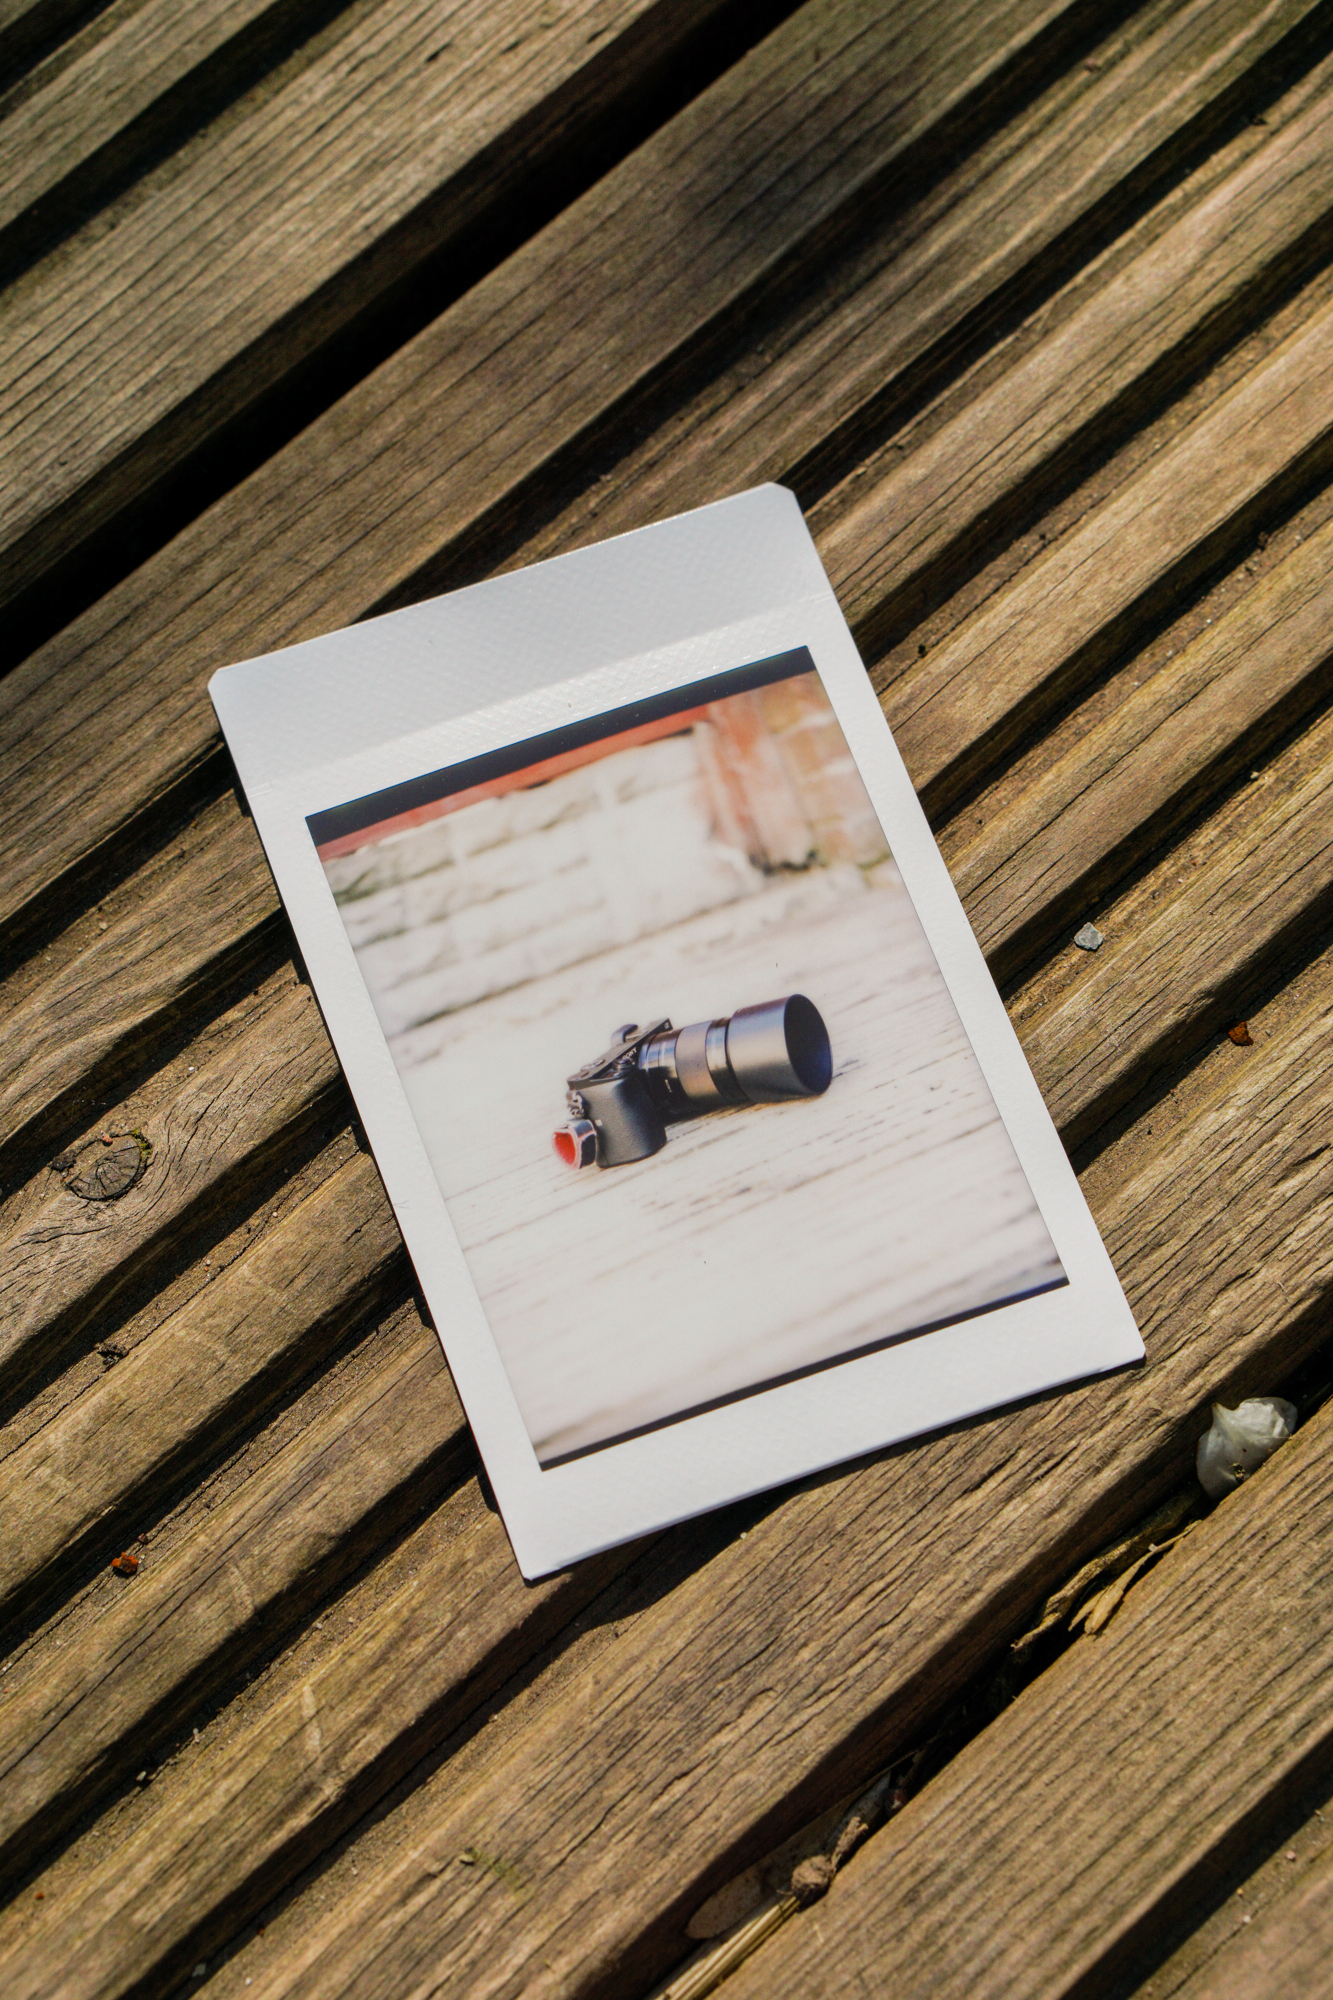
And the results so far? They’re pretty darn cool!
Phoblographer: Where did the idea to turn your TLR into an Instax camera come from? Did it have anything to do with the TL70?
Steve: I’ve previously customised an SX70 with Wenge wood veneer but didn’t really like the results I got from Impossible film and it put me off instant for a while. When I first read about the TL70 I was interested in it because I hoped that it would deliver an instant camera with more control over the exposure. However, when it was released I felt a bit disappointed because it’s not as flexible as a true TLR nor has as wide an aperture so I started thinking about building my own.
Phoblographer: So you went about trying to do this with many different builds. How did you build the special back? 3D printing?
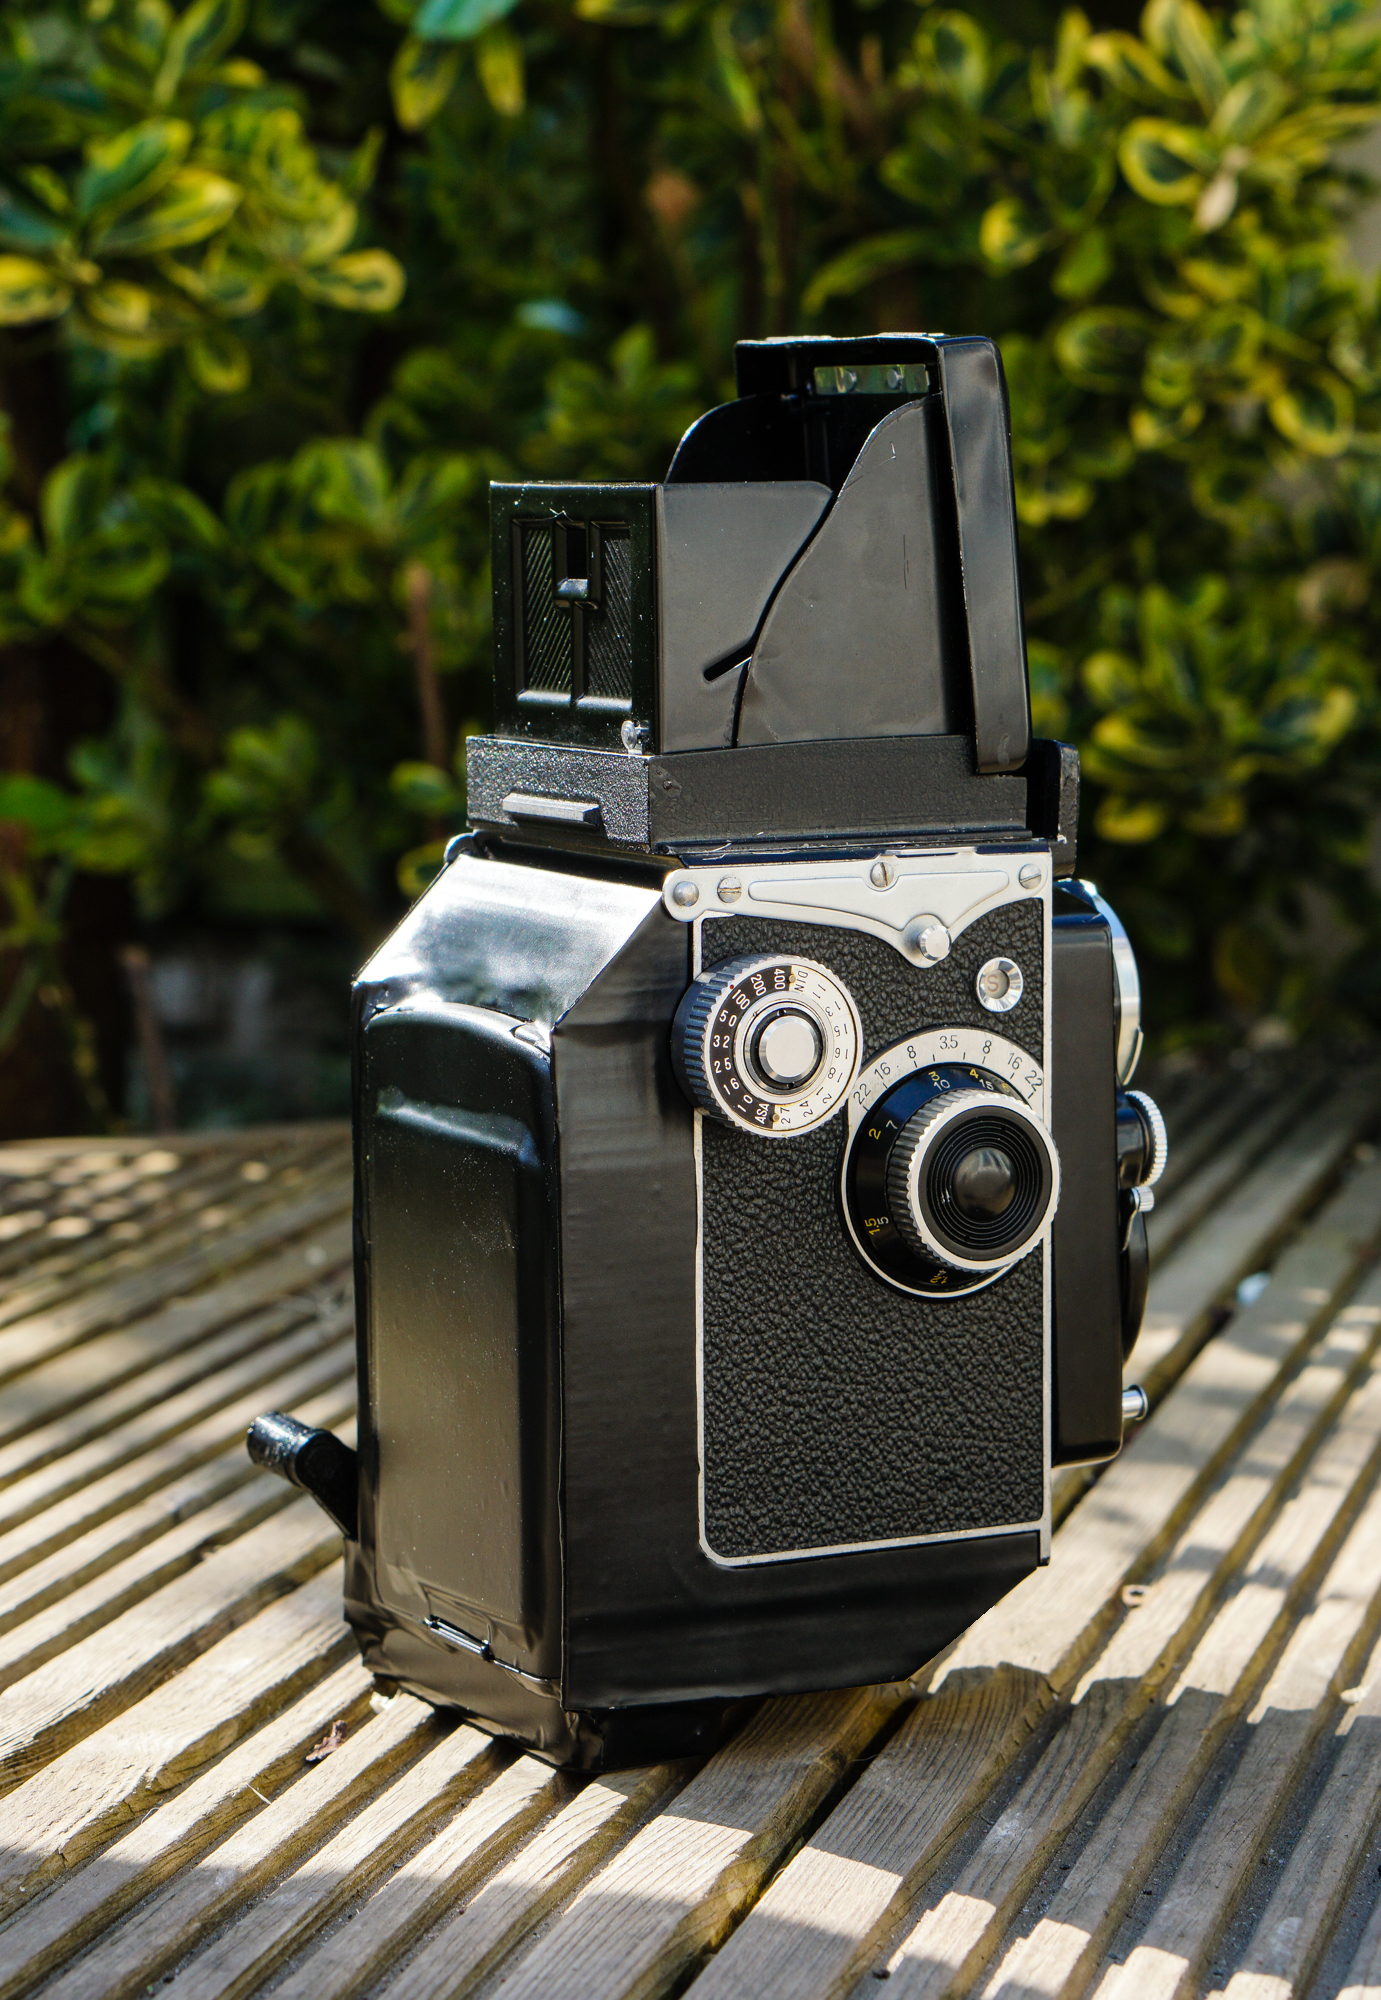
Steve: I shoot with a Yashica 635 TLR which gives me both medium format and 35mm options in the same camera so I wanted to add a third option without making any physical changes to the camera itself. Before I had a donor Instax camera, I started measuring up the Yashica body alongside some basic Instax film measurements I could find online to see if I could actually fit them together. From the beginning, I knew that I wanted the new back to be as close to the original as possible and to keep within the width of the TLR so it didn’t look untidy.
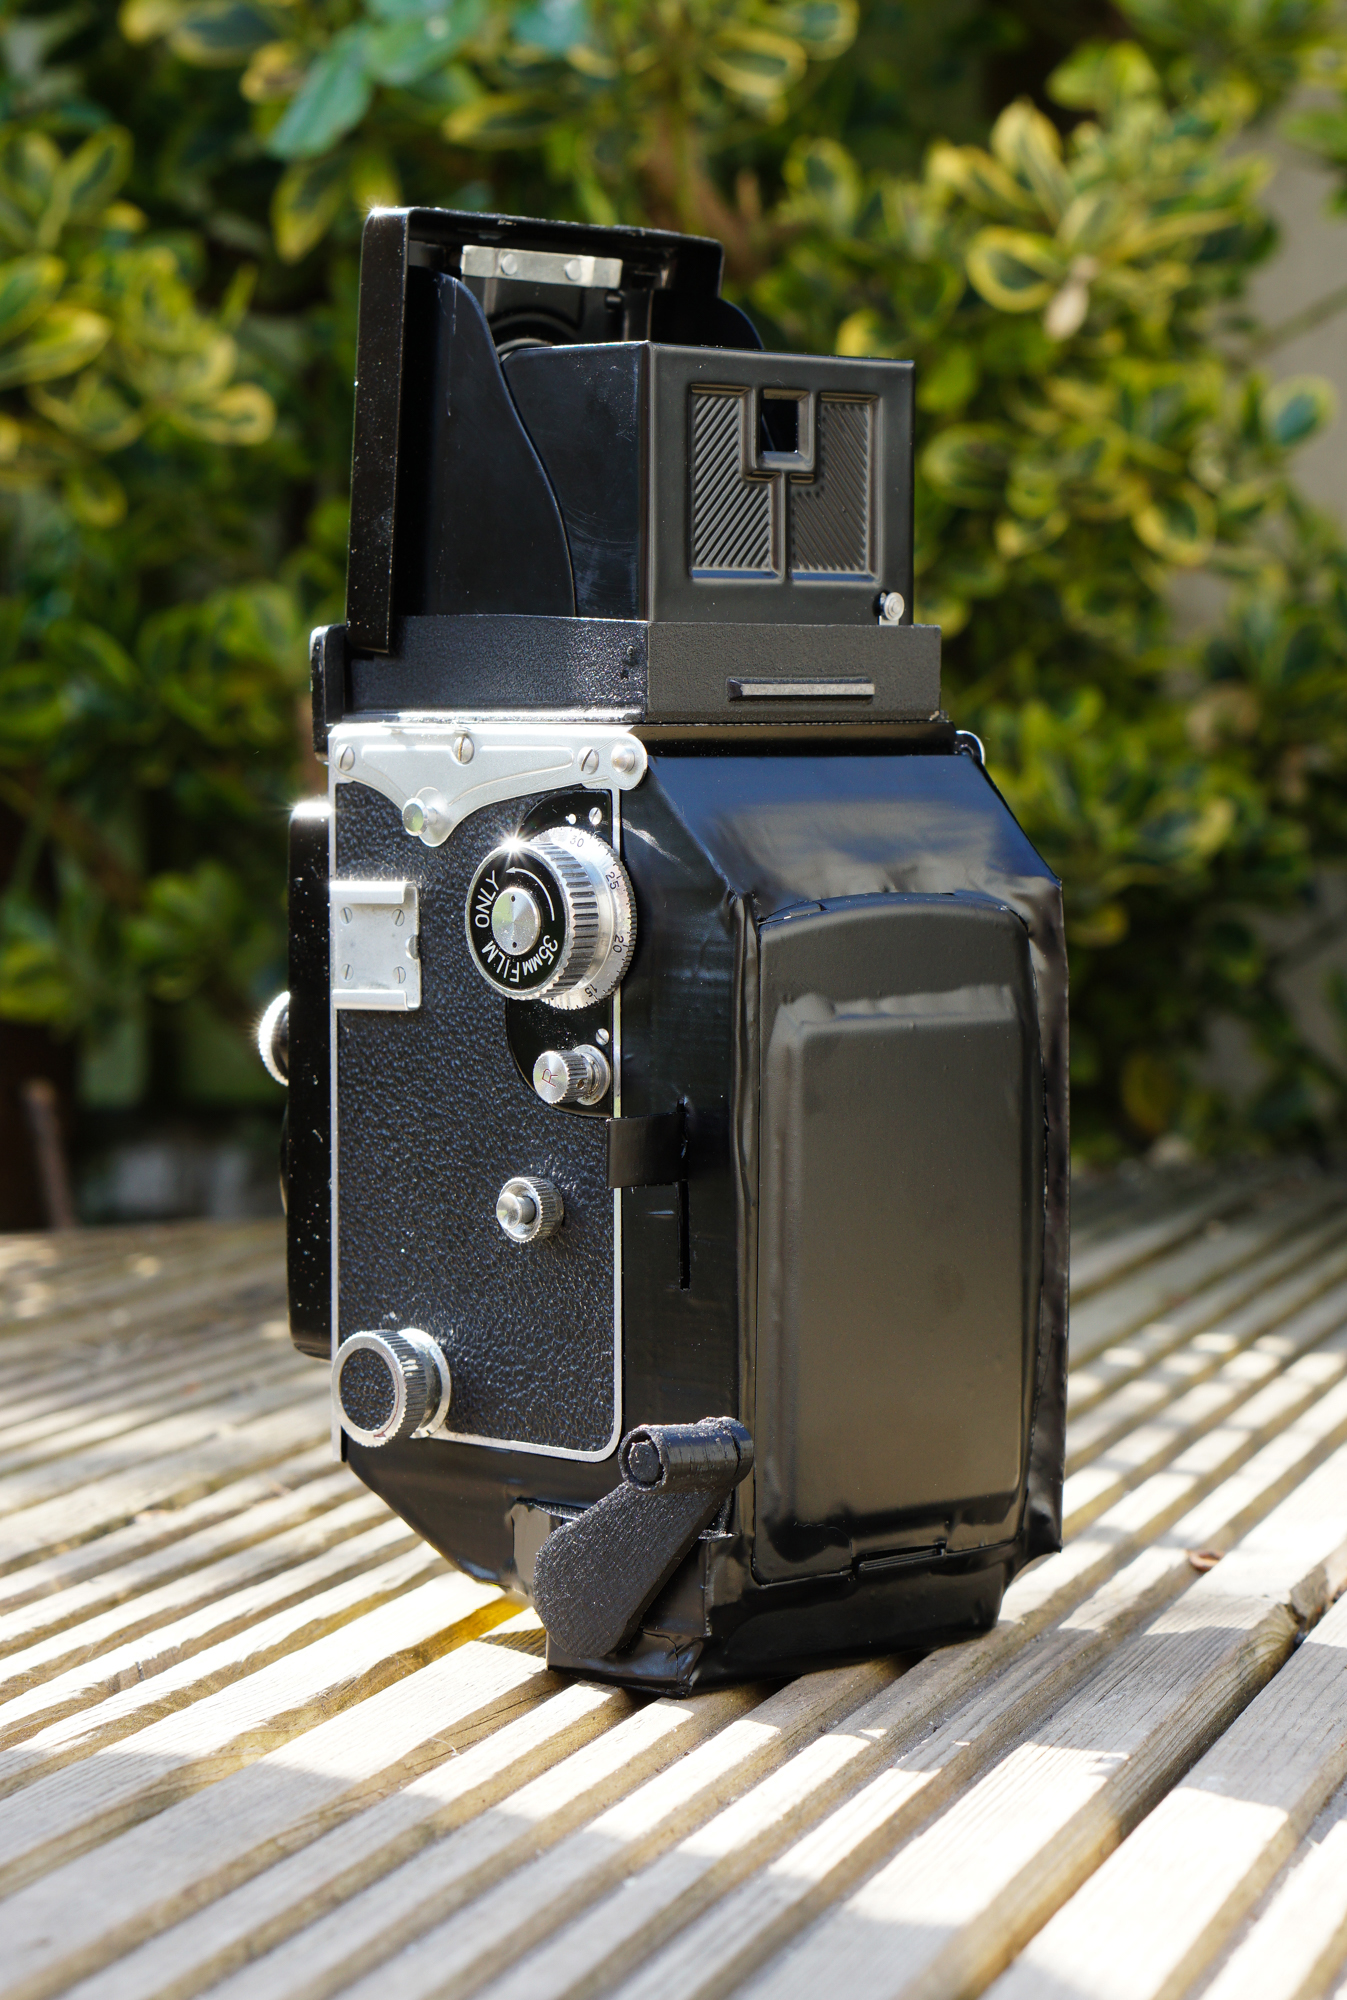
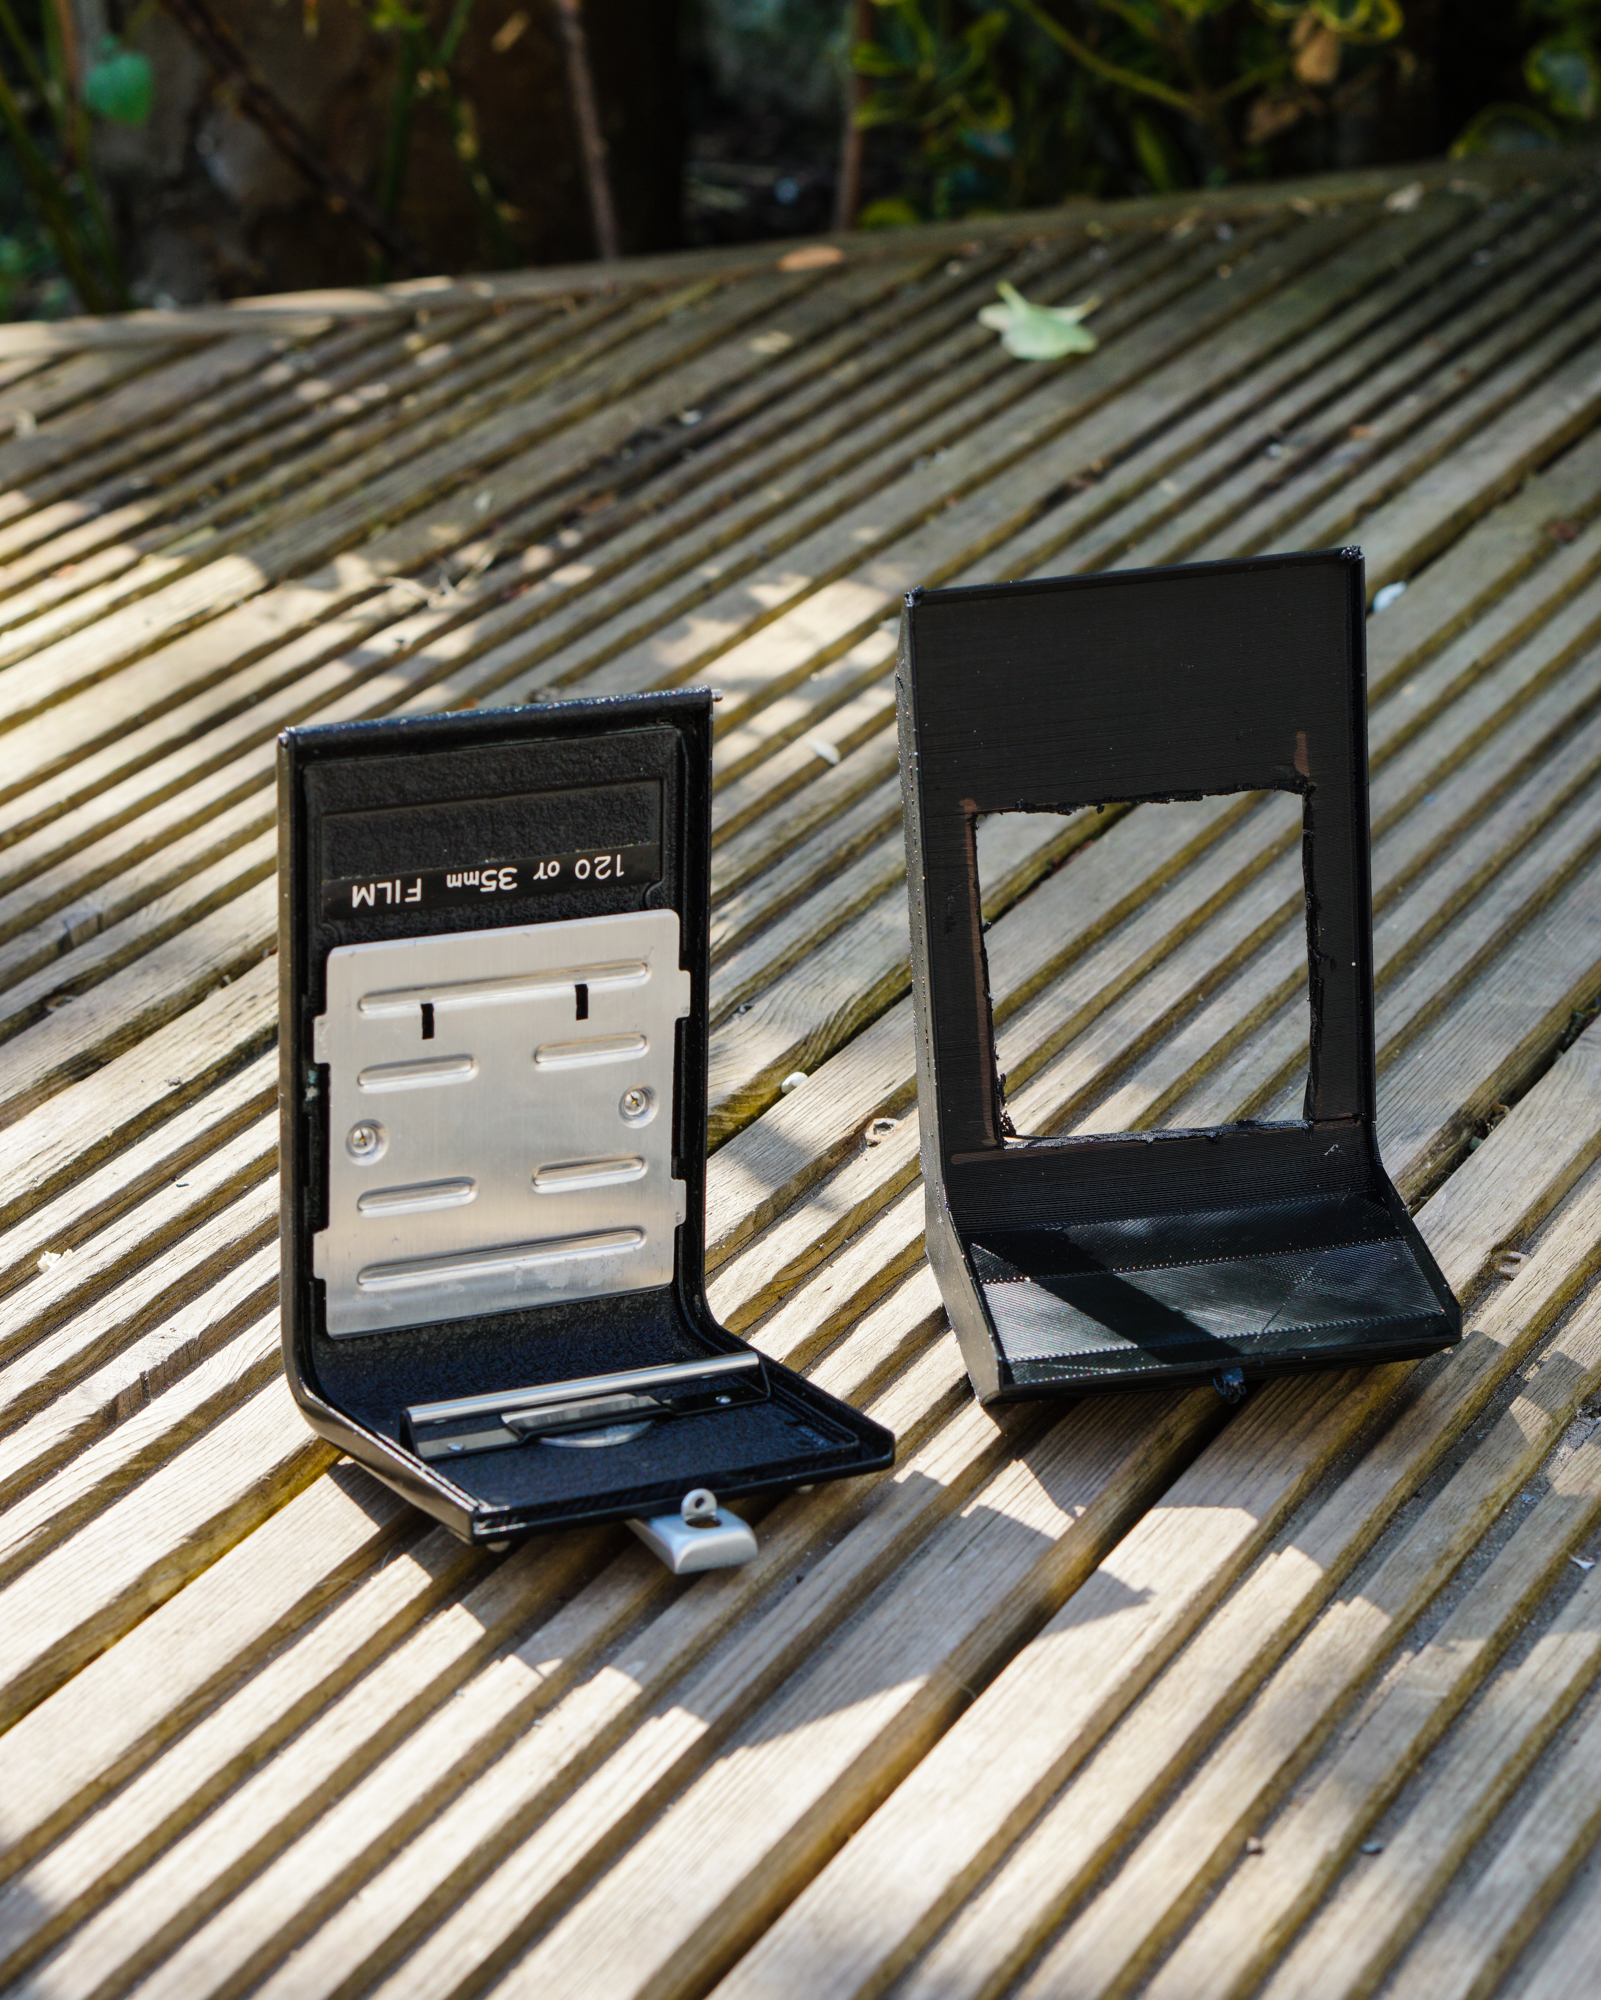
I was given an Instax Mini 10 to use so started by disassembling it with the intention of keeping the motor/gearbox/circuitry so the eject process would still be automatic. However, when I stripped the donor camera down I found that the motor/gearbox added too much to the side of the film compartment to fit within the rear of the TLR. Also, the film plane of the Instax camera was in line with the motor housing so it would end up too far back from the actual TLR film plane to focus. As a result, I decided to build a manual eject lever into the new back along with a crank handle attached direct to the Instax rollers to develop the film.
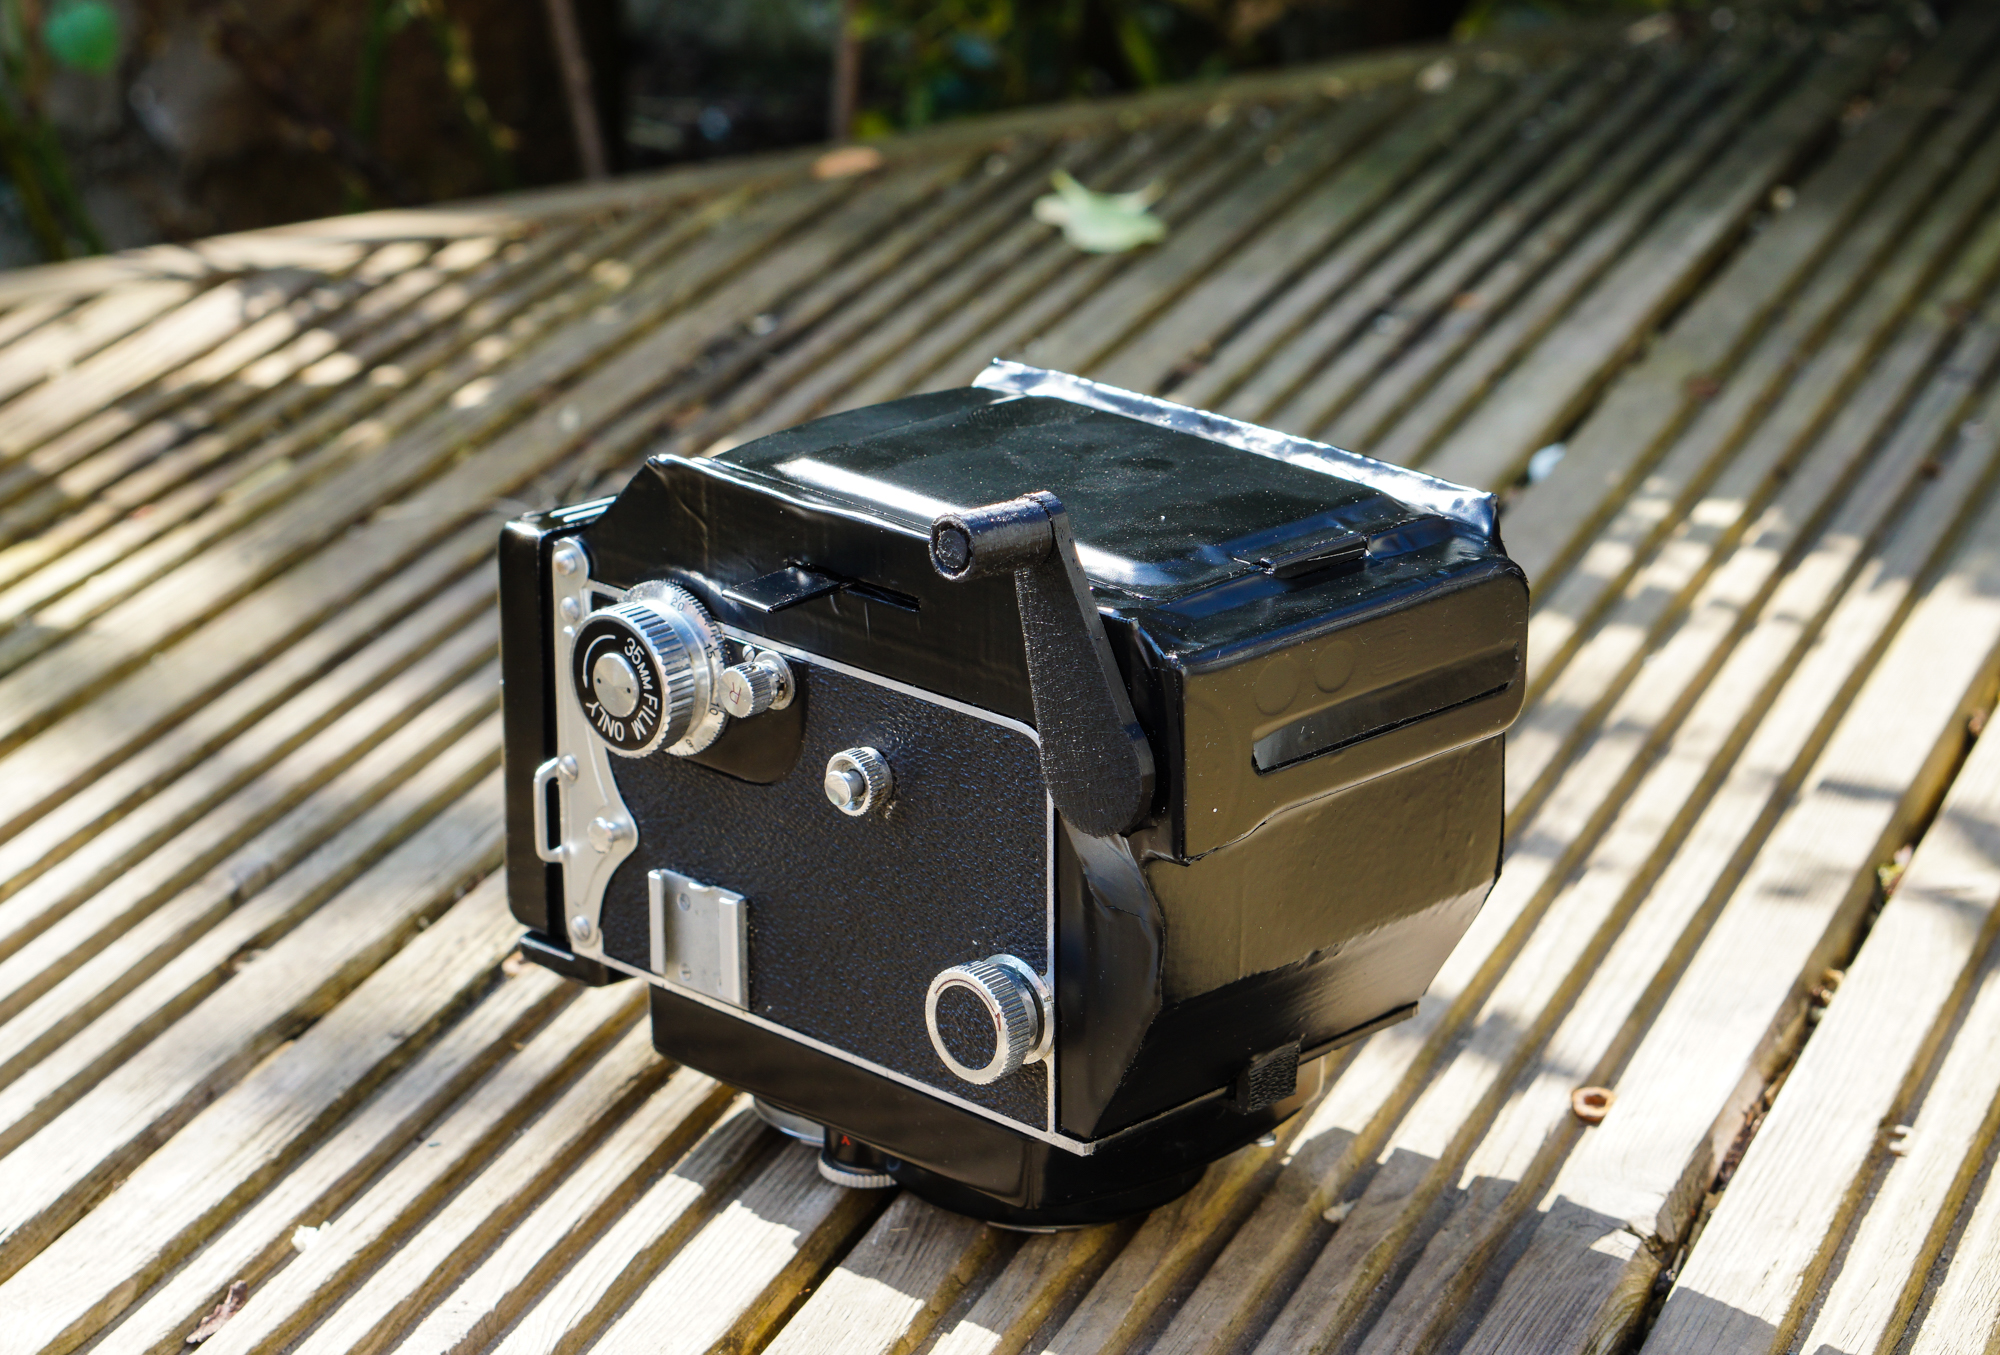
Once I had the components from the Instax camera in place I drew up a new 3D back in Google Sketchup which uses the original hinge points and locking catch on the TLR body to lock it in place. I printed 2 different backs to test the shape and size as I was working on the basic shape until I was happy with the layout and then printed a final back. The prints were done on an XYZ Da Vinci Junior printer using black PLA and took around 6 hours to complete.
Phoblographer: What were some of the biggest challenges for you?
Steve: The biggest challenge in this build was doing the original 3D design because it’s the first complex item I’ve ever drawn in Sketchup and also the first 3D print I’ve ever done! Apart from that, the work to create the manual eject lever was fiddly due to there being limited space within the TLR around the film gate so I had to make the bar small enough to slide smoothly whilst still being strong enough to eject the film.
Phoblographer: So how do you eject the film from the camera?
Steve: Due to the limited space within the TLR, I built a manual release lever which is attached to the original mechanism inside the Instax camera. After composing and taking the shot using the TLR controls, the release lever is slid down towards the bottom of the camera while the crank handle is turned to operate the rollers. Once the film reaches the rollers it is pulled through which compresses the pod on the bottom and then spread across the image to begin the development. The crank handle is smoothly turned 4-5 times to eject the film and, as it uses the original Instax rollers, the development is even and perfect across the final image.
Phoblographer: What makes this really tough to use?
Steve: Nothing really :0) I wanted to build an instant TLR that was simple to use as well as looking like it came from the ‘factory’. The 3D printed back doesn’t add much weight to the camera so I can still use a neck strap as I would shooting 120/35mm.
Phoblographer: Instax film is almost the 6×4.5 size, so how does it feel to have created essentially a 645 TLR camera?
Steve: I’m really happy with the final results, especially as I’ve never been huge fan of instant photography. While FP100C and SX70 images are larger, I’ve found the Instax film delivers equal sharpness along with excellent colours and they also work out slightly cheaper too! The benefit of using the TLR is that I can shoot with up to F3.5 aperture and bulb shutter speed to completely control the results depending on what I’m trying to achieve.
Phoblographer: How do you feel the use tends to be? How does the lens interact with the film?
Steve: The process of taking the photograph is exactly the same as the TLR was designed to do because the focussing mechanism, aperture and shutter are all built in to the lens housing. I frame the image using the ground glass and focus using the knob on the side to move the lens housing forwards/backwards. I then set the aperture/shutter speed using the 2 knobs either side of the lens. I use my iPhone with a lightmeter app to determine the exposure and generally find that shooting at ISO 1250 gives the best results with a little underexposure (outside). Once I’ve setup for the shot, I then cock the shutter and trigger it. I can eject/develop the film whenever I want to so can shoot any number of multiple exposures or single shots before manually ejecting it.

Get rid of the ads!
Did you enjoy reading this article as much as we enjoyed writing it? There's a way to support us and our reporting, getting ad-free navigation and more as a bonus. Subscribe to us for less than a coffee per month —just $3.99— or take advantage of our yearly subscription with a hefty discount for only $25.- An ad-free experience
- A free mystery box for Lightroom or Capture One
- All the books in our store
- 20% discount on Capture One
- 30% discount on Imalume Photo Theft Protection
- 20% off Herbs and Kettle Tea Company.
- 20% off your order from MPIX printing services.
- 5% off Viltrox Products via their eCommerce store.
- 10% off all film developing, printing and scanning services from Blue Moon Camera and Machine
- 15% off 7Artisans products: The lens and accessory maker is offering a sweet discount for Phoblographer's readers.