
Creating the Photograph is an original series where photographers teach you about how they concepted an image, shot it, and edited it. The series has a heavy emphasis on teaching readers how to light. Want to be featured? Email chrisgampat[at]thephoblographer[dot]com.
Photographer Steve Brown is a bit Star Wars fan, but he’s also always wanted to create some sort of ode to the famous painting “The Last Supper.” He’s always had a sense of creativity and his years of experience in the field have made him great at sketching, planning and retouching.
For his ode to the Last Supper, Steve needed to do lots of concepting, sketching, and getting all the elements he needed just right.
Here’s his story. But sure to follow him on Facebook, Twitter, Instagram, and Behance.
The Concept
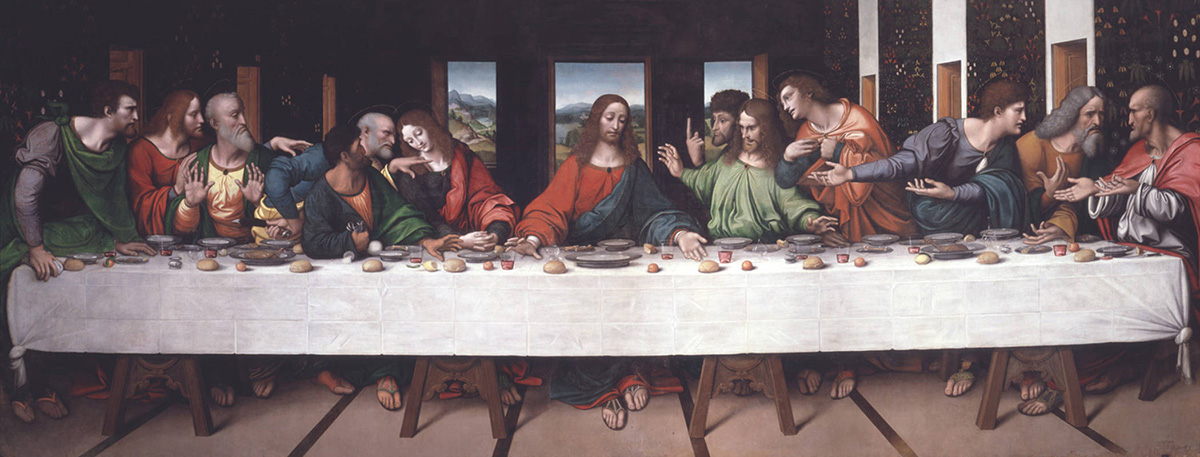
The idea of recreating Leonardo da Vinci’s The Last Supper using characters from Star Wars had been in my head for over a year before I was finally able to make it real. The painting is such an iconic and brilliantly composed image, and such a great way of showing a large group of people, that it has been used and parodied by many films, TV shows and other groups.
But I had never seen it done in the way I wanted to present it, and the key for me was the relationship between Darth Vader and the Emperor. In The Last Supper, one of the apostles shown is Judas, who went on to betray Jesus. In Return of the Jedi Darth Vader finally betrays the Emperor, killing him. Recreating the painting with the Emperor in the role of Jesus and Vader as Judas meant that the photo worked not only visually, but conceptually as well, with some emotional drama as well as just a nice composition.
The Gear
- Canon 5D MK II
- Bowens Gemini 400, 500 and 1000w monolights
- large softbox, 2 strip softboxes and dishes
- Photoshop
- z brush
The Shoot
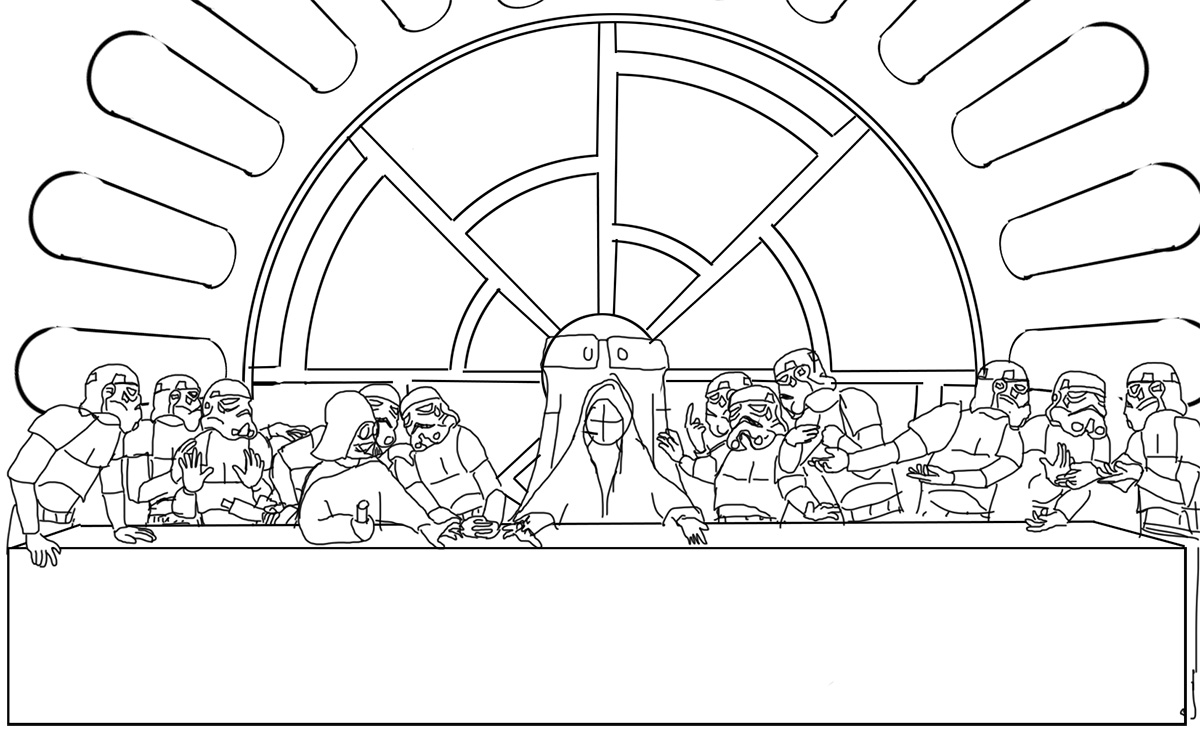
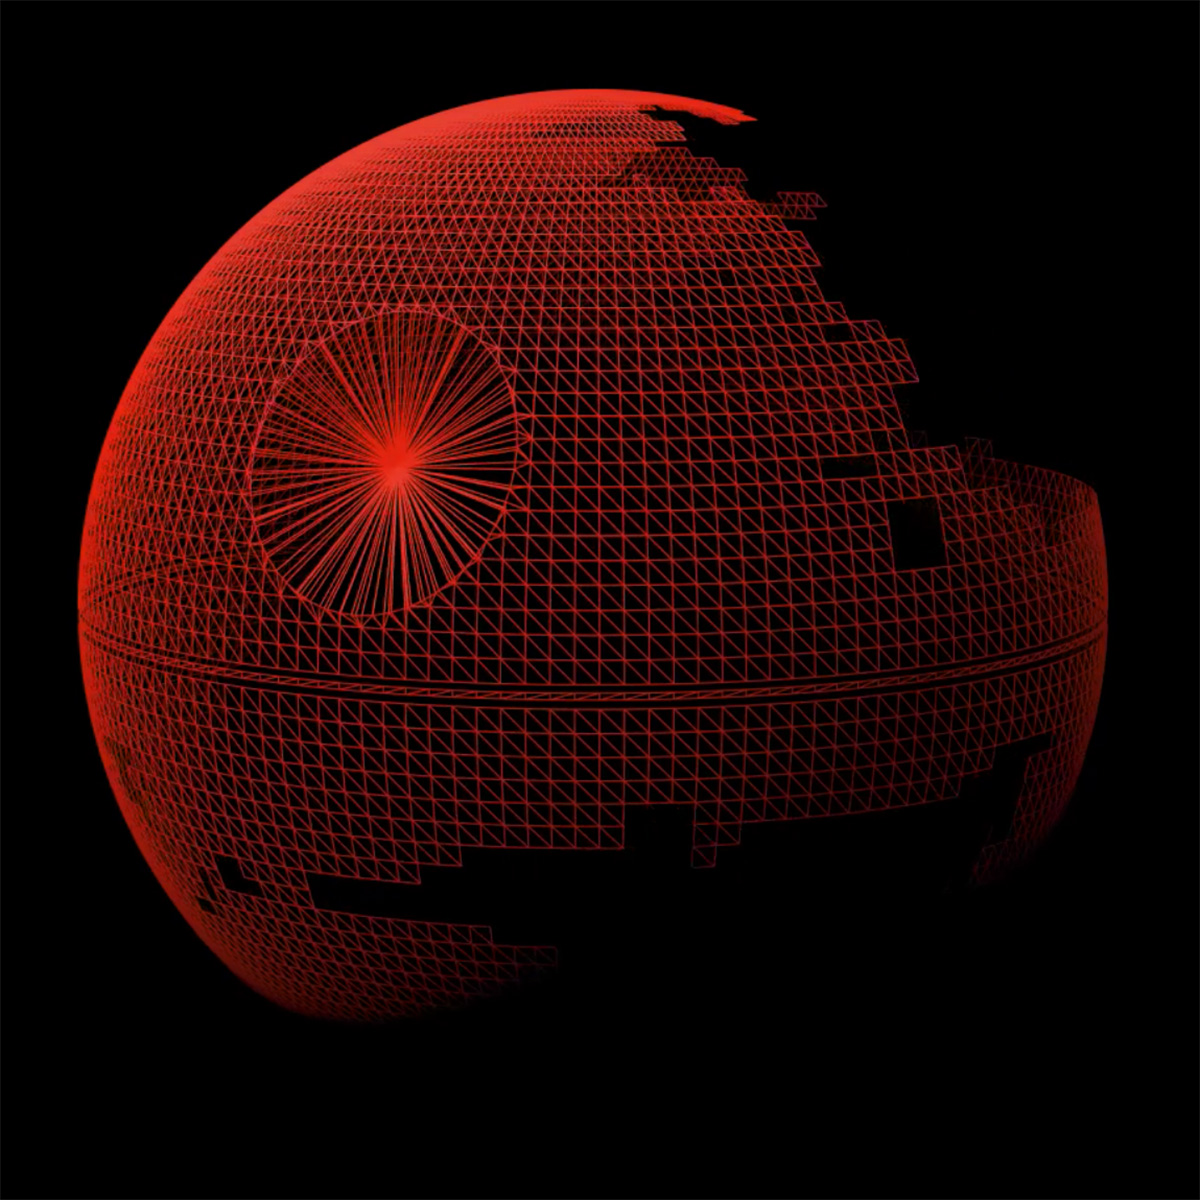
I sketched out the image, using stormtroopers in the roles of the other apostles, and then developed it further with color and lighting. I felt that the scene needed a central element, something that everyone could be focusing on, and so had the idea of adding in the hologram of the second Death Star, which not only gives a focal point to the image but also dramatically lights the characters. I also decided that the perfect setting for the scene would be the Emperor’s throne room on the Death Star, with that amazing, iconic round window behind him as he sits on his throne.
There was no way I could even begin to attempt to build a physical set, so much as I would have liked to make everything physically I had to design a completely digital set. My good friend Steve Newman is a dab hand at 3D modelling, and agreed to build a replica of the throne room in 3D, into which we could place a virtual camera and virtual lights to match the real people I would photograph.
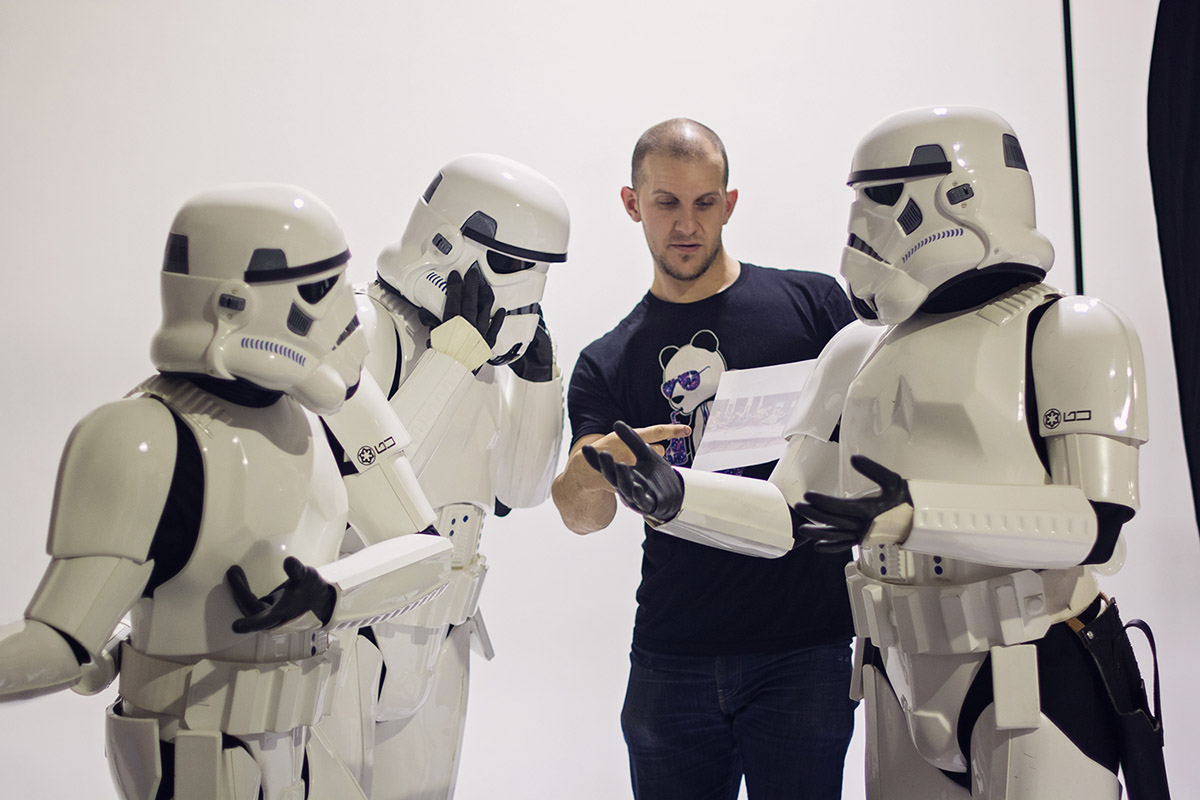
I had already done a shoot a year or so before with Star Wars enthusiasts, and through my friends there I managed to pull together an Emperor, a Darth Vader and four stormtroopers (top tip, stormtroopers all look the same, so you can reuse them in the image!).
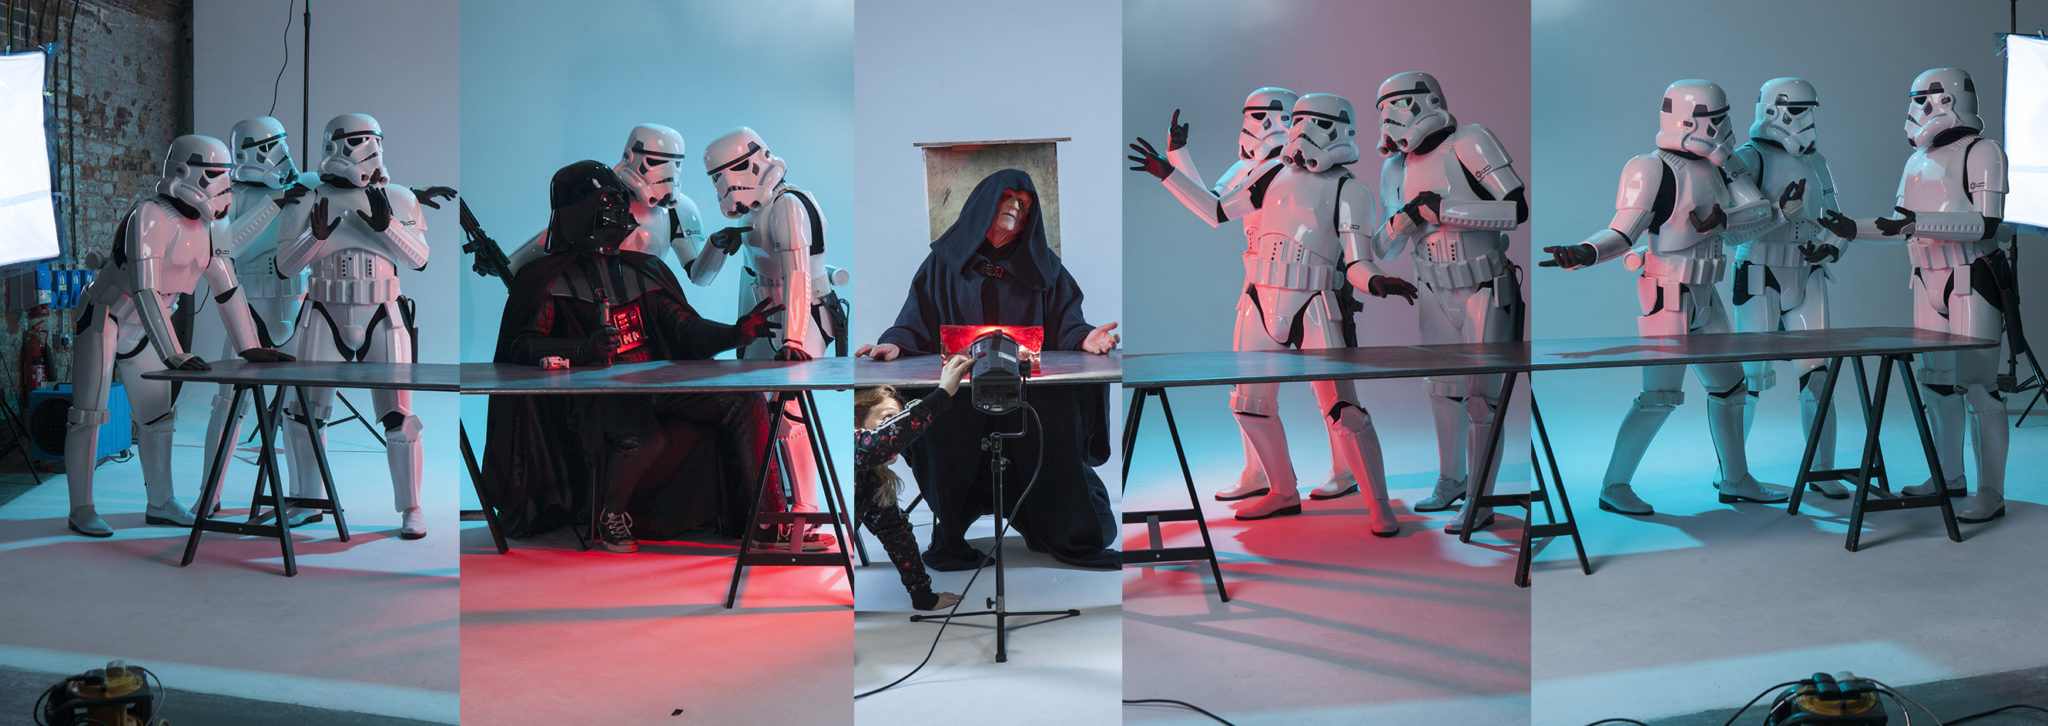
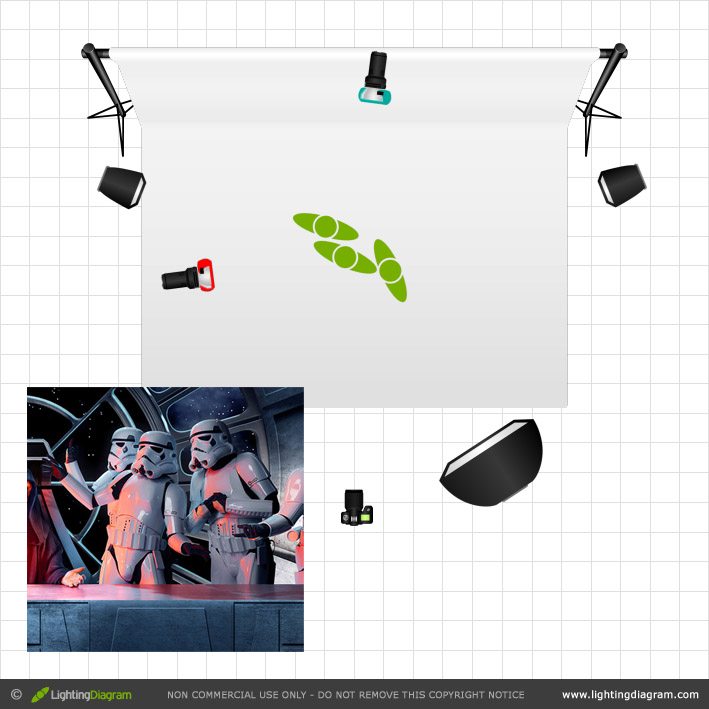
Because I only had four stormtroopers, and limited space in the studio, I decided not to attempt to create the full scene in one go. The painting is composed in groups of three, and then Jesus in the centre, and so I split my shooting into the same groups. Lighting wise I shot using Bowens Gemini heads as always, with a blue/green backlight to simulate the starlight coming in through the window, kept everything else quite cool and moody, and used a red gelled light to simulate the light from the holographic Death Star. This had to be progressively moved away as i shot groups further down the table.
In order to recreate the feel of the original painting I paid close attention to poses, including hand positions. Because Vader and the stormtroopers have no facial expressions we had to convey everything with body language.
Post-Production
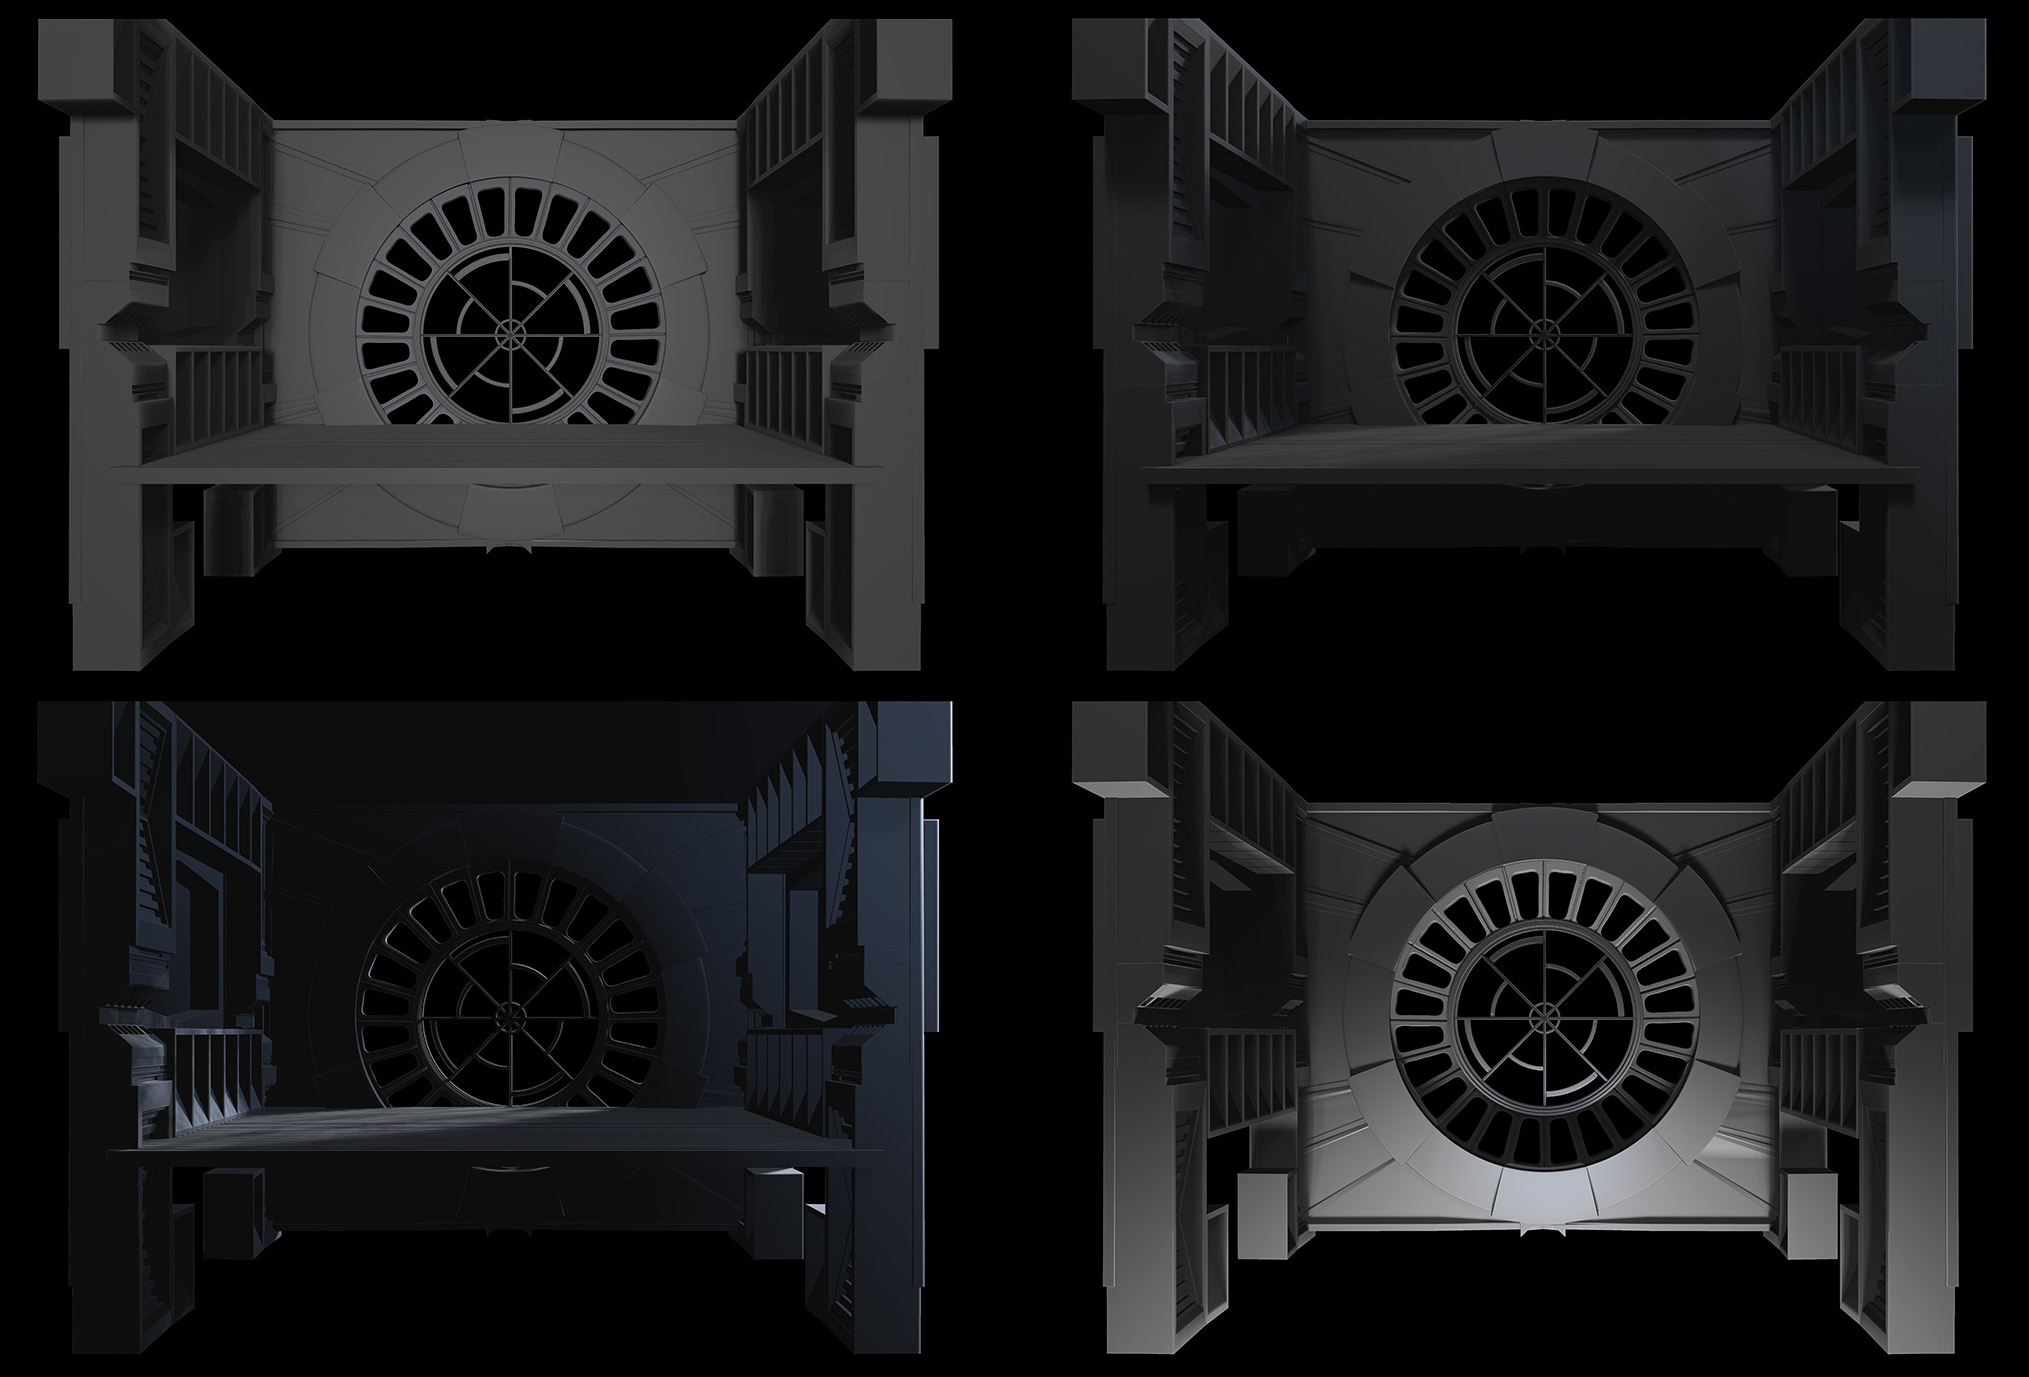
This was new territory for me, and for Steve Newman who built the 3D CGI set, as neither of us had combined photography and CGI elements before. Sketching everything out very clearly beforehand really helped, as it meant we both understood exactly what we were working towards.
Newman built the set gradually, and I gave a lot of feedback along the way, and in the meantime I cut out the characters in photoshop and arranged them behind the table. When we were both happy with the set we sat down for an evening with Z Brush and positioned the set to match the perspective of the photography, and then lit it with virtual lights in various different ways to recreate different lights in the set, finally combining these to create a master set with light coming in from outside the window, top light from in the ceiling, and uplighters around the window frame.
This looked great as a CGI image, but with real photographic characters in place it would feel way too smooth and fake, so I had to add a load of texture to the surfaces in Photoshop to really make it work as a real world environment.
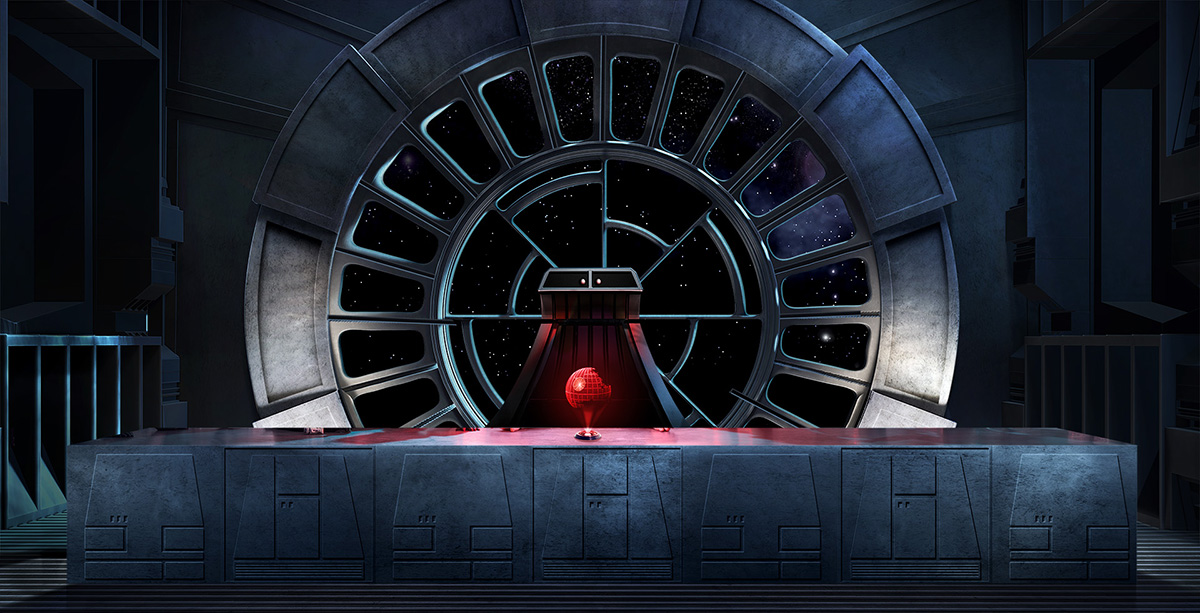
Then it was time to add the furniture. I used the actual zinc tabletop from the studio, and created a flat front using the same metal texture and some panel shapes. Steve built me a little 3D holoprojector in Z Brush, and my friend Kristin made me a brilliant Death Star wireframe hologram.
The chair was also built in Z Brush, and built up of multiple lighting passes before being coloured and textured in Photoshop.
Because we had been so thorough in matching the lighting between the set and the people, when I dropped the people in they sat into the set really nicely. I did some color and tonal work in photoshop to make sure the colour temperature matched, and accentuated the shadows on the stormtroopers to give a slightly more chiaroscuro, painterly look, and it was finished!
Get rid of the ads!
Did you enjoy reading this article as much as we enjoyed writing it? There's a way to support us and our reporting, getting ad-free navigation and more as a bonus. Subscribe to us for less than a coffee per month —just $3.99— or take advantage of our yearly subscription with a hefty discount for only $25.- An ad-free experience
- A free mystery box for Lightroom or Capture One
- All the books in our store
- 20% discount on Capture One
- 30% discount on Imalume Photo Theft Protection
- 20% off Herbs and Kettle Tea Company.
- 20% off your order from MPIX printing services.
- 5% off Viltrox Products via their eCommerce store.
- 10% off all film developing, printing and scanning services from Blue Moon Camera and Machine
- 15% off 7Artisans products: The lens and accessory maker is offering a sweet discount for Phoblographer's readers.