Creating the Photograph is an original series where we interview photographers about a photo that they shot and how it was achieved. The results are some knowledge passed on to you. Want to be featured? Email chrisgampat[at]thephoblographer[dot]com.
Photographer Lindsey Thoeng hails from Amsterdam, but these days she calls Brooklyn, New York her home. Since 2007, she has been combining graphic design work at the UN with the pursuit of the perfect portrait for fashion and lifestyle brands. In recent years, Lindsey has focused on shooting environmental portraits in the streets of New York. It’s earned her appearances such as in Times Square, New York Times, Mashable, Details Magazine, Time Out New York, Town & Country, Behance’s Photography Served and the social channels of Adidas, Uniqlo, United Nations, Levis, and 1Hotels.
But more recently, she wanted to work on a special fitness portrait shoot. “Portraits in the dramatic style that Norman Jean Roy or Annie Leibovitz are known for with their epic Vanity Fair shoots.” she says. “At the same time I wanted to take it in a more realistic direction, less glamorous…”
Here’s Lindsey’s story.
The Concept

I’ve been wanting to do a raw shoot featuring athletes in which I combine portraits with some action shots, all in the track environment. Portraits in the dramatic style that Norman Jean Roy or Annie Leibovitz are known for with their epic Vanity Fair shoots. At the same time I wanted to take it in a more realistic direction, less glamorous, things I admire in portraits by Coty Tarr and Joey L. for example. And finally, although inspired by these great photographers, I wanted the photos to still feel like it had my personal stamp on it.
The Gear
Nikon D810
Nikon 85mm f/1.4
Profoto B1
Profoto Air Remote
Elinchrom Rotalux Deep 100 with both diffusers
Lightstand
Sandisk Extreme CF Card 64GB
The Shoot
Settings
ISO 320
85mm
f/4.5
1/160 sec
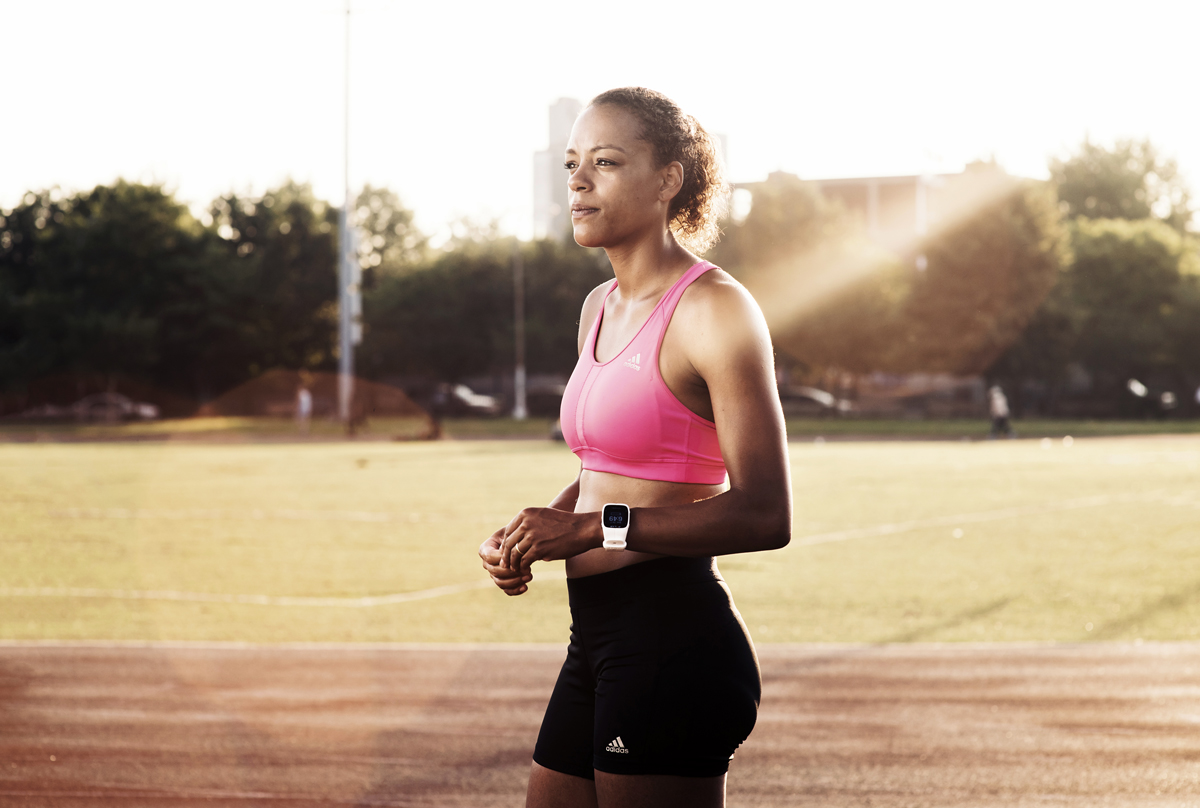
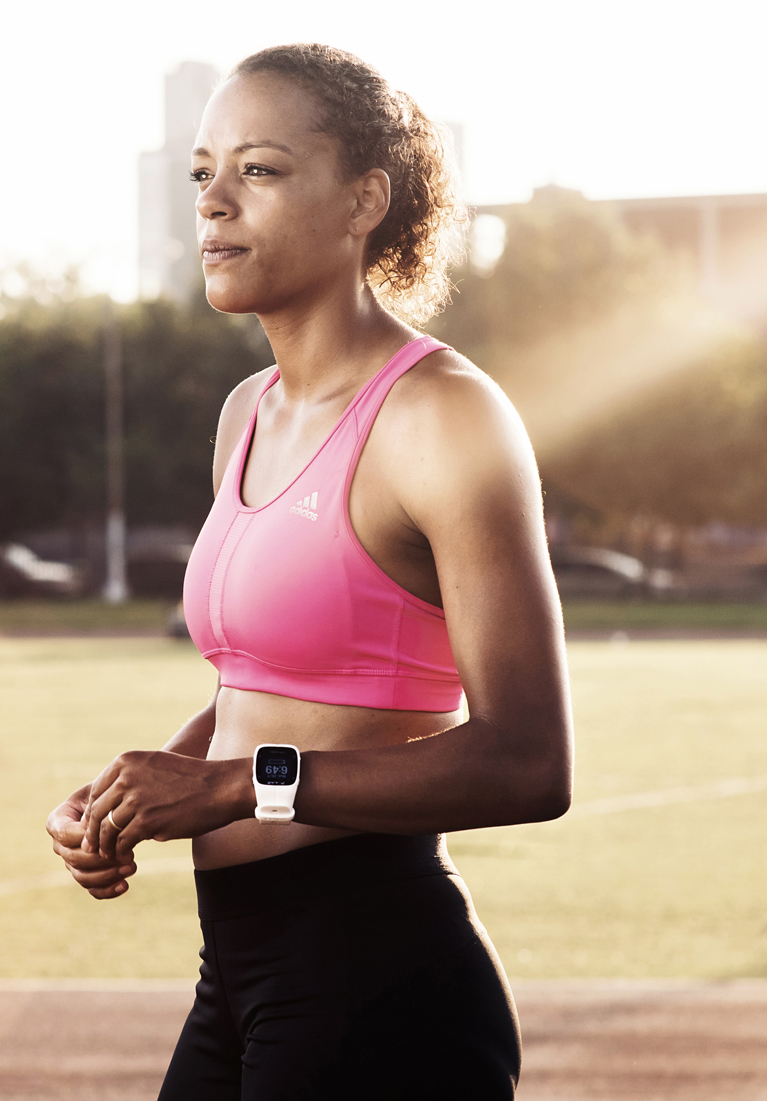
We set up at 5:30am to start at 6am sharp in McCarren Park and catch those first low rays of sun, and potentially even use the light before the sun would actually come out. Another reason for the early start time was that there are much fewer people in the park than in the PM. My friend Roma van der Walt is featured in the shoot; she is a former pro-athlete and the founder of Chitta Wellness based in Brooklyn. Although this was a personal project, I wanted the photos to be of promotional use for her as well.
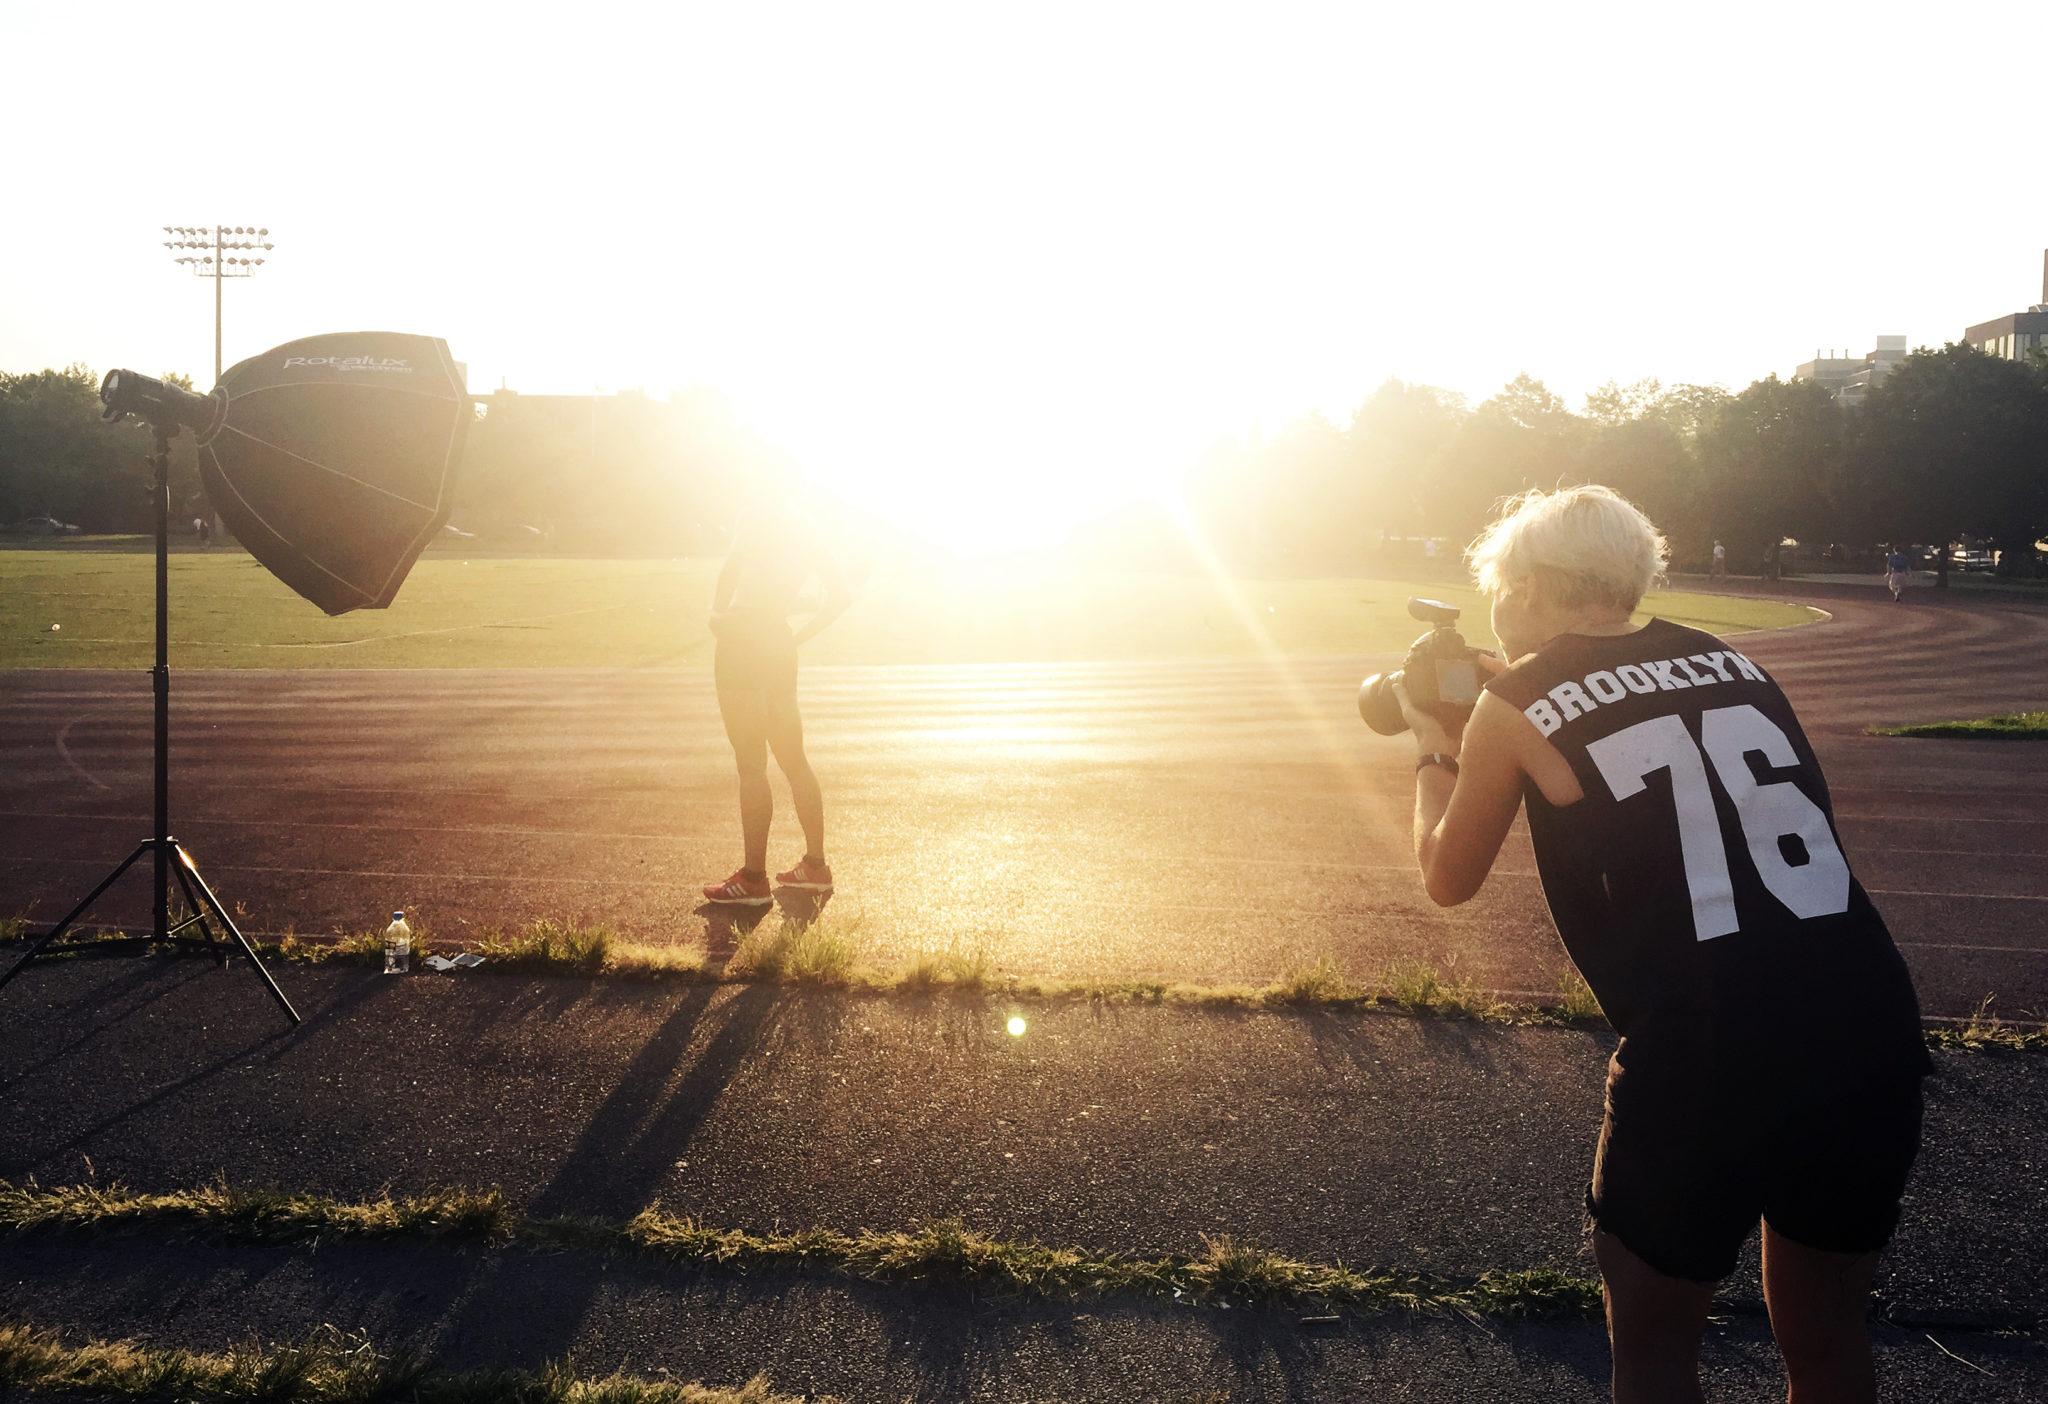
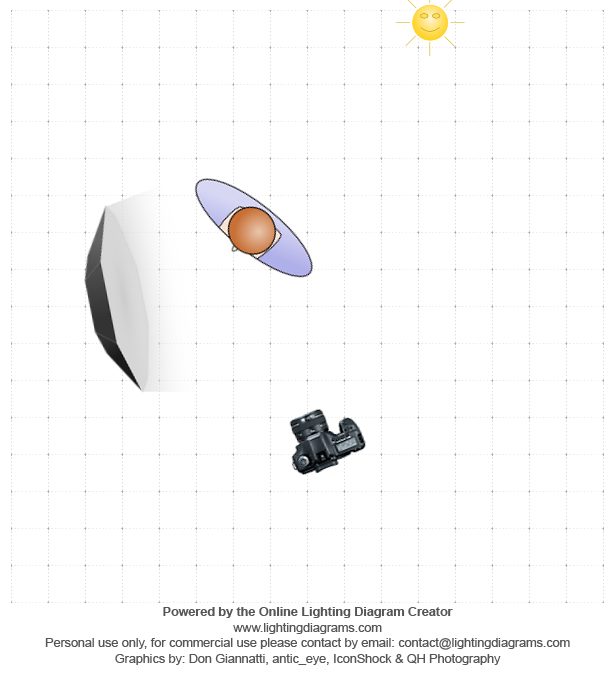
I used two sources of light in these outdoor portraits: the rising sun was backlighting Roma, which added definition and separated her from the background. It also provided a warm glow that helped guide the tones in post processing. The Profoto B1 strobe in the Elinchrom softbox was my main light, creating the visual impact in the photo by not only illuminating part of the face but also creating interesting shadows. I triggered it with Profoto’s Air Remote. The morning sun at times hit my lens directly. I did this with the intention of creating some flare and other light effects. Although at the time I was not happy with how that direct light was messing with my autofocus, it ended up causing the flare and light leaks I was after, which ultimately gave the shots a unique edge. Since photos of athletes can easily become cliché shots, I was happy with that natural element in the shot which hopefully distinguishes it from similar shots.
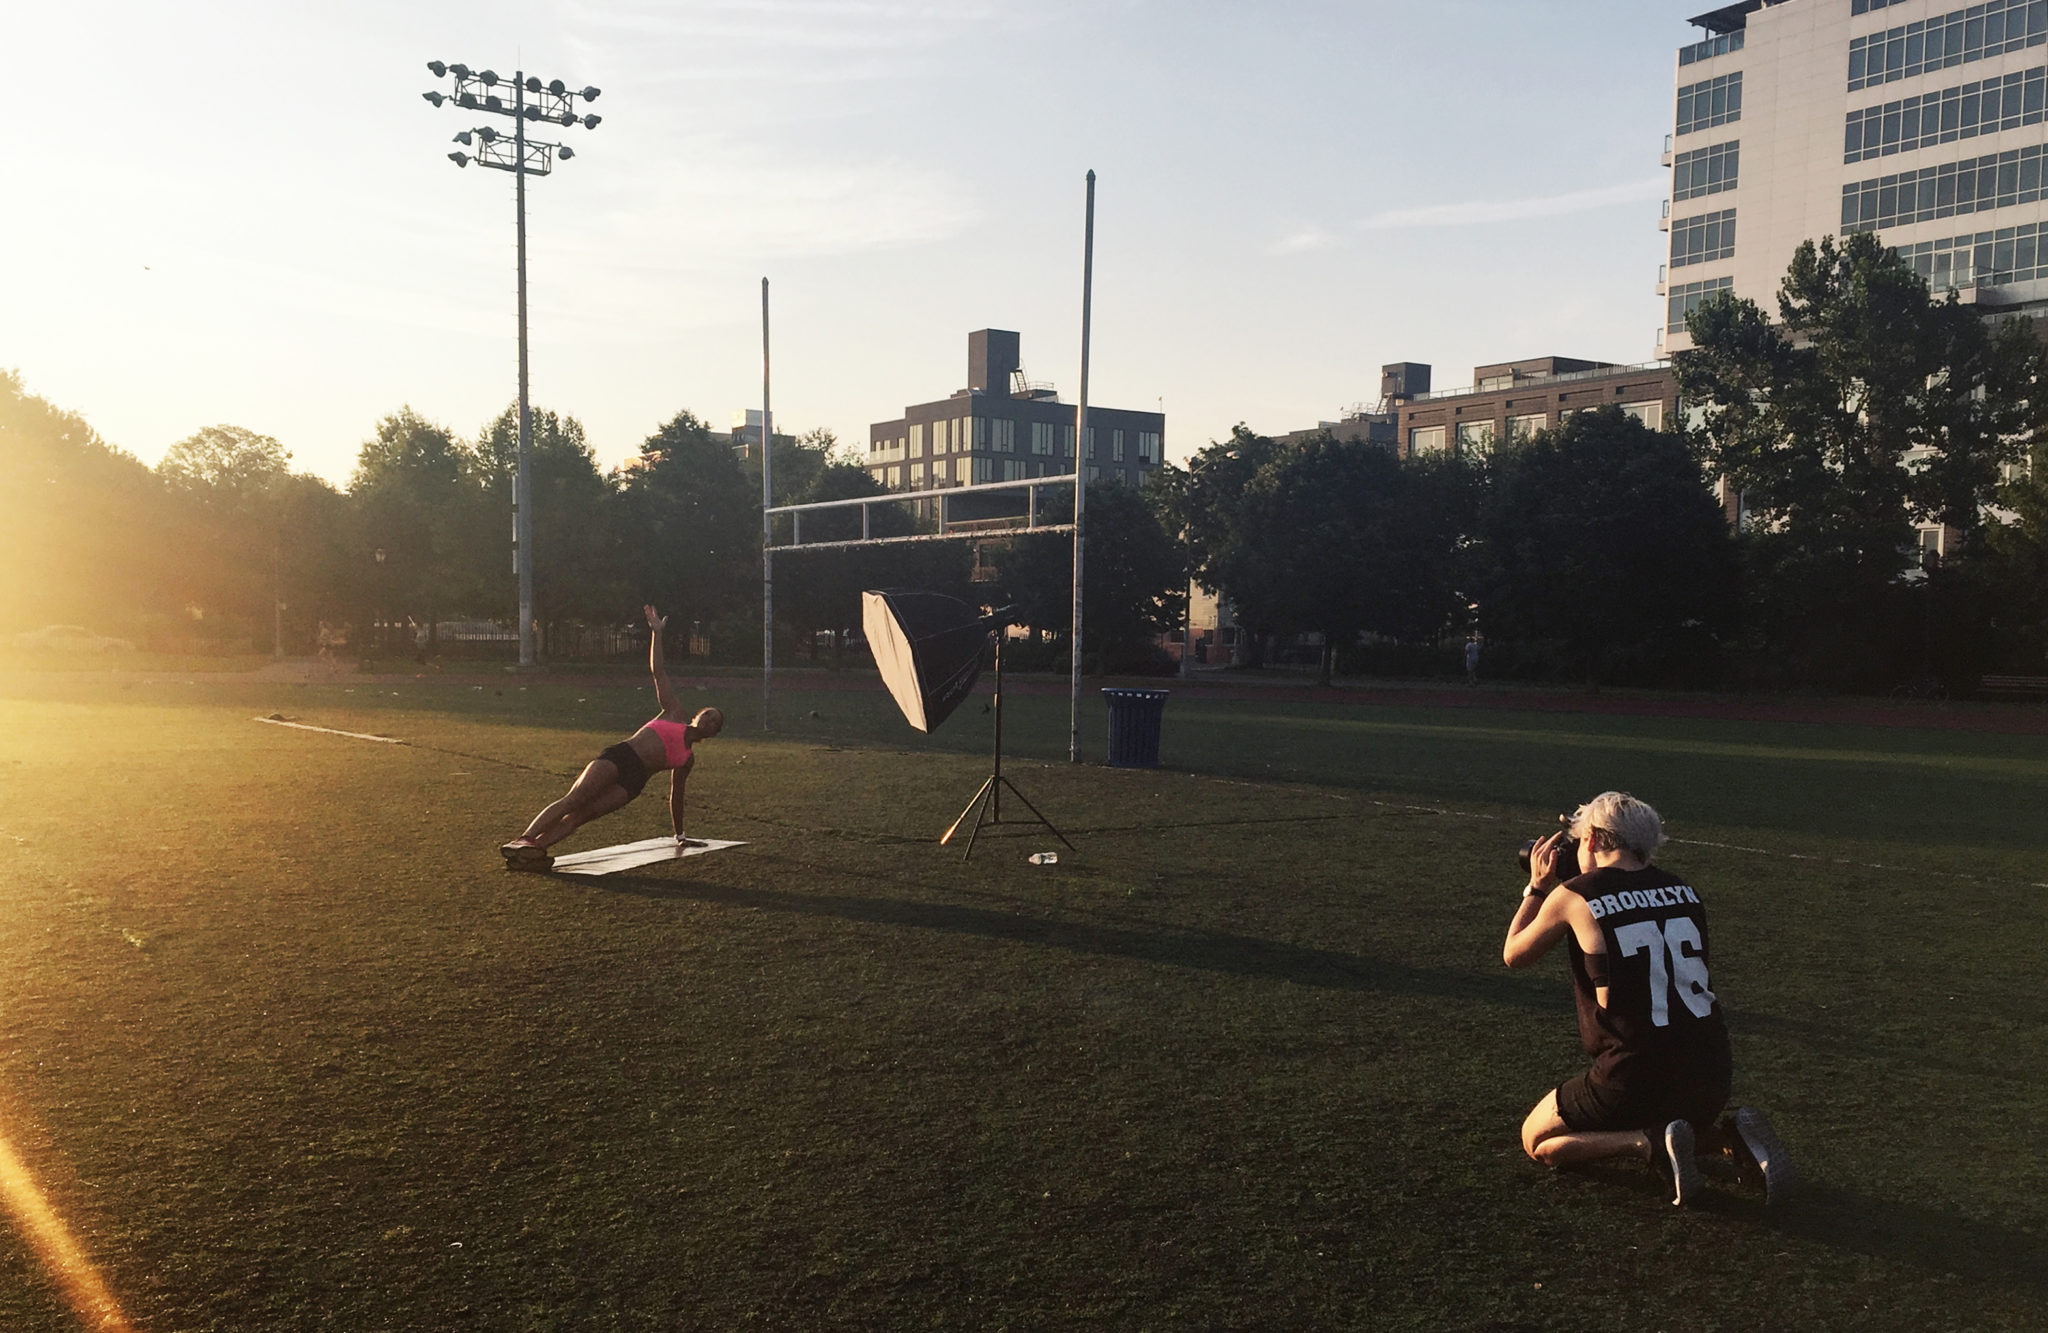
I made sure that the sun was hitting Roma from the back and the main light in the softbox came from almost the opposite direction. This lighting setup creates a slightly dramatic mood which like in my portraits: light that hits the far side of the face, creating shadows on the side closer to the lens. I try to avoid pointing the main light straight on because you tend to lose dimension in the subject’s face due to the lack of shadows. I tweaked the direction of the softbox every now and then to make sure I got some of the softest light on her; with the hotspot basically missing Roma, so that only the feathered light from the sides would hit her.
Post Production
General adjustments (white balance, contrast, sharpening) were made in Lightroom. Local adjustments such as blemish removals and background distractions were removed by healing brush and content aware fill.
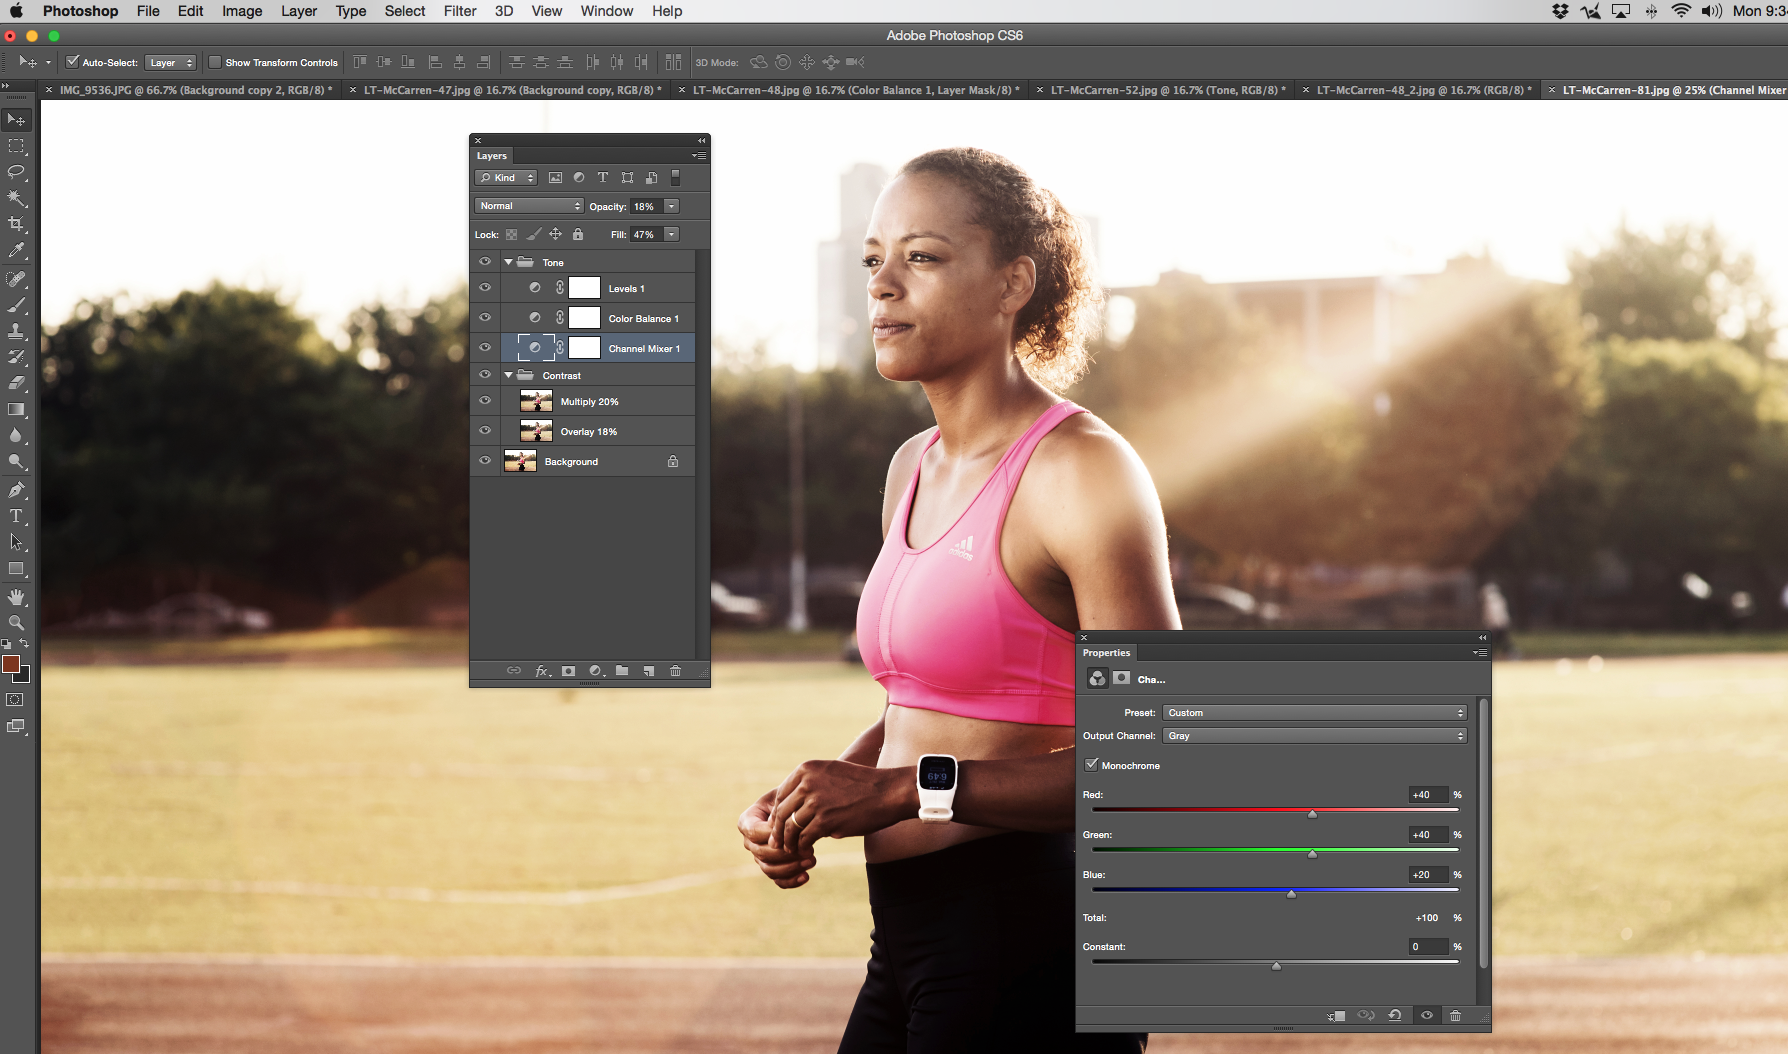
A curves adjustment in the shape of an S-curve was made to add contrast and a levels adjustment to make the impact of the highlights more dramatic. Some dodging on the light part of the face to enhance that. Further color corrections were made with RGB curves tweaks and the color balance until it had the warm feel to it. Then, as an additional touch on the contrast, I duplicated the flattened layer twice and applied overlay and multiply blending modes to them. The overlay created more richness in the tones, and the multiply layer made it a little more contrasty, creating more definition on the face. The effect is subtle; I only used about 20% of those layers. To further tweak the tones, I added adjustment layers for color balance and levels, and played around with the sliders until it hit a tone I was pleased with. I desaturated the overall image with a channel mixer at monochrome which helped get the skin tones back to normal. I don’t have a set formula for post processing, but these are typical steps for processing my photos, and tweak each step per individual photo in a shoot. For these kind of shoots that feature strength and power, I tend to process a little bit stronger than for beauty of fashion centric shots, and end up with a more commercial feel to it. The increased contrast give the photo a slightly masculine feel to it, which I think enhances the strength of the female subject.
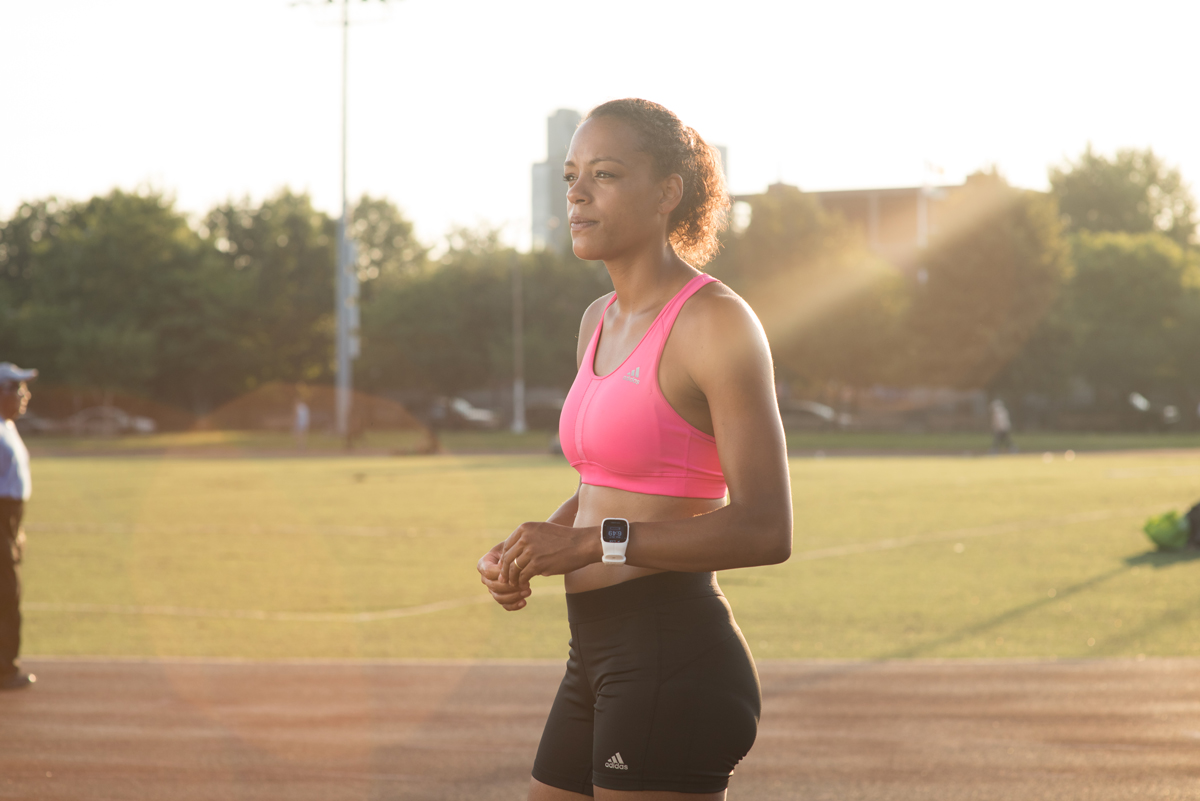
Before/After
Get rid of the ads!
Did you enjoy reading this article as much as we enjoyed writing it? There's a way to support us and our reporting, getting ad-free navigation and more as a bonus. Subscribe to us for less than a coffee per month —just $3.99— or take advantage of our yearly subscription with a hefty discount for only $25.- An ad-free experience
- A free mystery box for Lightroom or Capture One
- All the books in our store
- 20% discount on Capture One
- 30% discount on Imalume Photo Theft Protection
- 20% off Herbs and Kettle Tea Company.