When it comes to painting with light, what photographers obviously need are tripods, a camera capable of manual operation, lights and a creative vision. Lots of photographers use tools like flashlights, light sabers, and industrial worklights–but there are so many other tools out there that you can get your hands on. These tools will also let you create more intricate designs and will let you have lots of fun while doing it.
In the end, the goal is to look at an image with a sense of excitement at what you’ve created. Here’s what you need.
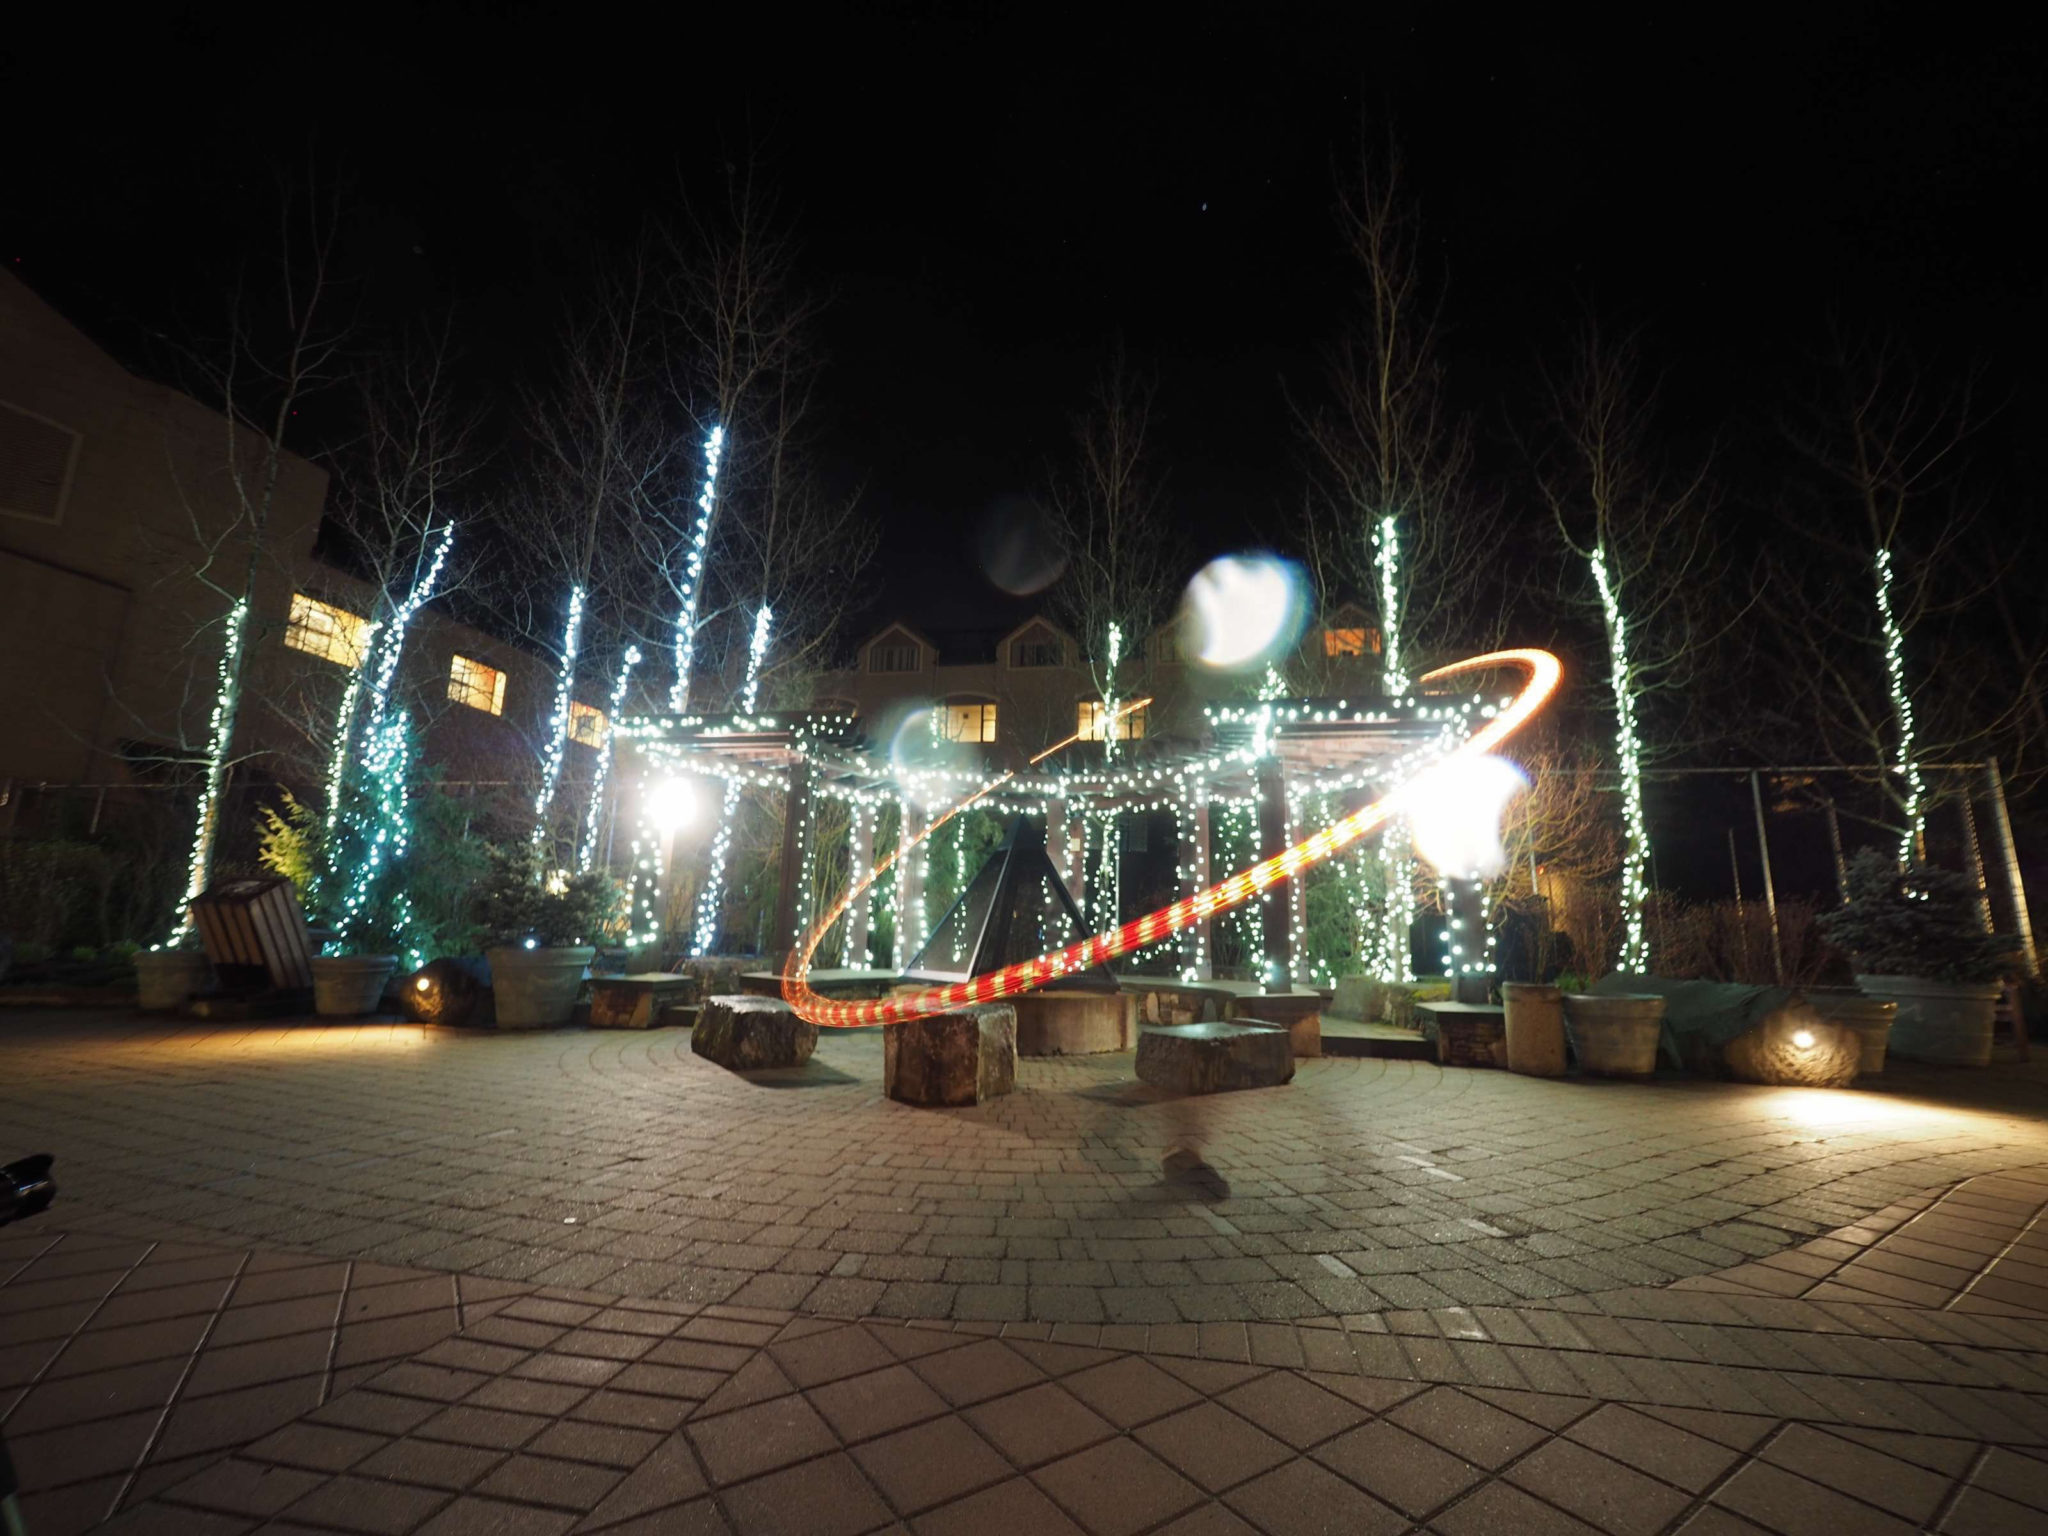
Electroluminescent Wire
Electroluminescent wire is very cheap and can be had easily off of Amazon. But it’s also very fragile and sometimes doesn’t give off enough light. If you’re the type that knows how to work with color channels in Adobe Lightroom, then this hopefully won’t be such a large problem. However, this is best done with a much longer exposure than normal (up to one extra stop of light) and with thicker wire if you can get your hands on some.
If you get some of the thinner stuff, then try doubling it up. And if Amazon isn’t giving you enough, then photographer Jamie MacDonald tells us to check out the Super Bright LEDs site.
The alternatives are LED light strips along with the batteries and color switches.

But for even more inspiration, check out the work of photographer Jesse Rockwell, who we’ve interviewed on the site before.
LiteBlades
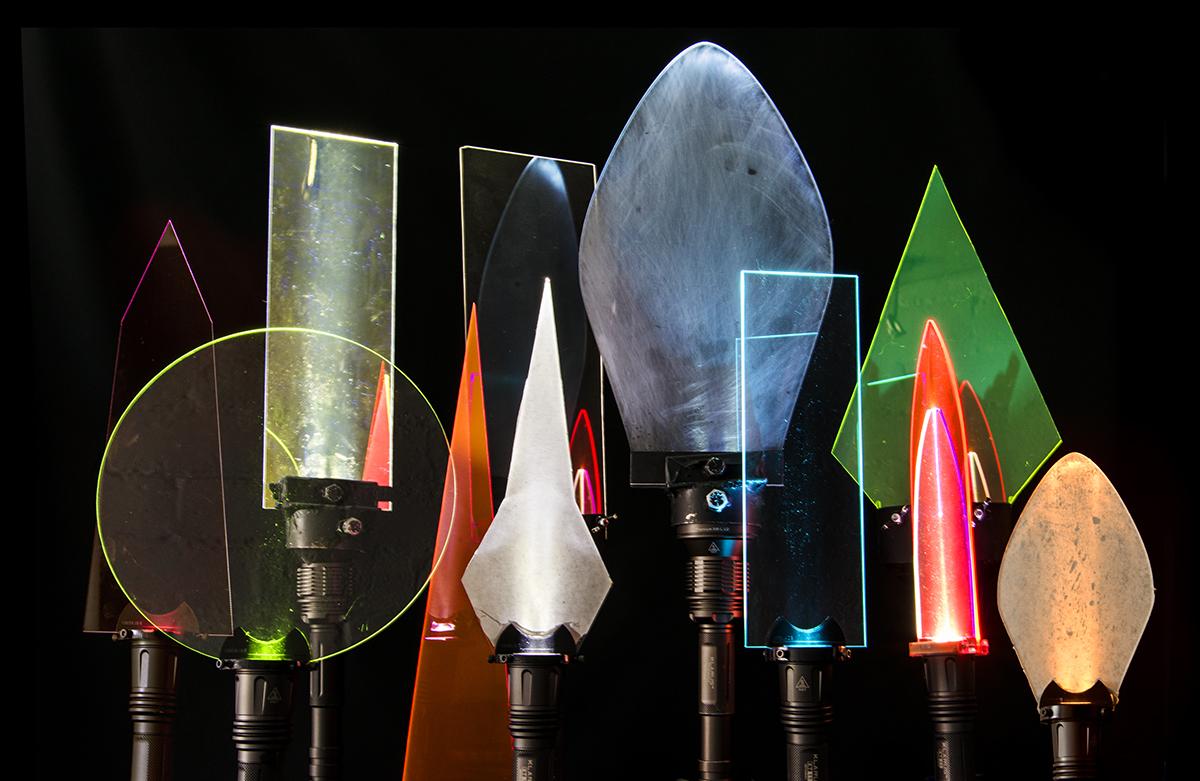
The LiteBlades are the creation of photographer Patrick Rochon and come in a variety of different shapes and sizes to let you create new designs in the scenes that you’re shooting. Patrick created the devices after experimenting with many different light painting patterns. These are some of the best designs he came up with. They’re very versatile and let you do things that normal shaped lights won’t necessarily do.

Patrick’s work is also very worth checking out–especially his Super Chromatic project.
Steel Wool
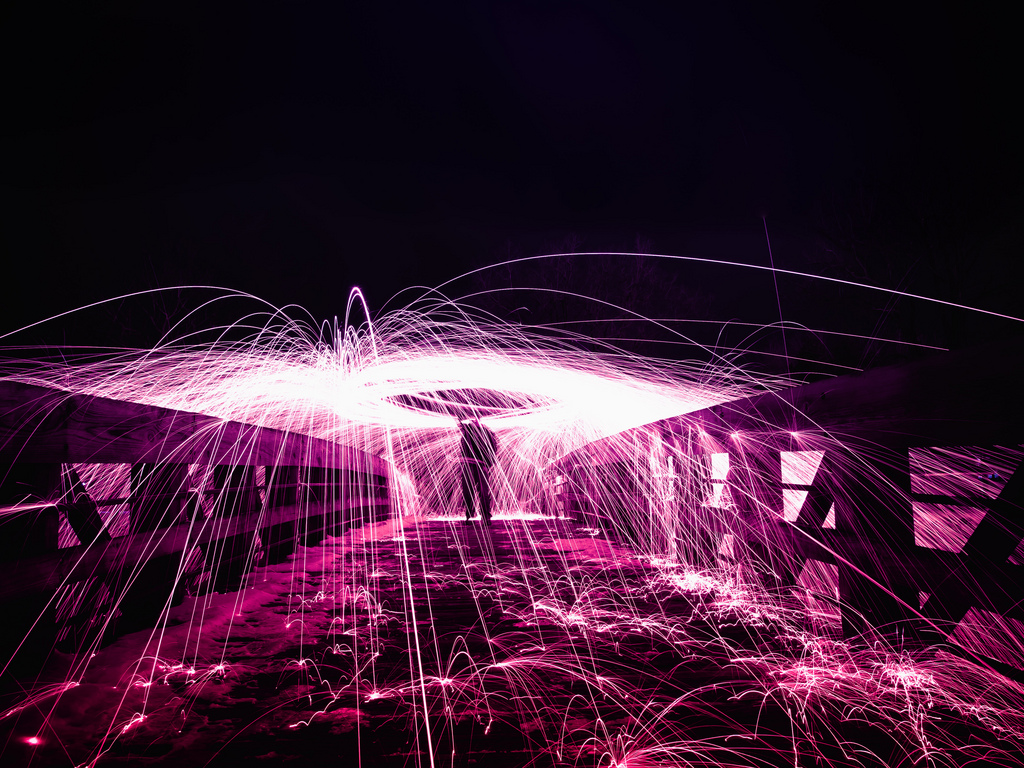
One of the things that so many photographers tend to use is steel wool. But that can become quite dangerous and can even damage your camera or lens. You’ll need to get your hands on lots it, but not the pads that you use to clean rough surfaces with. You’ll also need a whisk to attach the wool too so you can swing it around. Using a lighter, you’ll heat the wool up and then start swinging it around.
Be careful, and don’t say we didn’t warn you.
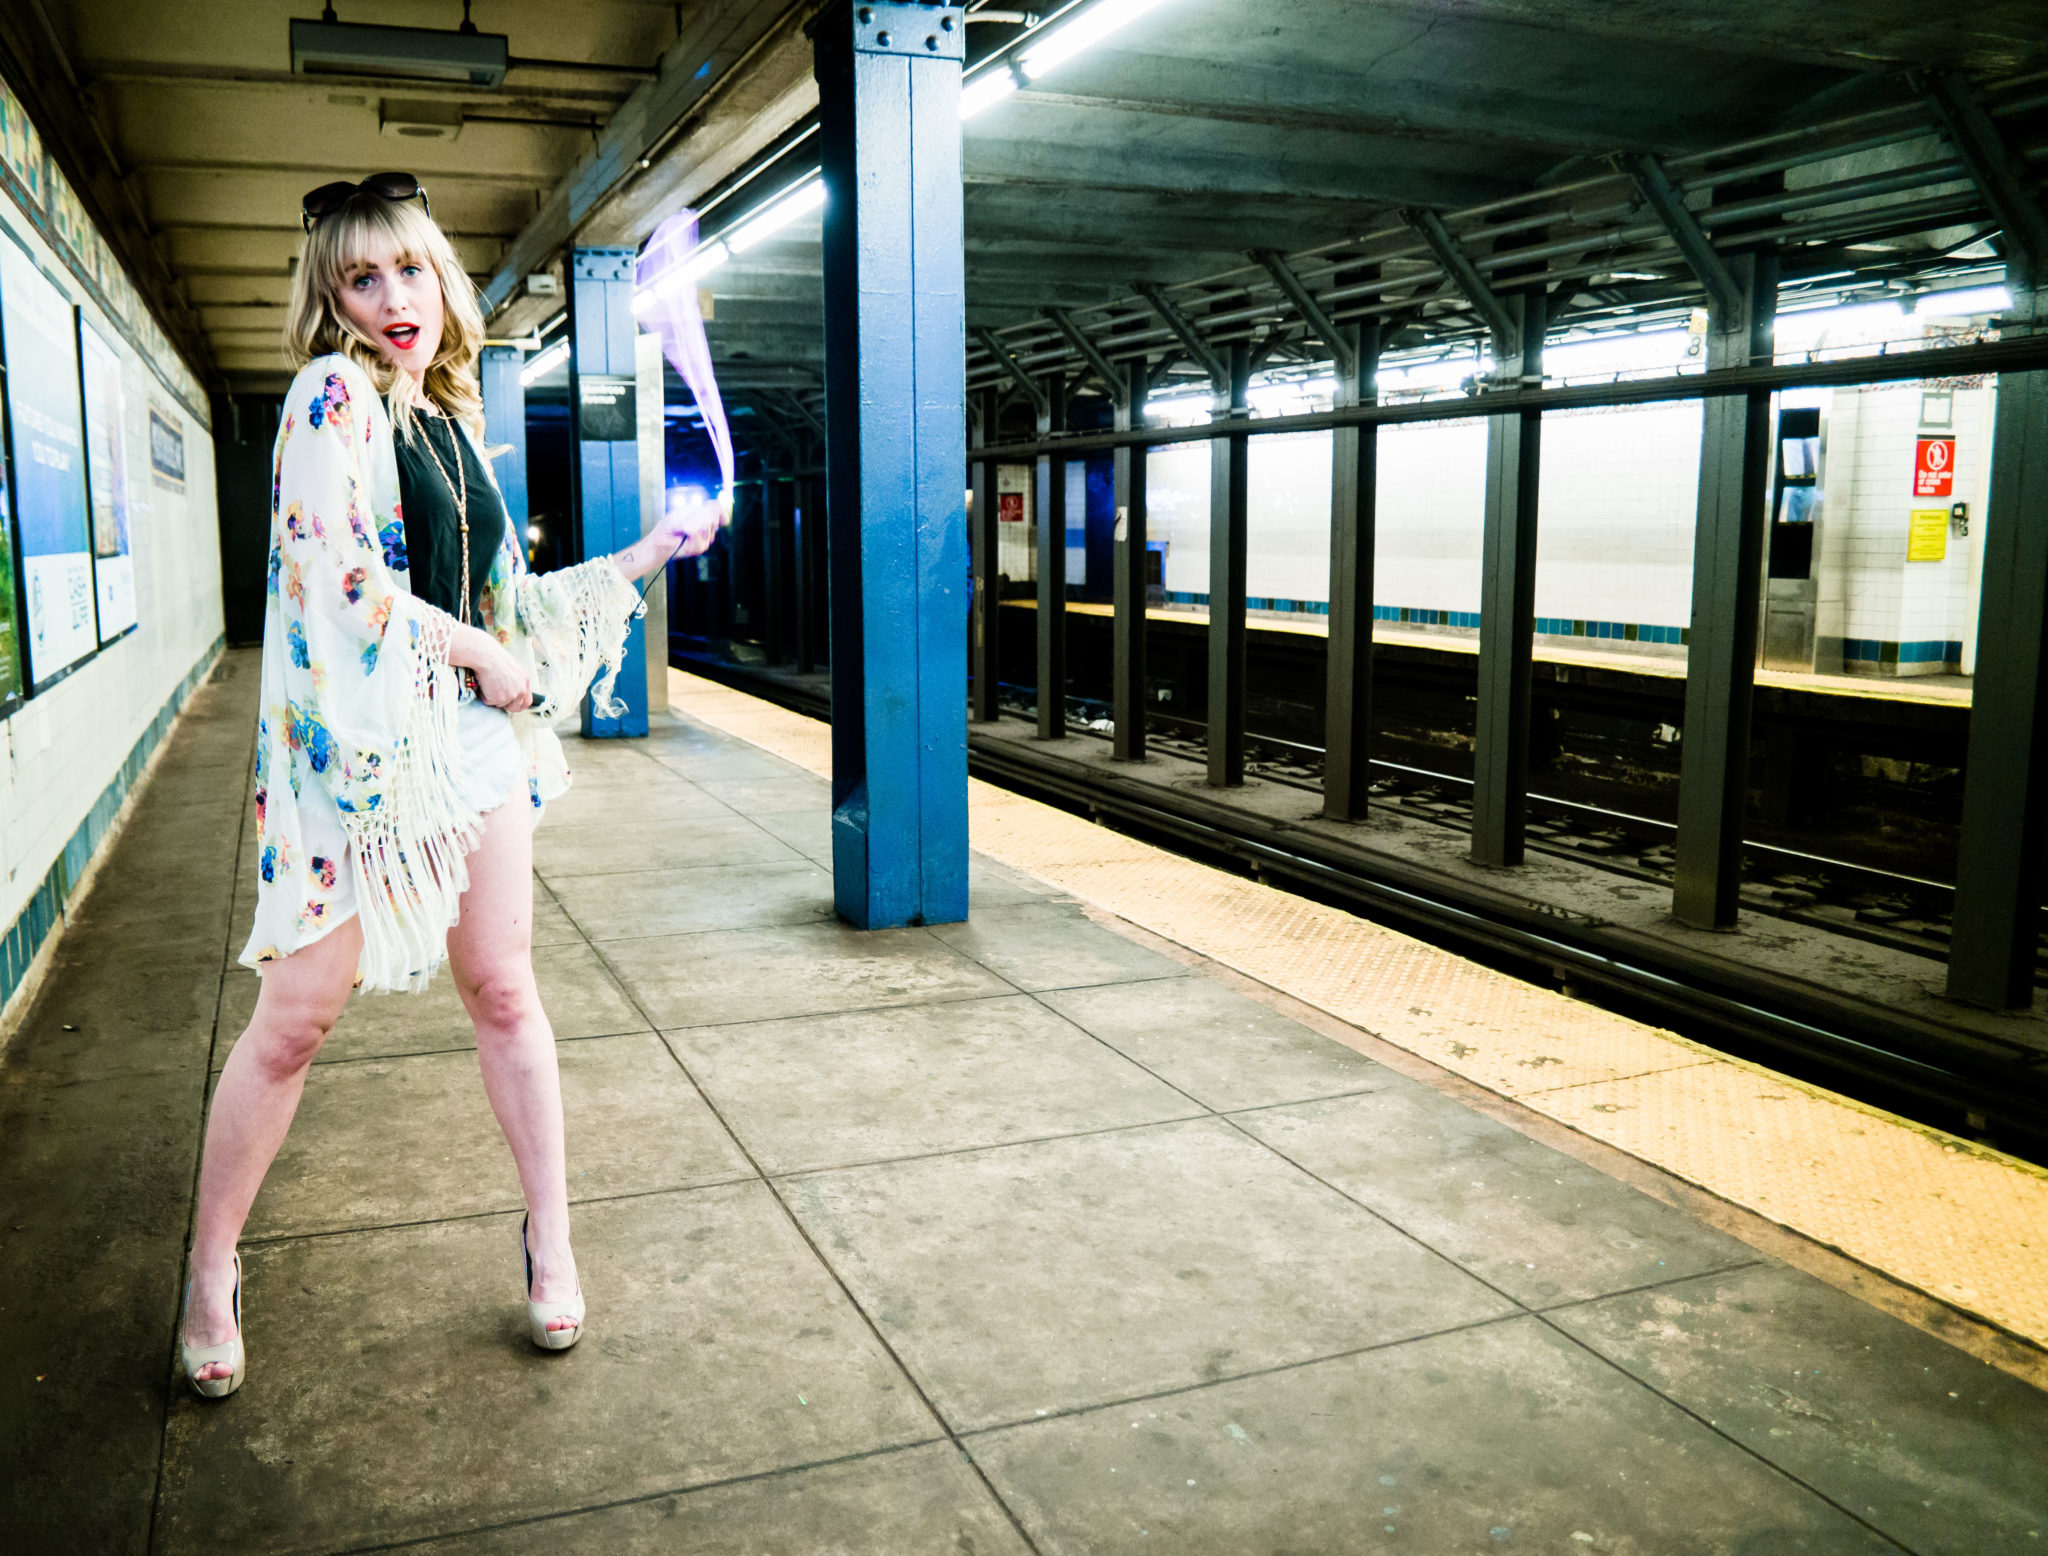
The PixelStick

Though it’s quite pricey, the PixelStick is bound to deliver the results that you want in an image–or at least help you to create some really amazing photos. We got this recommendation from photographer Nick Murray, who shot the image above and who we featured in an interview on the site.
So how did he create it? He tells us:
“The light trail was done using a Pixelstick with my Nikon D750 and 14-24mm f2.8 sitting on top of a Benro Travel Angel 2 Tripod. Nikon have always been great to me, and I’m a huge fan of their gear. I’ve only recently discovered Benro here in the UK (maybe I’m slow) but I’m so pleased with their products.
Settings for this particular shot were 8 seconds, at f13, ISO 160. The main problem we had here was the constant use of the road surrounding the green. Car headlights coming into shot every 20 seconds or so made it a tricky one to shoot, and I had to time the window well. Add the fact that it was around 10pm in December in South Wales in the UK – you can imagine how cold it was. I was pretty warm because of the running around in circles, and fortunately the bride and groom were utter troopers, plus they appreciated what I wanted to achieve.
I opted to take the light to as close as the lens as possible to lead the eye inwards to the centre, lifting the Pixelstick higher as I went around the back of the tree to create a pleasing shape and to reveal more of the grass. Symmetry has always resonated strongly with me, and the pose was just a natural occurrence that the bride and groom adopted whilst they were waiting for me. I loved it and asked them to keep it.”
If you’re very serious about getting a similar look, give this a shot.
Get rid of the ads!
Did you enjoy reading this article as much as we enjoyed writing it? There's a way to support us and our reporting, getting ad-free navigation and more as a bonus. Subscribe to us for less than a coffee per month —just $3.99— or take advantage of our yearly subscription with a hefty discount for only $25.- An ad-free experience
- A free mystery box for Lightroom or Capture One
- All the books in our store
- 20% discount on Capture One
- 30% discount on Imalume Photo Theft Protection
- 20% off Herbs and Kettle Tea Company.