Want more Useful Photography Tips? Click here.
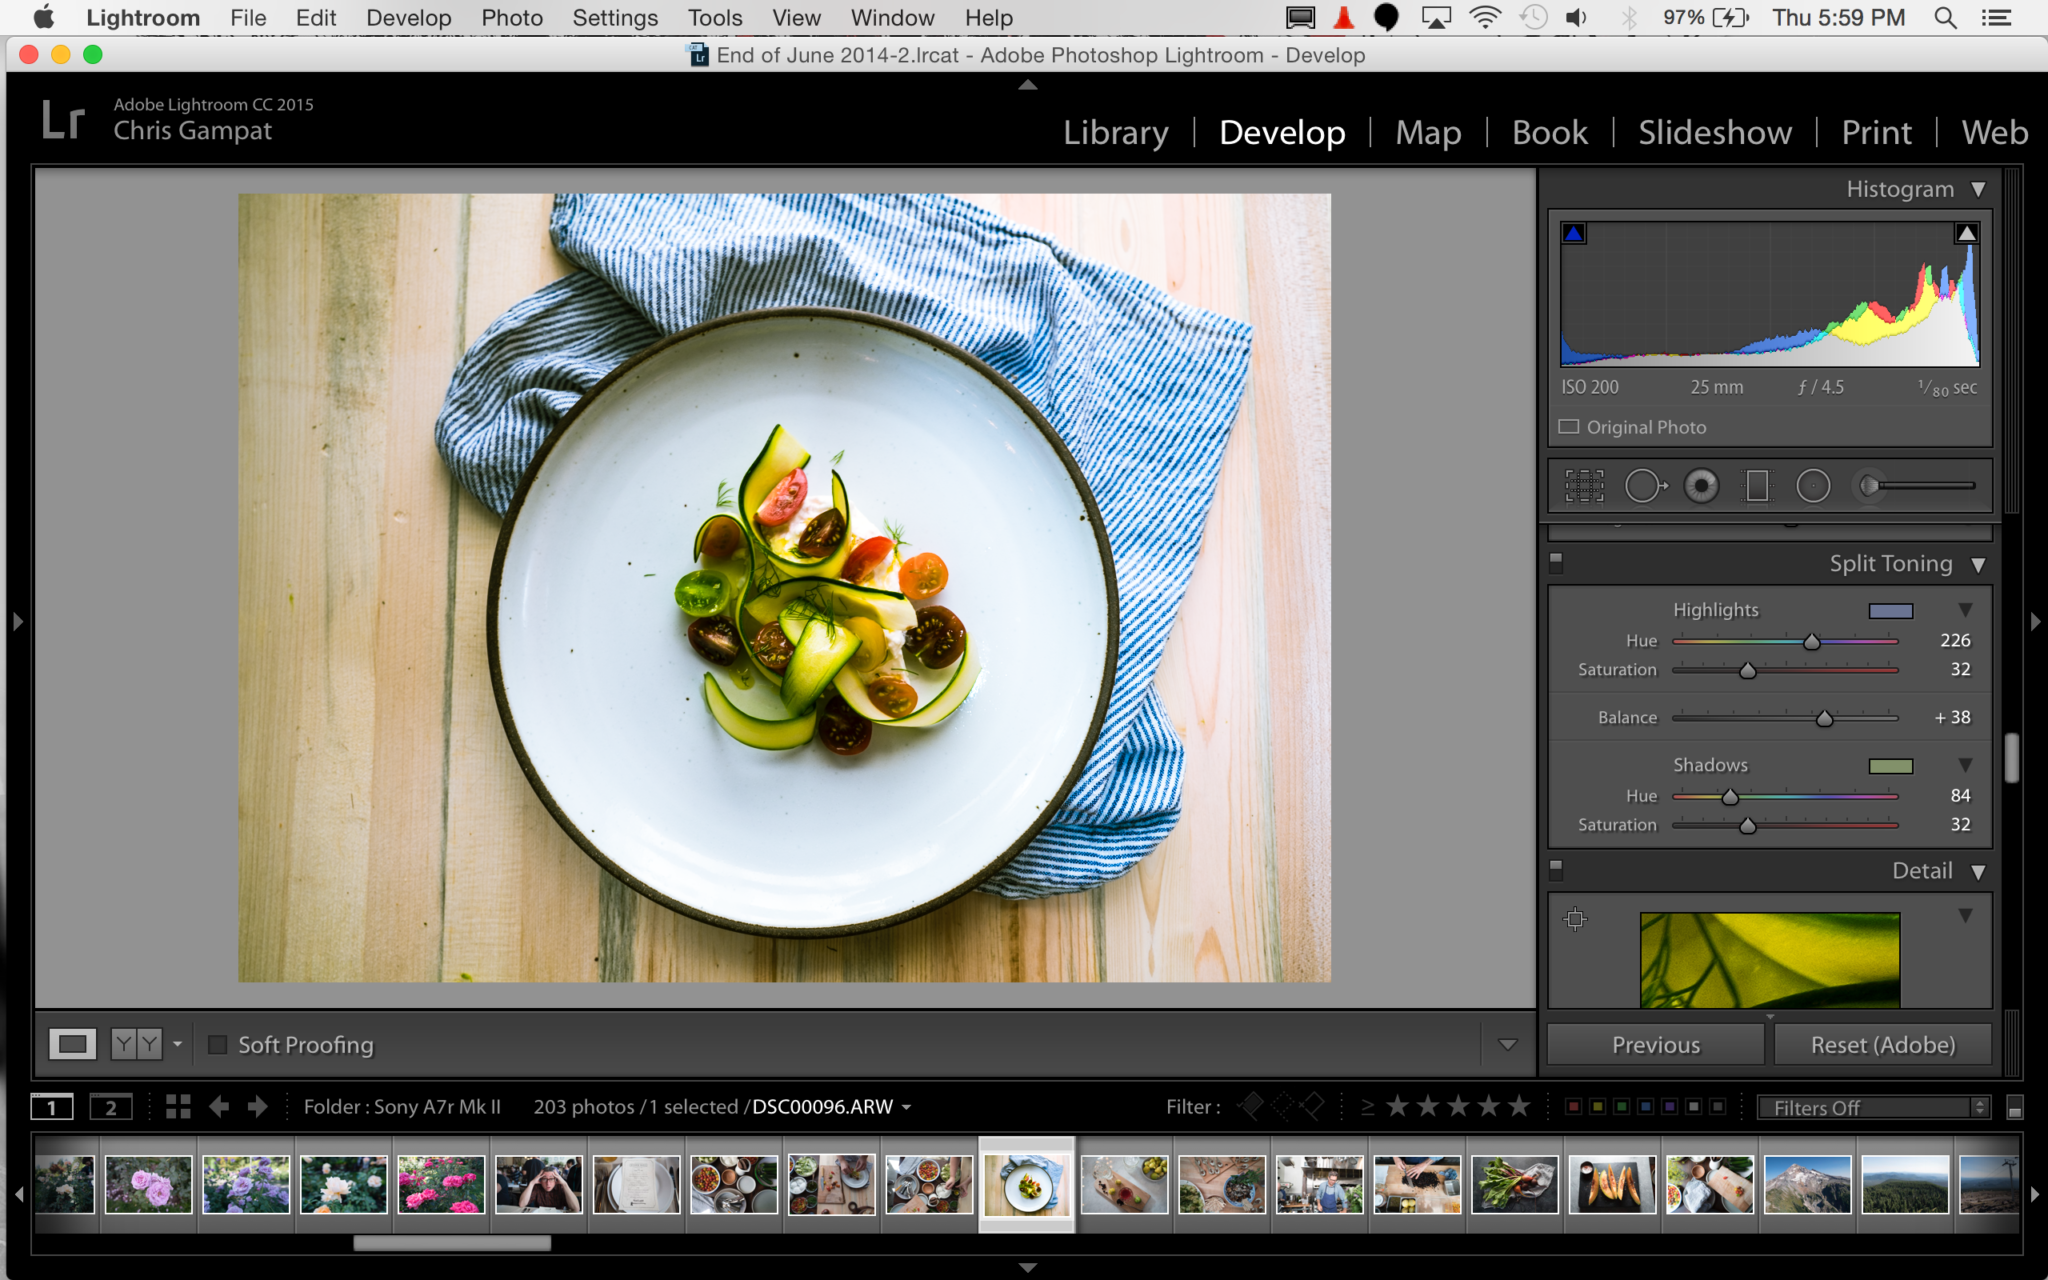
Adobe Lightroom has a little section that is most likely ignored by so many of you. It’s called the Split Toning panel. If you’re a concert photographer dealing with some crazy mixed lighting situations and you want to neutralize the problem, you can use this section and specific application of color theory knowledge to fix it. But by setting the highlights to one color at one end of the spectrum and the shadows to another color, dialing the saturation for each to an equal amount, then playing with the balance you can create similar vintage filter effects to what Instagram, VSCO, EyeEm and others will offer you.
For example, setting the highlights to a degree of blue and the shadows to a degree or orange, cranking the saturation of each to 32, and then messing with the balance between highlights and shadows you can create looks similar to that rendered from Instant film like that from Fujifilm’s Instant 100-C peel apart film.
Alternatively, you can invert the hues for the highlights and shadows then change the balance to be more skewed to the shadows. This will give you a much different look and effect closer to a very soft contrast film if you raise the exposure levels just a tad.
Again though, this is something that you’ll have to experiment with and try for to get the “best results” for you. While some love the extreme filter look, others prefer to dial theirs back to a very conservative amount. But consider this the next time you want to render these looks in an organic way and without destroying the sharpness of the image.