Most photographers will preach to you about how soft, shadowless light is all that there ever should exist. They’ll continue on and on about this–and how great it makes people look. But in reality, hard light can do the same thing in the right situations. Hard light is used by many fashion photographers and portrait photographers to give their subjects a bit more of an edge in the images that they create. But it’s also used in product photography for the same reason and to make something stand out.
In this post, we explain how to use hard lighting for your photography.
What is Hard Light?
In order to talk about hard light, what we first need to do is explain what exactly it is. There are two different types of lighting: soft and hard. The differences between these two have to do with the quality of the shadows that you get when the light is cast on the subject.
Soft light has very soft shadows that are easy to see though and pick out details. It’s very often used in portraiture and so many other types of photography meant to make something look similar to the way that our eyes ideally envision a scene. Yes, soft light is indeed beautiful, but hard light can be too–just a different type.
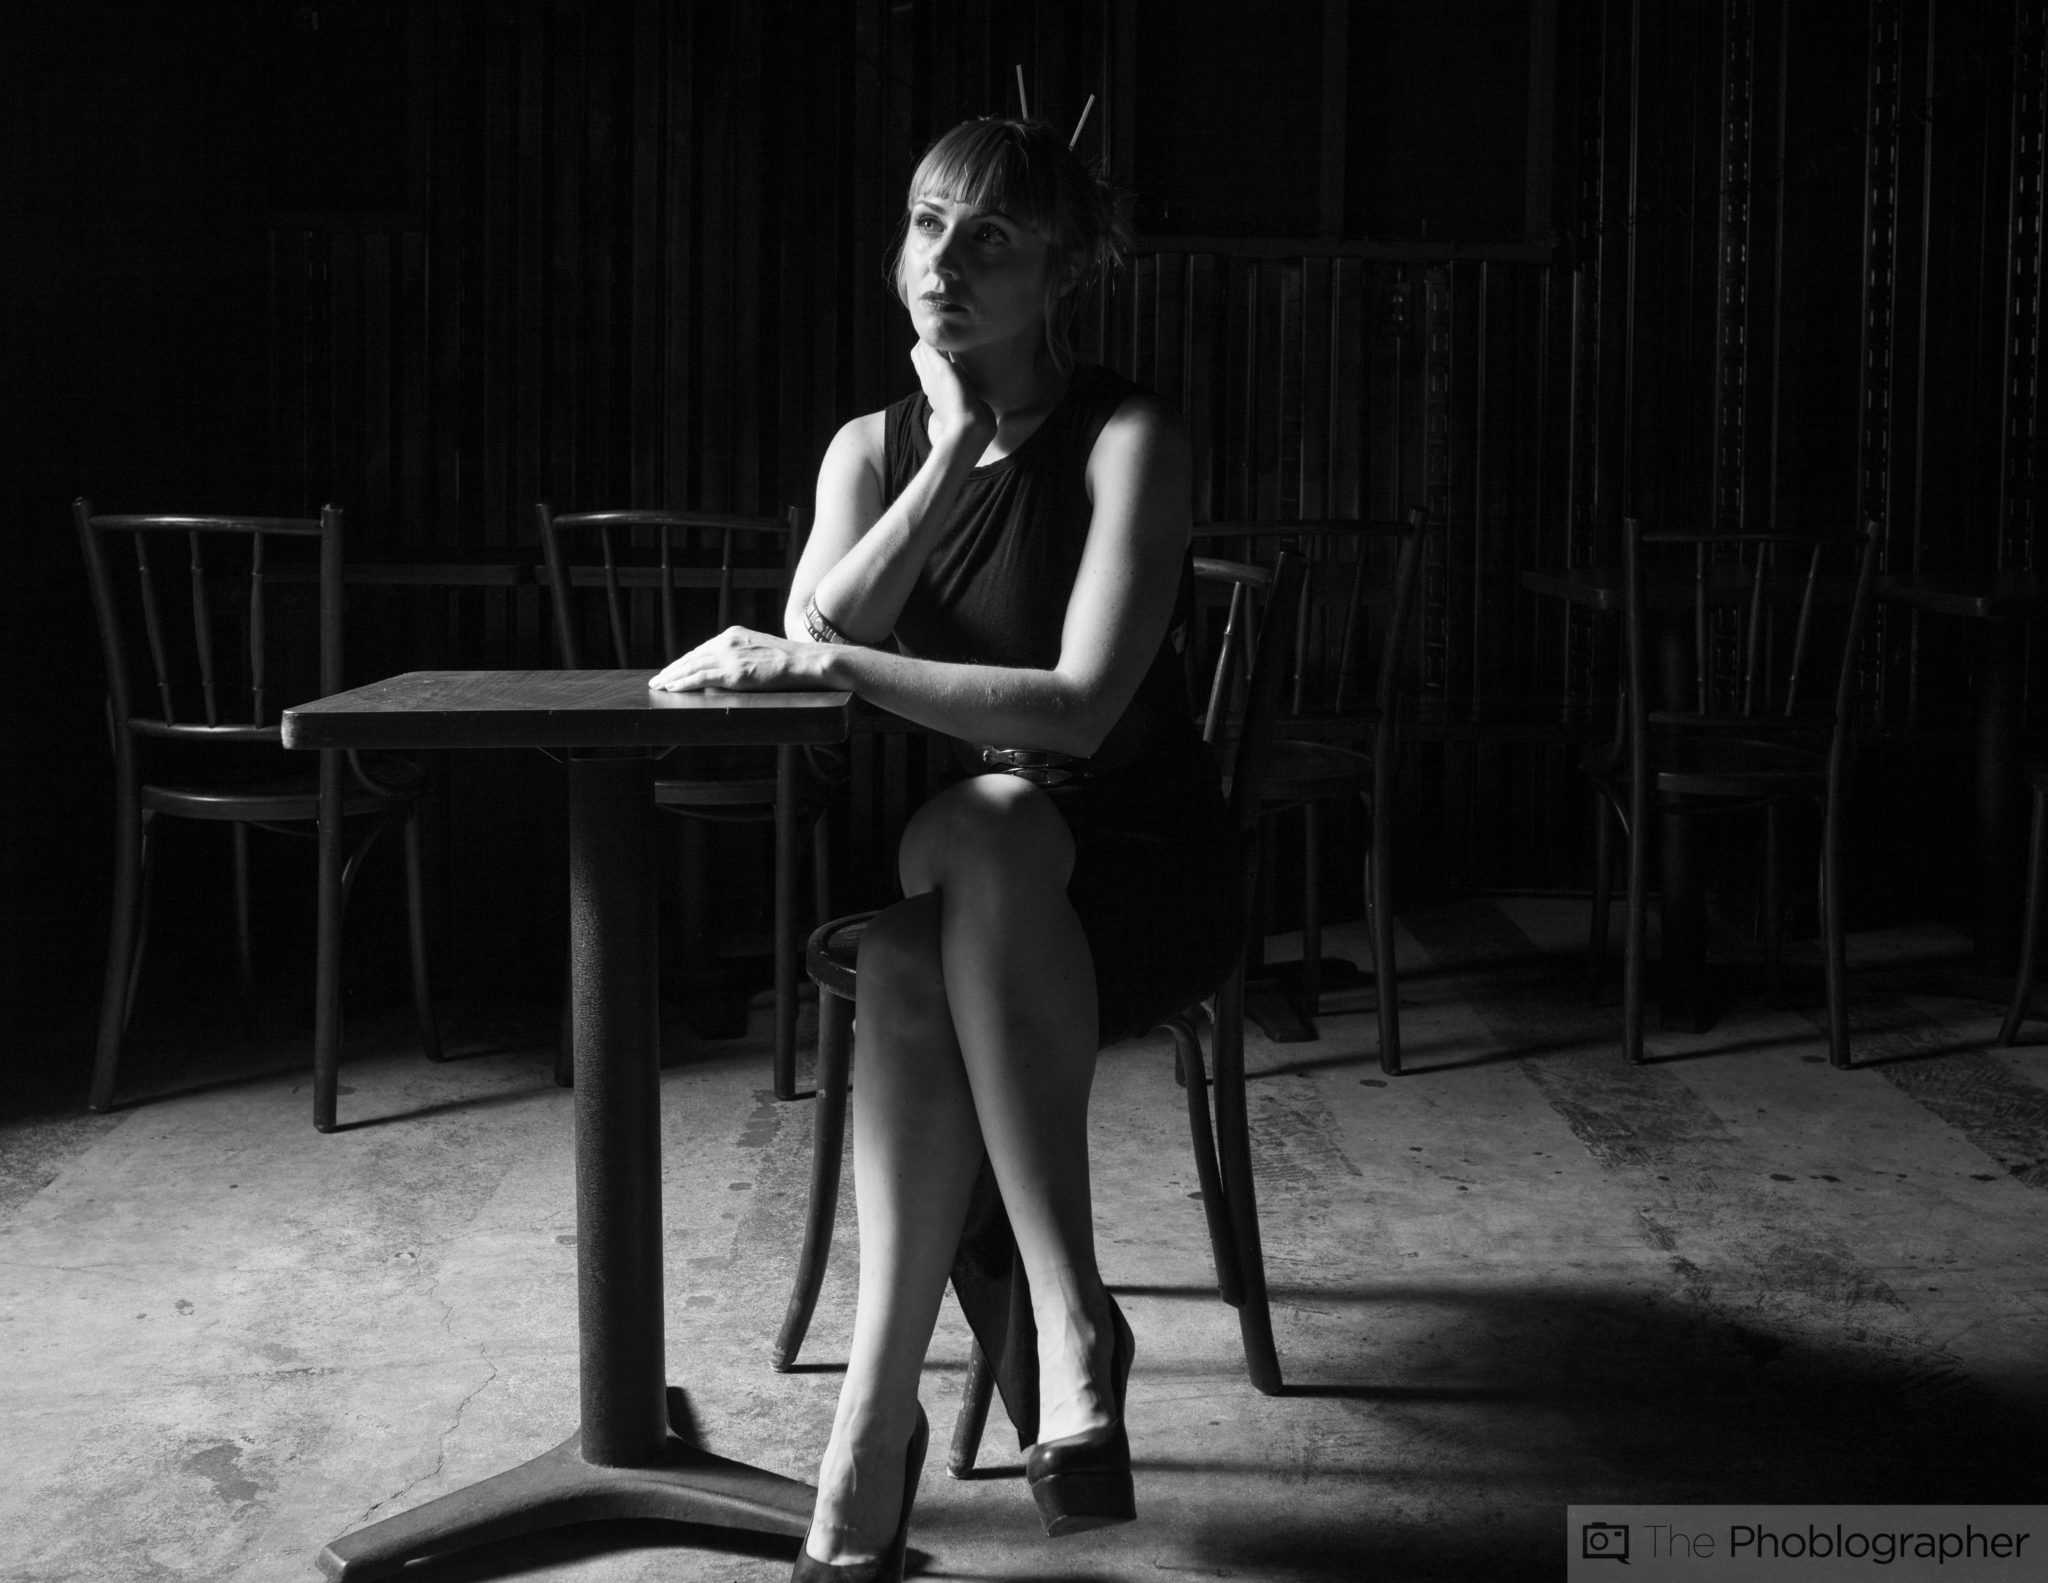
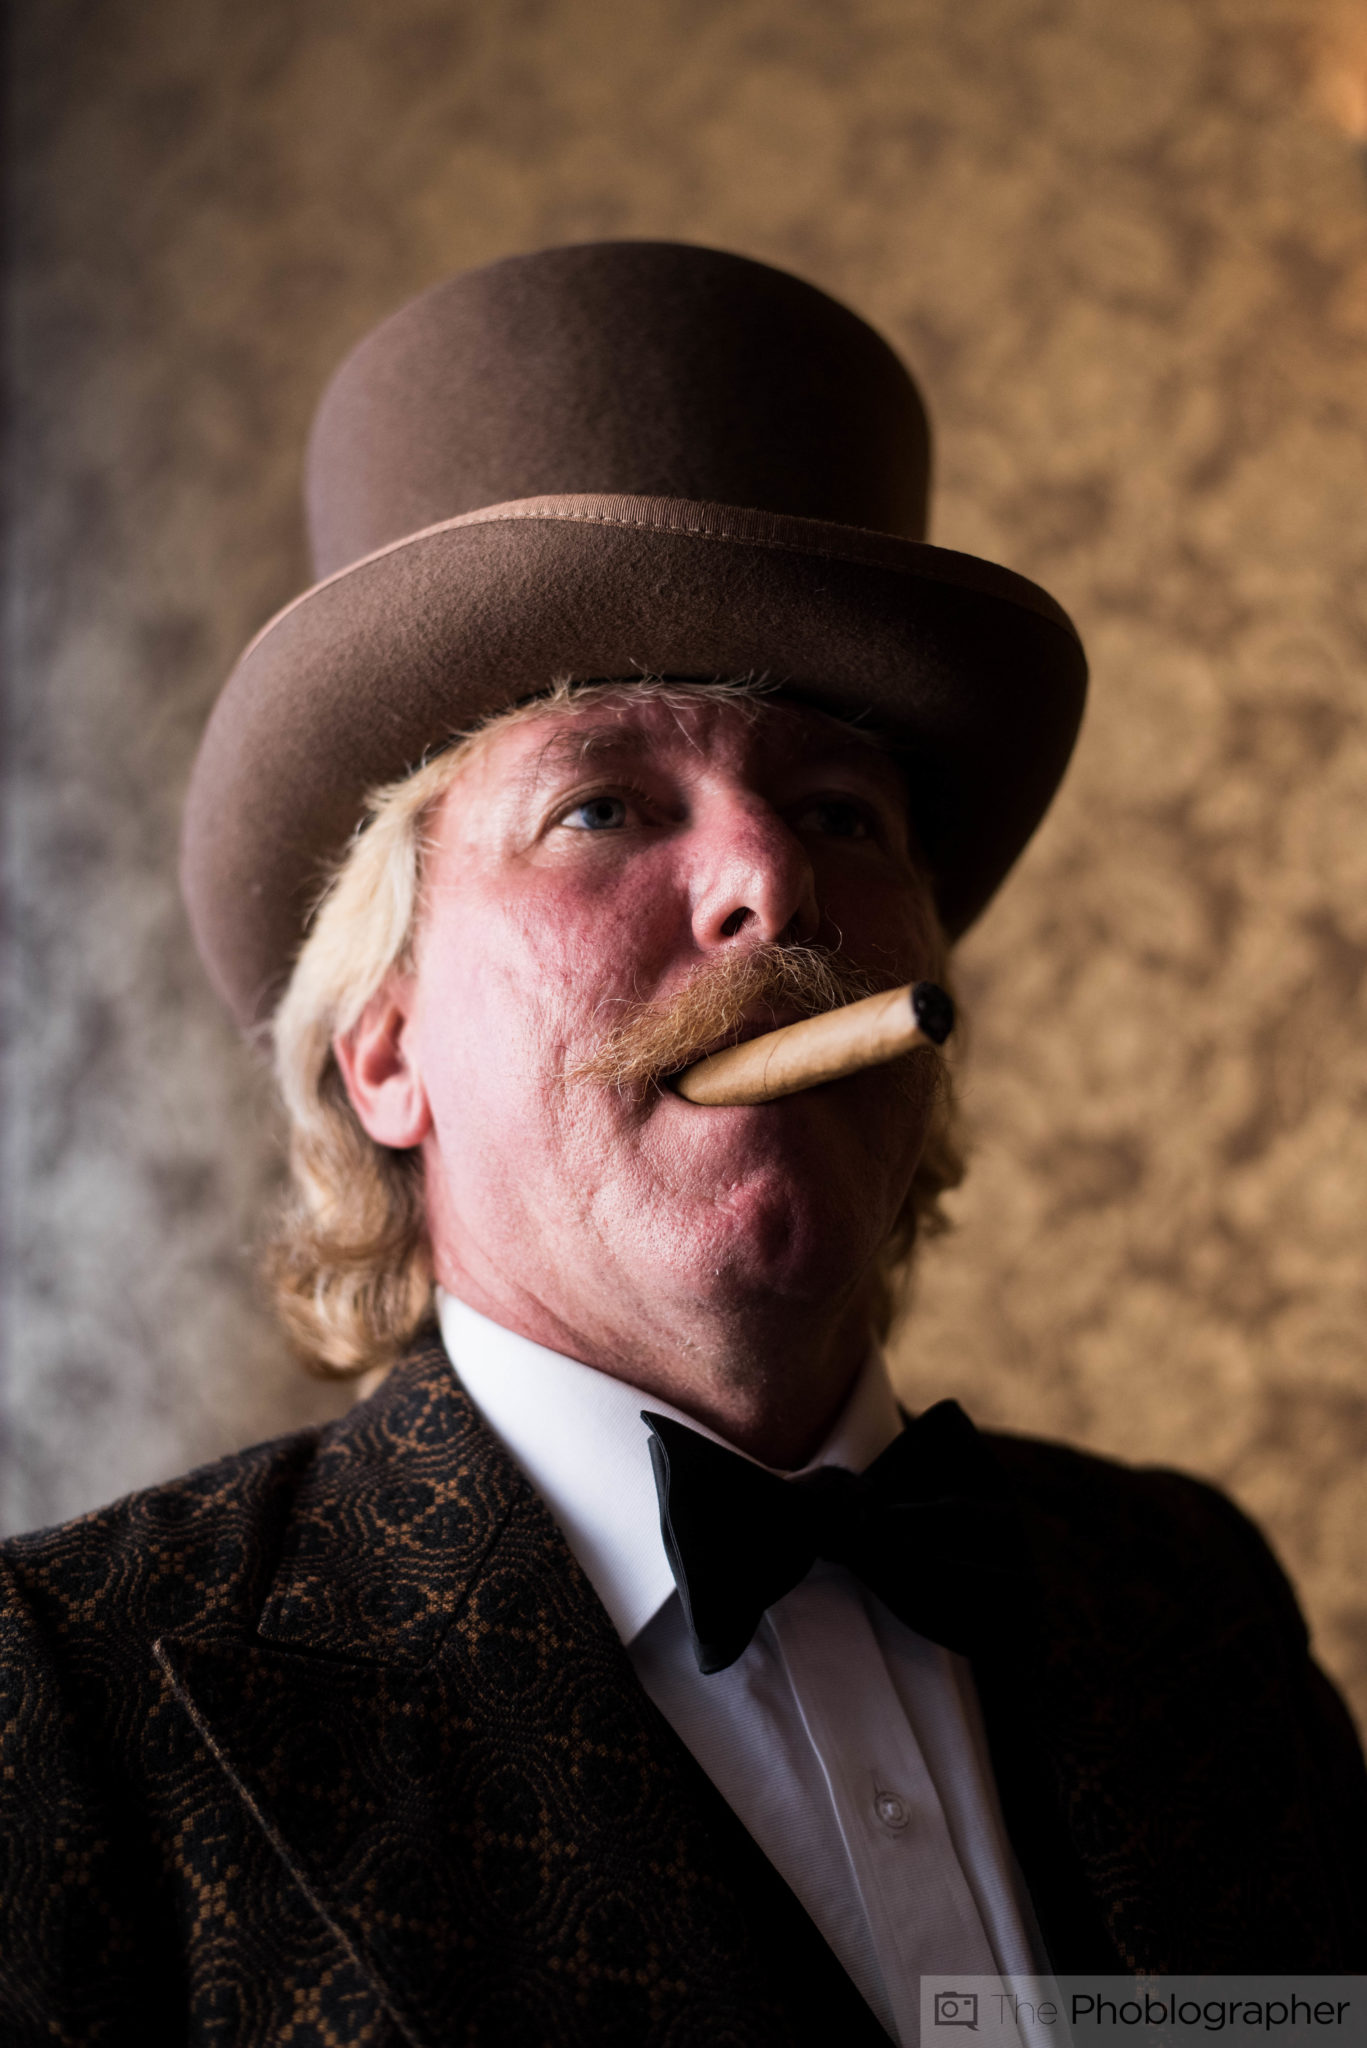
Hard lighting, in contrast, is characteristic of having very dark shadows. All of the images in this post have hard lighting and add a bit of an edge to our subjects. More importantly though, hard light makes us pay less attention to the black areas and more to what’s actually in color and illuminated well. The same theory applies to sharpness and the idea of deepening the black levels of an image to make it seem as if the image is sharper than it really is. Instead, what’s actually happening is the brain is filtering it out and concentrating on the other stuff that is finds important.
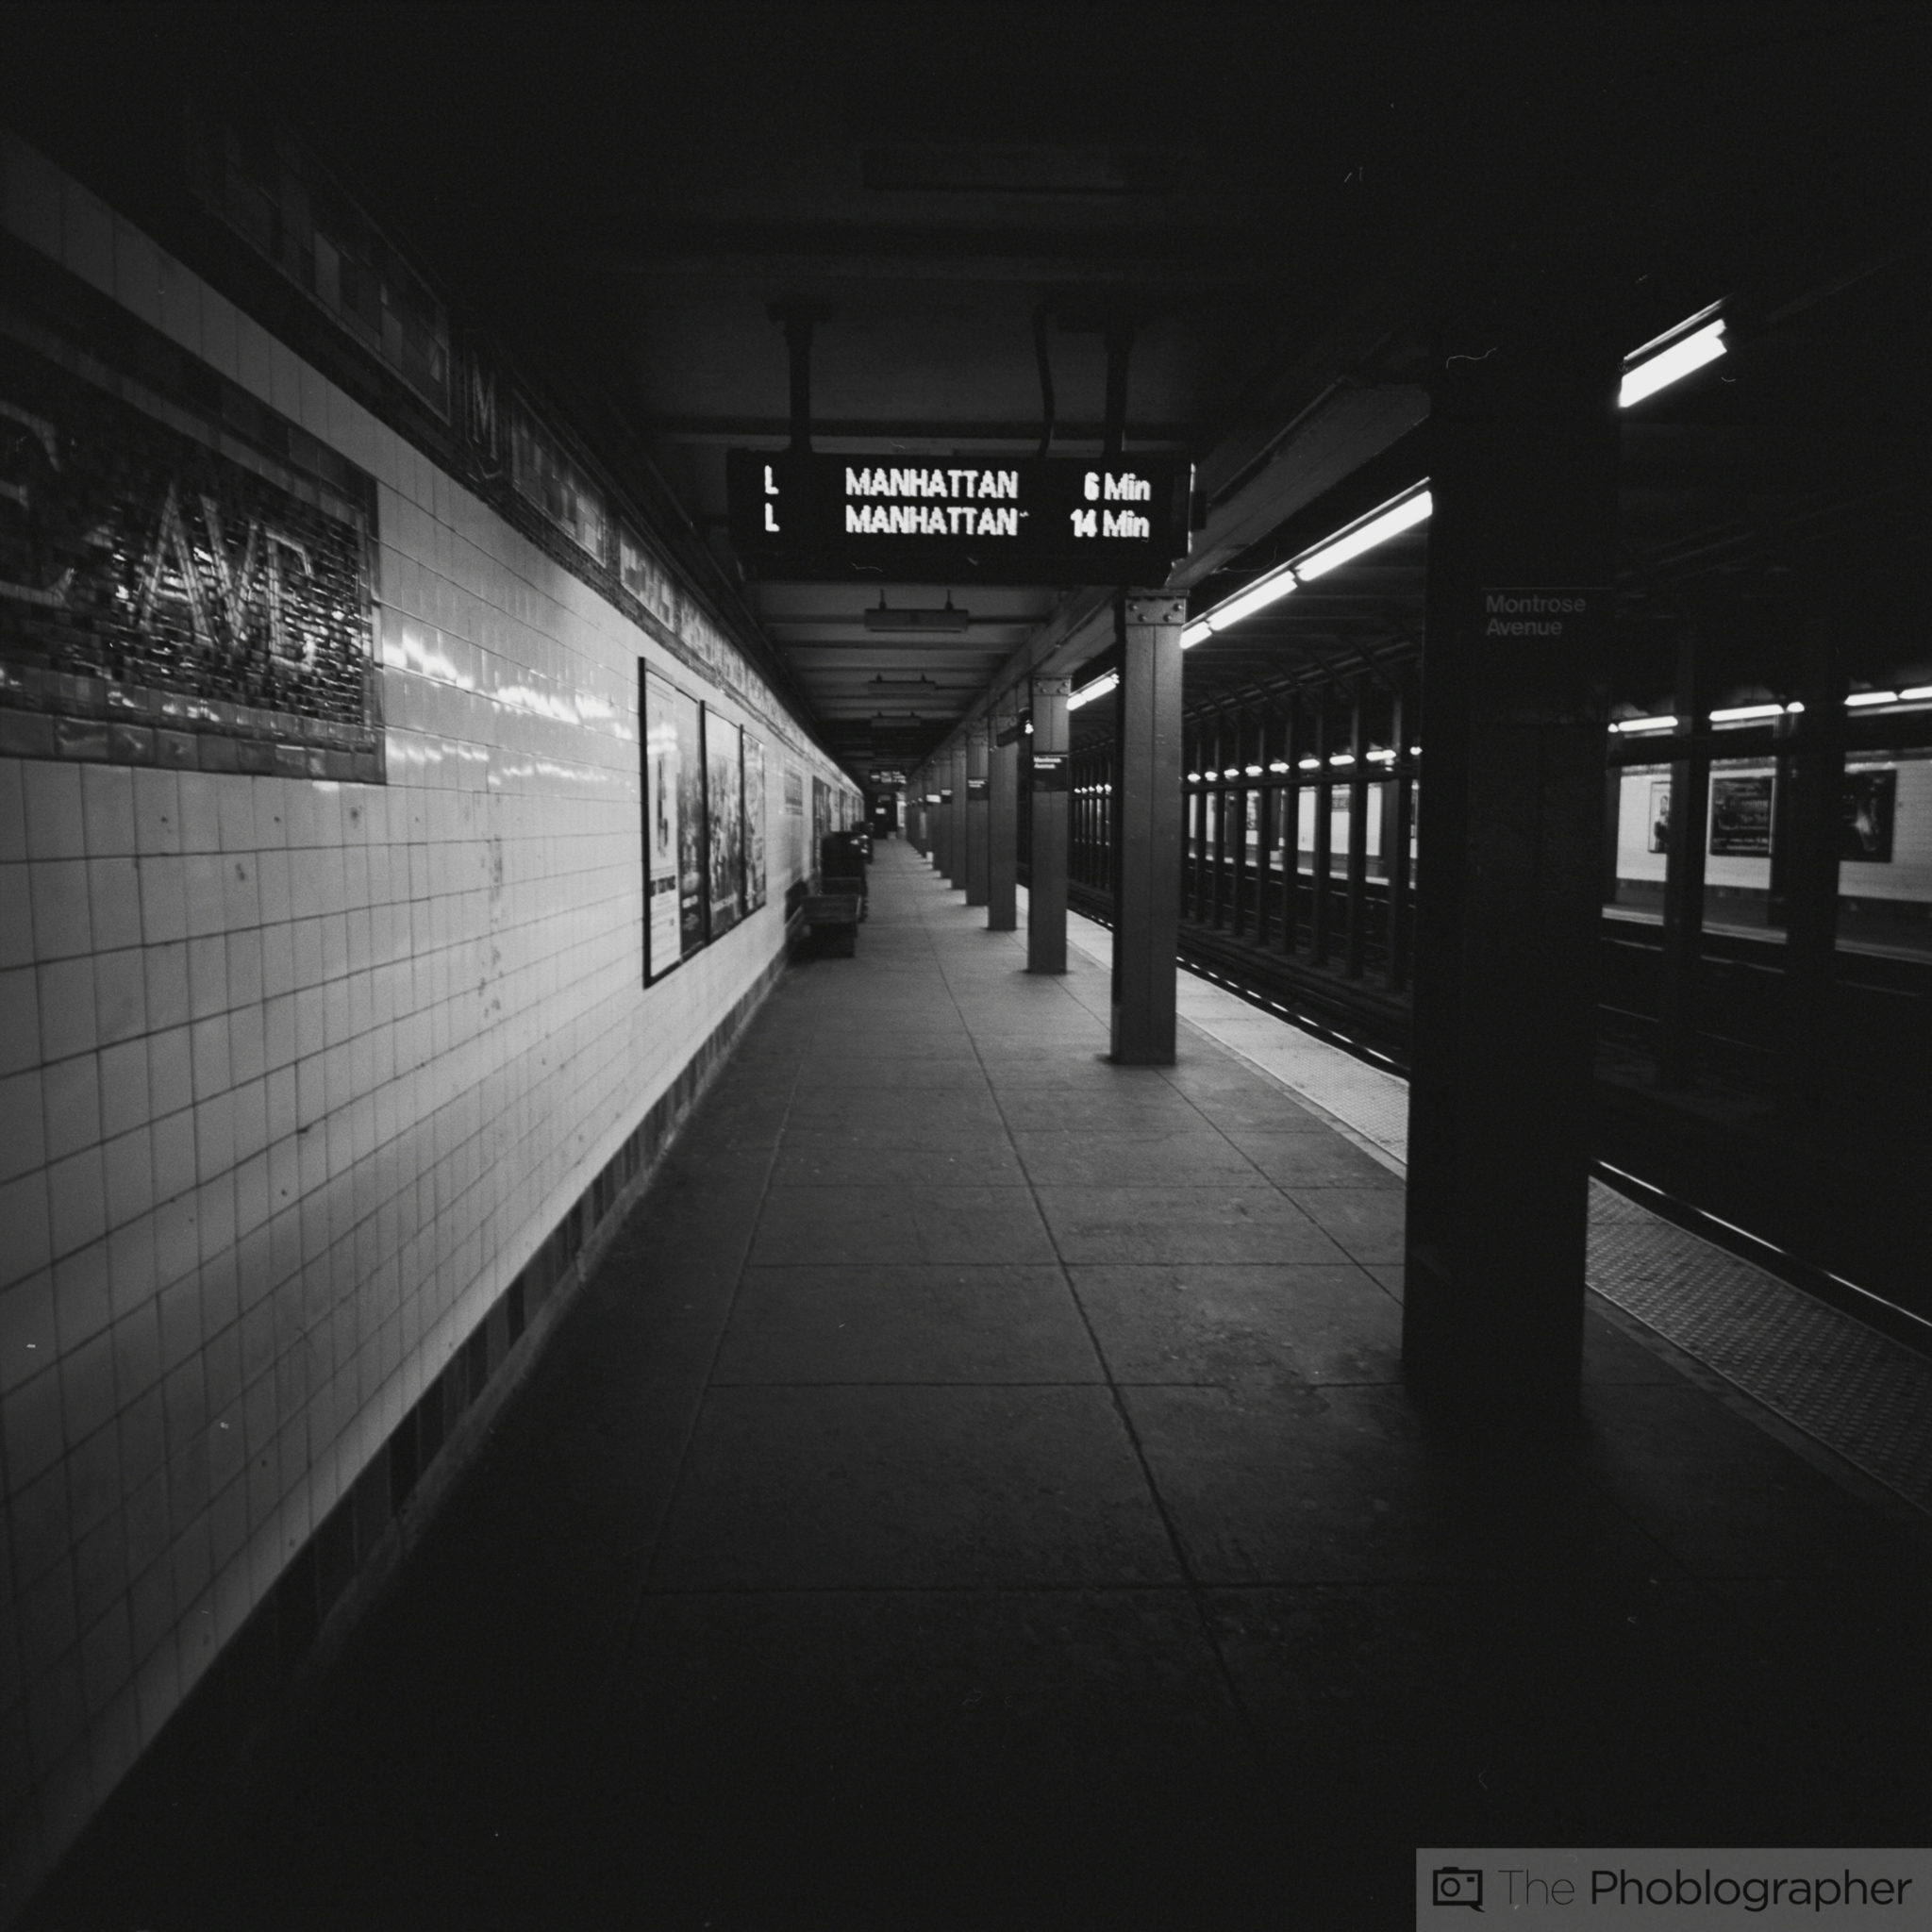
Hard Lighting can also be associated with being very high contrast lighting. To explain that even further, what we’re referencing here is the difference between the brightest bright and the darkest dark in the image. If you look at a scene and there is both a dark area that you cannot clearly ascertain and a bright area with not much details, then you’ve got yourself a high contrast image. Think about black and white film and how some of it is high contrast.
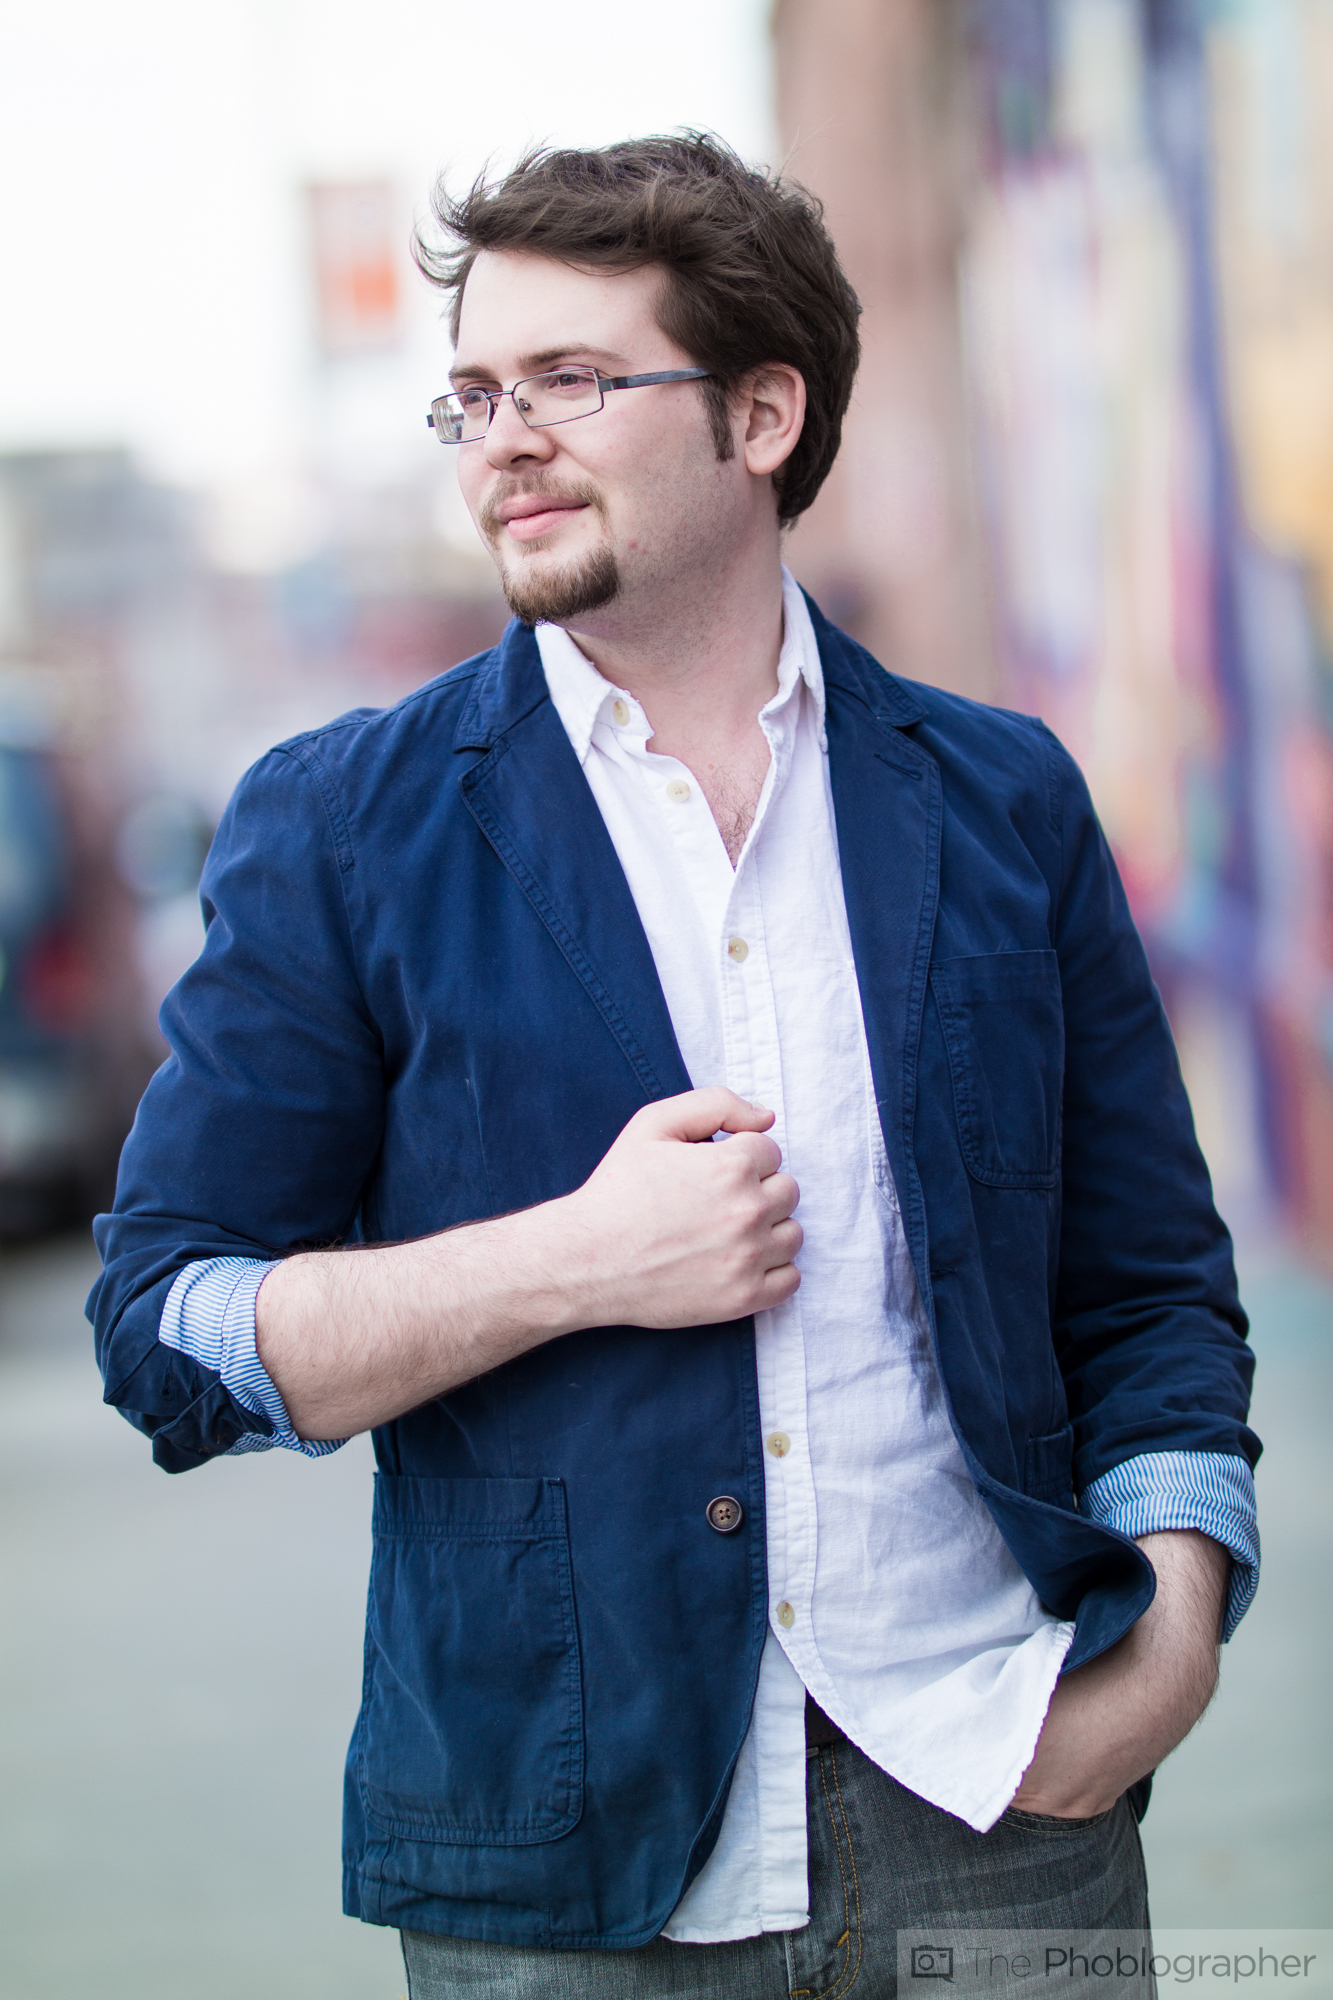
On the other hand, low contrast light is also soft light because there is not only significantly less contrast but there is also lots of details that are very visible in the shadows and the highlights. It’s fairly simple to figure this out once you look at enough images.
Pro Tip: When shooting portraits, try spot metering for the face and overexposing by 1/3rd of a stop.
Creating it in Relation to Exposures
In some situations, hard light can be created in a scene by just working with the exposures a bit. How is this done? When working with natural light, you generally do it by underexposing a bit. But if you’re working with a flash or strobe lighting, then it’s different. The rules of exposure change a bit then.
First, you start out with your flash output. Let’s say that it’s a 180 watt second light and it’s shooting out at 1/4 power. That means that it’s outputting 45 watt seconds. The watt seconds here are kind of meaningless, but you’ll need to keep them in mind to understand how you’re going to create your exposure.
The aperture controls how much of that light from the flash affects the scene. If the flash is metered to f5.6 and you shoot at that aperture, then you’ll have a typically balanced scene. If you shoot at f8, then less of the flash will effect the scene. shooting at f1.8 will give you pretty much a washed out scene as the flash will be way too overpowering.
ISO controls the overall sensitivity to light–and that brings us to our next part.
The shutter speed controls the ambient light in a scene. The slower your shutter speed, the more ambient light will affect it. The higher the shutter speed, the less ambient light will affect the image. In some situations, you can literally kill or create shadows like this.
Then there is something else you should know:
– The larger and the closer the light source is in relation to the subject, the softer the light (think about the sun with a big fluffy cloud in front of it) Soft lighting is also very low to the ground.
– The smaller and the further the light source is in relation to the subject, the harder it will be (think about a spotlight). Hard lighting is generally high off the ground.
Using Hard Light

Now that you understand what hard light is and how to create it, how do you use it? Some of the most common ways involve making it look natural. Generally, you should position hard light in the same ways that one would position soft light. If you want more directional quality, then you put it off to the side–but then keep in mind the shadows that you’re going to create. If you want more flat lighting, then bring the light in front of the subject. Generally, a fair middle ground can be reached when you shoot.
Another method of using hard light involves making it look like a spotlight. Think about the typical comedy standup performer with a single spotlight on them–that’s hard light because the source is so narrow.
But in situations like this, you’ll need to carefully look at your subject. If you’re photographing a beautiful piece of fruit and bouncing the flash output off of the ceiling, then a dark shadow may be of less of a concern as when you’re photographing a human being and creating unflattering shadows in the eyes and under the chin.
However, if you moved the light, made it more directional by bringing it in front and to the side of the person, there is a chance that it can look much better. Again though, not everyone looks best in hard light and it depends on what you’re trying to get across creatively in the scene.
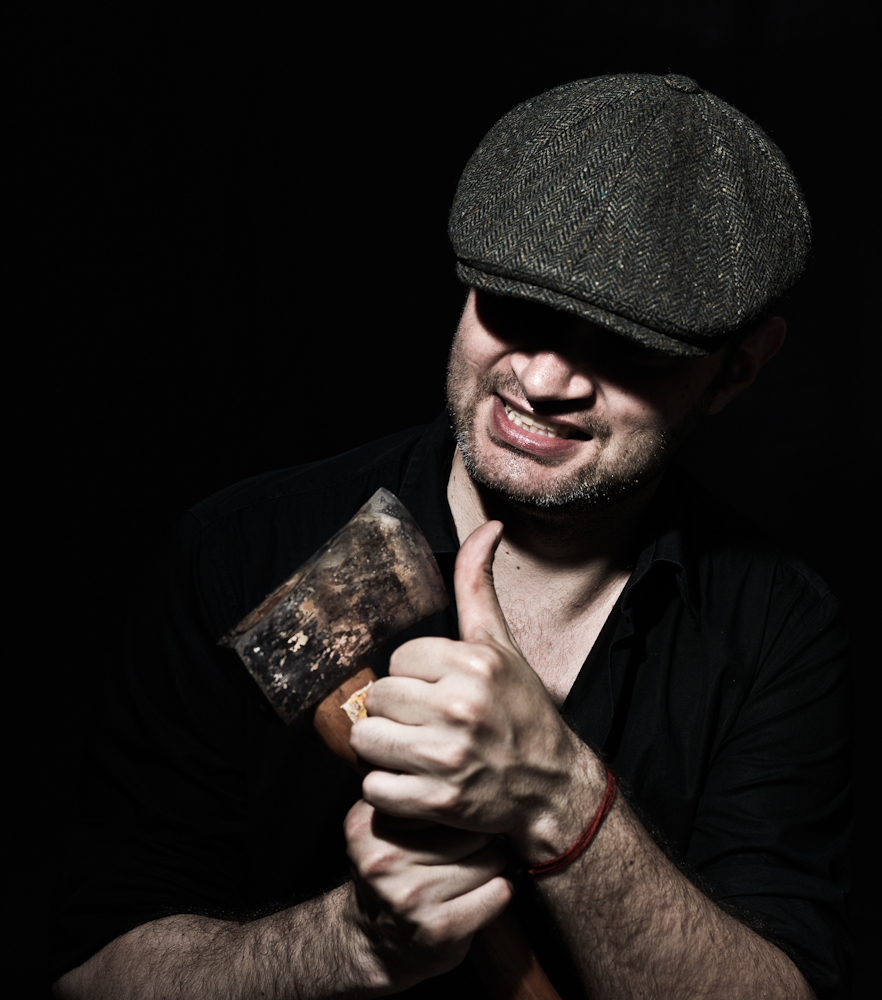
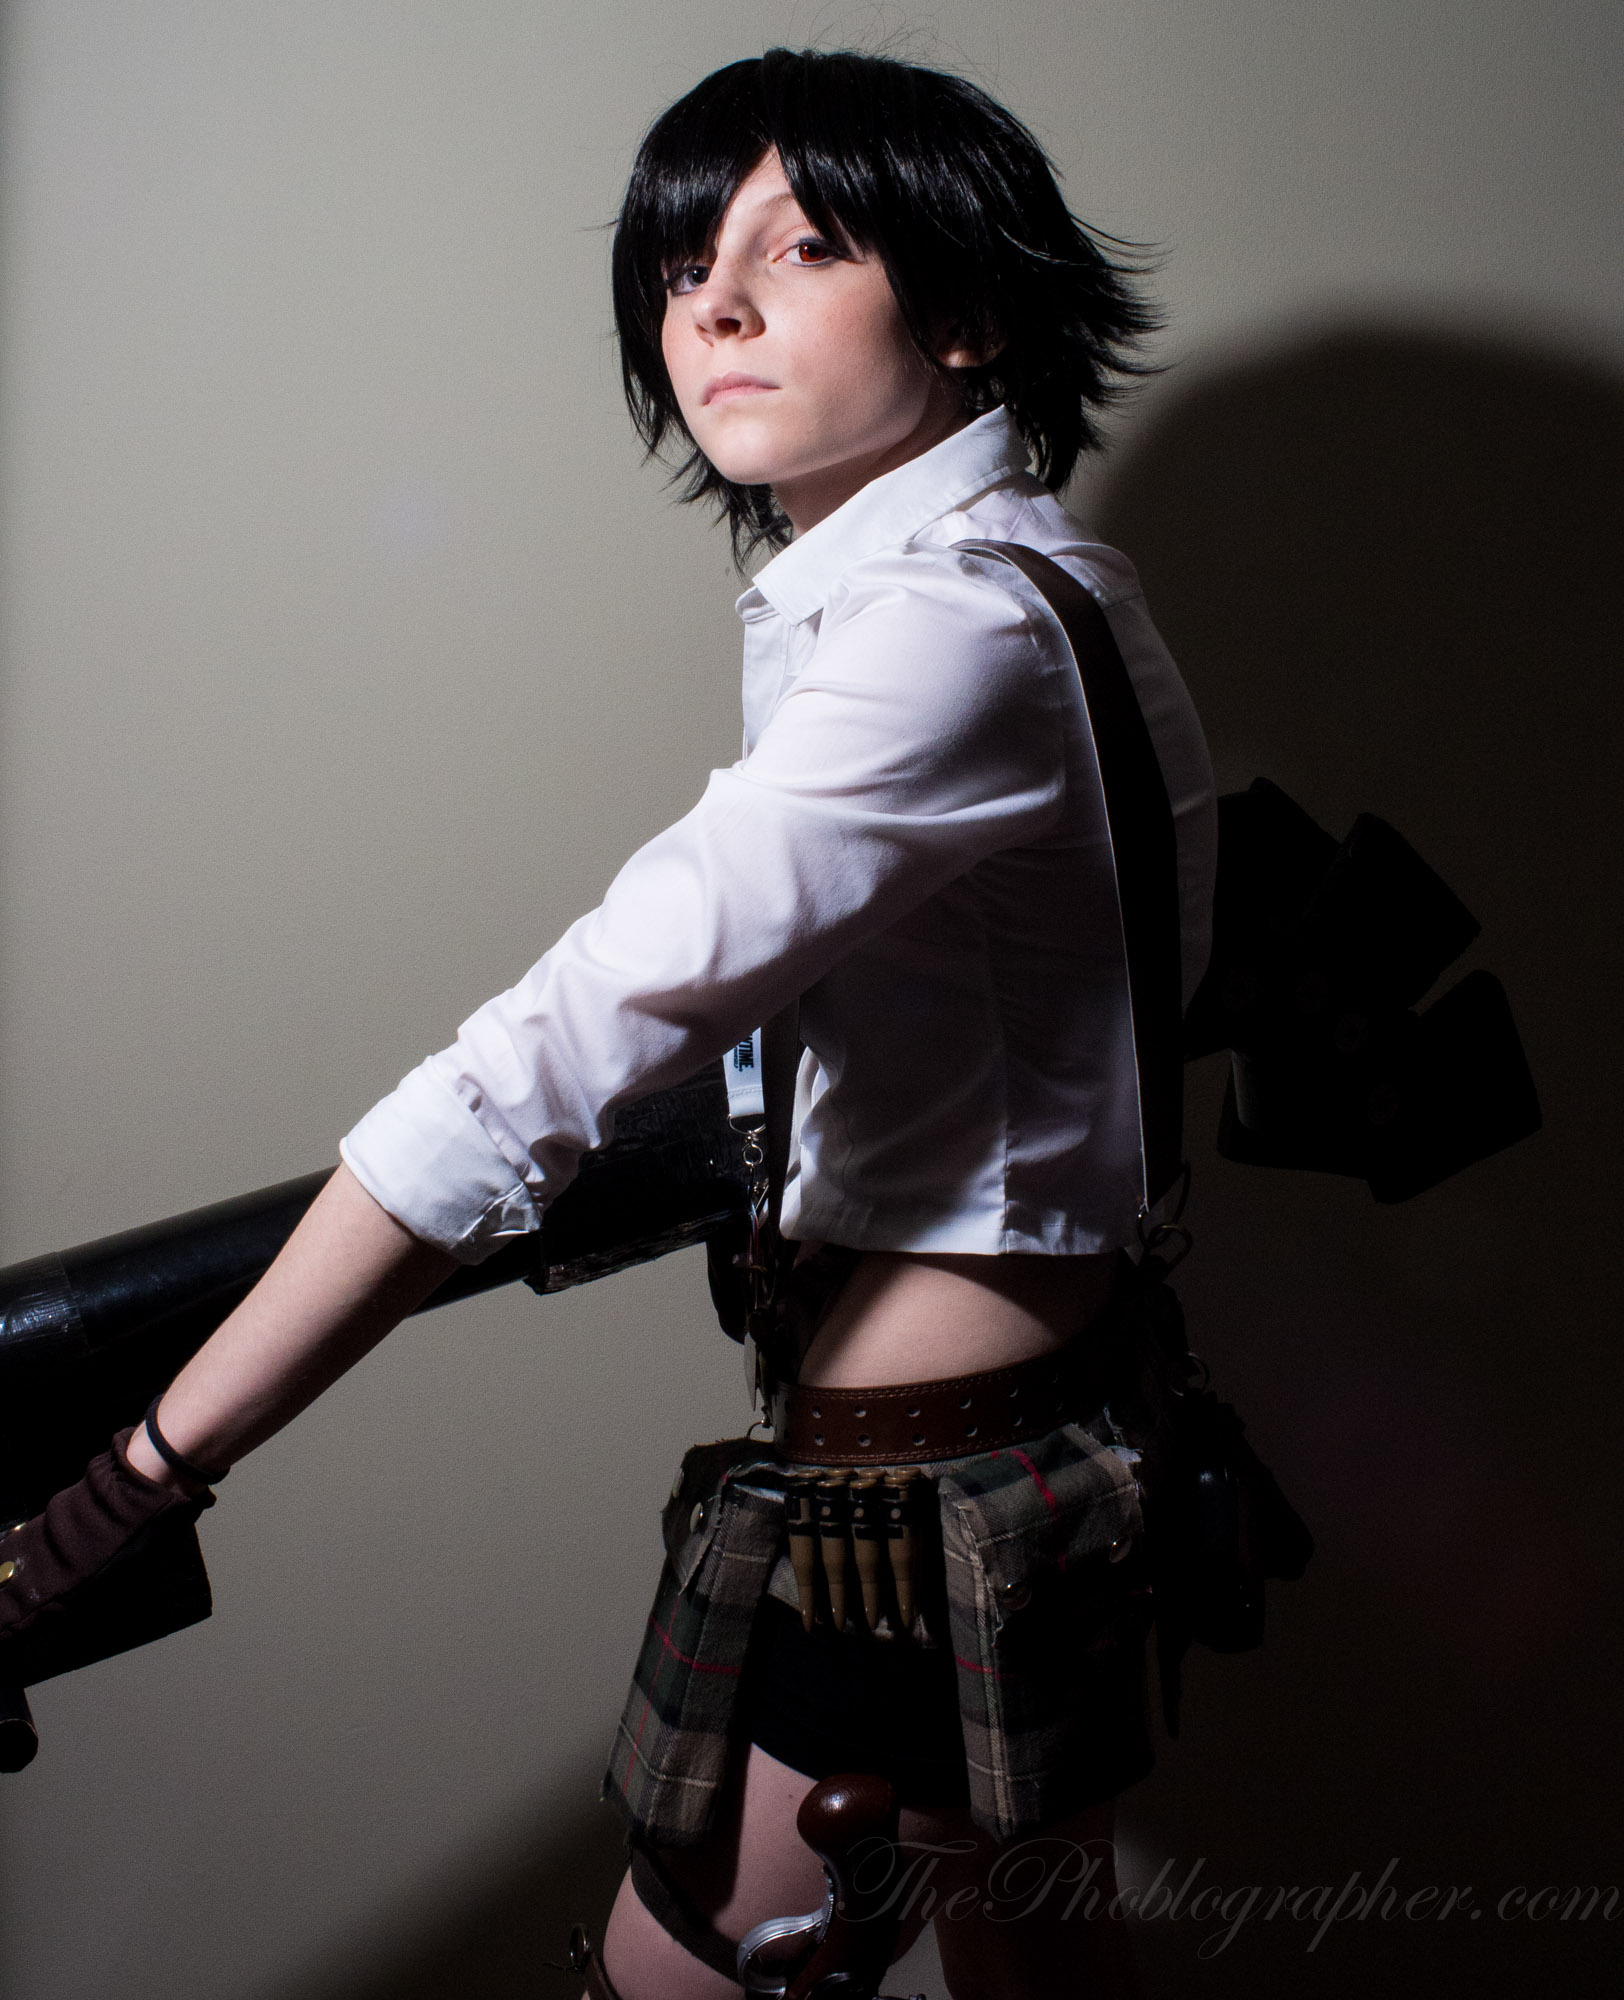
While soft light is typically used to give off a very awe inspiring mood, hard light can do both. Hard lighting can make an axe murderer look scarier. But as we saw in the image above this one, it made Natalie look all the more appealing.
Get rid of the ads!
Did you enjoy reading this article as much as we enjoyed writing it? There's a way to support us and our reporting, getting ad-free navigation and more as a bonus. Subscribe to us for less than a coffee per month —just $3.99— or take advantage of our yearly subscription with a hefty discount for only $25.- An ad-free experience
- A free mystery box for Lightroom or Capture One
- All the books in our store
- 20% discount on Capture One
- 30% discount on Imalume Photo Theft Protection
- 20% off Herbs and Kettle Tea Company.
- 20% off your order from MPIX printing services.
- 5% off Viltrox Products via their eCommerce store.
- 10% off all film developing, printing and scanning services from Blue Moon Camera and Machine
- 15% off 7Artisans products: The lens and accessory maker is offering a sweet discount for Phoblographer's readers.