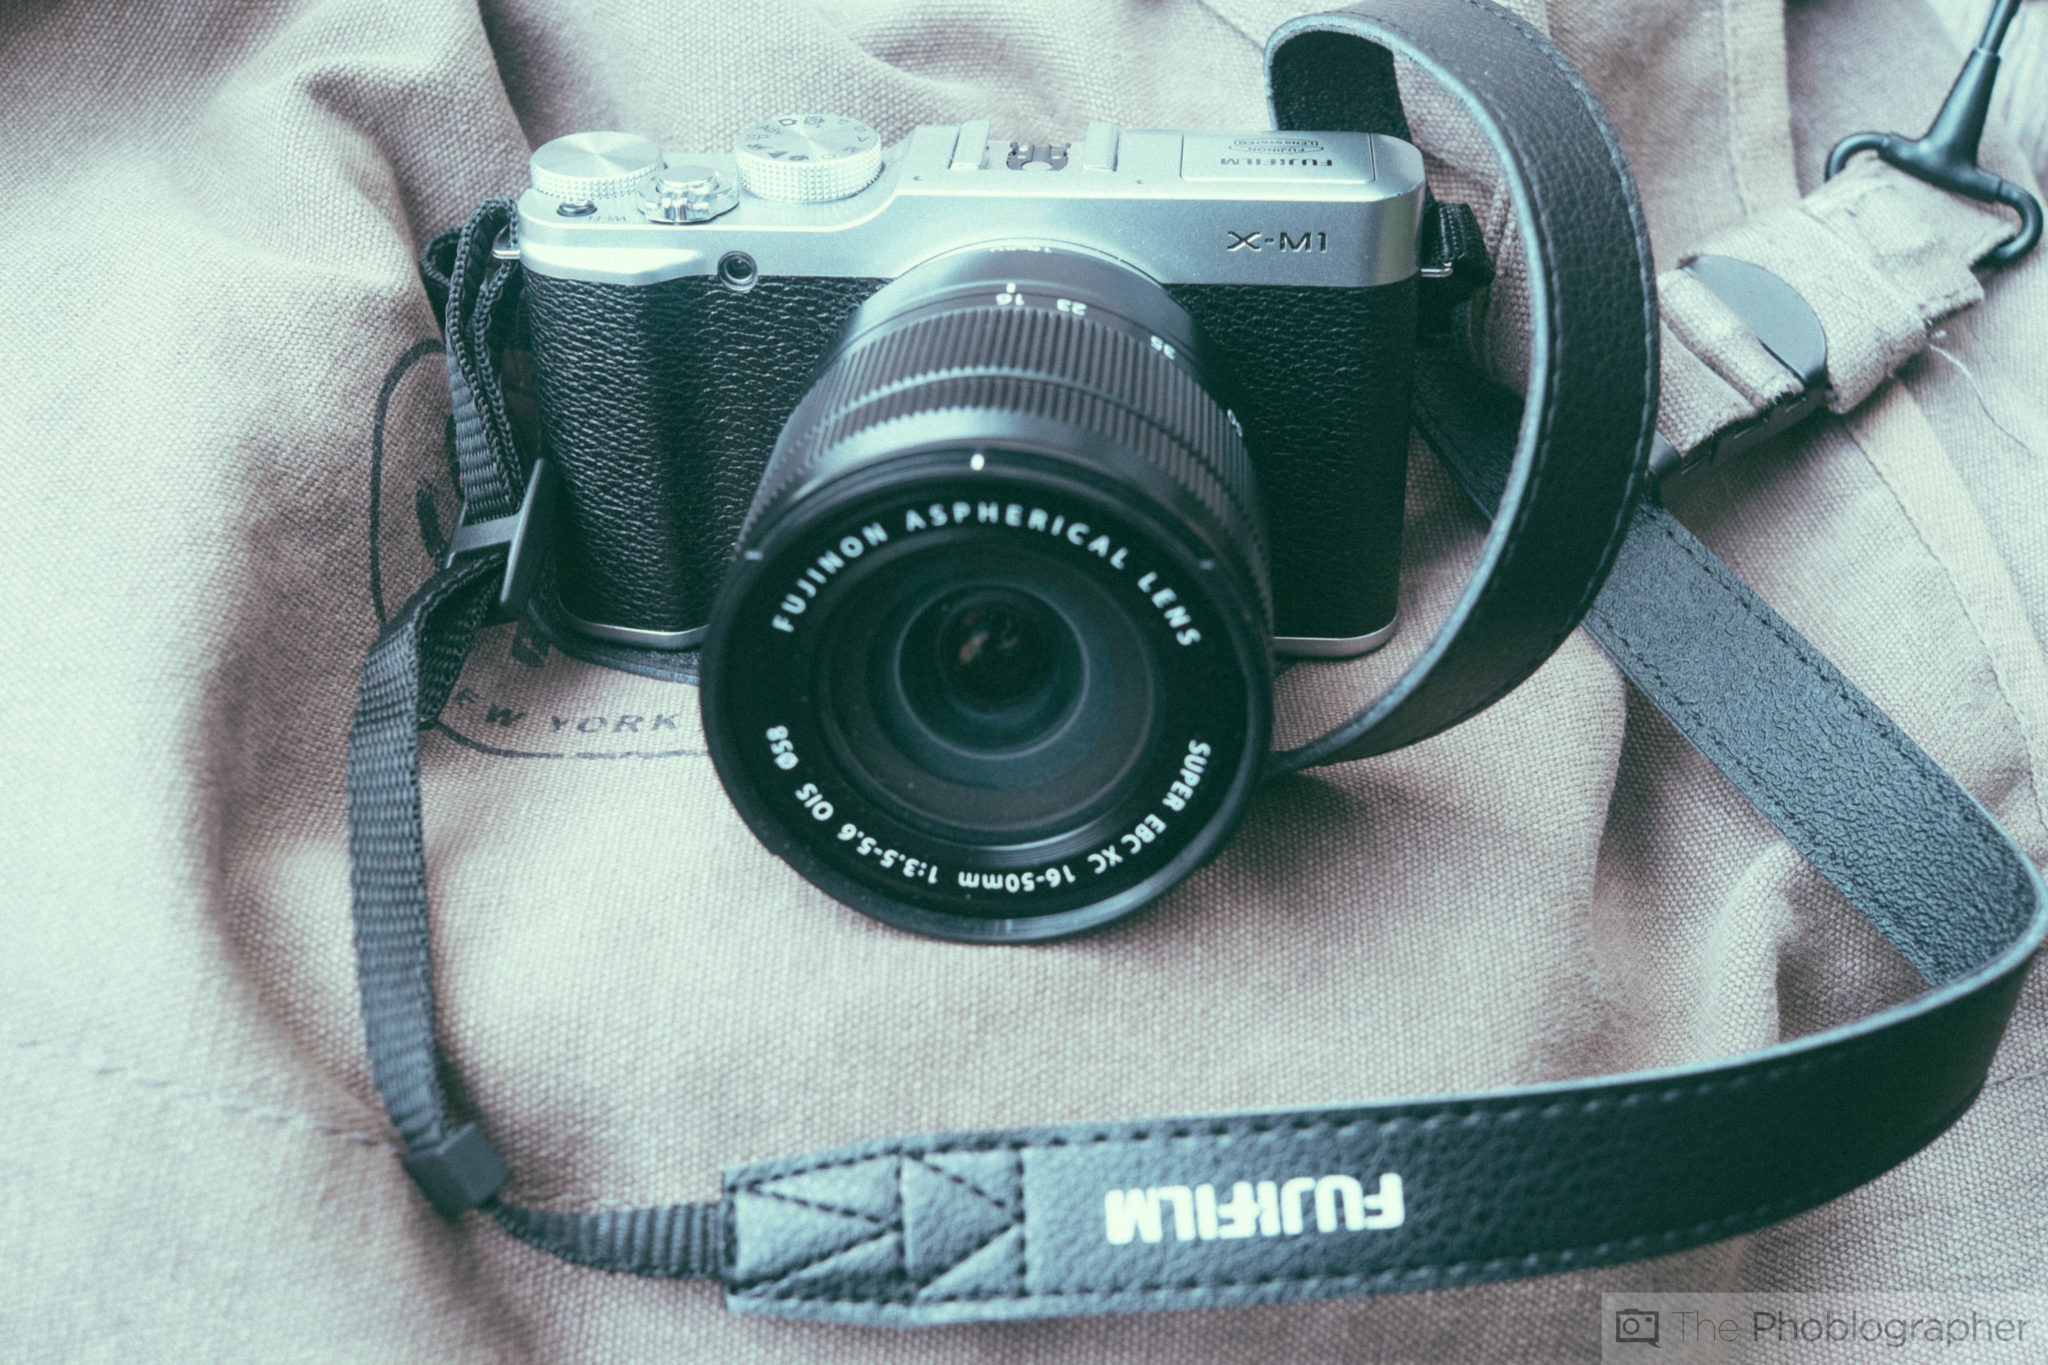
Though many photographers will turn their noses away from the kit lens, they’ve continued to improve over the years and manufacturers haven’t ignored them. Sure, the build quality isn’t the best but they can deliver sharp images with beautiful bokeh, and also create images that will otherwise astound you.
The only thing you that need to do is figure out how to use them, and with that comes understanding of your kit lens.
Understanding the Kit Lens
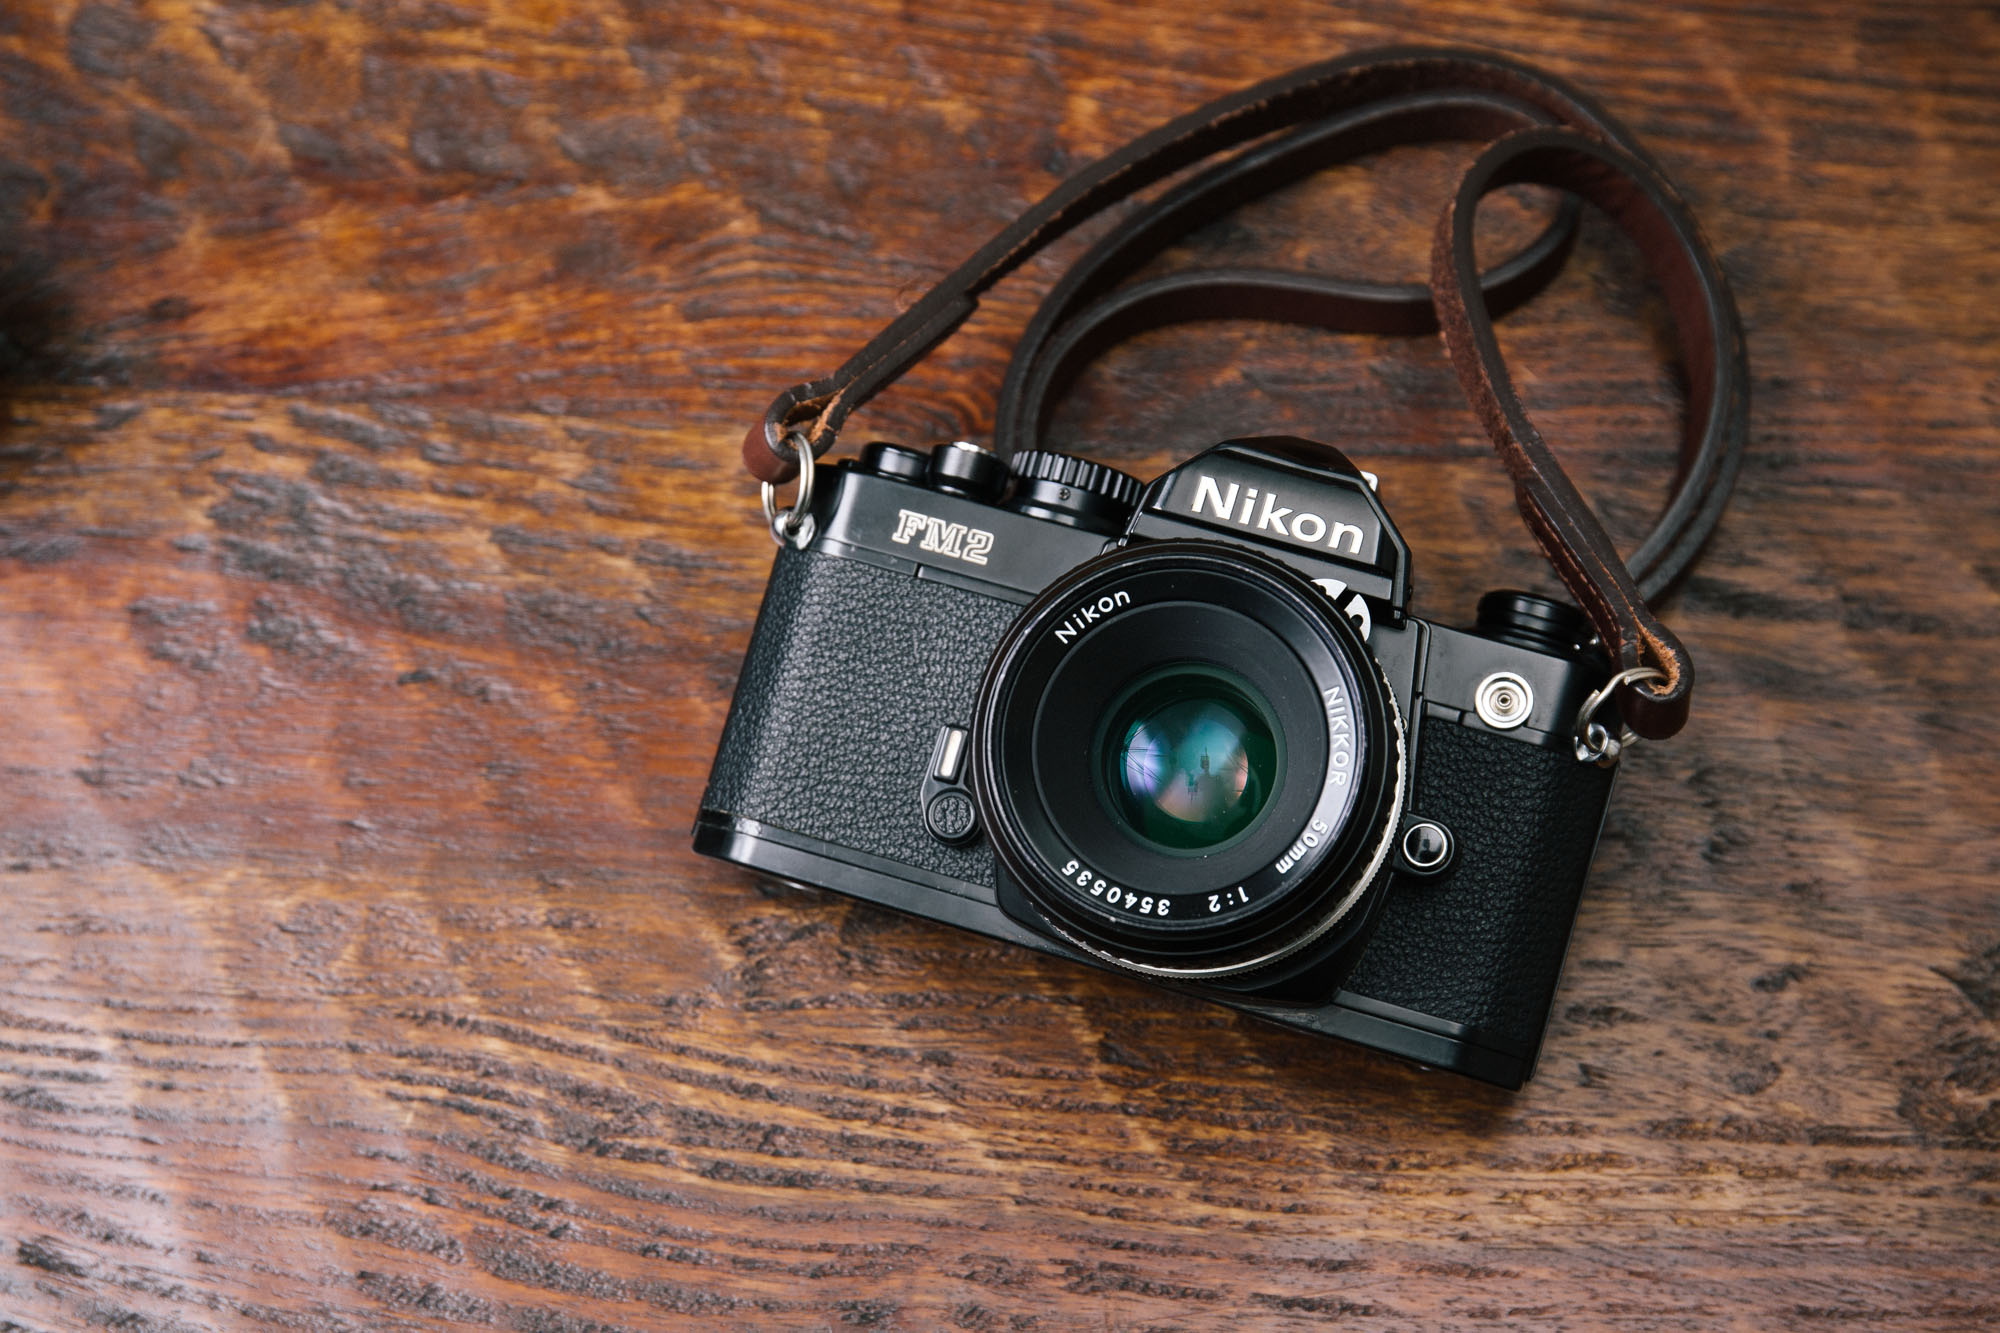
Years and years ago, manufacturers provided single 50mm or 35mm focal lengths as their kit lenses. They often had a fast aperture of anywhere from f1.8 to f2.8. But these days, kit lenses typically have a zoom range somewhere in the 18-55mm range or the 28-75mm area. The aperture also changes and is usually along the lines of f3.5-5.6.
A person usually buys the camera with the kit zoom lens just so that they can have something, and though it won’t do what a prime lens can in terms of depth of field or the absolute best performance at that single focal length, it can still be used very creatively to produce images that you’ll be happy with. But to do this, you need to understand its weaknesses and its strengths.
Bokeh
Getting bokeh from a kit lens is pretty darned tough to do. The reason for this is because at the wide end of the lens you’re at f3.5 and at the long end of the lens you’re at f5.6. But in this case, the secret to getting better bokeh is to get close to your subject.

Because of the way that focal lengths like these work, you’ll need to remember that the further out the lens focuses the more of the scene will be sharp. If you do that, you won’t be able to get the nice blurry background that you want.
Shooting a portrait and want the person to look as flattering as they possibly can? Then zoom all the way in, keep the lens wide open at f5.6, and move yourself around. Essentially what you’re doing then is simply using the lens as a compositional tool and trying to find the best composition by moving yourself. The goal here is to find the best balance of distance away from your subject and the most pleasing bokeh that you can get.
In order to do that, you’ll also need to make sure that the lens is set to the widest open setting that it can be at the moment. If it’s at the more telephoto end, then f5.6 is what you’re going to need to work with to get that portrait that you can be happy with. If you’re up close and personal to the burger you’re about to devour, then f3.5 at 18mm is what you’re working with.
Sharpness
The best sharpness with your lenses depends on a multitude of factors. At the 35mm full frame view, anywhere between f8 and f11 is where a lens will reach its sharpest values before the image quality starts to degrade. If you’re working with a smaller sensor then that changes.
Full Frame: f8-f11
Canon 1.6x Crop: f5-5.6 is your best bet
Nikon, Sigma, Sony, Fujifilm, Pentax 1.5x Crop Factor: f5.3-f6
Four Thirds 2x Crop factor: f4-f5.6
How do you figure this out? Just take f8 or f11 and divide it by the crop factor. Of course, you can always work with this in post-production software and the absolute best way to ensure that you have the greatest sharpness is to have a very well lit subject and use a flash. When you use a flash, specular highlights get added that bring out details that you wouldn’t normally see and it also involves something called flash duration that freezes all sorts of motion.
But please don’t use your pop-up flash.
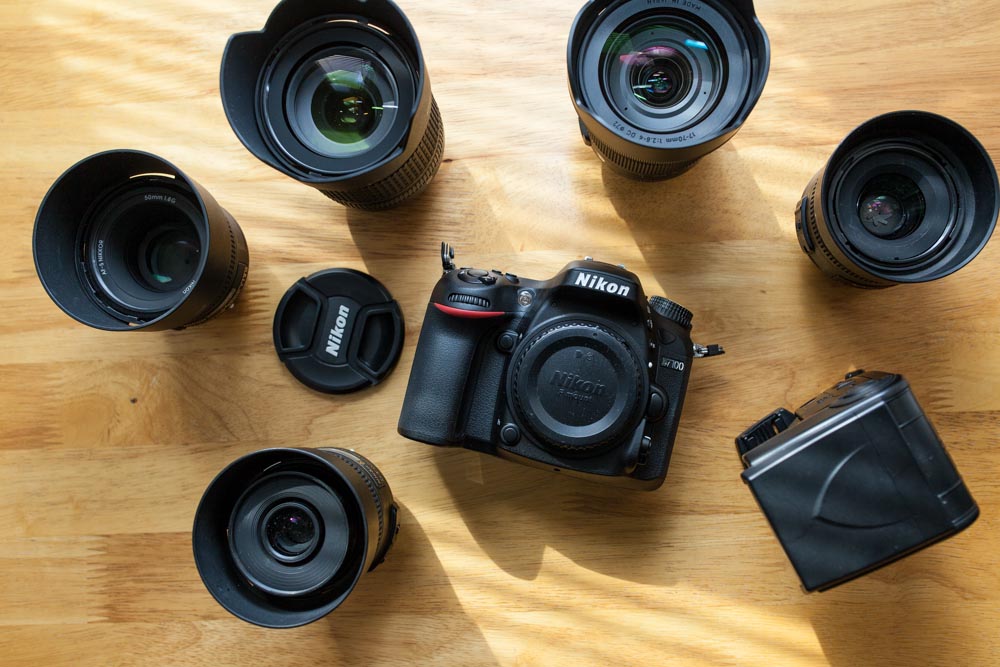
Realize Its Creative Uses
Your kit lens, believe it or not, has a very versatile range of focal lengths that let you cover pretty much anything with ease. Lenses like these are designed to be small, deliver sharp images, and give a pretty workable range of focal lengths. In fact, 17-55mm and 24-70mm lenses are designed only with a constant aperture to make it easier for a photographer to work with lights and exposures. But you almost have that with your kit lens. This means that you can use it easily for landscapes, portraits, events, concerts, food, etc.
Shooting a landscape? Use the wider end and stop down then lens to get a vast and super crisp scene.
Shooting a portrait? Use the more telephoto end and open the lens up as much as you can to get a glimpse of only your subject with a blurred background.
With modern High ISO results being so good these days, you can’t really complain about needing or wanting to raise the ISO.
Get rid of the ads!
Did you enjoy reading this article as much as we enjoyed writing it? There's a way to support us and our reporting, getting ad-free navigation and more as a bonus. Subscribe to us for less than a coffee per month —just $3.99— or take advantage of our yearly subscription with a hefty discount for only $25.- An ad-free experience
- A free mystery box for Lightroom or Capture One
- All the books in our store
- 20% discount on Capture One
- 30% discount on Imalume Photo Theft Protection
- 20% off Herbs and Kettle Tea Company.
- 20% off your order from MPIX printing services.
- 5% off Viltrox Products via their eCommerce store.
- 10% off all film developing, printing and scanning services from Blue Moon Camera and Machine
- 15% off 7Artisans products: The lens and accessory maker is offering a sweet discount for Phoblographer's readers.