Many books and tutorials suggest that pinhole photography is the first thing to try when you seriously begin to show interest in photography. It’s hard not to agree. Pinhole photography is one of the first and most basic forms of photography. Understanding it is a key to perfecting many advanced photography techniques. But the most important thing you can learn from it is how to become patient and not to give up. But this knowledge is sometimes insanely expensive to achieve. Developing (and buying) film is not cheap, and taking only a few properly exposed pinhole images can take two or three film rolls. Painful – especially for your wallet.
Editor’s Note: this is a guest blog post from Maciej Kalkosinski
However, there is an alternative and that’s the thing I want to write about. If you own a DSLR, you can make pinhole images at no cost at all.

All you need to start experimenting is the body cap, driller, piece of thick black paper and some duct tape. The most difficult part of making a pinhole is drilling the body cap. My Canon cap was made of incredibly hard plastic which required a good amount of force to punch through. You don’t have to bother to very precise precise with placing the hole or the size of it. Basically it’s better if it’s as close to center of cap as possible, but the actual position of pinhole will be determined later so there is some place for mistakes.
In second step you must stick the the paper to the back of the cap using duct tape. Then – the final thing is to make a pinhole. Try to find an exact center of the cap, and pierce it with needle or pin. My advice is to begin with as tiny one as you can make – literally – just the tip of a needle. Voila! Your pinhole is ready to use and experiment.
Here are some additional advices for using your new toy:
– Unfortunately due to technical specifics of DSLRs (and SLRs) you won’t achieve as sharp images as those which you get using specially build film pinhole cameras. However different hole sizes will affect sharpness of an image. Generally the smaller the hole, the sharper the image.
– Remember that a pinhole is actually not a lens, so there is nothing protecting the inside of your camera from entering dust or moisture. It’s better not to use a pinhole during rain or in dusty areas. The hole is tiny, but better be careful!
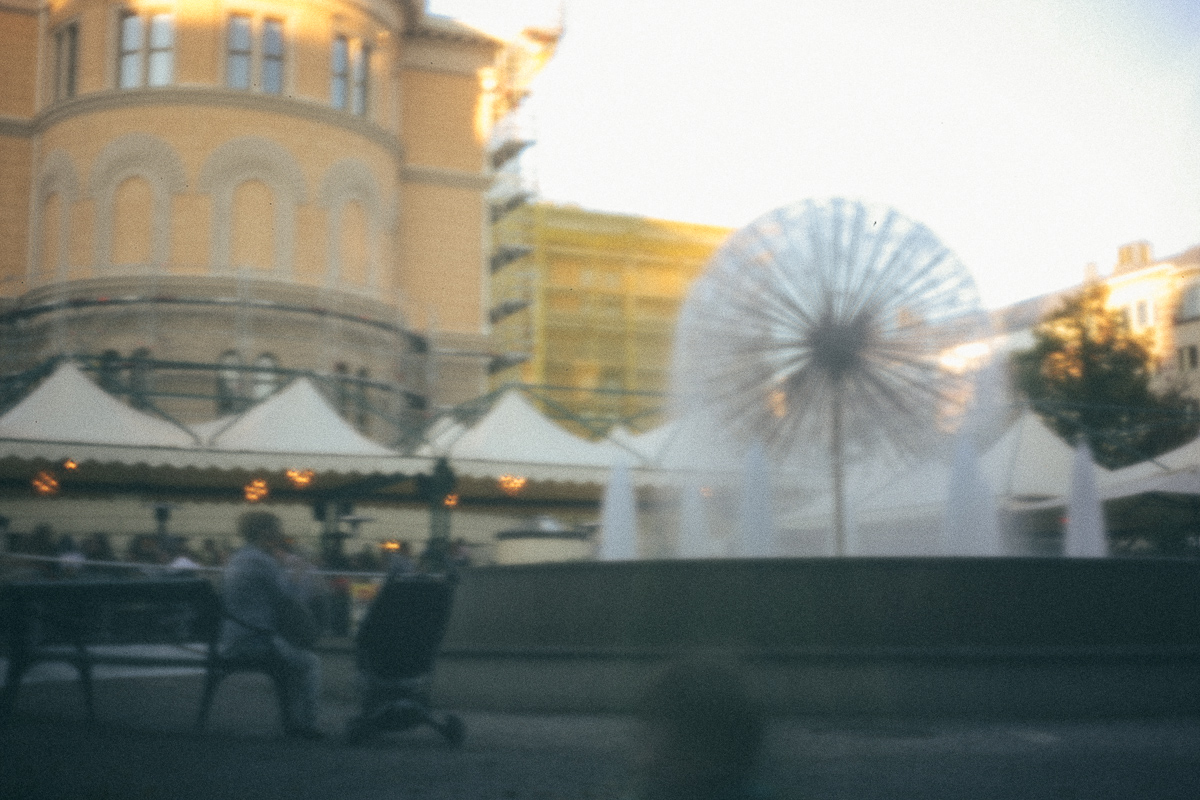
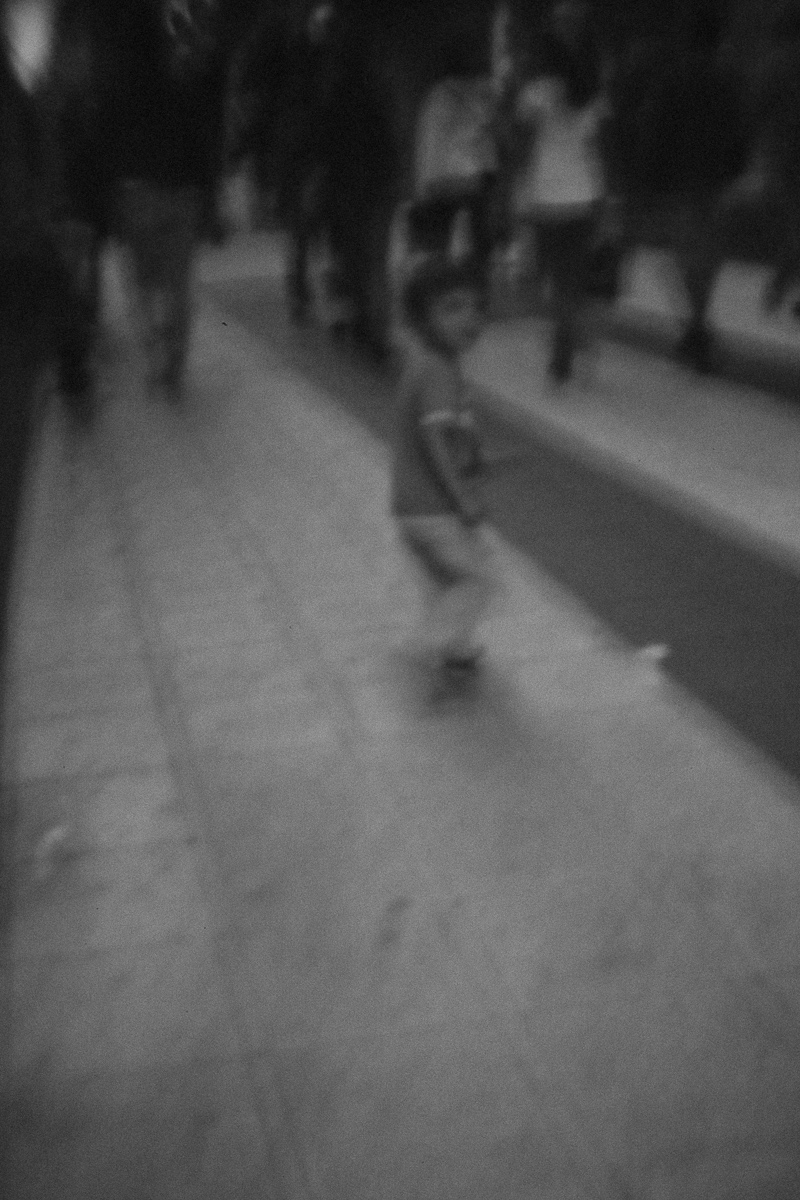
– Extreme high ISO capabilities of modern cameras open a completely new possibilities for pinhole photography. Most images attached to this article are shot handheld on the street (using my Canon 6D).
So – experiment! There is plenty of place for experiments. Purpose of pinhole photography is to understand the behavior of light. For example try making the hole at the side of cap, make it bigger, smaller or maybe make more holes in paper. See how it changes the final image and basically have fun. Sometimes the effects may really surprise you!


Please Support The Phoblographer
We love to bring you guys the latest and greatest news and gear related stuff. However, we can’t keep doing that unless we have your continued support. If you would like to purchase any of the items mentioned, please do so by clicking our links first and then purchasing the items as we then get a small portion of the sale to help run the website.
Also, please follow us on Facebook, Google+, Flickr and Twitter.
Get rid of the ads!
Did you enjoy reading this article as much as we enjoyed writing it? There's a way to support us and our reporting, getting ad-free navigation and more as a bonus. Subscribe to us for less than a coffee per month —just $3.99— or take advantage of our yearly subscription with a hefty discount for only $25.- An ad-free experience
- A free mystery box for Lightroom or Capture One
- All the books in our store
- 20% discount on Capture One
- 30% discount on Imalume Photo Theft Protection
- 20% off Herbs and Kettle Tea Company.