All photos by Sam Dorado. Used with permission.
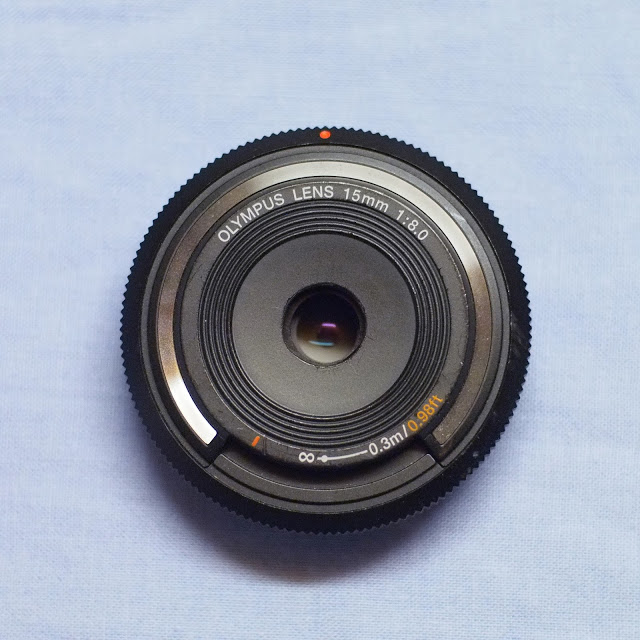
Sam Dorado is a hobbyist photographer with a knack for tinkering and solving problems. He uses the OMD EM5 and also recently acquired the Body Cap Lens; then he discovered a couple of problems with the lens and modified it to make it better. With that said though, we need to warn you that this isn’t something that everyone should do. But if you’re brave, don’t hold us or Sam responsible.
As such, this is a guest blog post by Sam. And we recommend that you check it out on the blog where it was originally published, as well as follow him on Google +.
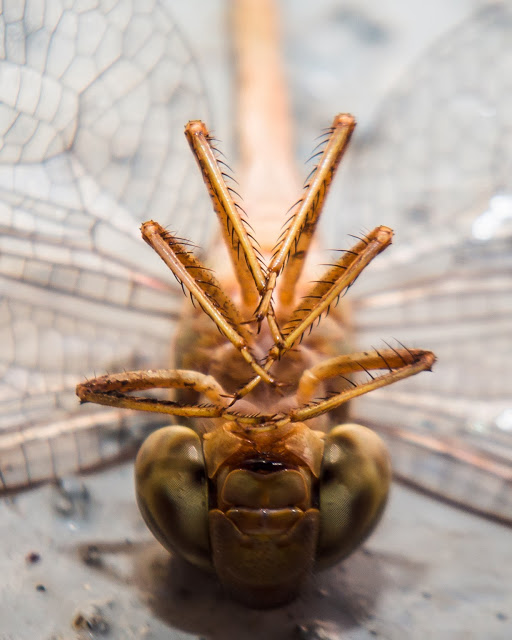
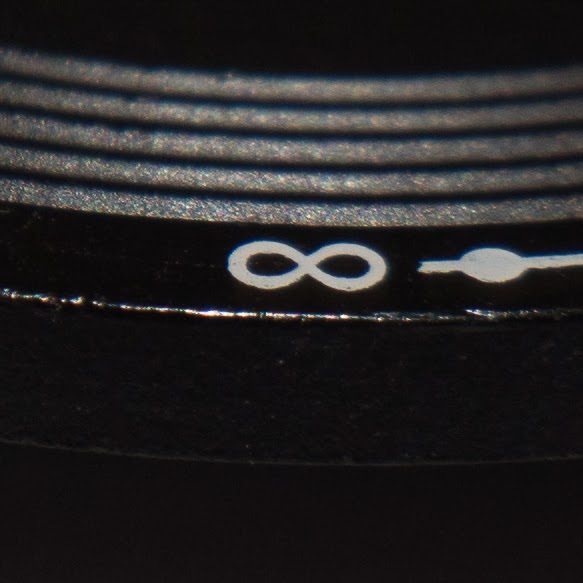
Besides pure magic, ever wonder what is inside that tiny body cap lens (BCL) of yours? Wel …I was led down the path to find out and along the way I discovered that a simple rearrangement of the internal lens element creates a “pseudo-macro” lens. I have estimated it has a 1:3 magnification ratio which is far from true macro capabilities (hence, “pseudo”) and the rendering of images is, to put it nicely…unique.
I don’t suggest you go out and buy a body cap lens just to hack it up (because there are better alternatives to for cheap macro photography) and even if you already have one that is in working order, it’s probably not worthy of sacrifice (especially if you enjoy using it.) BUT if you have abandoned your BCL, it has been rendered dysfunctional, or you really enjoy the lo-fi/holgaesque nature of the photos rendered (like I do!) then this may be a fun afternoon project =)
I initially dismantled my BCL because during one of my daily photography sessions I noticed that it was excessively blurry around the edges. After cleaning it I saw no improvement, so I decided that since this lens is relatively cheap and easily replaceable that I was going to dismantle it and see if I could fix the problem. Maybe there was something askew inside that was resulting in burred images?

After disassembling and reassembling, the problem did not correct itself, and since I had gotten some pretty good panoramas from it, I figured my $50 was well spent in the time I had used it. I was planning on just tossing it and calling it a loss, but then for some odd reason I thought of the technique used by many to turn old legacy glass into a macro lens using a cheap converter. Here the converter flips your lens so that the front elements face the sensor and the “mount end” is exposed to the elements. I thought to myself that the same concept should apply to the BCL, and hell, it was already malfunctioning so no harm in giving it a try! After some experimentation which entailed dismantling and re-arranging SEVERAL times (plus some modifications to the plastic) I finally came up with something that was usable.
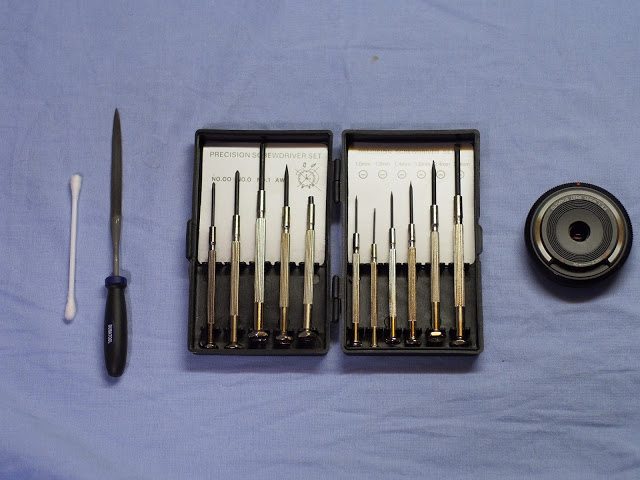
- Sacrificial body cap lens
- Tiny screwdriver (small flat head worked best for me)
- Rounded file or something else to make an existing opening larger (optional)
- Q-tip for cleaning
- Midget hands or lots of patience
A. Simple lens element reversal without further modification: results in heavy vignette/ small degree of color fringing:


B. Removal of front lens plate completely: results in lighter vignette with the cost of increased color fringing: [Editor’s note: what we see here is actually color shift of the sort that can appear in the corners of digital sensors when the incoming light hits the sensor at small angles.]
C. Filed down front lens plate: similar to removal of lens plate (B.), but front of lens looks better:
D. Filed down internal platform and complete removal of front lens plate: almost no vignette but edges still exhibit color fringing:


E. Filed down internal element + filed down lens plate: similar to “C.”

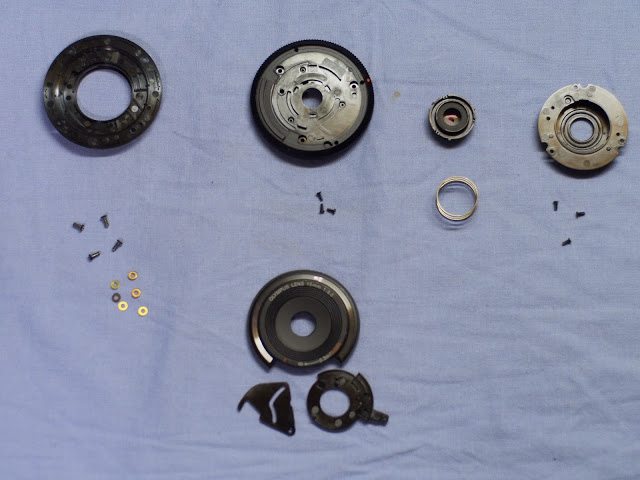
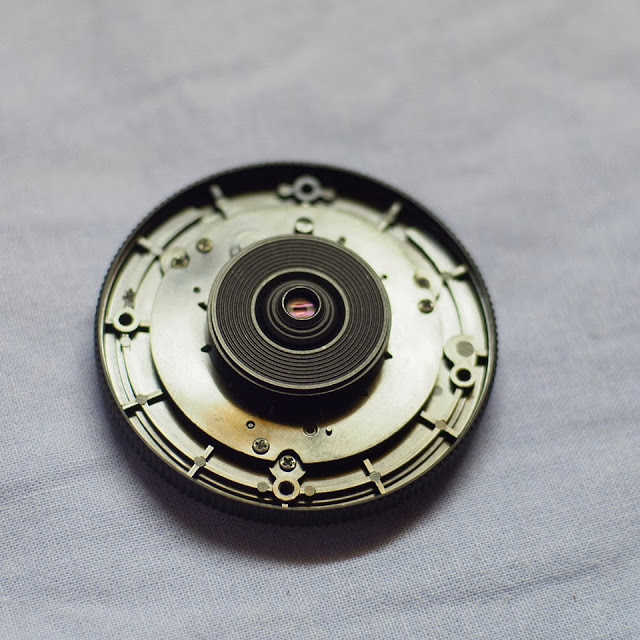
If you are interested in this hack, disassembling the body cap lens should be your first move. You will end up with (all names made up; from left to right in photo below):
- Mount, 4 associated screws, 8 tiny golden donuts (2 not pictured, lost)*
- Internal platform (in picture turned right side up with red dot facing you) + front lens plate, three associated screws and lens cover (2 pieces)
- Lens element + large spring
- Lens element holder and three associated screws
- Small spring (not pictured–lost)
- Tiny metal ball (not pictured–lost)
* I have no clue what these were for :/
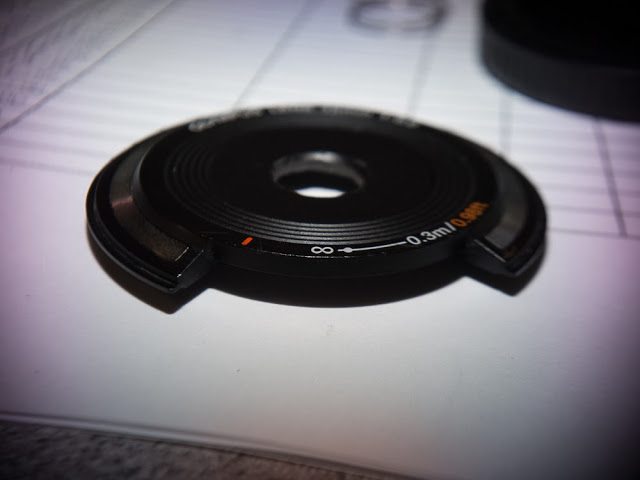
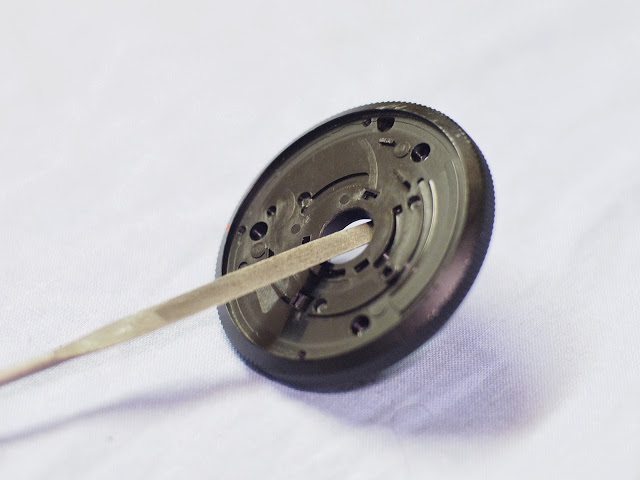
The order you disassemble the BCL is to: detach mount –> detach lens element holder –> detach front lens plate. If you do this, you end up with a bare internal platform. Reassembly is not difficult as the BCL is wonderfully simple, but if you want to reduce the amount of vignette then you need to file down the internal platform (A) and/or the front lens plate (B). I ended up filing less than 1 mm off the internal platform and a little more than 1 mm off the front lens plate. Remember: once you do this (and depending on how much you file away), the opening of the front lens plate will become too large to be covered using the sliding cover and you end up with two gaps. So if you still want to be able to close the BCL to protect the lens element, then I suggest you do not remove the front lens plate and go with the “heavy vignette” option. Honestly, I probably would have done this if I had known better, but once I filed down the opening it was too late. Also, if you leave the front lens cover intact then there is no reason to file down the internal platform. The other plus side of not altering the plastic is that you can switch back to wide angle amazing if you get tired of the macro hack.

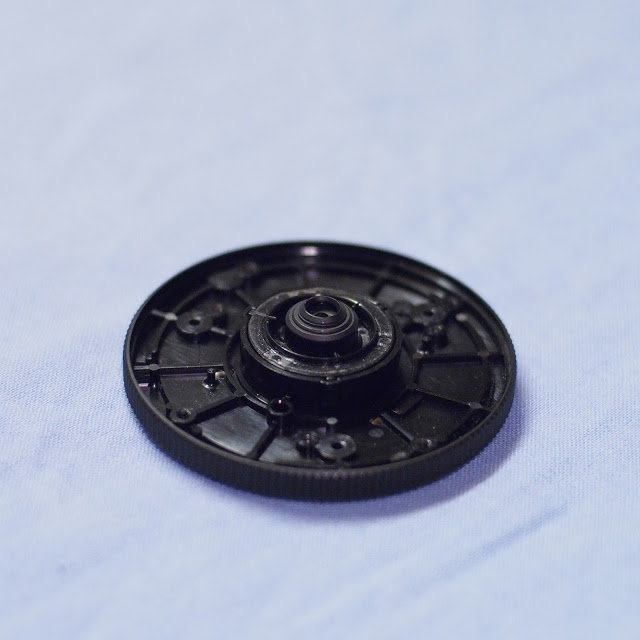
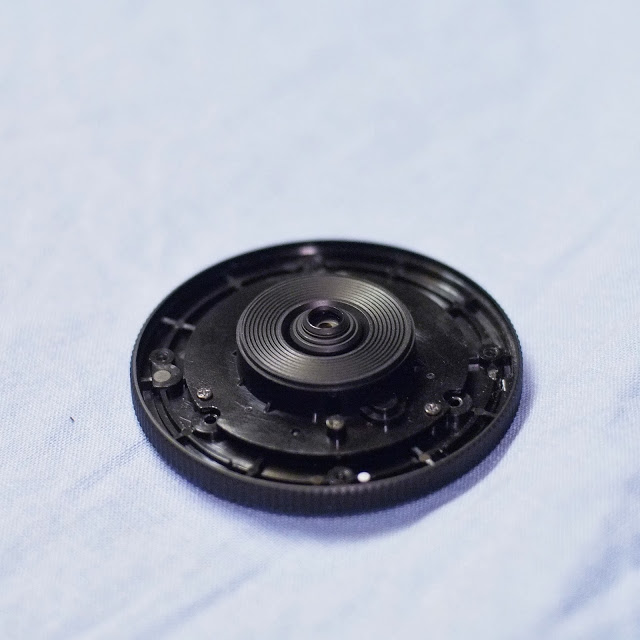
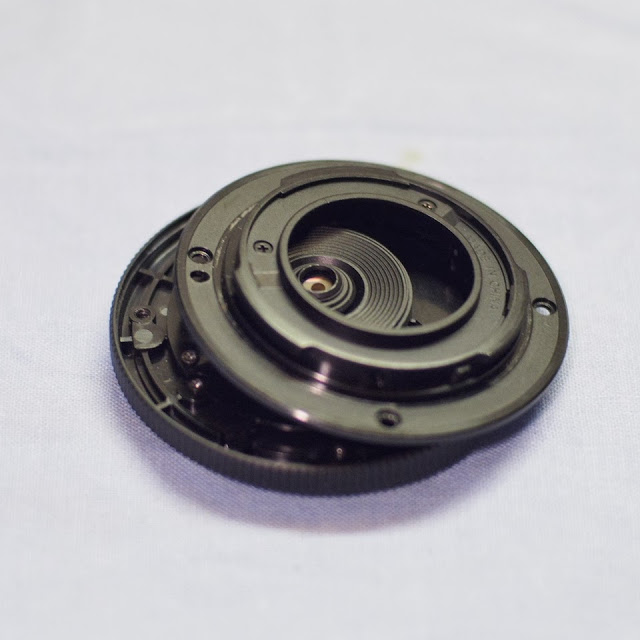
After you have filed the internal platform and/or the front lens plate, turn the internal platform upside down (red dot down) and place the lens element inside its holder with the small opening facing you (C).
Then attach the lens element holder to the internal platform using the three tiny screws provided (D).
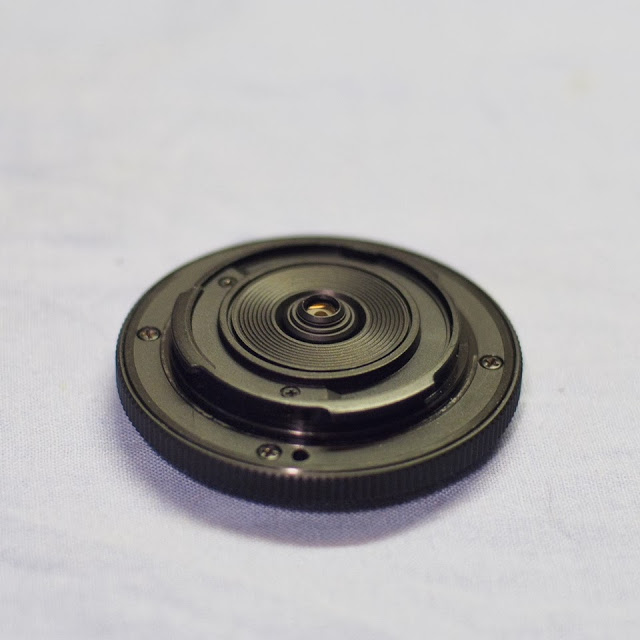
If you have taken the front lens plate off for filing then the next step will be to attach it back to the internal platform using another set of three very tiny screws (E).
Finally line up the mount as pictured below (F), attach it to the internal platform using the four larger, but still very small screws, and presto! you are done! (G)
It really is insanely simple … especially if no filing is done. Take the BCL apart, flip the lens element, and put it back together. I ended up not needing either of the springs, the tiny ball, or the two pieces of plastic that make the lens element cover. If you plan to use the lens cover then do not mess with the tiny spring and ball as these are needed for the lever to function. In this scenario, the only thing you will not use is the large spring. I am planning to write more about the details of how this lens performs in the very near future (probably post tomorrow). I am actually extremely surprised by the BCLmacro’s sharpness.

The image quality is nowhere near that which you would get with a dedicated macro lens … it is still the body cap lens after all, BUT if all images were cookie cutter sharp, photography would be an extremely boring art form. I started out a big fan of the BCL and this modification has only added fuel to the flames of my love for this unique lens. If you do decide to try this out, I want to state (even though it should be common sense) that I am in no way responsible for you ruining your body cap lens or injuring yourself during any part of this process. As always, innovate at your own risk. To help you decide whether this is something you are interested in, I will leave you with sample photos which have been processed to taste in LR4. I have created a Flickr group dedicated to this hack, and if you are brave enough to convert PLEASE share your photos! Thank you for dropping by! Hope you have an amazing time with this strange (almost) macro =)
Sam D.
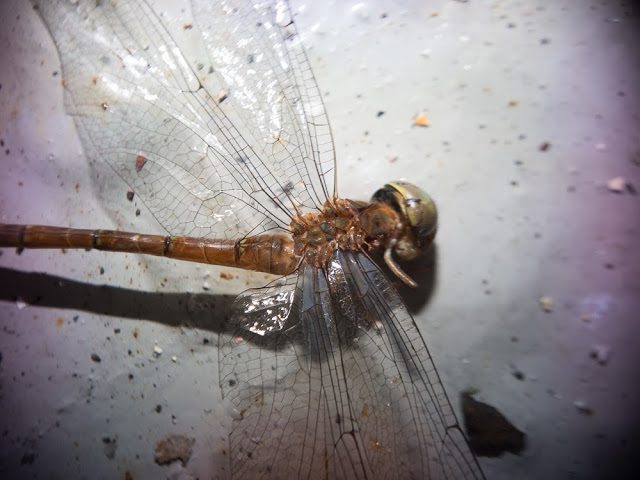
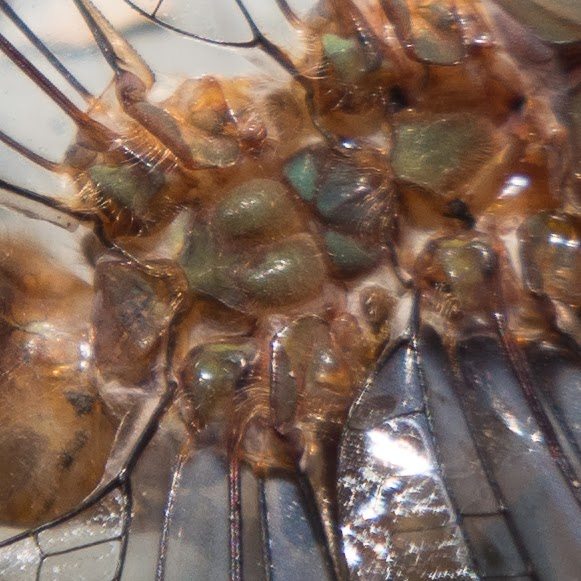
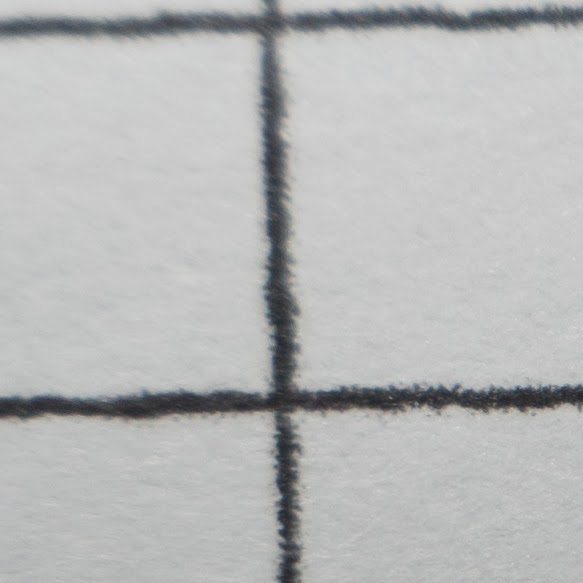
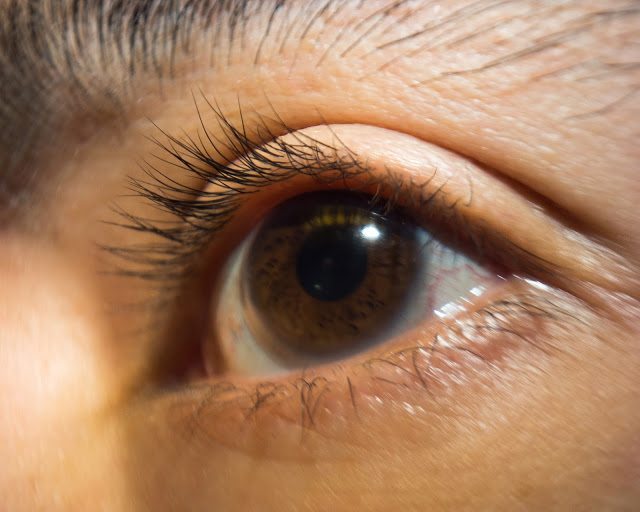
Sample Photos


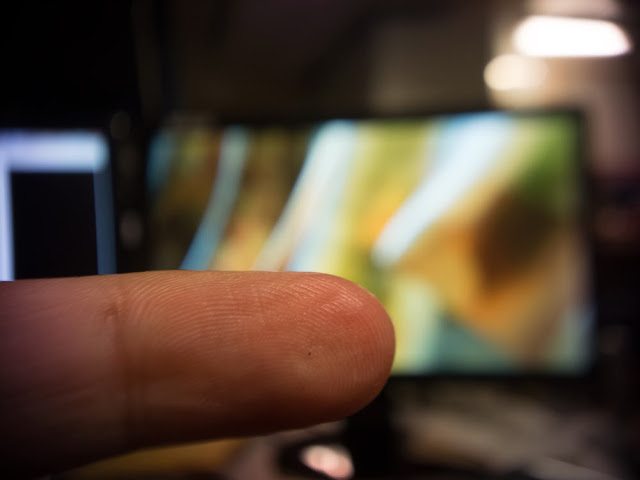


P.S.: the working distance of the BCL macro is approximately 7 cm, so you have to get in really close. BUT you can effectively use the kit flash to counter the shading you will experience at this proximity… Also, the DOF is about 1 mm, so working in magnifying mode is your best bet. More on this in tomorrow’s post.
Please Support The Phoblographer
We love to bring you guys the latest and greatest news and gear related stuff. However, we can’t keep doing that unless we have your continued support. If you would like to purchase any of the items mentioned, please do so by clicking our links first and then purchasing the items as we then get a small portion of the sale to help run the website.
Also, please follow us on Facebook, Google+, Flickr and Twitter.
Get rid of the ads!
Did you enjoy reading this article as much as we enjoyed writing it? There's a way to support us and our reporting, getting ad-free navigation and more as a bonus. Subscribe to us for less than a coffee per month —just $3.99— or take advantage of our yearly subscription with a hefty discount for only $25.- An ad-free experience
- A free mystery box for Lightroom or Capture One
- All the books in our store
- 20% discount on Capture One
- 30% discount on Imalume Photo Theft Protection
- 20% off Herbs and Kettle Tea Company.
- 20% off your order from MPIX printing services.
- 5% off Viltrox Products via their eCommerce store.
- 10% off all film developing, printing and scanning services from Blue Moon Camera and Machine
- 15% off 7Artisans products: The lens and accessory maker is offering a sweet discount for Phoblographer's readers.