Last Updated on 02/03/2013 by Julius Motal
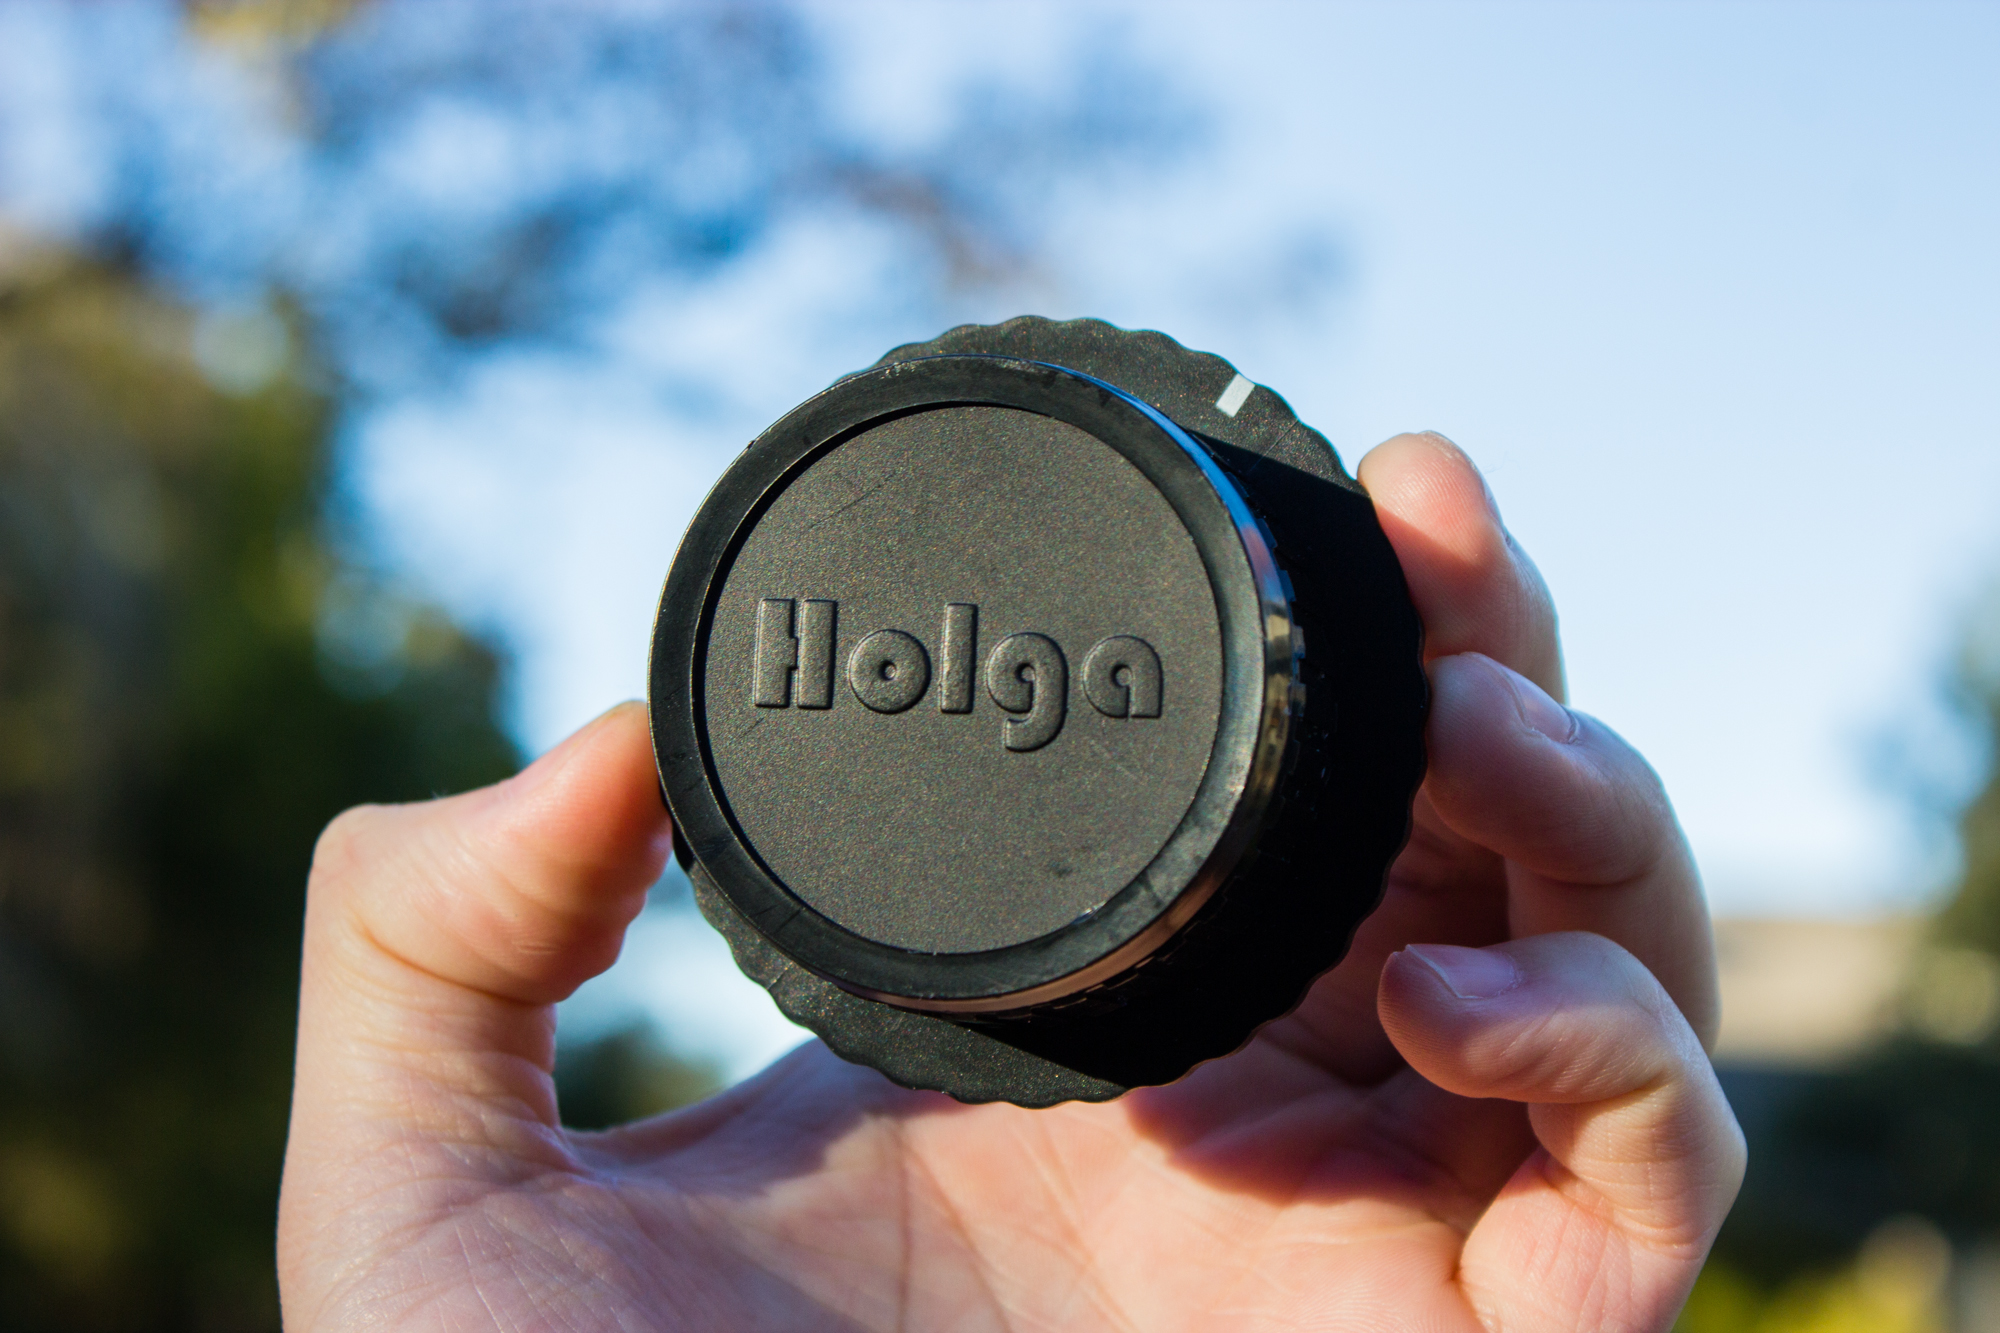
Lomos and Holgas are all the rage now, as digital photography advances ever forward and all users want is to ironically go back to the retro-age. To be fair, I’ve become quite the Lomo and film addict myself since I joined The Phoblographer. Our friends at Photojojo wanted to hook us up with both the luxuries of digital shooting as well as the iconic image results of a Holga camera. The solution: the Digital Holga Lens. Nothing more than the same Holga lens you’d find on the classic plastic camera, the Digital Holga lens lets you mount it on to your Canon or Nikon DSLR for the same lo-fi effect.
Skip on down past the break for our full review with plenty of sample images.
Pros and Cons
Pros
- It’s a Holga lens for your DSLR for crying out loud!
- Nothing extra, literally plug-and-play
- Super cheap at $30 and fun to shoot with
Cons
- No electronic anything, duh.
- The focus ring is strangely difficult to turn (more so than you’d expect)
- If it’s your first Holga, focusing will take time to get use to
Gear Used
Canon T3i and Holga Lens
Tech Specs
Via HolgaDirect
- Effective Focal Length: 60mm (120 Medium Format – apply crop ratio as per your SLR)
- Aperture: Fixed f/8
- Focus: Manual Zone Focus
- Lens Type: Plastic
- Dimensions: 38x57mm
- Weight: 38g
Ergonomics
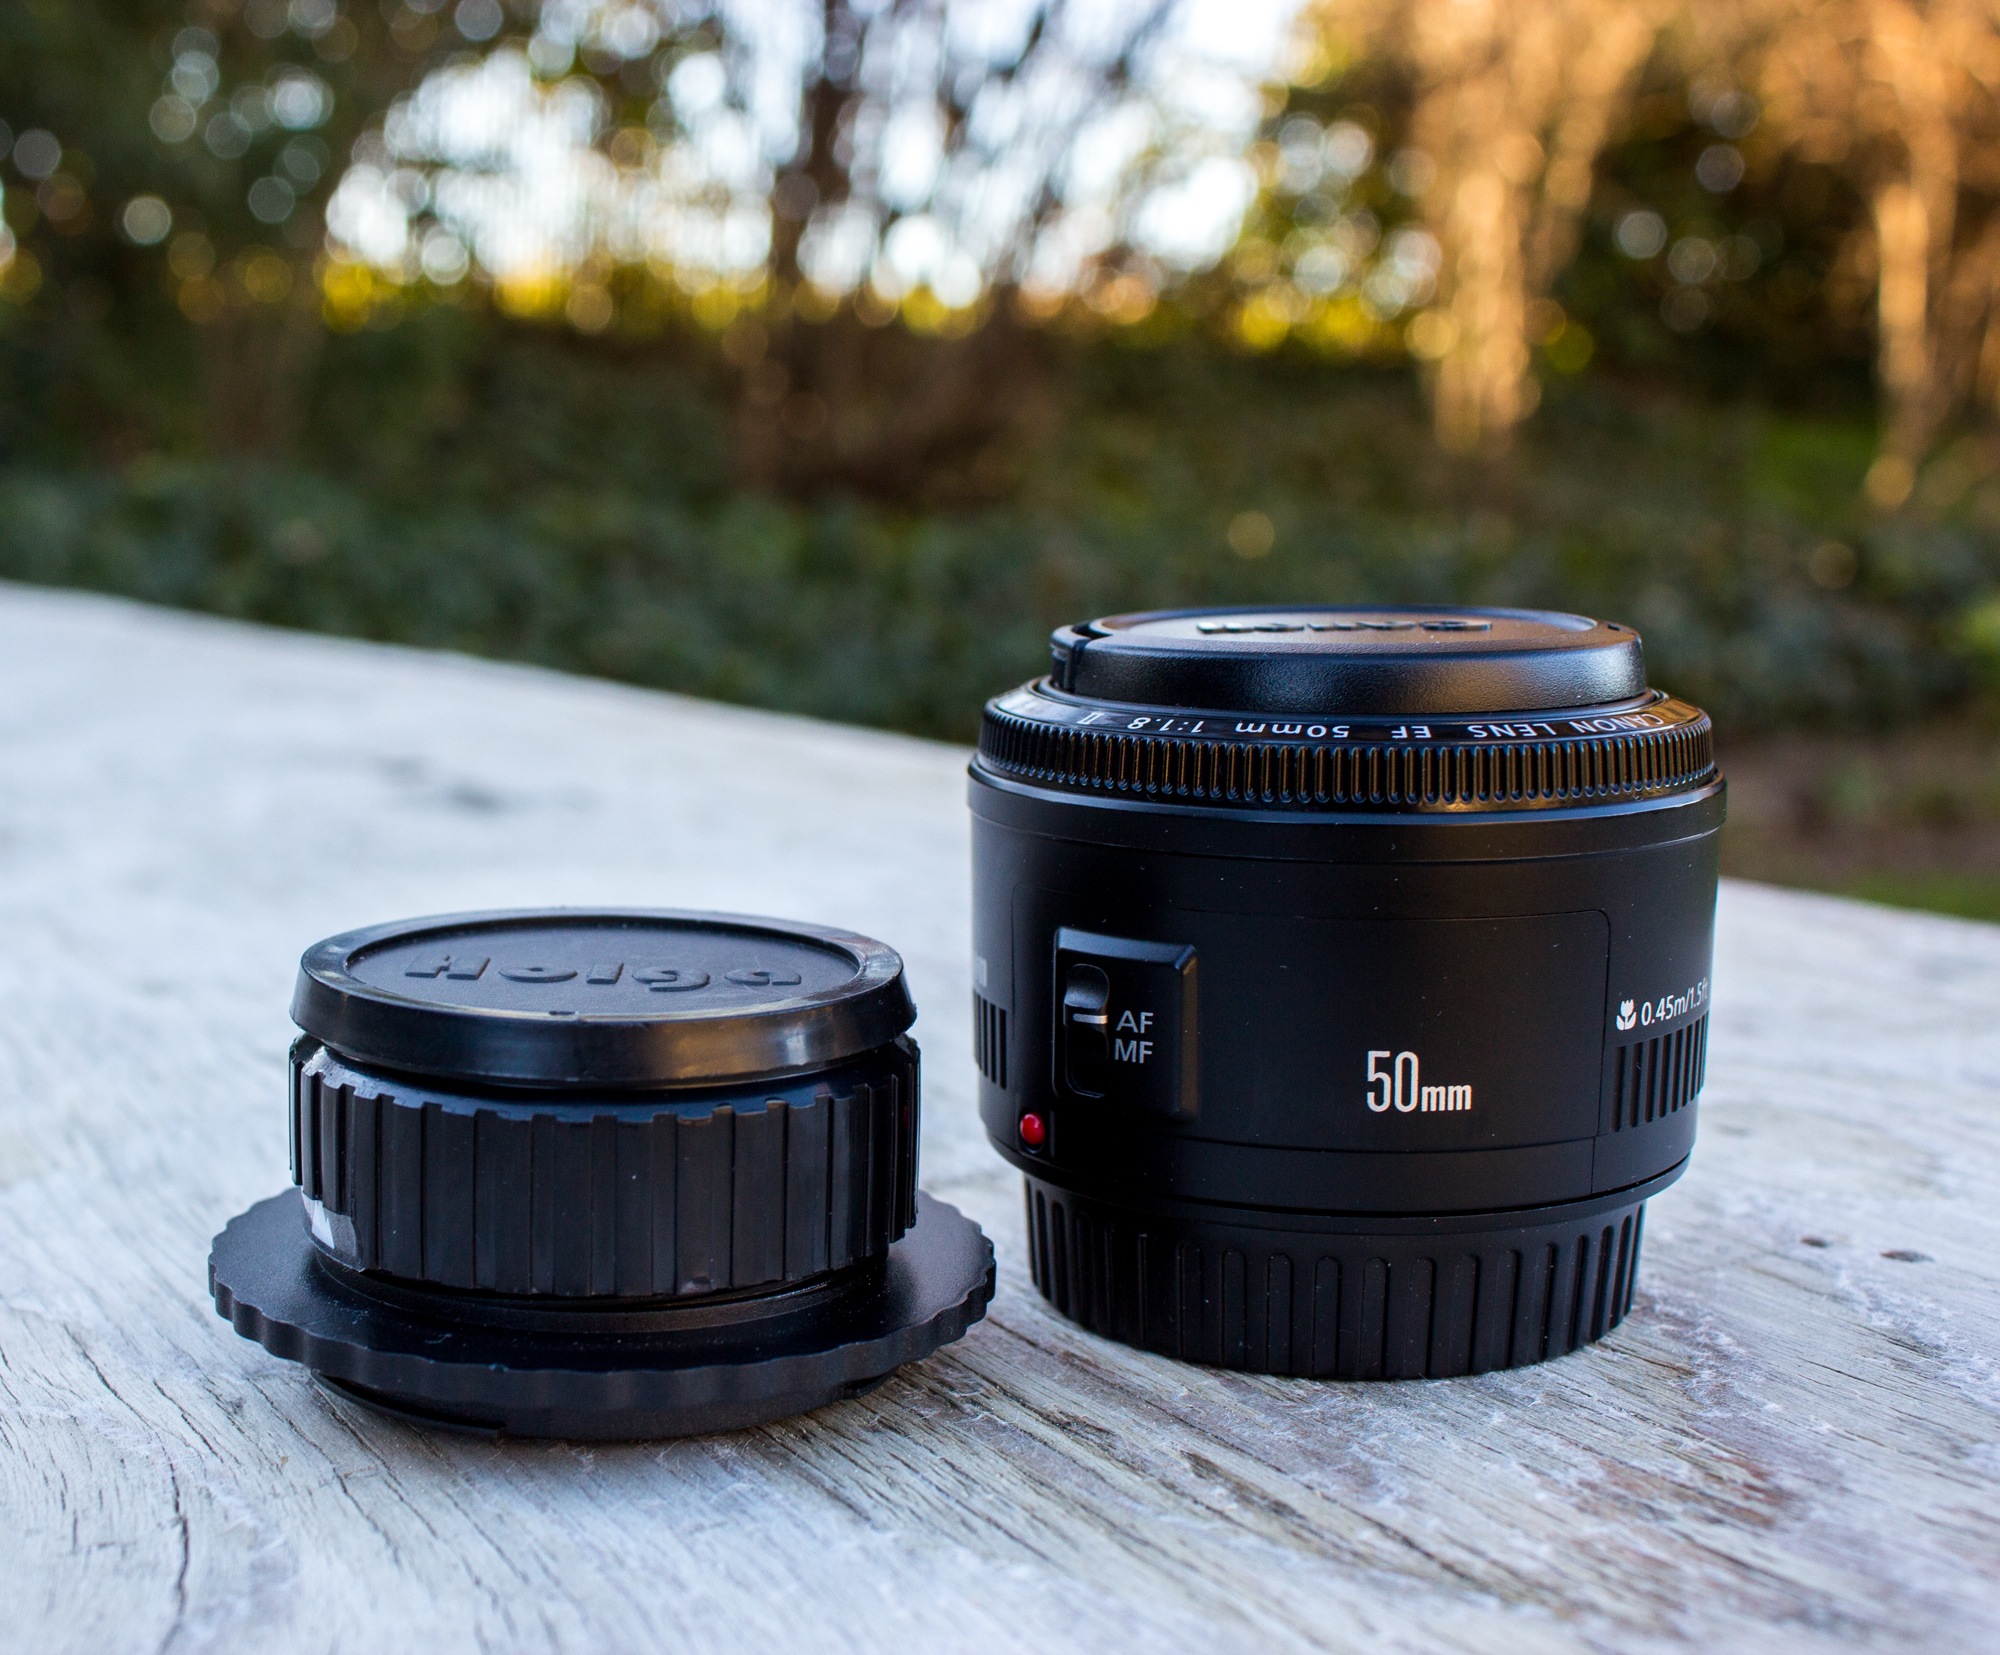
As I said, the digital version is no different from the one you’d find on the plastic camera except with a Canon or Nikon mount. It is completely plastic, making for an extremely lightweight lens and about half the size of my 50mm f/1.8 lens. If you’ve got larger hands, you’ll find it annoying to adjust anything since the length is so short, but the results are worth it.

The plastic grooves helps with focusing once you’ve gotten a hang of the focus range for each of the icons. The focus ring itself is really tightly set and can be hard to turn right out of the box, as if there’s glue underneath the ring. I found that to be less of a problem after continuously using it for a while.
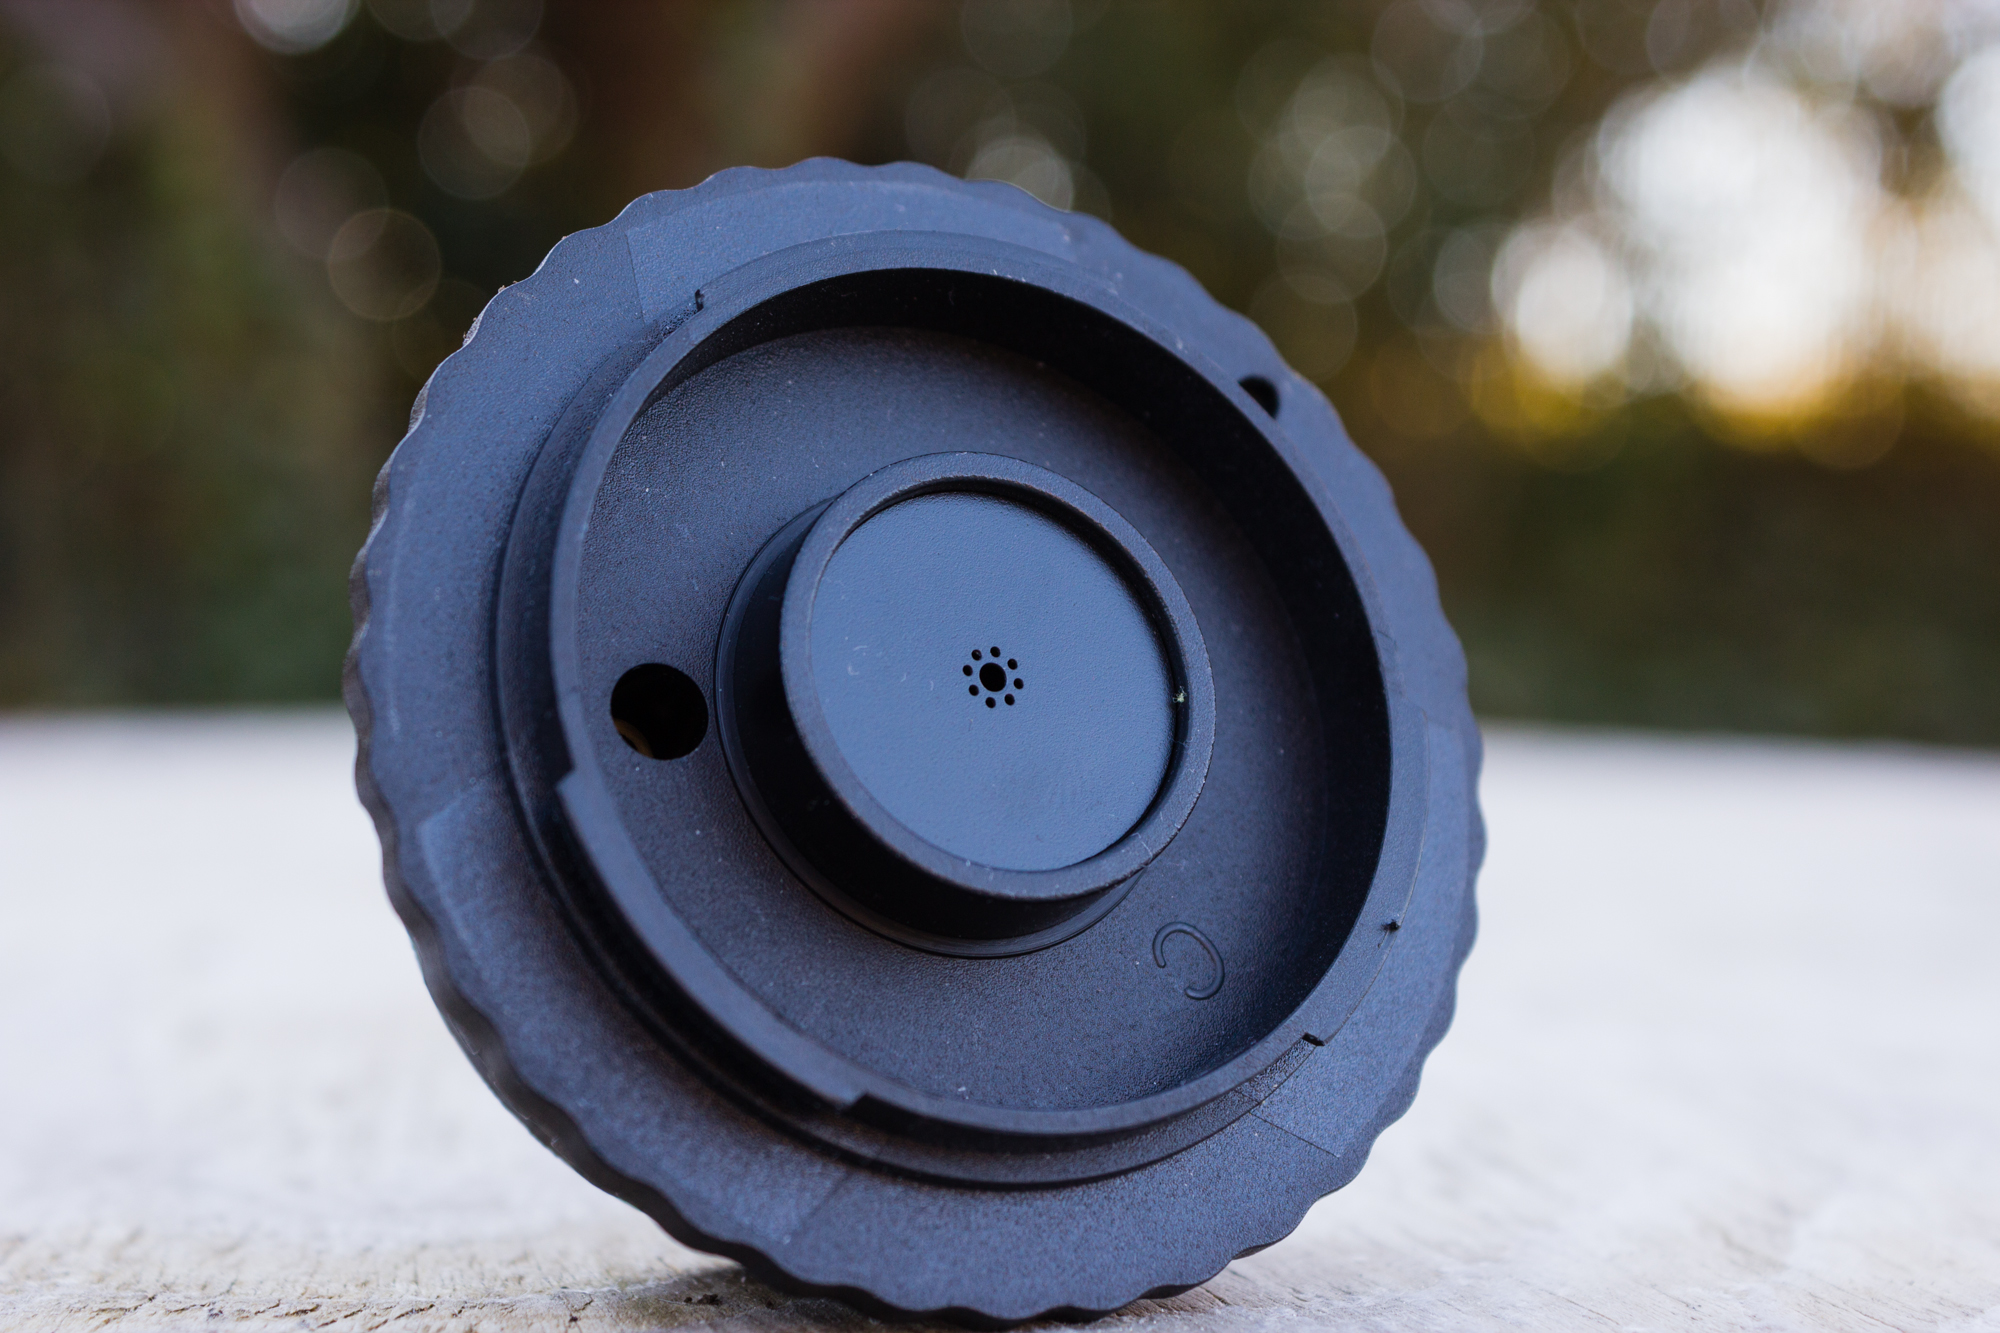
Build Quality
The body and mount are both plastic molded into the shape of a Canon mount. Mounting is fairly straight-forward as you match the white line on the lens with the one on your camera body and after taking it out for multiple photo walks, I haven’t found any problem with it falling off or coming loose. An annoying issue I had with mounting it was that there are two identical white lines on the lens, one that indicates the focus while the other is to match with your camera body. Why not change the shape or color of one of the lines to make things easier?
Auto Focus/Focusing
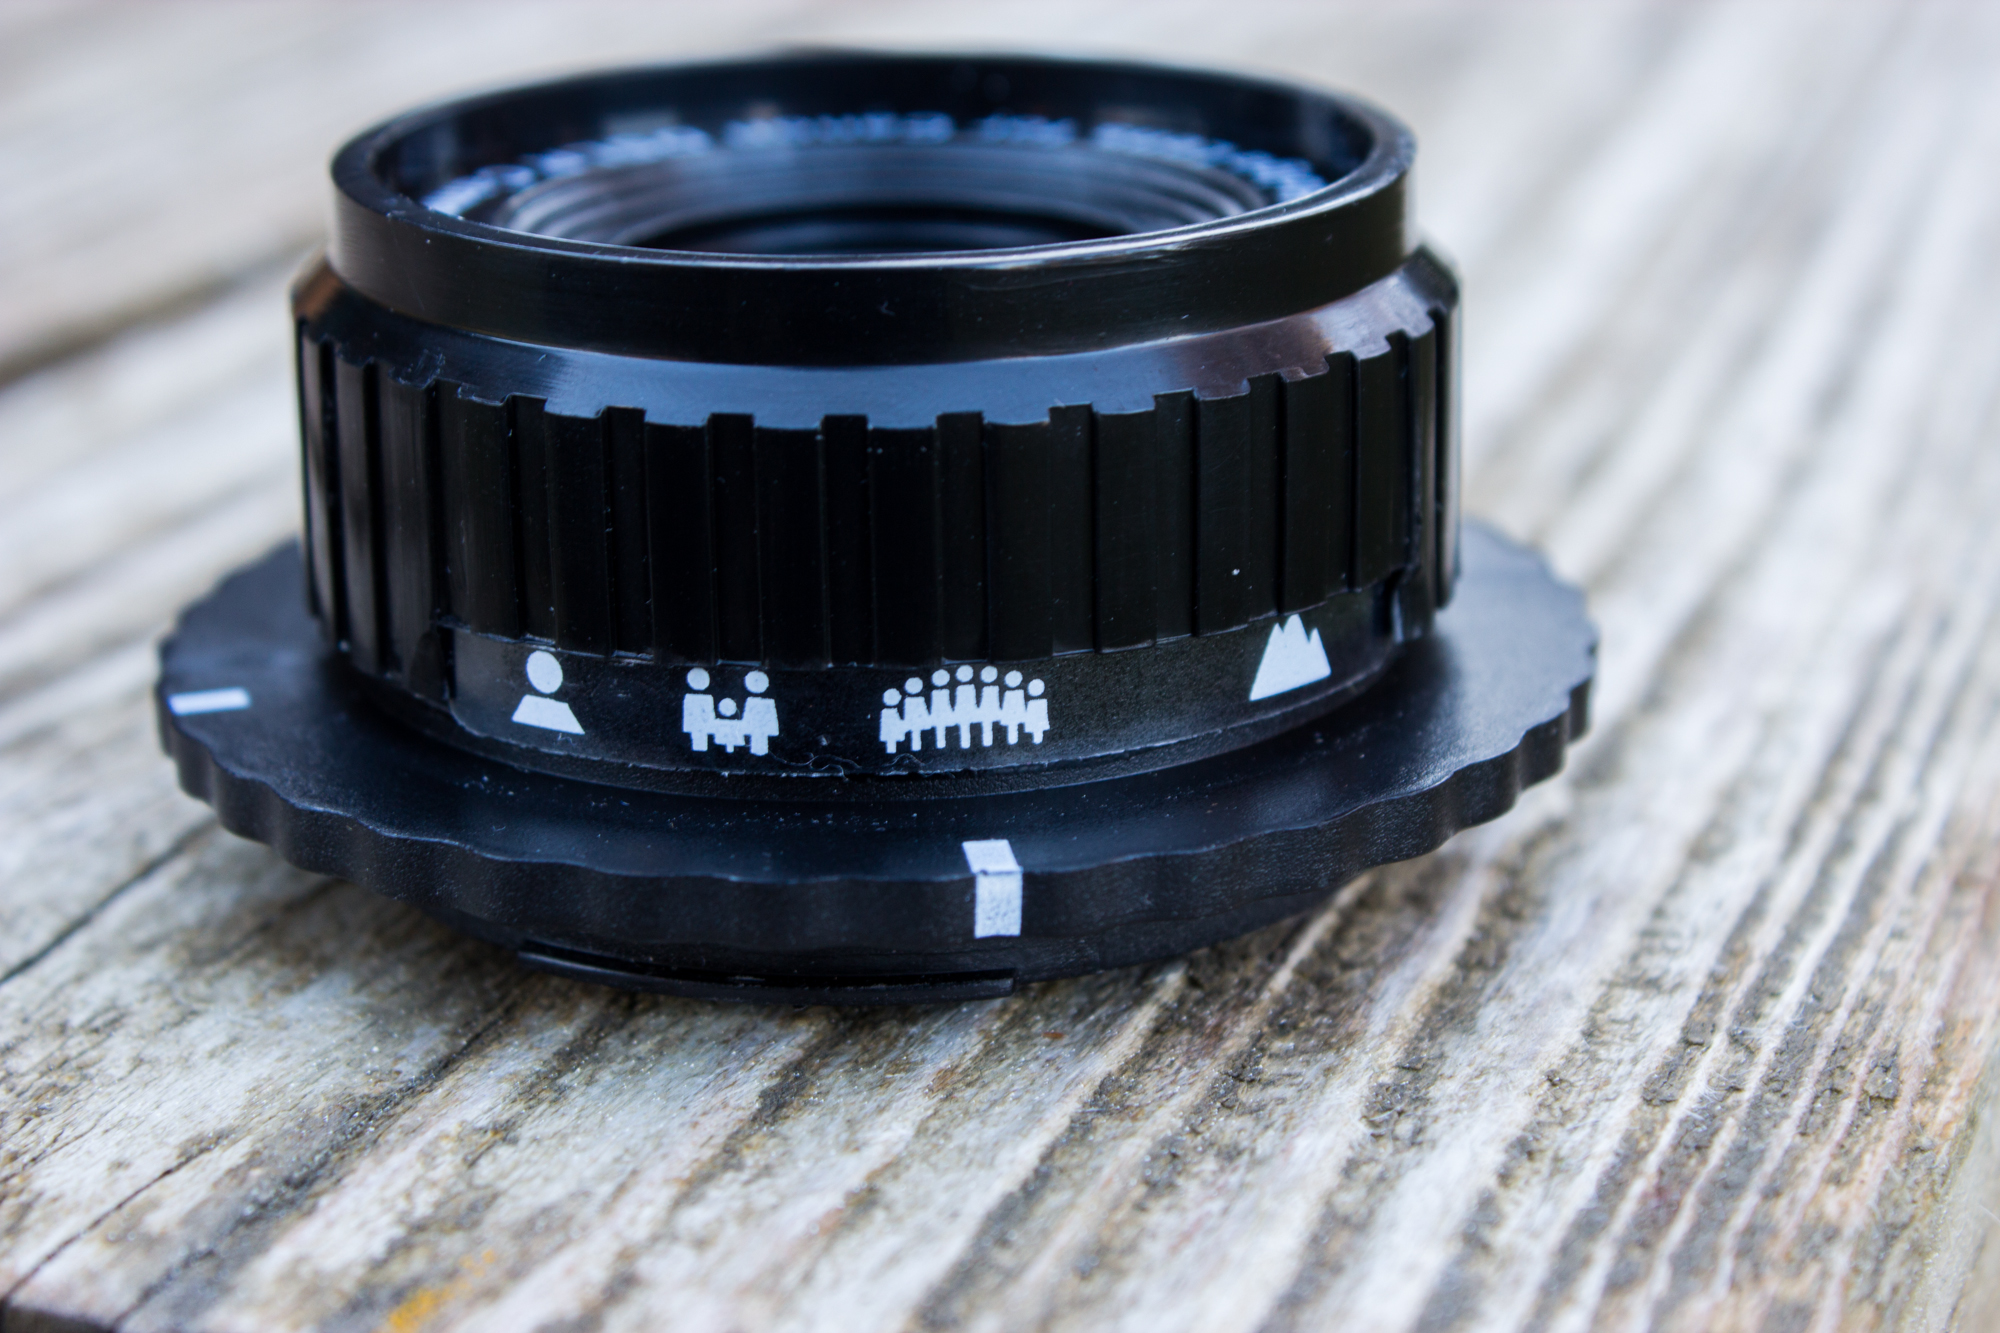
Autofocusing? Pfft. Good joke, sir. You will find only manual focusing here, just like the real thing. The focusing is done with the focusing ring and labeled by four different icons: a single person one, a three person one, a large “family” cluster one, and a mountain one. As you can imagine, the single person is for closer subjects while the mountain icon is for landscape photos.
Giving it to you in numbers, the single person is for subjects around 3ft away from you, the next icon is for around 4-6ft, the group icon is for 8-10ft, and the mountain represents infinity or 18ft+ away. The best way would be to experiment with your lens through shooting to get a clear sense of the focus ranges. Best part, you can check your images right after you release the shutter button!
Ease of Use
The Holga lens lacks the modern features such as autofocusing and aperture control, but once you get a hang of the focusing range and have sufficient lighting, you’ll be shooting pinhole images in no time, especially since you have the luxury of ISO, shutter speed, and exposure settings that the traditional Holga shooters don’t. Personally, I found this to be the major reason why anyone would go for the Digital Holga lens instead of the actual camera–along with the instant gratification of seeing what you shot of course.
It’s a fun lens to have to play around and anybody with a DSLR could use it without much but the basic knowledge of photography. In my case, due to my Canon T3i’s 1.6x crop ratio, the 60mm lens had an effective 96mm focal length. This forced me to move around much more than I would have liked to get the same shot I would have with an actual Holga camera.
The fixed f/8 aperture is pretty much standard of Holga. For anyone who haven’t experimented with a Holga lens before; make sure you have plenty of light. I would much rather have to bring down the exposure than shoot at a less than comfortable shutter speed. Also, make sure to keep your ISO fairly high, even when you think you have enough light. Personally, I found myself staying around ISO 400-800 range.
Image Quality
Sharpness
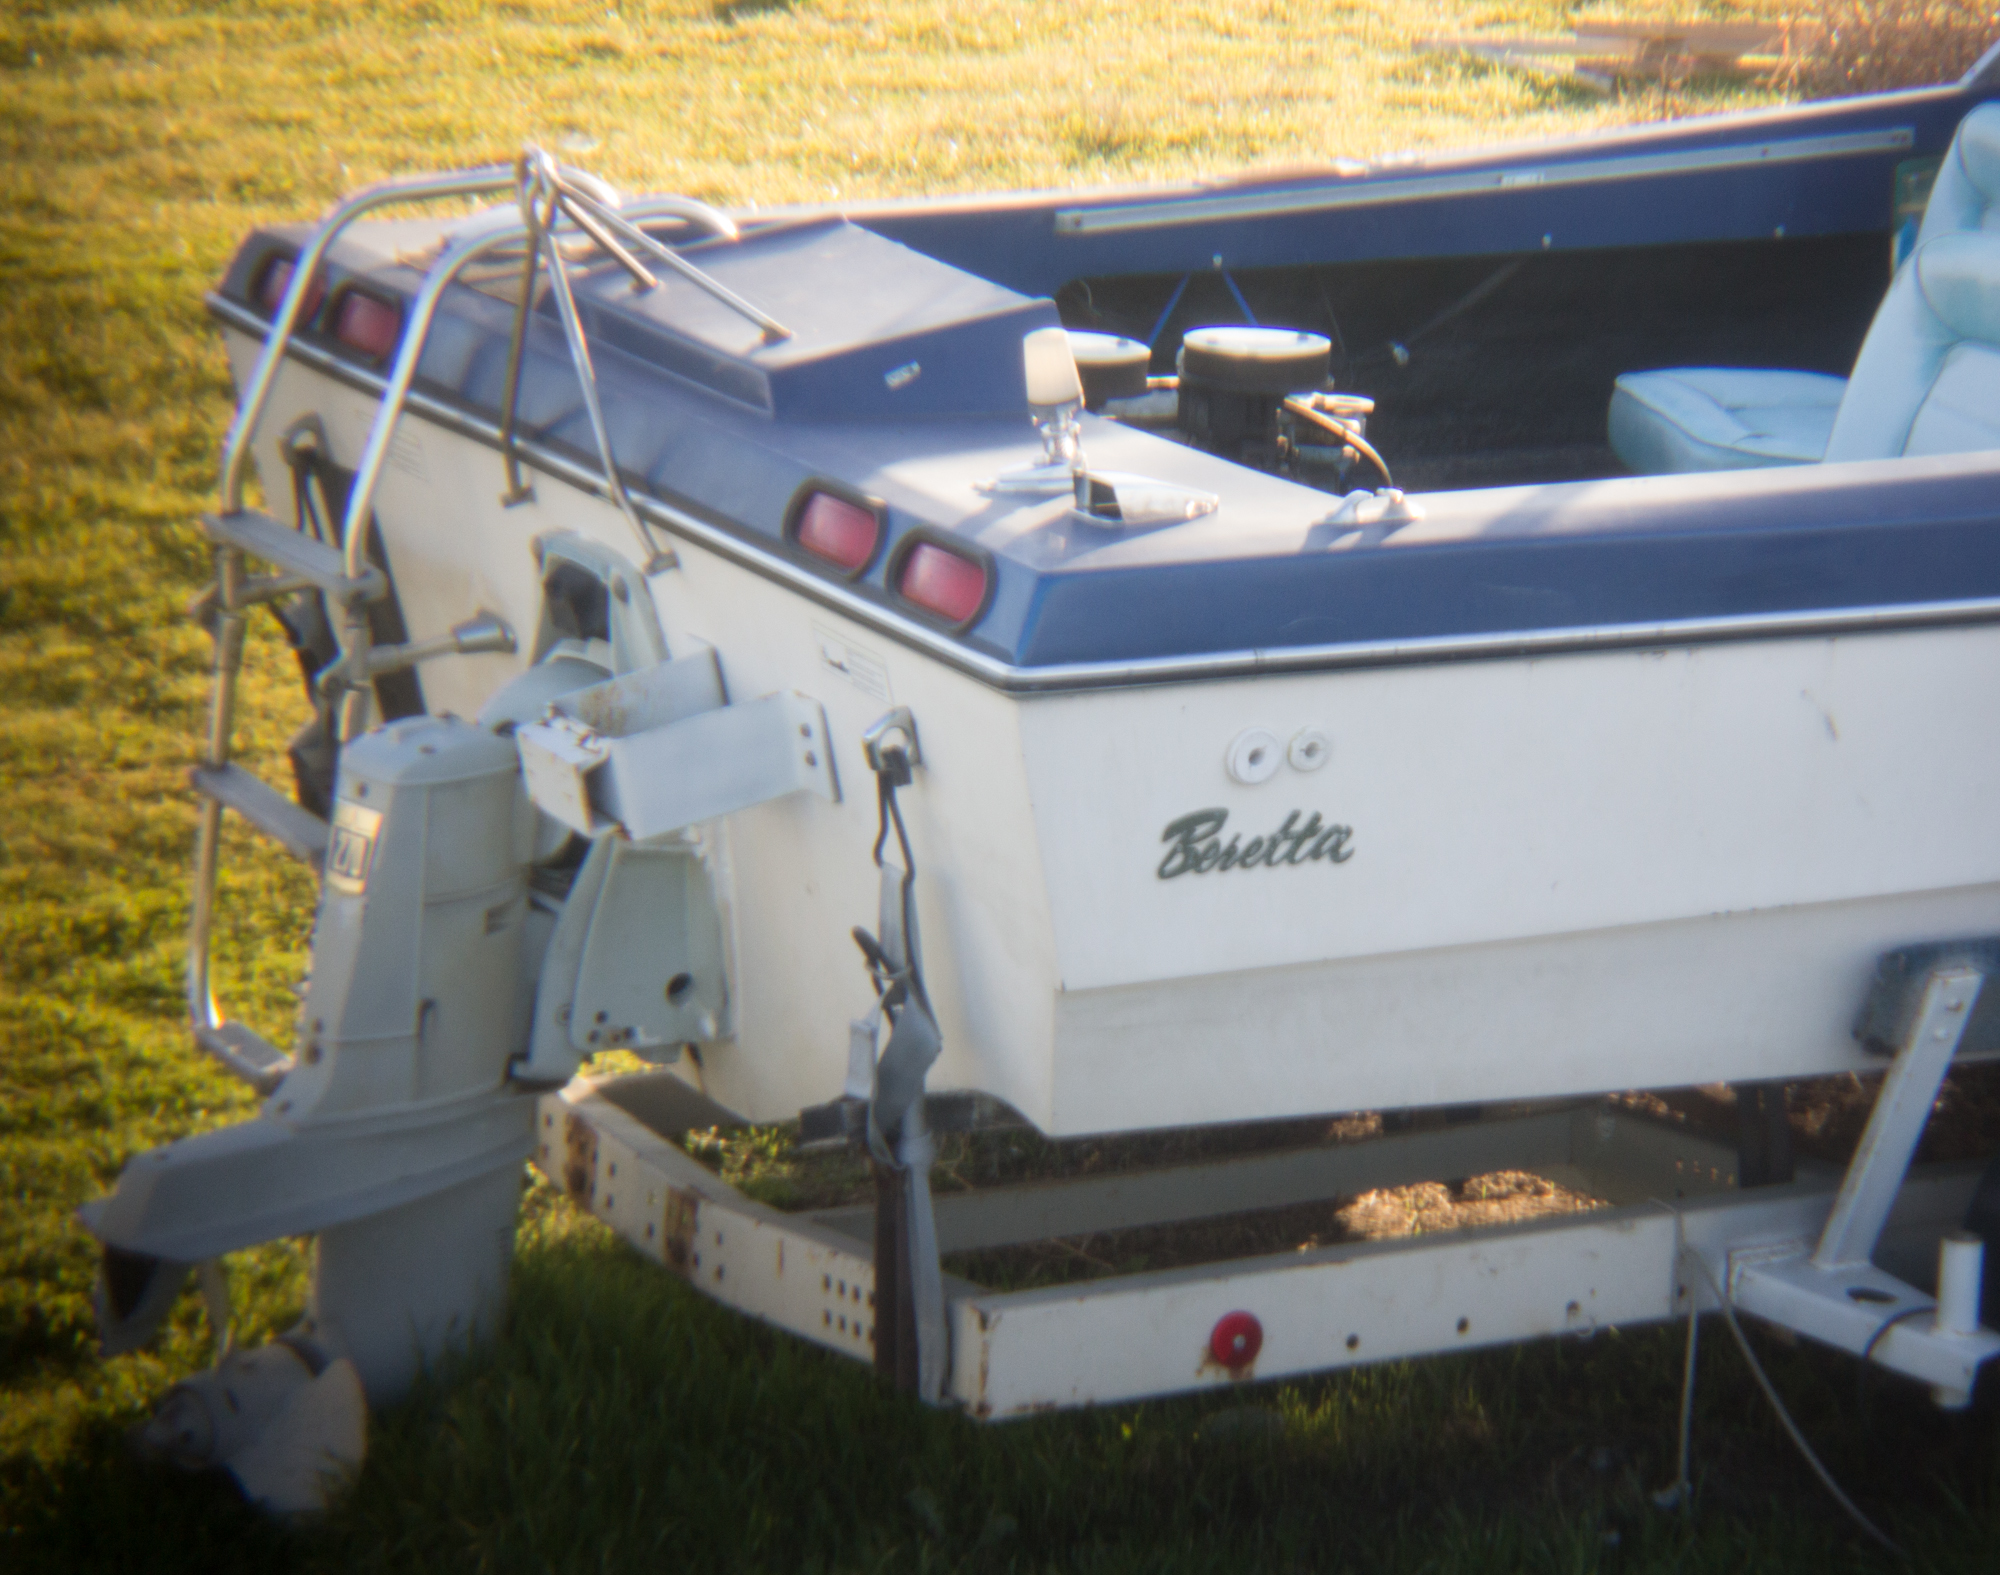
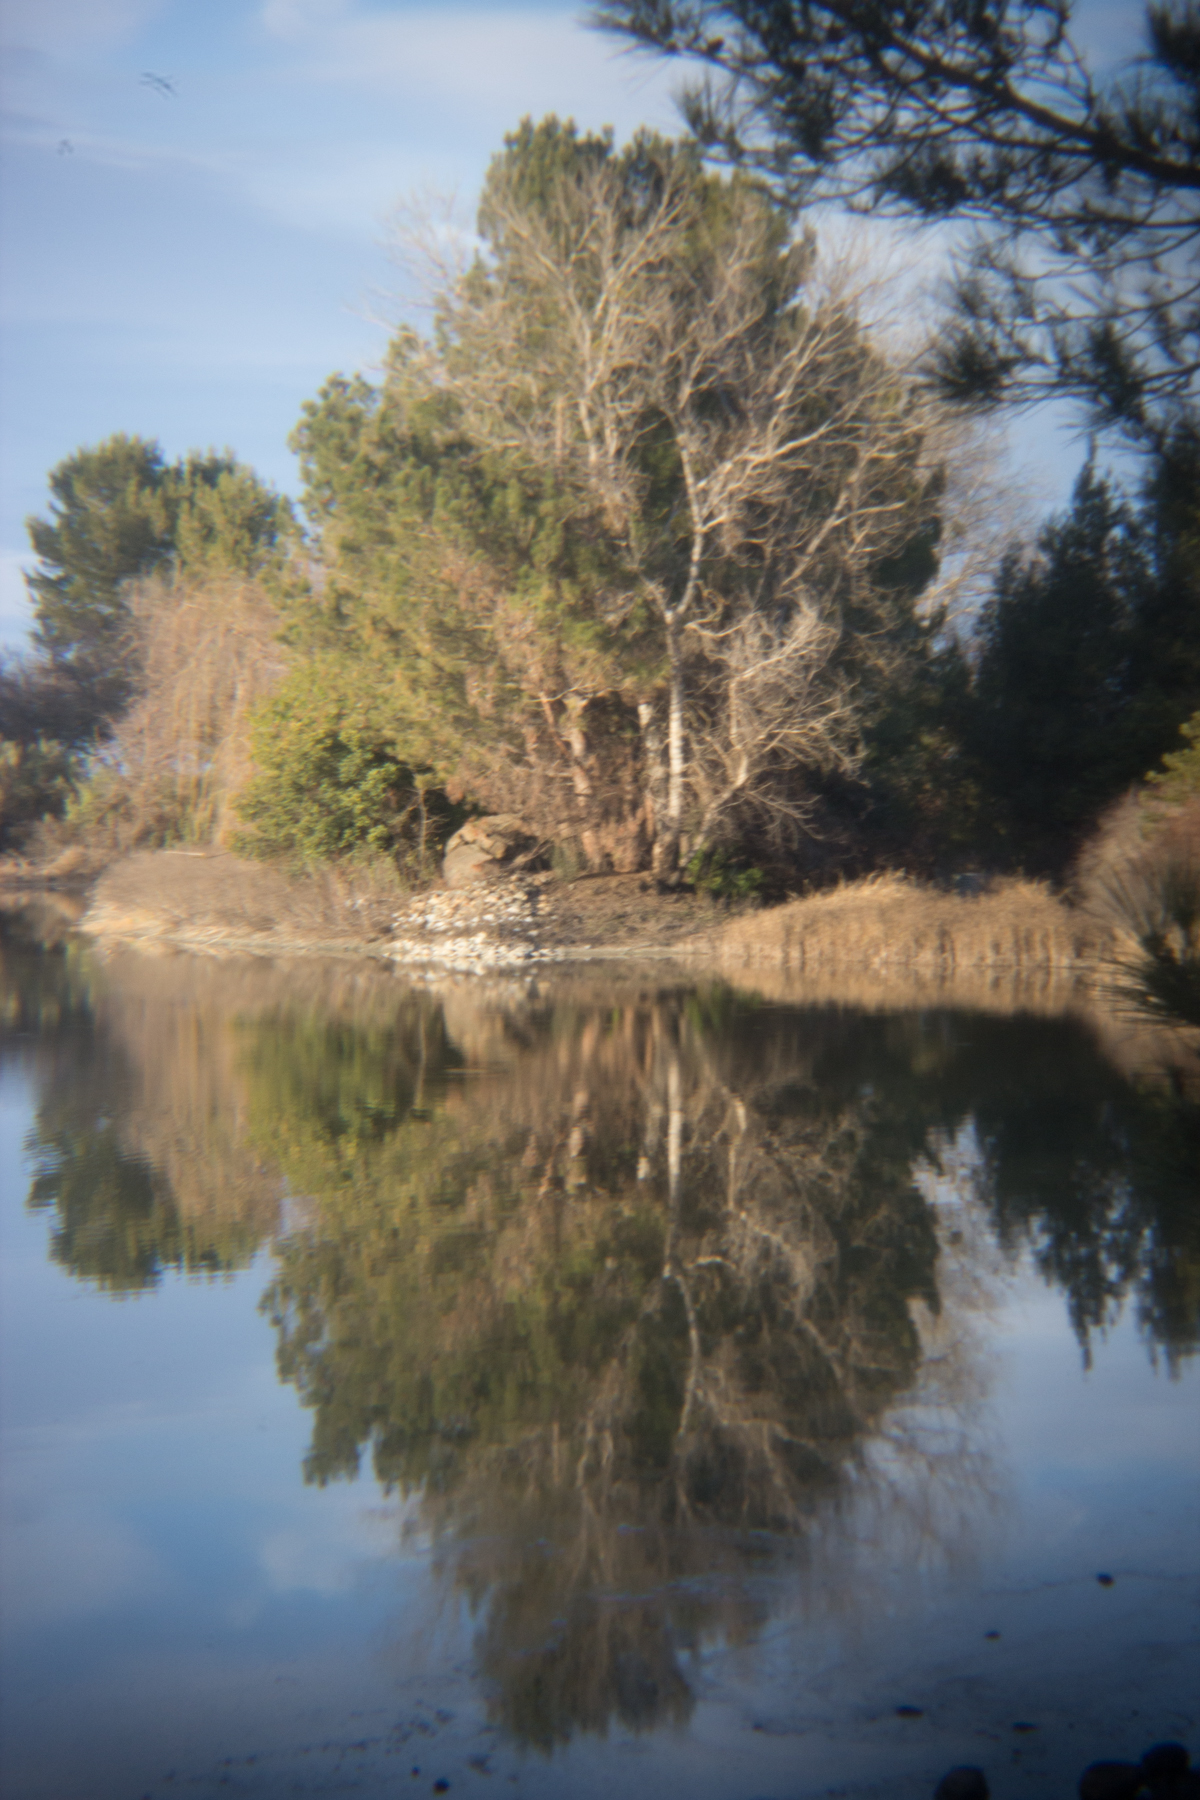
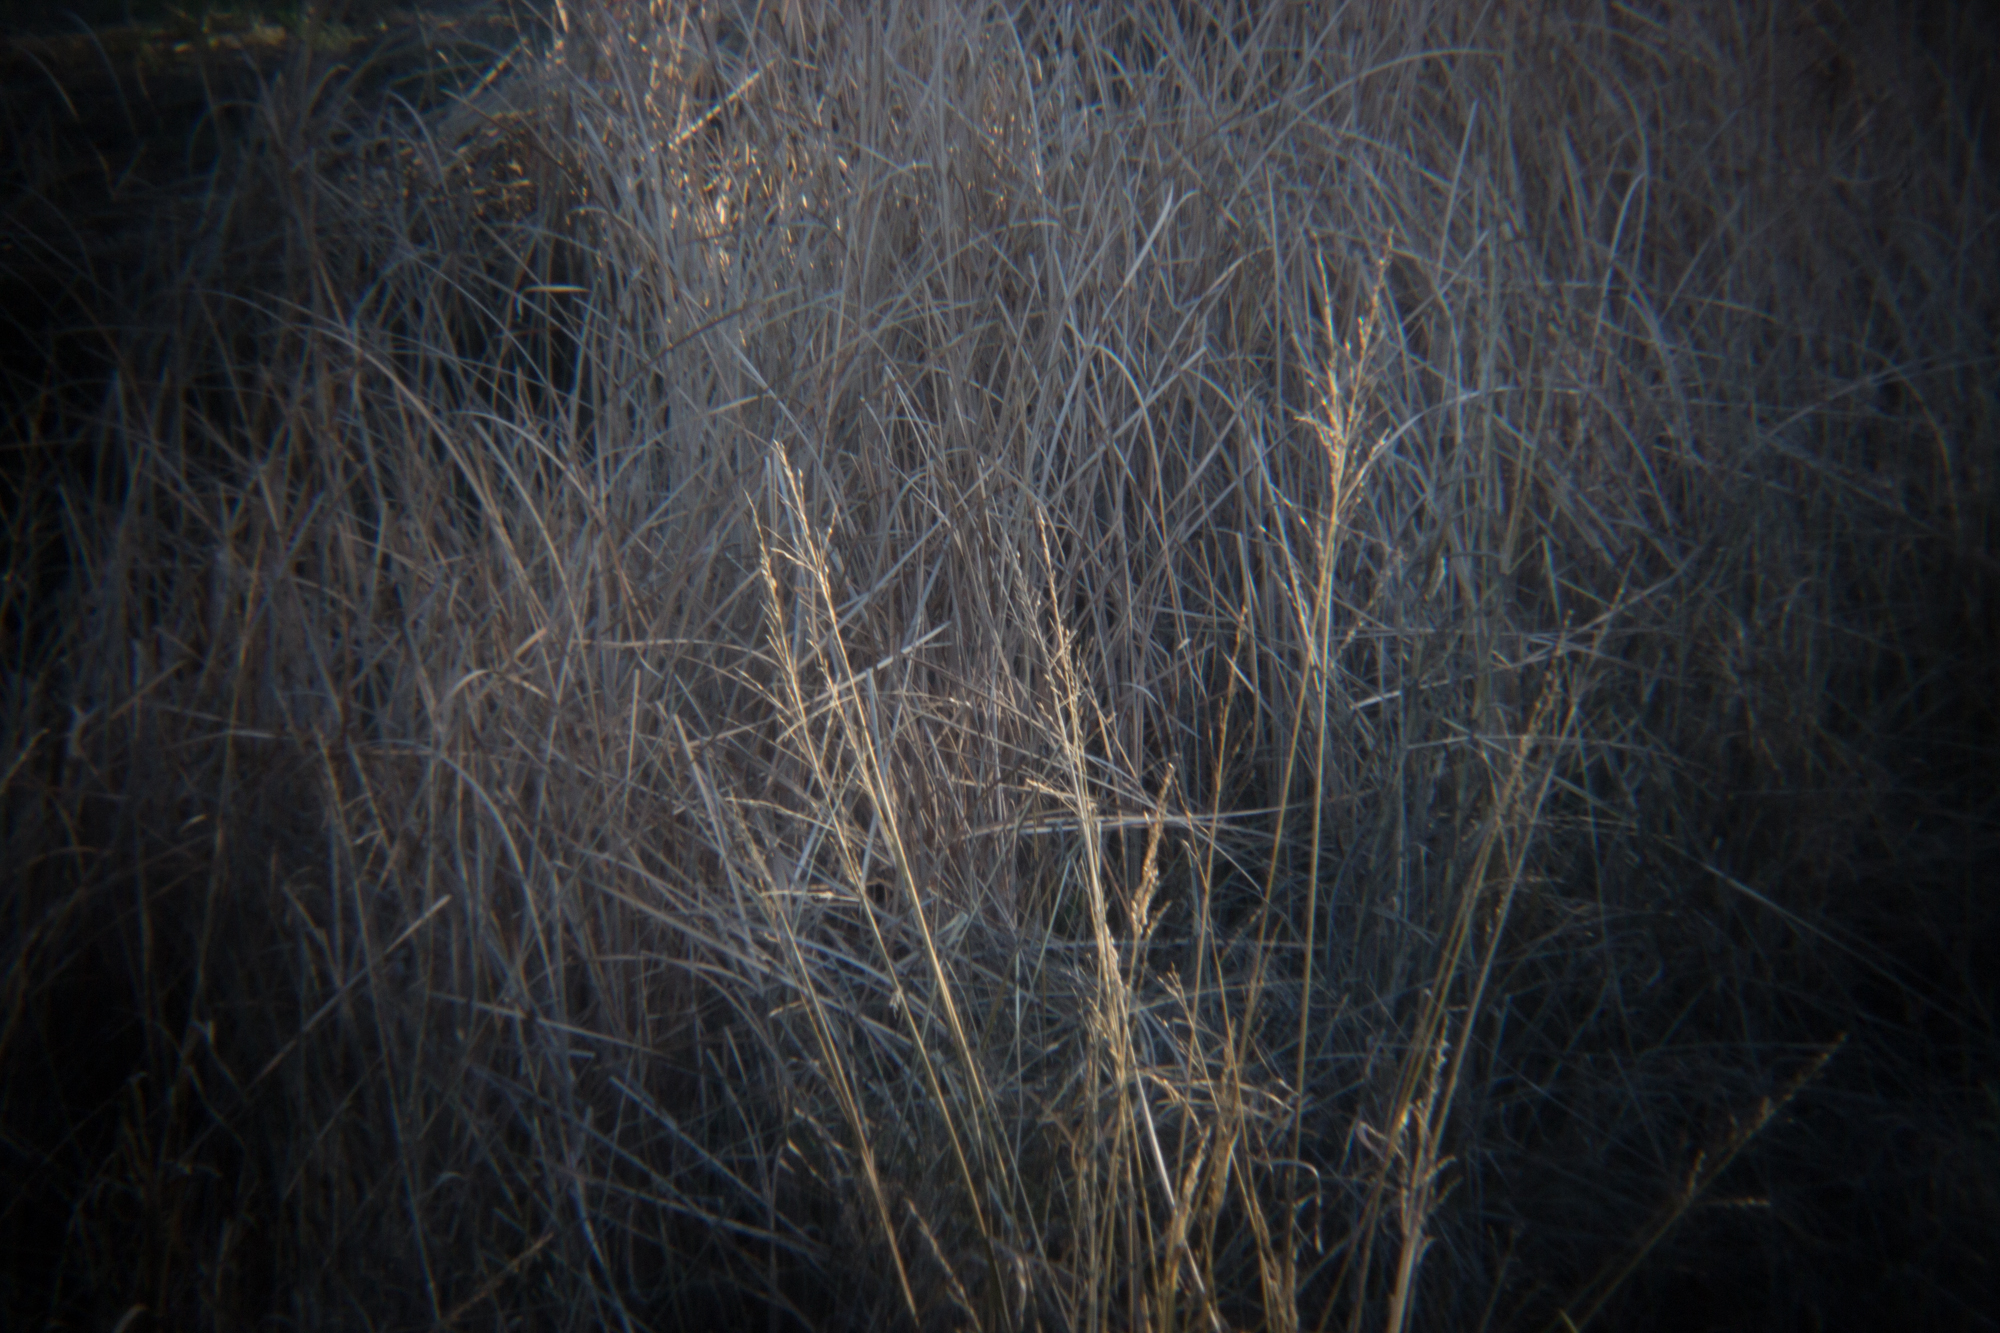
In just about every situation, you will find soft edges due to the plastic nature of the lens. The image’s center is usually where you’ll want your subject since the further you drift towards the edges, the softer it gets.
Color Fringing
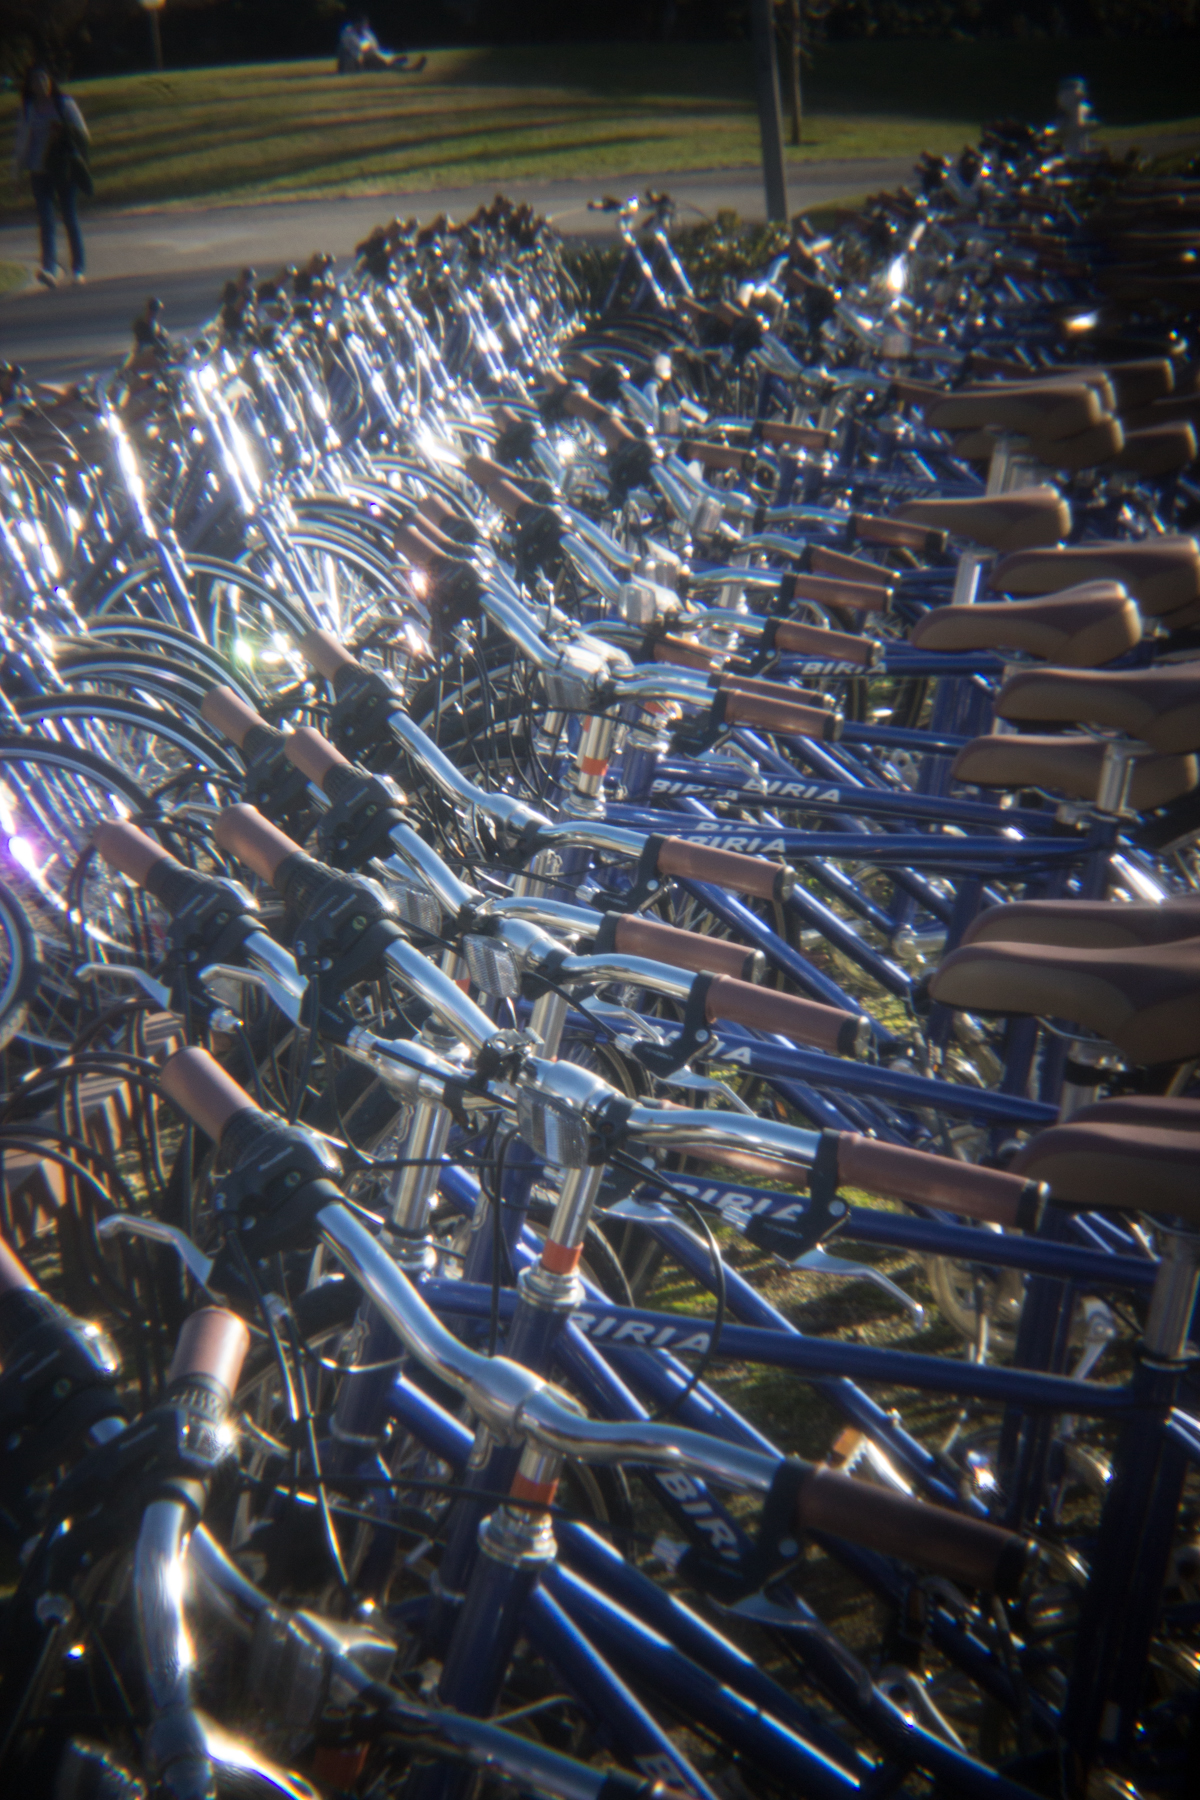
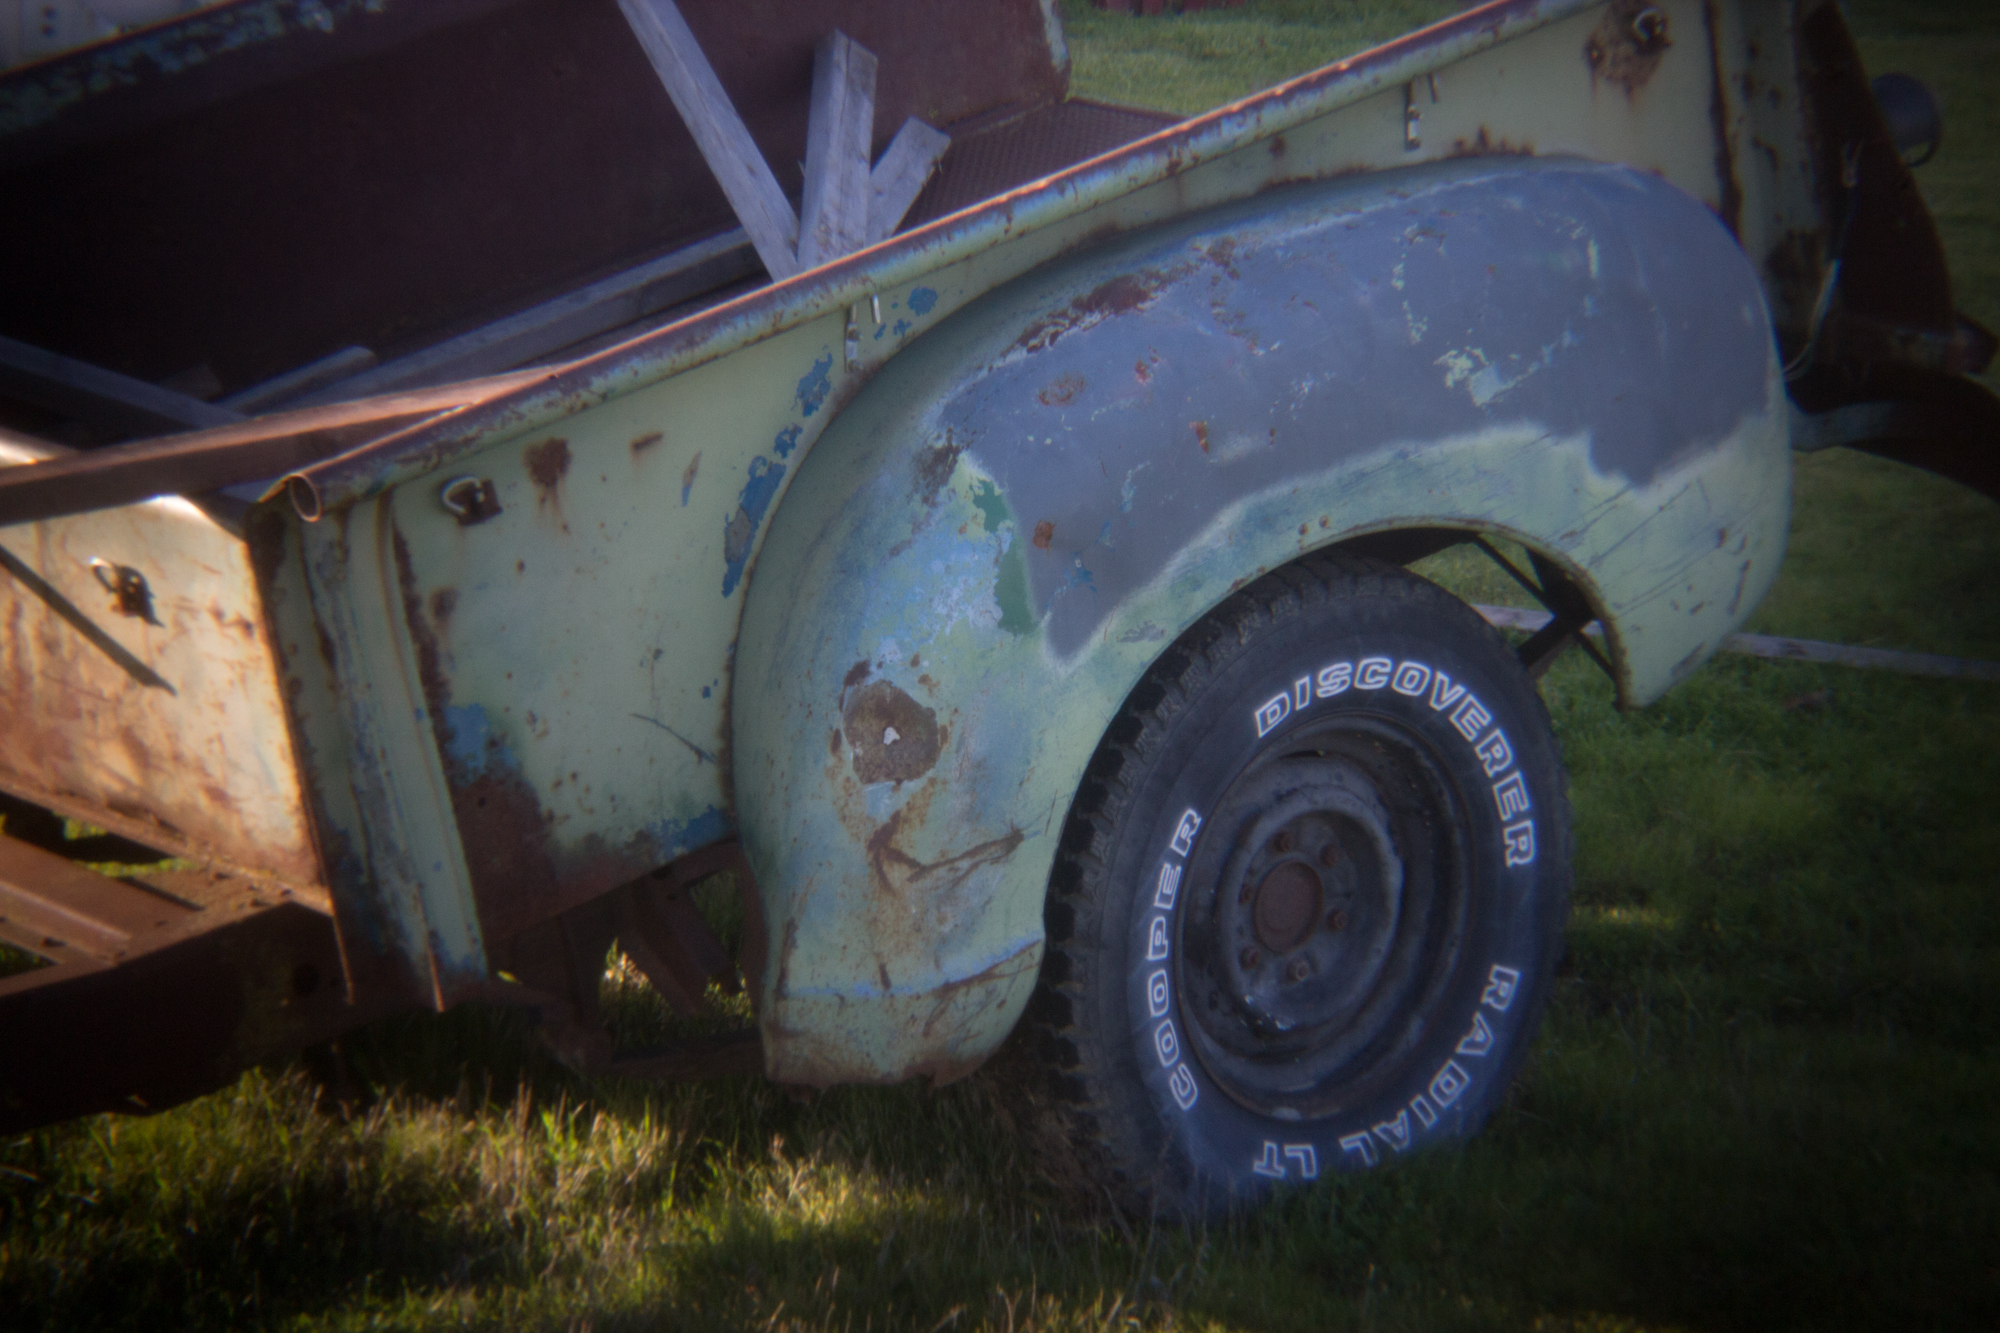
In high contrast areas as well as where the sun hits the subject, you’ll notice the purple fringing. I chose to leave it in the sample images to show how the lens performed without any post-processing help but if you wanted, a lot of the color fringing can be quickly fixed.
Distortion
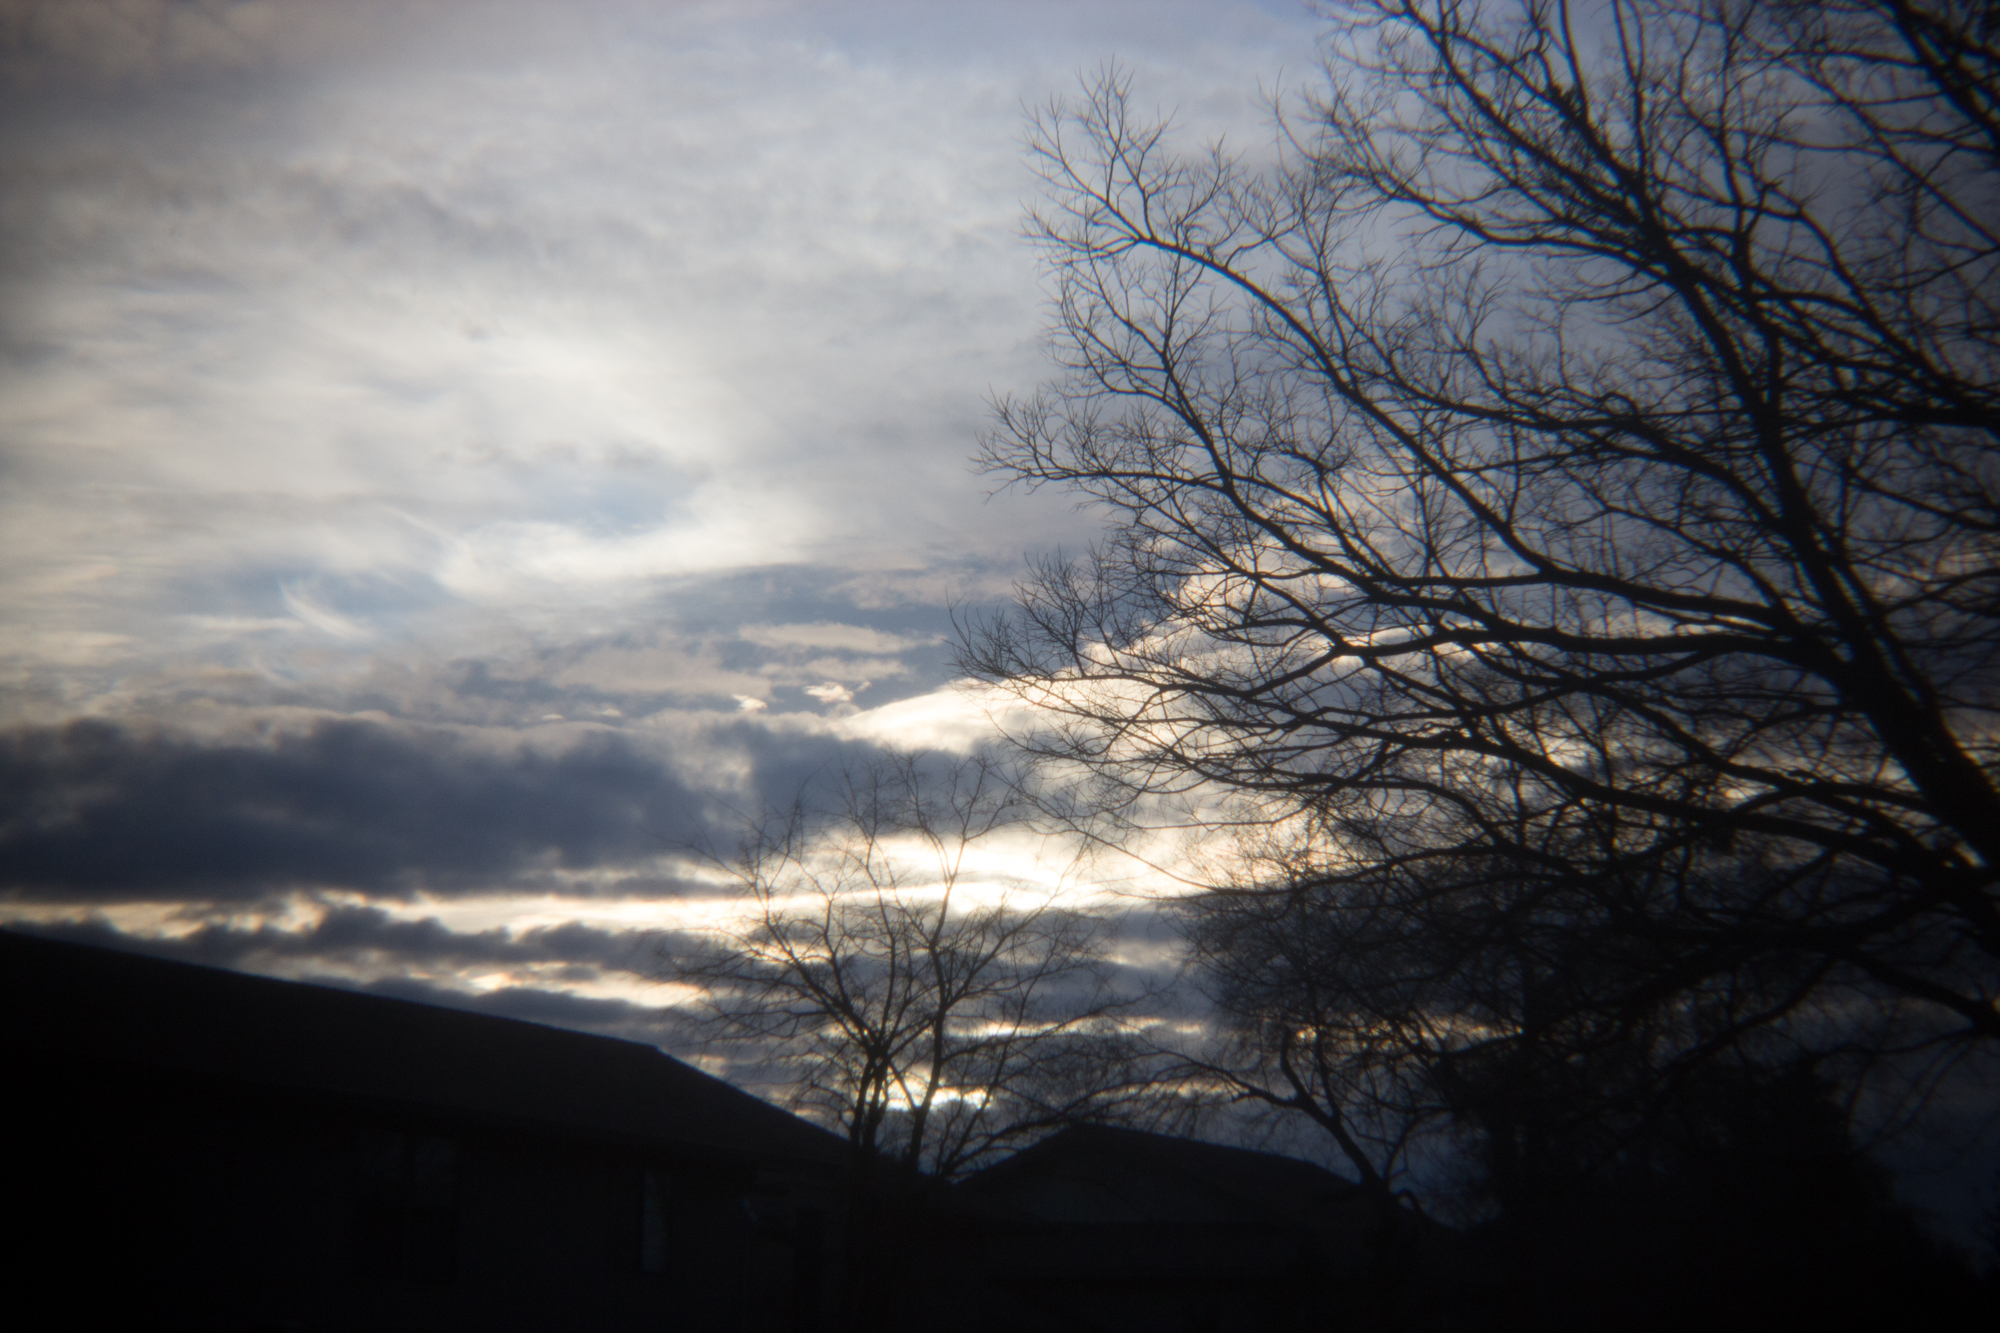
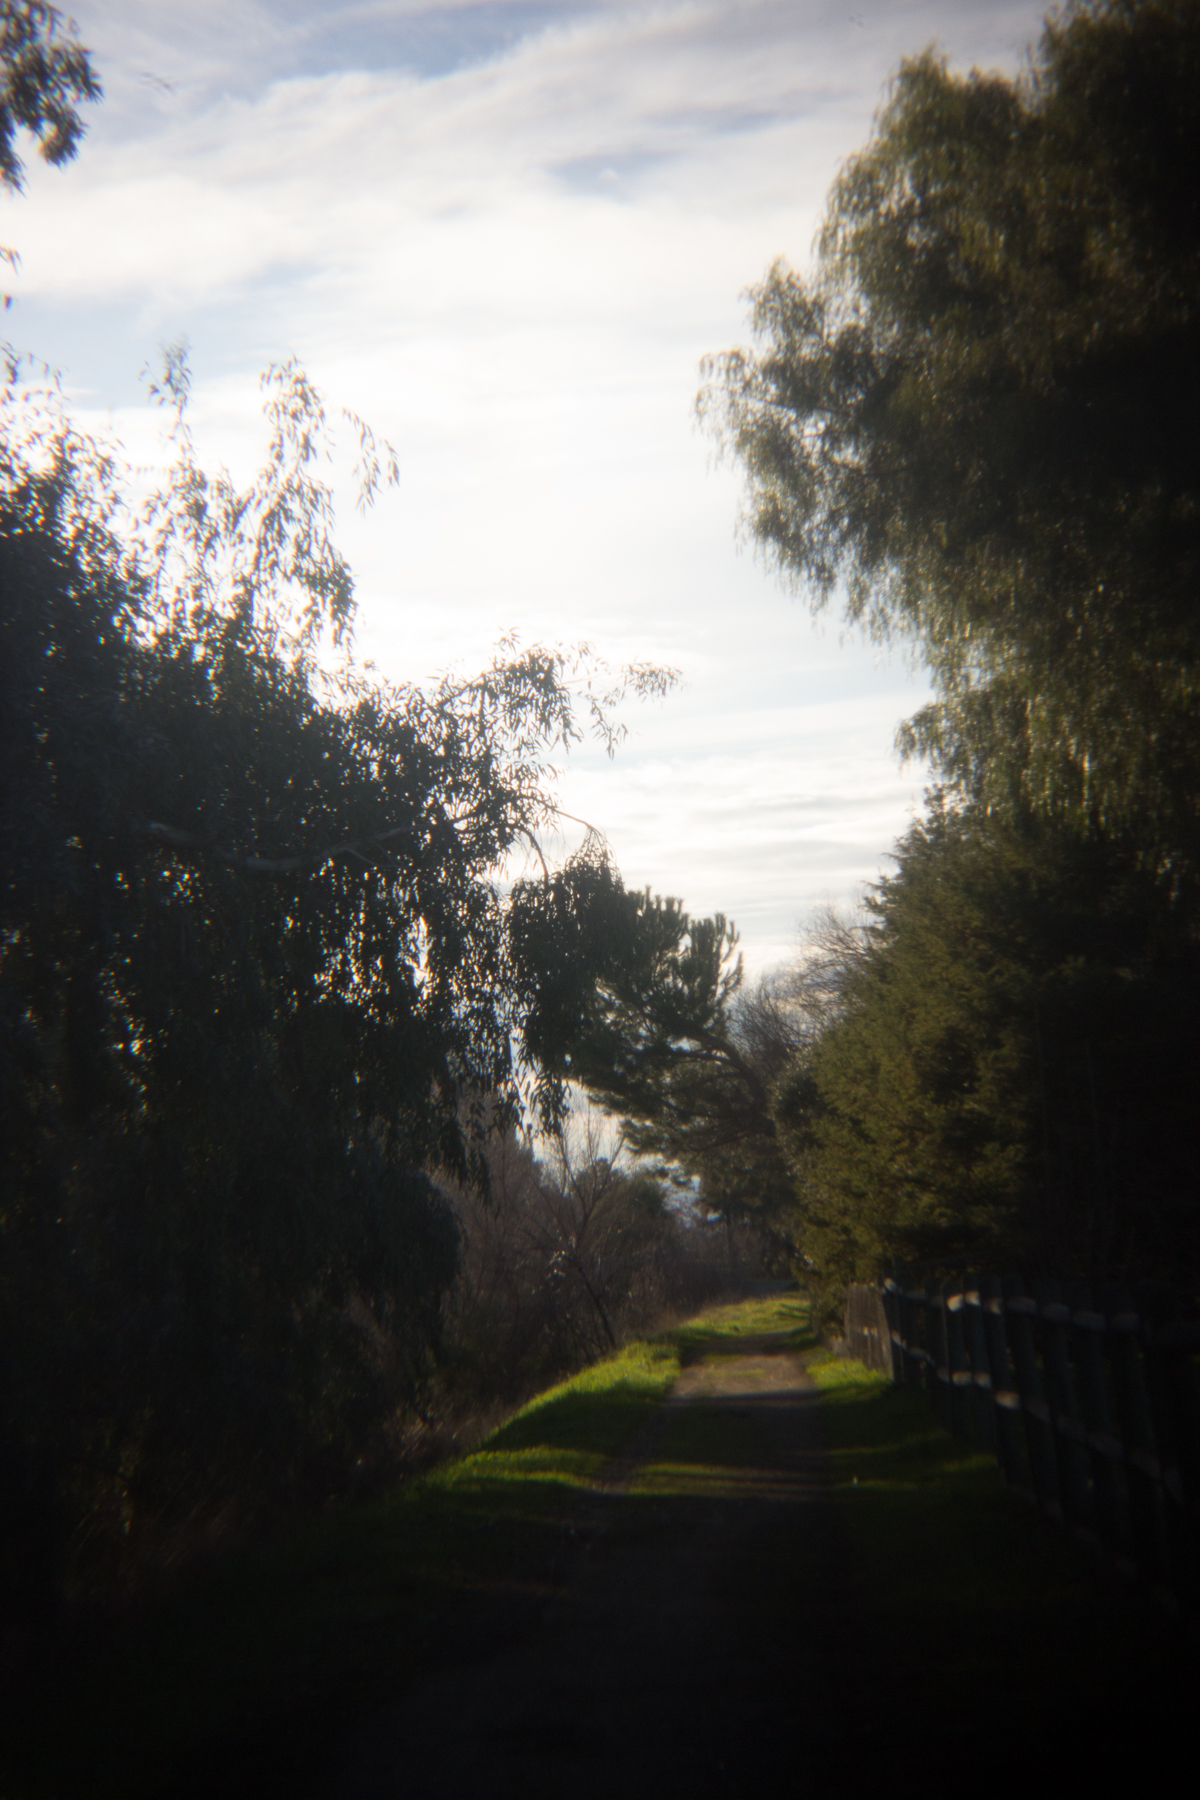
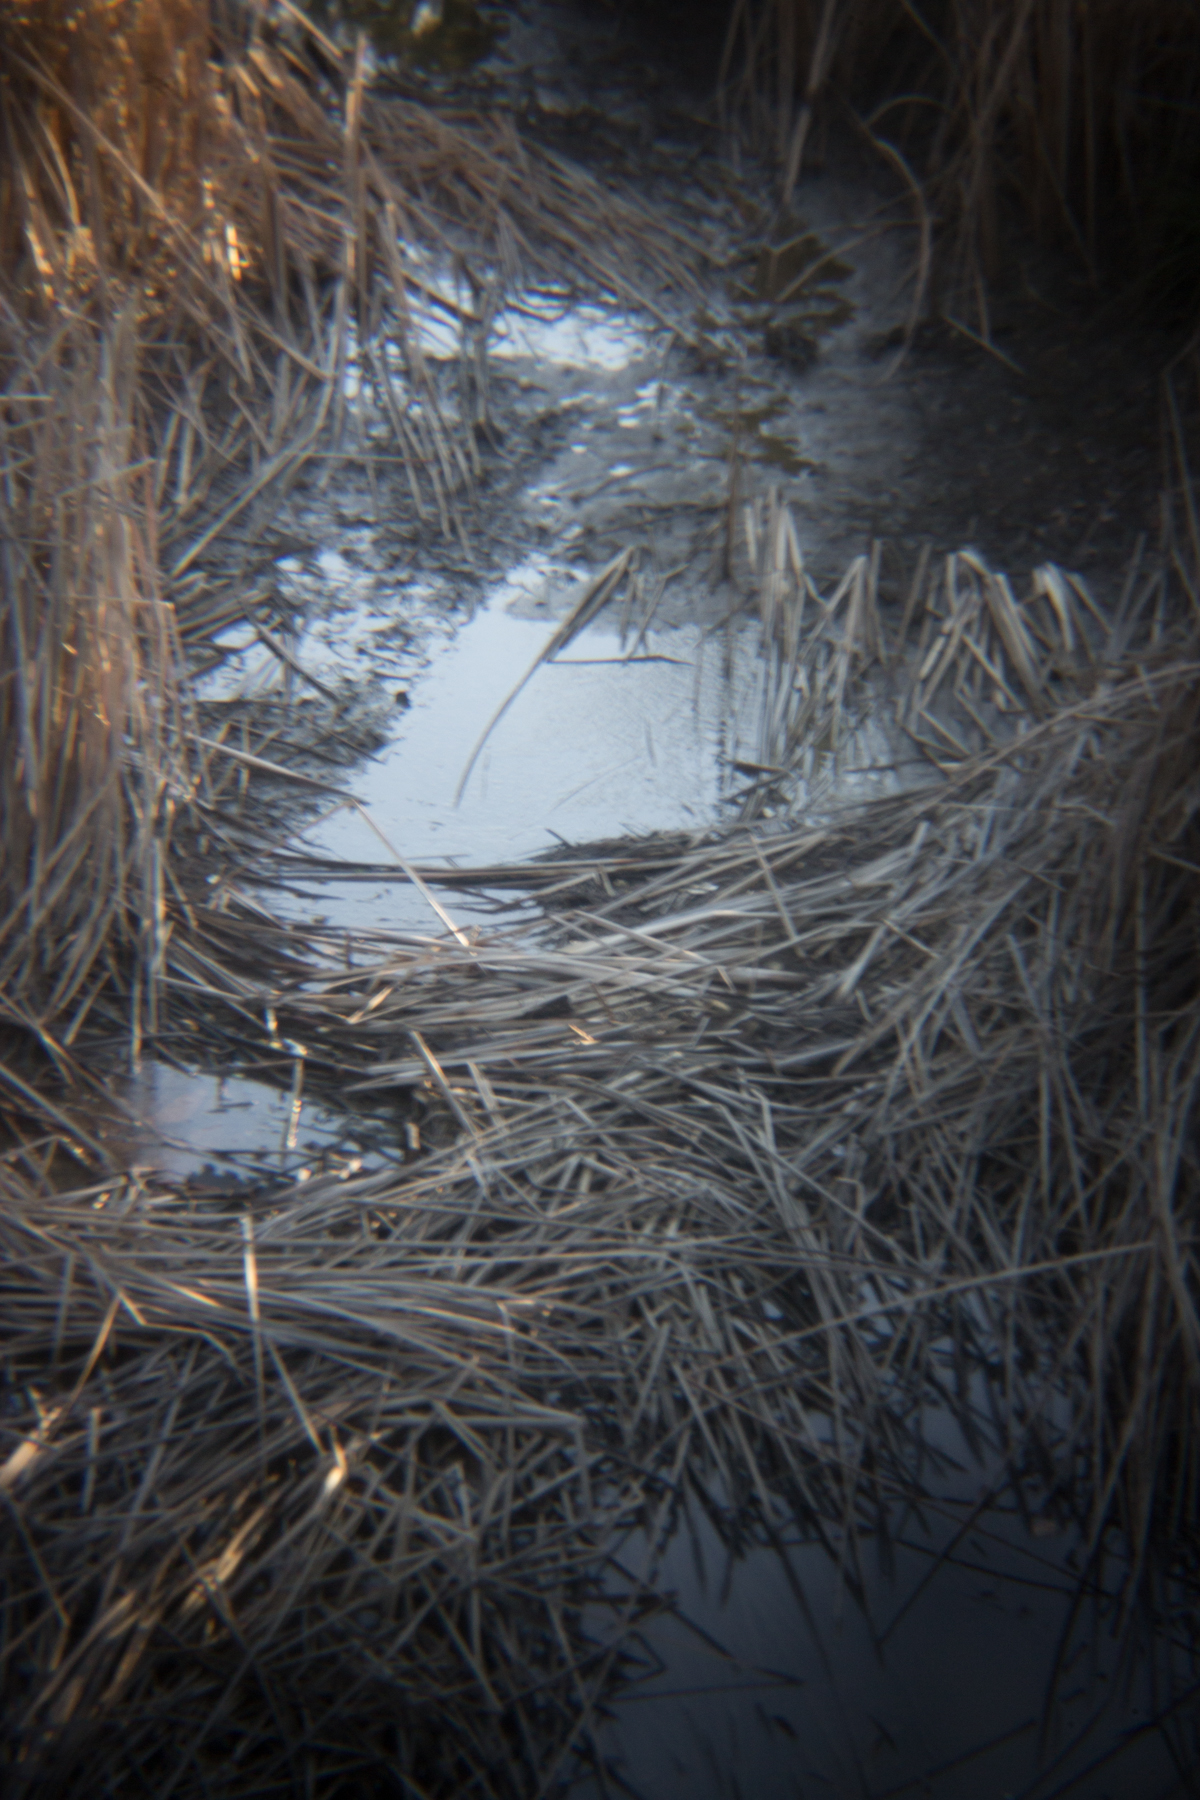
You’ll notice distortion happening along the edges of your images, as well as heavy vignetting. The vignetting did lighten up when there was more light available but overall, there’s no escaping it.
I have included sample images below for your viewing pleasure. To give you the pure Holga experience, none of the sample photos were overly-edited aside from cropping and an exposure boost when appropriate.
Conclusions
I had a blast using the Holga Digital lens and having the ability to use my modern DSLR to shoot lo-fi Holga photos, or as close as you’ll get to the real thing. Without having to worry about properly exposing, faulty shutters, or extreme light leaks that are common with the Holga camera, I was free to continuously burst as much as I wanted. The unpredictable results of each shot was fun and interesting to see. All of the quirks in the images, such as vignetting, CA, and even lens flare makes up the “Holga experience,” which I didn’t really mind once I got over myself and stopped hunting for the perfect photo every time. I’d recommend grabbing one of these if you want Holga images without the Holga hassle and for $30, you really can’t go wrong.
Please Support The Phoblographer
We love to bring you guys the latest and greatest news and gear related stuff. However, we can’t keep doing that unless we have your continued support. If you would like to purchase any of the items mentioned, please do so by clicking our links first and then purchasing the items as we then get a small portion of the sale to help run the website.
Also, please follow us on Facebook, Flickr and Twitter.
Get rid of the ads!
Did you enjoy reading this article as much as we enjoyed writing it? There's a way to support us and our reporting, getting ad-free navigation and more as a bonus. Subscribe to us for less than a coffee per month —just $3.99— or take advantage of our yearly subscription with a hefty discount for only $25.- An ad-free experience
- A free mystery box for Lightroom or Capture One
- All the books in our store
- 20% discount on Capture One
- 30% discount on Imalume Photo Theft Protection
- 20% off Herbs and Kettle Tea Company.
- 20% off your order from MPIX printing services.
- 5% off Viltrox Products via their eCommerce store.
- 10% off all film developing, printing and scanning services from Blue Moon Camera and Machine
- 15% off 7Artisans products: The lens and accessory maker is offering a sweet discount for Phoblographer's readers.