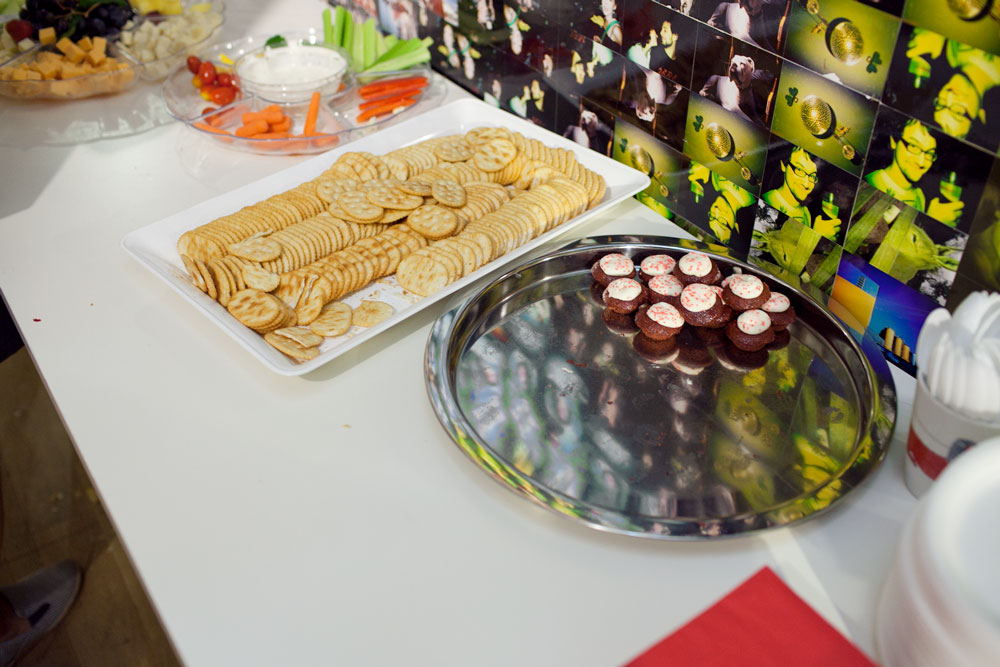
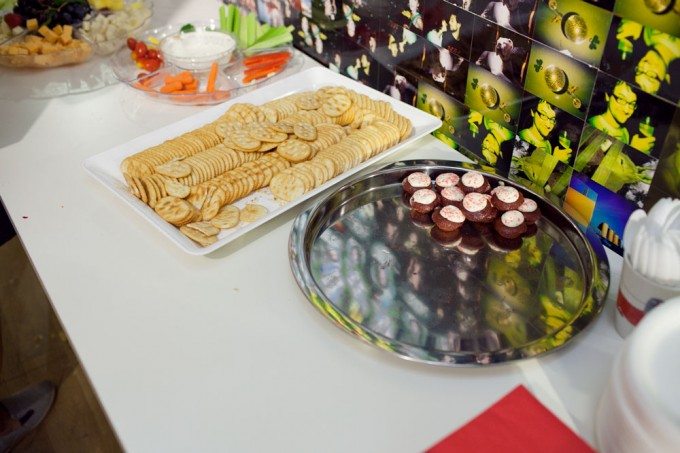
As a follow-up to my post on coping with mixed lighting while shooting, here is a way you can save an image where you didn’t get it right in-camera. There are many different ways of doing this that take varying amounts of time, this is just one way to do it and a pretty quick one.We’ll use this image as our test:
You can see that the majority of the image is quite yellow from the incandescent lighting at the event, but there are blue reflections in the platter from the flash as well. There are other issues but for the tutorial let’s just focus on those two obvious problems.
Step 1: Color balance for the Majority
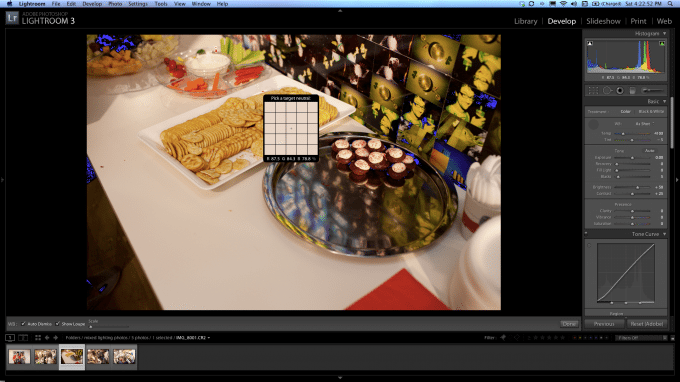
The first thing you should do is get the color balance right for most of the shot. If there isn’t an obvious dominance, color balance for the most important part of the image, such as the main subject’s face. Color balancing is super easy in Lightroom but you can do it in Photoshop fairly easily as well. I’ll just do it in Lightroom since in this case I have a white platter. Just click the eyedropper tool and then click on the platter.
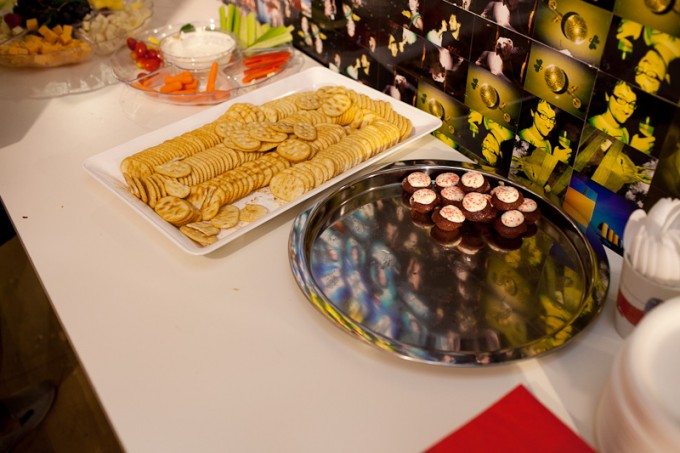
Already obviously better, but this made the blue parts even more obvious. In a second we’ll see why that’s kind of a good thing as it makes the second step even easier.
Step Two: Fix the Problem Areas
Although there are ways to do this in Lightroom and probably other programs, this step is best done in Photoshop. First select the problematic areas. Often this is best done using the Select > Color range option, and that’s what we’re going to use here but you’ll have to use your judgement on a case by case basis.

Then while the area is selected click on adjustment layers and choose color balance. Photoshop is smart enough to create a mask using your selection, so now when you adjust the colors it will only affect that area.

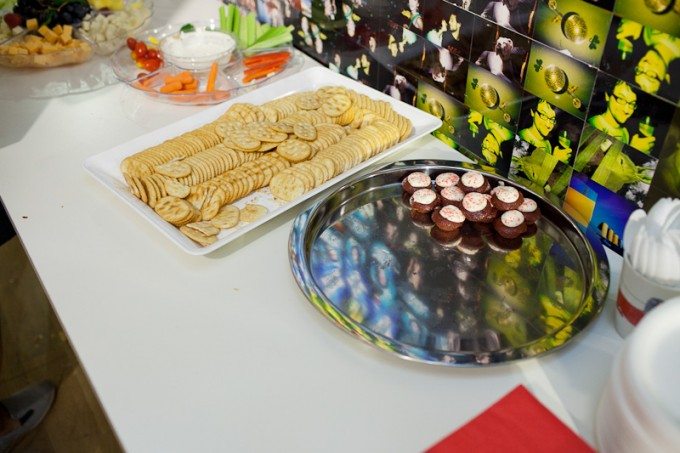
I had to do this three times – first for the main area that was too blue, then to rein in some of the areas that were still too yellow and then a third time for some more subtle blues that became more obvious as I fixed the first two, so I ended up with 3 color balance adjustment layers. The resulting image isn’t perfect and if it were a really important image I could spend more time and be more precise. One such way would be to edit the quick masks I created with a brush set to gray to soften the edges, but that might be a tip for another day. At any rate the resulting image is saved with about ten minutes of quick work:
Result
Please Support The Phoblographer
We love to bring you guys the latest and greatest news and gear related stuff. However, we can’t keep doing that unless we have your continued support. If you would like to purchase any of the items mentioned, please do so by clicking our links first and then purchasing the items as we then get a small portion of the sale to help run the website.


