
Last Updated on 08/20/2017 by Chris Gampat
The ReEdit is a series on the Phoblographer where Chris and the staff dive back into their archives to find a way to make older images from previous sessions look better. The use standard techniques such as color editing, cropping, black and white conversion, etc. Be sure to not miss a single moment by subscribing to the Phoblographer on YouTube.
In the third episode of the ReEdit I return to Capture One Pro in order to show people how I currently tend to create images based on color channels and making subjects stand out more effectively by using said channels. And for this episode I went back into my archives and sought out a photo from my Secret Order of the Slice Series. The photo is an ode to Quentin Tarantino’s briefcase in the movie Pulp Fiction–and this time around I wanted to tone down the excessive editing I felt I did and instead just focus on creating a really good photo through the editing process in Capture One Pro.
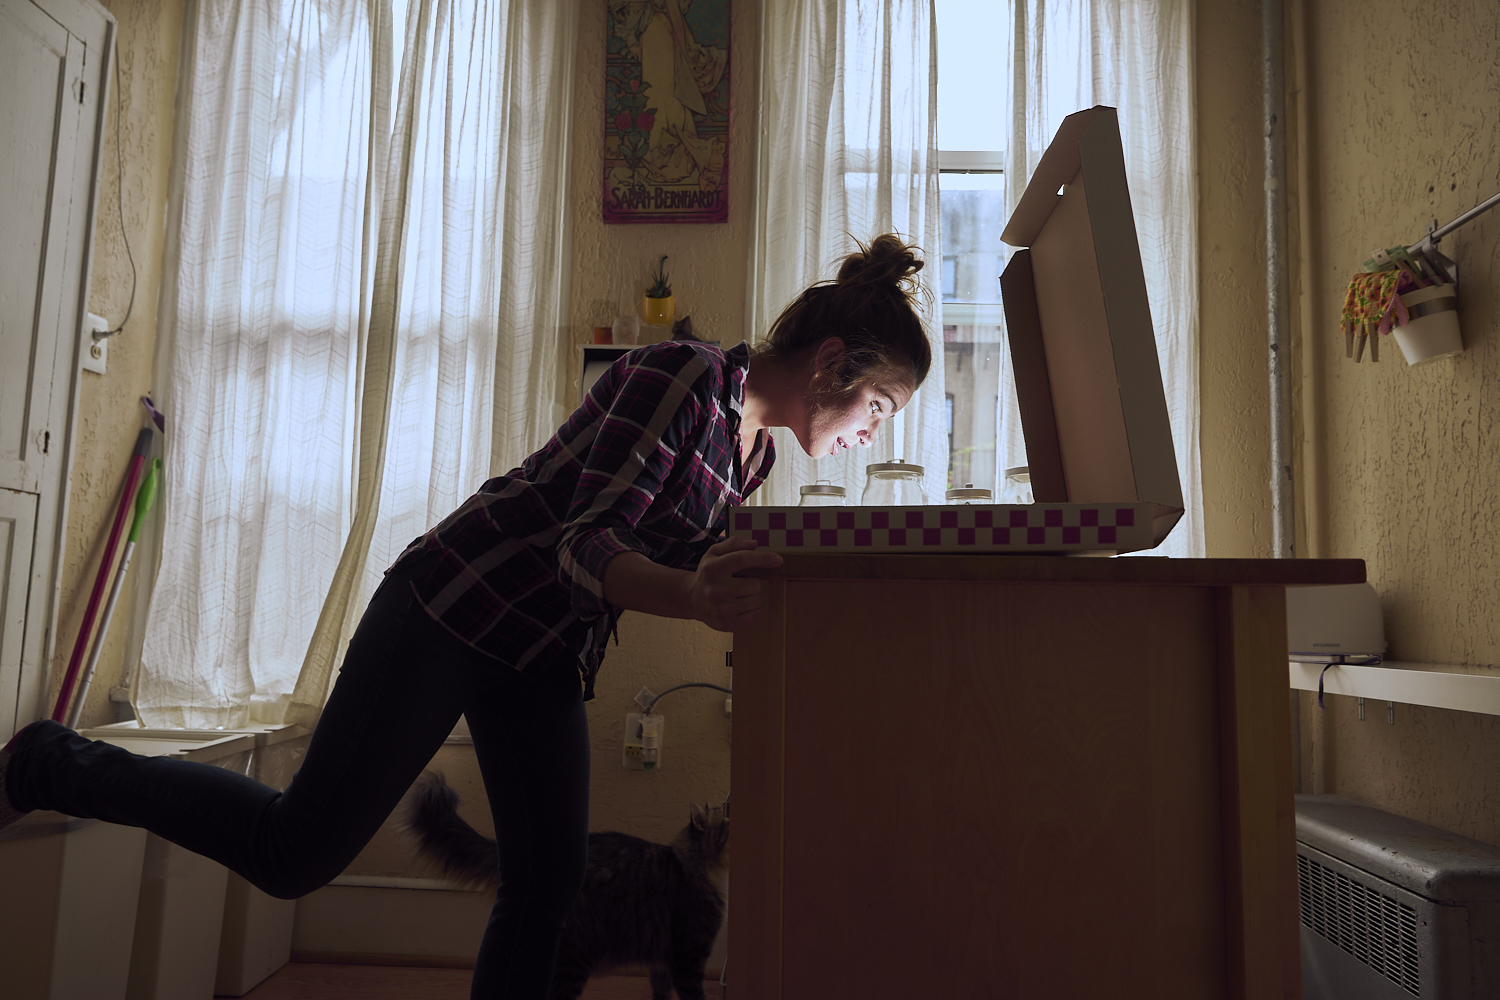
In hindsight, I didn’t show how I cloned out the little bit of the flash visible; but I can do that in a later episode. What you’re seeing here though is how I’m able to cull down to 11 images from 32 and then down to two from 11. You also get insights into why I chose one photo over the other and a bit more of the idea behind the photo and the concept. The original image that was exported was very HDR-toned because, well, that’s how Lightroom’s editing engine looks. But Capture One’s is better and I’m able to avoid issues like that.
Part of what you’ll also see is how I use color channels to make one color stand out more from the rest. Megan is wearing purple and her apartment is mostly tones of orange and yellow (in fact, the entire scene is). So when working with a specific white balance in mind, I can find ways to negate this and make the colors stand apart from one another. When combining this with the tones and the highlights, I found a way to put even greater emphasis on Megan and the pizza box.