
Last Updated on 11/25/2019 by Chris Gampat
For quite a while now, I’ve been sold on Canon’s Prograf 1000 printer; but then I finally had the chance to play with Epson’s P800. I previously reviewed the Epson P600, which I felt did a pretty good job overall. But then I tried the Prograf, and found that it delivered images that perfectly matched my computer screen. Seriously, how do you beat that?
So if Epson is going to do that, it would need to find a way to do the exact same thing and find a way to make the user experience easier.
Pros and Cons
Pros
- Touchscreen is really awesome.
- Keeps the WiFi information such as passwords stored in the case that you switch from one connection to another.
- Simple to install ink
- Fantastic print quality
Cons
- The manual feed tray is bound to annoy the hell out of you when loading fine art paper that’s thicker than normal. They need to fix this.
- Manual feed tray really needs to make it easier to align paper going in and out
Gear Used
We tested the Epson P800 with various Red River papers. If you’ve never heard of them, you should check them out.
Tech Specs
Specs taken from the Epson page listing
Print:
Printing Technology:Advanced MicroPiezo® AMC™ print head with ink-repelling coating technology, 8-channel, drop-on-demand, inkjet print headMinimum Ink Droplet Size:
- 3.5 picoliters
- Variable Droplet Technology can produce up to 3 different droplet sizes per print line
Maximum Print Resolution:2880 x 1440 dpiMaximum Printable Area:
- Maximum paper width: 17″
- Maximum cut-sheet size: 17″ x 22″
- Minimum cut-sheet size: 3.5″ x 5″
- Maximum printable area: 17″ x 129″
Nozzle Configuration:180 nozzles x 8
Ink:
Ink Type:Ink Type: Pigment-based Epson UltraChrome® HD ink technologyInk Palette:8-color Photo or Matte Black, Cyan, Vivid Magenta, Yellow, Light Cyan, Vivid Light Magenta, Light Black, Light Light BlackInk Cartridge Configuration:Auto-Switching Black Ink Technology
-
- Fully automatic switching between Black ink modes
Ink used during conversion
- Matte to Photo Black approx. 4.6 ml
- Photo to Matte Black approx. 1.6 ml
See Note1Replacement Ink Cartridges:Epson Intelligent Ink Cartridges
-
- Cartridge fill volume: 80 ml each color x 9 colors total
Ink cartridge shelf life
- 2 years from printed production date or 6 months after opened
See Note2
General:
Operating Systems:
- Windows® 10, 8.1, 8, and 7
- Mac OS® X 10.11.x, 10.10.x, 10.9.x, 10.8.x, 10.7.x
Temperature:Operating
-
- 50° to 95° F (10° to 35° C)
Storage
- -4° to 104° F (-20° to 40° C)
Humidity:Operating
-
- 20% to 80% (no condensation)
Storage
- 5% to 85% (no condensation)
Sound Level:Approx. 50 dB according to ISO 7779Dimensions:26.93″(W) x 14.80″(D) x 9.85″(H)Weight:43 lbSafety Approvals:UL1950, CSA 22.2 950 FDA, EMI: FCC Part 15 subpart B class B, CSA C108.8 class B, AS/NZS 3548 class B
General Printers:
Printer Language:Epson ESC/P raster photographic drivers
Power:
Rated Voltage:AC 110 – 120VRated Frequency:50 – 60 HzPower Consumption:
- Printing: Approx. 21 W
- Sleep Mode: Approx. less than 1.8 W
Rated Current:Less than 1.0 A/110 – 120 V
Connectivity:
Standard Connectivity:
- Hi-Speed USB 2.0 (1 port)
- 100Base-T Ethernet (1 port)
- Wi-Fi CERTIFIED™ (802.11n only)3
- Wi-Fi Direct3
- Epson Connect™4: Epson iPrint™ Mobile App, Apple® Airprint™, Google Cloud Print™
Paper Handling:
Maximum Paper Size:Main top-loading feeder
-
- Up to 17″ x 22″
- Up to 120 sheets plain; 30 photo
Roll paper (optional)
-
- 17″ roll, 2″ or 3″ core
Front media path
- Up to 17″ x 22″
- Single sheet manual feeder, designed for fine art paper and media up to 1.3 mm thick
Borderless Sizes:3.5″ x 5″, 4″ x 6″, 5″ x 7″, 8″ x 10″, A4 (8.3″ x 11.7″), letter (8.5″ x 11″), 11″ x 14″, 12″ x 12″, B (11″ x 17″), A3 (11.7″ x 16.5″), Super B (13″ x 19″) and C (17″ x 22″) sizes
Ergonomics
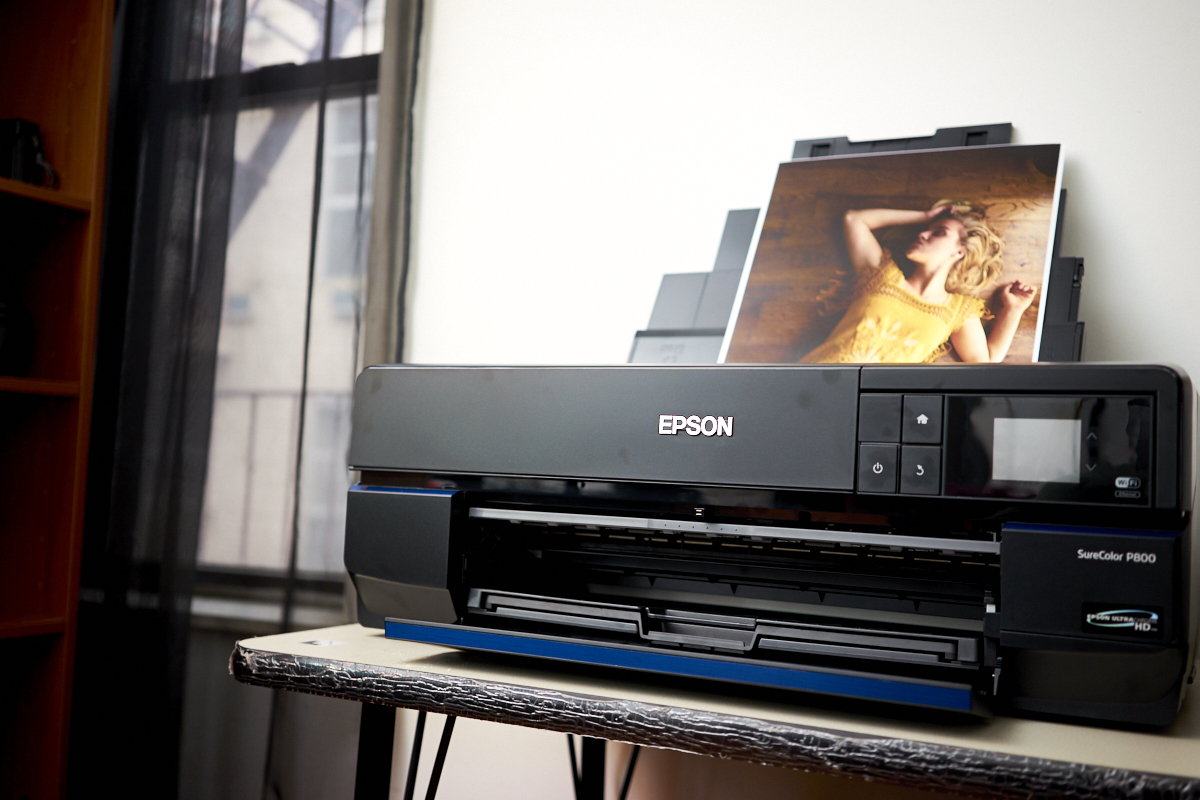
The Epson P800 printer is built like many other high end printers designed for photographers. It isn’t one of those large format printers, but it’s still capable of creating some very large prints overall.
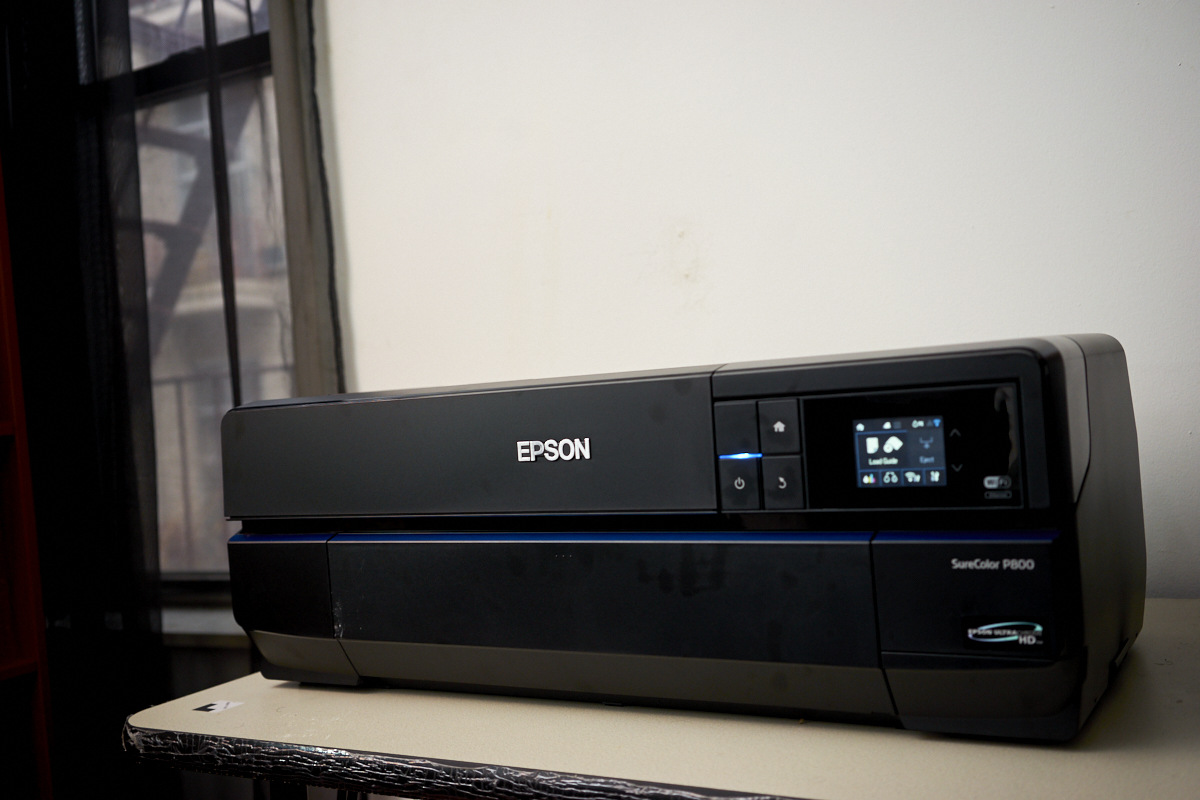
The printer is overall characterized by its logo on the front, a few slots/trays, the interface and an area that covers up the ink tank.
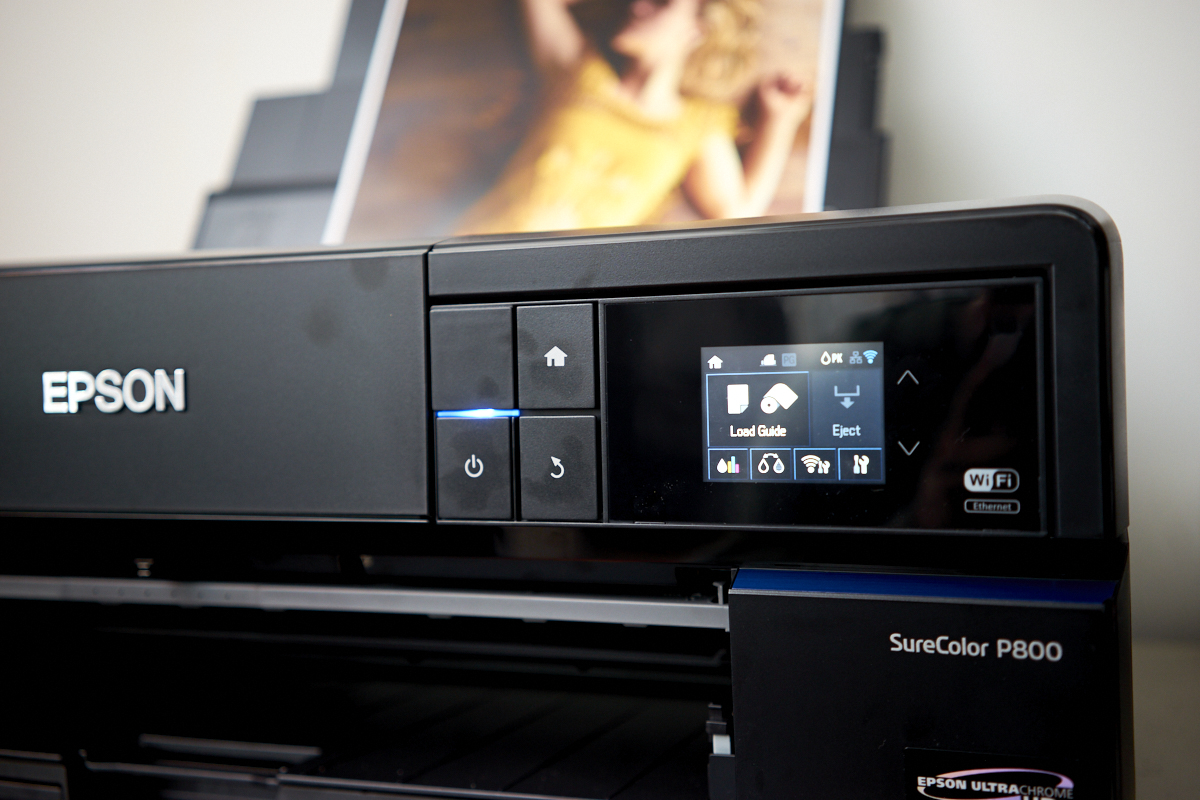
Towards the right hand side, you’ll find the interface screen. This is a touch screen, which is already a one-up on Canon. You’ve got the buttons to scroll up and down in addition to hard buttons for certain functions.
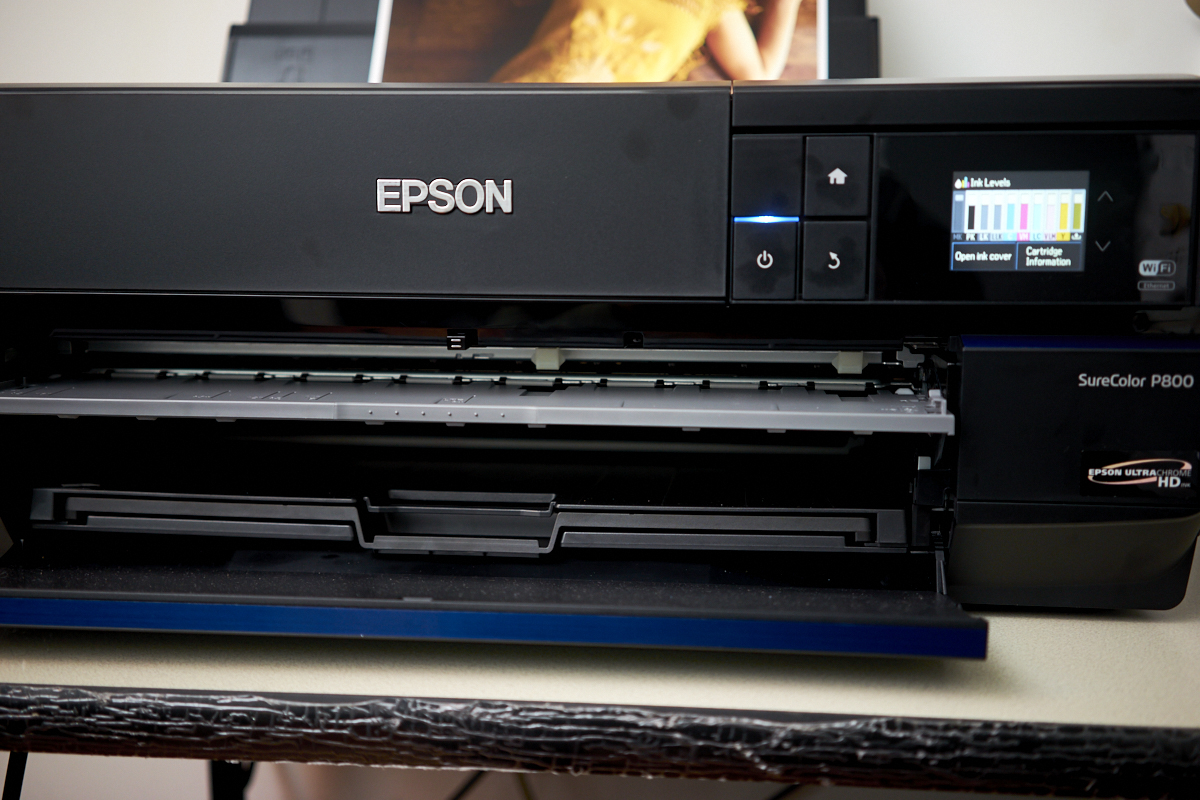
See that gray area? That’s the manual feed slot. This one is better than the P600’s because there are actual markers which try to help you feed the paper in. But more often than not, the paper can jam if you’re working with thicker paper.
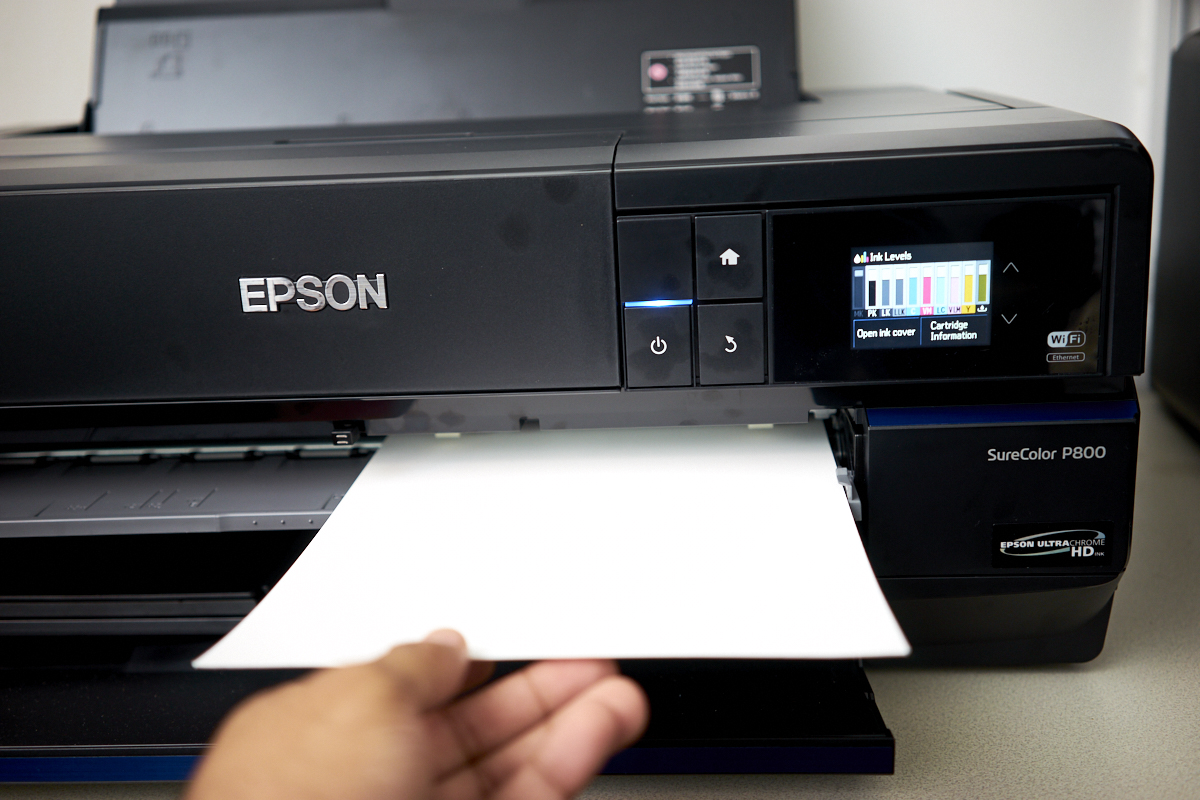
That paper goes in like this. It aligns with the side and can be easily fed into the tray. But then you have to ensure that it’s straight. With thinner paper, this works fine. But paper is also sometimes not even cut straight.

Pictured here are two different trays: you’ve got the rear tray (also called the auto feed tray) which extends to accommodate to some paper coming in from the manual feed tray. Then there’s the output tray, which the image printed is actually on.
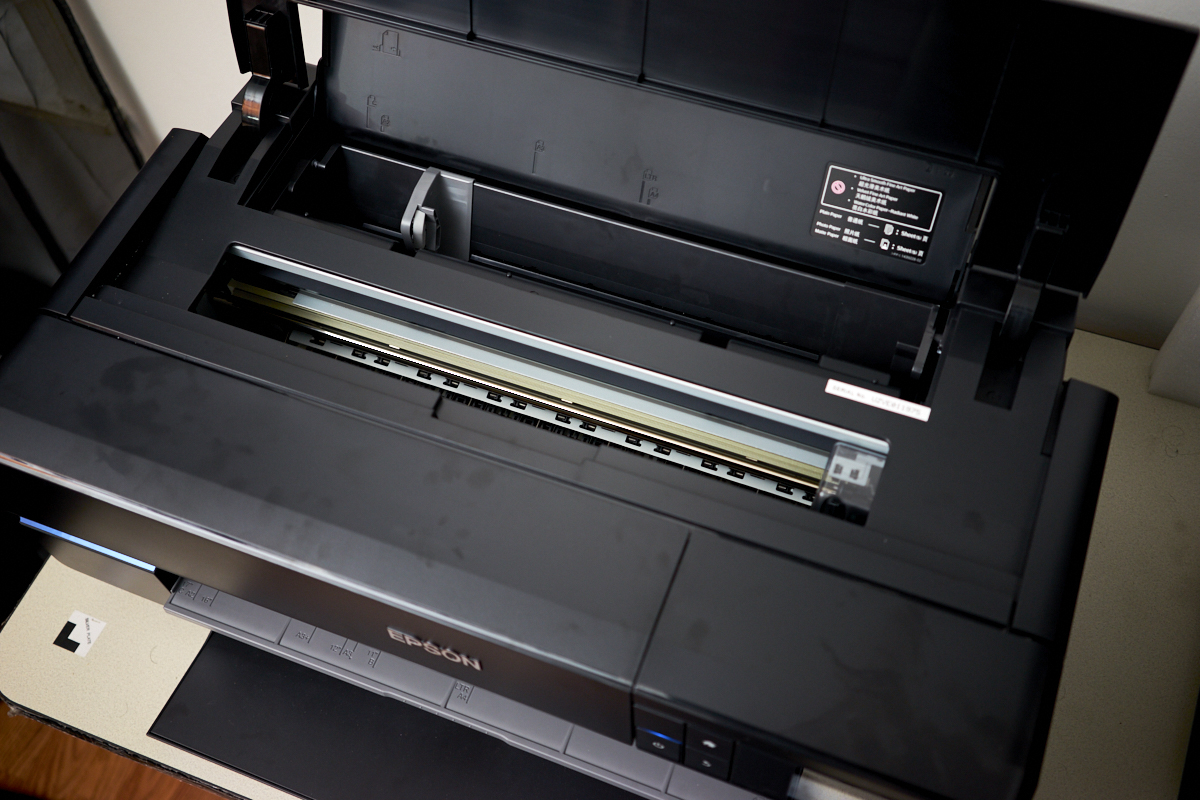
The top of the printer also has access to other areas just in case you need to do some maintenance. Luckily, I haven’t had to!
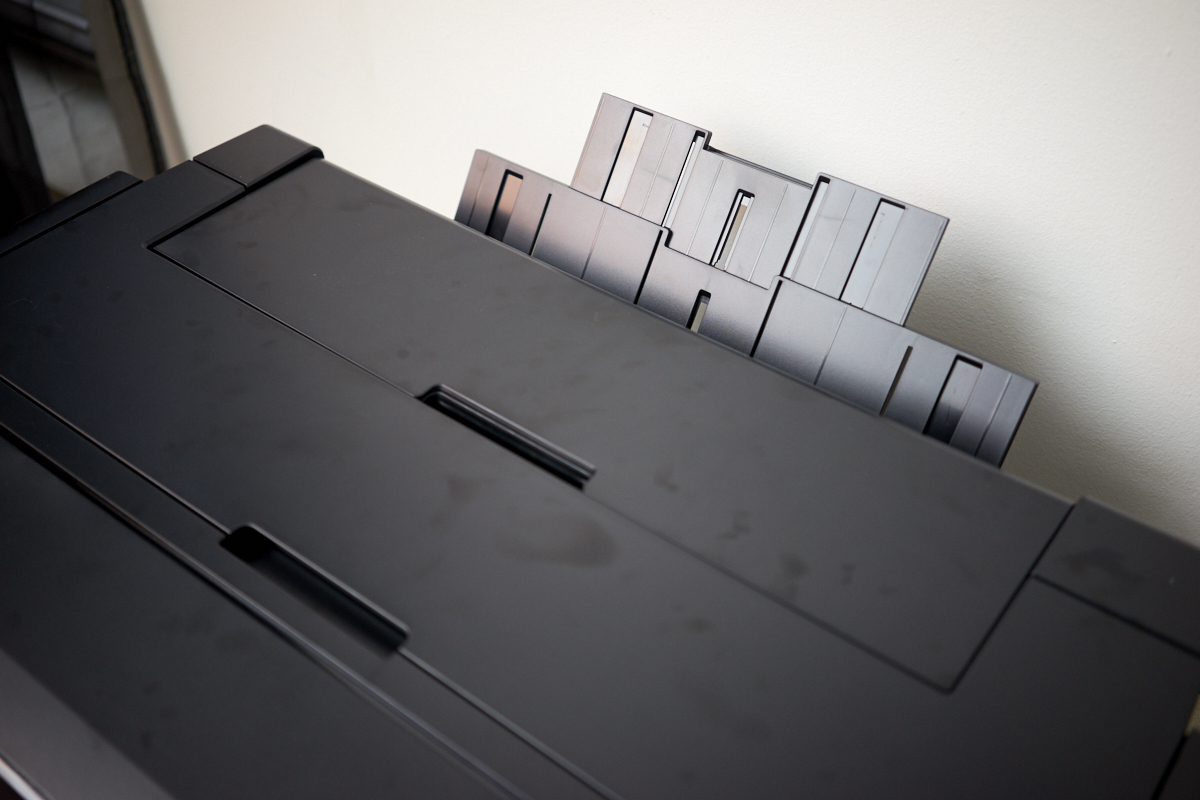
There is also another rear tray that can accommodate to other paper depending on the size.
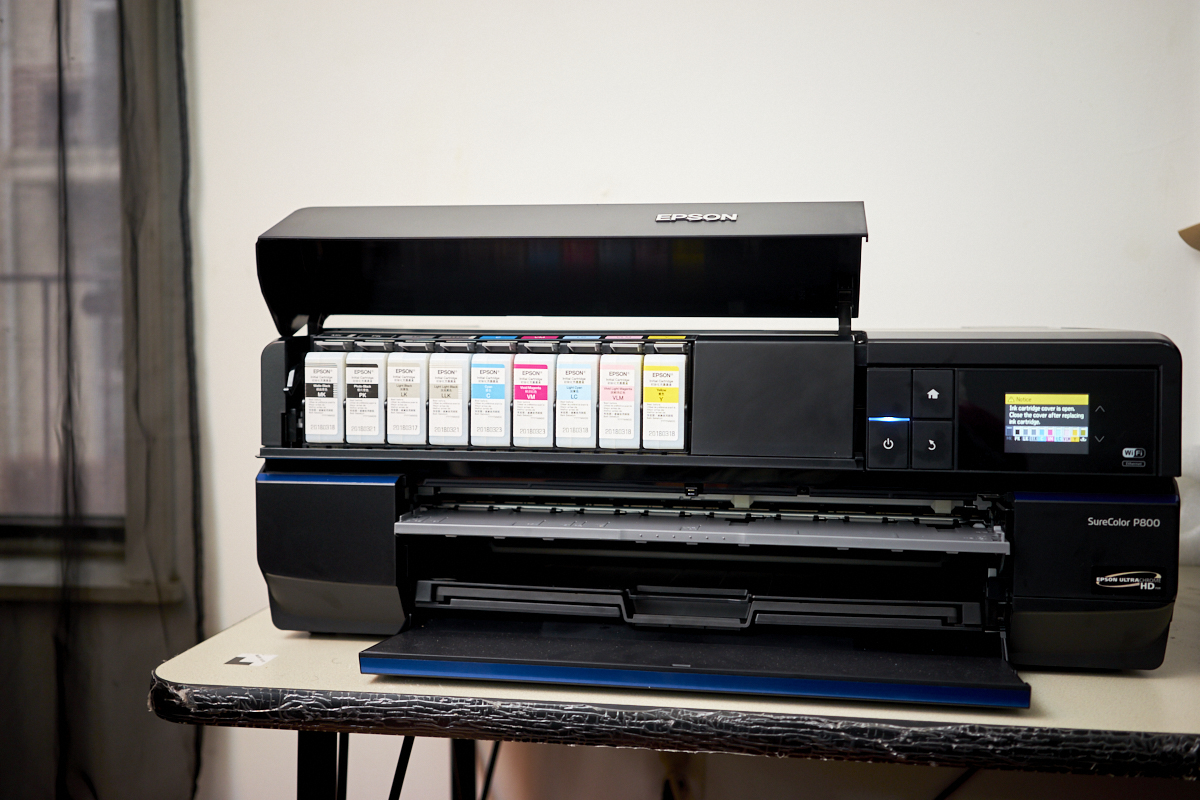
Back to the front, you’ll spot the whole ink tank area. There are a number of ink cartridges and loading them up is pretty simple.
Build Quality
Both the Epson P800 and the Canon Prograf 1000 are built similarly. They feel great, are heavy, and are designed to really be placed in one area. Once they’re firmly planted, you won’t have issues at all. However, moving it will require a bit of strength.
Ease of Use
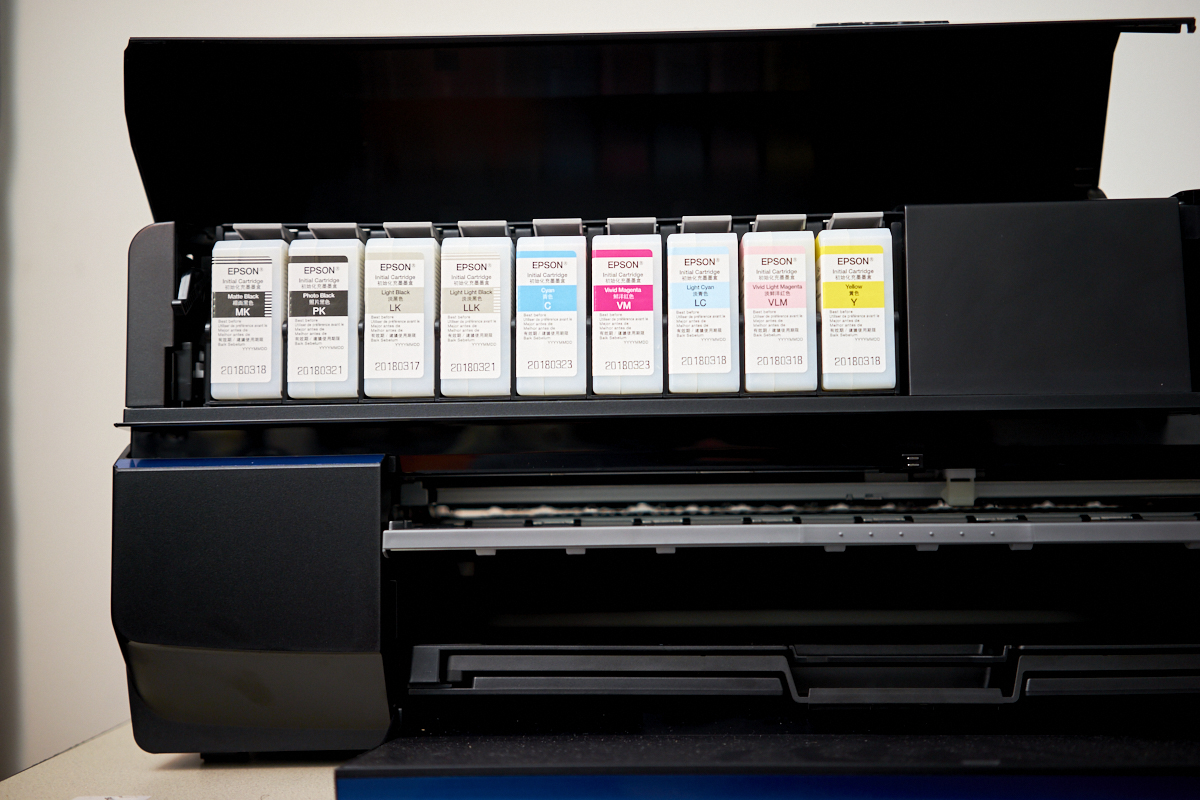
One of the simplest and most oddly satisfying parts of using this printer is loading the inks up. It’s pretty self explanatory but when you look at the ink, it will tell you exactly how to put them in as well. Each ink locks in with a very satisfying snap.
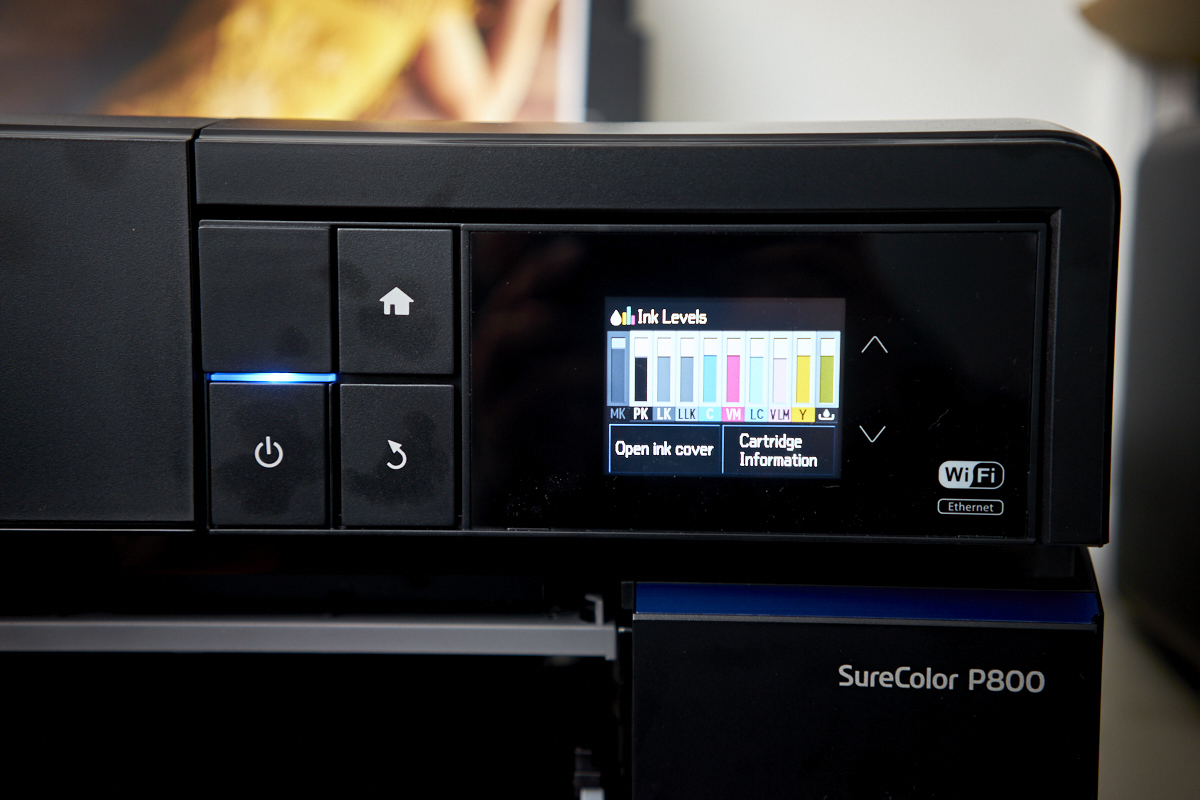
Using the printer itself is very easy overall. If you don’t know how to do something, scrolling down on most interfaces will explain and show you how to do things like loading paper. It’s a very step by step almost handholding process. Overall I really like it.
Luckily the printer also works seamlessly with Apple products like my MacBook Pro 13 inch. Then when I boot up Capture One 10, the printing process is pretty straight forward and a bunch easier than trying to print from Lightroom. However, it’s a different and smaller interface, so you’ll need to be slow about doing it.
Image Quality

Using Red River Paper, I’m honestly very impressed by the image quality overall. Straight out of the box, the printer tends to be very good about delivering details though it tends to lose some of it in the shadows. The color balance is perfectly fine, and overall much better than the P600 was.
In comparison, Canon is able to still replicate exactly what’s on the screen, even the shadows. But generally speaking, if you looked at a print from both printers, most photographers wouldn’t be able to tell the difference.
Conclusions
I’m a big fan of the Epson P800. The printer makes everything really simple to do and when combined with the excellent editing features in Capture One 10, you’ve got a lot of capabilities. You indeed tend to lose a bit of information in the shadows, but it’s still not terrible. I’d be more than happy to hang the prints up in any gallery or pop-up show. Clients are also very happy with the print quality overall.
In the battle between Canon vs Epson when it comes to the higher end printers, it’s splitting hairs. Epson loses details in the shadows but has a significantly simpler interface. Canon will give you a better print, but using it isn’t that simple.

Overall, the Epson P800 receives five out of five stars. Want one? Check out Adorama for the latest details.