
Last Updated on 07/14/2016 by Chris Gampat
This is a syndicated blog post from Xavier D. Buendia. It and the images here are being used with permission.
Hello, as you might know by now, I spend a good part of my time taking pictures in restaurants. I shoot interiors and exteriors, I do action shots and portraits but one of the things that I enjoy the most is shooting food and plated dishes.
Shooting food at restaurants is the most challenging part of the job and it is also what I get asked the most about by bloggers, reviewers and foodies; they tend to create incredible images when shooting in their kitchens and living rooms; but often struggle when they take it to a restaurant. There are so many things to think of and look at when shooting a dish so here are five basic tips that will help you improve your restaurant photography.
1. Light.
If you ask any photographer, we all agree that natural light is the main ingredient for successful food photography. Good light will make a shot epic, while poor light will ruin everything.
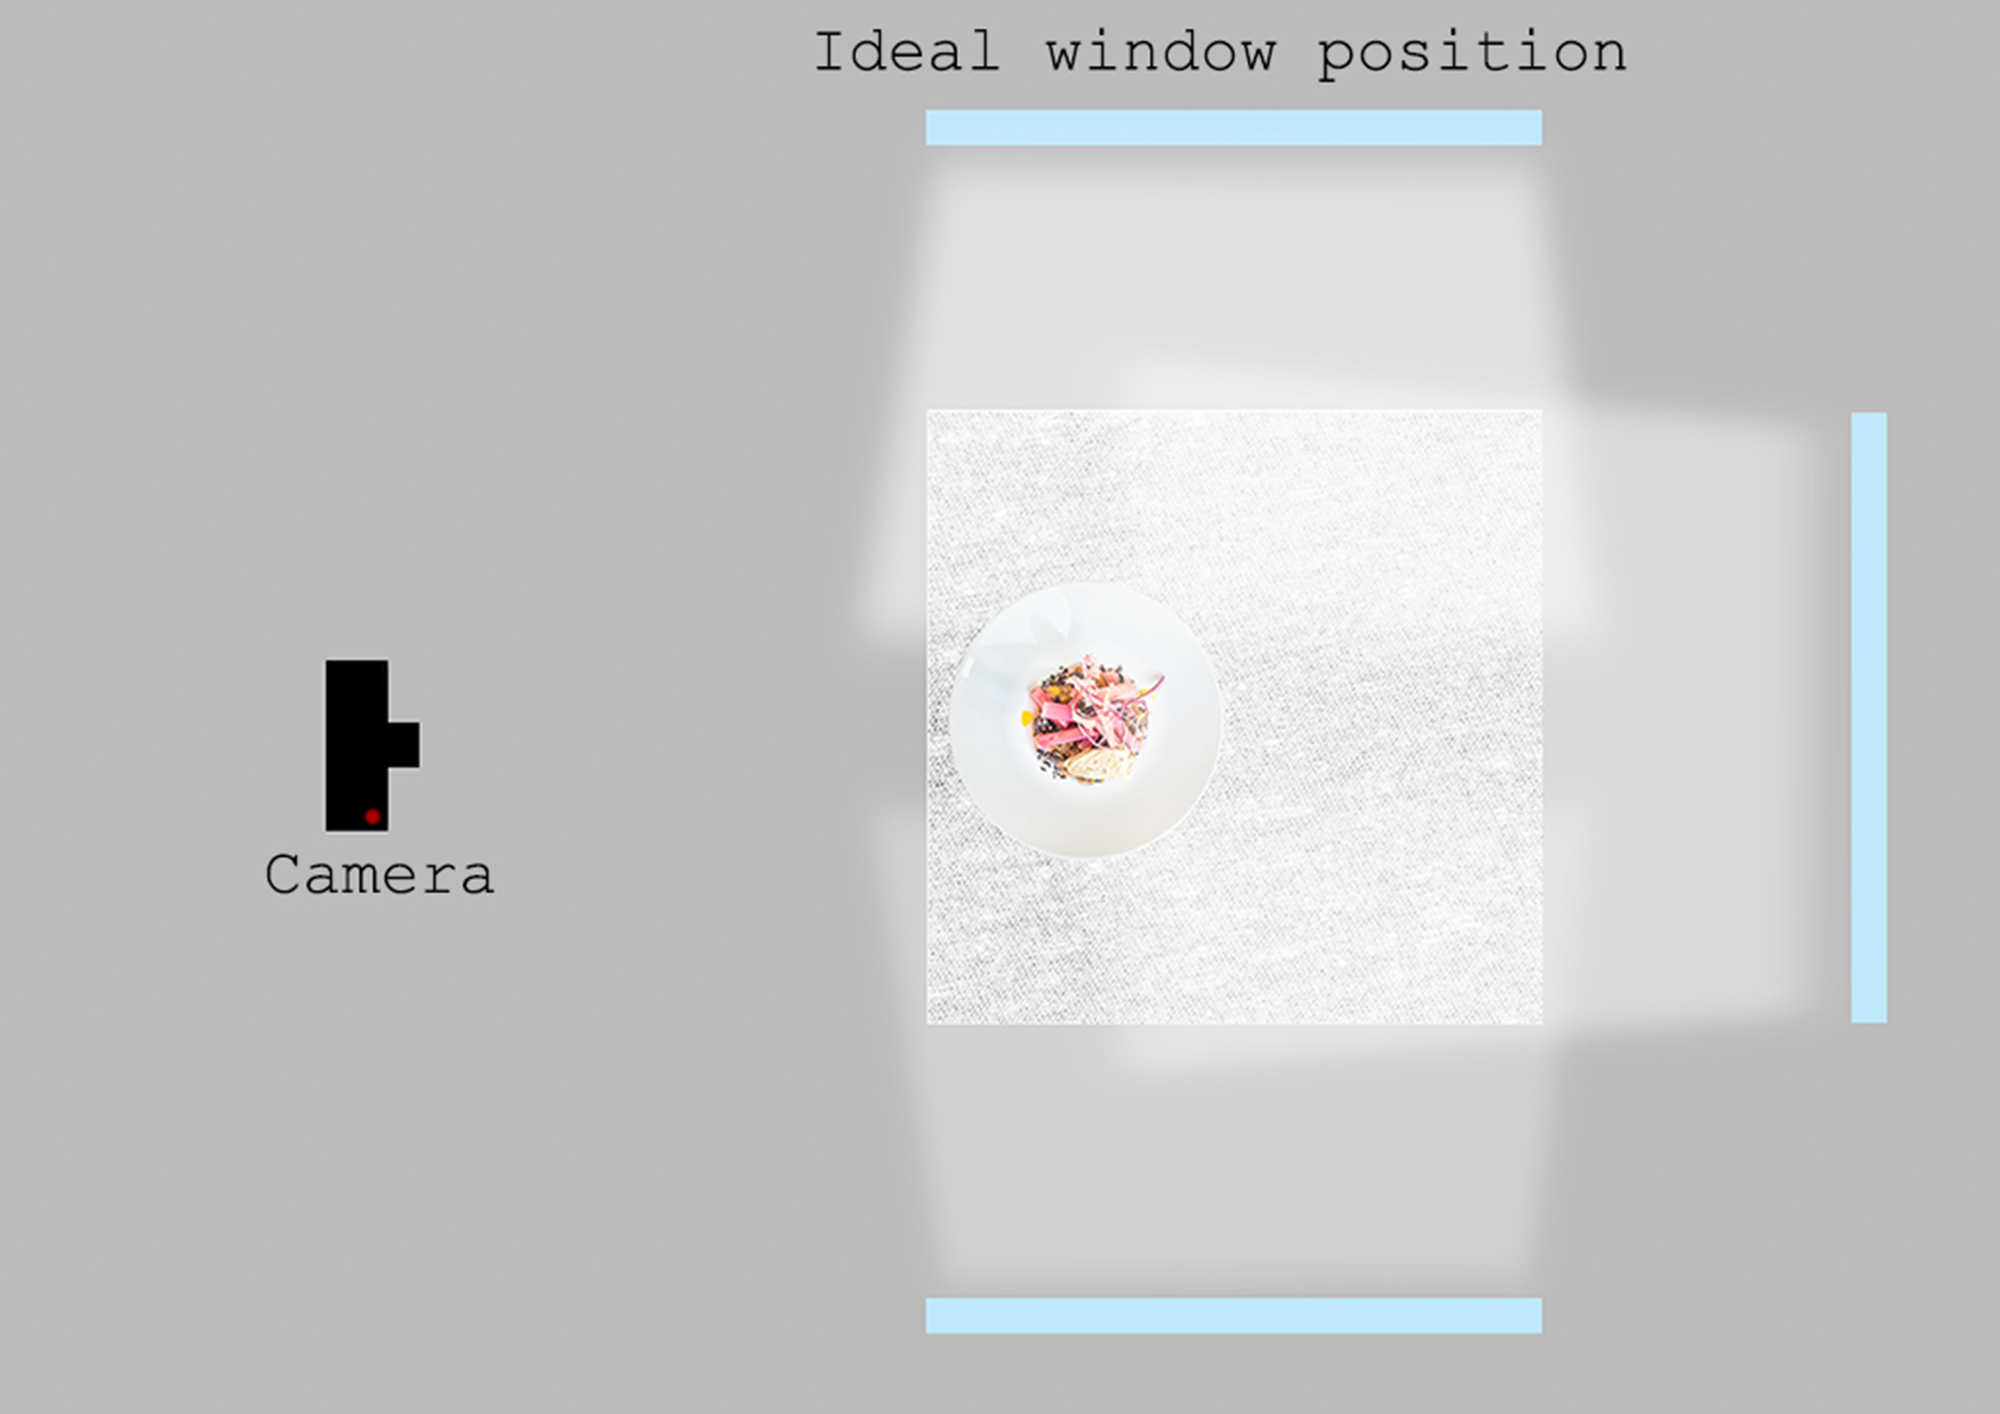
Knowing this, the obvious way to get the best light possible is by shooting next to a window and at daytime.
Find a table with plenty of light and consider the following:
- Where it’s coming from
- How intense it is
- How it spreads throughout the table
Side and back lighting will give the best results as you get an even spread of light throughout your dish. Bounce back any light with a reflector to illuminate any shadows and brighten up the food on the dish.
Overcast days are perfect for shooting as the light is soft. Diffused light favours the colours and textures of a dish.
If you encounter direct sunlight, try to filter it by placing a napkin on the window, a white or grey cloth, a white reflector or simply stand on its way.
If natural light is not an option, chances are you will have to use a reflector, a light pad or even a flash. Be careful! if you have to use a flash, make sure you bounce it off the ceiling or a wall, never fire it directly into the food and please never use that pop-up flash on your camera. Invest on a light source.
2. Composition.
This is the way you present the food that is in front of you. Composition can be the most complex part of taking pictures and it is what you should practice the most as it will make the difference between a clever picture and a snap shot.
Think of the primary element of the photograph, is it the whole dish, the way the dish looks on the table, the light, a detail of the dish… what is the purpose of taking that picture?. That will become your subject.
Initially, you want to place your subject within the rule of thirds. make that main part of the picture sit dead on a third of the frame (ideally where the lines connect on the diagram bellow). Move around and find what looks best
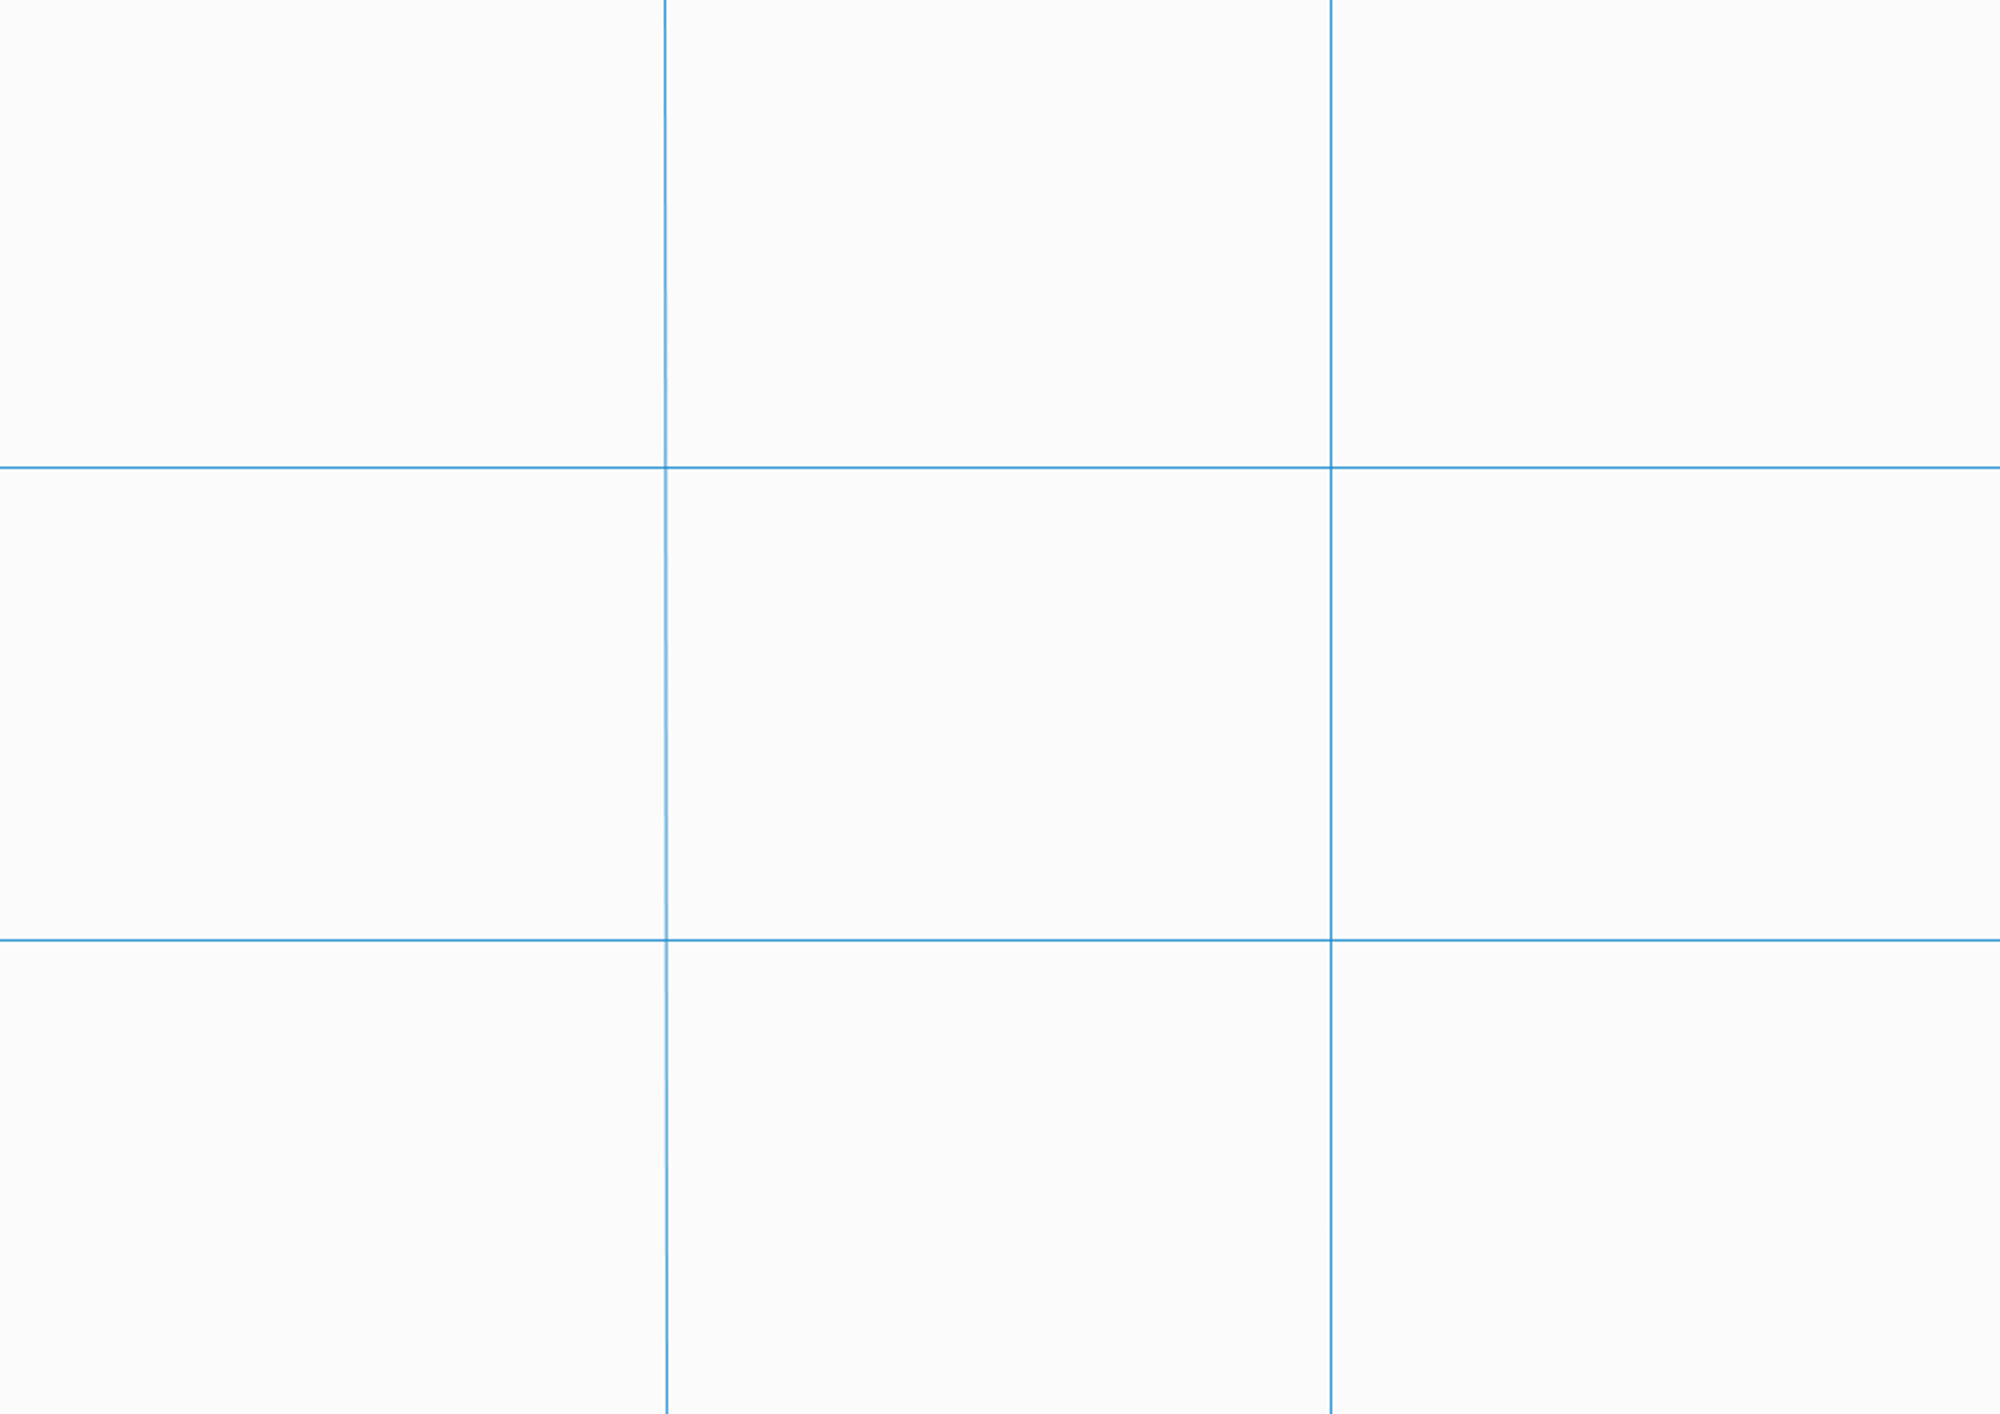

Once you are familiar with this and feel comfortable with the principles of composition, break the rules and try a different approach like placing the dish right in the center or a bit off-centered of the frame, this is more commonly used on documentary and street photography and is very effective.
Find the best angle for the dish. Personally I have 3 favorites:
- Alien invasion (head on view) This enhances neat, simple and elegant dishes; It works for symmetry but flattens any volume so I add depth by blurring the background (shallow depth of field)
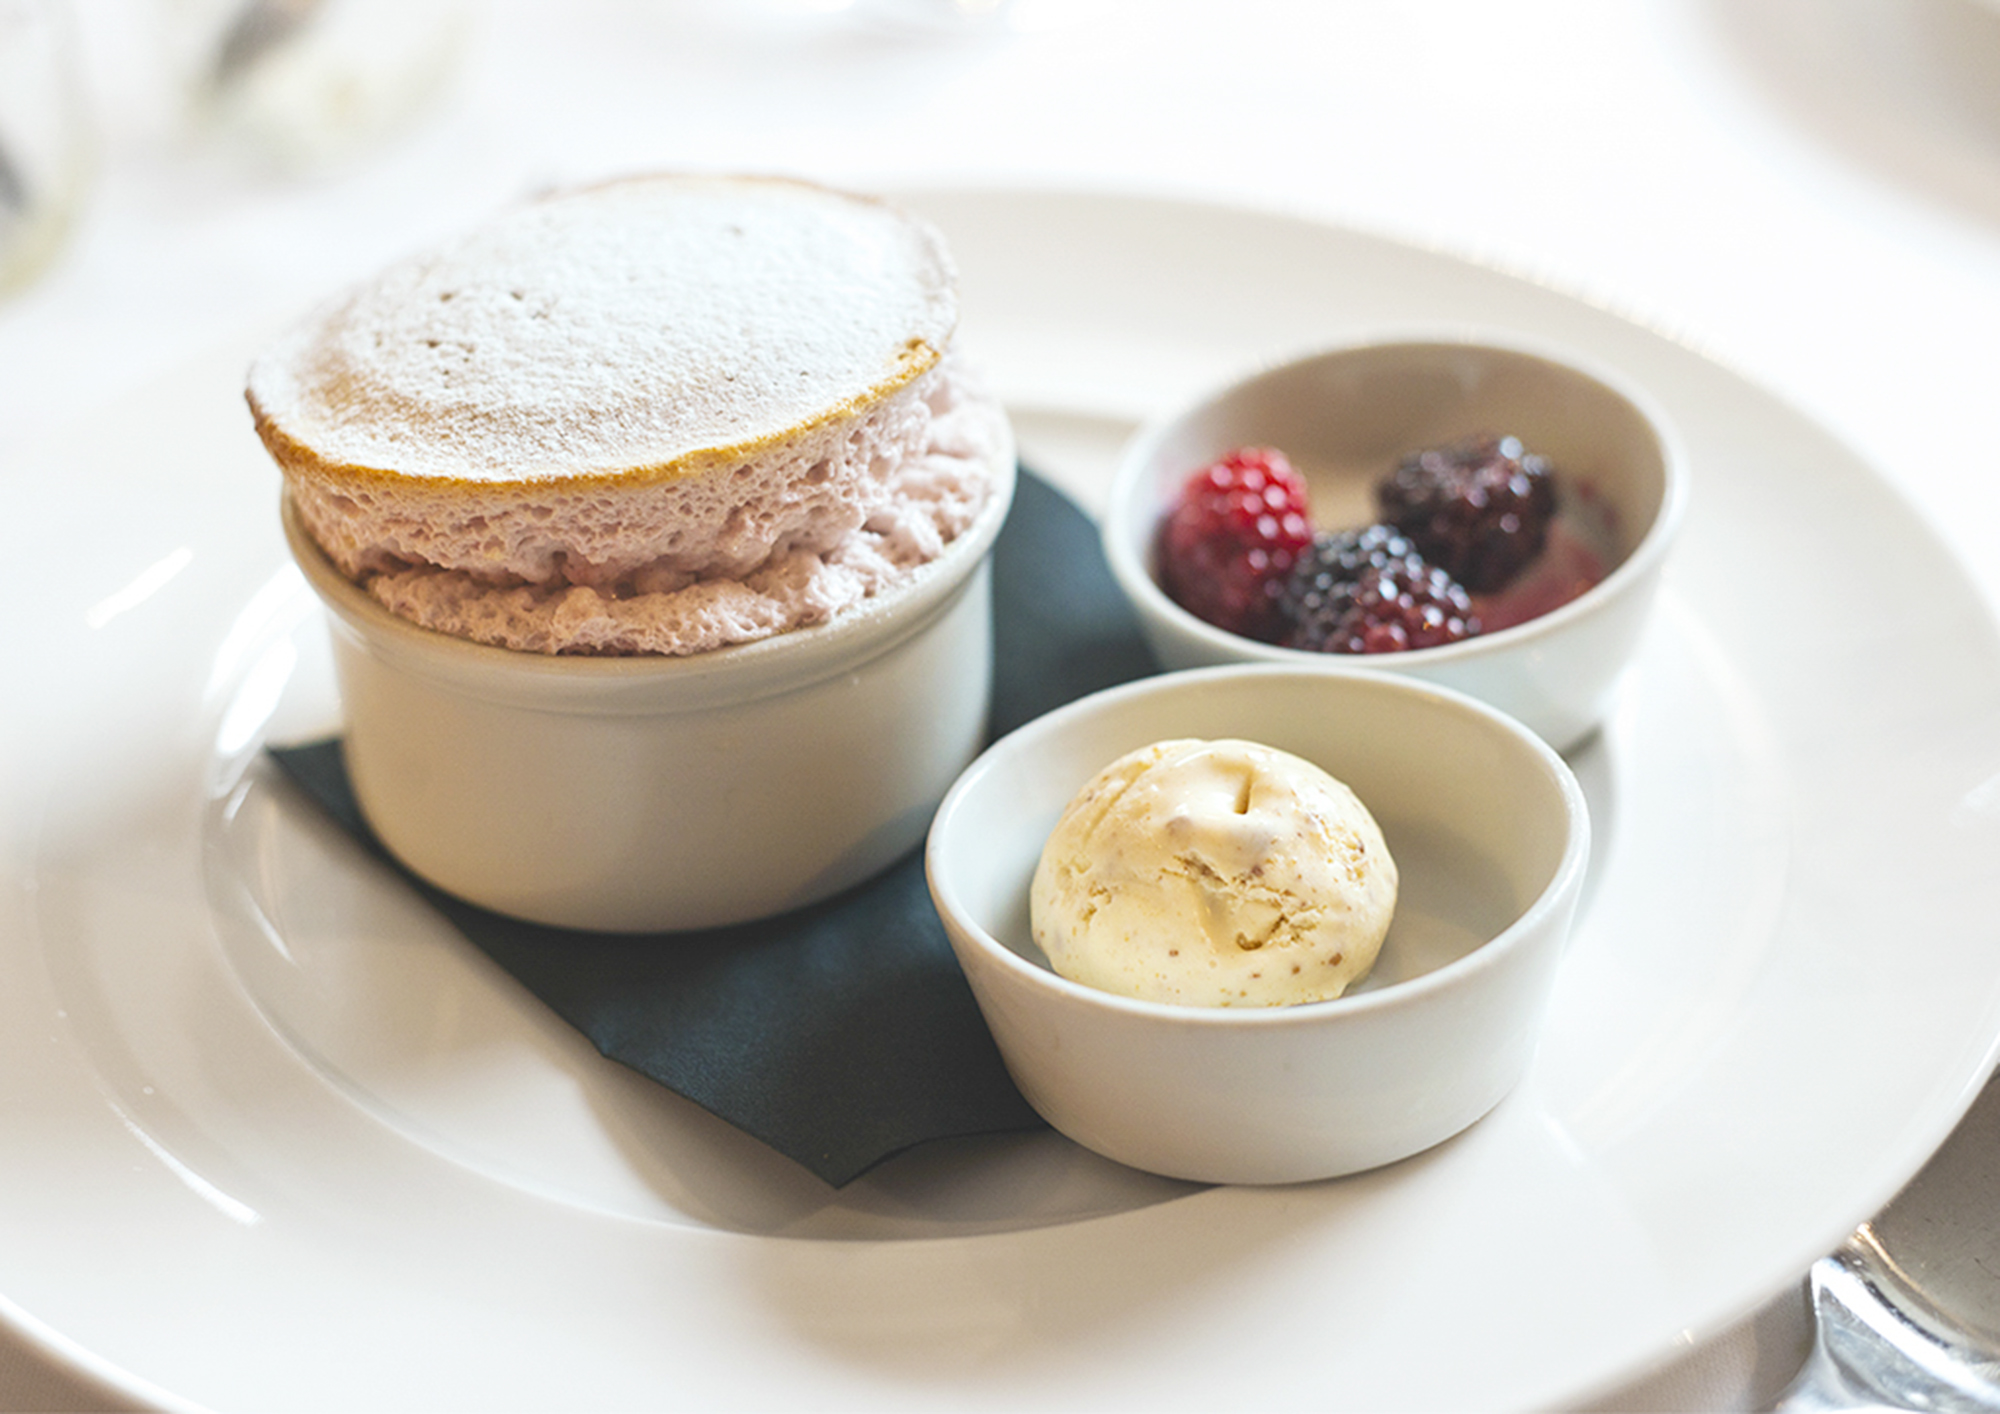
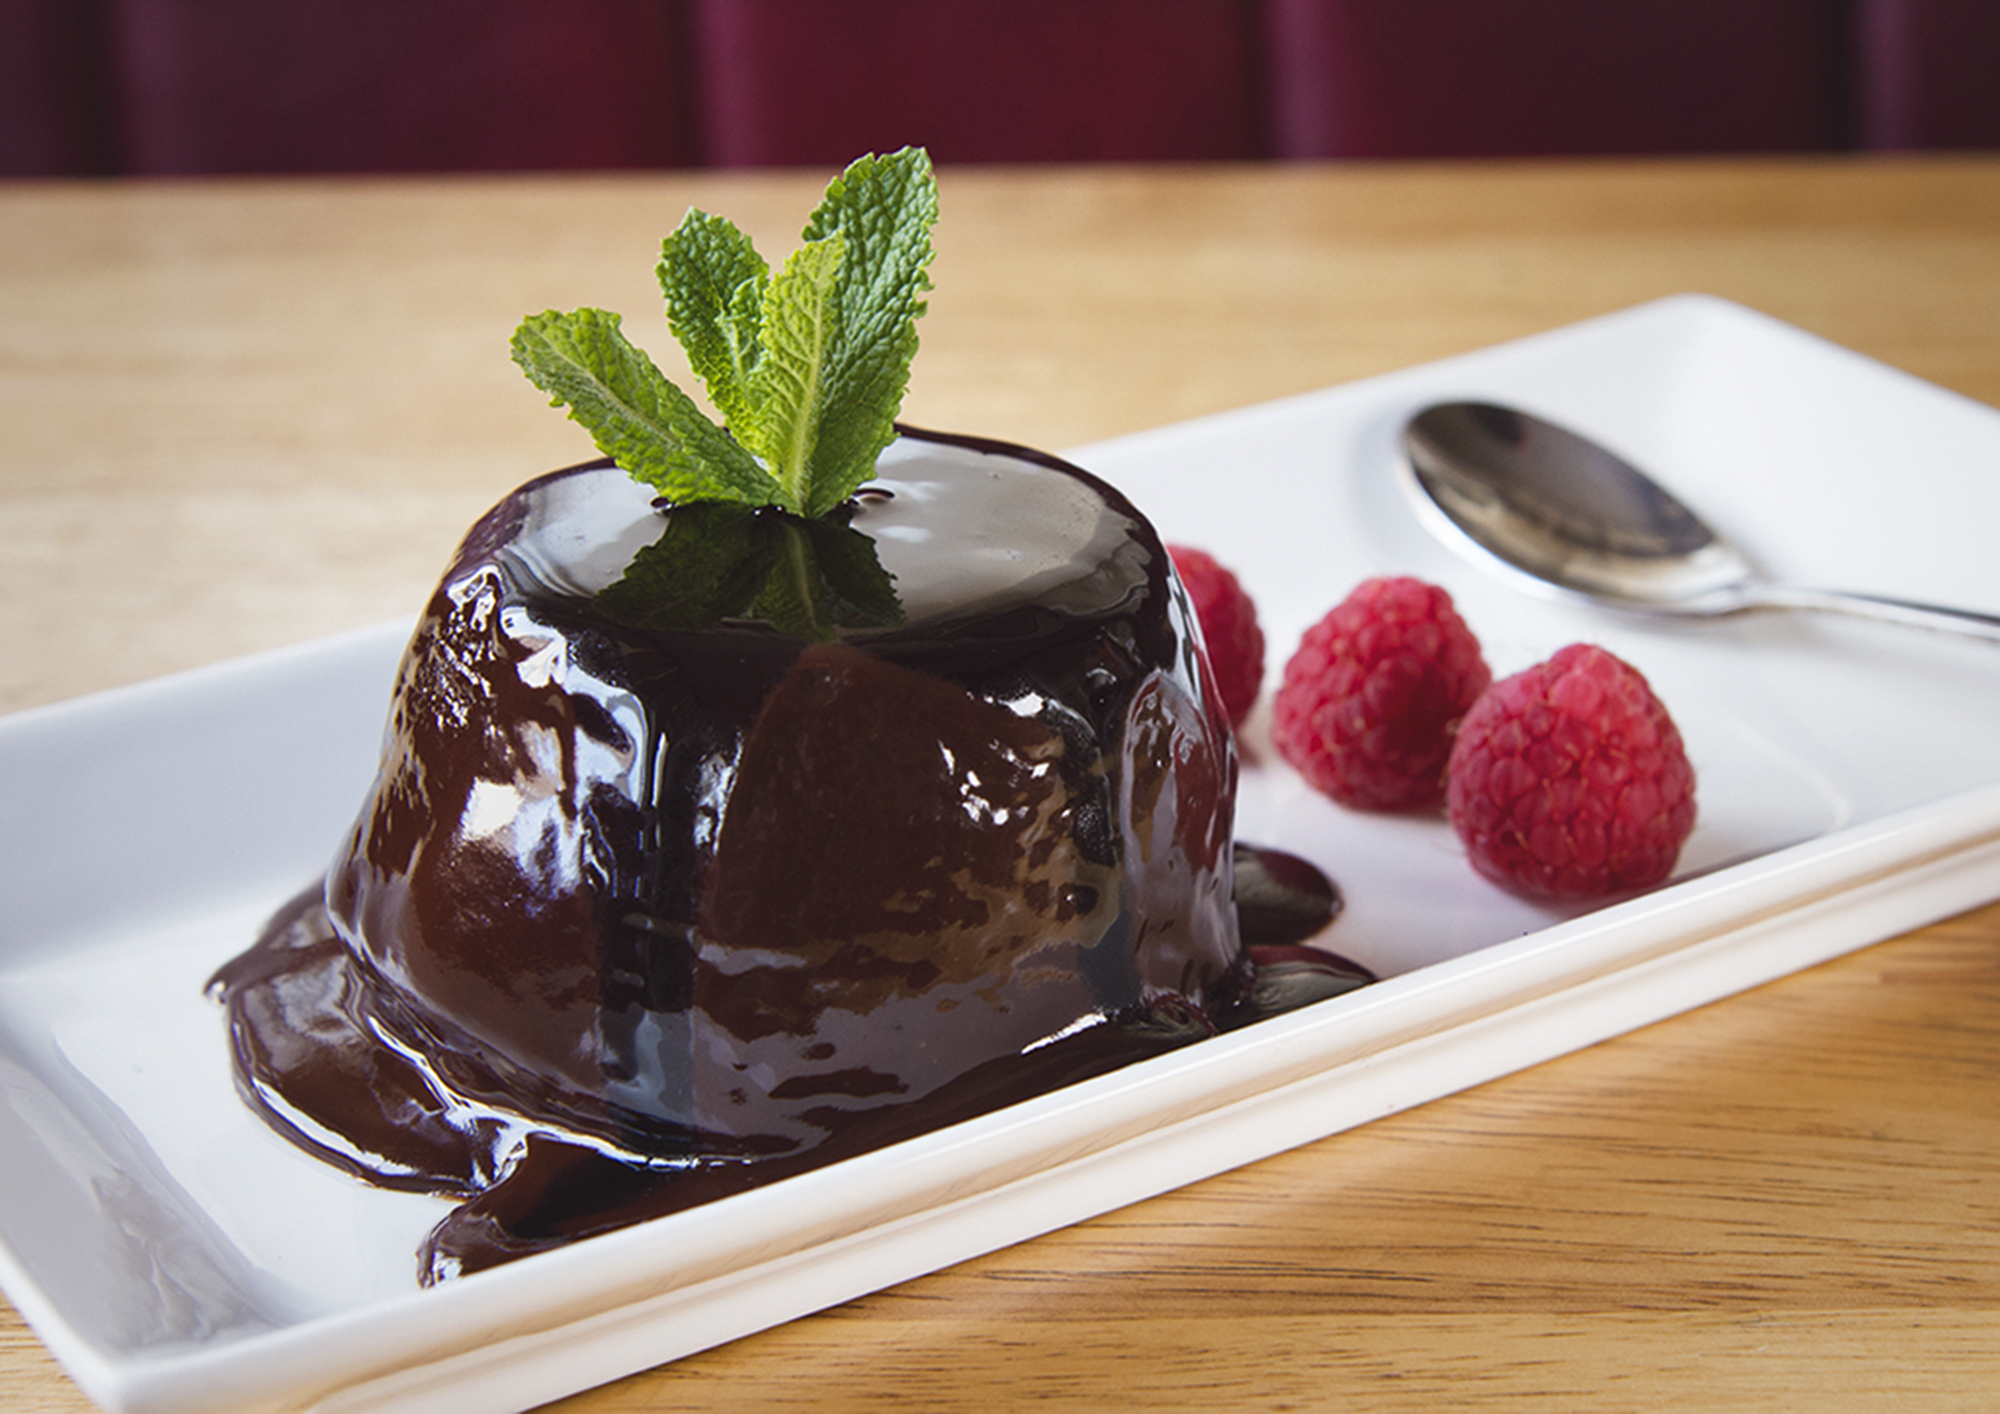
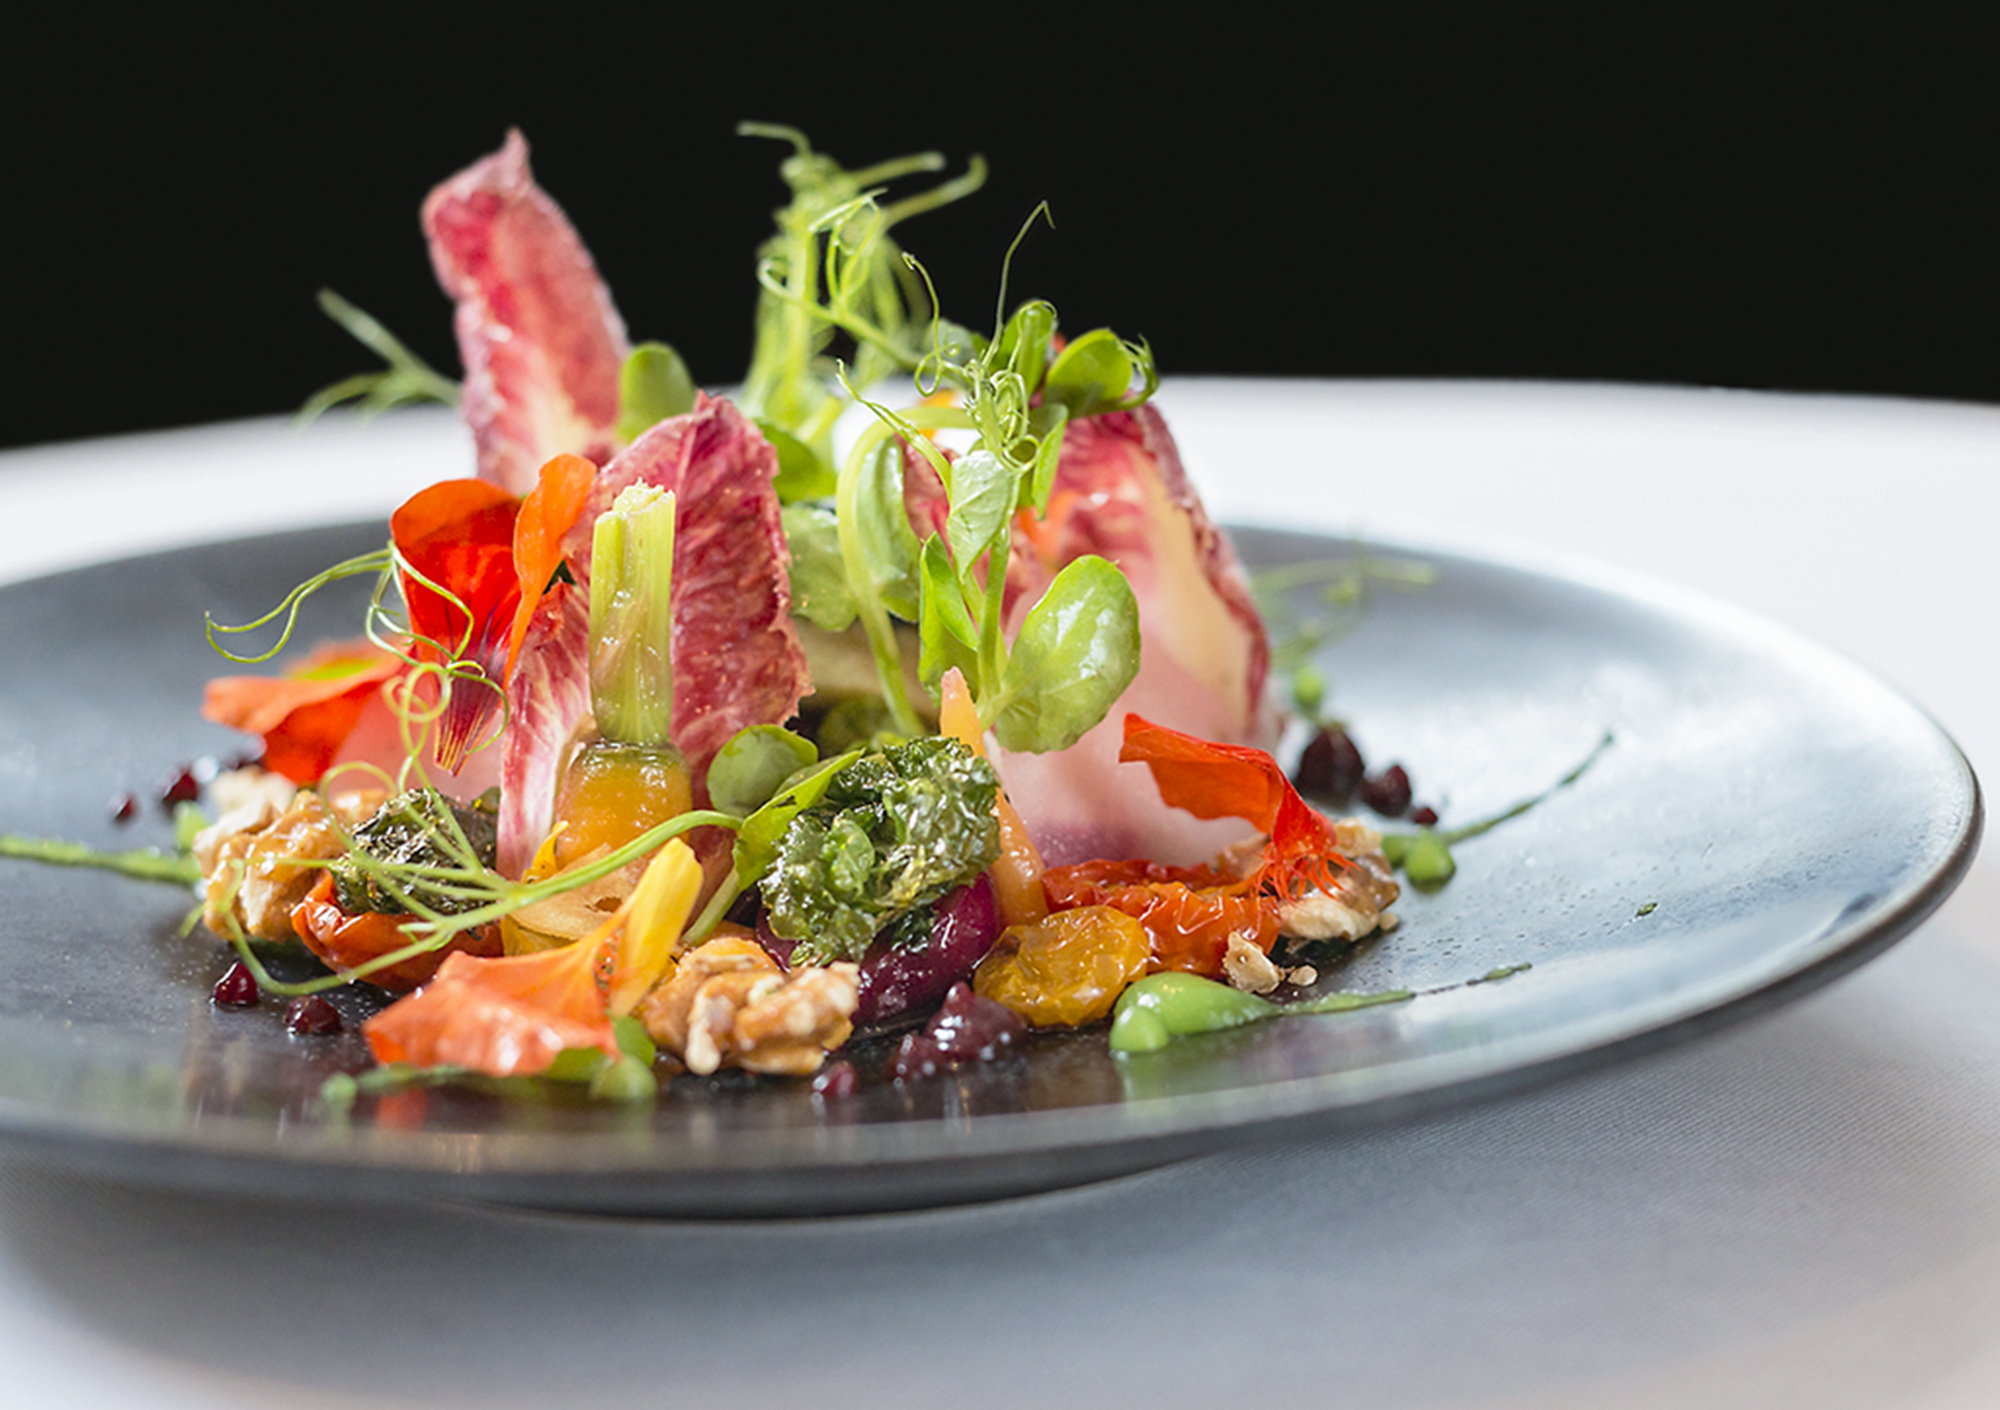
- Customer sitting view (close to 45° angle) This works best for more complex dishes, when the plate is quite busy. Also with smaller dishes like starters, desserts and sides dishes.
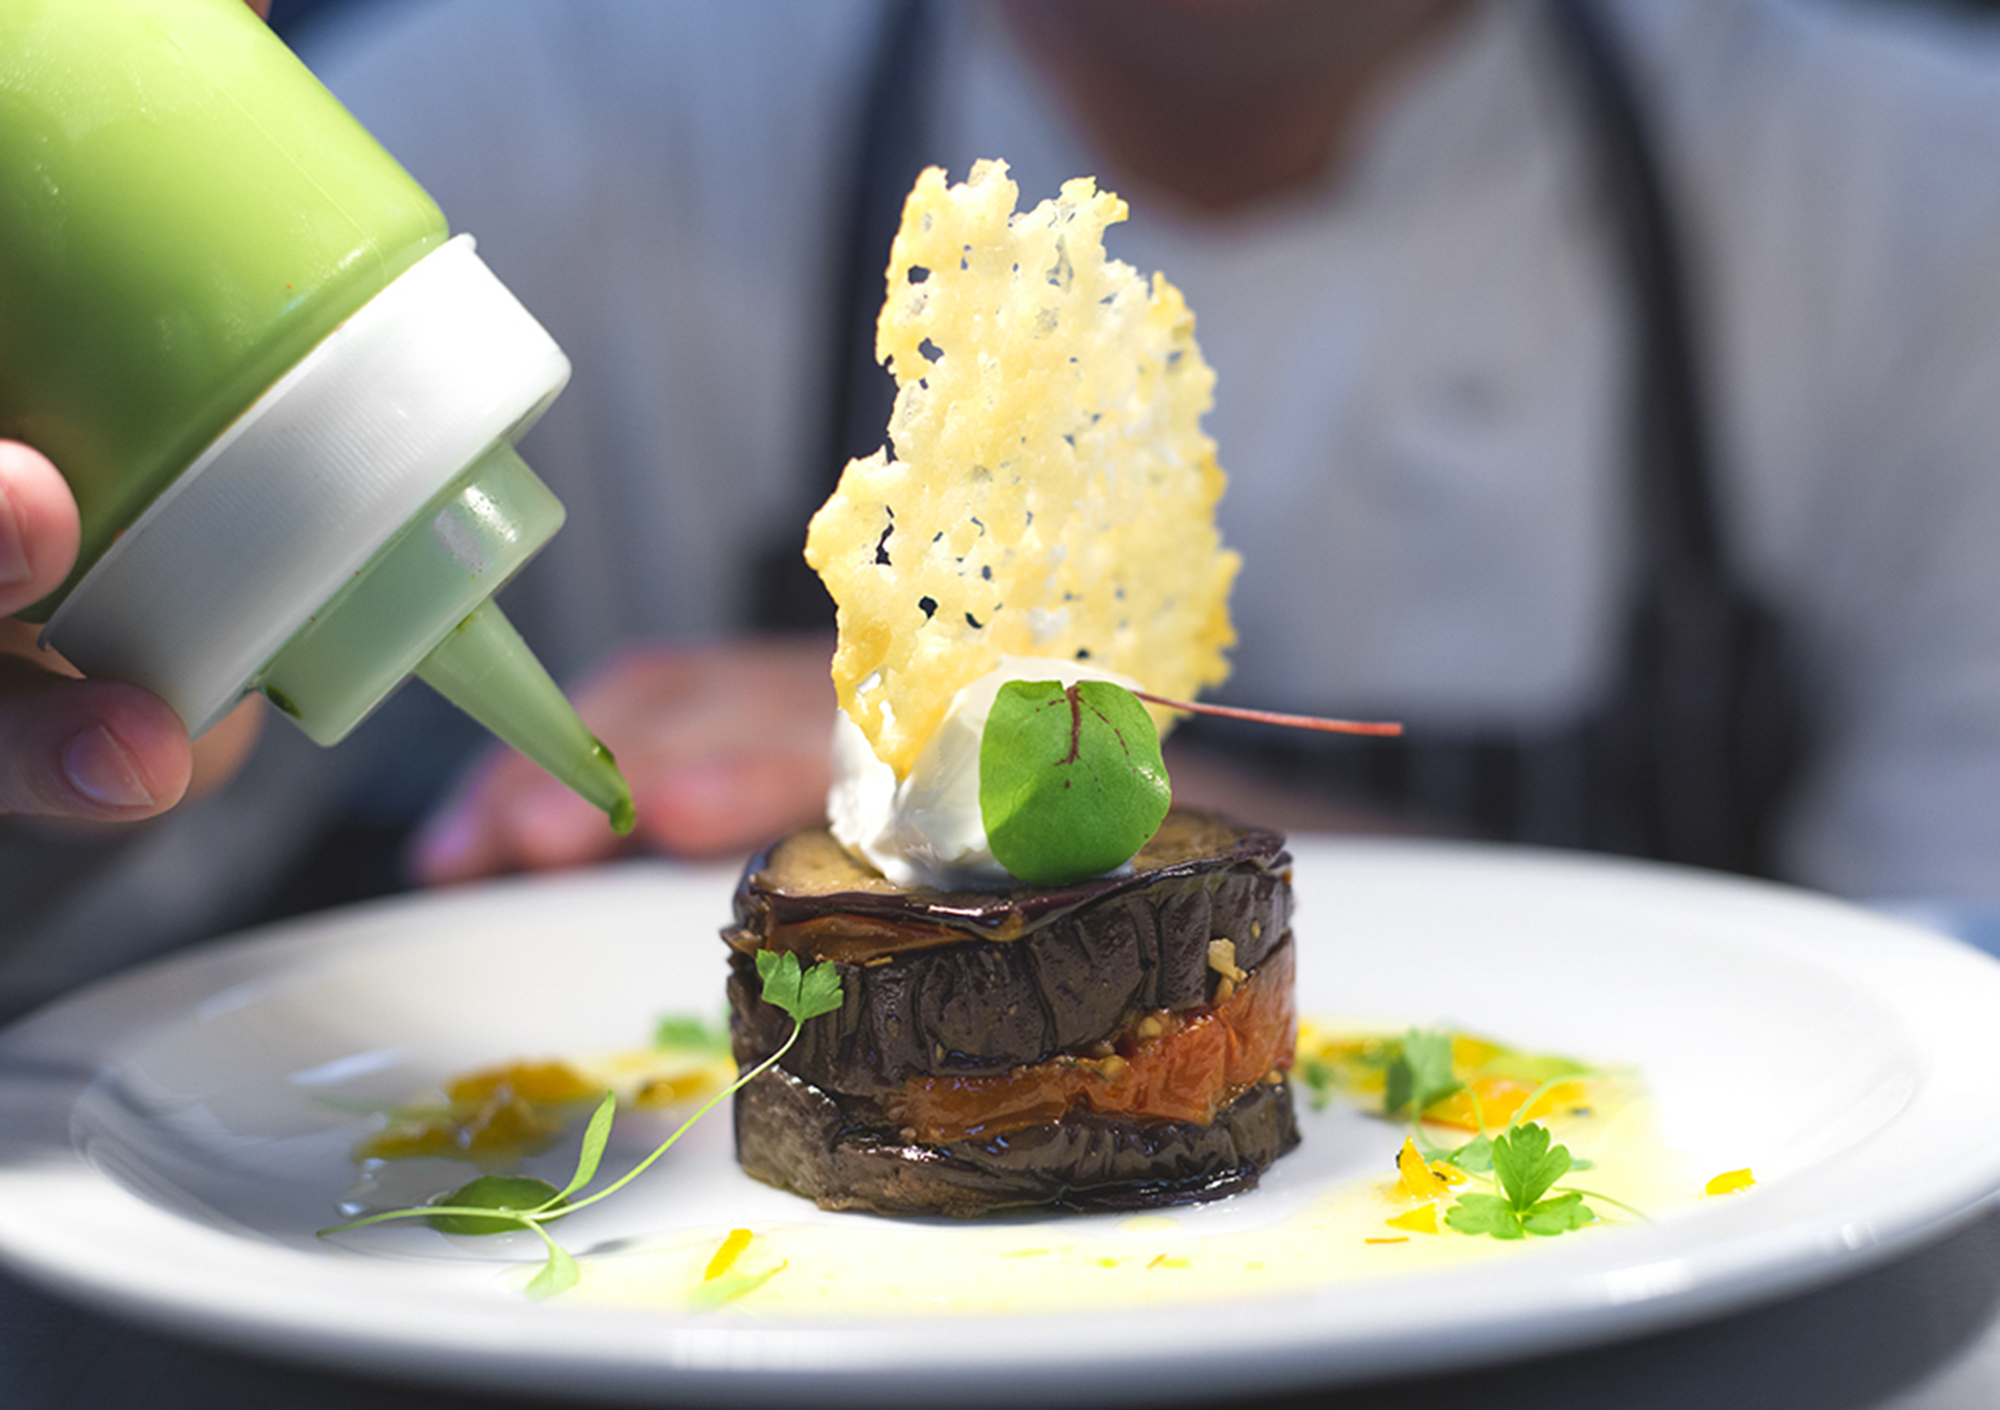
- Epic view (close to a 90° angle) This tends to be close up as it works well with dishes that have plenty of volume or are served on jars and glasses.
A macro lens is always helpful as it will allow you to get closer and be more creative with your compositions.

Your background is as important as your subject. Look at it and evaluate how nice it is and how does it compliment the picture?
A neat background is best for this type of photography but if you want to add something, try not to have too many things as they will distract the eye from the dish.
White table cloths, wooden tables and flat surfaces make the best backgrounds, you don’t want to shoot over patterned or colourful backgrounds and you definitely don’t want to clutter it with random objects.
Avoid bright reflecting surfaces like glasses, bottles or cutlery; move things around or move yourself around until you are happy with your background. Remember, less is more!
Last but not least. keep straight lines straight. Tilted images (Dutch angle) don’t work well on food photography unless they are used in a creative way that actually benefits the food.

3. Styling.
Styling is everything else that you add to your picture and has more to do with your personality, understanding and knowledge of food than with technique. This can be either how you add props, how you use the light, how you edit your pictures and how you perceive and express what you see.
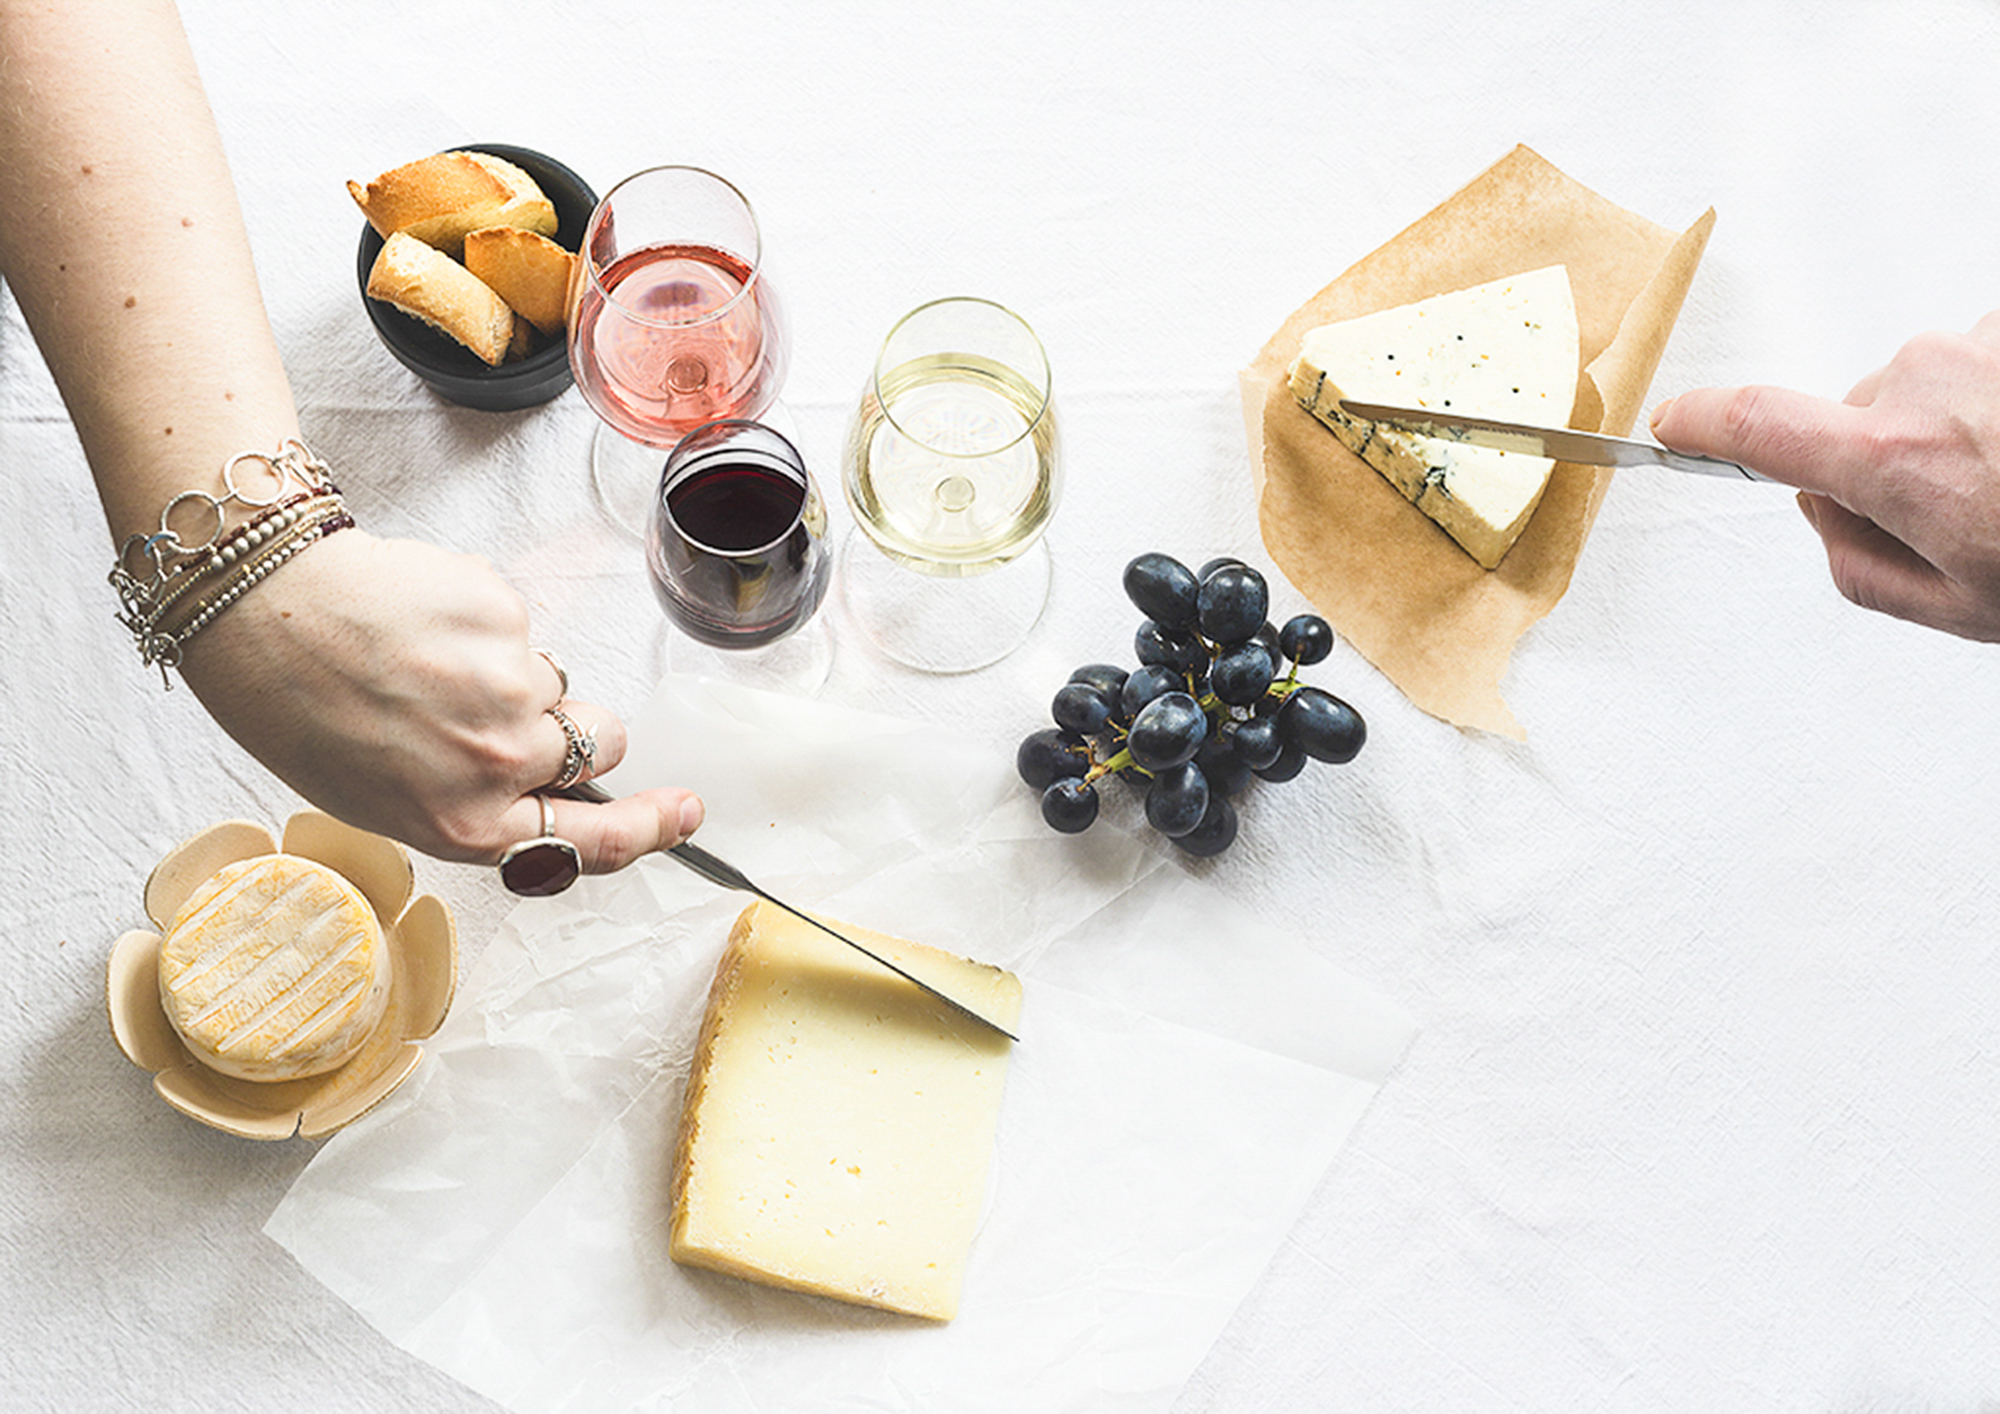
Adding props is important to consider. if you wish to add cutlery, drinks, bread, butter or whatever is around, make sure it doesn’t distract the eye from the dish. Be clever with the props that you include on your shot for example a knife and fork cutting through a steak to show how it’s cooked.
Be careful when adding elements into an image as there is a very fine line between a natural looking photo and a staged one. The latter are better for home and studio shoots but when done in restaurants, chances are they won’t add any value to your photography. Follow your instinct on this
4. Editing
Editing is the final step of the photography. Enhance your pictures with your favorite editing software but be gentle with it. It is very easy to over do it and end up with an unnatural looking picture.
Restaurant food photography is quite difficult to shoot but fairly simple to edit. Find your style and apply it on every shot you produce, consistency is the key for finding your own style and remember… less is always more!
There is no practical way for me to show you how to style your photography. It is something that you will find as you take more pictures. For example, my style focuses on shape, colour, volume and texture which comes from an extensive study or the basic principles of art (Form, line, colour, space and texture) and applying that into my photography.
Just like people, food wants you to capture its best side.
5. Gear
To improve your photography you will need the following:
- The best camera you can afford. I don’t mean the most expensive camera in the market but a decent DSLR or a compact with full manual settings will start to make things better. Pictures taken with a phone are ok onlyif you post them on social media.
- A reflector. 30cm diameter are perfect! Pick one with a silver/white side to throw some light back into the dish
- A light pad which is battery powered and preferably with the ability to adjust light temperature
- A flash gun
- A tripod. For stability and to avoid any blurred shots
- A neutral grey card for getting your white balance right (this will avoid that horrible yellow or blue hint on food pictures). Yes, even if you shoot in RAW a grey card will come very handy
All these items fit in a backpack so you don’t have to carry lots of gear when eating out.
Technical skills.
- A basic understanding of photography and proficiency with your camera’s manual settings. Learn the “Exposure Triangle” (ISO-Shutter Speed-Aperture) and get familiar with it.
- White balance. Set it to the restaurant’s ambient light so you don’t have to guess when you edit. (use your neutral grey card)
- Editing software. ALL pictures need a bit of tidying and cleaning, be it bread crumbs, stains or fingerprints on a dish, they all need a bit of enhancement to make them extra especial.
This should be enough to get you started. Remember to think as a chef and see as an artist next time you’re out on a restaurant.
Let me know what you think and feel free to submit any questions you have on the form below
I offer one to one tuition on food photography and beginners photography workshops in Brighton specialized food bloggers, reviewers and chefs. Get in touch if you wish to know more.
WEBSITE: www.xdbphotography.com
Blog: www.brightonfoodphotography.com
Instagram: @xdbphotography
Twitter: @XDBPhotography
Facebook: www.facebook.com/xdbphotography
Get rid of the ads!
Did you enjoy reading this article as much as we enjoyed writing it? There's a way to support us and our reporting, getting ad-free navigation and more as a bonus. Subscribe to us for less than a coffee per month —just $3.99— or take advantage of our yearly subscription with a hefty discount for only $25.- An ad-free experience
- A free mystery box for Lightroom or Capture One
- All the books in our store
- 20% discount on Capture One
- 30% discount on Imalume Photo Theft Protection
- 20% off Herbs and Kettle Tea Company.