
Want more Useful Photography Tips? Click here.
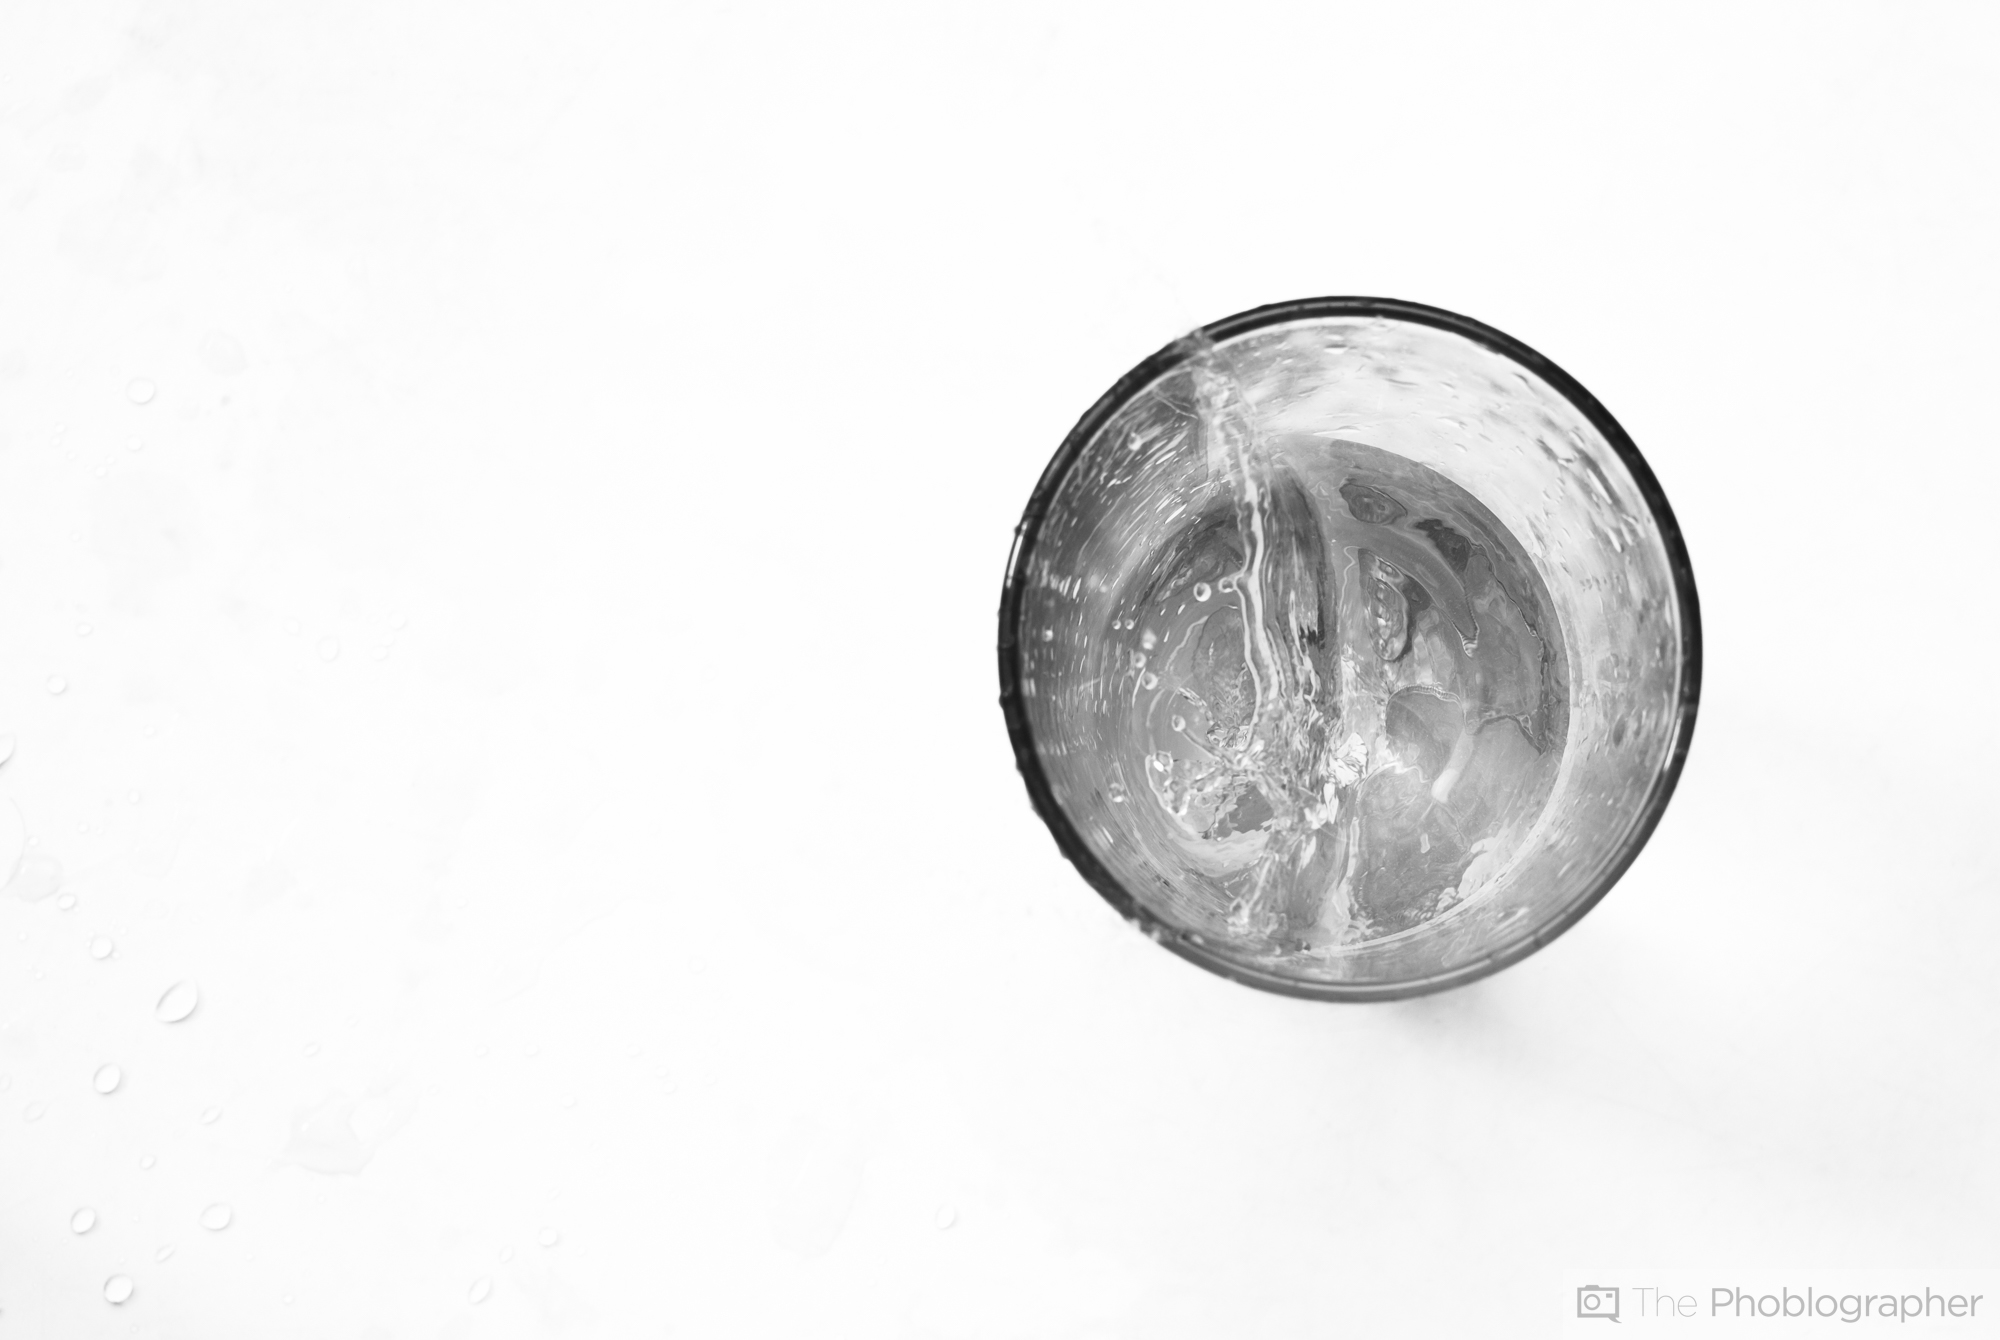
The art of creating high contrast black and white images has to start with what first comes out of the camera. To do that, you first need to create an image with very bright whites and with darks as dark as you can possibly get them. You’re most likely to skew one way or the other. But the biggest edits come in the post-production stage. This is where you need to work with the entire dynamic range are of the image since the colors are more or less moot due to the color scheme being removed.
So at this point you’ll need to work with four critical areas in Adobe Lightroom:
– The Blacks
– The Whites
– The Tonal Curve
– Clarity
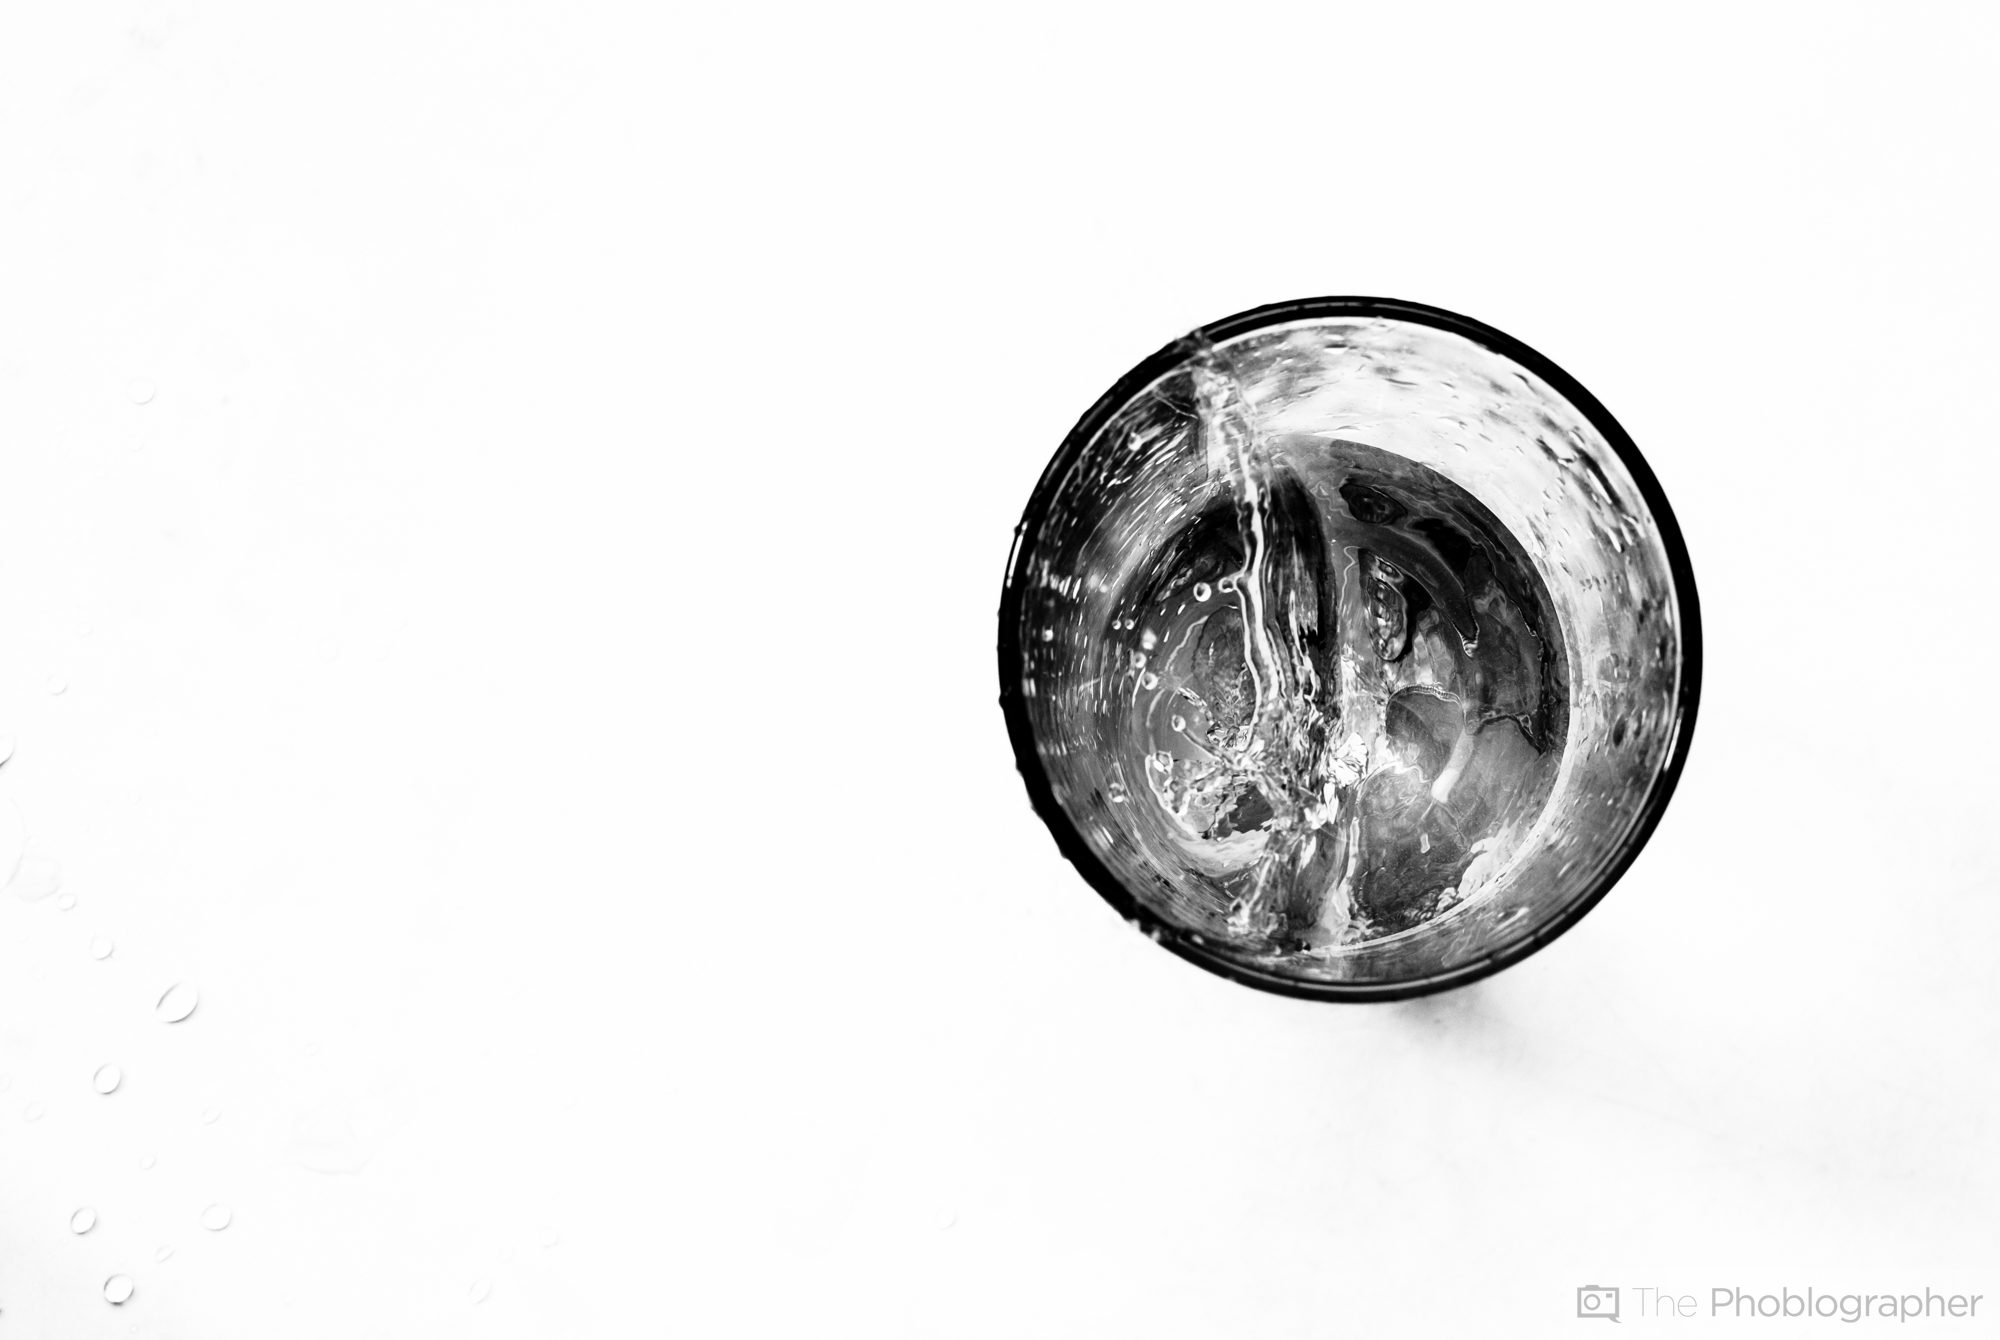
Blacks adjust the most extreme end of the dark area while the whites do the opposite. Then you’re going to need to work with the entire space in between–which are the midtones. You can manipulate these mostly using the clarity slider for quicker adjustments but more fine tuned adjustments should be done through the tonal curves.
At that point, you’ll be playing with the settings to get a look that you want. These are the basic tools that you’ll need to get iHigh Contrast Black and White images, so go ahead and give it a shot.

Get rid of the ads!
Did you enjoy reading this article as much as we enjoyed writing it? There's a way to support us and our reporting, getting ad-free navigation and more as a bonus. Subscribe to us for less than a coffee per month —just $3.99— or take advantage of our yearly subscription with a hefty discount for only $25.- An ad-free experience
- A free mystery box for Lightroom or Capture One
- All the books in our store
- 20% discount on Capture One
- 30% discount on Imalume Photo Theft Protection
- 20% off Herbs and Kettle Tea Company.