
Last Updated on 02/24/2018 by Mark Beckenbach
Available lighting for indoor portraits doesn’t have to be scary, it really doesn’t.
If you are shooting portraits, then you are probably doing at least a portion of your images indoors, especially during the winter months. You may be wondering how you can take advantage of available light indoors for portraits; maybe for stylistic reasons (you like the look of it better) or for other reasons (like not having to cart around a crap ton of lighting gear). Whatever your reason, it is totally possible to make the most out of available lighting for portraits indoors.
Today we are going to be talking about some tips and tricks you can employ to get a better handle on available light portraiture indoors. It’s not as complicated as you are making it out to be in your head. It really just comes down to being able to see the light and knowing what you want to do with it in relation to your subject.
Ready? Great! Let’s get into it.
Tip #1: See what the light available is giving you
The first thing that you should do when you enter a new space where you plan on shooting with available light is to see what the light is going to be giving you. I find that the best way to do this is to eliminate all light (aka, close the windows and turn off the lamps) and then reintroduce the light back into the room one at a time so that you can see how each source of light is affecting the lighting in the room. This way you will be able to get a feel for what the light is doing and begin to formulate ideas on how you may want to utilize that light.
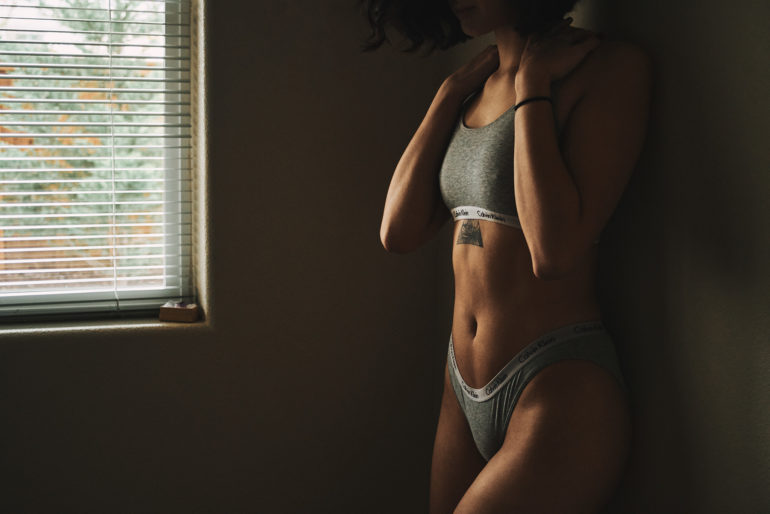
Chances are, at least during the day, that your primary light source inside for available light portraits is going to be a window or windows. So, your thoughts should really focus on how you want to utilize the light coming from those windows in relation to your subject for the shoot.
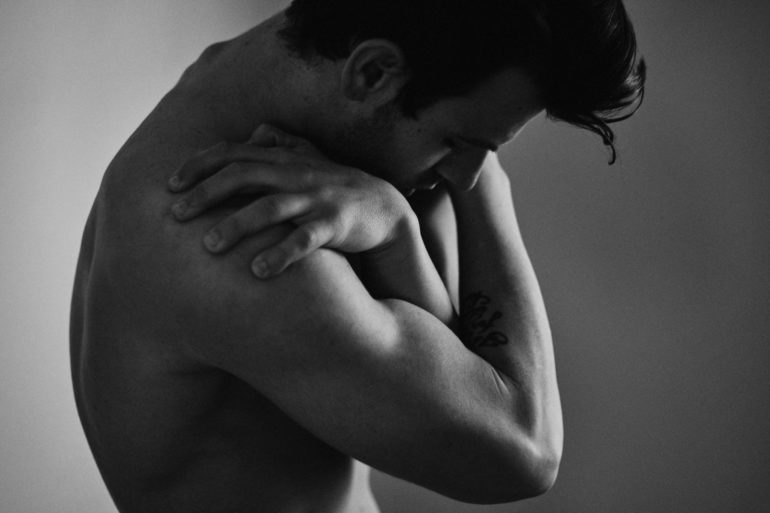
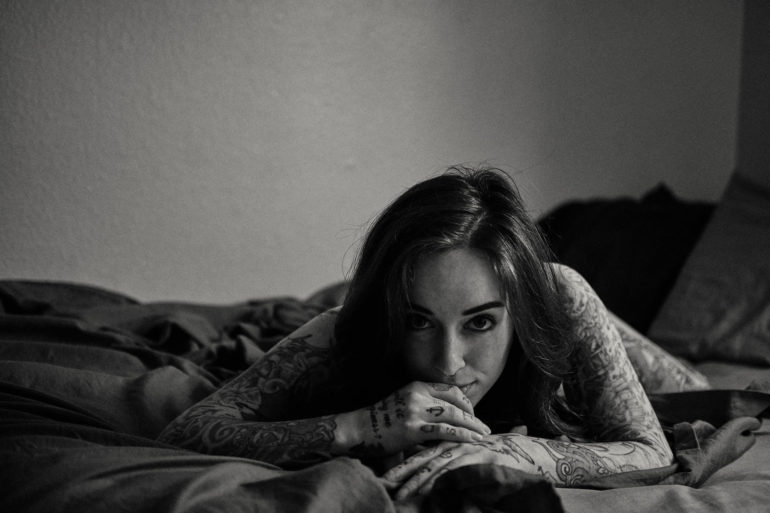
Tip #2: If you are afraid of mixing light sources, shoot in black and white
One of the biggest things you will hear people talk about when mixing natural light with indoor lights (lamps, hall lights, etc) is the annoyance of mixing light sources. Unless the lighting inside the house is being created with daylight temperature bulbs, then chances are that the light coming in from the windows (which has a bluer look to it) will clash with the light coming from the fixtures indoors (which will likely have a more yellow or orange look to it).
There are things that you can do to correct for this; one could be bringing daylight balanced bulbs to switch out in light fixtures you plan on using. Another could be correcting for this light temperature shift in post-production with advanced photoshop gradients and such. But what if you don’t want to deal with any of that?
Well, a simple answer would be to shoot in black and white, or at least shoot with the intention of processing in black and white. You see, in black and white, light is light (more or less) so you don’t need to worry about the different color temperatures ruining what you may otherwise find to be a great image.
That said, you shouldn’t be afraid of mixing light sources. In some cases, if you plan for it, you can use this to great effect, to create a mood and vibe in your images that would be hard to produce otherwise. You should definitely play with this idea, just keep that little token in the back of your head, that if you try mixing the light and end up not loving it – black and white could still salvage the images.
Tip #3: For a bright and more traditional look, shoot with the light
For a more traditional look, you are going to want to shoot your images with the light. What I mean by that is you will want to shoot with the direction of the light coming from your main light source. If the light source is a window, you are going to want to shoot with your back to the window, and your subject facing the window. This will result in the light from the window hitting your subject directly, leaving little shadow (depending on your angle) and resulting in a well-lit portrait.
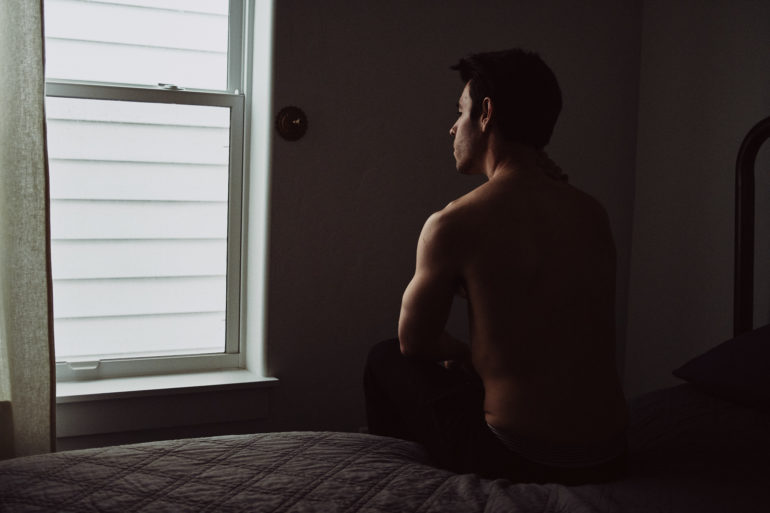
Tip #4: For a darker, moodier look, shoot against the light

Now, if you are not scared of shadows and are interested in shooting these portraits with a darker and moodier feeling, then you are probably going to want to shoot the images against the light. What I mean by that is basically the opposite of what I told you in step 4, and that would mean to shoot with your subject backlit. So you would position your subject between you and the window, which will introduce more shadows into the scene, provide depth, and, depending on what you are shooting, can enhance the mood/feeling of the imagery.
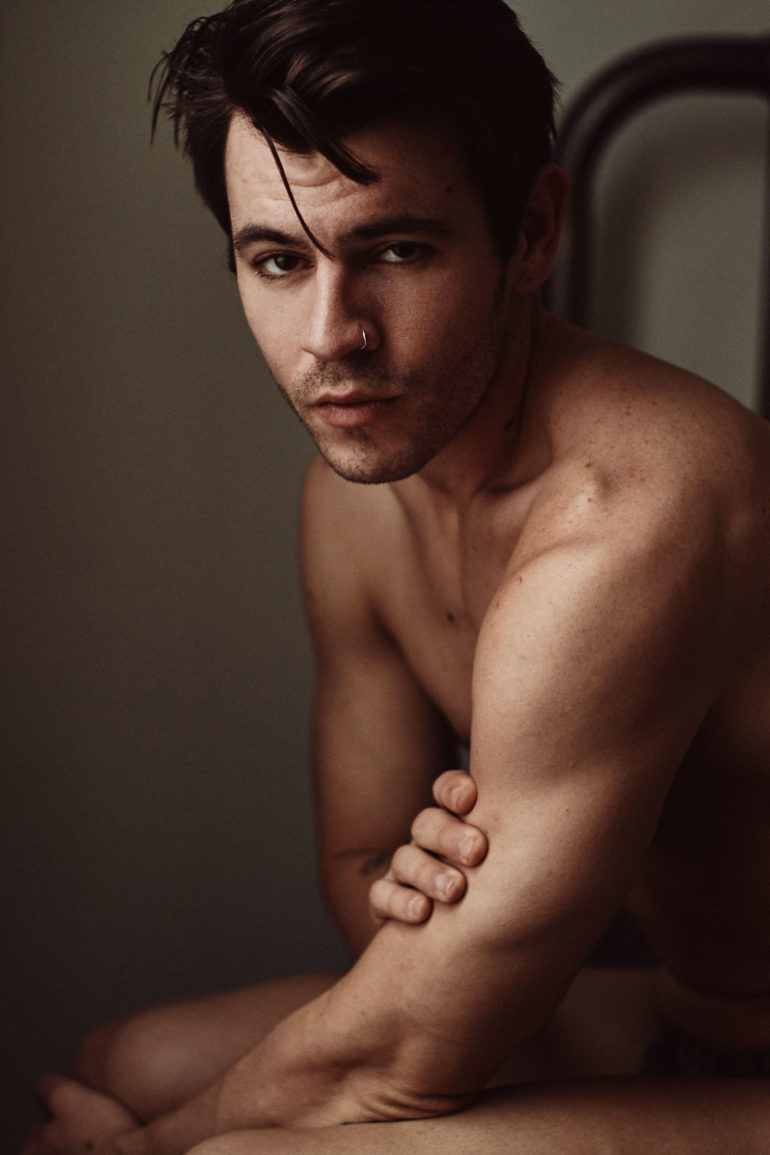
That said, it is easy to go overboard with this and end up with images where there is ‘too much’ shadow, to the point where the viewer has no connection with the subject because they don’t know who they are. So, it is important to mix in some shots where the subject’s face and distinguishing features can be easily recognized in the visible light of the scene.
One way to do this would be to have the subject turn their face toward the window, rather than away from it. Their face would then be visible, without losing the darker moodier look of the rest of the images.
Tip #5: Find natural reflectors in the location you’re shooting
If you are planning to shoot with the available light you should probably be bringing a reflector with you. But if for some reason you don’t have one with you, or you simply just prefer not to have one – the next best thing would be to pay attention to the location that you are shooting in and try to find natural reflectors within that space which you can use to provide some fill light into the shadows of your subject.
An example of this could be a mirror in a room, or maybe something as simple as a mostly bare white (or lighter colored) wall. If you want to get resourceful, maybe a white tablecloth, or a white door. The point is, there is probably a ton of things in the location that you can make use of to add a little bounce light back into the image.
—
So, there you have it, five tips for shooting portraits indoors with available light. If I were to give you one last piece of advice on this front it would be to experiment! Yes, even during the session itself. Try some more traditionally ‘well lit’ shots, try some darker and moodier shots, try some with the window as your main light source and try some with the window closed and a lamp in the room as your main light source.
The only way you will be able to figure out what works for you and what you like in your available light portraiture will be to try different things and see how you react to the results. Also, be prepared to not like your results, or at least not all of them. Much like a recipe, shooting with available lighting indoors is as much about getting the right balance as it is about posing, mood, and camera settings. So be prepared to fail and get it wrong. But use those failures to analyze yourself, to find out where you could have done better.
Then, and only then, will you truly be able to walk into a place you have never been and take images with available light with confidence! Just remember that there is no ‘right’ way and there is no ‘wrong’ way to light your images. All that matters is if you are getting the result you were intending out of the lighting you used. If you are, then you did it ‘right’ and if you didn’t then you did it ‘wrong’. Don’t waste your time worrying about how everyone else would light this image. Light it how you think you need to, experiment, and find what works for you.
In the end, that is all that matters.
Get rid of the ads!
Did you enjoy reading this article as much as we enjoyed writing it? There's a way to support us and our reporting, getting ad-free navigation and more as a bonus. Subscribe to us for less than a coffee per month —just $3.99— or take advantage of our yearly subscription with a hefty discount for only $25.- An ad-free experience
- A free mystery box for Lightroom or Capture One
- All the books in our store
- 20% discount on Capture One
- 30% discount on Imalume Photo Theft Protection
- 20% off Herbs and Kettle Tea Company.