")
Last Updated on 10/17/2017 by Chris Gampat
Working with natural light is one of those things most photographers start with before moving on into other lighting techniques like speedlights or strobes. But funny enough, natural light is one of those lighting techniques that can be really difficult for some to get a handle on. In this post we are going to go over some of our top tips for getting better natural light photos indoors by seeing your light, understanding it, and then harnessing it and bending it to your will.
Let’s make natural light your bitch!
First, Kill the Lights
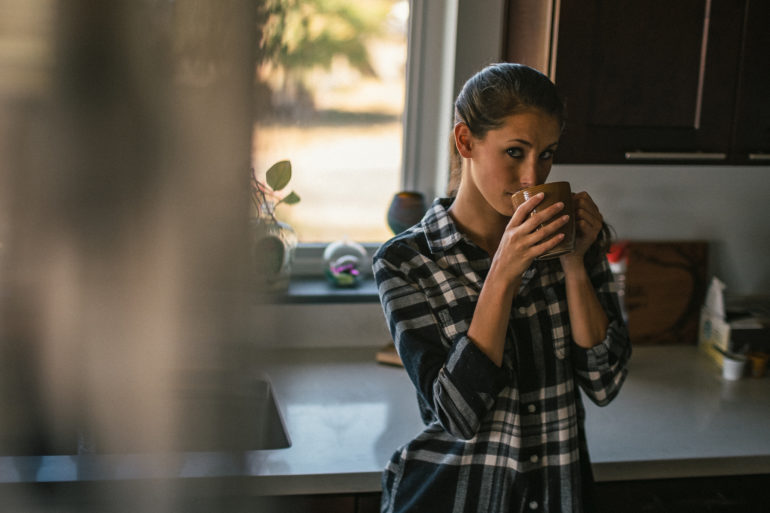
This is not paid enough attention to by newbies, but the very first thing you should do when you will be shooting with natural light upon entering the room you will be shooting in is to turn off all the lights. These lights will have an effect on how you and your camera perceive the natural light. You don’t want this. You want to be able to see your light as it is, without any interference. If you are shooting in a hotel room and want to turn a night light on for the images you can do that. But that should be one of the last things you do before you start shooting. You need to confirm and nail your natural light first – before you introduce any other lighting.
Then Kill the Window Light
While this may seem counter intuitive, and as many photographers will do when they first enter a room – do not open all the windows or the shades. If they are already open, shut them. You want to allow yourself to see the effect each window (if there is more than one) has on the light in the room. By closing all of the windows, and then opening them one by one, this will allow you to see, with your own eyes, how the light from each window is affecting your scene and how it will be hitting your subject.
This will give you a greater understanding of the light in your room and will be invaluable to you when it comes time to harness the light and make it do what you need it to do (or not do).
Position Your Subject, Then Play With Your Main Light Source
Once your place your subject, now you want to play with the curtains on your main window. Open and close them, while watching the light on your subject, as well as the environment around them, to see the effect. Stop when you find the look you are going for, be that really bright with the window wide open or moodier with the curtains just letting a sliver of light through. There is no right or wrong way to do this, but by doing it this way you are able to see the effects of your changes in real time and this will help you better understand how light works in the long run. Which will be helpful if you continue to use natural light as well as if you move on and start primarily using strobes.
Can’t Move the Light, so Move the Subject
Obviously, one major disadvantage to working with natural light indoors is that you can’t move the light. You get what is given to you through the window(s) in the space, but beyond that, your mobility with the light is limited. Again, some see this as a bigger deal than others, but in many cases simply positioning your subject in a different spot can have a major effect on how the light hits them and *could* help you get the look you are going for.
That being said, sometimes you will simply just not be able to move your subject into the light to get the shot you were envisioning. That is just the way it is. However, this can be a blessing rather than a curse because it forces you to try different things, and many times those things you try can work out.
You can always introduce light modifiers, such as a reflector and such to try and get the light where you need it for a specific shot, but like we noted, sometimes you just won’t get it. This is why it is good to work in a familiar natural light location, because then you can get familiar with how the light looks at different times of day, and you can plan your shoots accordingly.
Less Is More
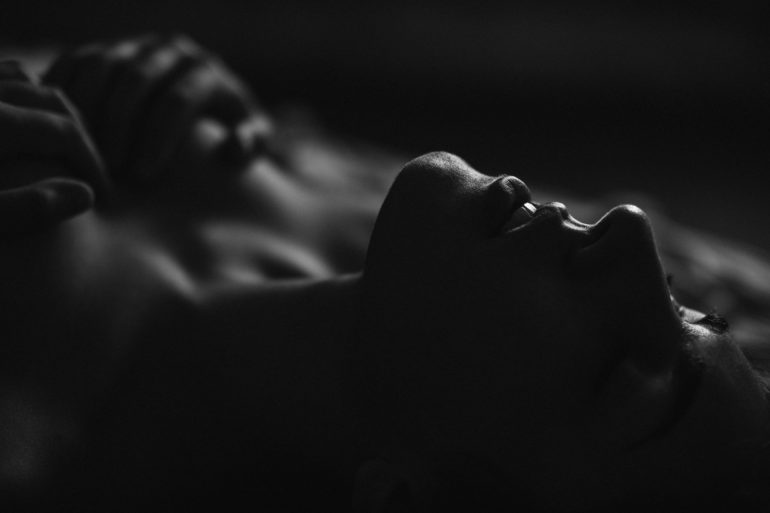
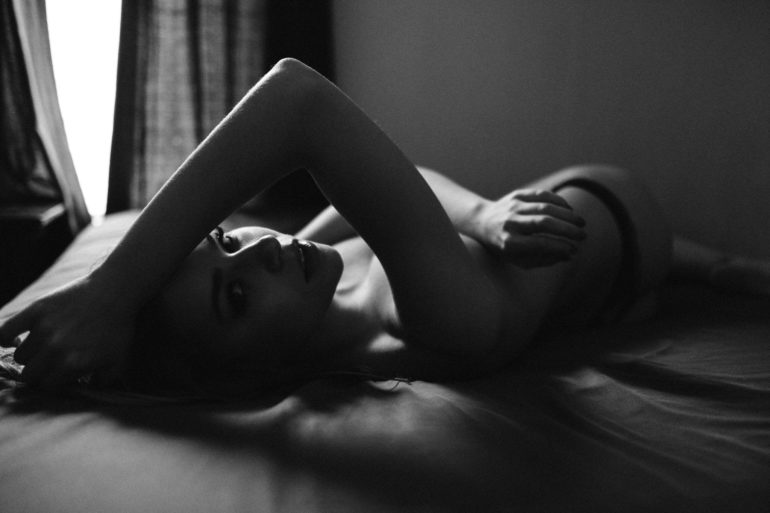
Personally, I shoot a really dark and moody style, and if you are looking to get this sort of look you need to take a “less is more” mentality to your lighting. One window, with the curtains closed to a certain degree. This gives you a single, focused stream of light. You can use this, in combination with the dynamic range of your camera sensor, to expose the highlights of your intended focus and then adjust the shadows to an acceptable degree in post-processing.
It is a very different, backward way of thinking if you are used to using a lot of light and shooting in a very bright style. But it is this darkness and shadow that can bring so much drama and mood, and really sell an emotion or feeling to the viewer.
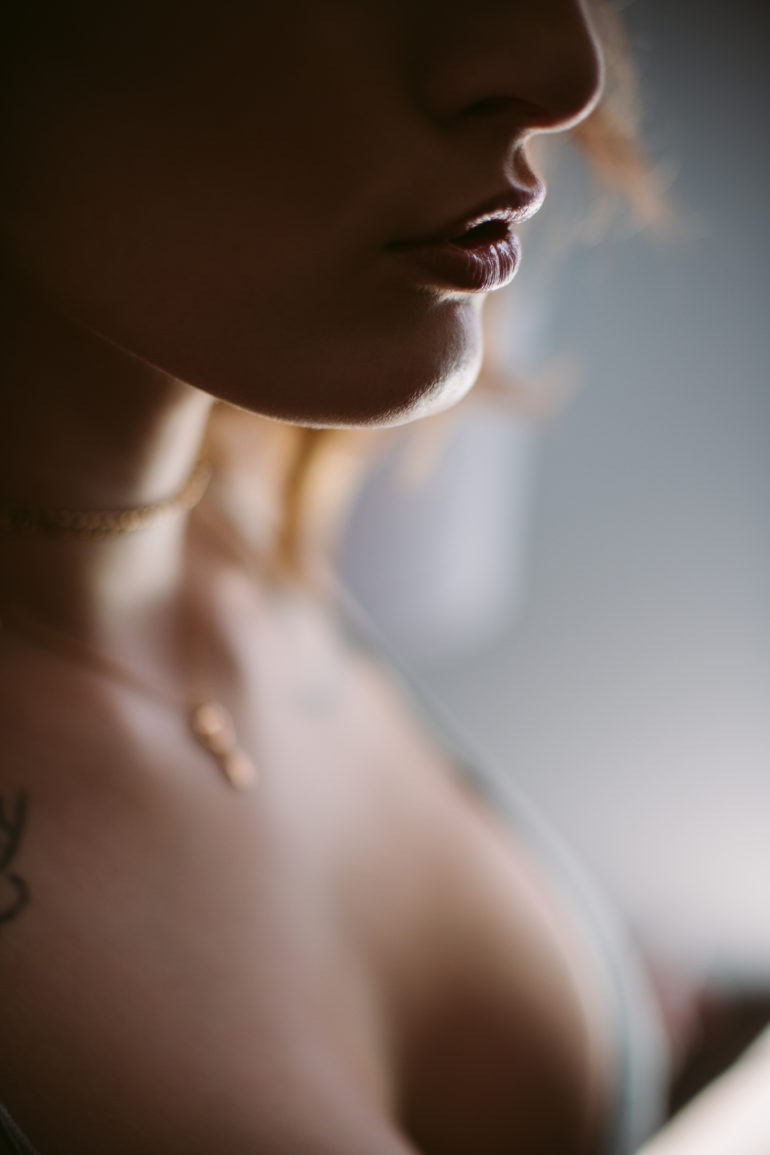
Set a Constant WB
This could be said for strobes too, but specifically, with natural light, color temperature and the ‘look’ of the light can change a lot depending upon what is outside of the window you are shooting. For this reason, your camera’s white balance may read things differently at different times, so don’t trust AWB – set it to a constant (be that a Kelvin number or a preset like sunny/cloudy/shade). This will make matching your images during processing that much easier.
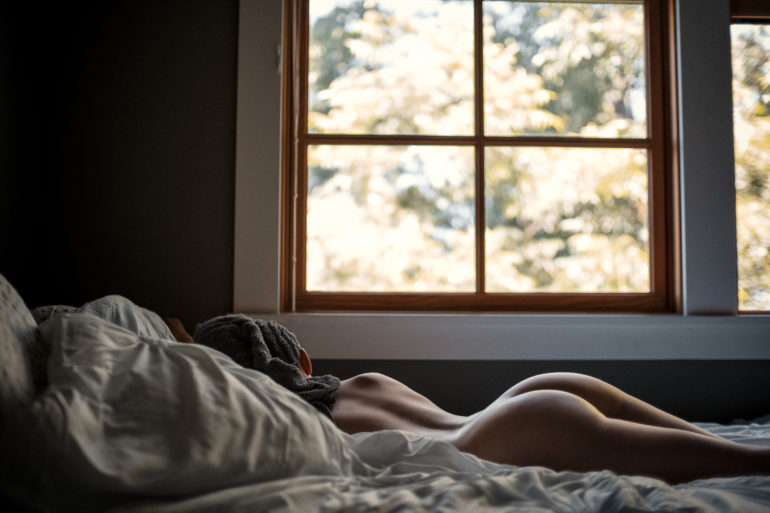
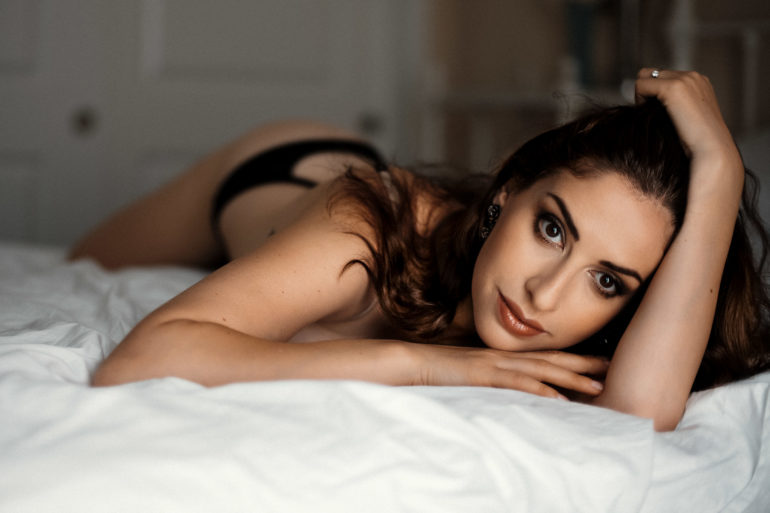
Play with your angles. Don’t be afraid to Backlight, Sidelight, Frontlight – Whatever!
Finally, it is important to play with your angles, and to not be afraid to try different types of lighting on your subject. Depending on the mood you are going for, simply changing your angle and perspective in relation to the light can have a MAJOR impact. So shoot with the window behind you, shoot with it in front of you, figure out what the light is giving you in a given room and use it to your advantage.

In the above example you see my subject in the same position, doing slightly different things, but see how much different the mood/feel of the shot is? I think most of us would pick the image on the right 9 times out of 10 over the image on the left. That won’t always be the case, but this is why it is important to play around with it a little. You can then see what works for you in a given space and get the most out of your light, subject, and environment.
So, there you have it. These are some of our tips for those trying to wrap their heads around shooting exclusively with natural light indoors. They may not be earth shattering, but we stand by them – implement these into your natural light shoots and you will not only see your results improve but your understanding of light along with it.
Get rid of the ads!
Did you enjoy reading this article as much as we enjoyed writing it? There's a way to support us and our reporting, getting ad-free navigation and more as a bonus. Subscribe to us for less than a coffee per month —just $3.99— or take advantage of our yearly subscription with a hefty discount for only $25.- An ad-free experience
- A free mystery box for Lightroom or Capture One
- All the books in our store
- 20% discount on Capture One
- 30% discount on Imalume Photo Theft Protection
- 20% off Herbs and Kettle Tea Company.
- 20% off your order from MPIX printing services.
- 5% off Viltrox Products via their eCommerce store.
- 10% off all film developing, printing and scanning services from Blue Moon Camera and Machine
- 15% off 7Artisans products: The lens and accessory maker is offering a sweet discount for Phoblographer's readers.