Last Updated on 07/22/2017 by Chris Gampat
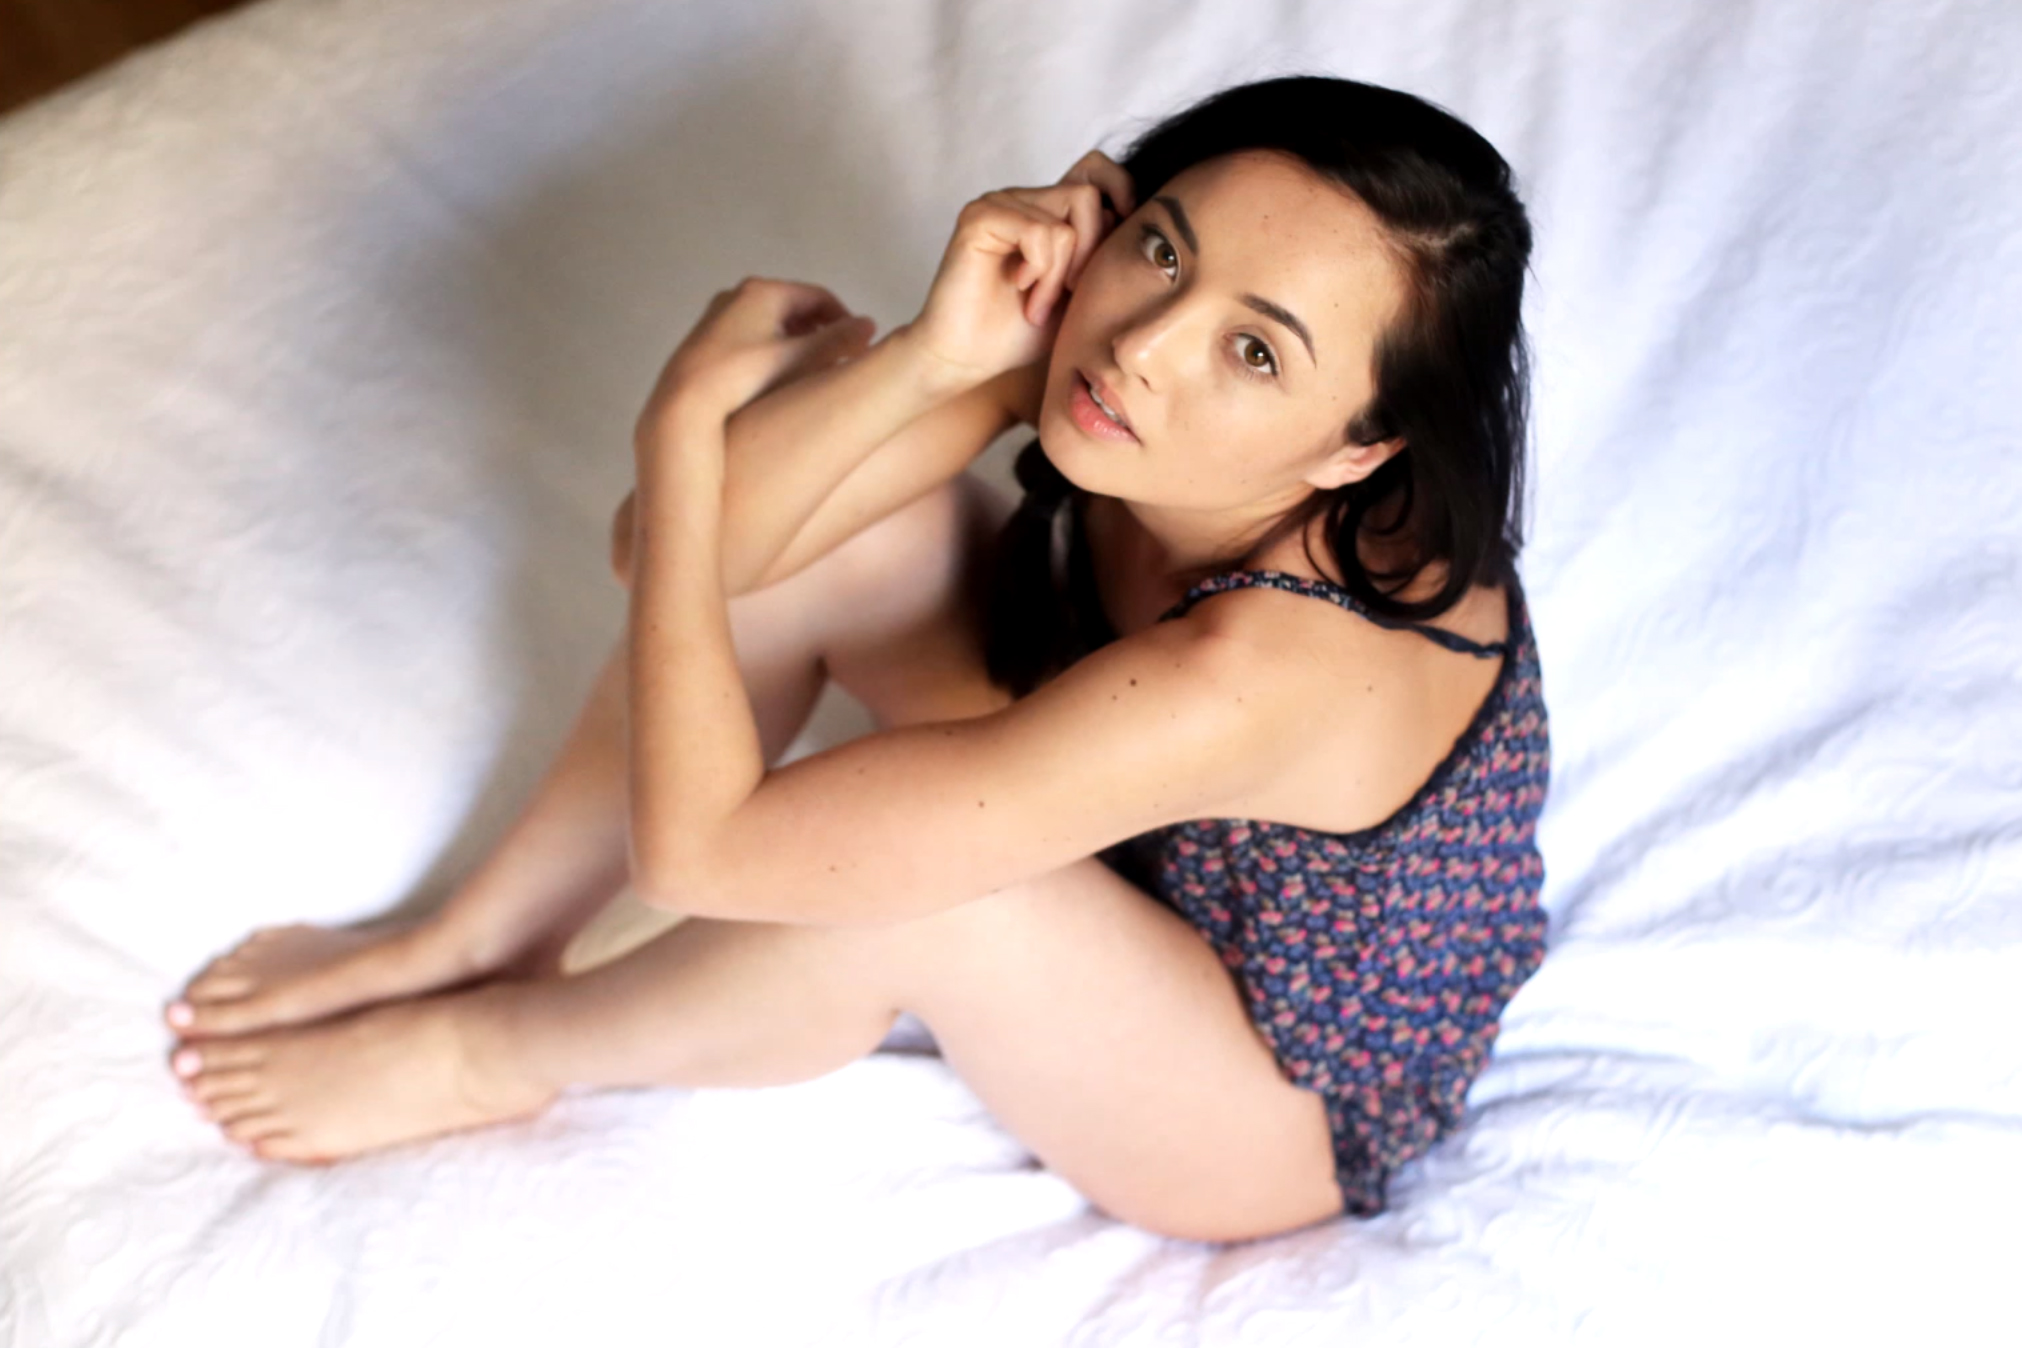
Screenshots taken from the video.
As societal taboos ebb and flow, Boudoir Photography has been on the rise, becoming a more common and accepted niche of photography than it ever has been. Many of you have likely seen boudoir work by photographers you follow and have maybe been thinking about getting into it a little yourself. If so, this post is for you as we share some great points for utilizing natural light and a 50mm lens to create some fun boudoir imagery.
Weekly Imogen over on Youtube has this perfect video for those looking to create that beautiful bright and airy natural light look so popular in the boudoir industry. The setup of the ‘bedroom studio’ is fairly standard, a window (usually with a sheer fabric to soften the light, but not in this case) to the left or right of the bed to create a side light scenario, as well as mostly white styling in terms of the wall, bed sheets, etc.
https://www.youtube.com/watch?v=jqCAHmH0kQA&feature=share
To add on to what you see in this video, if you happen to be into a darker and moodier look (like I am), you can still take advantage of a lot of what is shared in the above video by simply changing your position and angle to your subject.
For example, on those bed images, instead of shooting towards the subject with the same direction as the window light, move and shoot from the opposite side, backlighting the subject with the window. This will introduce more contrast and shadows into the image, and with some exposure tweaks, you will likely have a much darker and moodier feel than the bright and airy look being shown in the video.
What makes the 50mm so great for this type of portraiture is that it allows you to create a close and intimate feeling photo while still allowing you to work in small bedrooms (like the one in the video) and places where a longer lens just wouldn’t be possible.
So if you have been thinking about dabbling in boudoir and you have a 50mm then you have no excuses, this is probably one of the most used boudoir focal lengths. Get out there and give it a try!


