Last Updated on 11/30/2012 by Felix Esser
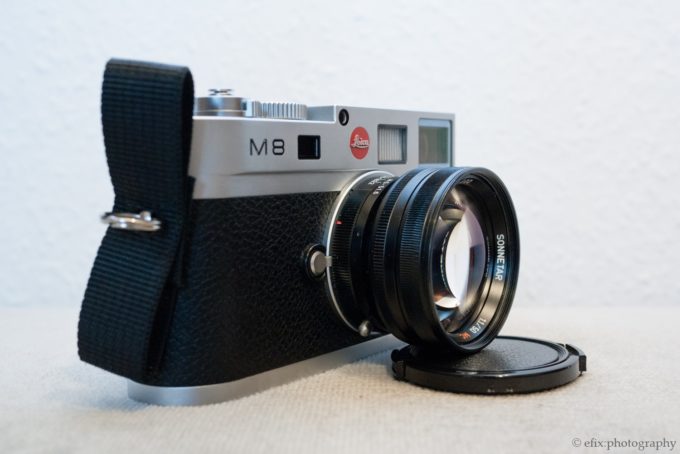
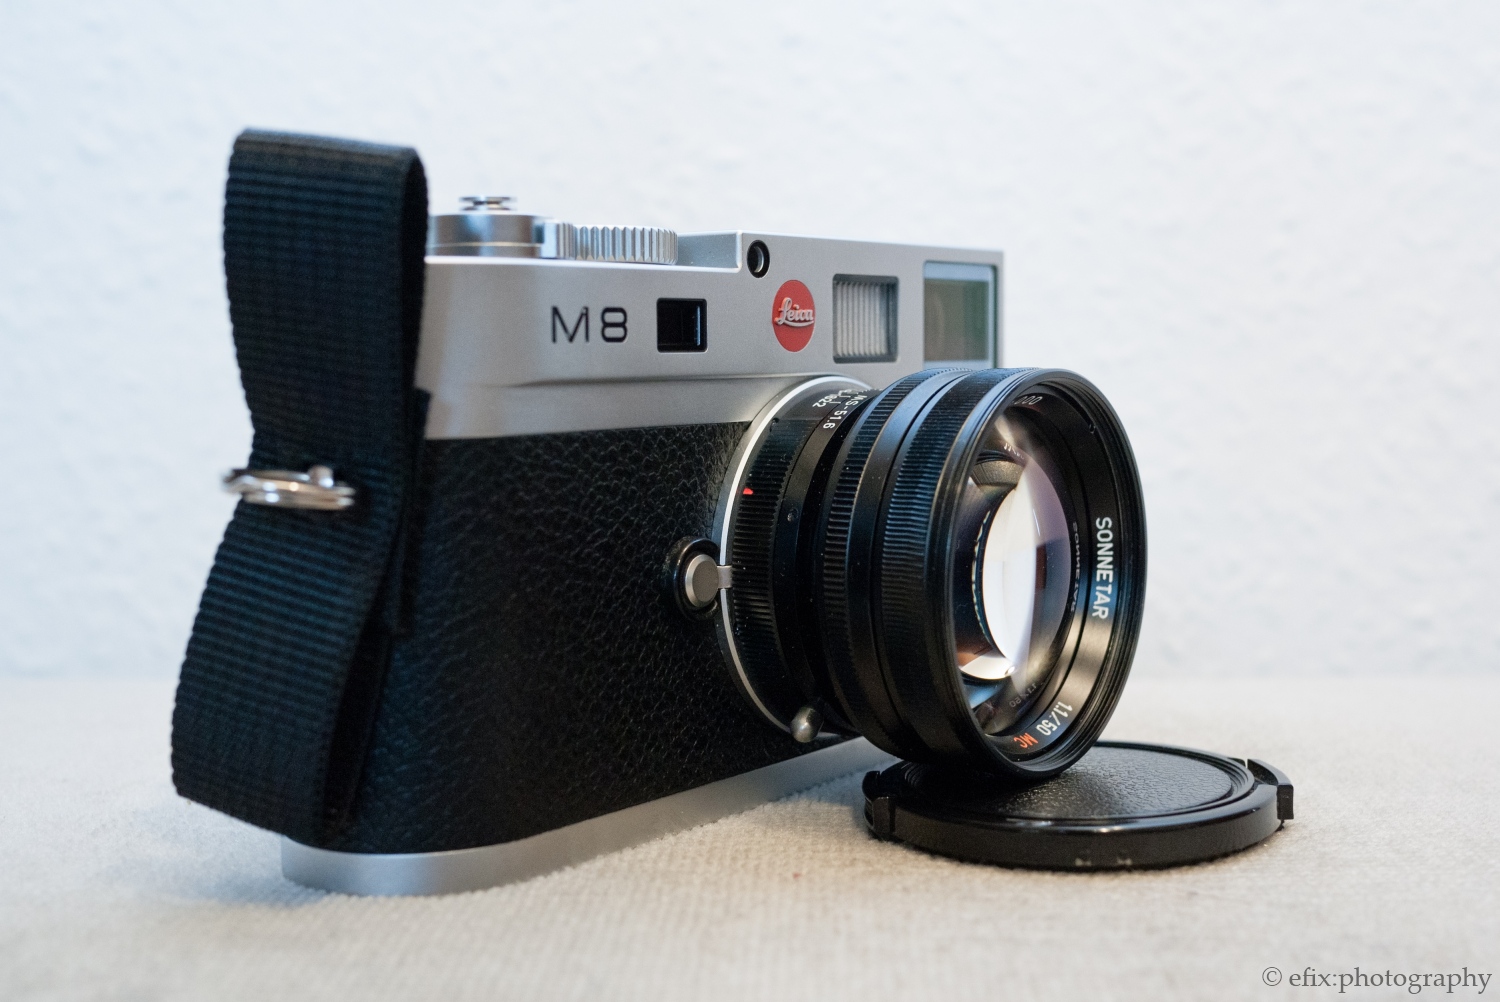
The Sonnetar 50mm f1.1 for Leica M is the latest lens design by Mr. Miyazaki from Japan, the man who brought us the 35mm f3.5 and 28mm f4 “Perar” pancake lenses before. The Sonnetar is not a pancake, but still not large either considering its speed. Based on the classic Sonnar design by Zeiss, the Sonnetar manages to be fast and compact at the same time. As with all MS-Optical lenses, it is designed and assembled by only one person, which is why it comes in limited numbers only. I had the opportunity to take a closer look at a pre-production unit of this unique lens.
What’s awesome: The screw-in focusing lever is a joy to use and makes focusing a breeze.
What’s awful: The screw-in focusing lever can easily get lost.
What it boils down to: Super fast, reasonably small, with a classic rendering. What’s not to like?
Gear Used
- Leica M8
- Panasonic G1
- MS-Optical Sonnetar 50mm f1.1
Design, Ergonomics and Build Quality
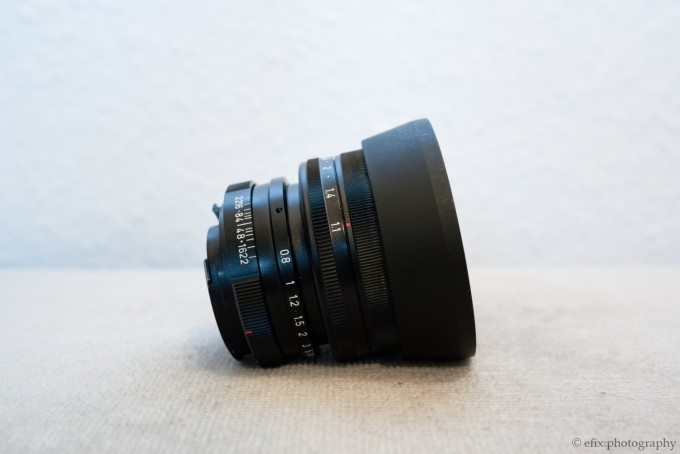
The 50mm f1.1 Sonnetar, like all Miyazaki-made lenses, has a solid metal body and a hefty feel to it. Holding it in your hand, you’ll be surprised at how light it is, despite all the glass and metal that it’s made of. The focusing and aperture ring run smoothly, and overall the build quality seems to be very high.
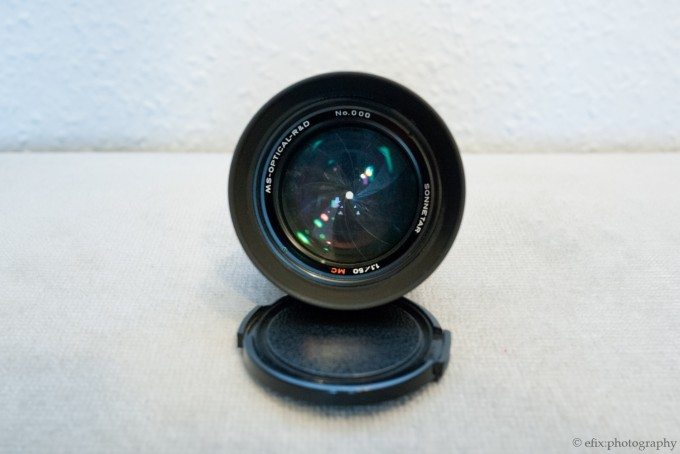
The German-made 12-bladed aperture provides almost perfectly circular rendition of out-of-focus highlights (commonly referred to as ‘bokeh’). The rest of the lens’ parts are made in Japan and hand assembled by Mr Miyazaki in his workshop. This particular copy was a pre-production prototype that was slightly out of alignment — more on that later.
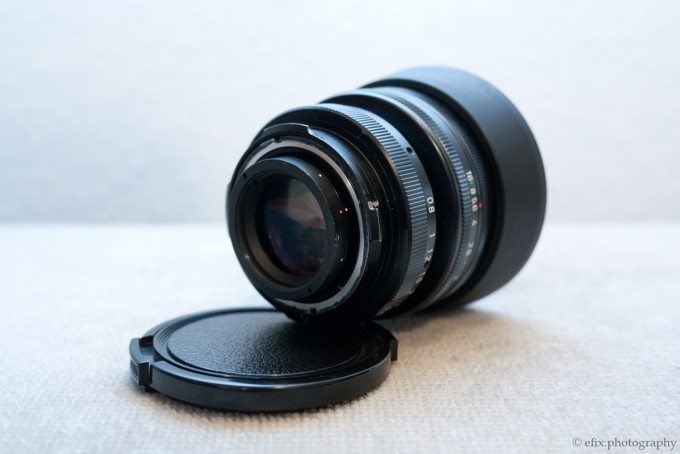
Probably the most ingenious feature of this lens is the built-in coma adjustment ring. What it does is to move the rearmost lens element forwards and backwards, thereby slightly altering the lens’ focal length and with that its optical properties. It can be used for two things:
- to minimize coma (i.e. the rendering of halos around point-shaped light sources at wider apertures, more on Wikipedia), by adjusting the ring to the focus distance or
- to fine-tune optimal focus at any given aperture (i.e. to counterbalance focus shift, which is inherent to Sonnar designs.)
More on the coma adjustment ring, how to use it and what it actually does, later in the next section.
Optical Performance
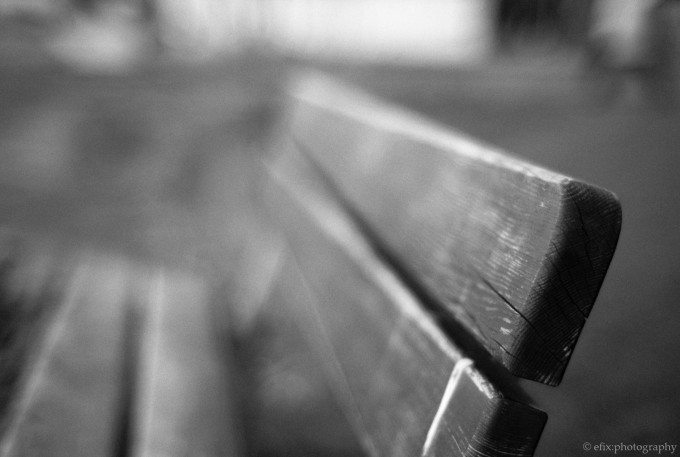
The MS-Optical Sonnetar 50/1.1 is a lens that begs to be used with the aperture wide open. And after all, what else would be the reason to buy a lens this fast? It’s the perfect tool for available darkness photography, it produces super shallow depth-of-field when used wide open and close up, and its rendering of out-of-focus highlights (i.e. ‘bokeh’) at f1.1 is nothing short of spectacular. That is, spectacular if you’re a fan of the classic look of all-spherical lens designs.

Stopped down, the lens can get pretty sharp, as most lenses do. But really, I don’t think there’s any reason to use this lens stopped down. Unless this is your only lens … (And it’s not like there aren’t enough scenarios that require huge depth-of-field …)

Below, you can find a comparison of the lens’ rendering at f1.1 and f5.6. Click each picture to view it in full.
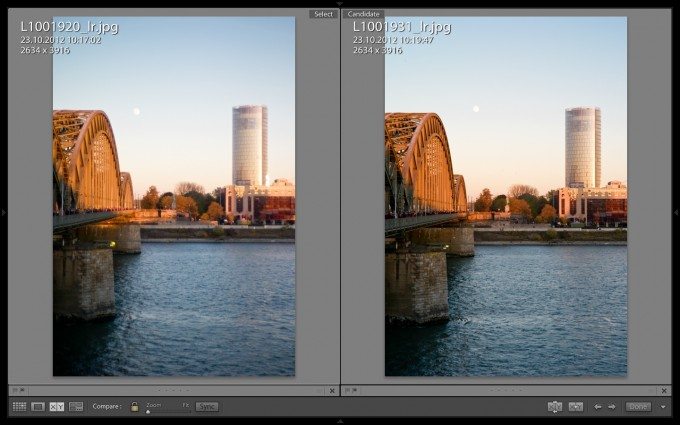
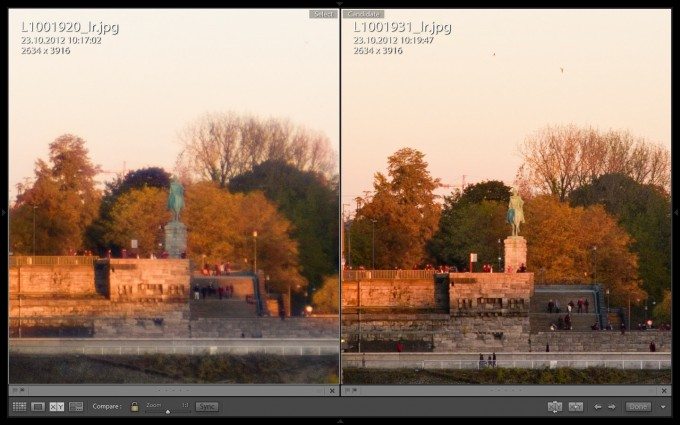
While being rather soft wide open, the lens still renders sharply and with a lot of detail. The rendering at f5.6 is, naturally, much more crisp and contrasty.
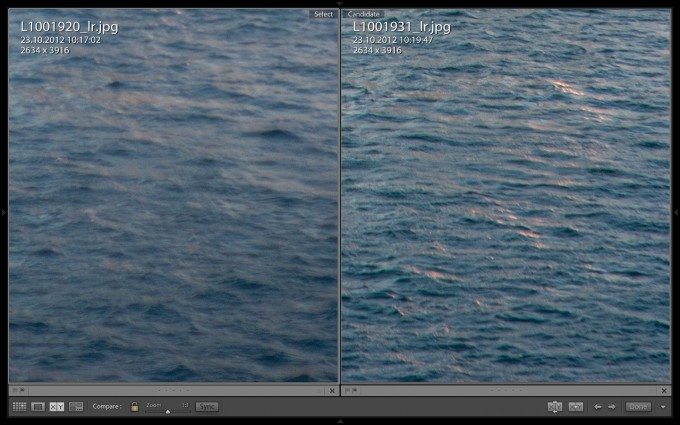
While the lens doesn’t get critically sharp in the corners by f5.6 (which may be a tribute to its very compact design), it also doesn’t look all that terrible wide open, at least not compared to how it renders in the center.
I already mentioned focus shift above. As this lens is based on the classic Sonnar design developed by Zeiss in the early 20th century (see this Wikipedia article), the Sonnetar also inherits this design’s proneness to focus shift. What this means is that when the lens is stopped down, the way the incoming light hits the recording medium (sensor or film) changes in such a way that the optimal plane of sharpness is slightly offset from the point on which you originally focussed. Below, you can find a series of 100% crops of one and the same picture taken at apertures between f1.4 and f4. You will notice how the focus point moves from the front of the topmost tangerine (where I focused) behind all the way past the plate.



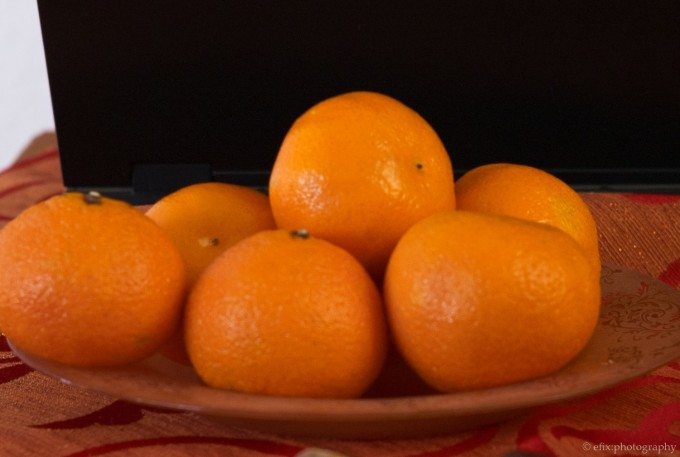
Don’t let this fool you into thinking the Sonnetar was a lesser lens design. You will get exactly the same effect with, for example, a Zeiss Sonnar 50/1.5 ZM, though maybe just not as pronounced. And even fast Leica lenses like the 35mm f1.4 Summilux-M used to show focus shift, until Leica decided to introduce a floating element into the design, which helps adjust the focus point according to the focus distance.
And this is where the Sonnetar’s coma adjustment ring comes into play. Since the adjustment ring physically moves the rearmost lens element, it also moves the lens’ focal length and with that its focal point. This means that the plane of optimal sharpness can be moved forward or backward, so the lens can be fine-tuned to focus spot-on at any given aperture. There are no marks on the adjustment ring for this, so this will need some experimenting. But in theory, the adjustment ring can be used to set optimal focus to f1.1, f2, f2.8 or even further stopped down (though the more you stop down, the more depth-of-field will counterbalance the effect of the focus shift.)
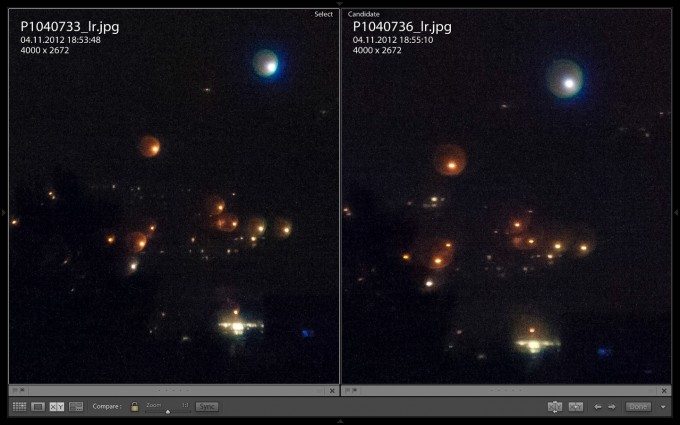
The original idea behind the coma adjustment ring, though, is to reduce coma — i.e. halos around point-shaped highlights when shooting at wide apertures. For this, the adjustment ring has marks to indicate infinity, 4 meters (red dot, see picture in the section above), 2 meters and 1 meter (see section above.) Set the adjustment ring according to your focusing distance, and the lens should render the resulting image with minimal coma. In the image below you can find two 100% crops of the same image taken with the coma adjustment ring at its infinity setting and the 1 meter mark. The focusing distance was infinity.
As you can see, coma is much less pronounced when the coma adjustment ring is set to its infinity setting. I mentioned earlier on that this lens was not quite 100% up to specs being a prototype, so with a final production model the difference should be even more pronounced. Btw, these pictures were taken with a Panasonic G1. On a rangefinder camera, it would not have been possible to focus to infinity correctly in both shots, as — I mentioned this above when talking about focus shift — the plane of optimal sharpness moves when the adjustment ring is turned.
So, now that we’ve established the 50/1.1 Sonnetar’s strengths, and weaknesses, how does it fare when you actually take pictures with it? Surprisingly good, actually. I used the lens in a variety of scenarios, ranging from architectural photography over portraiture up to available light photography (i.e. in the evening or at night), and in each situation the lens delivered top notch results.
The Sonnetar for architectural photography

Being a 50mm lens, the Sonnetar has minimal or no distortion (none that I would’ve noticed, anyway). Stopped down, there is also no vignetting, and sharpness is pretty even across the frame. I stated before that I belive this lens was made to be shot wide open — but while it’s on the camera, why not stop it down and use it to take architectural pictures?
The Sonnetar for portraiture

At f1.1, the lens renders rather softly, which is typical for all-spherical designs, and for Sonnar designs in particular. Depth of field is shallow, so you want to make sure that a) your rangefinder is properly calibrated, b) you set the adjustment ring for optimal focus wide open and c) you focused properly. When all goes well, you are rewarded with beautiful low-contrast images with gentle tones and noticeable glow. Personally, I think this works very well for portraits.

If you want more depth-of-field, for example because you want more than just the eyes to be in focus, you can always stop the lens down, like in the picture above. Despite getting more of your subject in focus, stopping the lens down has the added benefit of resulting in sharper images, as can be observed in the 100% crop below.

All in all, the lens works very nicely for portraiture, be it on the Leica M8 (where it acts like a 67mm lens), on the Panasonic G1, on a full-frame 35mm camera like the Leica M-E, or any other mirrorless camera that it can be adapted to.
The Sonnetar for close-ups

Close-up and wide-open is where this lens shines. It may not be sharp under these conditions, but it renders beautifully and sprinkles magic dust on whatever you’re taking a picture of. Since the lens was made for M-mount rangefinder cameras, it does not focus closer than 70 cm (80 according to its own distance scale.) So, on a full-frame camera like the Leica M, you won’t get very close up. On a Micro Four Thirds body such as the Olympus OM-D E-M5 (or, in my case, the Panasonic G1), however, it acts like a 100mm lens, which means that you can get twice as close to things as you could on full-frame.

But even on the M8 with its larger (1.33 x crop) sensor, I was able to get reasonably close to plantlife, so as to isolate a particular part of that plant even with the lens stopped down.

Close-up photography: check.
The Sonnetar in available darkness
Available light photography, sometimes humorously labeled ‘available darkness’ photography due to the often severely light-lacking conditions under which super fast lenses are used, is the undoubtedly what this lens was made for. With its very bright initial aperture of f1.1, the Sonnetar sucks in so much light that you can get shutter speeds long enough to prevent shake-induced blur even at base ISO — which in the case of the Leica M8 is 160. Below are a couple shots taken at a fair, all at shutter speeds of 1/60th of a second and above, and ISO 160 on the Leica M8.


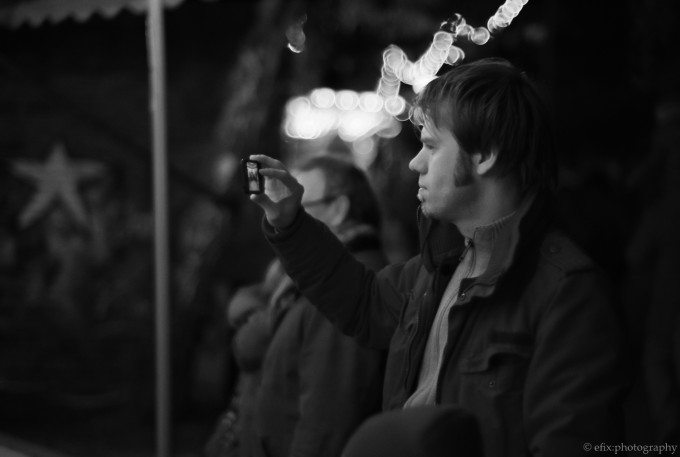
Even with an f1.1 aperture, though, available light photography has its limits. When trying to take pictures of my son in almost complete darkness, his face only slightly illuminated by a lantern, I had to give in. My Leica M8 with its limited high-ISO-capabilities just wasn’t up to the task. Not without risking nasty banding, anyway. The new Leica M, however, just might’ve done the job, though.
Final Thoughts
The MS-Optical Sonnetar 50/1.1 is a unique product. Directly competing with the Voigtländer Nokton 50/1.1, the Sonnetar is made for M-mount rangefinder cameras and comes in at slightly over € 1k, or US-$ 1,350 at current exchange rates as of writing this article. Unlike the similarly-priced Voigtländer, the Sonnetar does not weigh almost a ton, though. In fact, it is very small and light for a lens of its focal length and speed. This is due to the fact that the Sonnetar is based on the Zeiss Sonnar design, which is an all-spherical design that yields compact fast lenses. The Nokton, as well as the overlord of fast glass, the Leica Noctilux 50/0.95, uses a very complex design with aspheric glass, which makes it a lot larger and heavier.
The Sonnar heritage is also what makes the Sonnetar’s charm, as well as its shortcomings. While focus shift can be counteracted with the rather ingenious adjustment ring (which doubles for minimizing coma,) the lens’ rendering wide open is soft, low on contrast and with considerable glow. Stopped down, the lens gets reasonably sharp, although the corners never seemed to get as sharp as the center.
Its optical shortcomings can be used creatively, though, and this is what makes its charm. Used wide open, the lens is brilliant for portraiture, due to the gentle and dreamy way in which it draws. Its bokeh, i.e. the rendering of out-of-focus highlights, is nothing short of breathtaking when the aperture is wide open, and can make for some stunningly beautiful pictures. The same holds true when used for close-up photography of all kinds, where the lens renders in a dreamy way when used wide open. Stopped down, the lens can be used for anything that requires large depth-of-field, such as architecture or landscapes.
All in all, this is a lens that I had a very hard time to let go. In the time I had it, it delivered some of the most outstanding and beautiful pictures I have ever taken — both on the Leica M8 and the Panasonic G1. In that regard, those 109,900 Japanese Yen are money well spent. If you’re in for a fast 50 with that classic Sonnar rendering, that is.
Finally, I would like to thank Dirk Rösler from Japan Exposures who was so kind as to provide the lens for this review. You can order the lens directly via his website. As the lens is made by only one person, it appears in batches of 300 at a time. The first batch may have sold out already while you are reading this, but a second batch is said to be in the making.
Additional Pictures
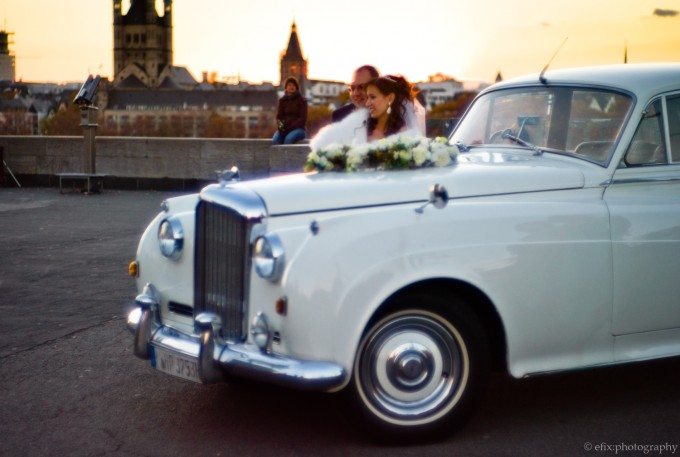
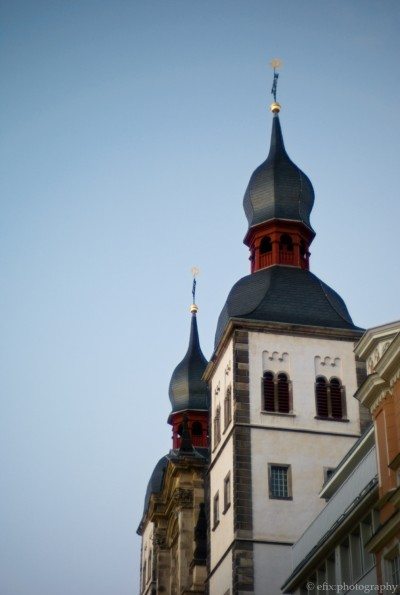
Below are a couple of additional pictures for your to enjoy.




Please Support The Phoblographer
We love to bring you guys the latest and greatest news and gear related stuff. However, we can’t keep doing that unless we have your continued support. If you would like to purchase any of the items mentioned, please do so by clicking our links first and then purchasing the items as we then get a small portion of the sale to help run the website.


