Last Updated on 08/31/2011 by Julius Motal
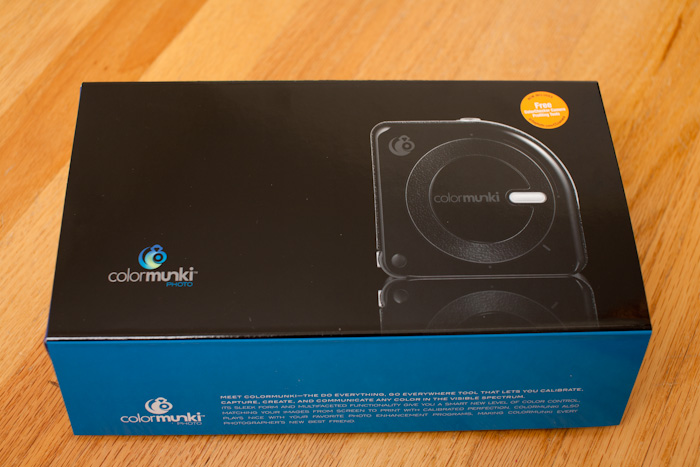
While photography is awesome and I love creating and editing photos, there are a few aspects of this job/hobby/art that aren’t exactly sexy or fun and for me, color management is one of them. I would say that I am a geek at heart and I generally like technology and gadgets, but I find color correction and color management to be rather dry. I simply want to shoot, edit and print without any drama or surprises. Well, X-Rite has a product out on the market that can supposedly profile your screen/project and printer with ease and it’s called the ColorMunki Photo.
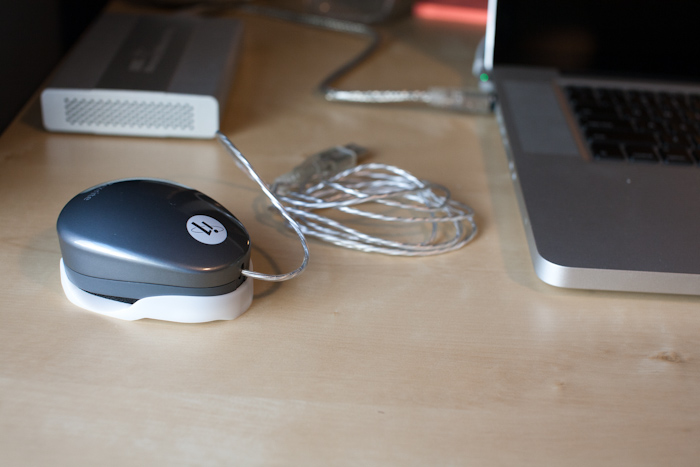
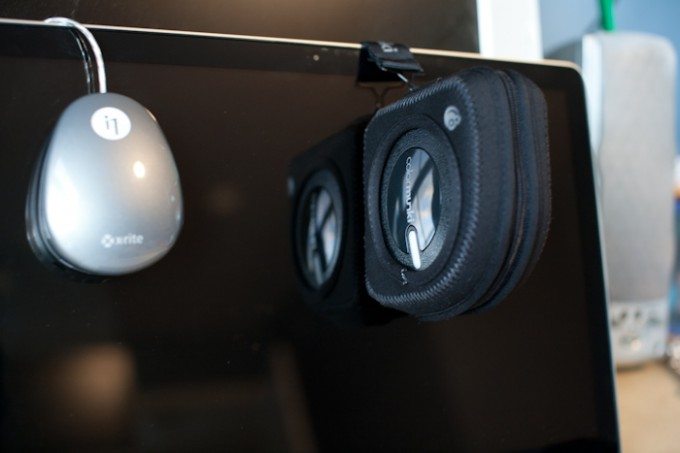
X-Rite i1Display 2
I have been using the X-Rite i1 Display 2 (shown above) for a few years now and I love the product. It does a great job profiling my laptop and desktop display and more importantly, it’s easy to use. The i1 Display2 can only profile screens which is fine for me because I don’t print at home. For the photographers that do print at home, getting what you see on your screen to match what you get from your printer can often be challenging. The ColorMunki Photo claims it can get your prints to match your images with ease. So does it work? Let’s find out.
What’s In the Box?
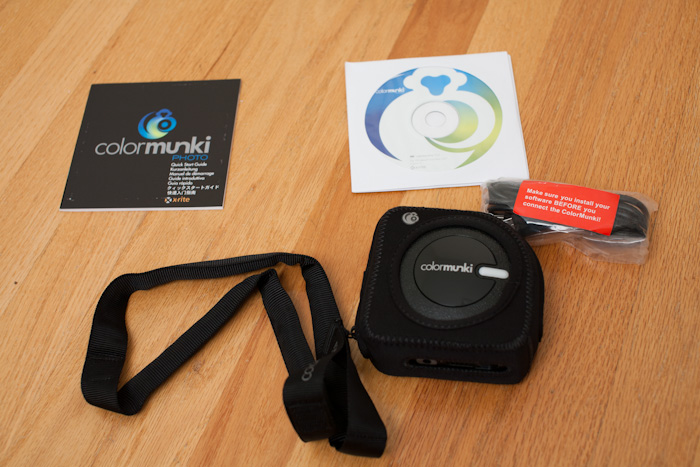
Below is a list of what’s included with the ColorMunki Photo:
- ColorMunki Photo calibration device
- Case/Monitor Counterweight
- USB Cable
- Software
- Instruction manual and guide (CD)
Getting to Know the ColorMunki
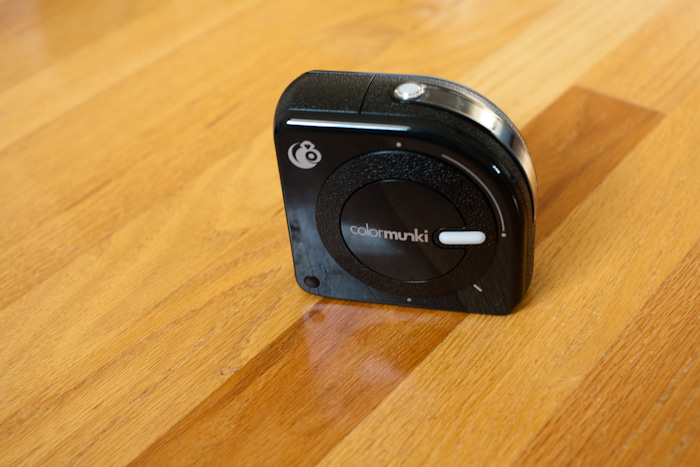
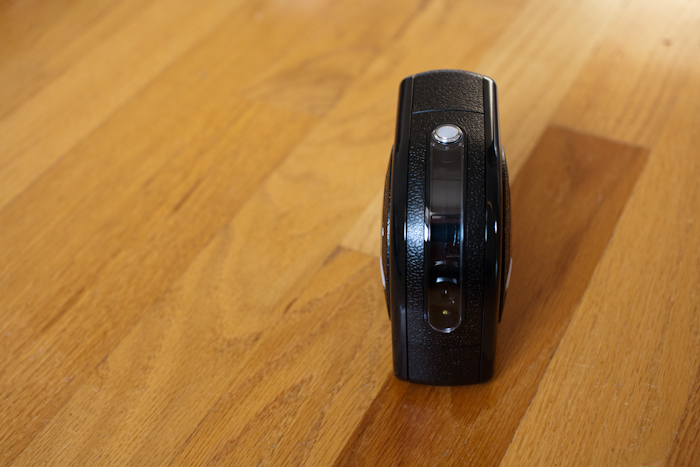
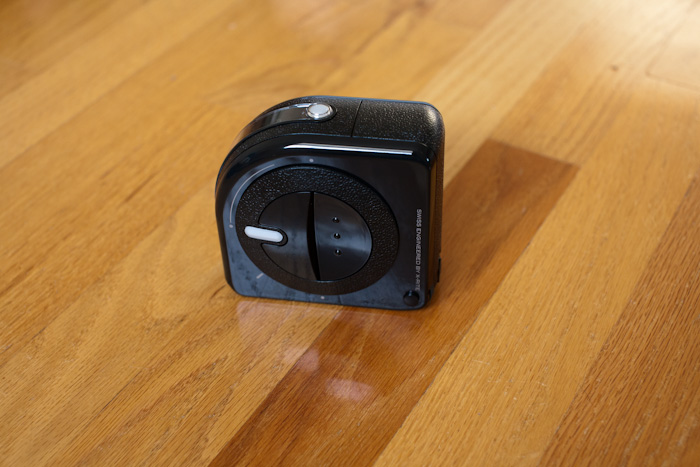
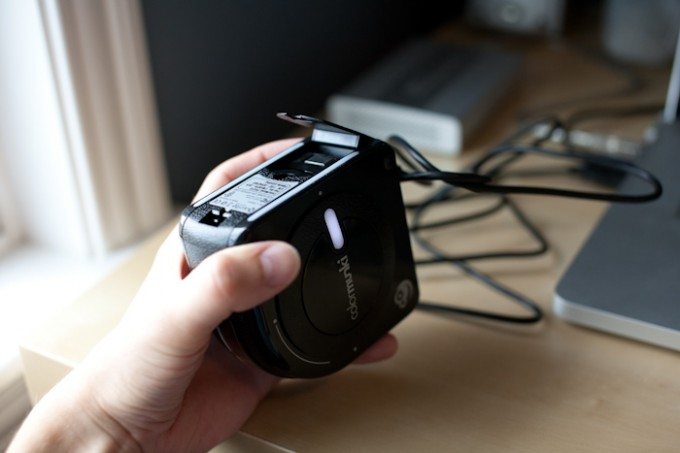
The ColorMunki Photo is an odd looking device but it’s form is what makes it easy to use. It’s well made and feels very solid in your hand. There is a large button on the side which is used to trigger a reading from the device when calibrating or taking a color sample. Around the button is a large dial which is used to turn the sensor to each of the ColorMunki’s four positions. On the bottom of the ColorMunki Photo is a sliding door which reveals the sensor. It’s best to keep the door closed when not in use to avoid dust and grime from getting in the device.
One warning about this door is that it obviously needs to be open to get a reading. Unfortunately, the software doesn’t warn you at the beginning if the door is closed. I unsuccessfully tried 3 times to calibrate my monitor before I realized that the door was closed. Smart, Pouliot, smart. You don’t get a warning until the very last screen in the calibration process. You think the software would shoot you an error before the process even started.
Oh well, just something to remember before you get started.
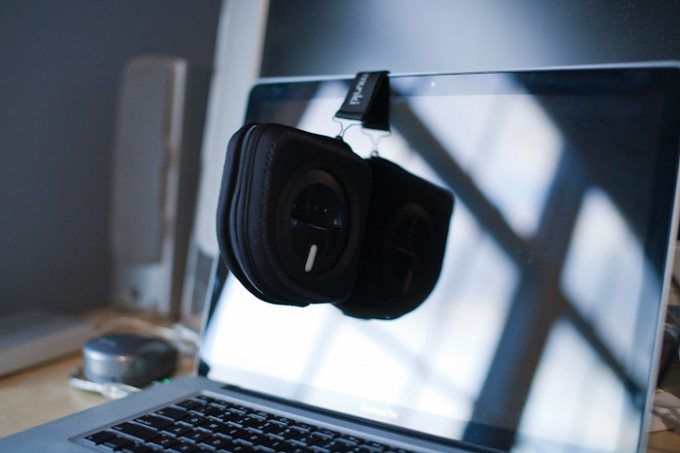
Included with the ColorMunki Photo is a case with a weighted lanyard. This case and lanyard combination allows you to hang the ColorMunki Photo on your screen without having to hold the device or move your screen into some crazy position. To check color samples or to calibrate a printer, you’ll need to remove the ColorMunki Photo from this case.
As I mentioned before, the most prominent feature of the ColorMunki Photo is the dial that sets the sensor to one of four positions. To the best of my knowledge, the four positions do not have specific names, but I’ve listed their uses:
- Calibration – Each time you use the ColorMunki Photo, it prompts you to calibrate the device before use. This helps to ensure you are getting consistently accurate results.
- Color Check – This is the “main” position of the device. Use this setting to test color swatches and to calibrate your printer and monitor.
- Ambient Light Check – Ambient light can have an effect on how you see your display. The ColorMunki Photo can read the ambient light in your room and adjust your screen’s luminence accordingly.
- Projector Check Position – There is a large clear plastic strip that runs along the curved edge of the ColorMunki Photo. This screen allows the sensor to take a reading of a projector that may be positioned in a hard to reach place.
Using the ColorMunki Photo
Most aspects of photography are very complicated and may take awhile to grasp. Thankfully, the ColorMunki is easy to use. The software does an excellent job of guiding you through a step-by-step process and if you have any questions, X-Rite’s website has lots of helpful documents that are easy to access.
Calibrating Your Screen/Monitor
If you’re like me, then your major reason for buying a calibration/profiling tool is to ensure you monitor is properly calibrated. Spending hours in post processing only to find out your monitor was out of wack is not a good feeling.
I calibrate my monitor every two weeks or so. Some may think that sounds like overkill but you’d be surprised at how fast and how much a screen can change in a short amount of time. This holds especially true for older displays. Thankfully, the ColorMunki Photo is fast and easy, plus it will remind you to calibrate your display based on an interval that you determine. I have mine set to remind me every two weeks.
Below are the basic steps required to calibrate a screen:
1. Download the ColorMunki Photo software.
2. Plug in the ColorMunki Photo into your computer’s USB port.
3. Open the ColorMunki Photo software.
4. Once you have opened the software, choose “Profile My Display”.
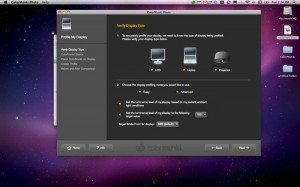
5. Next, you will be presented with an option of “Easy” or “Advanced” for your setup type. I tried both and I ended up with what looks to be the same profile, the only difference is in the luminance as easy mode does not check ambient light. The software doesn’t straight out say this, but I believe the “Easy” settings are gamma = 2.2. and white point = D65; these are the suggested settings for most digital photographers. White point, gamma, and luminance settings could vary based on many things, this is simply what is suggested for most digital photographers.
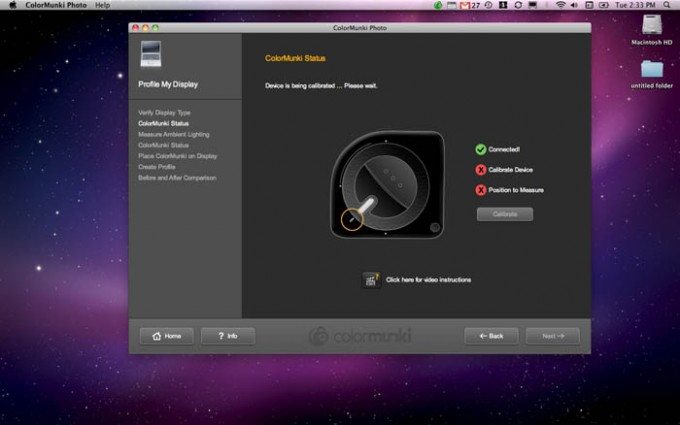
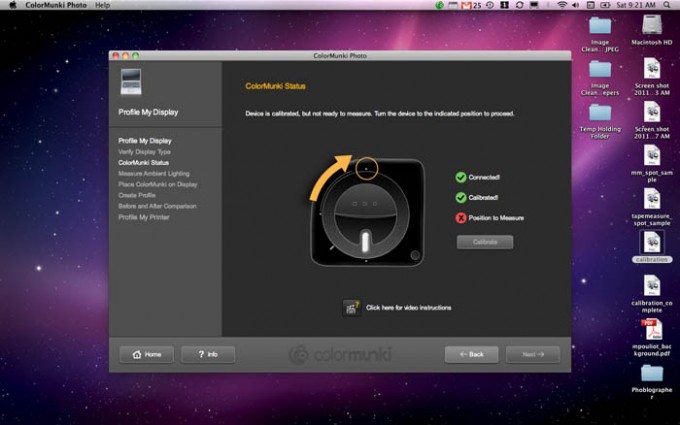
6. After you have decided on advanced or easy, the next screen will ask you to calibrate the ColorMunki Photo. This step is key. If the device is not properly calibrated, your results may not be accurate. To calibrate the ColorMunki Photo, simply turn the dial to the calibration setting and hit calibrate. That’s it.
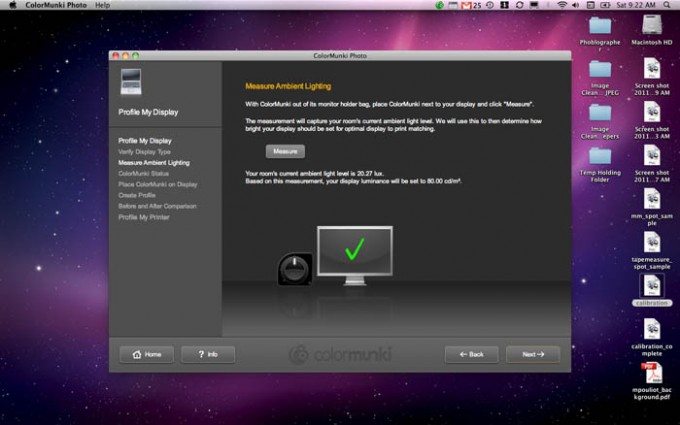
7. Now you’re finally ready to start the calibration process. The first step is testing the ambient light. To do this you must place the ColorMunki Photo next to the screen and turn the dial to the top position. The ColorMunki will then instruct you to adjust your screen to a specific brightness based on the ambient light in the room. If you have a laptop and you are constantly moving from one lighting environment to another, you may want to opt to choose a specific luminance level, most likely 100.
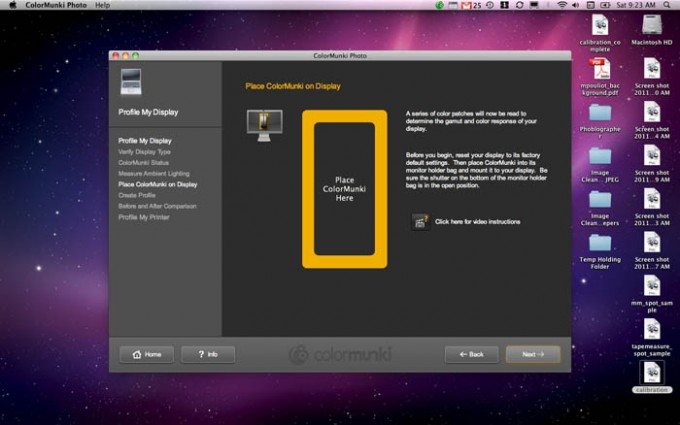
8. Once you are done testing for ambient light and you have set your luminance, it’s time for the meat and potatoes, color adjustment. All you need to do for this is slide open the door on the bottom of the ColorMunki Photo to expose the sensor to your screen. Next, hang the ColorMunki Photo on your display so it sits in the middle of the box that will appear on your screen (see image below). Hit next and the ColorMunki will begin to work it’s magic. Your display will start to flash a series of colors.
What the device is doing is measuring the colors it is seeing versus the colors it is expecting to see. It takes the differences it encounters and creates a profile with the necessary corrections.
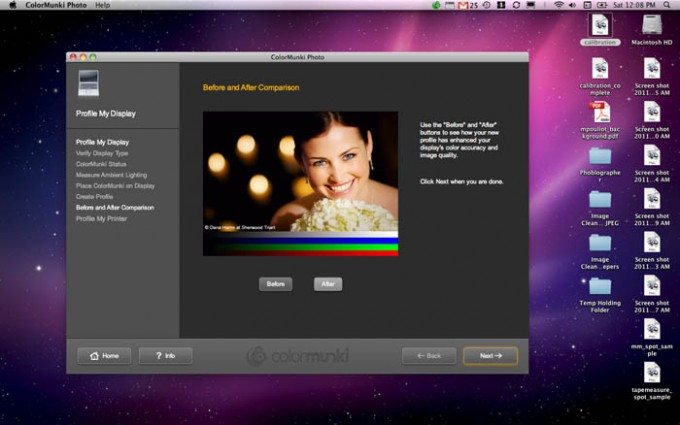
9. When the ColorMunki Photo is done, you can save your profile with a specific name and see the before and after results. That’s that easy!
Creating a Printer Profile
To get your prints to match your newly calibrated monitor, profiling your printer is a must. This is almost as easy as calibrating your display. Below are the steps needed to create a new profile:
1. After you have calibrated your display, go back to the main menu screen and select “Profile My Printer”.
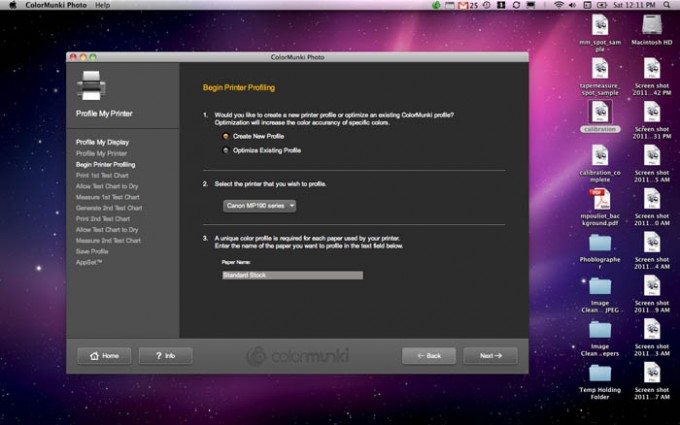
2. You will be presented with the following screen. I didn’t have an existing profile to optimize so I chose “create new profile.” Name your new profile and hit next.
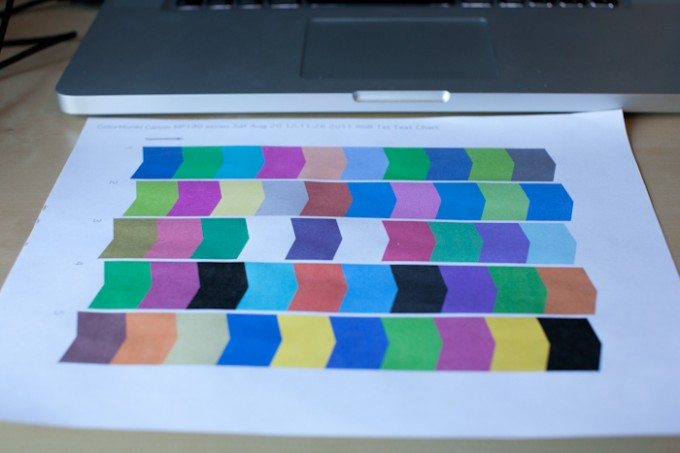
3. Now the fun begins. The software will tell you to print a test chart from the printer that you are going to profile.The test chart will look like the image below. Once you have printed the test chart, give it a few minutes to dry. Wet ink will be darker and more saturated than ink that has had a few minutes to dry.
Once the ink is completely dry, the next step is to run the ColorMunki down each row of colors, the software will guide you as you go. The dial must be in the position facing the flat part where the sensor is exposed. I was honestly surprised at how well this worked. I was expecting to receive an error saying I was going too fast or slow but I tried this a few times and it never skipped a beat.
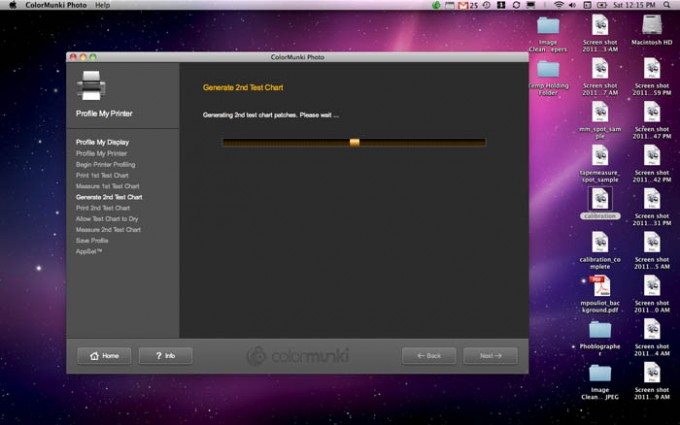
4. Once this is done, the software will analyze the results and present you with a new chart to scan. Print the new chart, let it dry and scan it just like you did with the first chart.
5. Again, the software will do a bit of thinking and then you’re done. Again, very easy. The software can also set this newly calibrated printer profile as the default profile for programs such as Adobe Creative Suite, QuarrkXPress, CoralDRAW Graphics Suite and Corel Painter X.
Color Samples
I’m not a graphic designer or digital artist, nor do I pretend to be, so taking color samples really doesn’t excite me but I could see how this could be an amazing feature for some. Just like calibrating a display or profiling a printer, taking a color sample is super easy. Here’s what you need to do:
1. Plug in the ColorMunki to a USB port.
2. Next, open the Photo ColorPicker program from the ColorMunki software folder and select the ColorMunki device located in the menu on the left of the screen.
3. The software will prompt you to calibrate the ColorMunki before taking a sample.
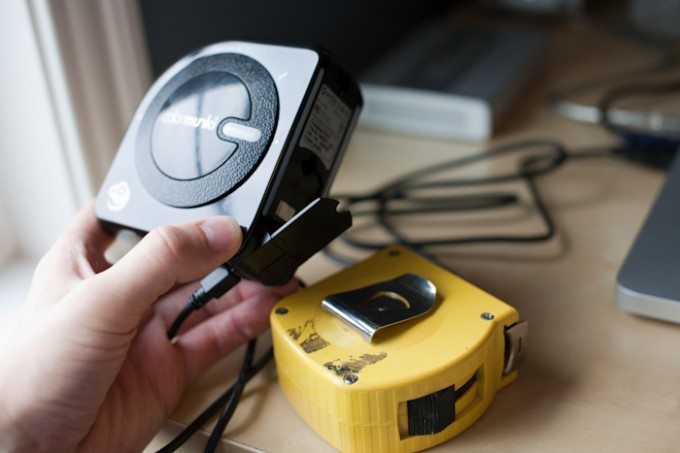
4. After you calibrate the device, press the gray button on the bottom of the ColorMunki, this will release the fold out target arm.
5. Place the half-circle over the area you want to sample and push down with the ColorMunki Photo until it becomes flush with whatever you are sampling.
6. Finally, click the button on the side of the ColorMunki to take a sample. You will see a swatch with the color you just sampled pop up on the screen.
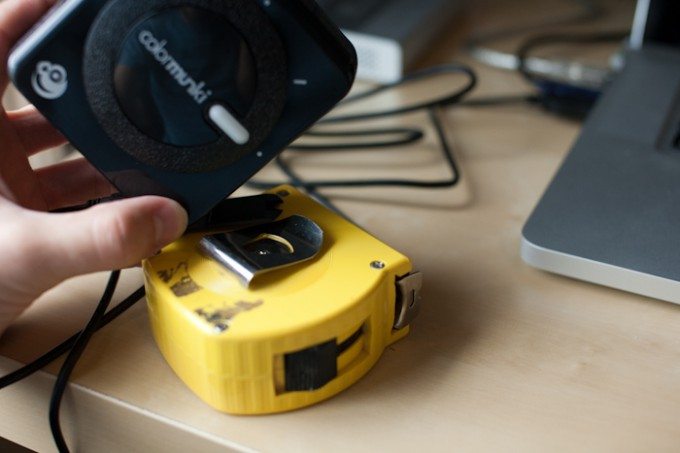
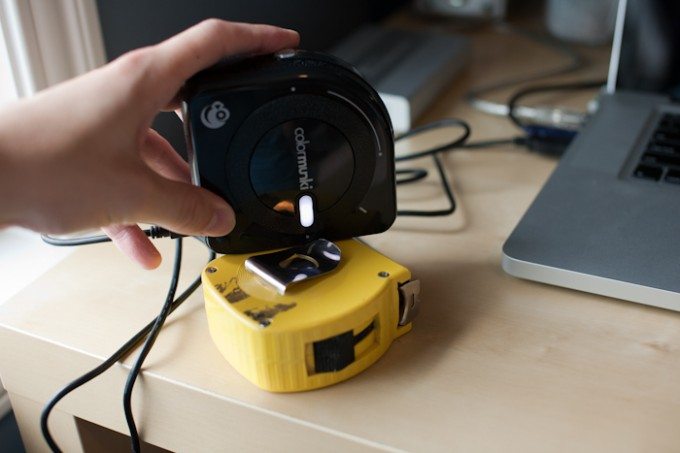
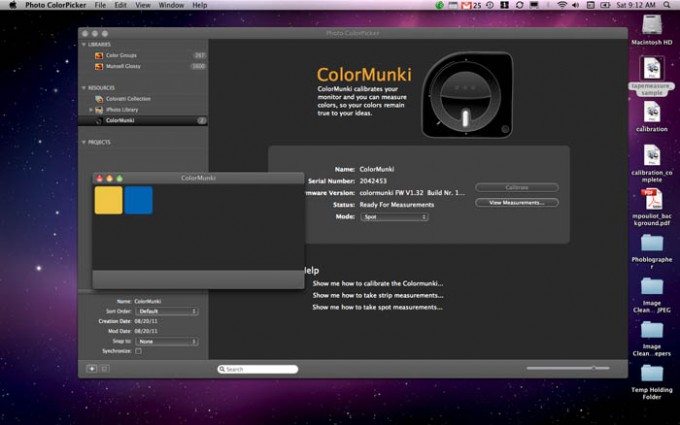
This function worked surprisingly well and it is VERY fast. The instant you take a sample, a color swatch pops up on your screen. I took a sample of the yellow tape mesure shown above as well as a blue M&M bag. Below is a screen shot of the color swatches produced by the ColorMunki:
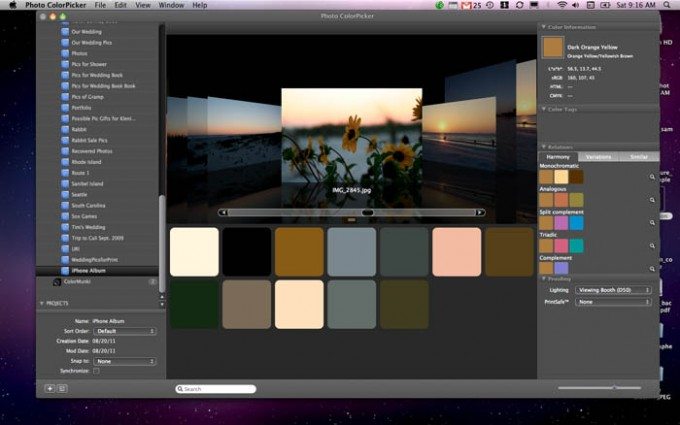
One additional thing that the Photo ColorPicker software can do is it can take an image and pull color swatches from that image. From there, you can view complimentary colors or create color swatches based on specific colors. This could be helpful with choosing a photo mat or frame color.
Results
As I said before, I’ve had the i1Display 2 for a few years now and I’m always a bit shocked when I calibrate my monitor. You never really think your screen could get that out of wack, but it does. I am fortunate enough to have just purchased a new 15″ MBP, which I love, and you expect the screens to be calibrated by Apple. There’s no doubt that the screen looks good, but after calibrating I realized just how “off” it was for digital photography. The screen way WAY too blue and it was also too bright, most gamers prefer these settings but it’s no good for photography. After a quick calibration with the ColorMunki Photo, my screen was quickly set straight.
I’m not going to lie, the first time you calibrate your screen you are going to think something is wrong with the device because the change is usually that drastic. Trust the device, I’ve ever been disappointed in the end.
As far as printing goes, profiling does make a difference. I have a crappy printer that I would never use to print photos, but for the sake of this test I decided to print a few test images. Before profiling the printer, my prints were washed out, the reds were way off and my images looked too dark. After profiling, my prints looked as good as they could coming from my sub par printer. Not scientific, I know, but I wanted to provide you with as much info and feedback as possible.
Other Thoughts
I, like may other photographers, prefer to have my prints done from a print shop. I’ve tried a few different places and I’ve found that the best way to go is to use a service that can provide you with printer profiles of their printers. This allows you to adjust your images so you can match your image to their printer, this is also referred to as “soft proofing”. Surprisingly, I’ve had very good luck with Costco of all places. You can obtain ICC profiles from most of their stores which makes a huge difference when making prints.
Conclusion
This device is truly invaluable for any photographers or designers that need to have a controlled color environment from screen to printer. It may not be the cheapest device on the market, but it is the best that I’ve seen or used to date. Along with it’s ability to calibrate your screen and printer, the ColorMunki Photo can take color samples of just about anything. This can be a huge time saver for digital designers and artists. Even if you never print a photo, having a color corrected screen is vital for any type of post processing. If any of your monitor’s settings are off (luminance, gamma, temperature, etc.), your images may not look as good as they should to someone viewing on another screen.
If the ColorMunki Photo is a bit out of your price rage or if you’re like me and you really only concerned with your computer’s screen, I would highly recommend checking out one of X-Rite’s other products, like the i1Display series or the ColorMunki Display. These devices are less expensive but they are still feature packed and they should be more than enough for the enthusiast or pro that does not need to profile a printer.
Also, be sure to check out X-Rite’s other color management products like the ColorChecker Passport, one of my most used pieces of equipment.
Please Support The Phoblographer
We love to bring you guys the latest and greatest news and gear related stuff. However, we can’t keep doing that unless we have your continued support. If you would like to purchase any of the items mentioned, please do so by clicking our links first and then purchasing the items as we then get a small portion of the sale to help run the website.


