Gels are bound to scare away most portrait photographers and strobists simply because they don’t understand how to really use them. But one of the coolest things that you can do as a photographer is learn how to use gels to tell a different story in your portraits and overall in your photography. You see, gels color the light output of your flash which is typically balanced to Daylight and therefore is very cool. But once you understand that you can make that light all sorts of various colors, you’ll get how awesome it can be to use gels.
The Natural Look

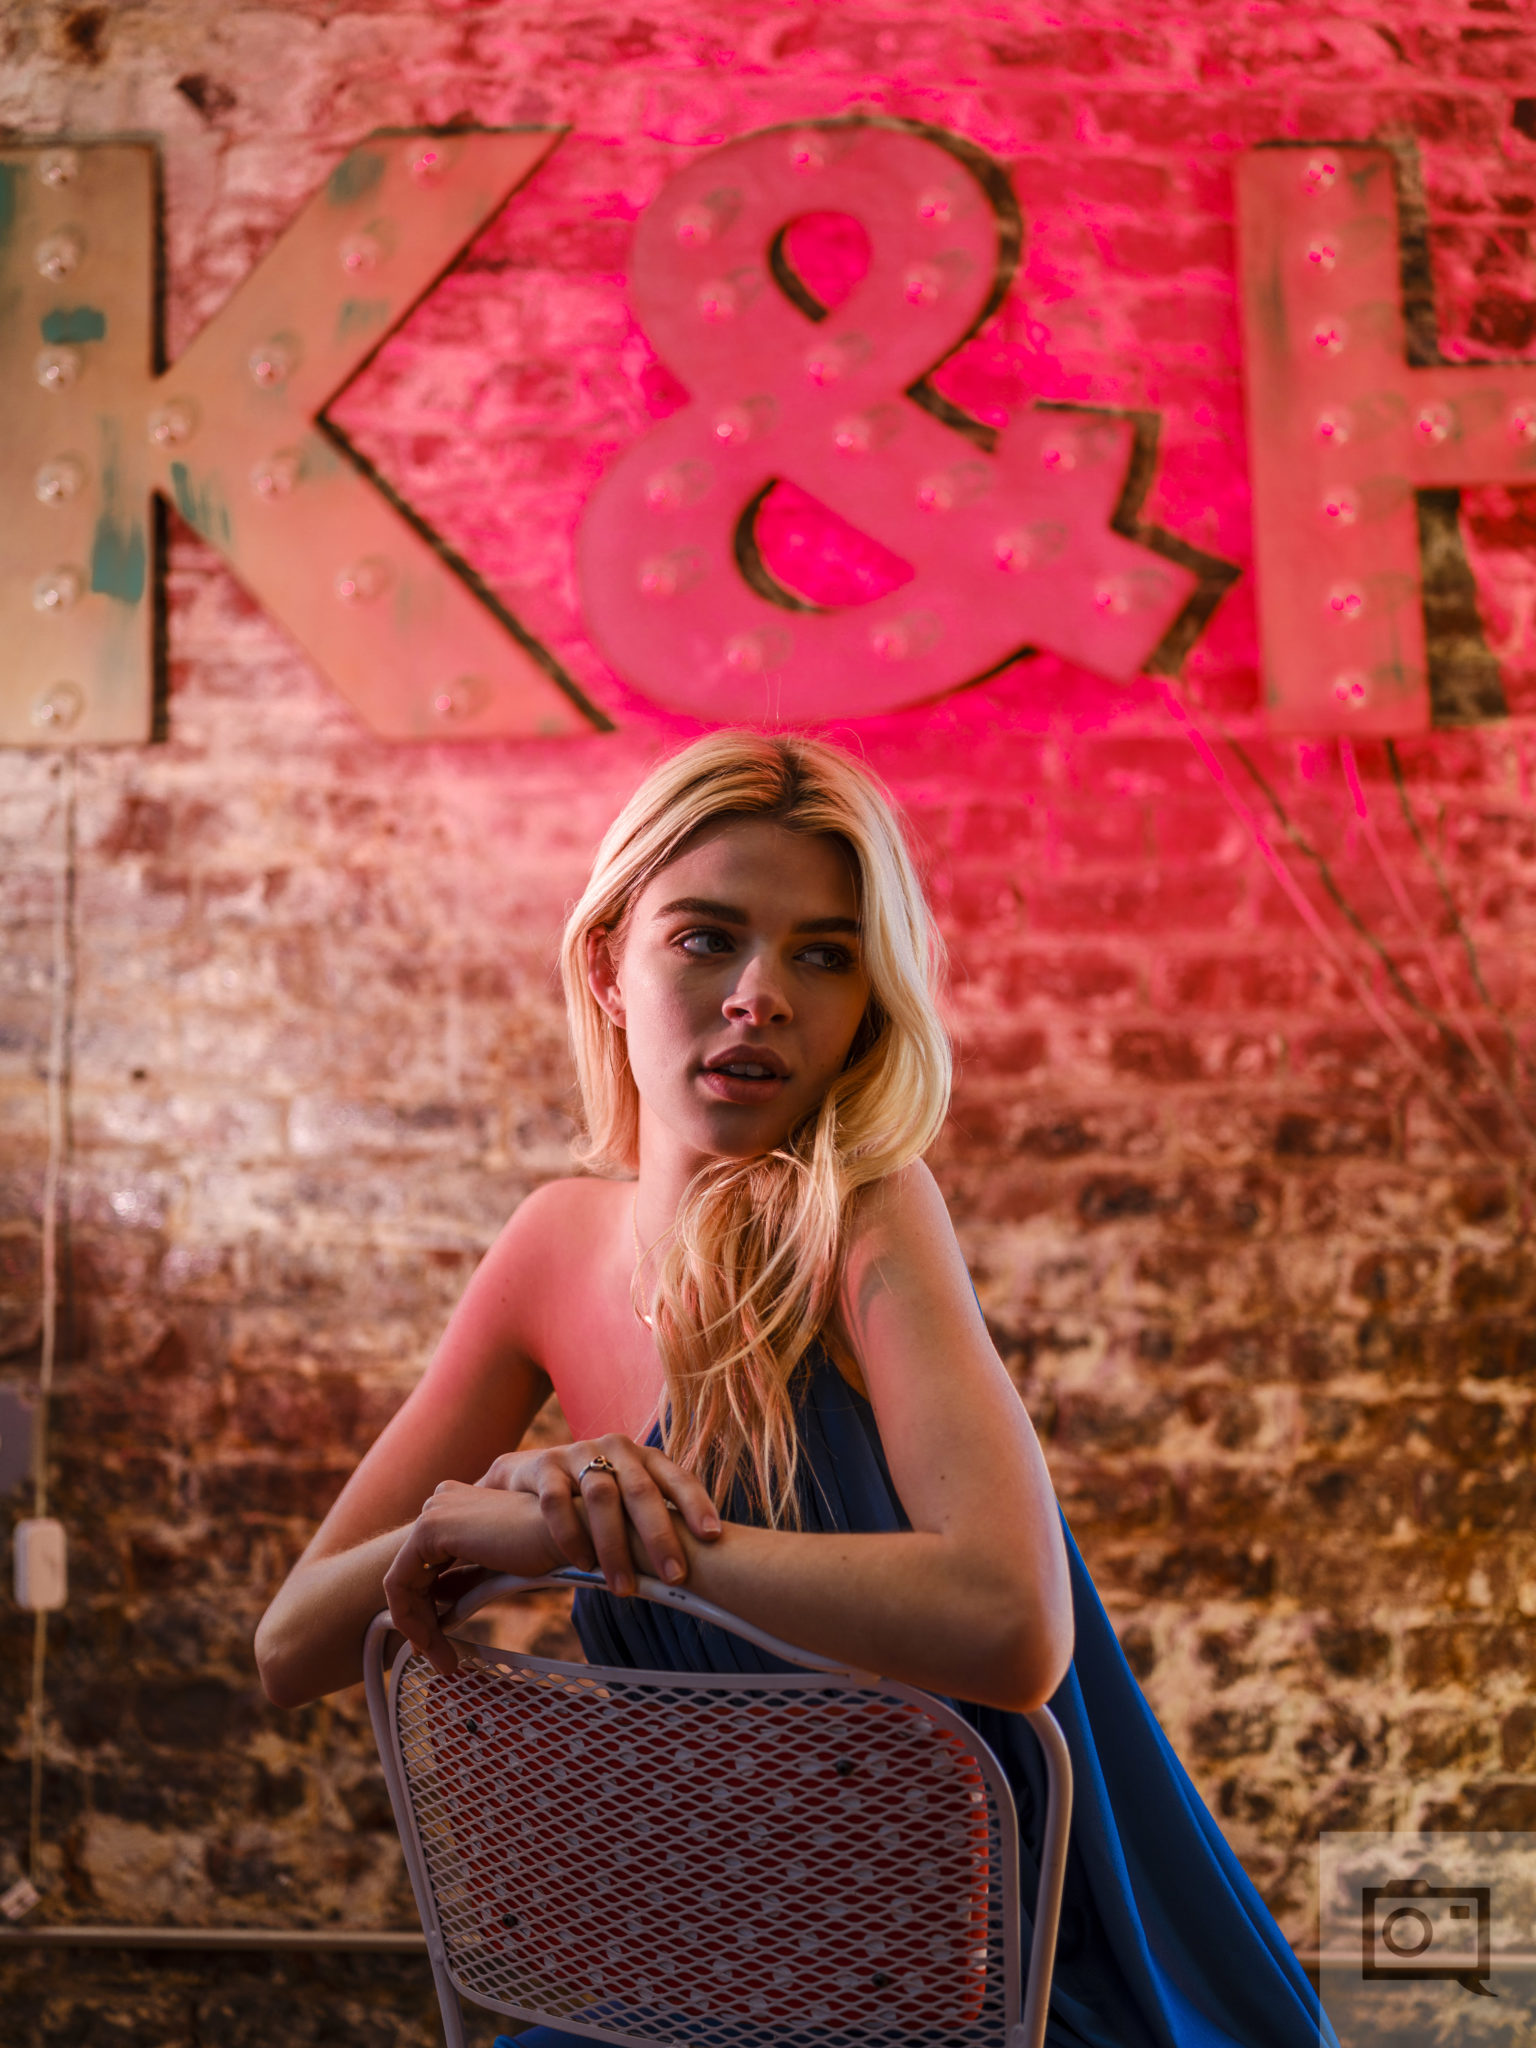
There’s a special trick in photography where you can use gels to emulate the look of the golden hour. Essentially, all you need to do is find an area with controlled lighting. What I typically mean by that is shadows and not a whole lot of natural light otherwise interfering. You want consistency. Then you find a way to include flash output with a warming gel. The warming gel will give off the look of the golden hour or sunlight if placed strategically.
To really help, set your camera’s white balance to daylight.
This look is becoming more and more popular at times, but they’re obviously not the only use for gels.
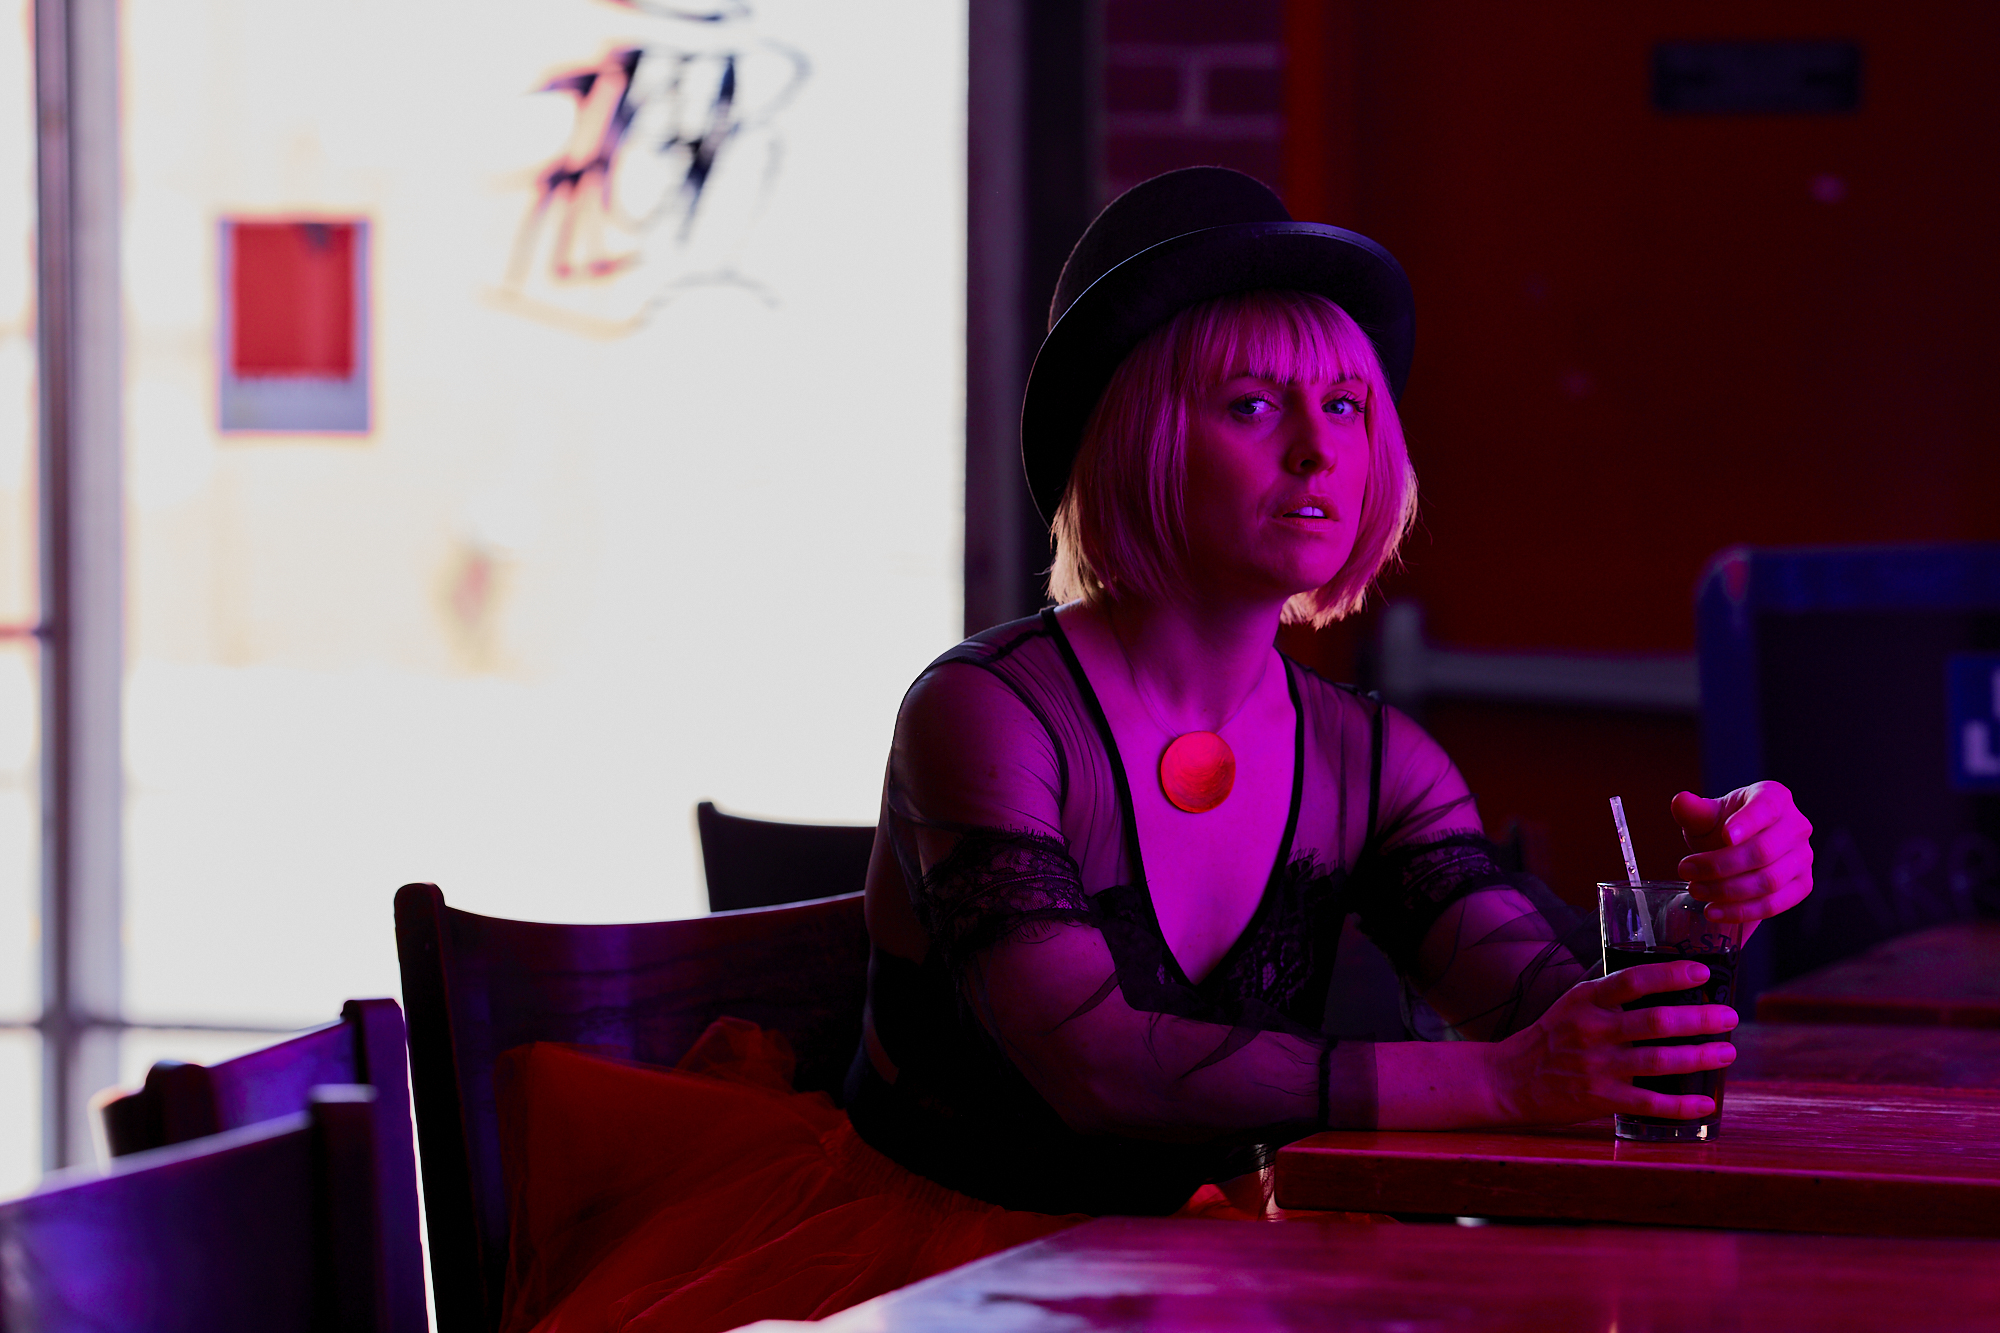
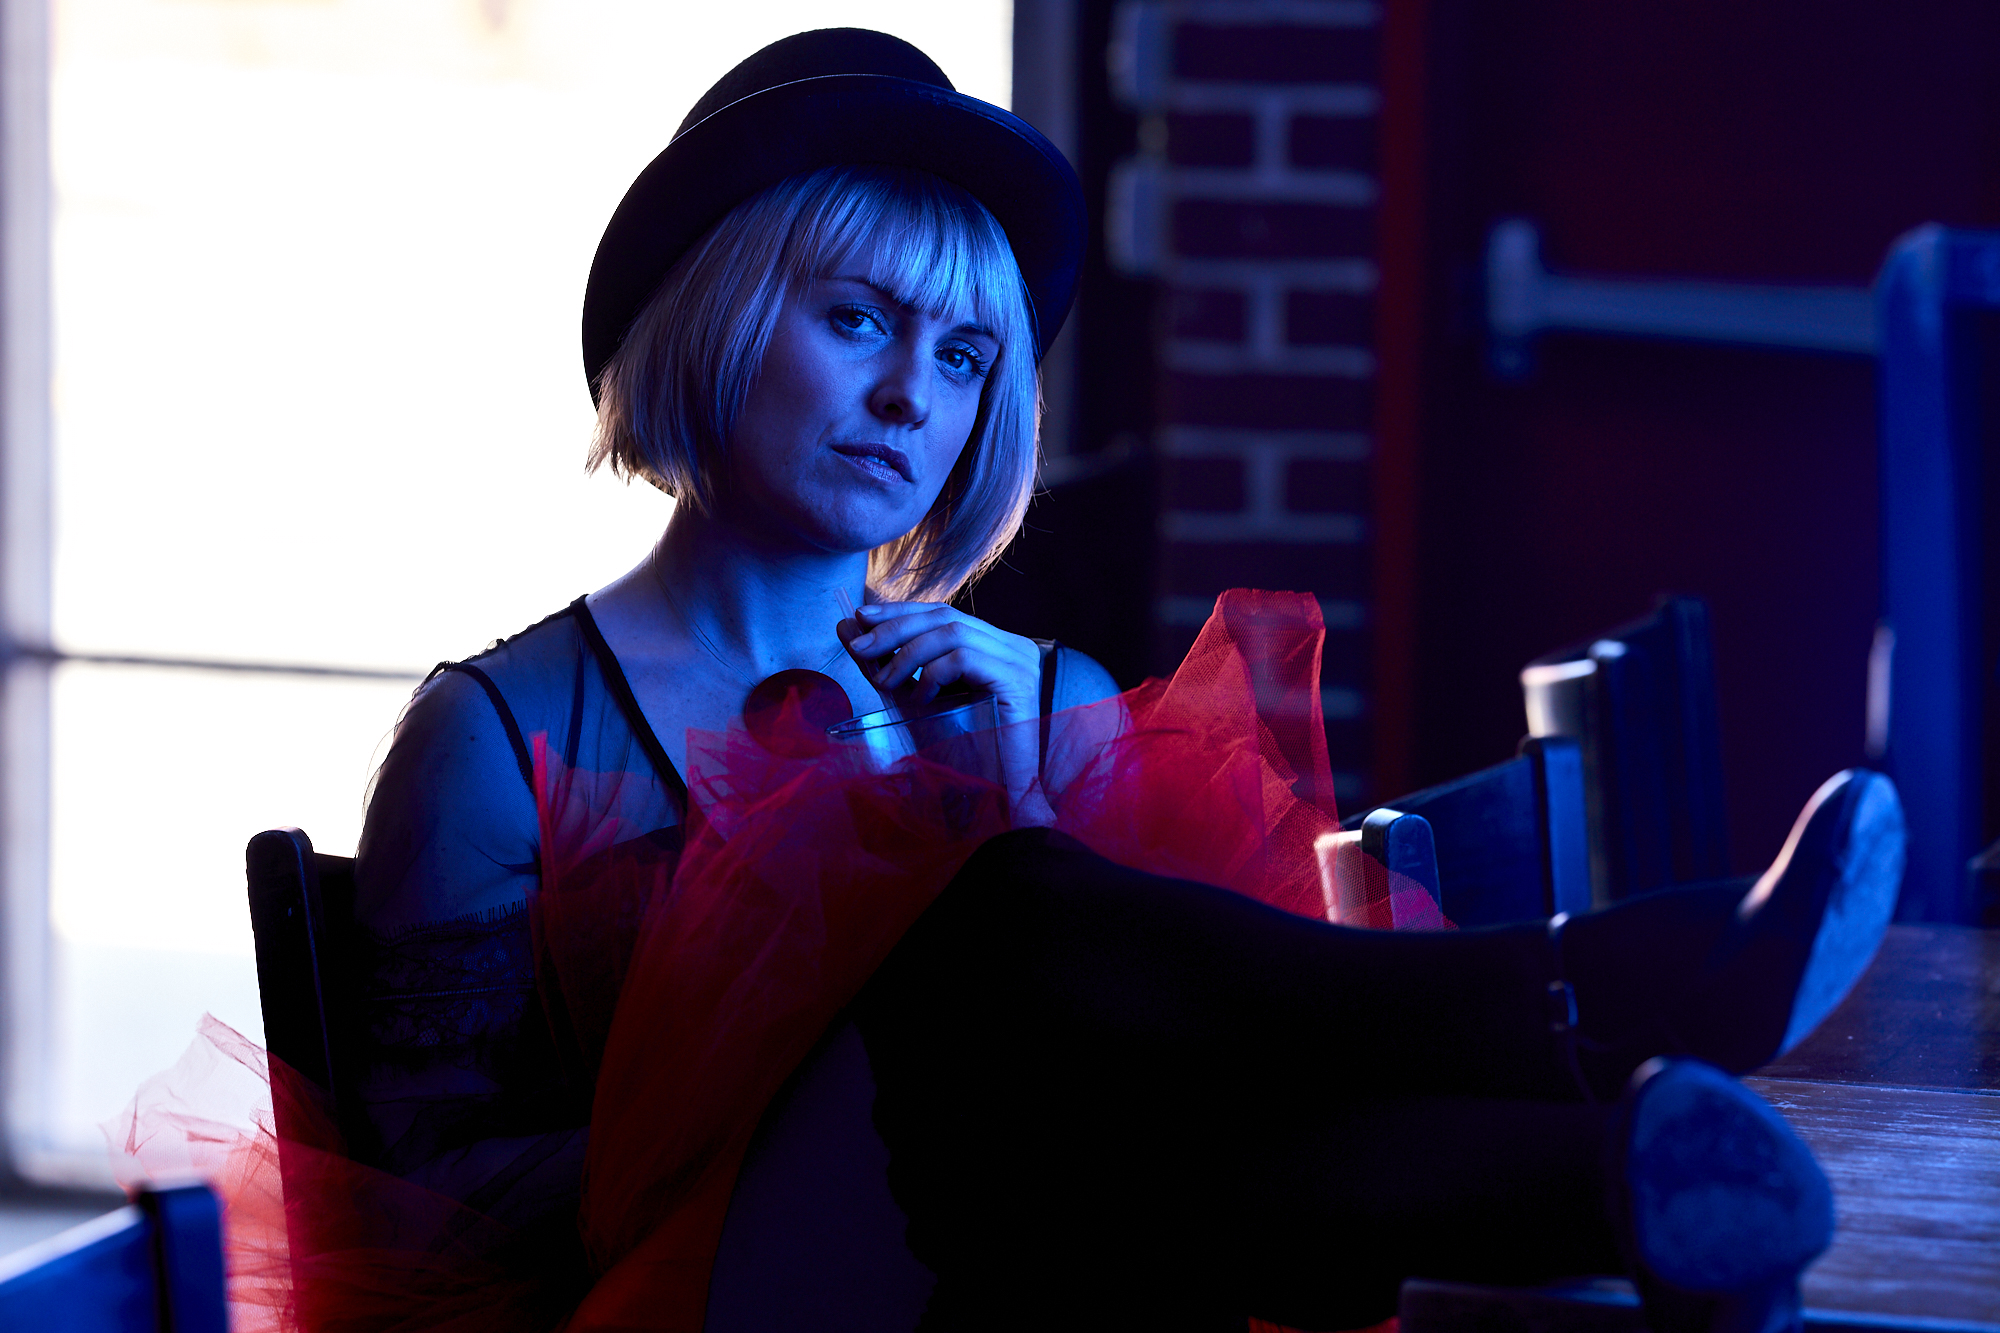
The Neon Look
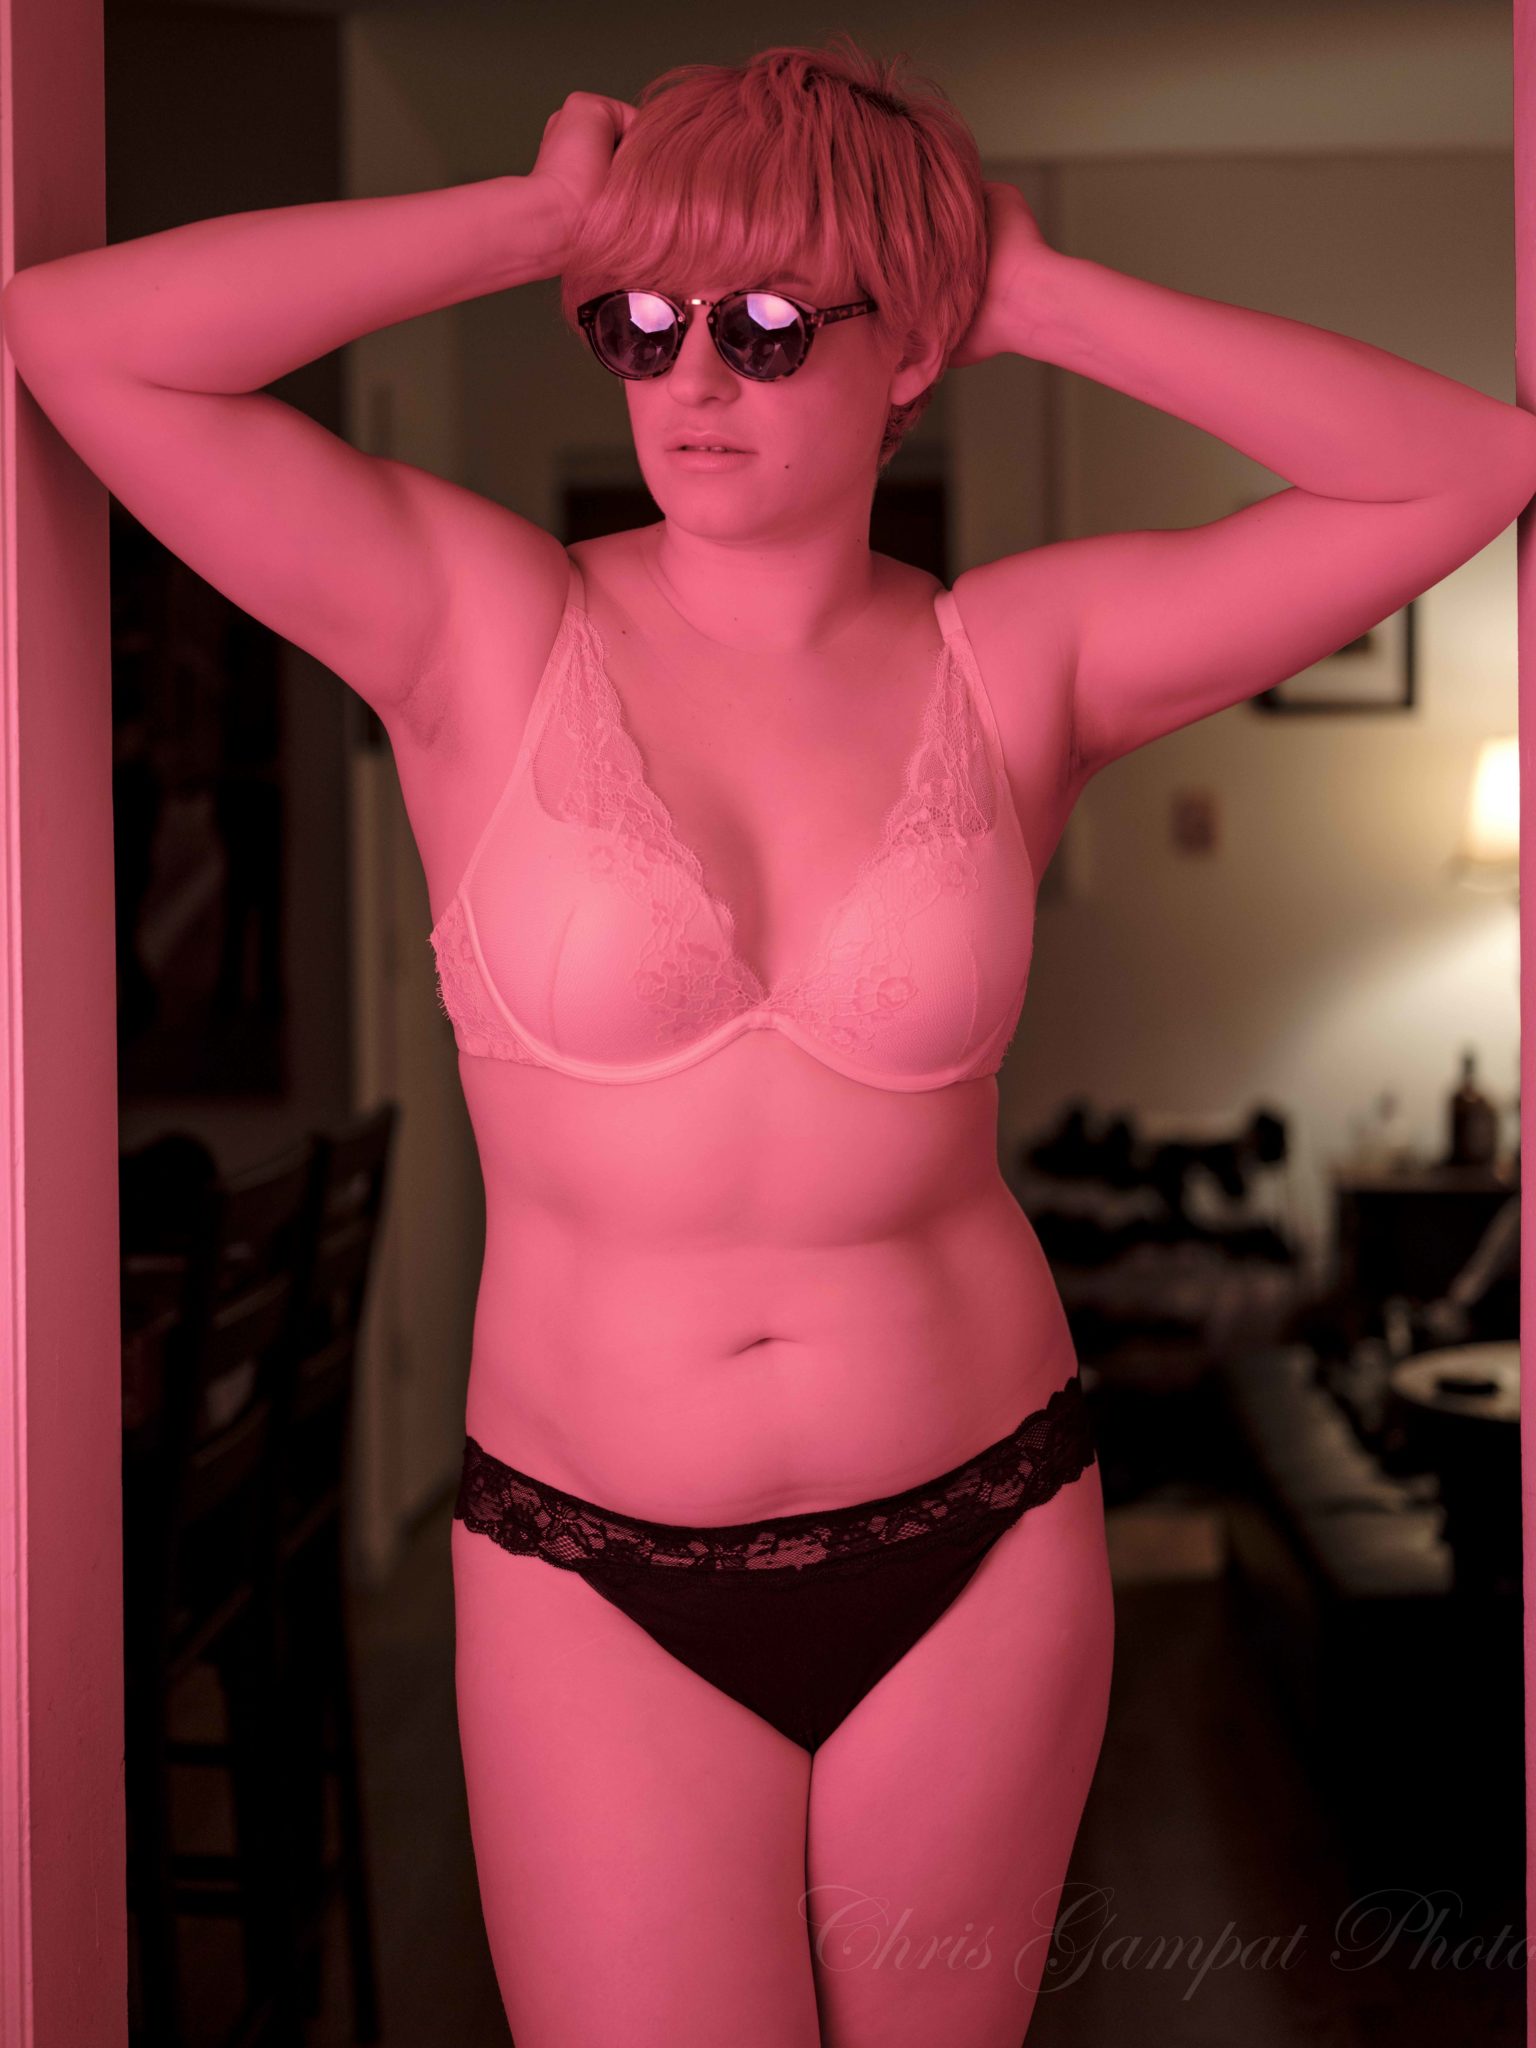
The more celebrated look that gels can elicit is delivering a more neon styled look that so many photographers and videographers are going for these days. This means that you’ll typically want to use gels and colors associated with neon lights. For example, walk by any deli in NYC and you’re bound to see red or green neon lights perhaps in the window. Walk by a club and you’re most likely going to see red.
So consider using those colors. I guess you can call that a more “natural” look too!
How Do Gels Work?
Essentially, what gels do is take the existing light from your flash and color it. In the process they tend to cut down on the amount of light output so you may want to either raise your ISO or raise the power of the flash accordingly. But as we’ll explain a bit later, white balance can take a whole big turn here. In fact, to start out try this: Shoot with a flash bounced off of a wall. Then go about changing your white balances to fluorescent, daylight, tungsten, shade, etc. You’ll see how the scene changes accordingly.
What Affects a Scene with Gels?

Before I get deeper into how scenes are affected with gels, let’s consider what may affect them. For example, if you’re putting a gel on a flash, and then firing your flash directly at a subject then it isn’t really being influenced. But if you then go to bounce that flash output off of a white wall, then the gelled flash output will become lighter. Think about it like adding white paint to another color.
Bounce the flash output of a blue gelled flash onto a red brick wall and you’ll get something slightly more purple. Does that make sense? It’s all about blending colors–sort of like how yellow and blue can mix to form green.
White Balance
To have less interference in what a gelled flash is doing as far as output in your scene, you should typically manually white balance. Sometimes it may be best to use Daylight simply because that’s the closest thing to how we as humans see the world. Yes, that’s right. You may want your image to be in shade white balance, but it isn’t how you’re actually seeing the world in front of you. But in other occasions, you may want to use Tungsten white balance. Tungsten will significantly cool the scene that you’re shooting.
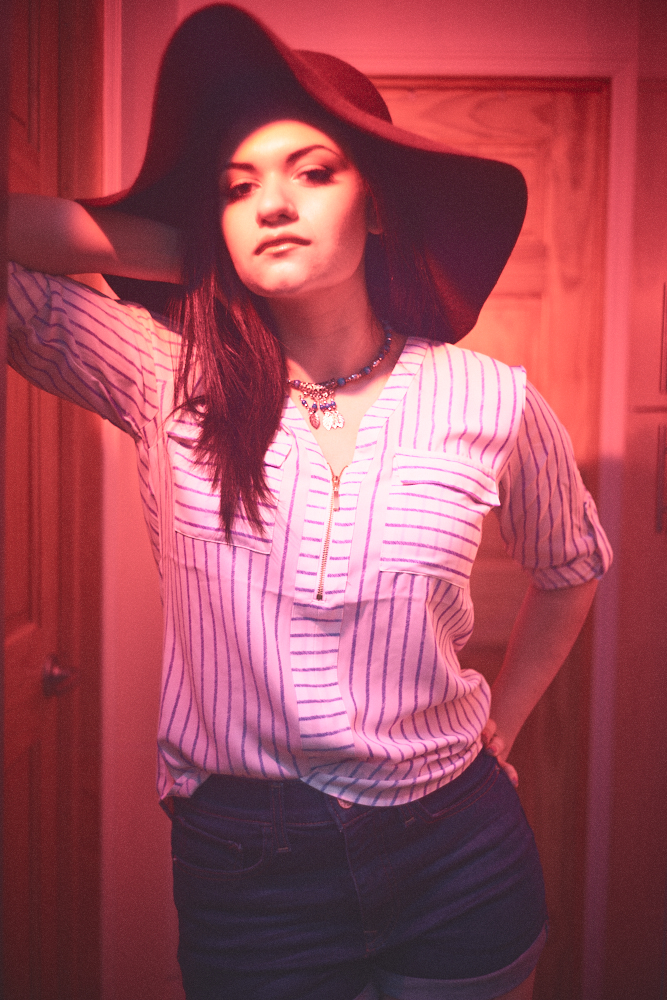
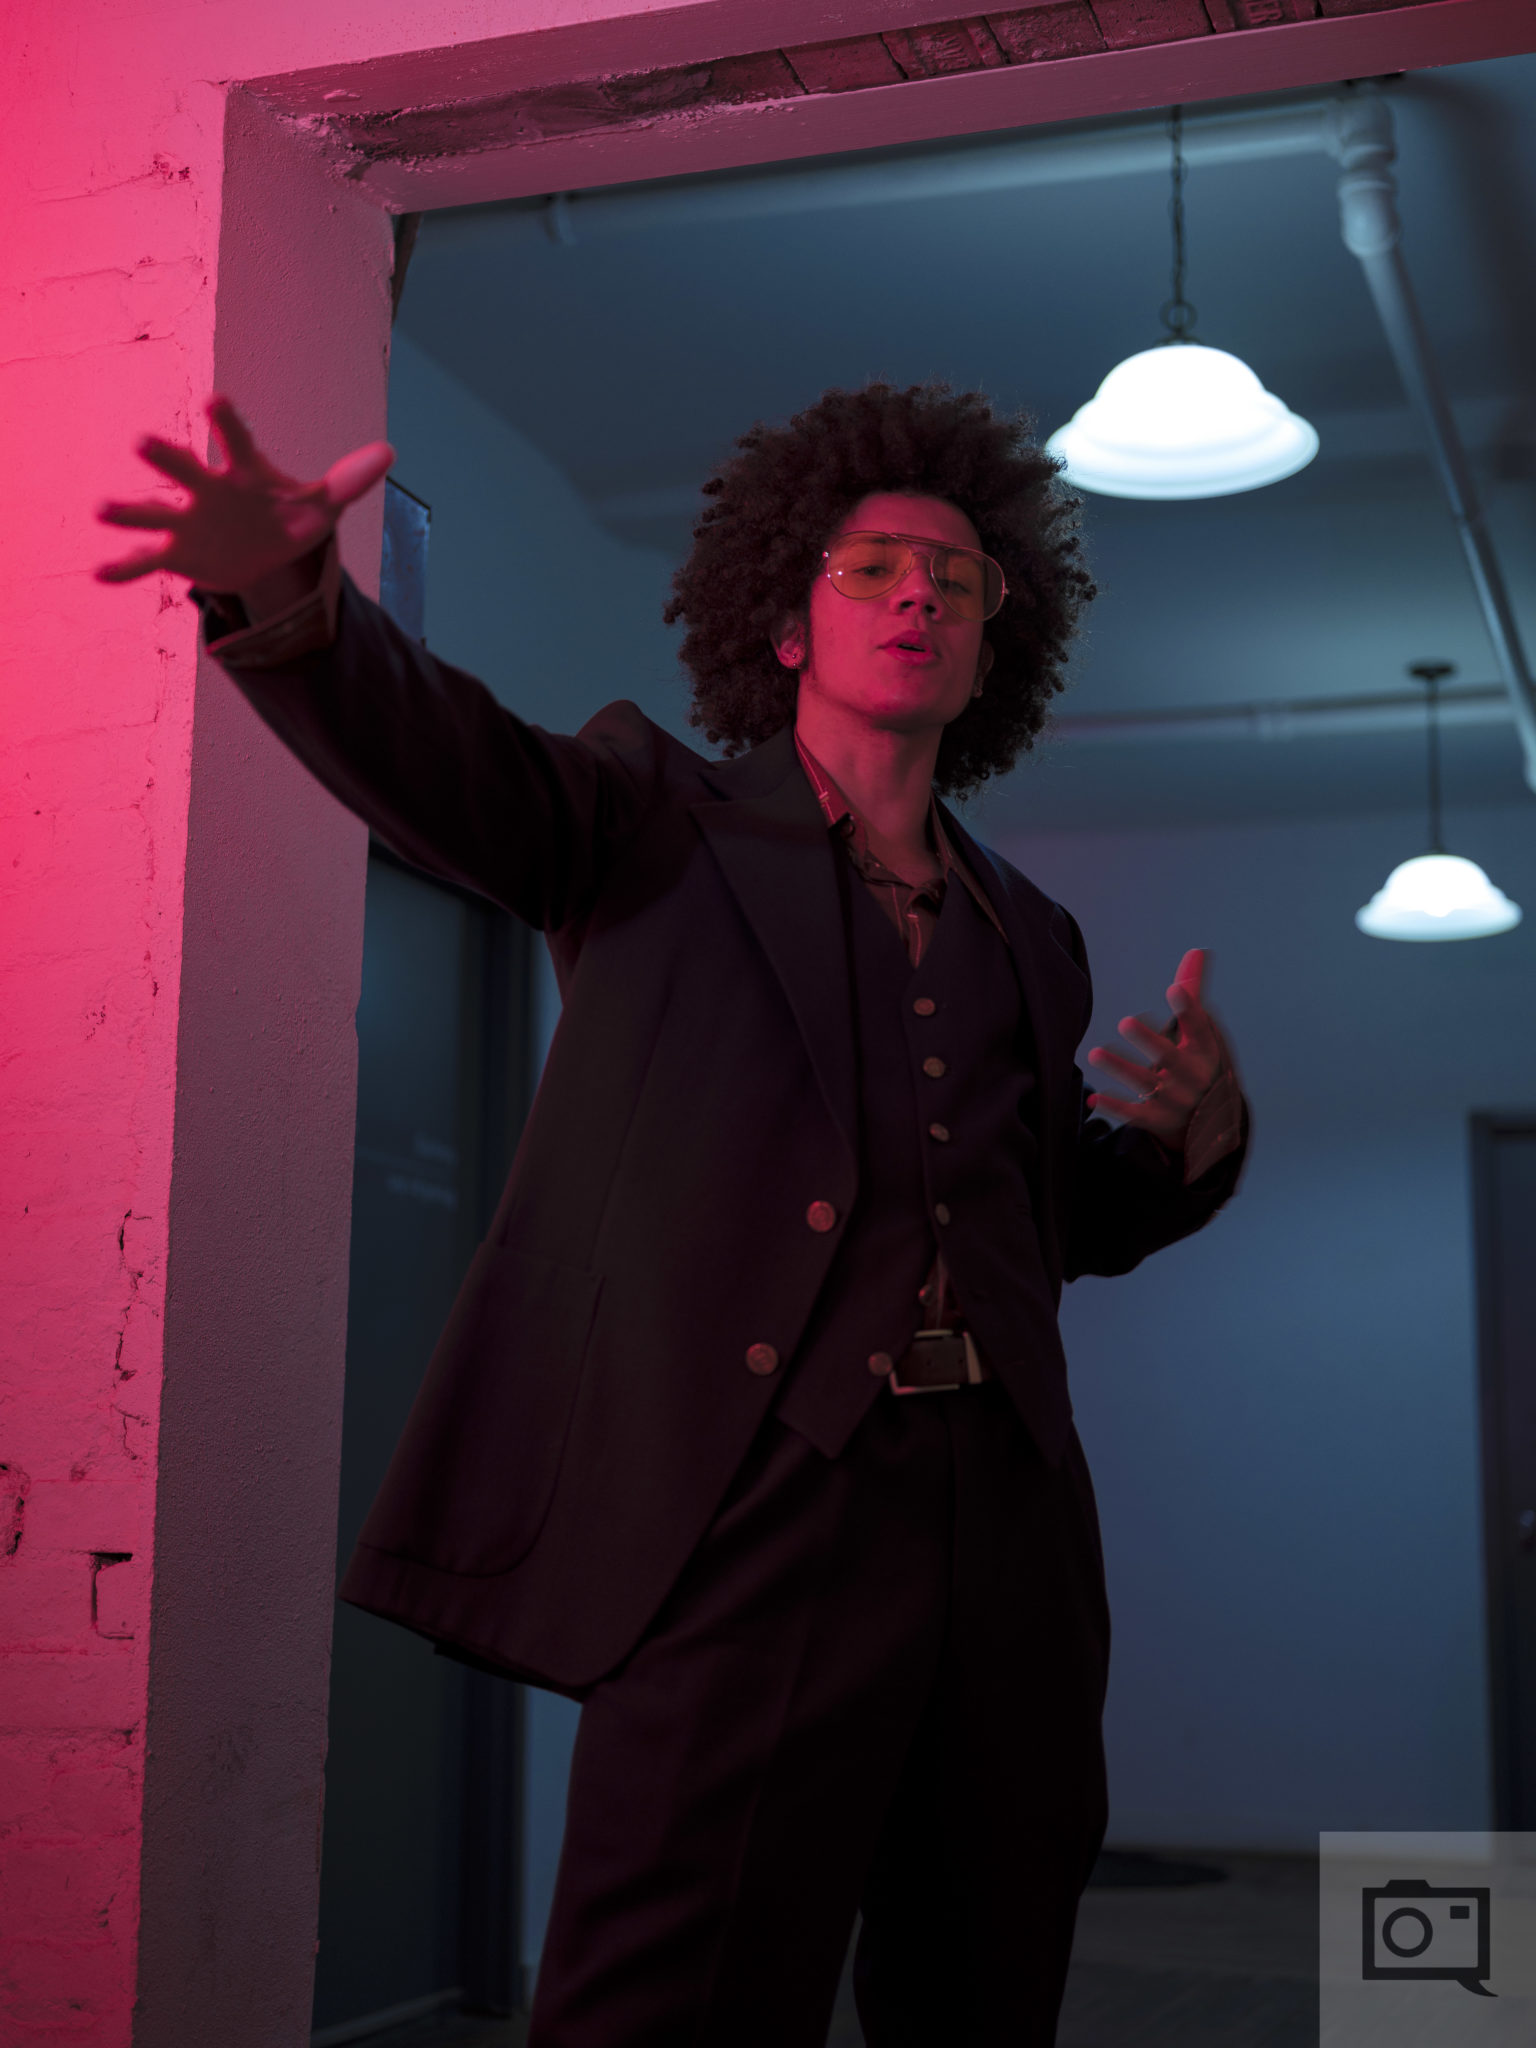
Which Colors to Use?
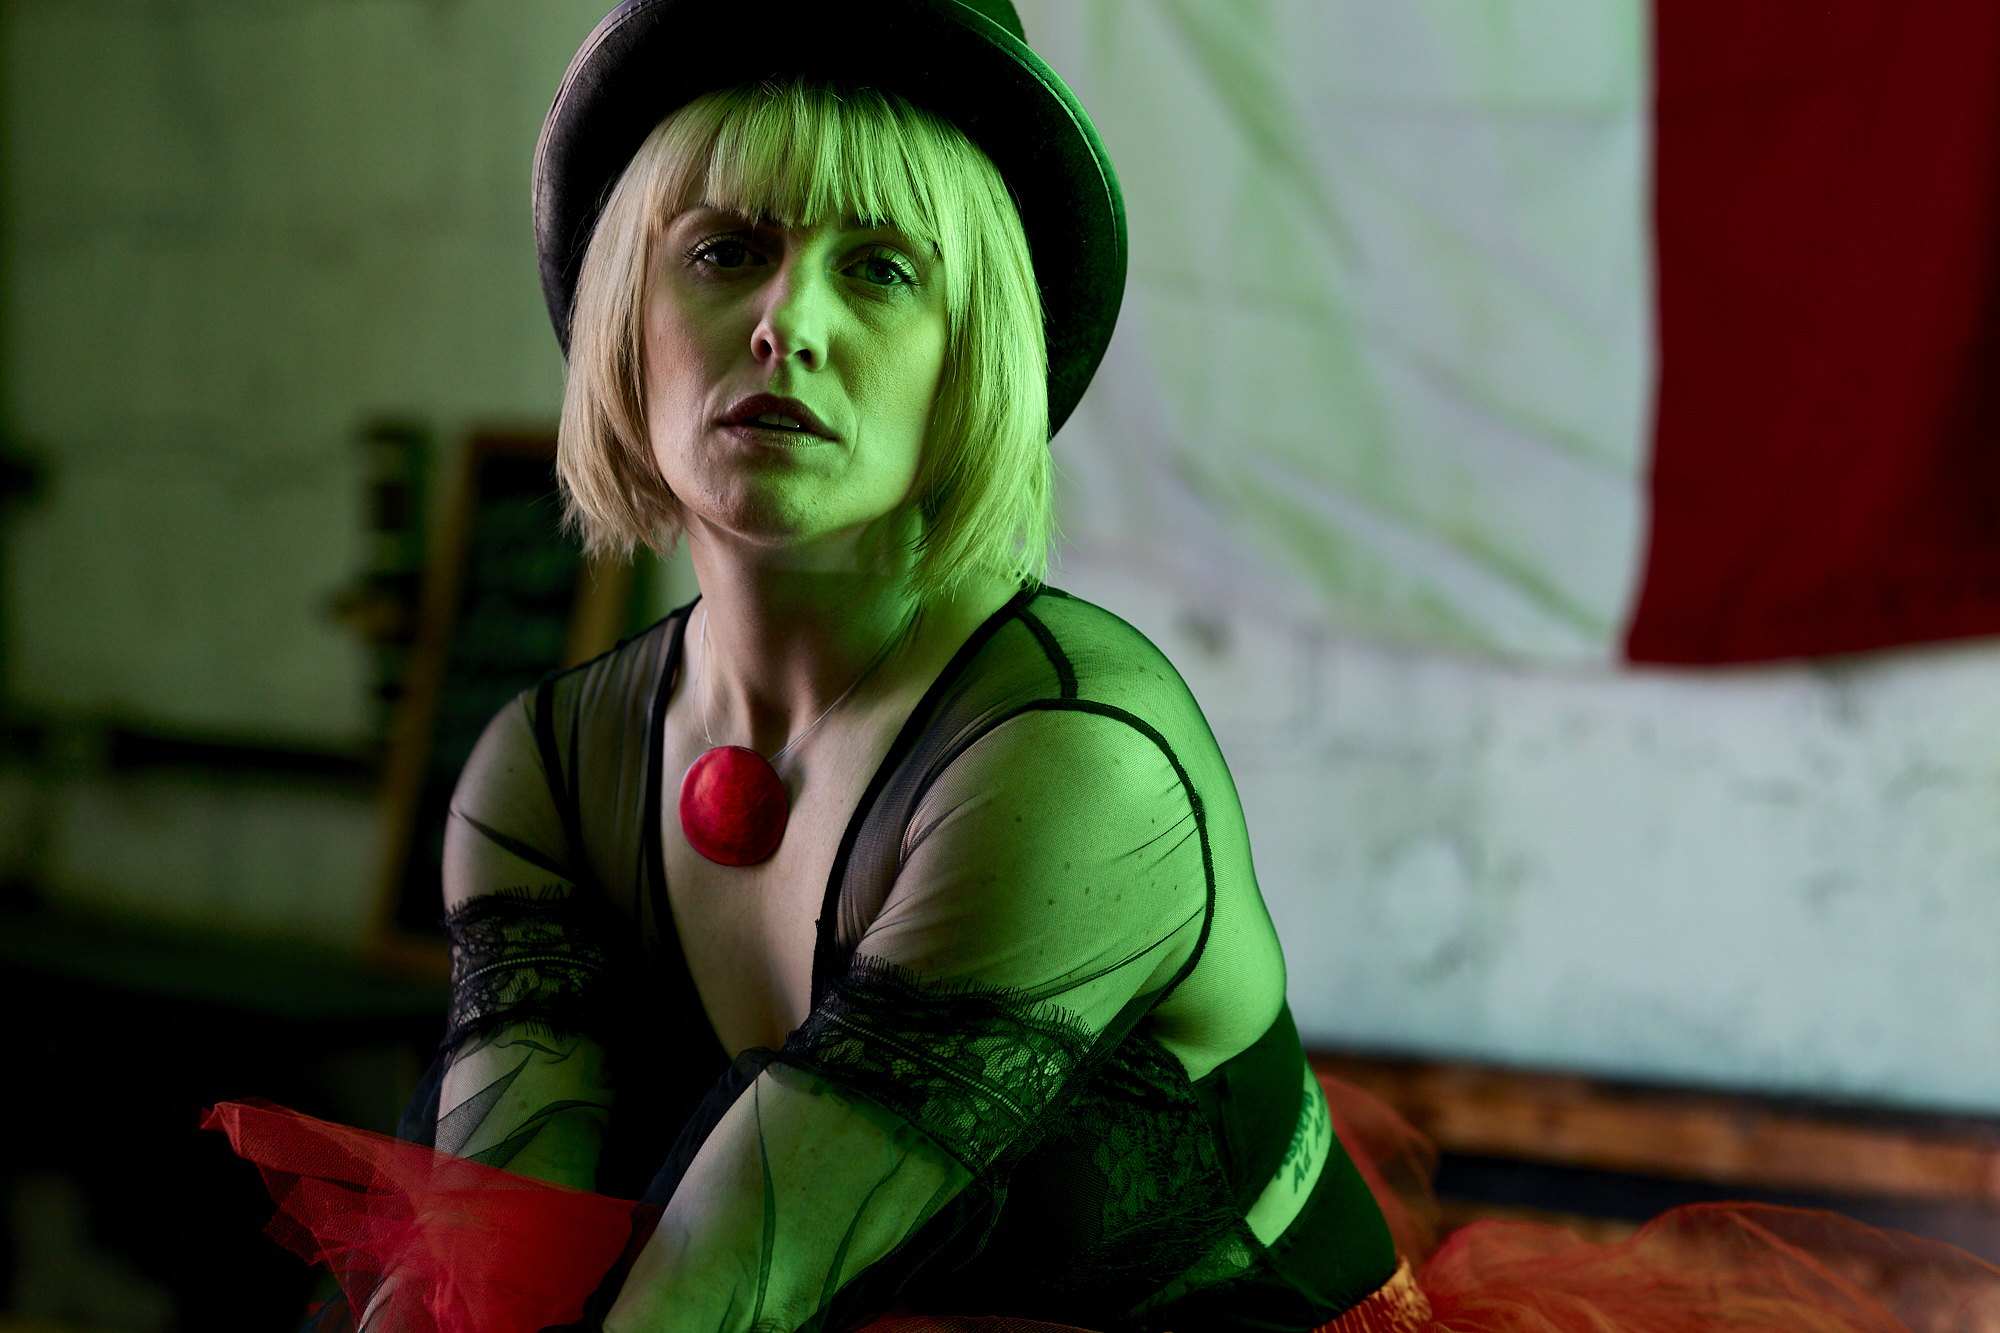
Here are some examples of my using various gels. Personally, I stick to green, red, purple, blue and orange. Sometimes I use orange to make light look natural or just as an accent. But otherwise, it’s too close to the way that we typically see light. Blue, purple, green and red aren’t. So I tend to like those looks a bit more.