
Last Updated on 04/11/2017 by Chris Gampat
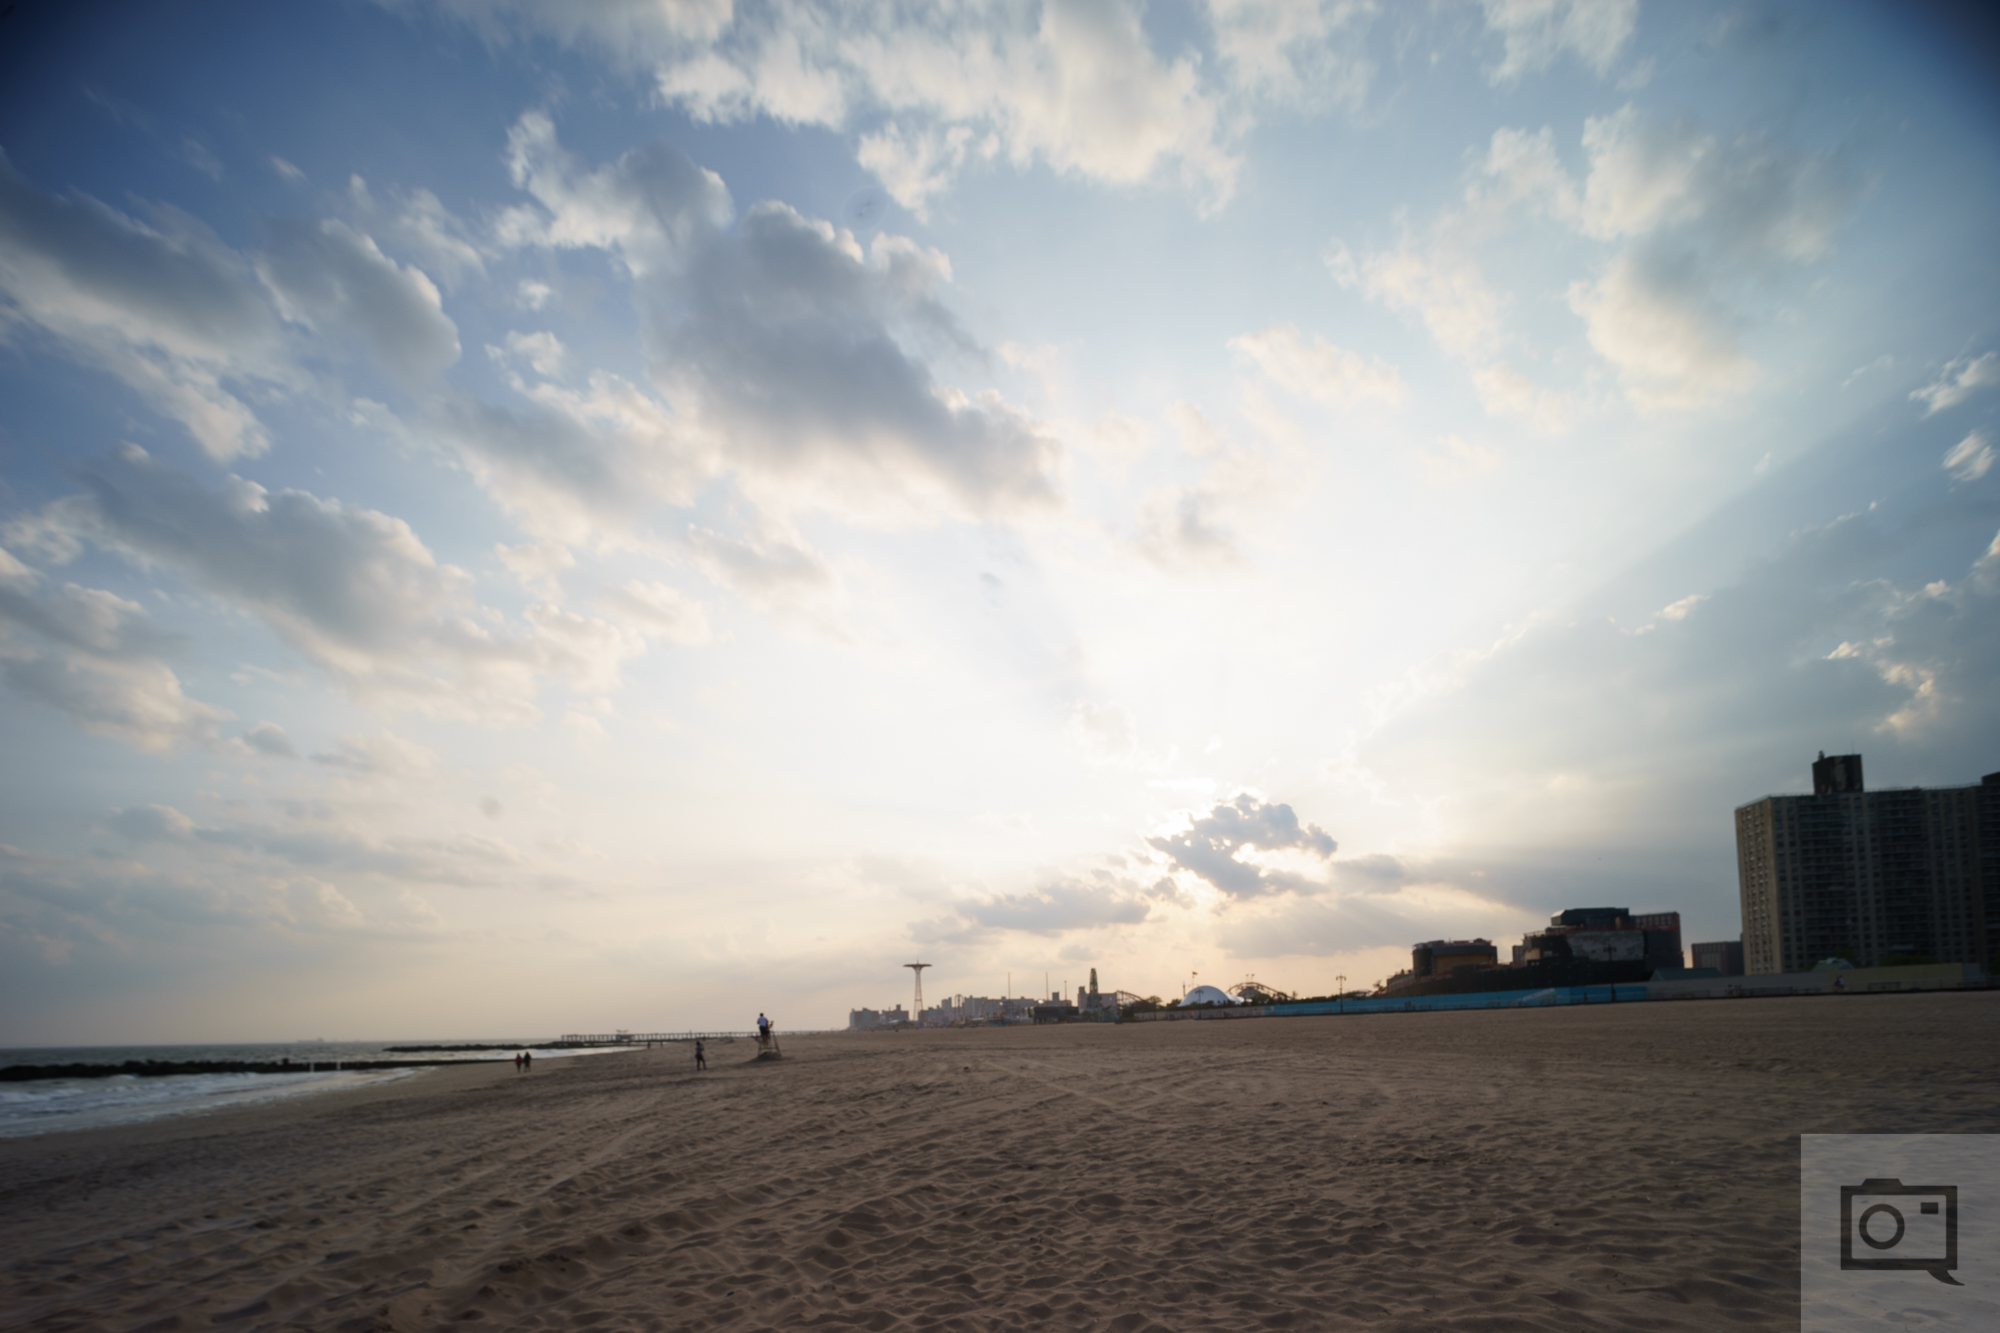
When you’re shooting during the Golden Hour, you’ll probably see that one of the more challenging things to do is golden hour landscape photography. But, it isn’t that difficult if you just understand how light works. Modern DSLRs and mirrorless cameras are highly capable, and with a bit of know-how you can get an image that will look fantastic straight out of camera. While it’s true that most of the magic in landscape photography happens during the processing stage, here’s what you can do to get the most of the situation and process your photos less.
Don’t Center Your Horizon
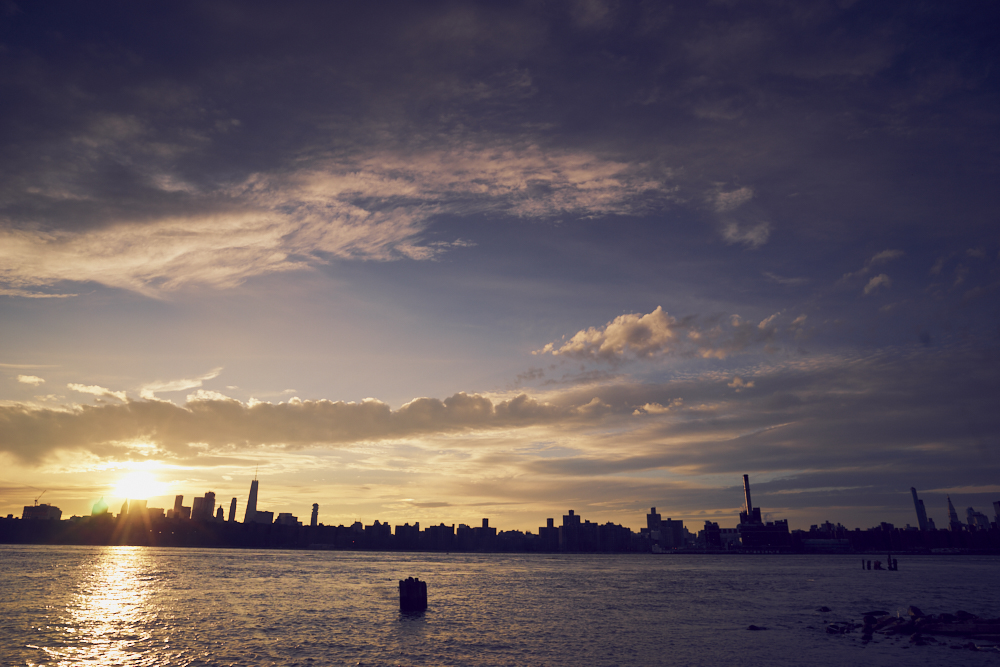
Some photographers really like centering their horizons and then cropping later on to figure out what they want. Indeed, this is the act of creating the final photo in post-production and not within the camera. That’s fine, but why not negate the need for cropping in the first place and preserve all that great detail?
For starters, we’re going to tell you not to ever center your horizon–centered horizons often make more boring images.
Instead, try to get more of the land, sea or sky. If your sky is cloudless, try to focus more on capturing better photos of the actual land.
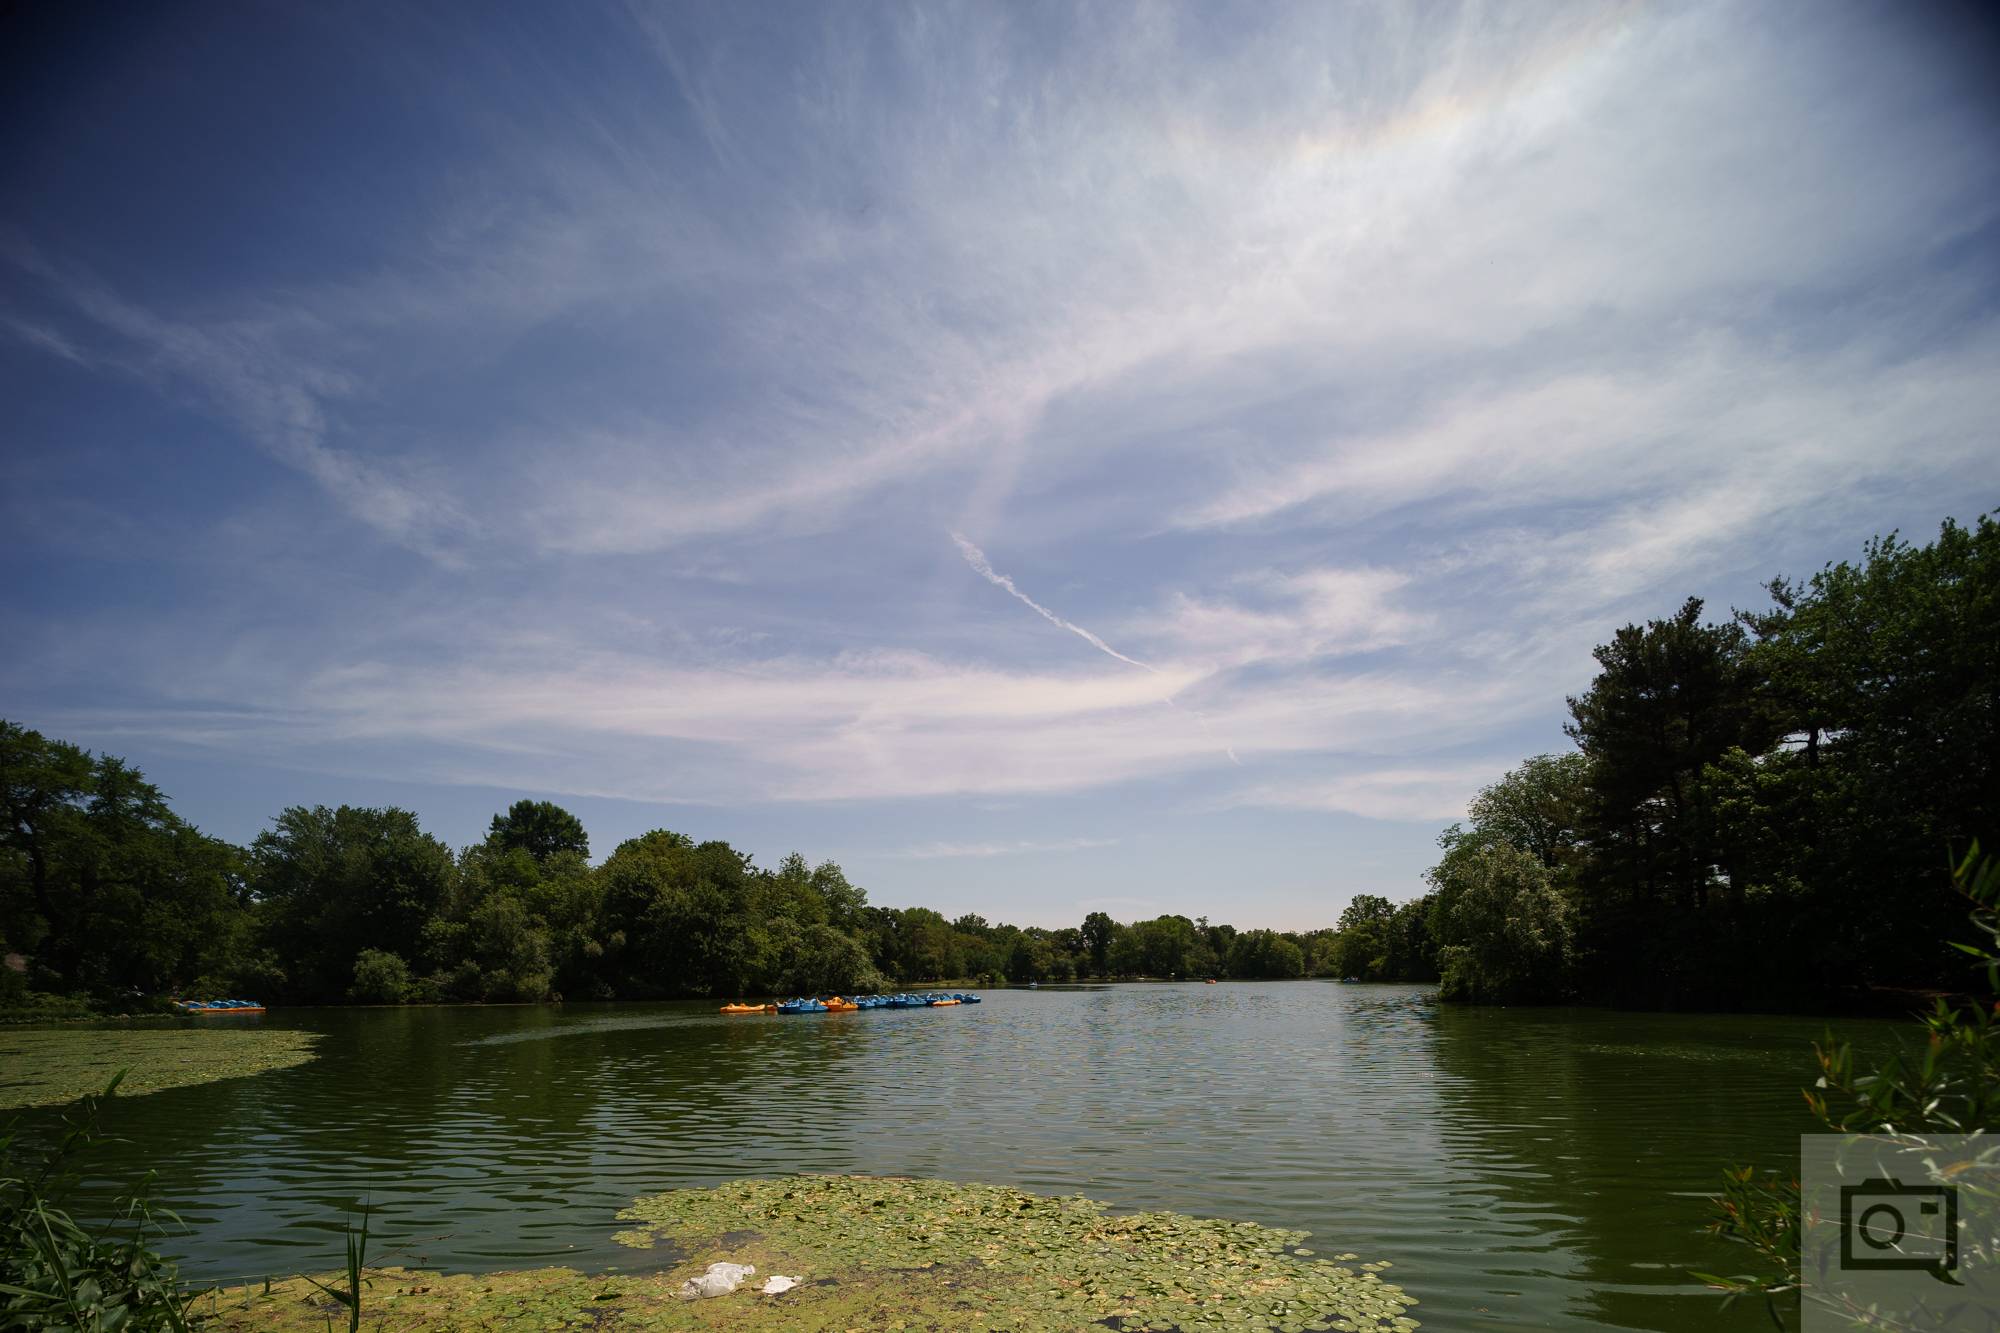
Daylight White Balance

When film photographers shot with film way back when, they loaded up their cameras with films like Velvia and knew that it was balanced to daylight. For that reason, lots of them always shot scenes bathed in sunlight. You can do the same thing here with your camera–just set it to daylight. This is also known as 5500K. Daylight is cool and when the golden hour comes around, the warm light will help your camera’s sensor deliver an accurate and beautiful photo.
Of course, if you want to get experimental with your looks, you can try shooting in other white balances. There’s nothing wrong with a tungsten white balance landscape if you’re trying to make the world look like Pluto. But generally speaking, you’re going to get the absolute best colors with Daylight.
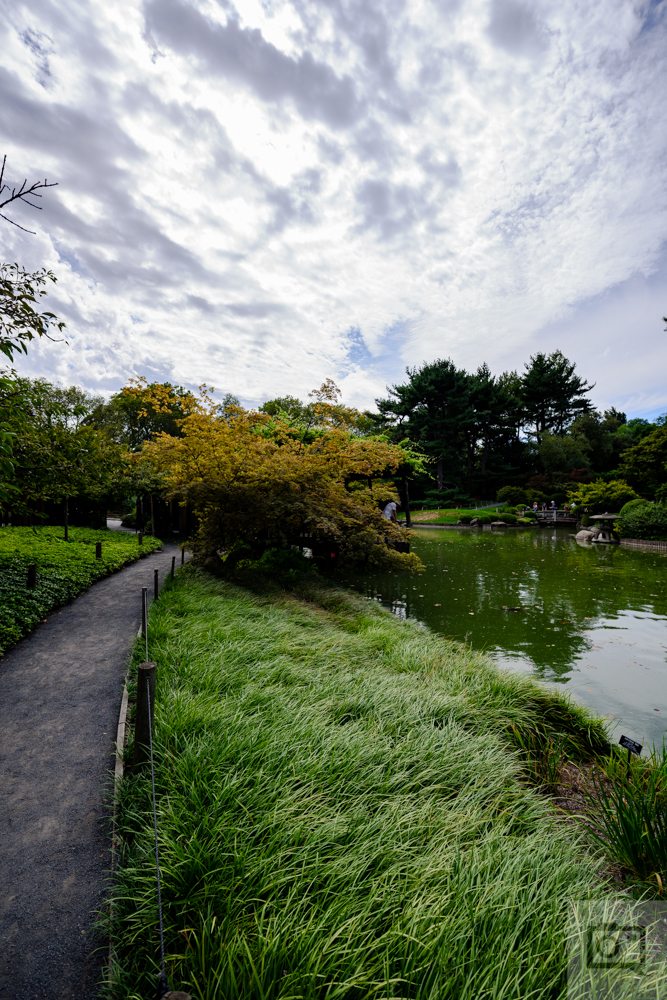
Graduated ND Filters and a Neutral Exposure

Graduated ND filters are perhaps the most absolute essential item for any landscape photographer besides a camera and a lens. You see, graduated ND filters are pieces of glass where one part is darkened and the other isn’t. You typically use them to darken the skies because they’re so bright. You can then expose for the land below the sky and get a more even and workable exposure.
Essentially what you’re doing is trying to shoot as low-contrast of a scene as possible. Lots of photographers like to create HDR images in post–which are high dynamic range. But you can get all that in a single photo by shooting low-contrast. That way you almost never need to bracket your exposure.
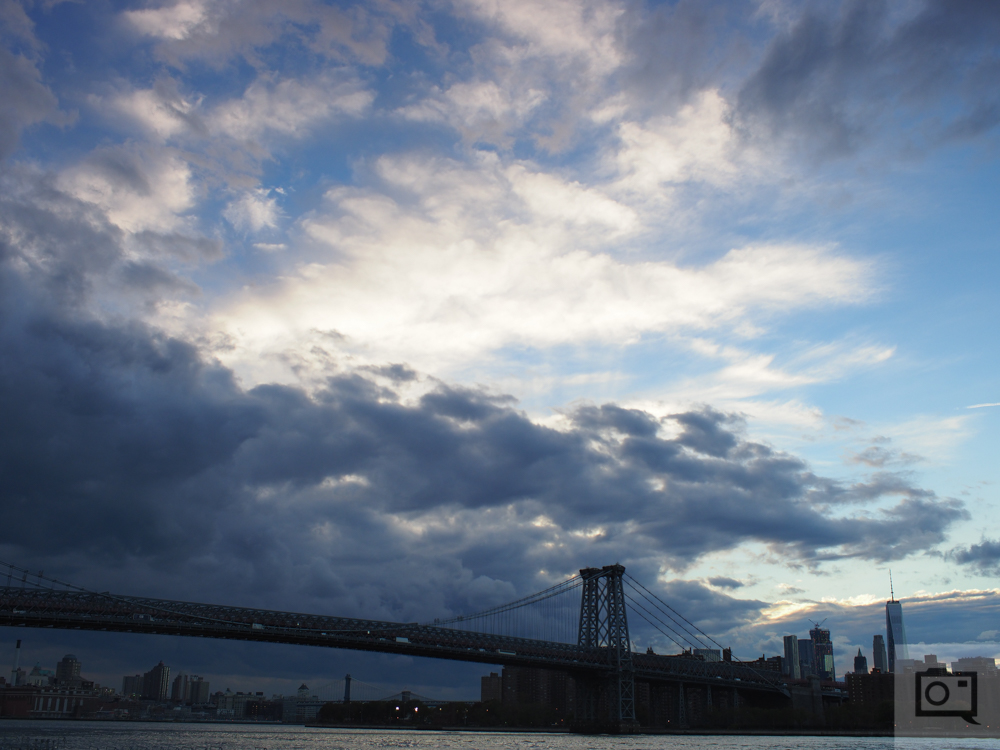
Variable ND filters and Standard ND filters
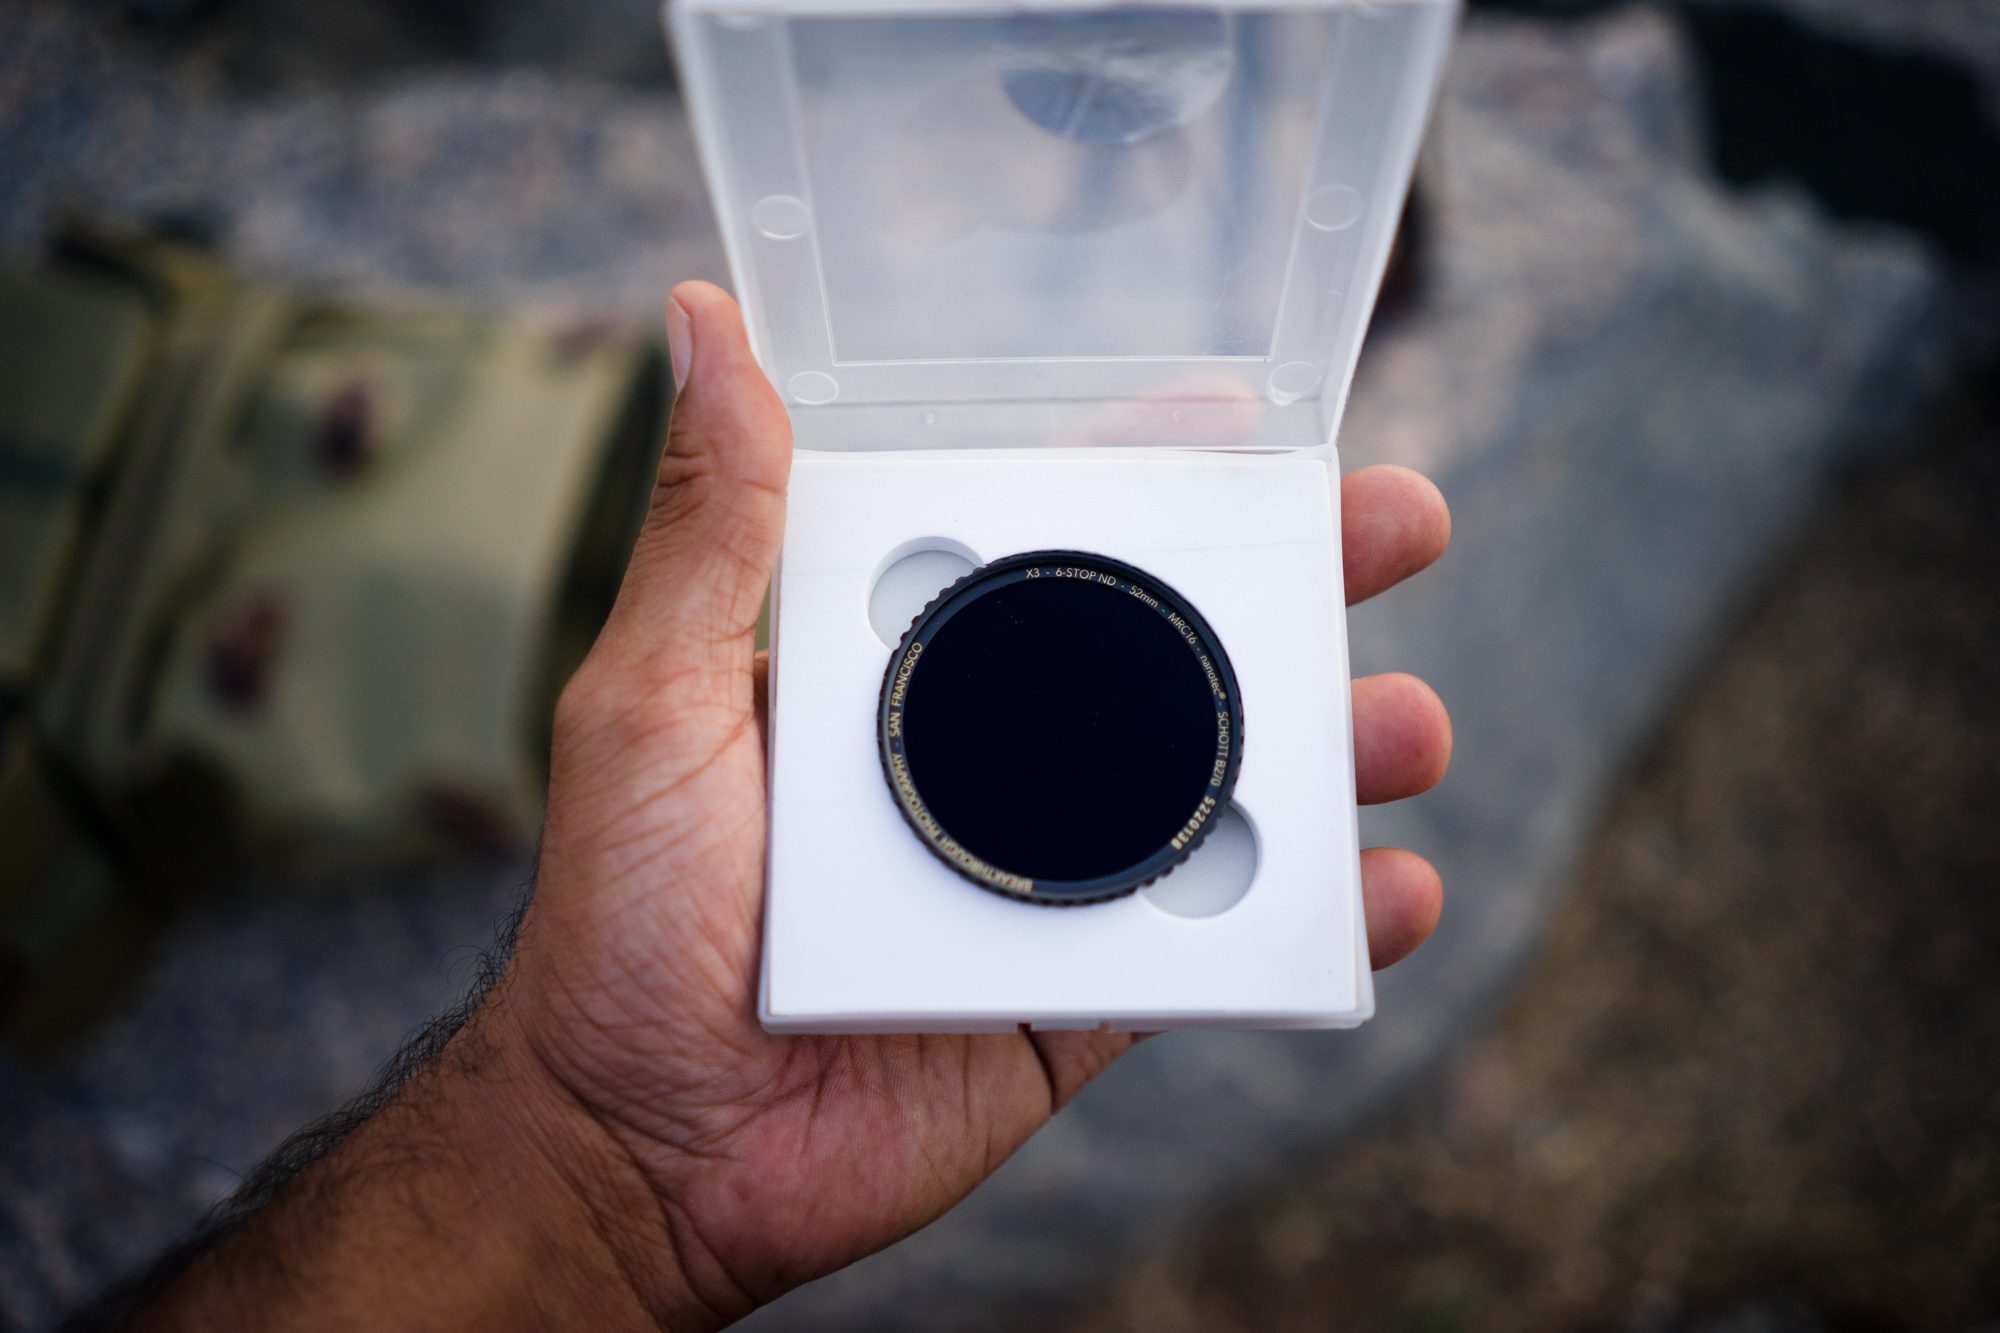
Another type of lens filter many photographers reach for are variable ND filters. However, these are used most commonly with seascapes to shoot at a slower shutter speed, lower ISO, and narrow aperture. It’s how you can get dramatic movement captured in the scene.
With a variable ND filter the photographer can dial in how much light cutting abilities are in the exposure. With a standard ND filter, you also can; but you’re more likely to get better colors due to a lack of shifts at all.