Last Updated on 02/18/2017 by Chris Gampat
Want more Useful Photography Tips? Click here.
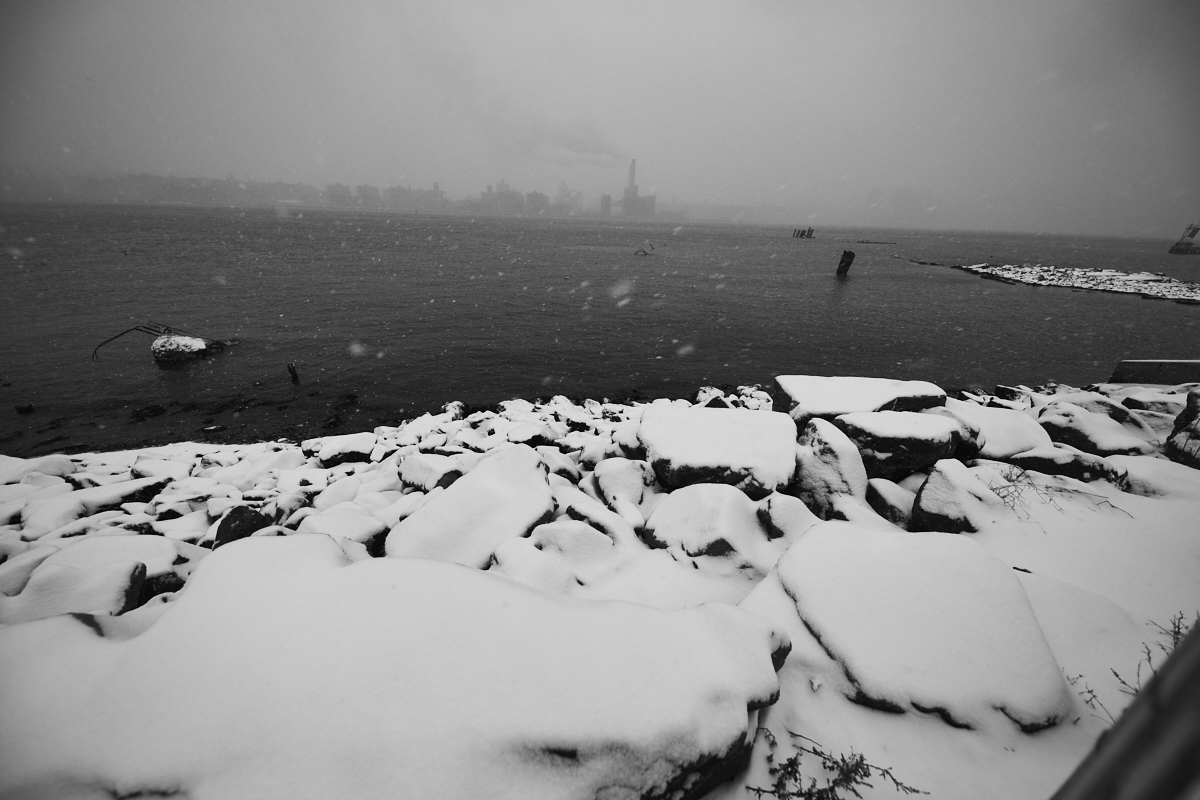
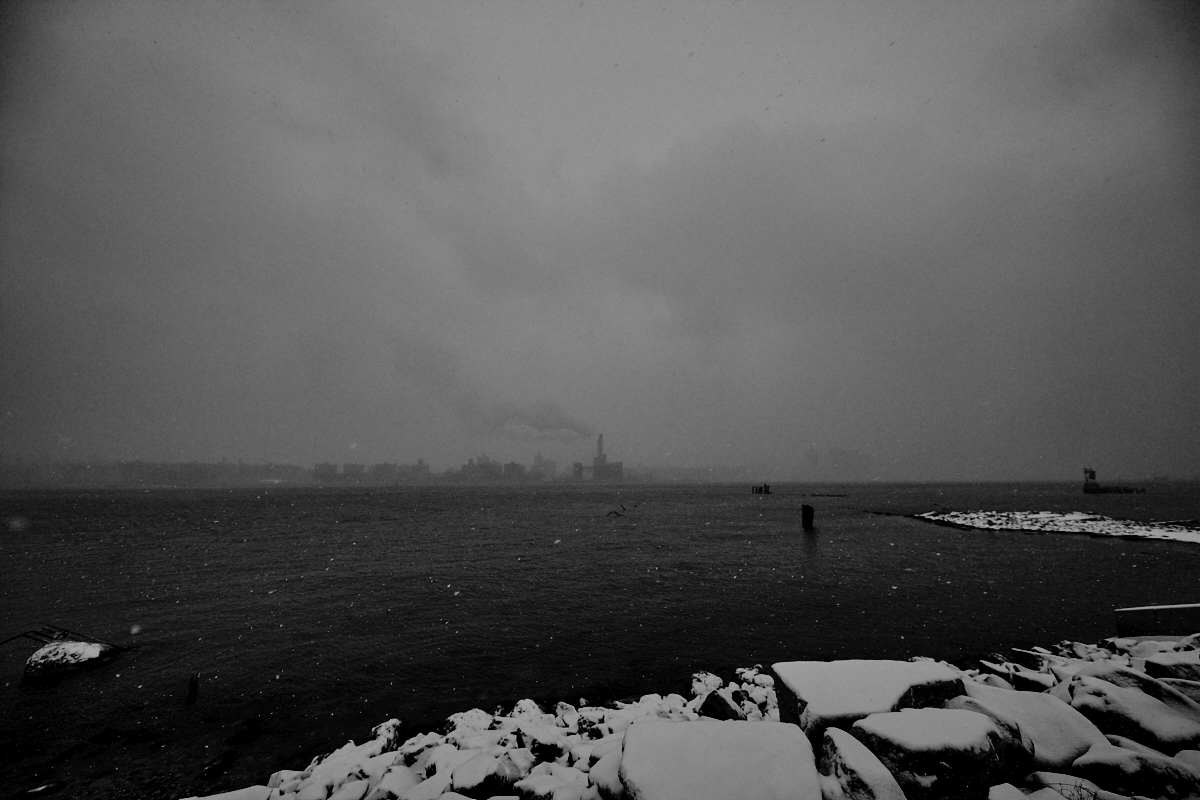
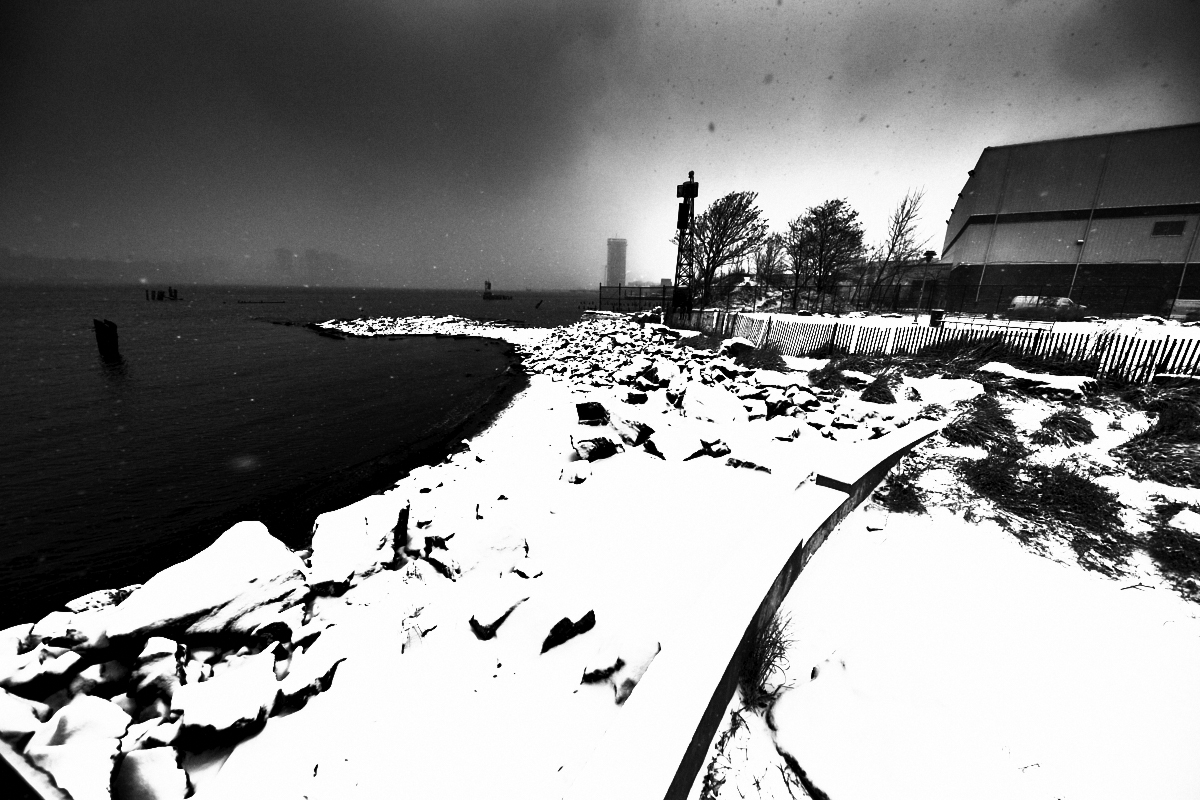
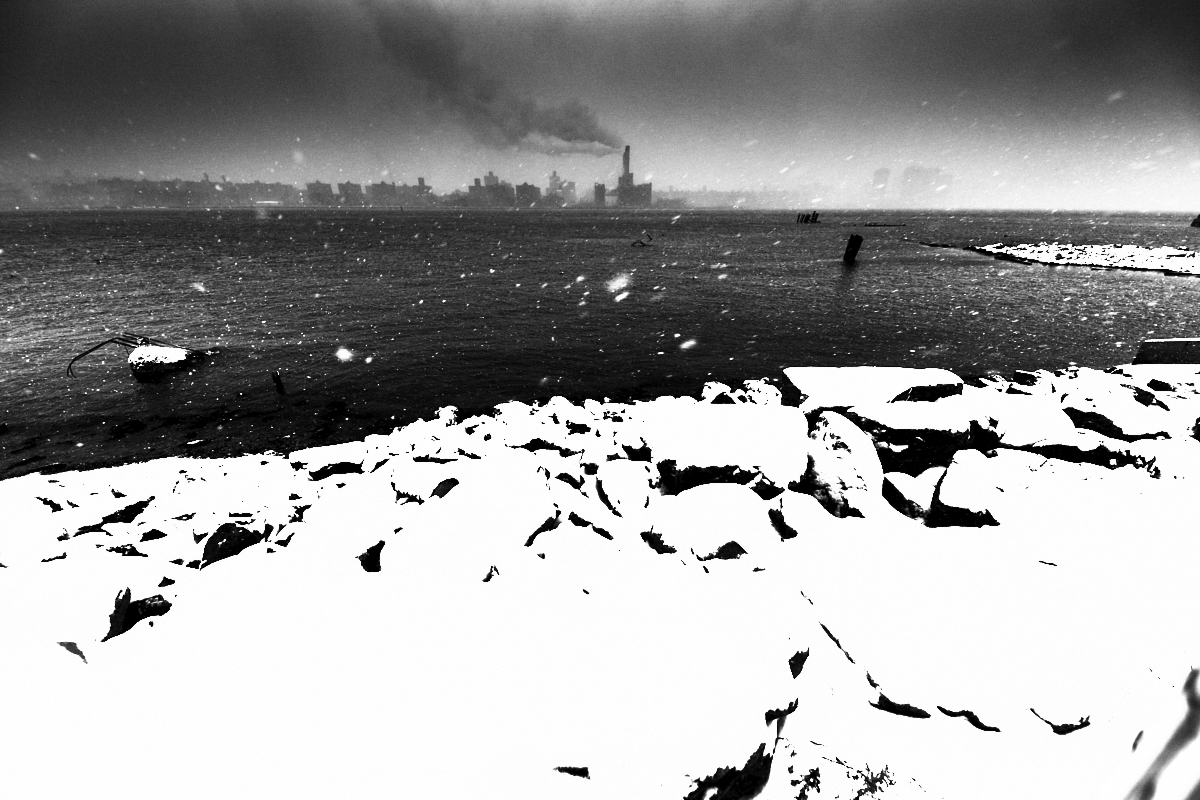
Ask any landscape photographer and they’ll tell you that one of their most valuable tools is a graduated ND filter. But sometimes they’re just not available on you when you’re shooting. Luckily though, you’ve got them built into Lightroom and Capture One Pro 10. And you can use them to get a whole lot more detail from the skies when you go shooting, and later on when you’re editing.
The best thing to typically do in post-production is first ensure that your exposure was taken as low contrast as possible or by underexposing to get more details from the highlights in your sky. Then pull the graduated ND filter down, nerf the exposure, and adjust the contrast and highlights as you see fit.
When you’re done, just go back to editing the entire photo and have fun.
The key here: have fun just like I said. I don’t usually shoot landscapes but the photos after the jump will show you what I was able to do in the editing process.