")
Most photographers don’t know anything about how to use a flash. They’ll generally put it on their camera, aim it upwards towards the ceiling (or directly at their subject) shoot, and worry about it later. Nothing could be more incorrect about that unless you’re specifically going for that look. The problem is that most people aren’t going for that look. So instead, they sit there frustrated about working with a flash.
First off, start by considering that a flash isn’t just for adding fill light to a scene. Instead, think about it as a way to creatively elicit a feeling in a photo.
Don’t Bounce the Flash Directly Upward
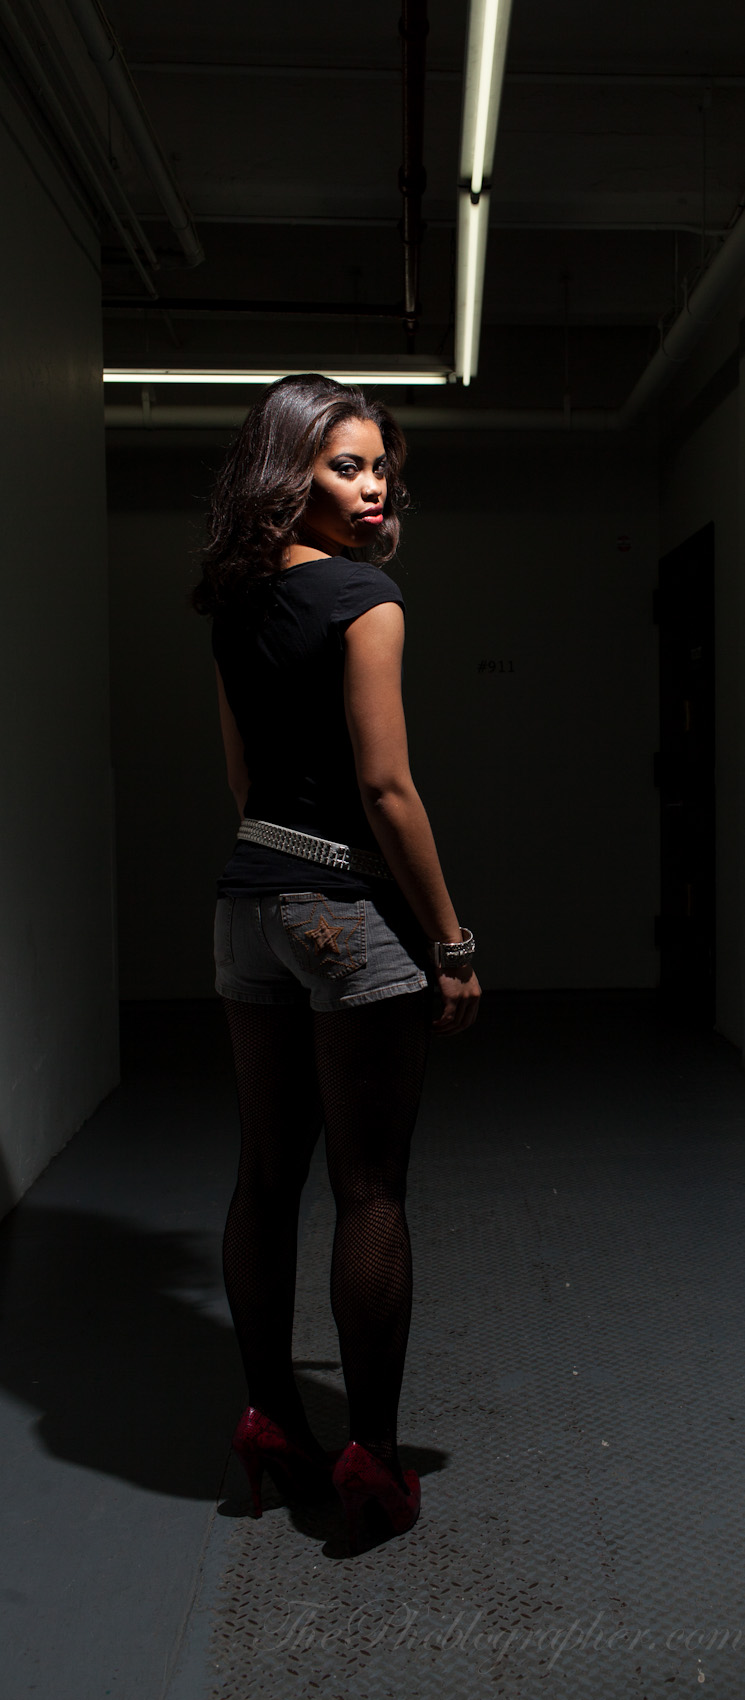
The above photo is an idea of what happens when you bounce the flash totally upwards. It isn’t always the most ideal look, but it can be used creatively with a great vision in mind. It also creates those harsh shadows under the eyes and under the chin. Most of the time, people don’t want that.
Bounce the Flash Upward and Slightly Behind You

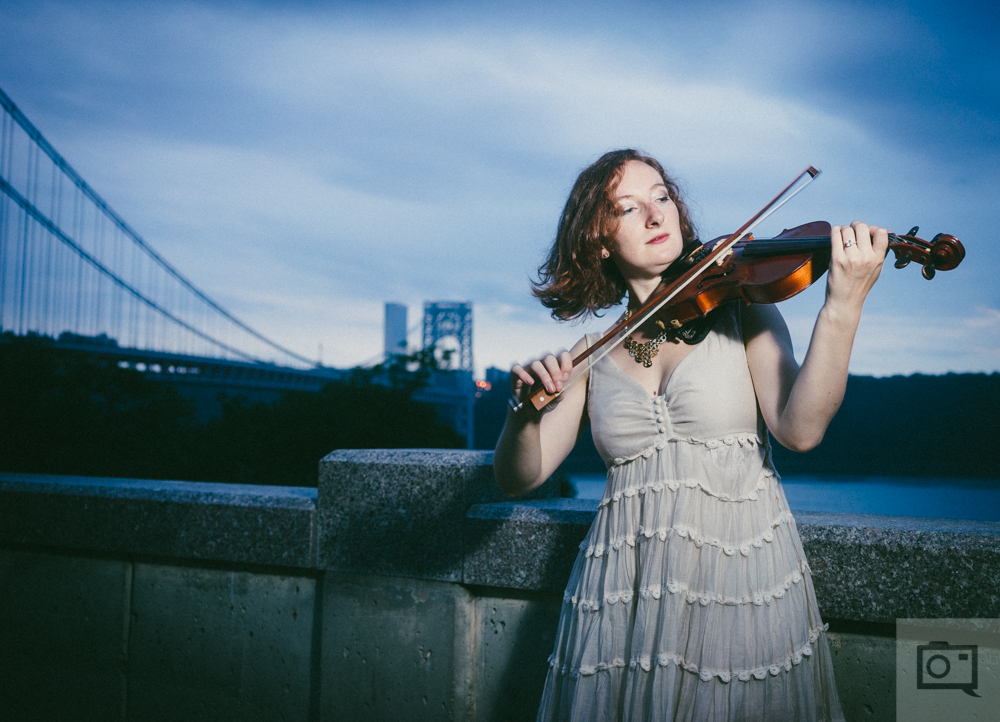
To actually get a better look to a scene in front of you, the best thing to do is to bounce a flash up and behind you a bit. Why behind you? The light will bounce back forward and illuminate the person’s face in front of you. You’ll also get less of those shadows that we’re talking about.
It works very well in most standard interiors and has been a mainstay for many photographers for years now.
Use the Wide Angle Diffuser

Most flashes have a zoom head on them designed to work with most focal lengths. In general, if you’re looking to get softer light, set the flash zoom head manually. Besides bouncing the light up and a bit behind you, set the wide angle diffuser up. This will spread the light out over an even larger area. In lighting, the rule is the larger and closer the light source is to the subject (in a ratio) the softer the light will be overall.
With that said, forget those on-camera diffusers made of rubber or plastic. They’re generally pretty useless.
Lots of Times, the Small Bounce Card is Useless
Most on-camera flashes also have a small bounce card incorporated. They’re designed to bounce light forward when your flash is facing upward. Sometimes it works well, but most of the time the light is way too harsh. It’s much better to set the light to fire up and behind you.
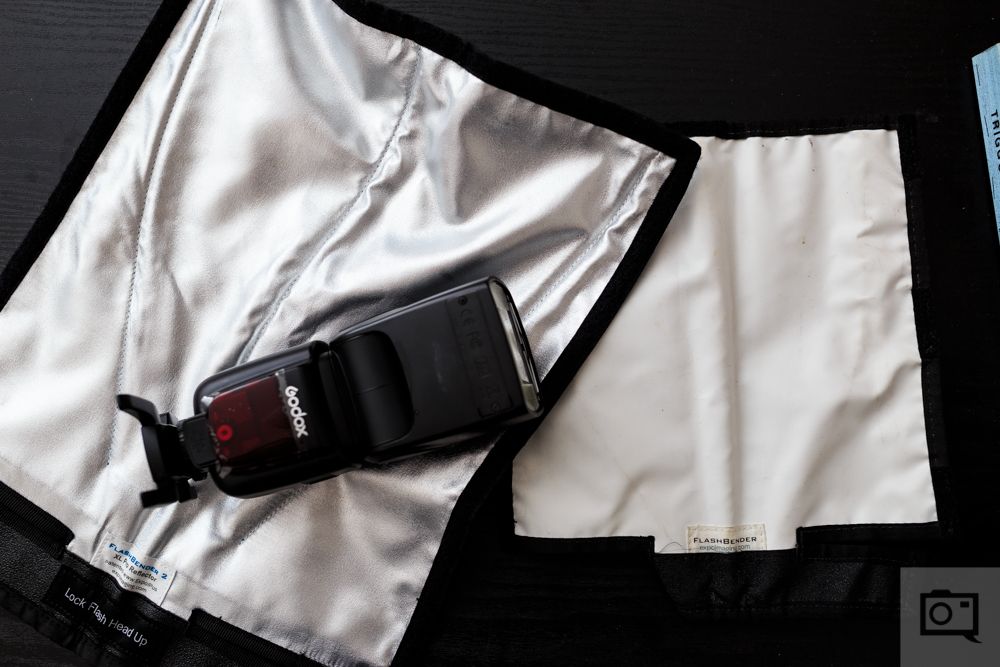
The other alternative: get something like a Rogue Flashbender.
Your ISO, Aperture, and Shutter Speeds
Figure out how flashes work with cameras. Here’s how:
- ISO: Your overall sensitivity to light (including the flash)
- Aperture: How much of the light from the flash actually affects the scene, and depth of field.
- Shutter speed: ambient light control.
Advanced Method: Lock Your White Balance at Daylight or Flash
Flash output is balanced to daylight, so it emits a light that looks like what you typically see outside on a sunny day. This is also what most film is balanced to. But you can also lock in your white balance to flash mode and get a really nice look if you wish.