Want more Useful Photography Tips? Click here.
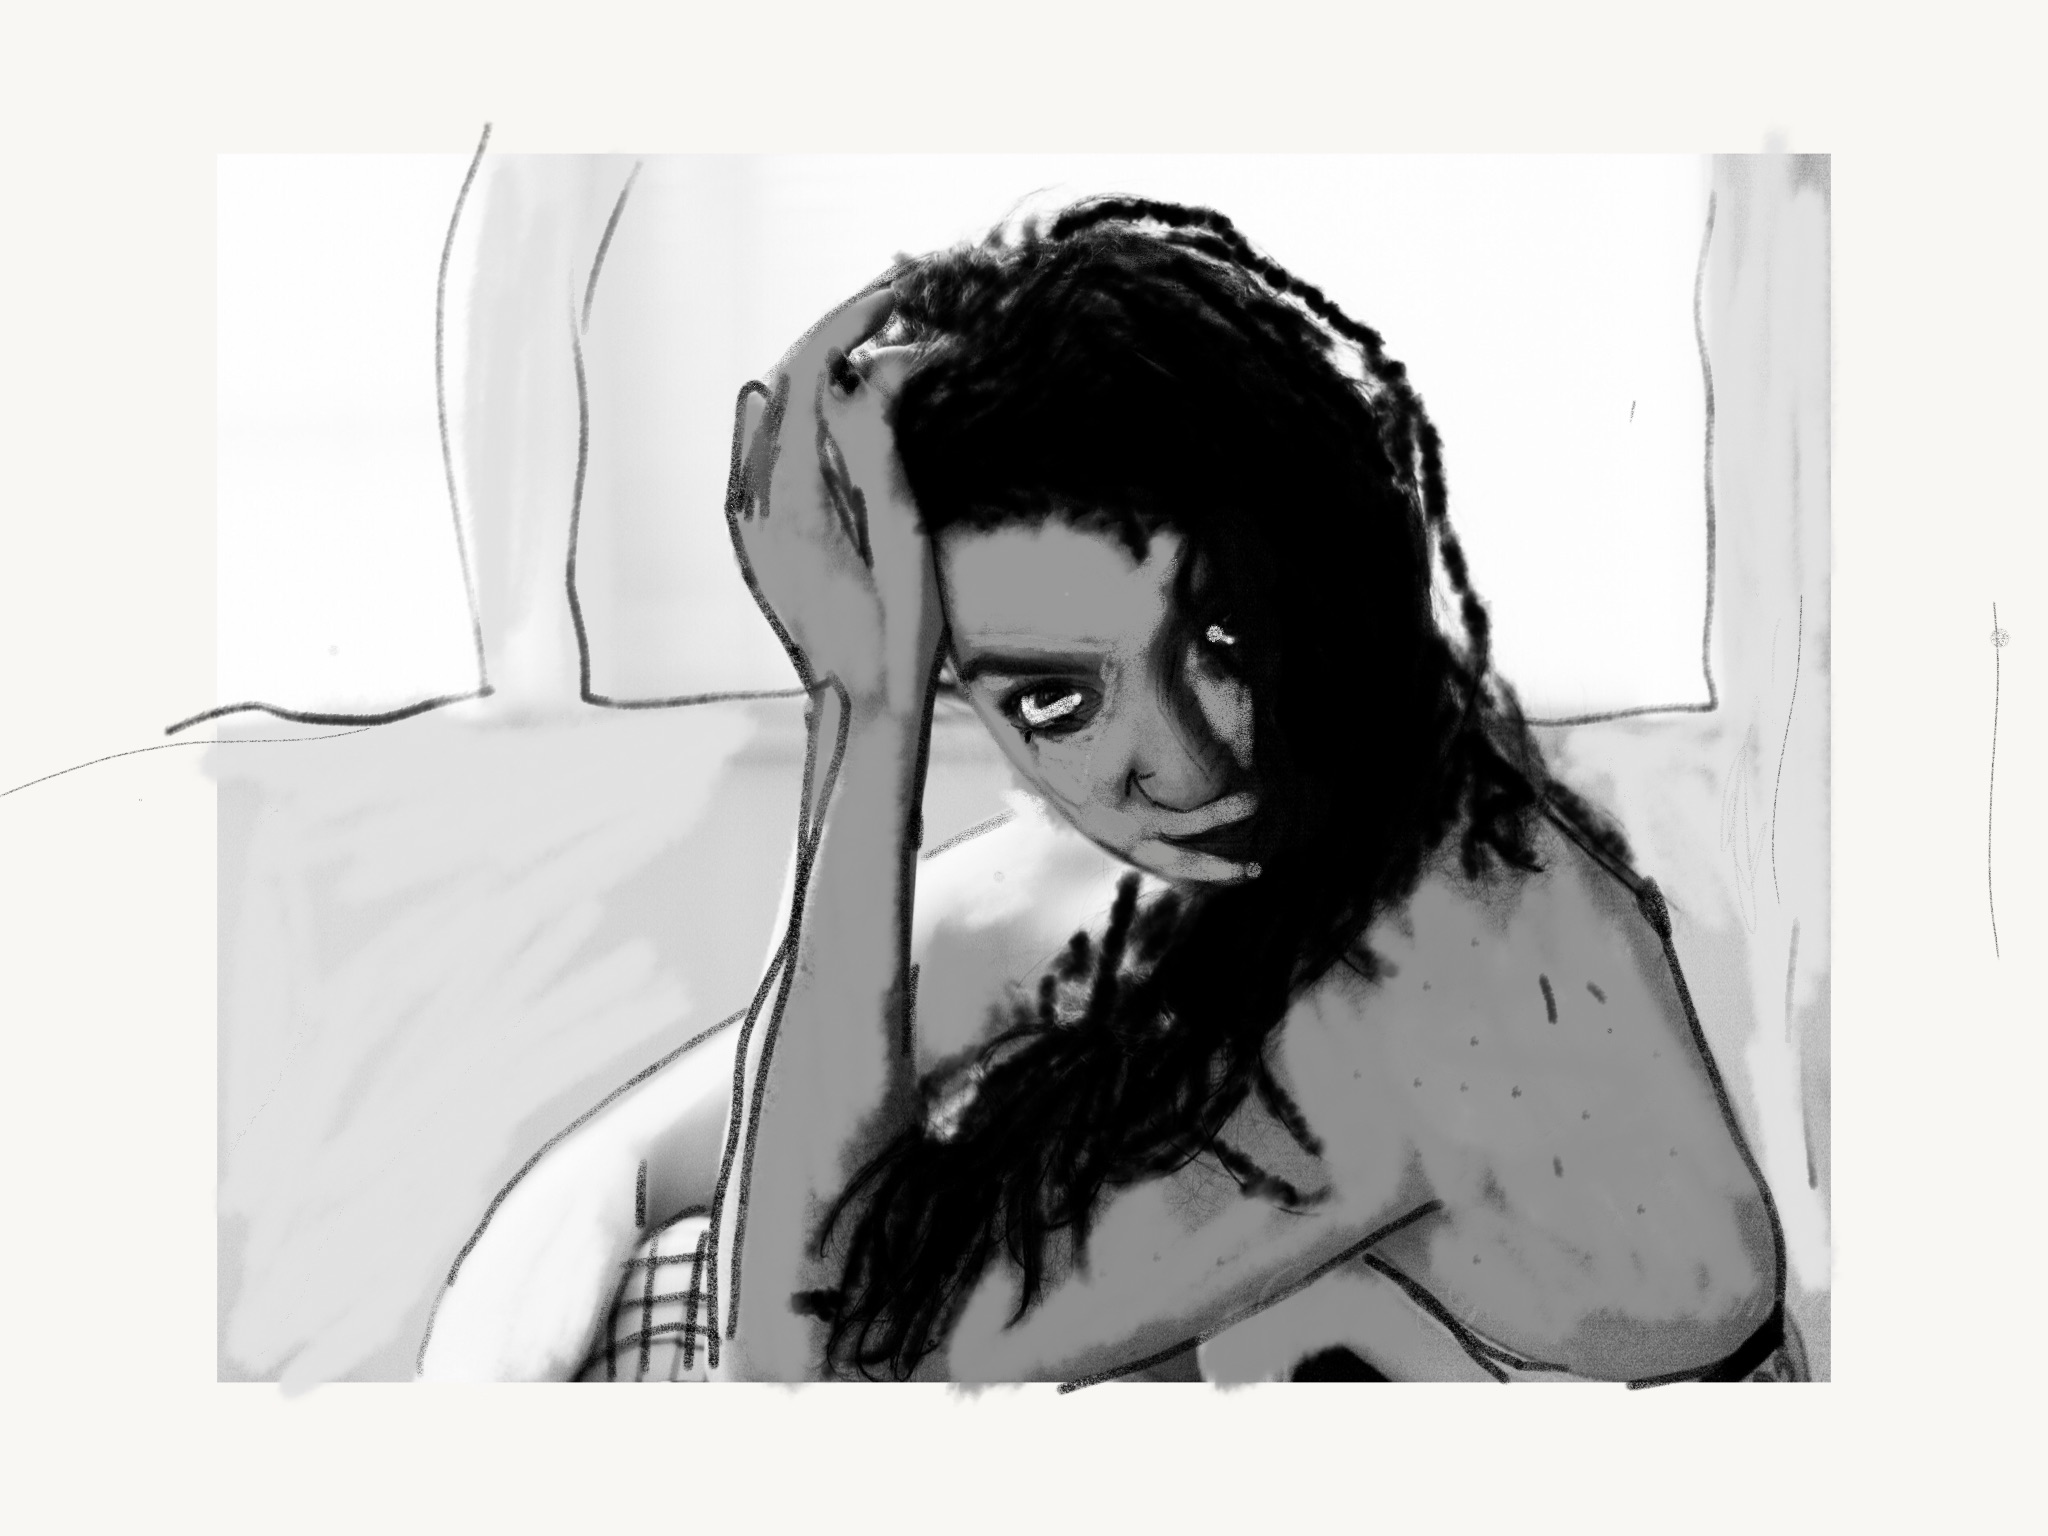
The above photo is not an emboss or done with any sort of special filter in Photoshop. Instead, it was all done manually by hand and with Adobe Photoshop Sketch on the iPad Air 2. It’s an image from my Sony a7s Mk II review and was rendered into a black and white simply because I liked the look of it.
What a lot of people don’t realize about photography is that the best still you’ll ever have is your ability to see light and judge it to help you create a better exposure. Black and white photography can help with that but so can literally taking a stylus and sketching over a photo of yours. By doing this, you’re matching specific colors to certain areas and learning more about the way that shadows and lighting works. With this photo, I was able to better understand how the image came to work–because of the lighting coming from the windows hitting Evelyn from one side being blown out and the shadows working to help create a pleasing scene.
By doing this, I was able to clearly differentiate how lines worked in the scene, how shadows worked, and the simplicity behind the entire photo. It’s what many black and white photographers talk about often: colors can be complicated to work with unless done really well.
Though it isn’t specifically involving you shooting an image, it’s still an exercise that will help you to carefully judge lines, lighting, shadows, etc if you pay attention to the parts of the scene that you’re painting over.
Give it a shot.