
When photographers first start working with flashes, they initially learn to create light by bouncing the flash head’s output off of surfaces. The more experienced shooters will tell you to simply just bounce it but they never explain the concept and reasoning as to why one would do this. Flashes also have different settings that help you get different results and that can work with your camera settings to render a whole load of different looks.
Here’s how to understand the basics of bouncing a flash’s light output.
The Concept Behind Bouncing a Flash
The idea behind a flash has to do with creating a light source–whether that flash is in the hot shoe or off of the shoe. The flash head itself is indeed a source of light, but the tilt and swivel head gives you much more flexibility. When you point the head at a surface and fire it off, that surface effectively becomes the source of light. So with that in mind, you’ll need to consider where you want to light to come from in your scene and you then need to learn how to see light.
A great exercise to do this is to add one light at a time to a scene. Experiment first with candles in darkness (but don’t burn your place down.)
Generally, if you want very soft light then you should place your subject a close distance to the wall or light modifier and set the flash head to the widest setting. It will then cover a wider area therefore effectively giving you a softer look.
Power

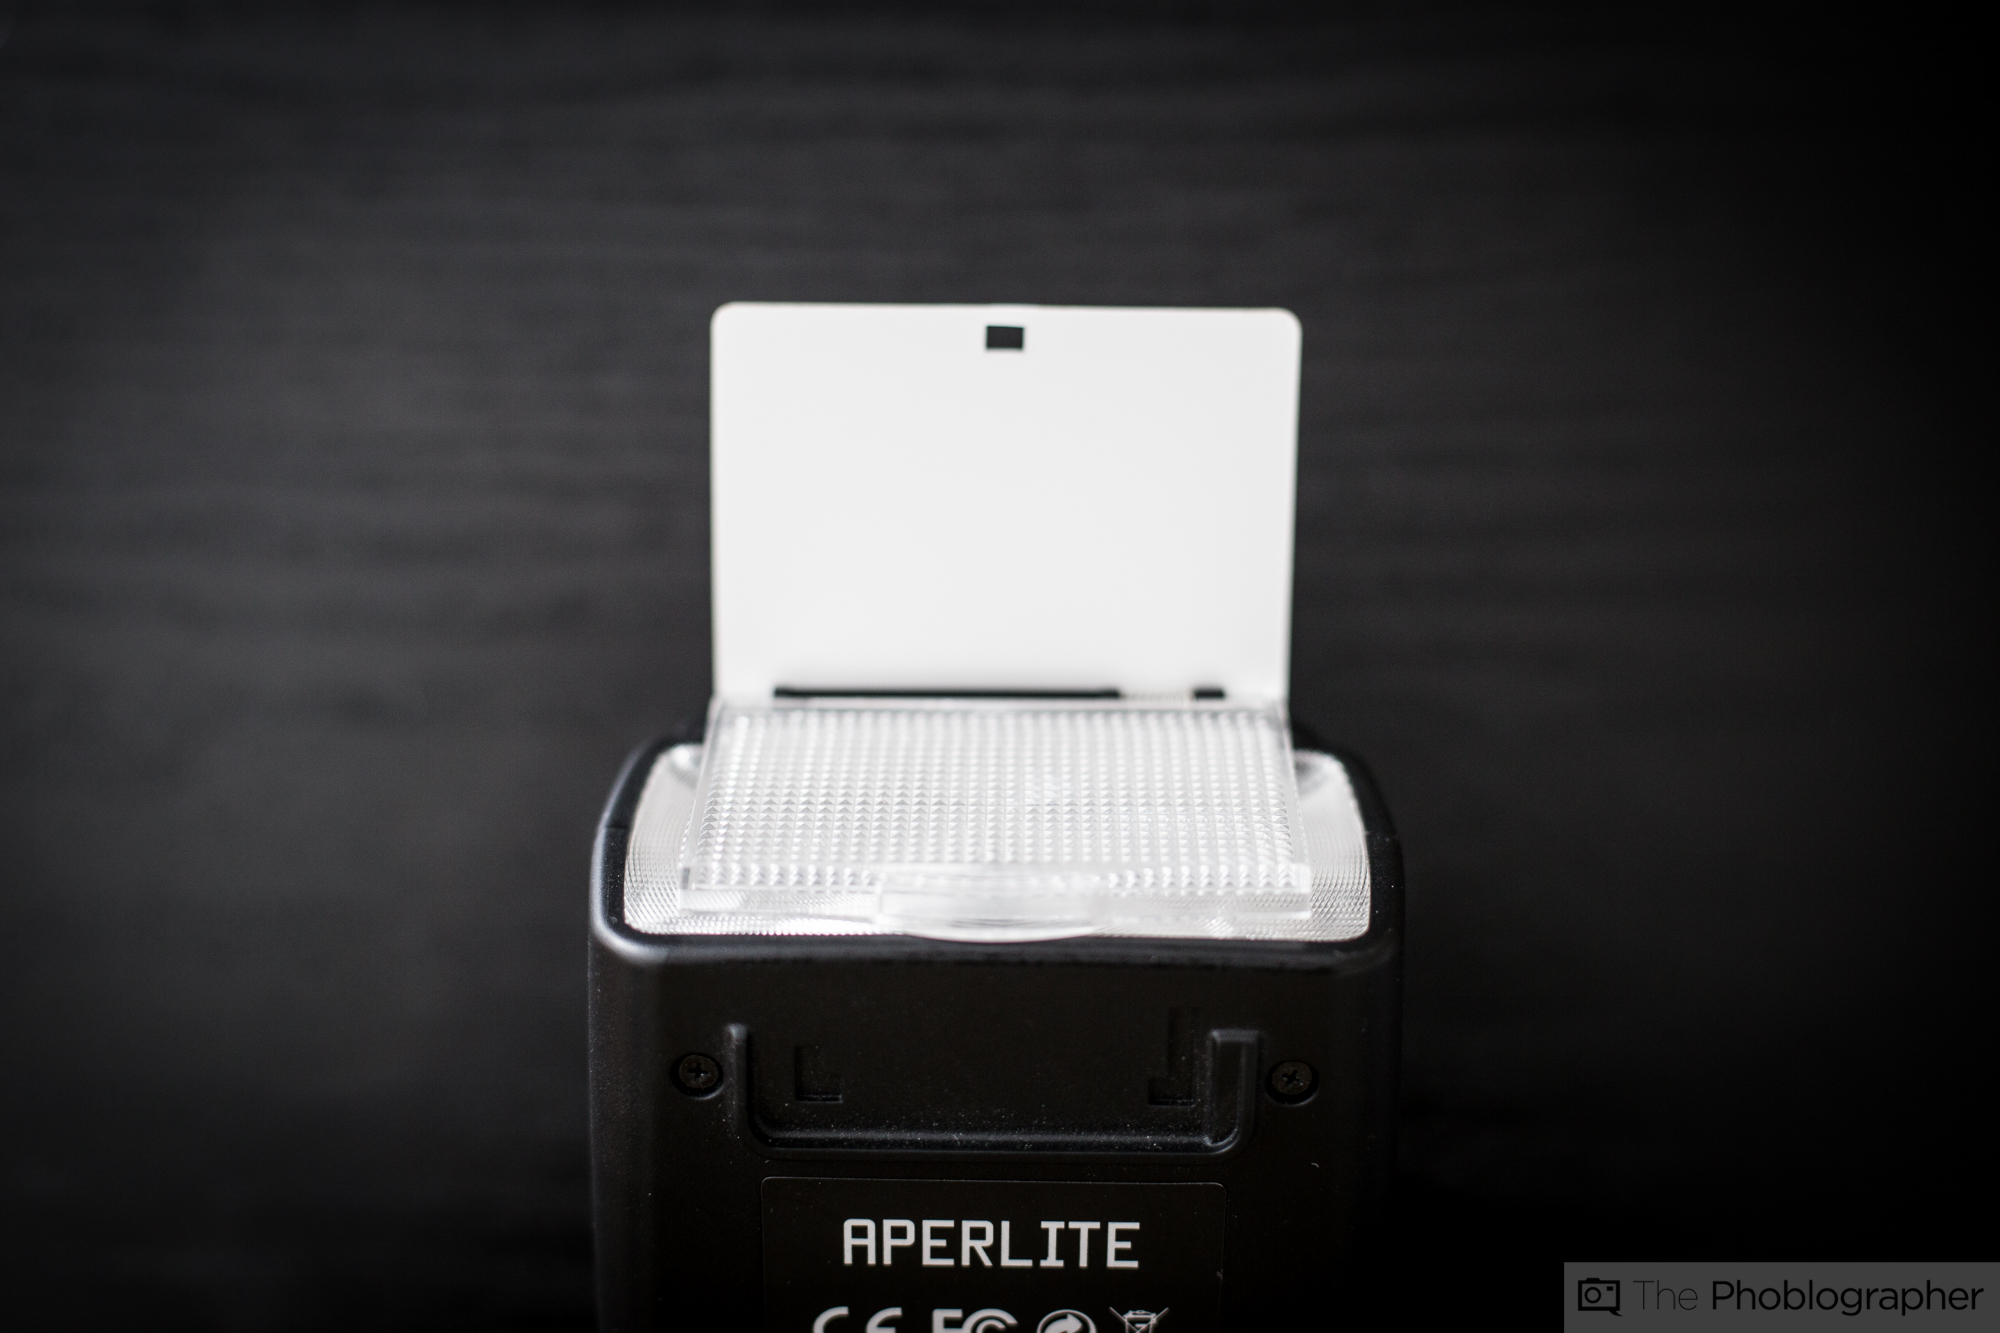
Flashes have different levels of power. So if your flash is hitting a ceiling and not giving you enough light in the scene, then you’ll need to crank the power up or zoom the head in to make the beam more concentrated in a specific area and therefore turn that area into a smaller and more powerful source of light.
Many flashes can do this through exposure compensation by dialing in more or less power accordingly. But you’ll need to gauge this all based on your exposure.
Exposure
Your exposure is where this all starts when you’re using a flash. For starters:
– Shutter speed controls ambient light
– Aperture controls flash exposure
– ISO controls overall sensitivity of the scene.
If you’re shooting in manual mode (both for the flash and camera) then by opening the aperture up, you’ll let more of the flash output effect the scene. By closing the aperture, you’ll kill the flash output. By shooting at a slower shutter speed, you’ll let more ambient light in the scene into the image. If you shoot at the highest shutter speed possible with the flash and without clipping, then you’ll probably be able to completely kill the ambient light in the scene depending on your ISO setting. By doing that, you’ll effectively illuminate the scene with just the flash output.