
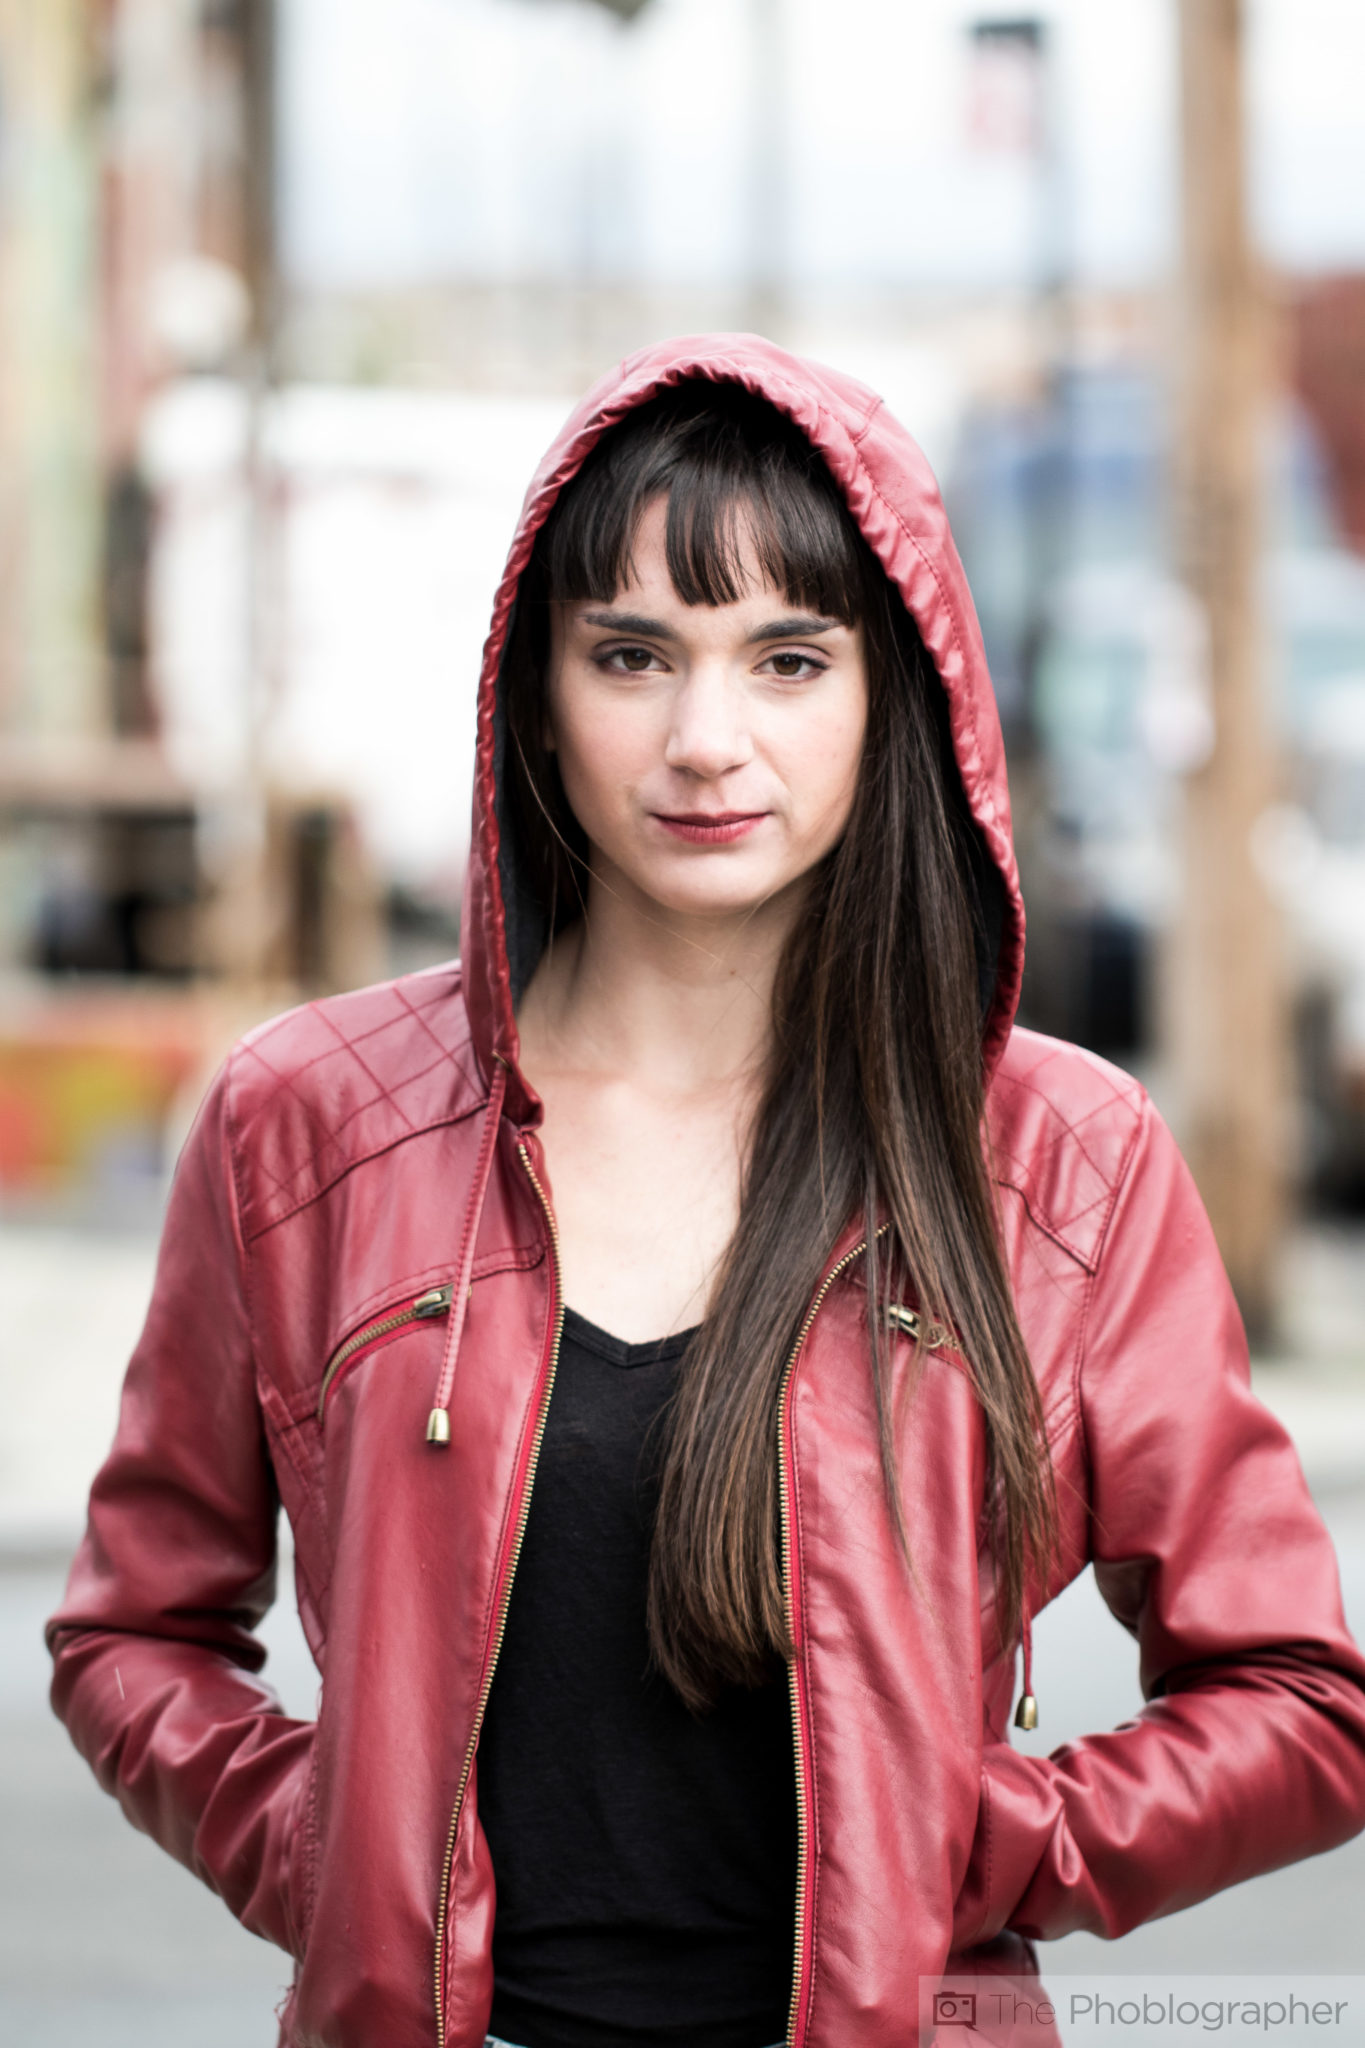
Lots of people are self-conscious about their skin, and it can be even tougher for you as a photographer if you’re photographing a teenager. While photographers talk a lot about focusing on the eyes and making them look great, they often forget about the body’s largest organ: the skin. They only notice afterwards when someone wants you to get rid of a blemish of some sort in the image after they’ve seen it (if you haven’t done much in the way of editing or retouching).
But in order to cut down on that type of stuff, here’s how to get better looking skin out of your portrait subject in the camera.
Again, this post is for folks who do not retouch.
Oil Free Moisturizer

This part isn’t necessarily what you’d be doing, but it’s something that helps so much more from the start. Wedding photographers sometimes carry powder around for subjects who are sweating (like the groom or the bride). For portraits, an oil-free moisturizer is a great pickup because it softens skin while not making it oily and giving it a sheen. The sheen, when combined with specular lighting, makes a person’s pores more visible.
Trust us when we say that no one looking at a portrait of themselves wants to see their own pores.
One more benefit: if the person has sensitive skin then they’ll be less likely to break out or develop an irritation.
Stop the Lens Down Less

Let’s think about the way a lens works for a second: the less the lens is stopped down, the less of an area will be in focus and the less detailed the scene will be due to sharpness. Now let’s apply this to making skin look better.
While many portrait shooters aim to stop their lens down to f4 or f5.6 to get the entire face in focus, try stopping down a bit less. Making less of the scene in focus gives the faux look of skin being softer and also really forces you to nail critical focus on what’s important in the scene. Many photographers will want the eyes in focus and what’s bound to be in focus is the face a little bit past the eye brows.
When the lens is stopped down less, the areas that are in focus will also not be as sharp–which means that less details in the skin are rendered.
Soft, Even Lighting
There are two types of lighting styles: soft and hard. Soft light refers to the quality of the shadows being barely visible while hard lighting is associated with very dark shadows. To make skin look better, use soft lighting but also be sure to make it evenly distributed across the face or subject.
How do you do this? Large light modifiers are key here. This doesn’t mean that you actually need a lighting kit, but a very large translucent reflector that will take the sun’s rays and soften them will work splendidly here.
As an extra tip, place the sun behind you and have an assistant hold the reflector to block the sun on the subject.
If you’re using a light modifier like a softbox, set up basically the same situation–just make sure that the light source is very large in proportion to the subject that you’re shooting.
Overexpose Very Slightly
One of the tricks that we often use when shooting portraits is to overexpose the skin very slightly. This gives less visible detail (as opposed to darker patches which will give more detail) and also makes skin just look smoother and softer.
An added benefit here is that it also enhances the look of the eyes since the whites are absorbing more light and the iris is showing off a bit more color that can then be saturated to however you’d like.
White Light Modifiers
The last tip that we’re going to add has to do with softboxes, umbrellas, octabanks, etc. White interiors render less detail in an image, but are more efficient at bouncing light into the key areas. Conversely, silver reflectors are a bit less efficient but bring out more details. What you’re trying to do here is make the skin look softer and smoother, so you’ll need less detail and therefore a white modifier of some sort.