
While in many situations you’ll have full studio lighting control over the lights that you are working with, sometimes things go wrong on sets. For example, a bulb could blow or a scrim may not come in on set to give you the look that you want. The photo above was shot with two lights but wasn’t anywhere as brightly lit.
We always try to get everything as close to “right” in the camera as we can, but in this case we just couldn’t. That’s when the phrase, “fix it in post” became ever more apparent.
Here’s how we created this image using very weak lights and Adobe Lightroom CC to fix the photo.
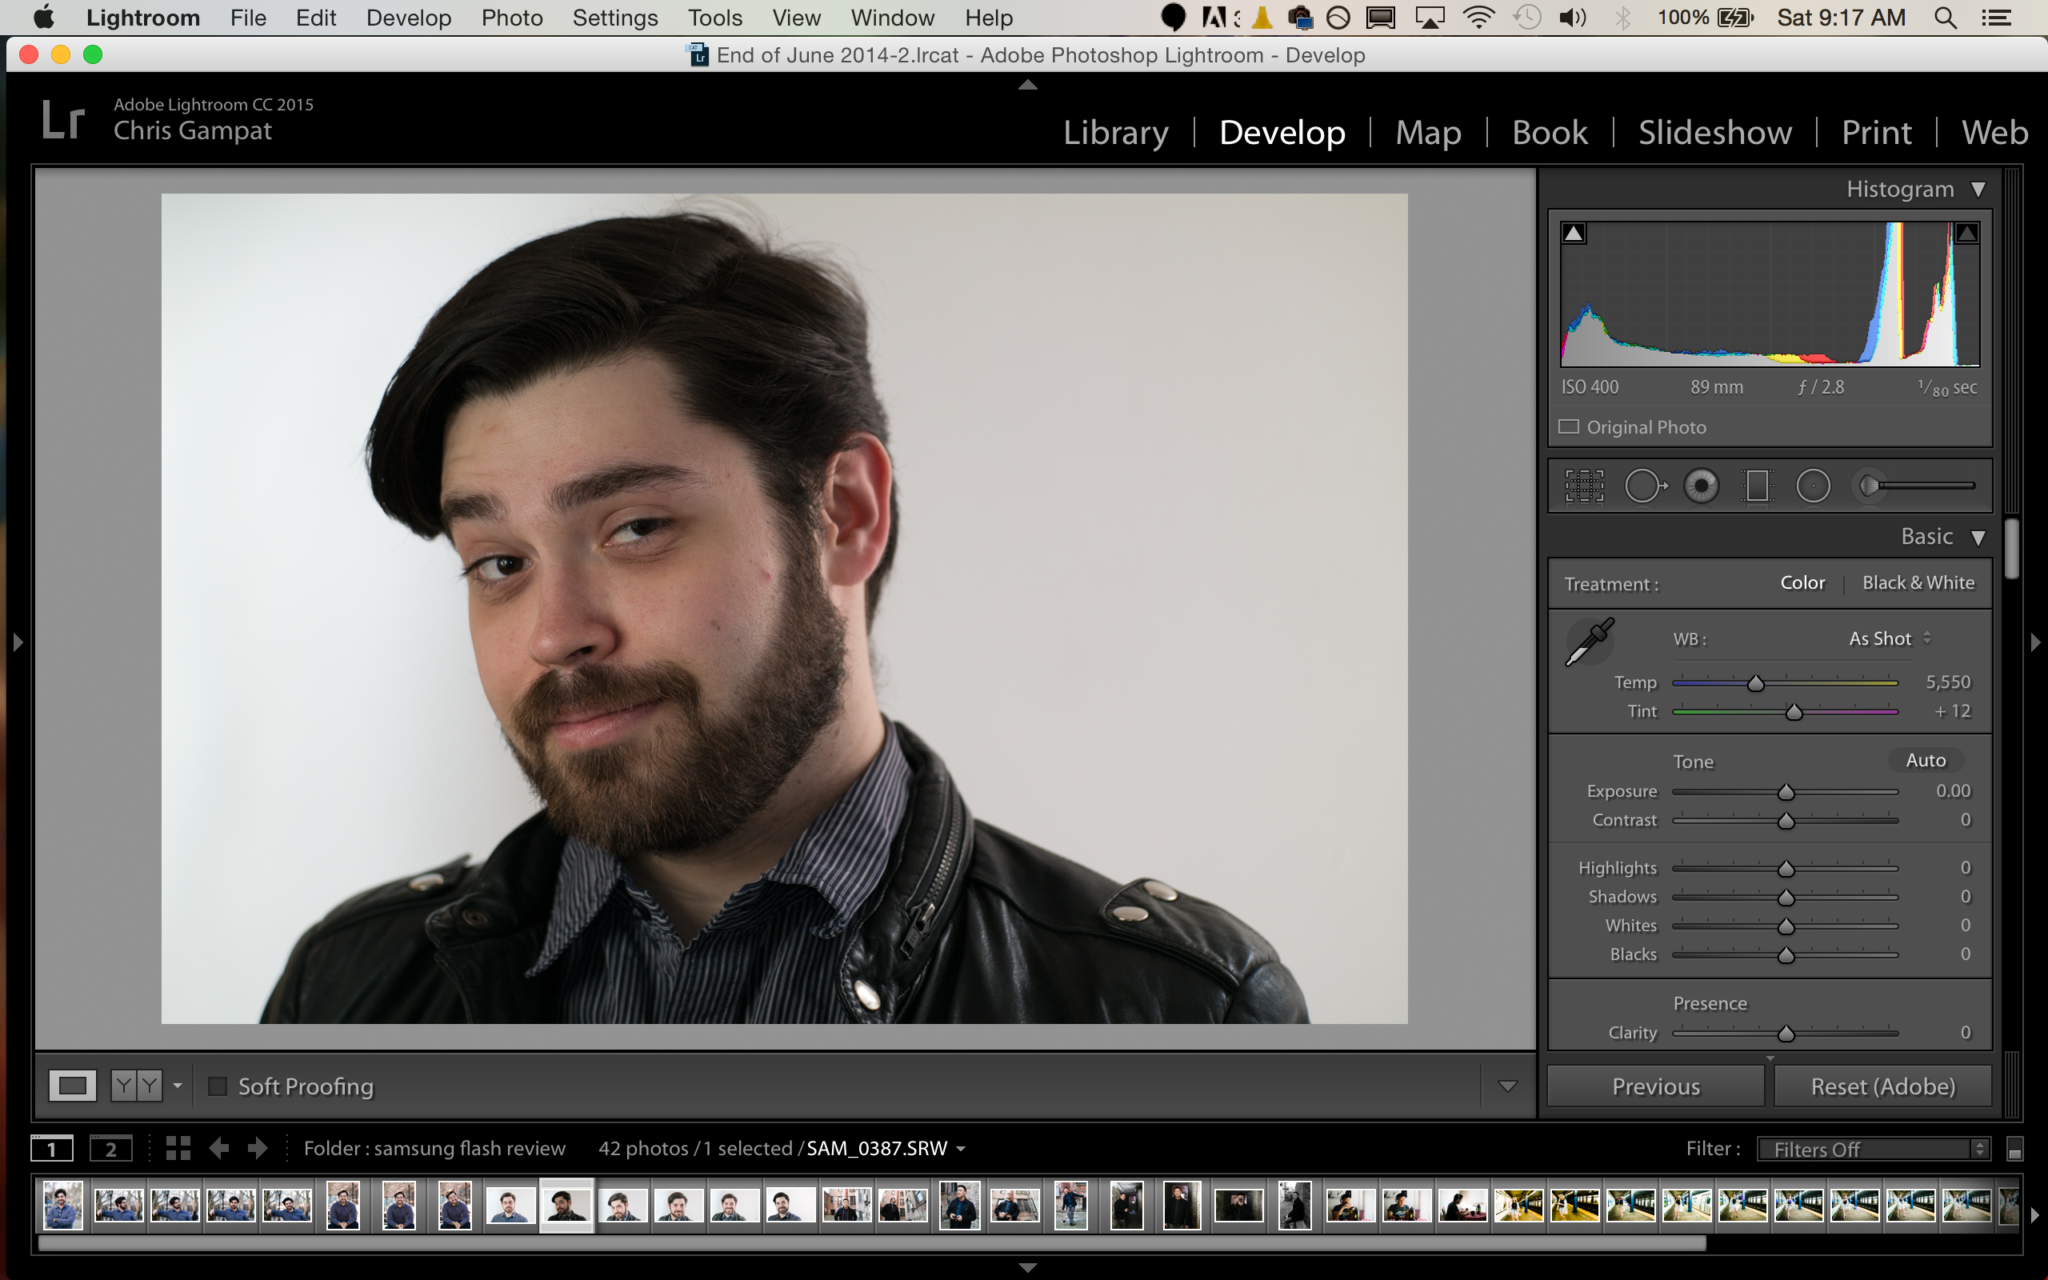
On import, this is what the scene looked like. Very underexposed, we weren’t able to make the lights get powerful enough for the shoot but there are hints of them on each side. Additionally, we had very big space constraints in and NYC studio.
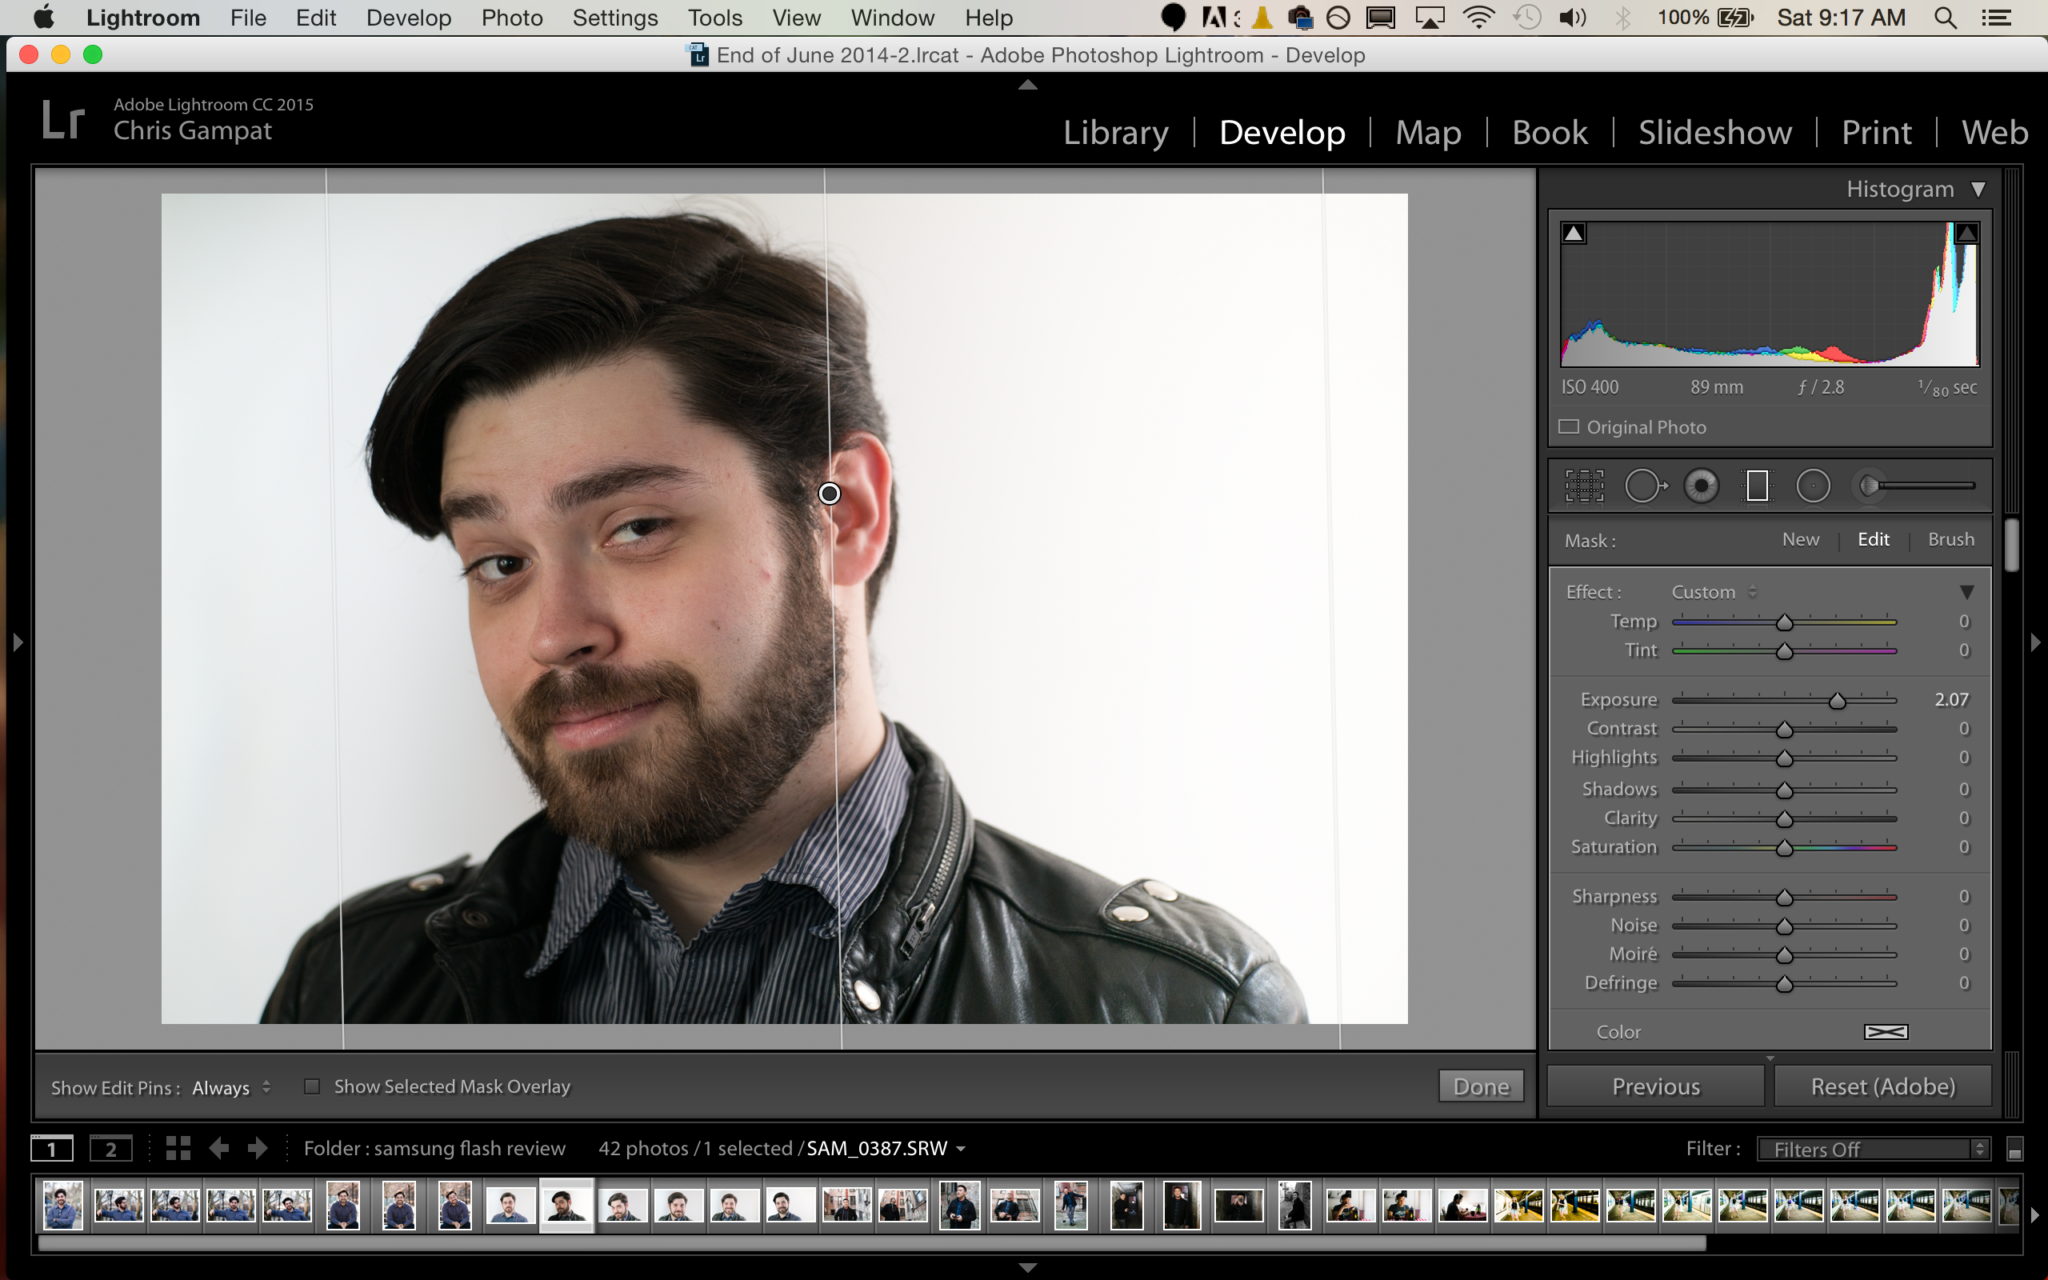
To start, we create a gradient and then raise the brightness. Apply the gradient to one half of the image then brighten it and adjust its angle and levels accordingly. Just touch the brightness setting, nothing else.
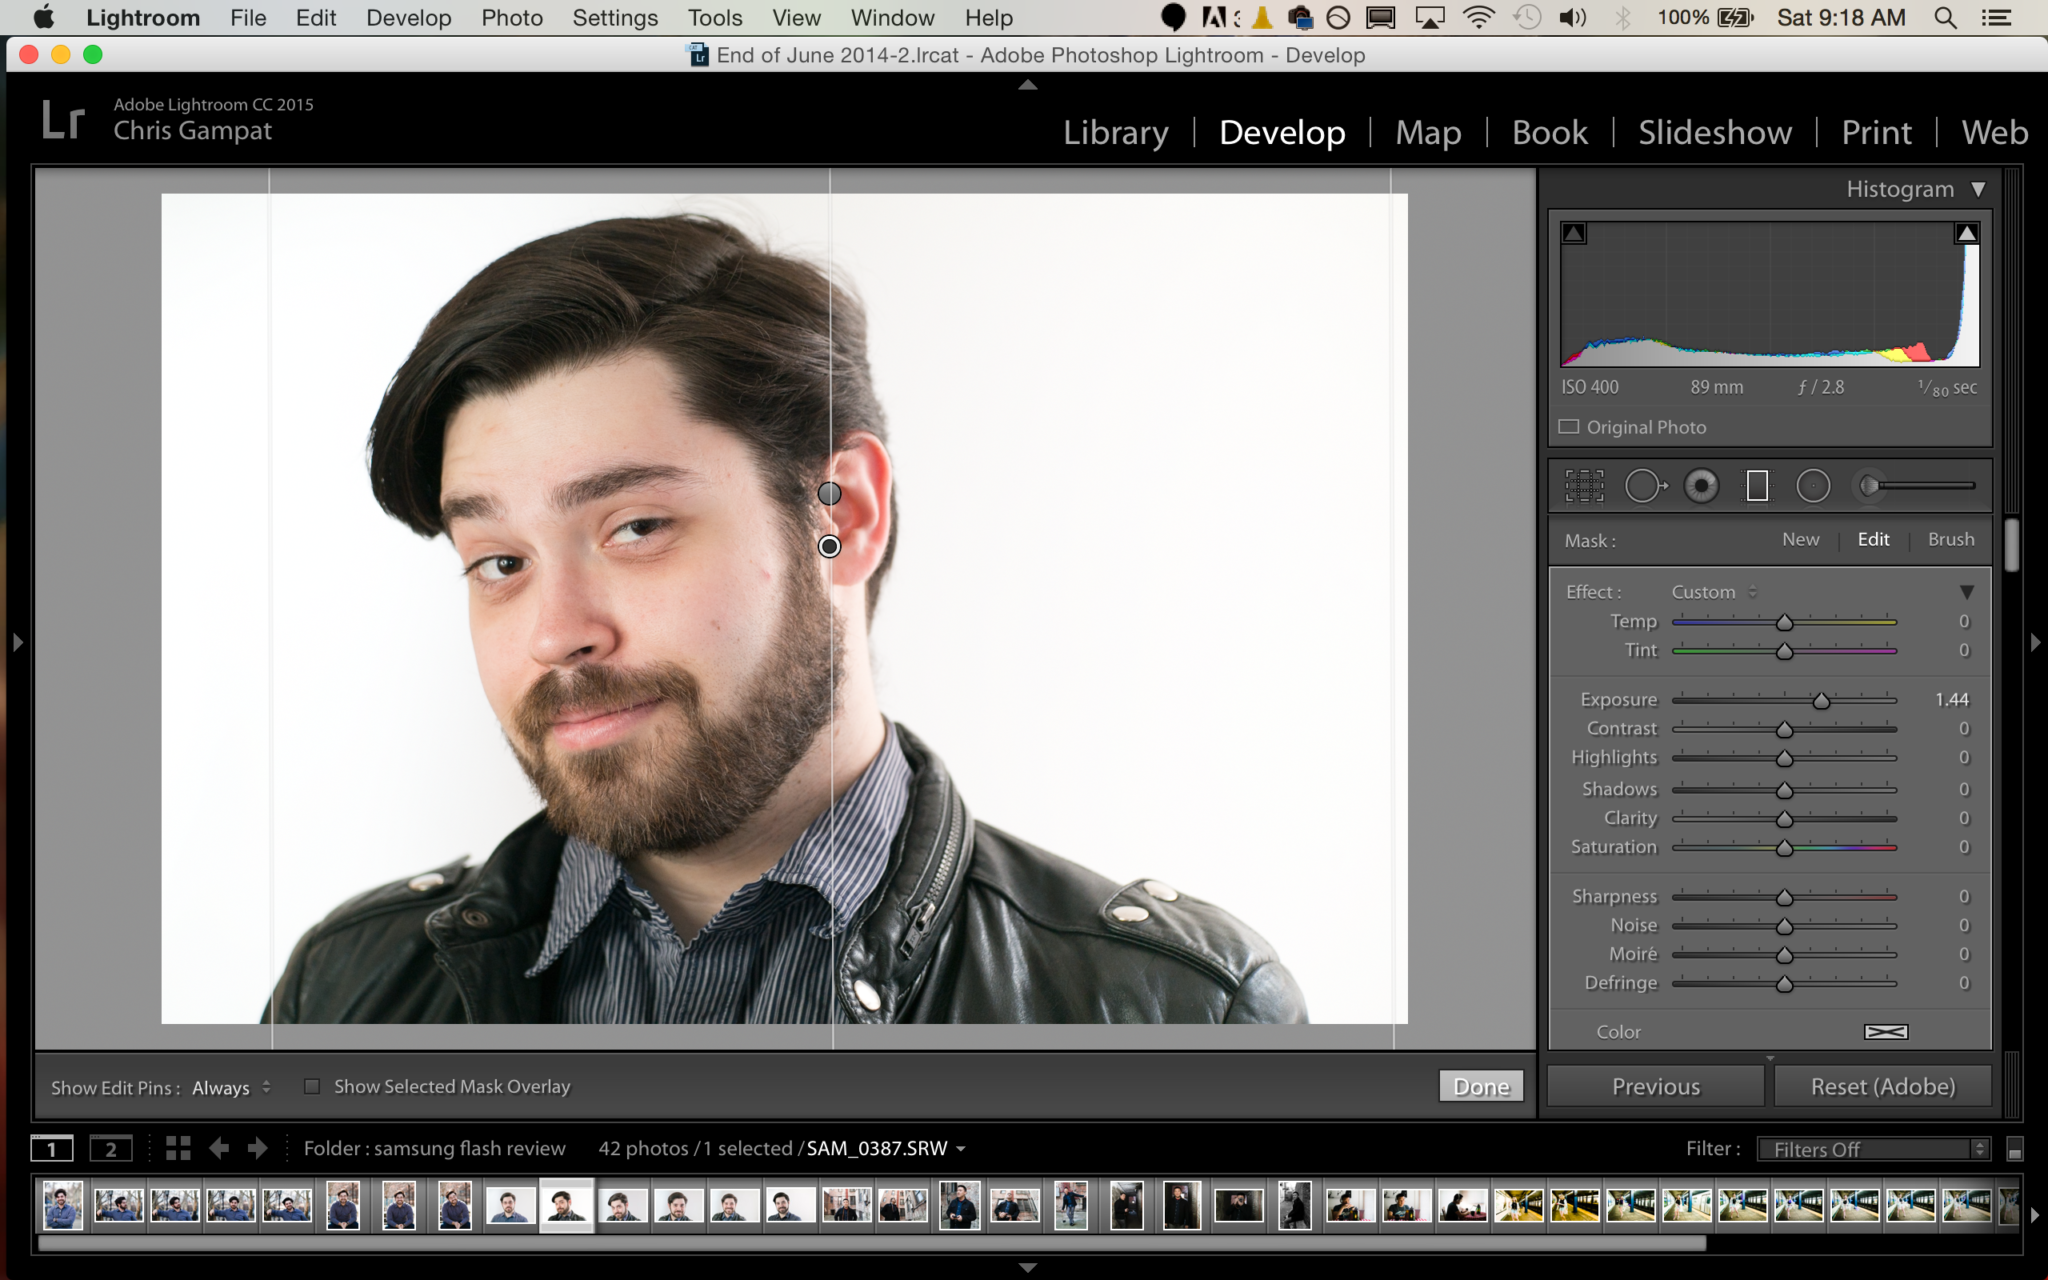
Then apply a second gradient to the other half with the same amount of brightness for a more even lighting setup. At this point you’ll begin to see that the image is coming much more into shape. To be honest, after this is specifically just color grading, sharpening, and eye enhancement.
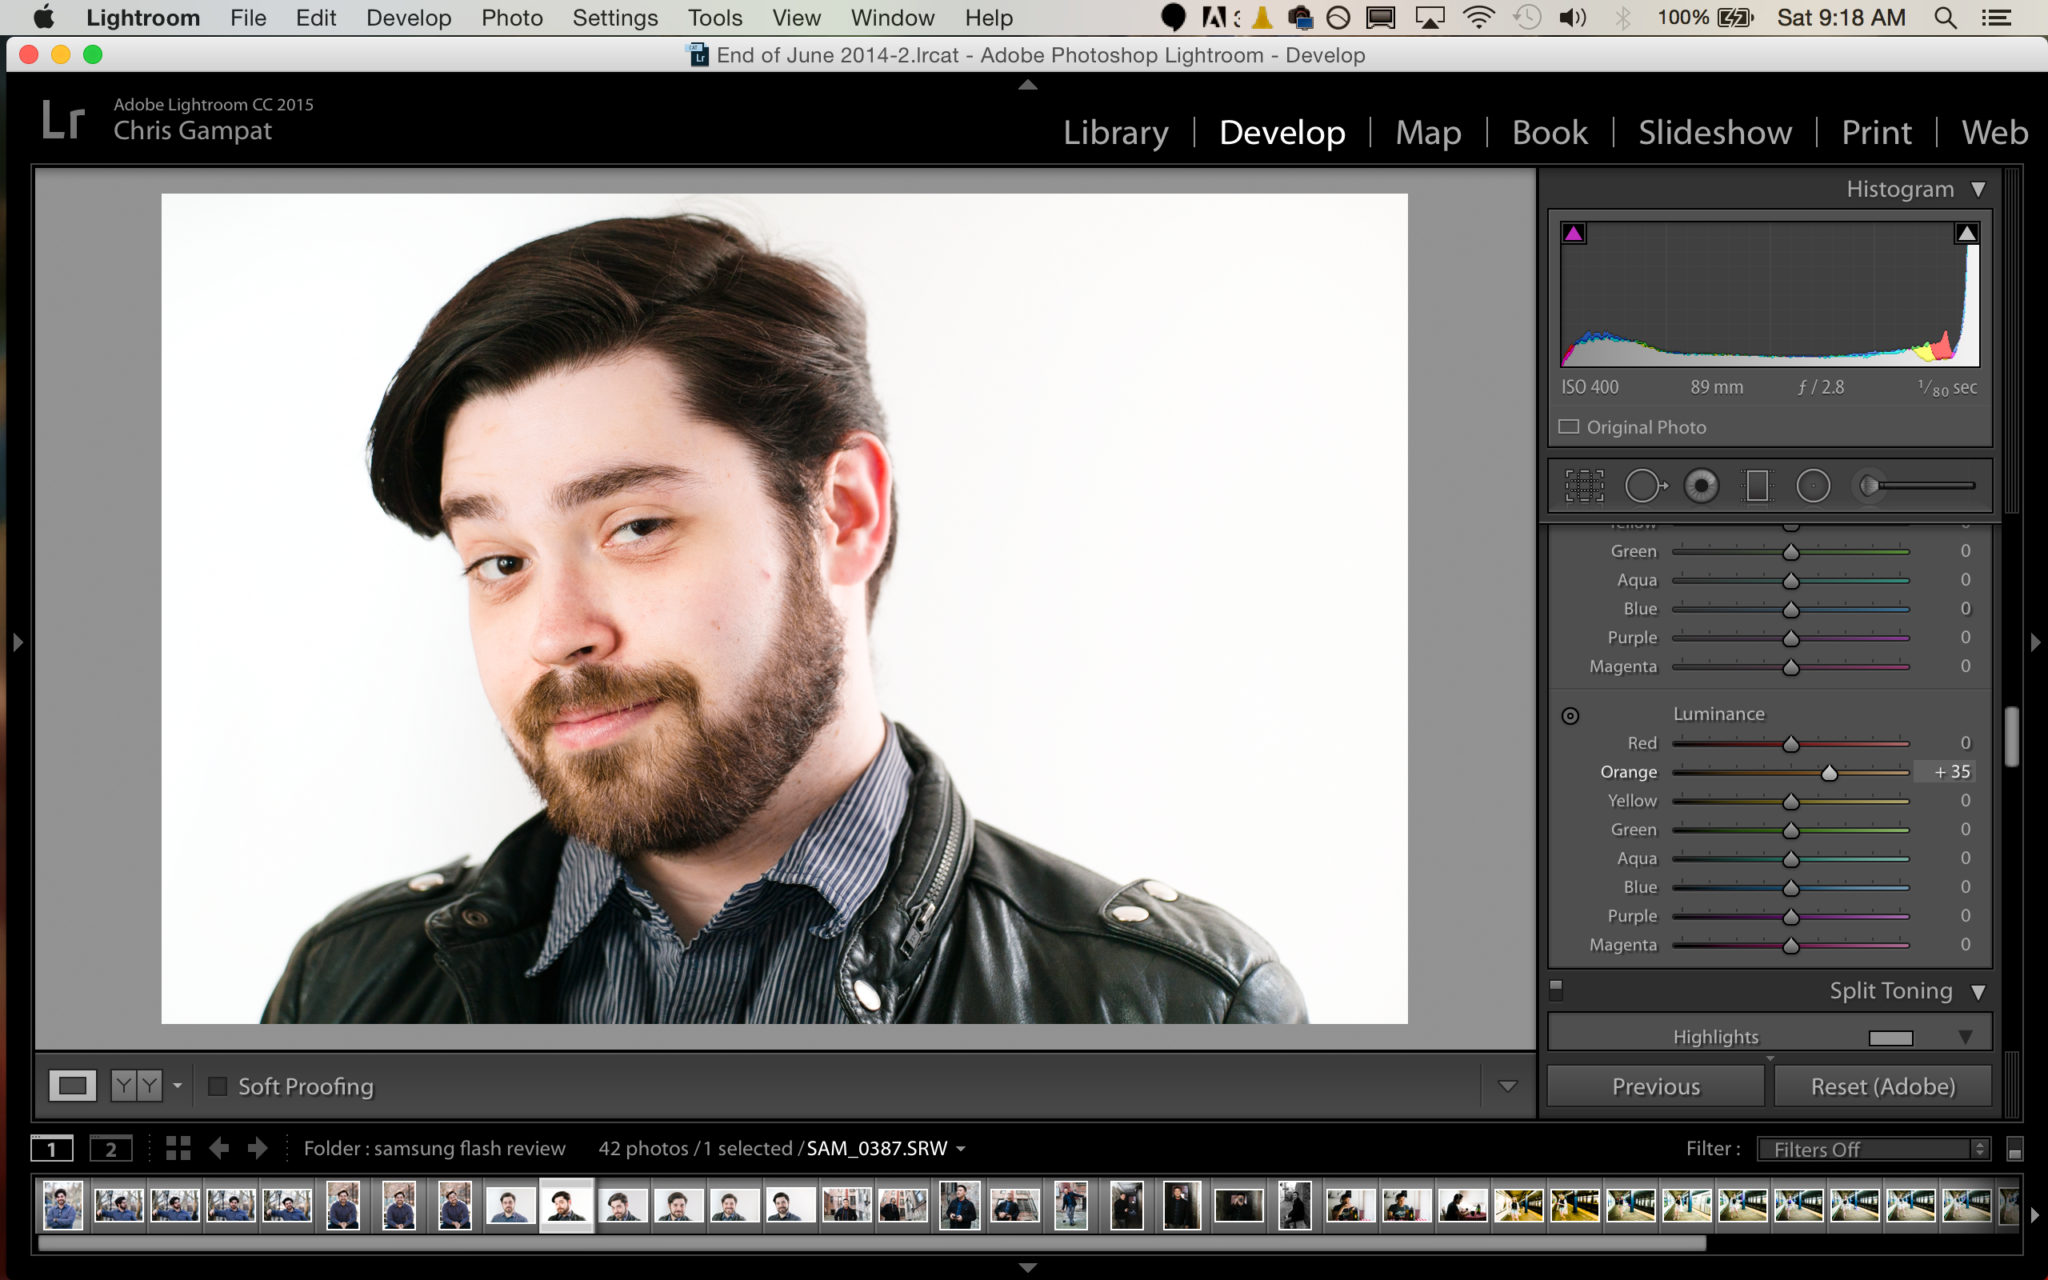
Because Alex’s skin is associated with the orange channel, I raised to orange luminance level to make it look brighter and more radiant instead of being so drab due to the exposure. The orange and red saturation levels were worked with afterward and minor clarity and contrast adjustments were made afterwards. We recommend that you work with the specific color levels instead of the overall adjustments to saturation and vibrance. And here’s a specific tutorial on working with skin.
Again, you’re eyeballing this and no two images or skin tones are perfectly alike.
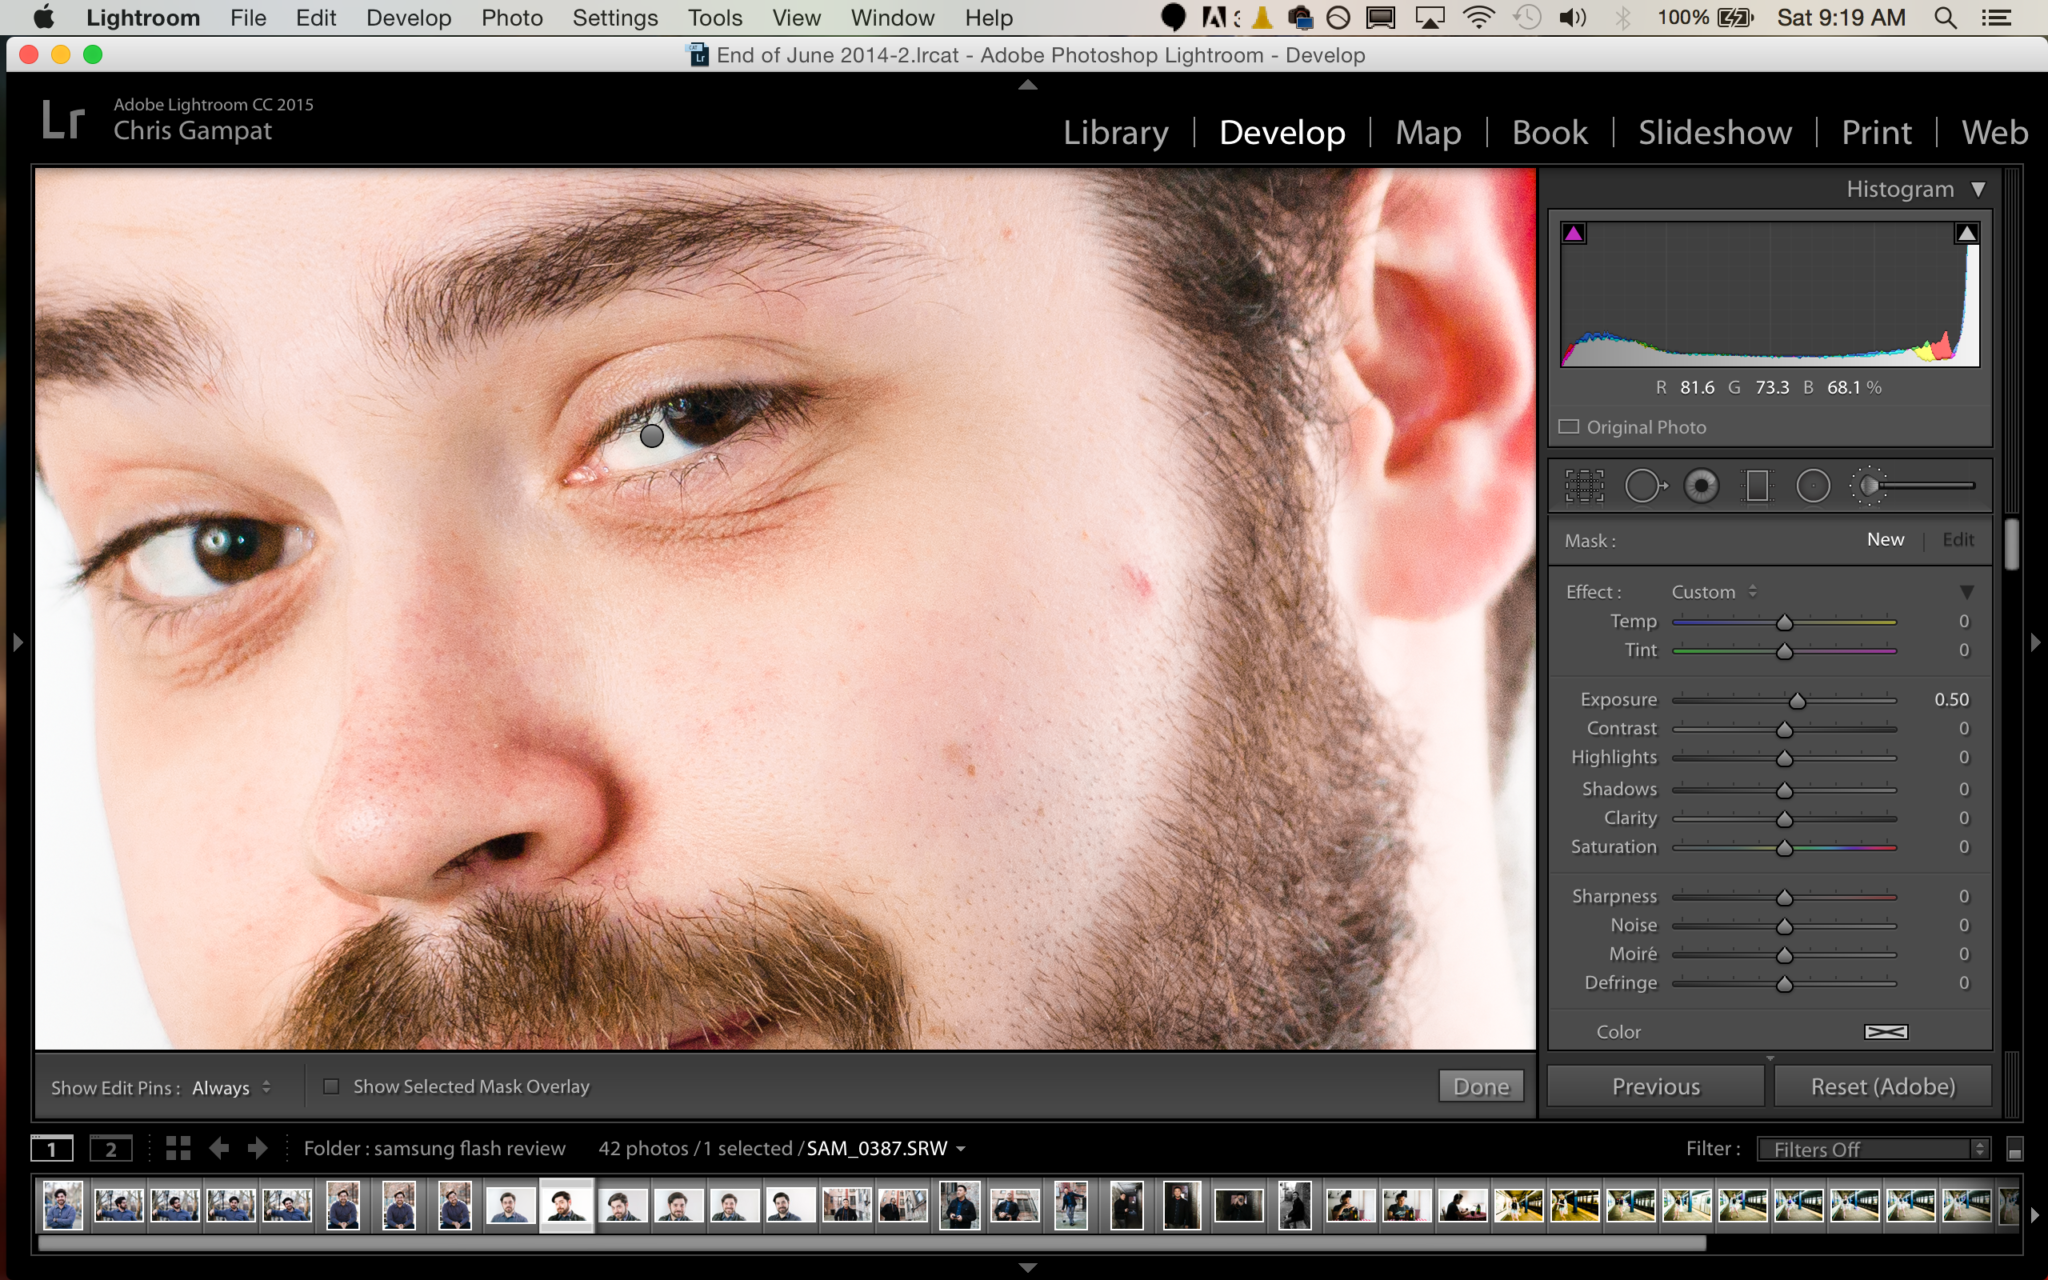
Finally, we used the adjustment brush to enhance the eyes just a tad. You can read more about how to do this here. Additionally, the slight breakout was cleaned up and then the image was exported.
Just like that you’ve got a much better image from something that didn’t work out in camera–all by using lighting gradients.