It’s a fact: your lenses are much more important than your cameras. They almost define the image quality that will come from the sensor, and they far outlast any DSLR or mirrorless camera made these days. But in order to make sure that these lenses last that long, you’ll need to properly maintain them and calibrate them for the best performance.
And here’s how.
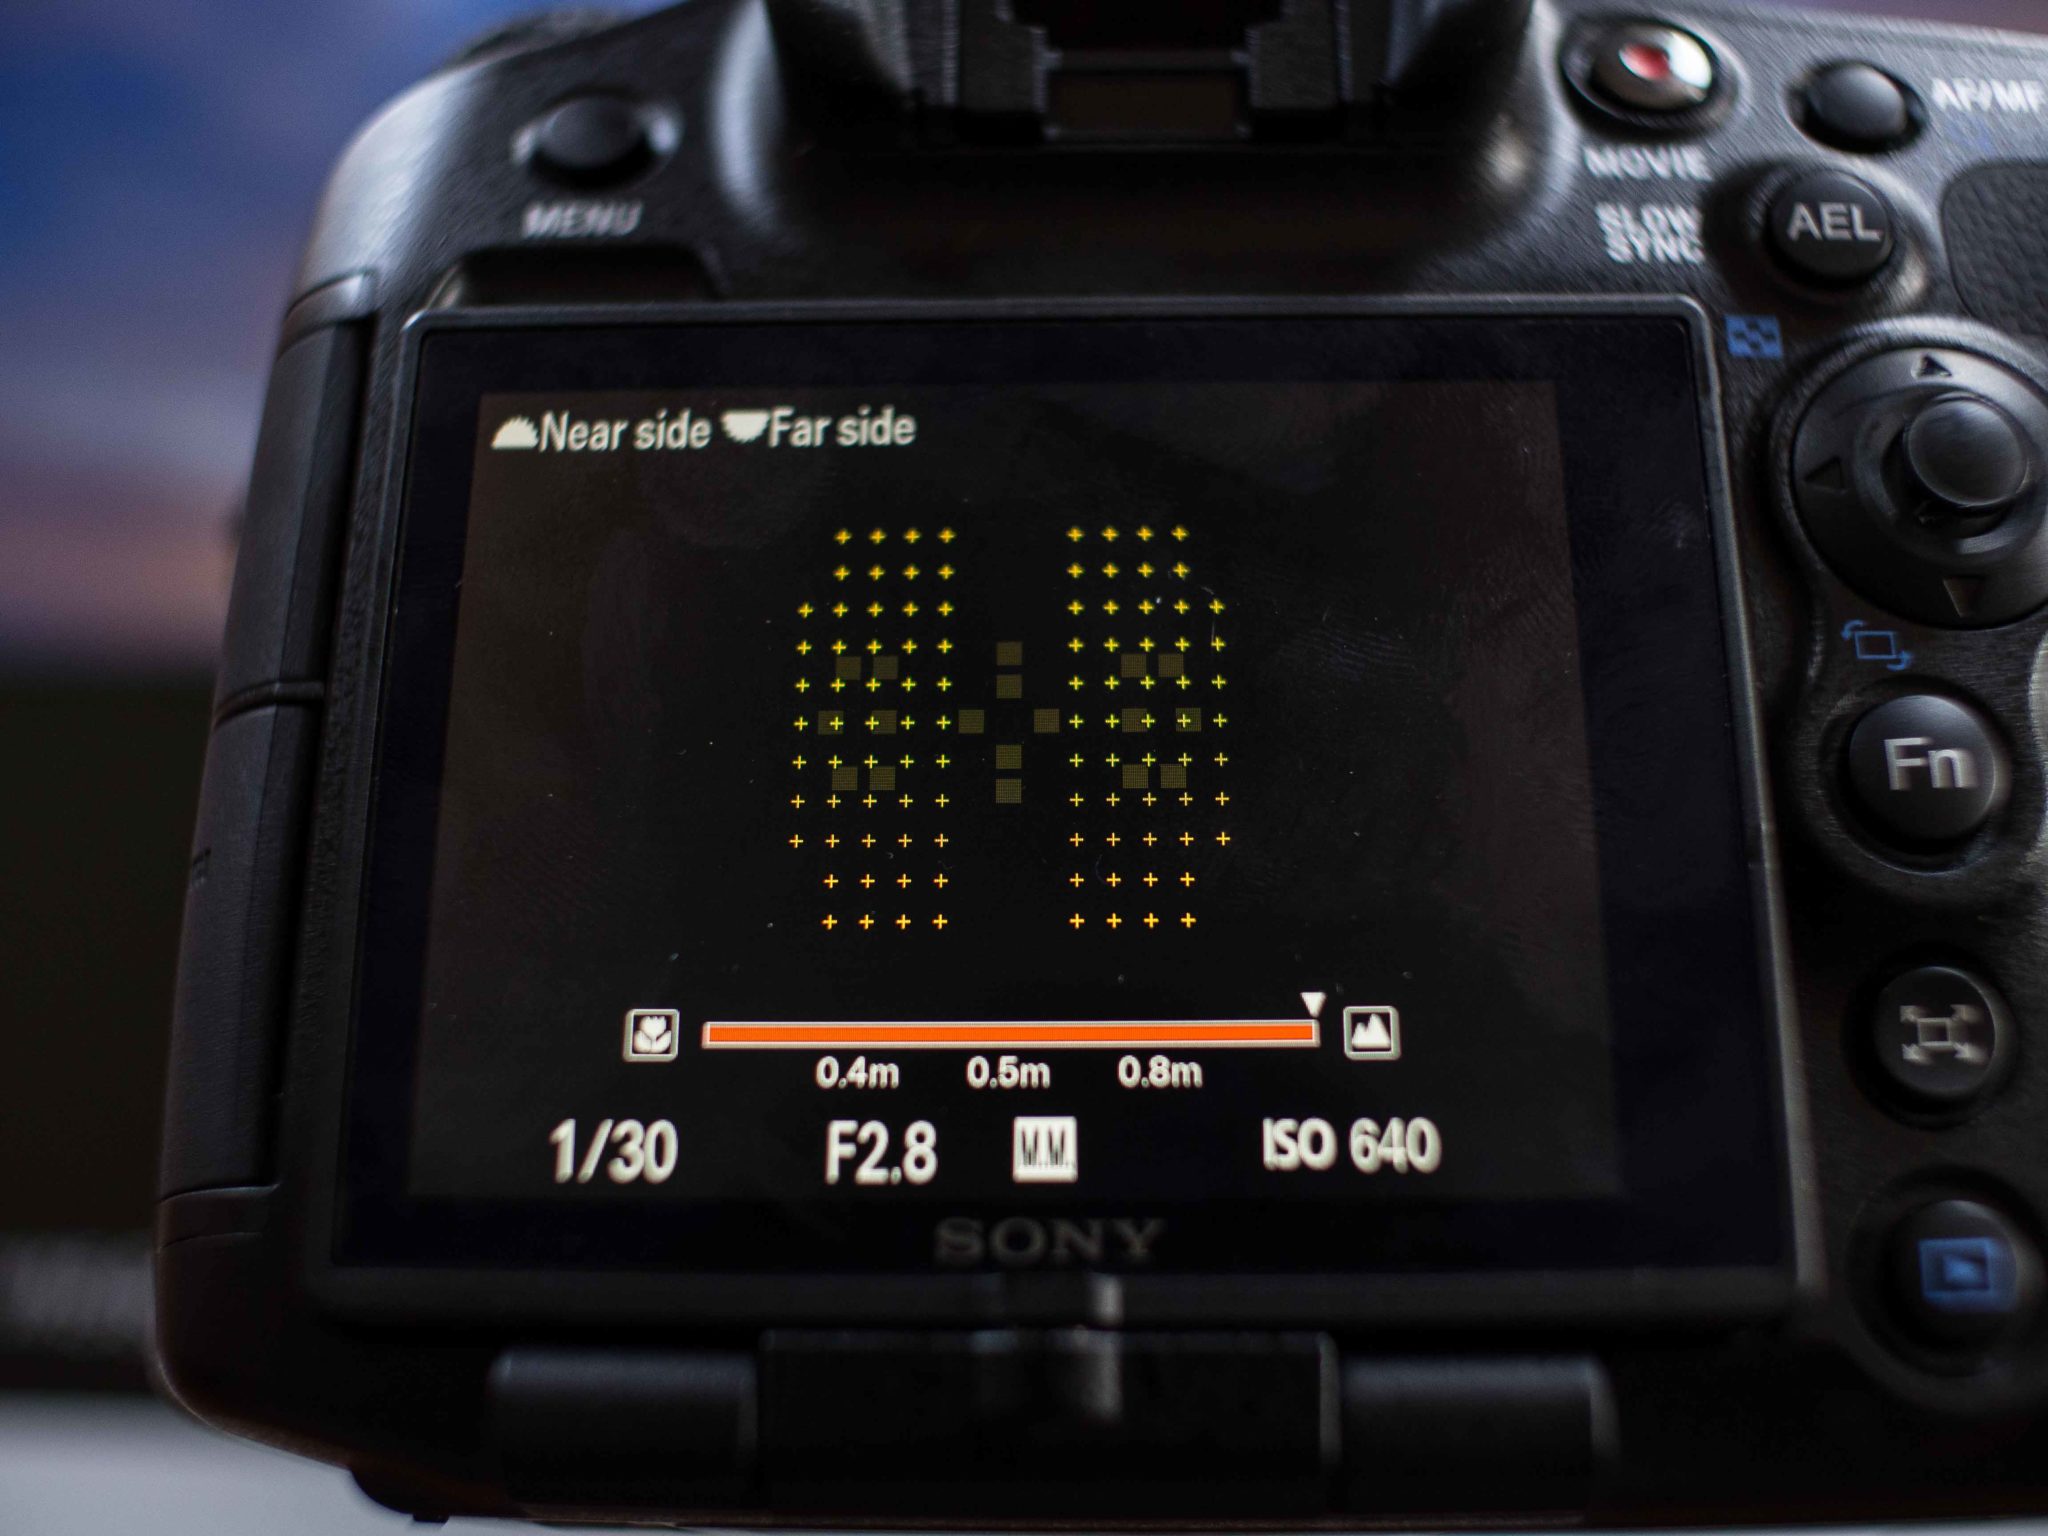
AF Fine Tuning/Micro Adjustment
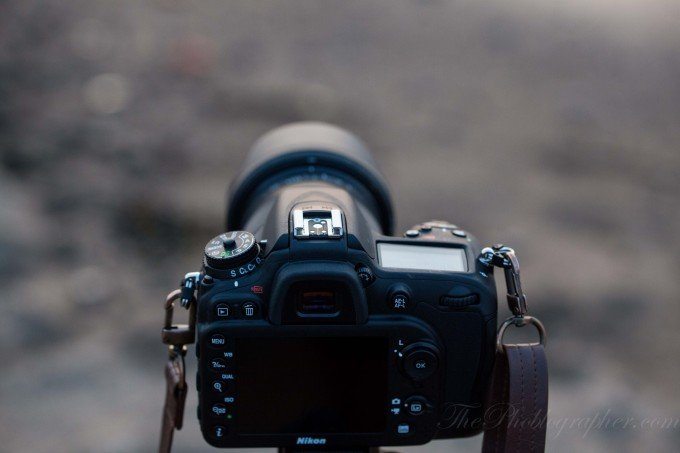
When a lens focuses, it may not always focus accurately on what you want it to. This is one of the problems with autofocus. Sometimes the lens and processor work together and focus a couple of millimeters forwards or backwards. You can usually check the accuracy of the focusing by looking at your images at 100% and retrying the focusing over and over again. In the situation that your lens isn’t focusing correctly on a subject, you’ll need to MicroAdjust the lens–or for everyone else, fine tune the AF.
This process works by telling the camera to focus further out or closer to the subject until it is accurately focusing. It’s best to set up a work station where you can get consistent results while doing this–and ideally do it while your camera is on a tripod.
Use Isopropyl Alcohol on the Contacts
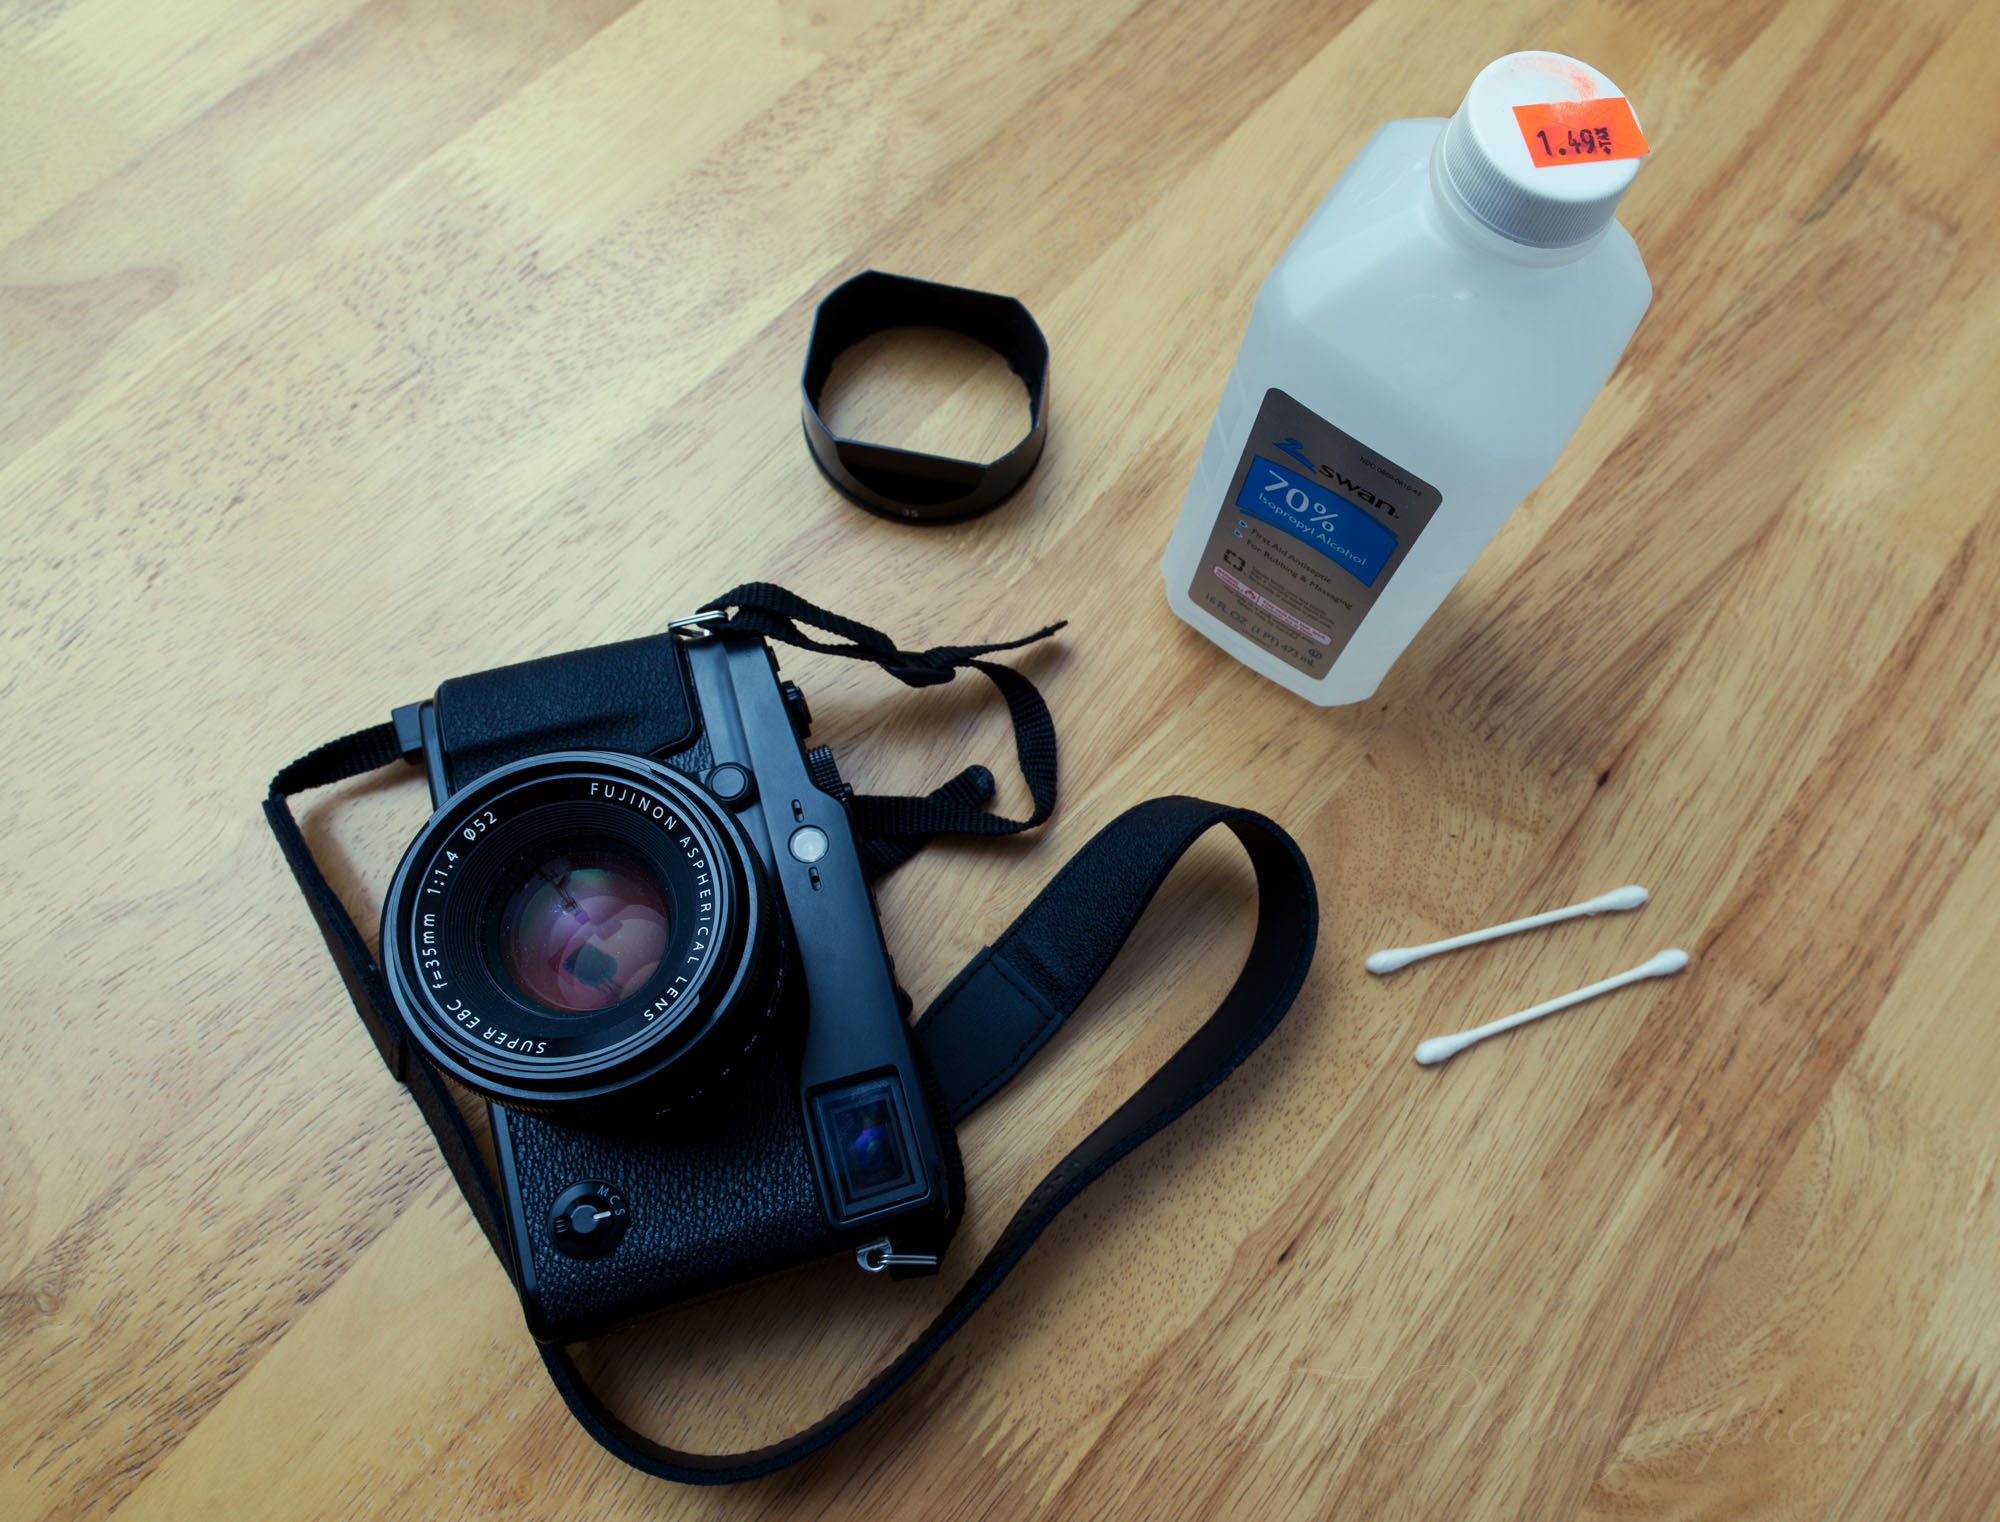
Something that you may not have known is your lenses sometimes have miscommunications with the camera. The reason for this is because dirt and dust gets into the contacts between the camera and the lens. This blocks communication and can sometimes cause autofocusing issues. The way around this is to clean the contacts with isopropyl alcohol. This is used to clean lots of electronics and when applied to the camera contacts and the camera, it can maintain communication efficiency.
And when your camera and lens are working together, they can yield you sharper images.
Use the Lowest ISO You Possibly Can With Strobe Lighting

While it’s fairly well known that details at high ISOs get smeared out, they stay very true at lower ISO settings. The best thing to do is to use the lowest natural ISO setting along with better lighting methods. Oftentimes if you add flash output/artificial lighting to your package, you can get lots more details in the image that you wouldn’t find otherwise. Strobes bring out specular highlights, which can make the cheapest lens deliver results that otherwise look like they’re incredibly expensive.
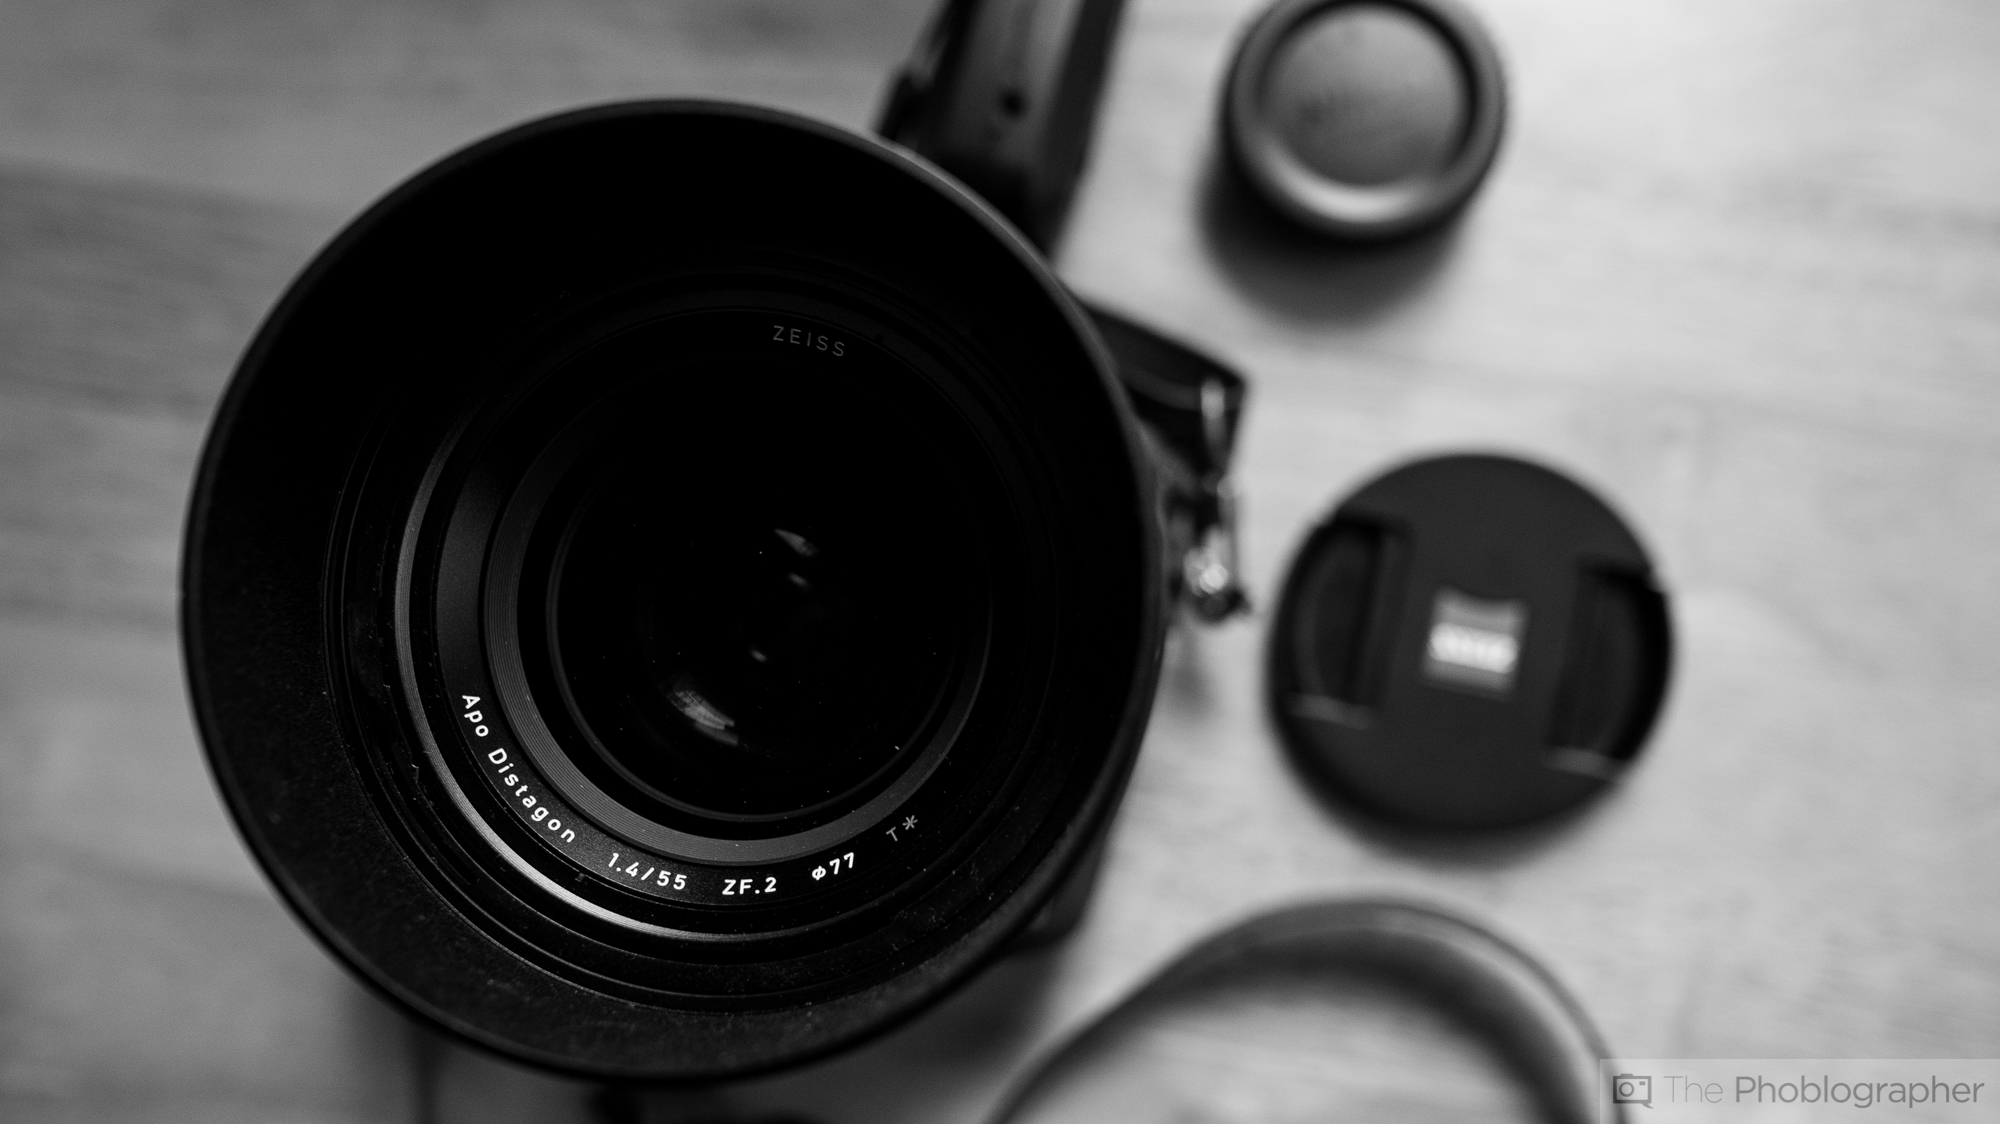
Purchase Good Lens Filters
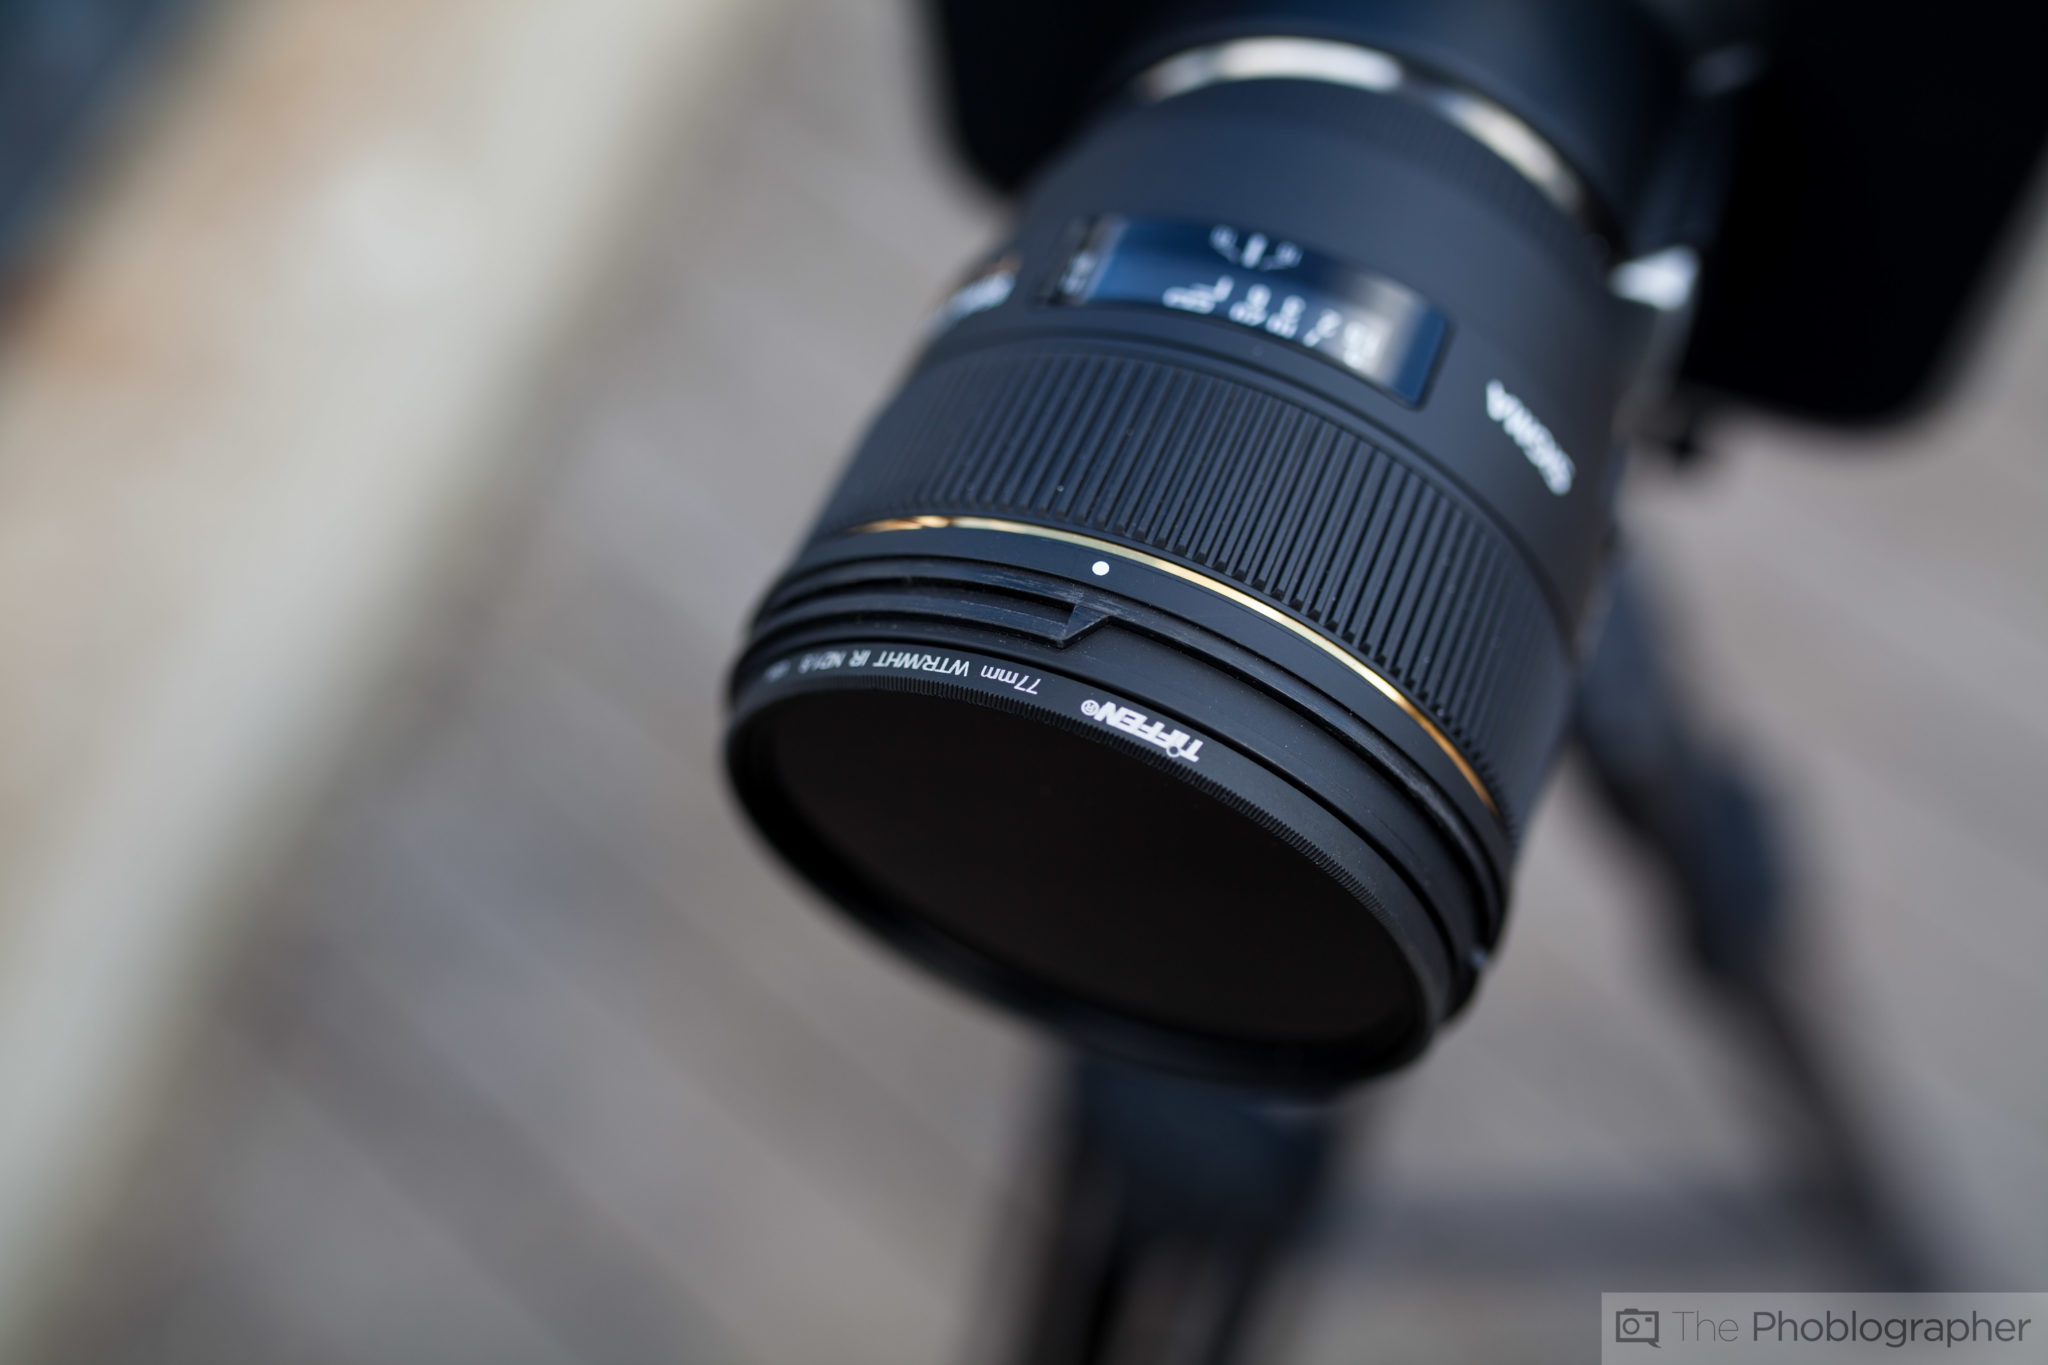
The question of whether you should use a UV filter or not has been around for years. With modern optics and sensors, you don’t really need them to block out UV light but instead to protect your lens’s front element. But the really cheap filters aren’t engineered to protect your image quality. Instead, they can tarnish it. Additionally, the more expensive filters also have brass rings around the glass–which can make it easier to take on or off in addition to making the product tougher overall.
Find the Lens’s Sweet Spot

The sweet spot of the lens is around where it is considered to be sharpest. While you may want to get lots of bokeh wide open, your images won’t be super sharp. Instead, you’ll need to stop down. So where is the sweet spot?
– Full frame sensors: f5.6-8
– APS-C 1.5x Crop: f4.5-5
– APS-C 1.6x Crop: f4-4.5
– Micro Four Thirds and Four Thirds: f2.8-4
If you stop down anymore at these points you’ll start to see diffraction–which harms image quality.
Select a Pre-set AF Point
One of the best and surefire ways to ensure that your images are at their sharpest is by telling the camera where you want it to focus. When you select a point beforehand, the camera just has to analyze the area and figure out the distance to your subject. Otherwise, it also needs to scan an entire scene area to get what you want in focus. This way, it won’t accidentally focus closer or further.
On top of this fact, it’s much better to do this than use the center point, focus, and recompose because otherwise you’re throwing off the entire focusing plane and what you want to be in focus in fact won’t be.